BBQ Sauce

I usually opt for fina’denne’ with my food, but occasionally I love a good BBQ sauce, most especially on smoked brisket, and sometimes on BBQ chicken.

I like my BBQ sauce to be a cross between the tangy, vinegary Carolina sauce and the thick, sweet Kansas BBQ sauce.

This is an easy sauce to whip up.  Chances are you have everything you need in your fridge and pantry already.  If you want your sauce to be spicy, add a tablespoon or more (to taste) of chili flakes, or the hot chili pepper of your choosing.


BBQ Sauce Ingredients


Mix everything in a small saucepan.  Cook over low heat just until it simmers.  Serve immediately or keep in a sealed container and refrigerate.  This sauce actually tastes better if you make it a day ahead.


BBQ Sauce


Give my recipe a try the next time you’re grilling or smoking.  I think you’ll like it. 🙂


BBQ Sauce on Smoked Brisket


BBQ Sauce
 
Prep time
Cook time
Total time
 
A tangy, slightly sweet BBQ sauce
Author:
Cuisine: American
Serves: 1⅔ cups
Ingredients
  • 2 tablespoons tomato paste
  • ½ cup ketchup
  • 1 tablespoon Dijon mustard
  • 1 tablespoon Worcestershire sauce
  • 1 cup Apple cider vinegar
  • ¾ cup brown sugar
  • 1 tablespoon molasses
  • 1 tablespoon salt
  • 2 teaspoons black pepper
  • 2 teaspoons garlic powder
  • 2 teaspoons onion powder
  • 1 tablespoon paprika
  • 1 teaspoon chili powder
  • ½ teaspoon dried oregano leaves
Instructions
  1. Place all ingredients in a small saucepan.
  2. Whisk; cook over low heat until it starts to simmer. Simmer for 5 minutes.
  3. Serve immediately. Refrigerate any unused sauce in a sealed container.


Chicken Thighs with Honey Mustard Garlic Wine Sauce

Hafa Adai!  I know, I know…it’s been a while since I added a new recipe.  But this one is worth the wait, trust me.  I made this with skin on, bone in thighs, but you can use boneless, skinless thighs as well, just reduce the cooking time by half. 


I’ll get right to it then.

Mix all the sauce ingredients together then set aside.  You can use any white wine you like to drink. I had just enough moscato leftover from Thanksgiving (leftover moscato…what? 😂) so I used that.

Heat 4 Tbsp oil in a large skillet over medium high heat. (Note: don’t overcrowd the chicken; use two pans if needed.)  Cook the chicken skin side down for 12 minutes (do not turn it while cooking; you want the skin to brown and crisp).  Season the other side of the chicken thighs with salt and black pepper. 

If you’re using boneless, skinless thighs, cook it smooth side down, or what would have been skin side.  Cook for 5-8 minutes or until a nice brown crust has formed on the surface.

After 12 minutes, flip the chicken over. If you have a large enough pan, fit all the chicken into one pan. Otherwise, split the sauce between the two pans.  Cook for 2 minutes over medium high heat then pour in the sauce. 

Turn heat down to medium.  Simmer for 10 minutes or until the sauce has reduced, the alcohol has cooked out, and the thighs are done. 

Spoon the sauce all over the chicken. Serve with rice or potatoes, and/or steamed vegetables. 

Give my recipe a try. I think you’ll like it.

Enjoy!


Chicken Thighs with Honey Mustard Garlic Wine Sauce
 
Prep time
Cook time
Total time
 
Author:
Recipe type: Entree
Cuisine: American
Serves: 5-8
Ingredients
  • 1 pkg (10 pieces thighs with skin and bone)
  • Salt
  • Black pepper
  • 4 tablespoons vegetable oil
    Sauce:
  • ½ cup honey
  • ½ cup stone ground mustard
  • 1 cup white wine
  • 6 cloves garlic, chopped
  • 1 tsp dried thyme
  • 1 tsp dried rosemary
  • ¼ tsp paprika
  • ¼ tsp cayenne pepper
Instructions
  1. Mix all the sauce ingredients together then set aside.
  2. Heat 4 Tbsp oil in a large skillet over medium high heat. (Note: don’t overcrowd the chicken; use two pans if needed.) Cook the chicken skin side down for 12 minutes (do not turn it while cooking; you want the skin to brown and crisp). Season the other side of the chicken thighs with salt and black pepper.
  3. After 12 mins, flip the chicken over (they may all fit in one pan now). Cook for 2 mins over medium high heat then pour in the sauce.
  4. Turn heat down to medium. Simmer for 10 minutes or until the sauce has reduced, the alcohol has cooked out, and the thighs are done.
  5. Spoon sauce all over the chicken. Serve with rice or potatoes, and/or steamed vegetables.


Chocolate Caramel Coconut Cake

image

Okay friends, if there was ever a recipe of mine you ought to try, this one is it!

This is my homage to my favorite Girl Scout Cookies, the Caramel Delites or Samoas.

My version of this cake combines all the things I love about the classic cookie — sweet coconut, rich chocolate and luscious caramel.

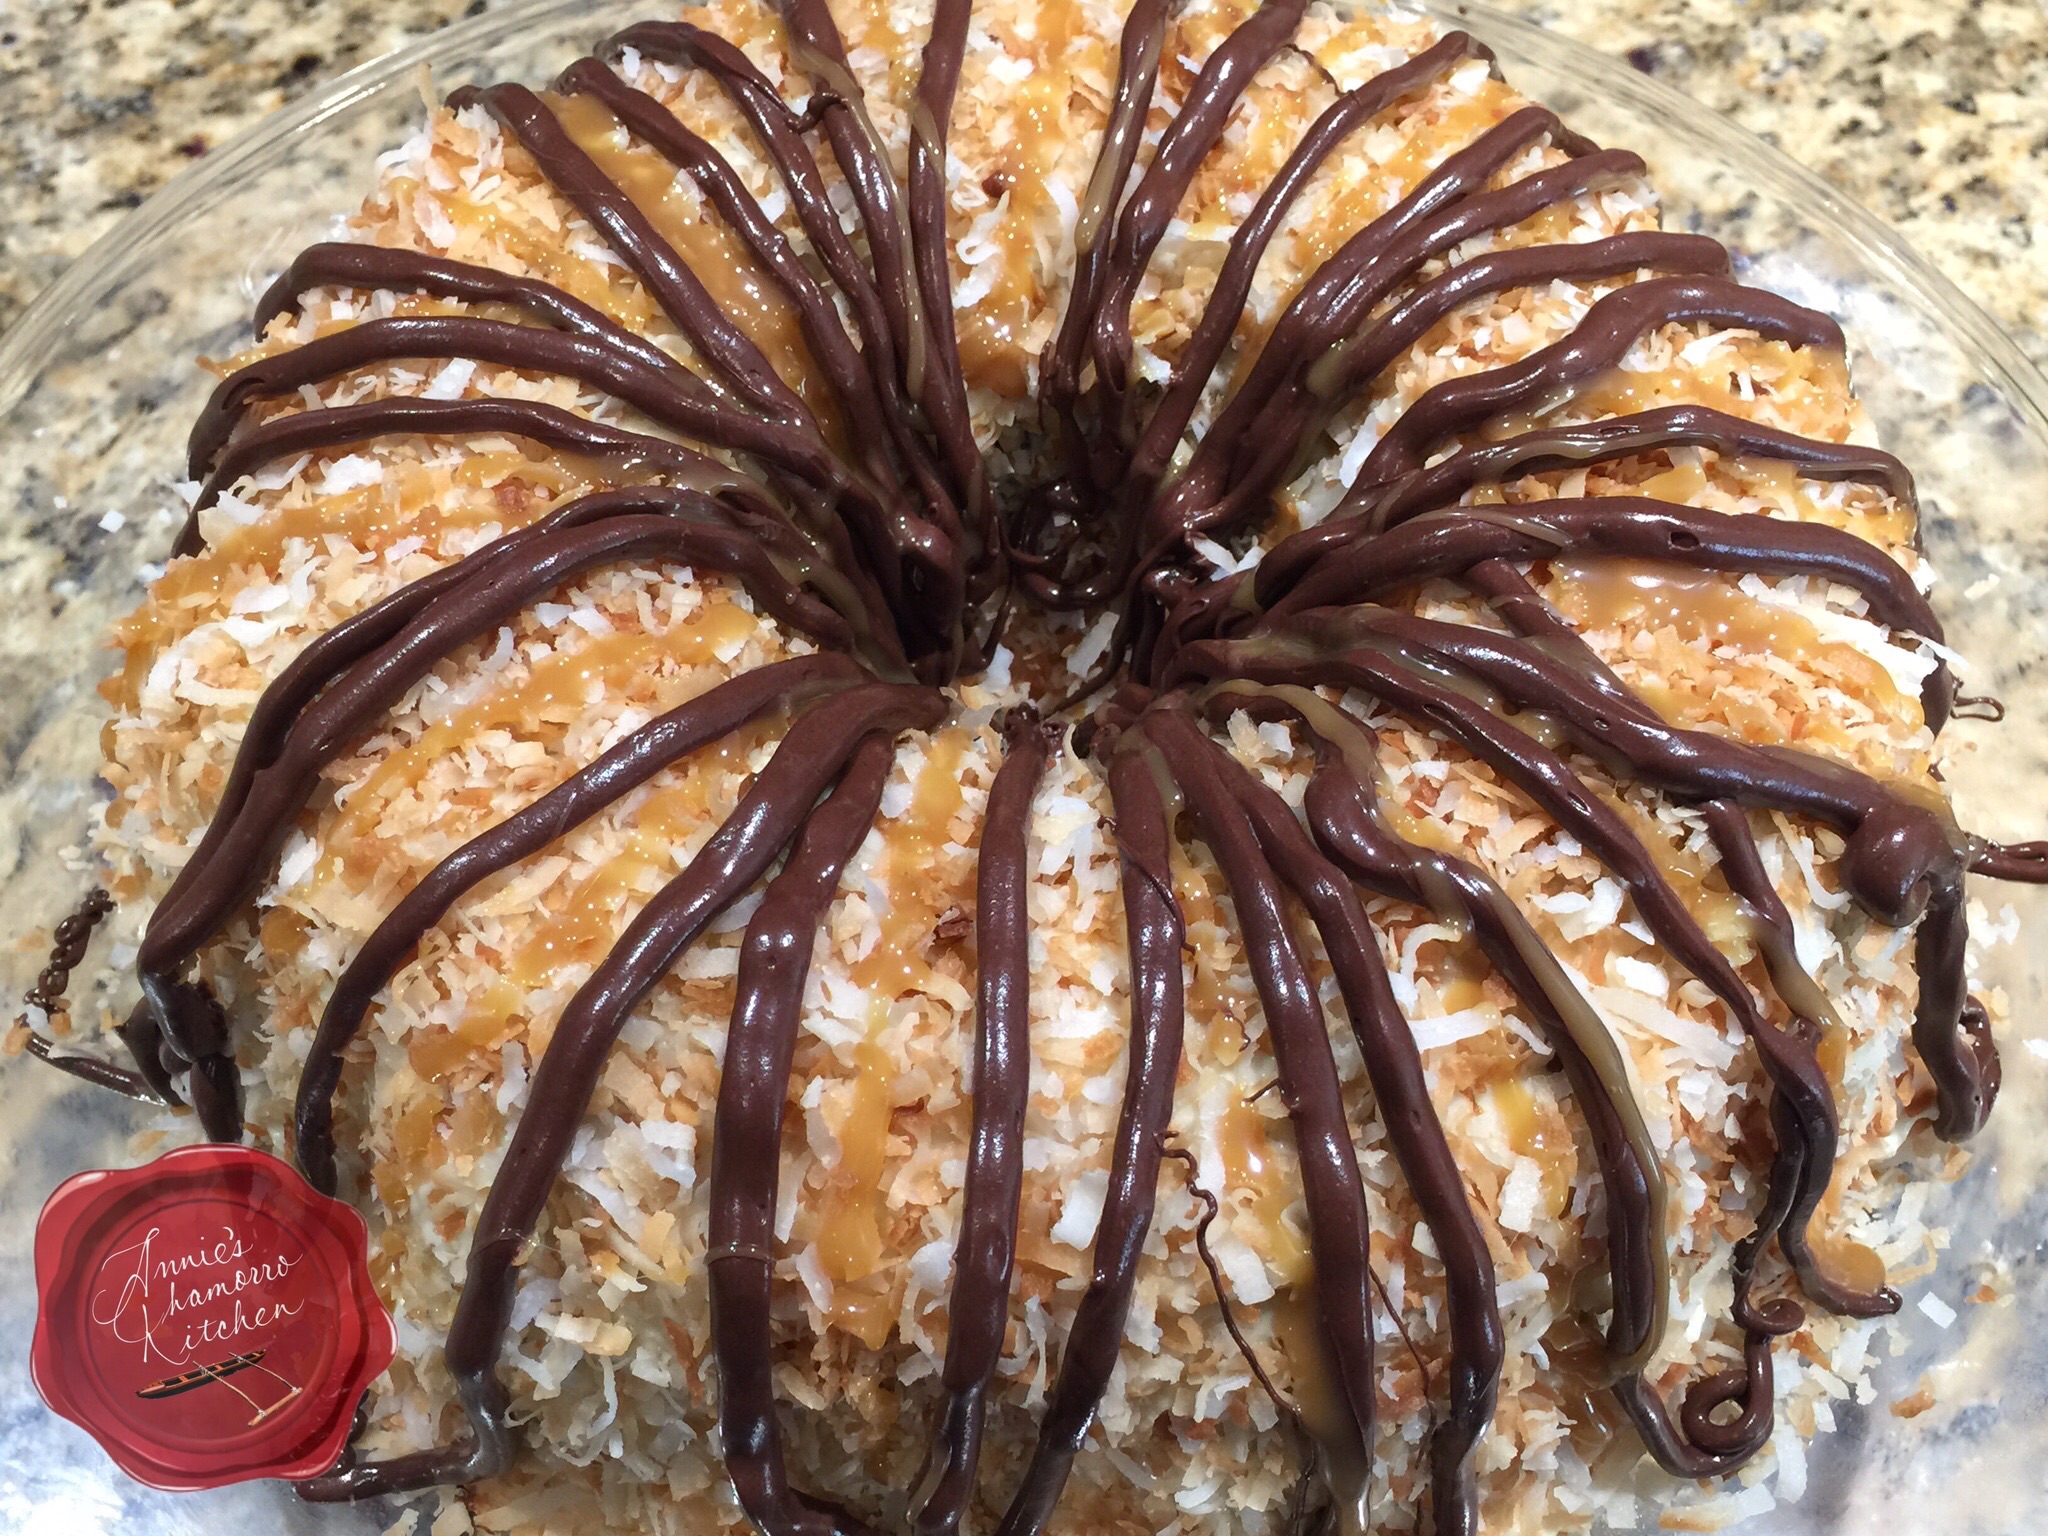
The super moist and fudgy cake gets a generous topping of my caramel cream cheese frosting.  Toasted sweet coconut gets pressed into the frosted cake, followed by drizzles of melted chocolate and MORE caramel!

Do I have you drooling yet and ready to bake this cake RIGHT THIS MINUTE??? 😉

My super easy recipe is made even more simple by using boxed cake mix. While you can certainly make a cake from scratch, there are several brands that bake up a very moist and delicious cake.

image

My complete recipe is at the bottom of this post. Give it a try and let me know how you like it. 🙂

Here’s how to make it.

I used a box of chocolate fudge cake mix.  You can use any brand you prefer, but I like Betty Crocker brand mixes.

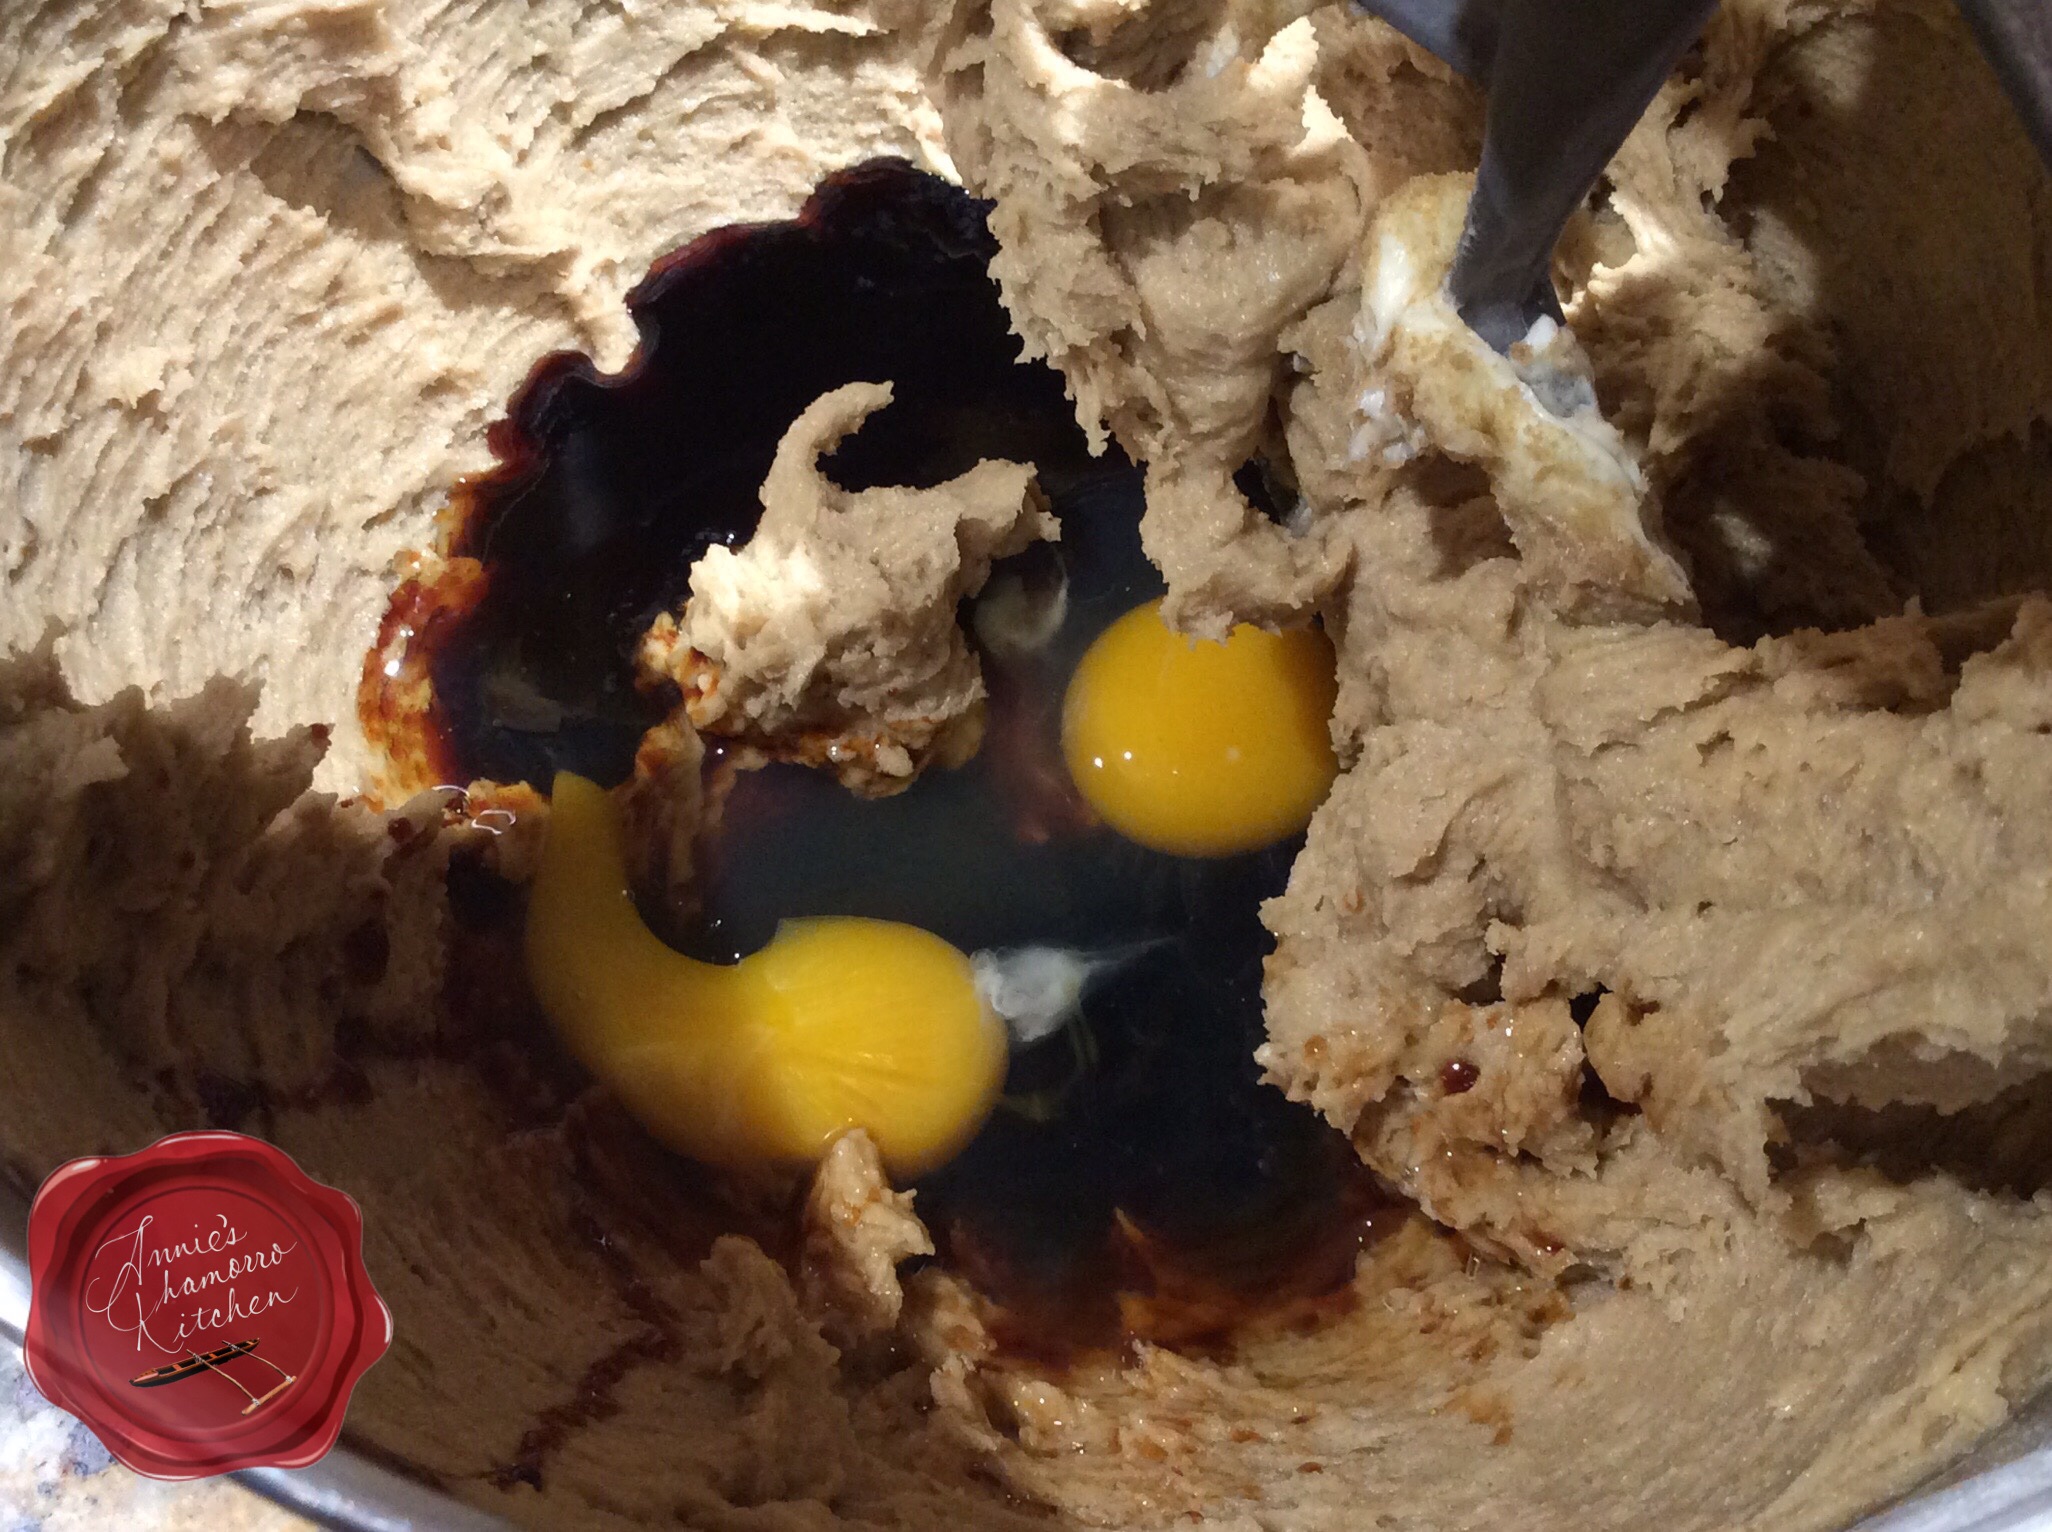
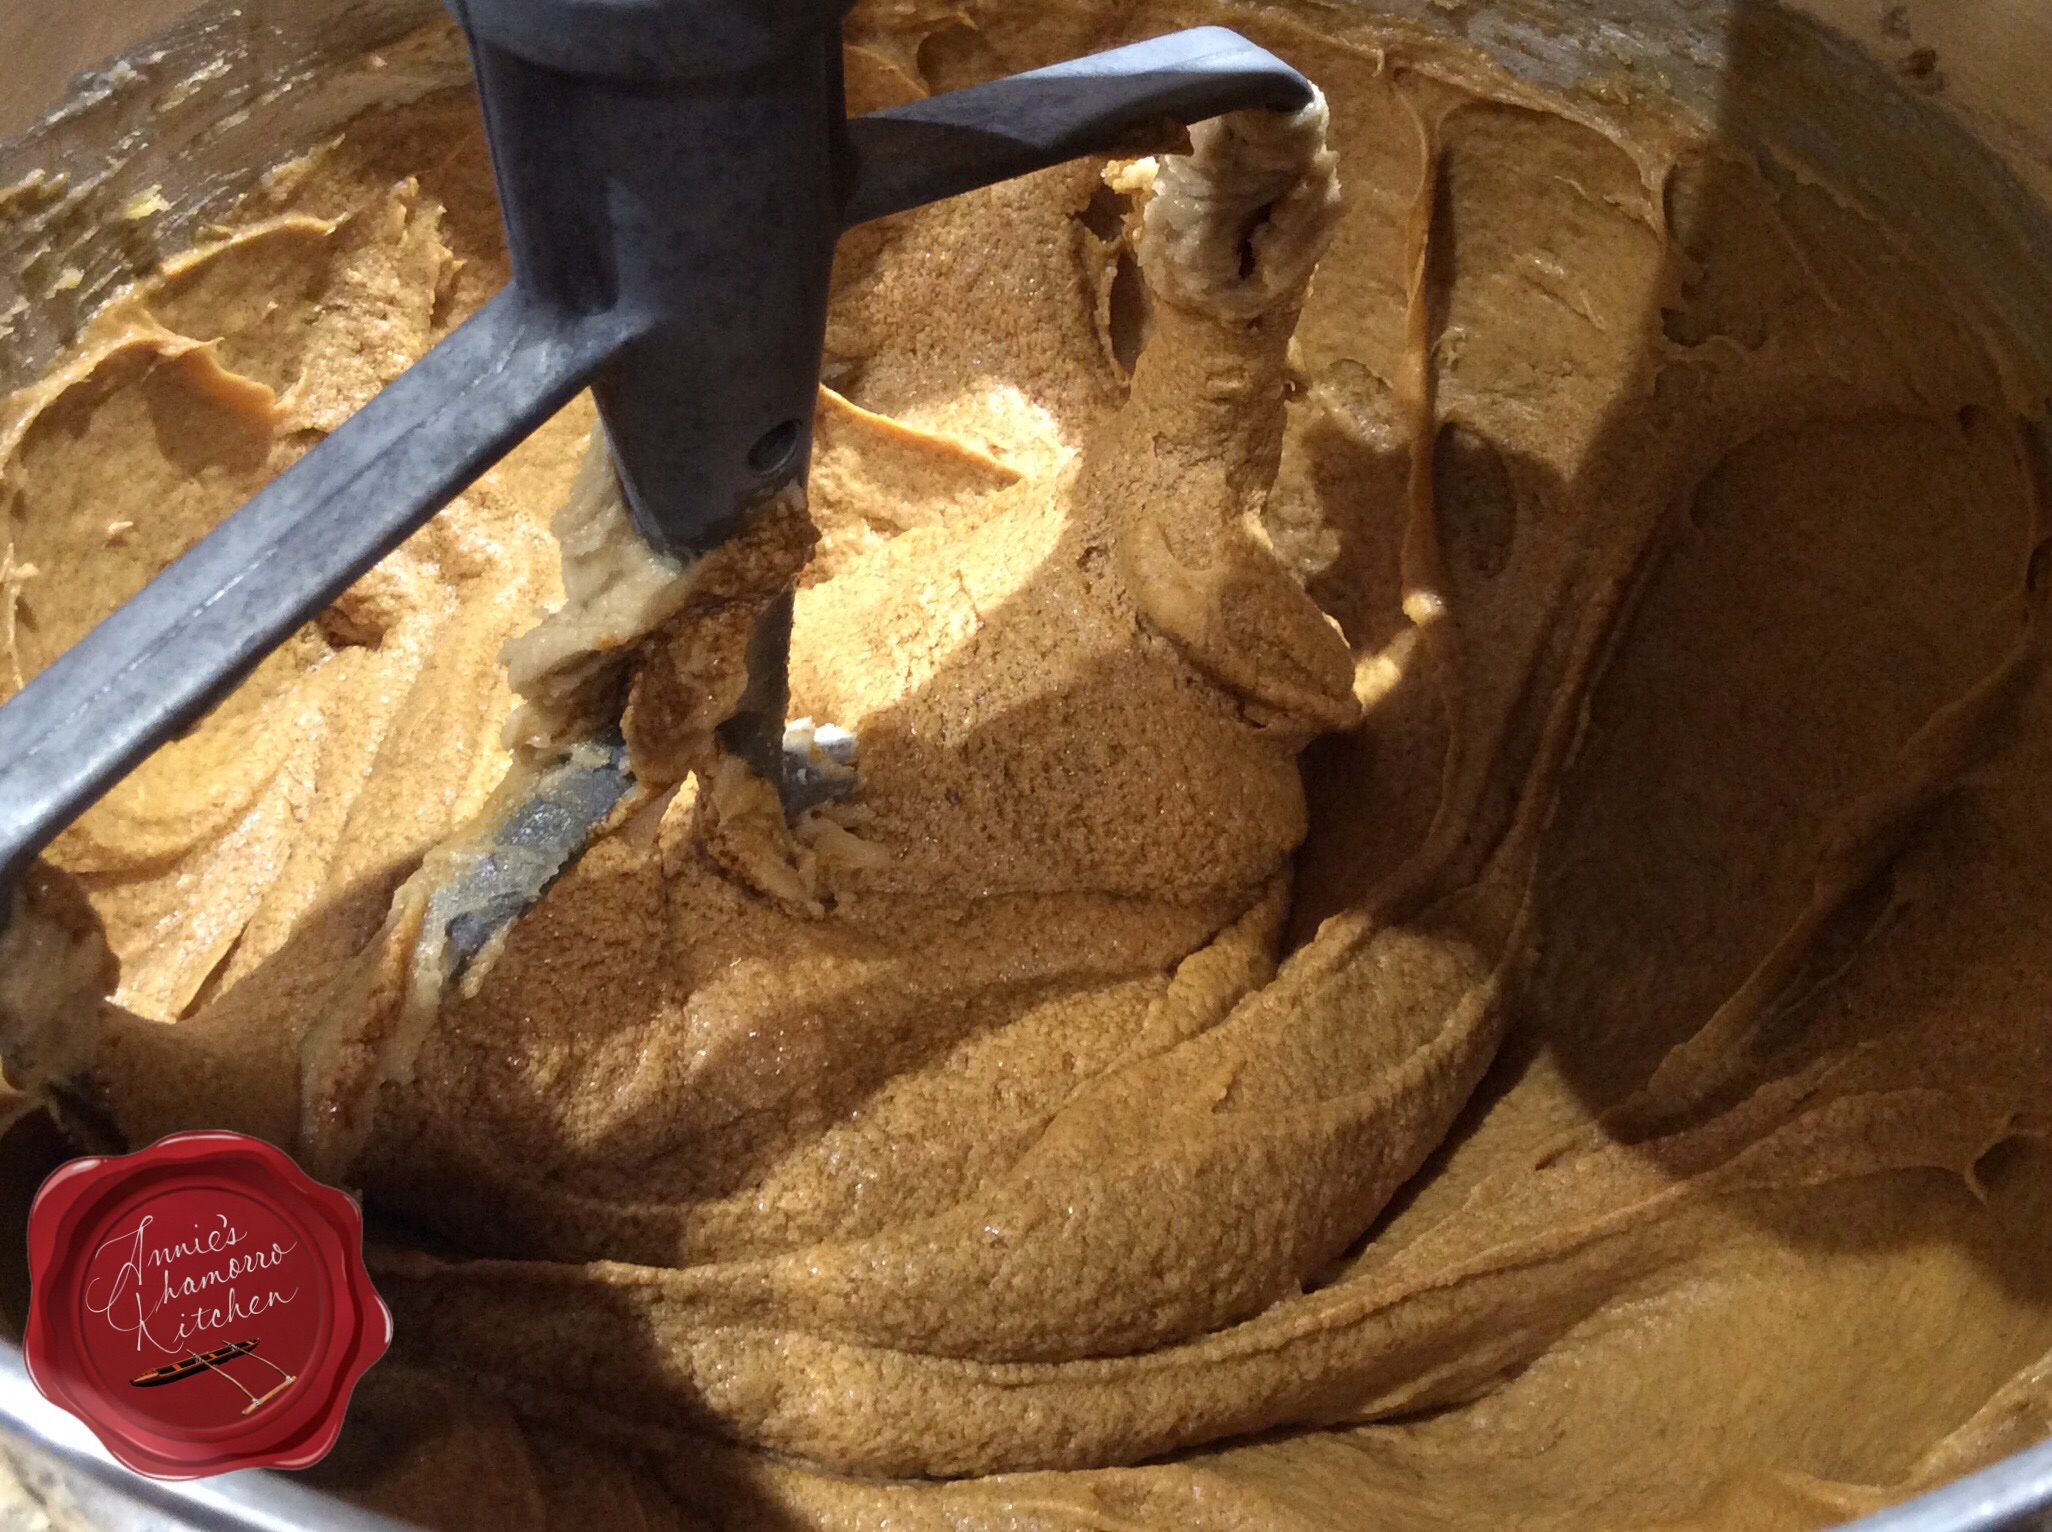
Follow the instructions on the back of the box to make the cake.  This particular mix calls for adding 1 1/4 cups water, 1/2 cup vegetable oil, and 3 large eggs.  I also added 1 teaspoon of coconut extract to the batter to really amp up the coconut flavor.

image

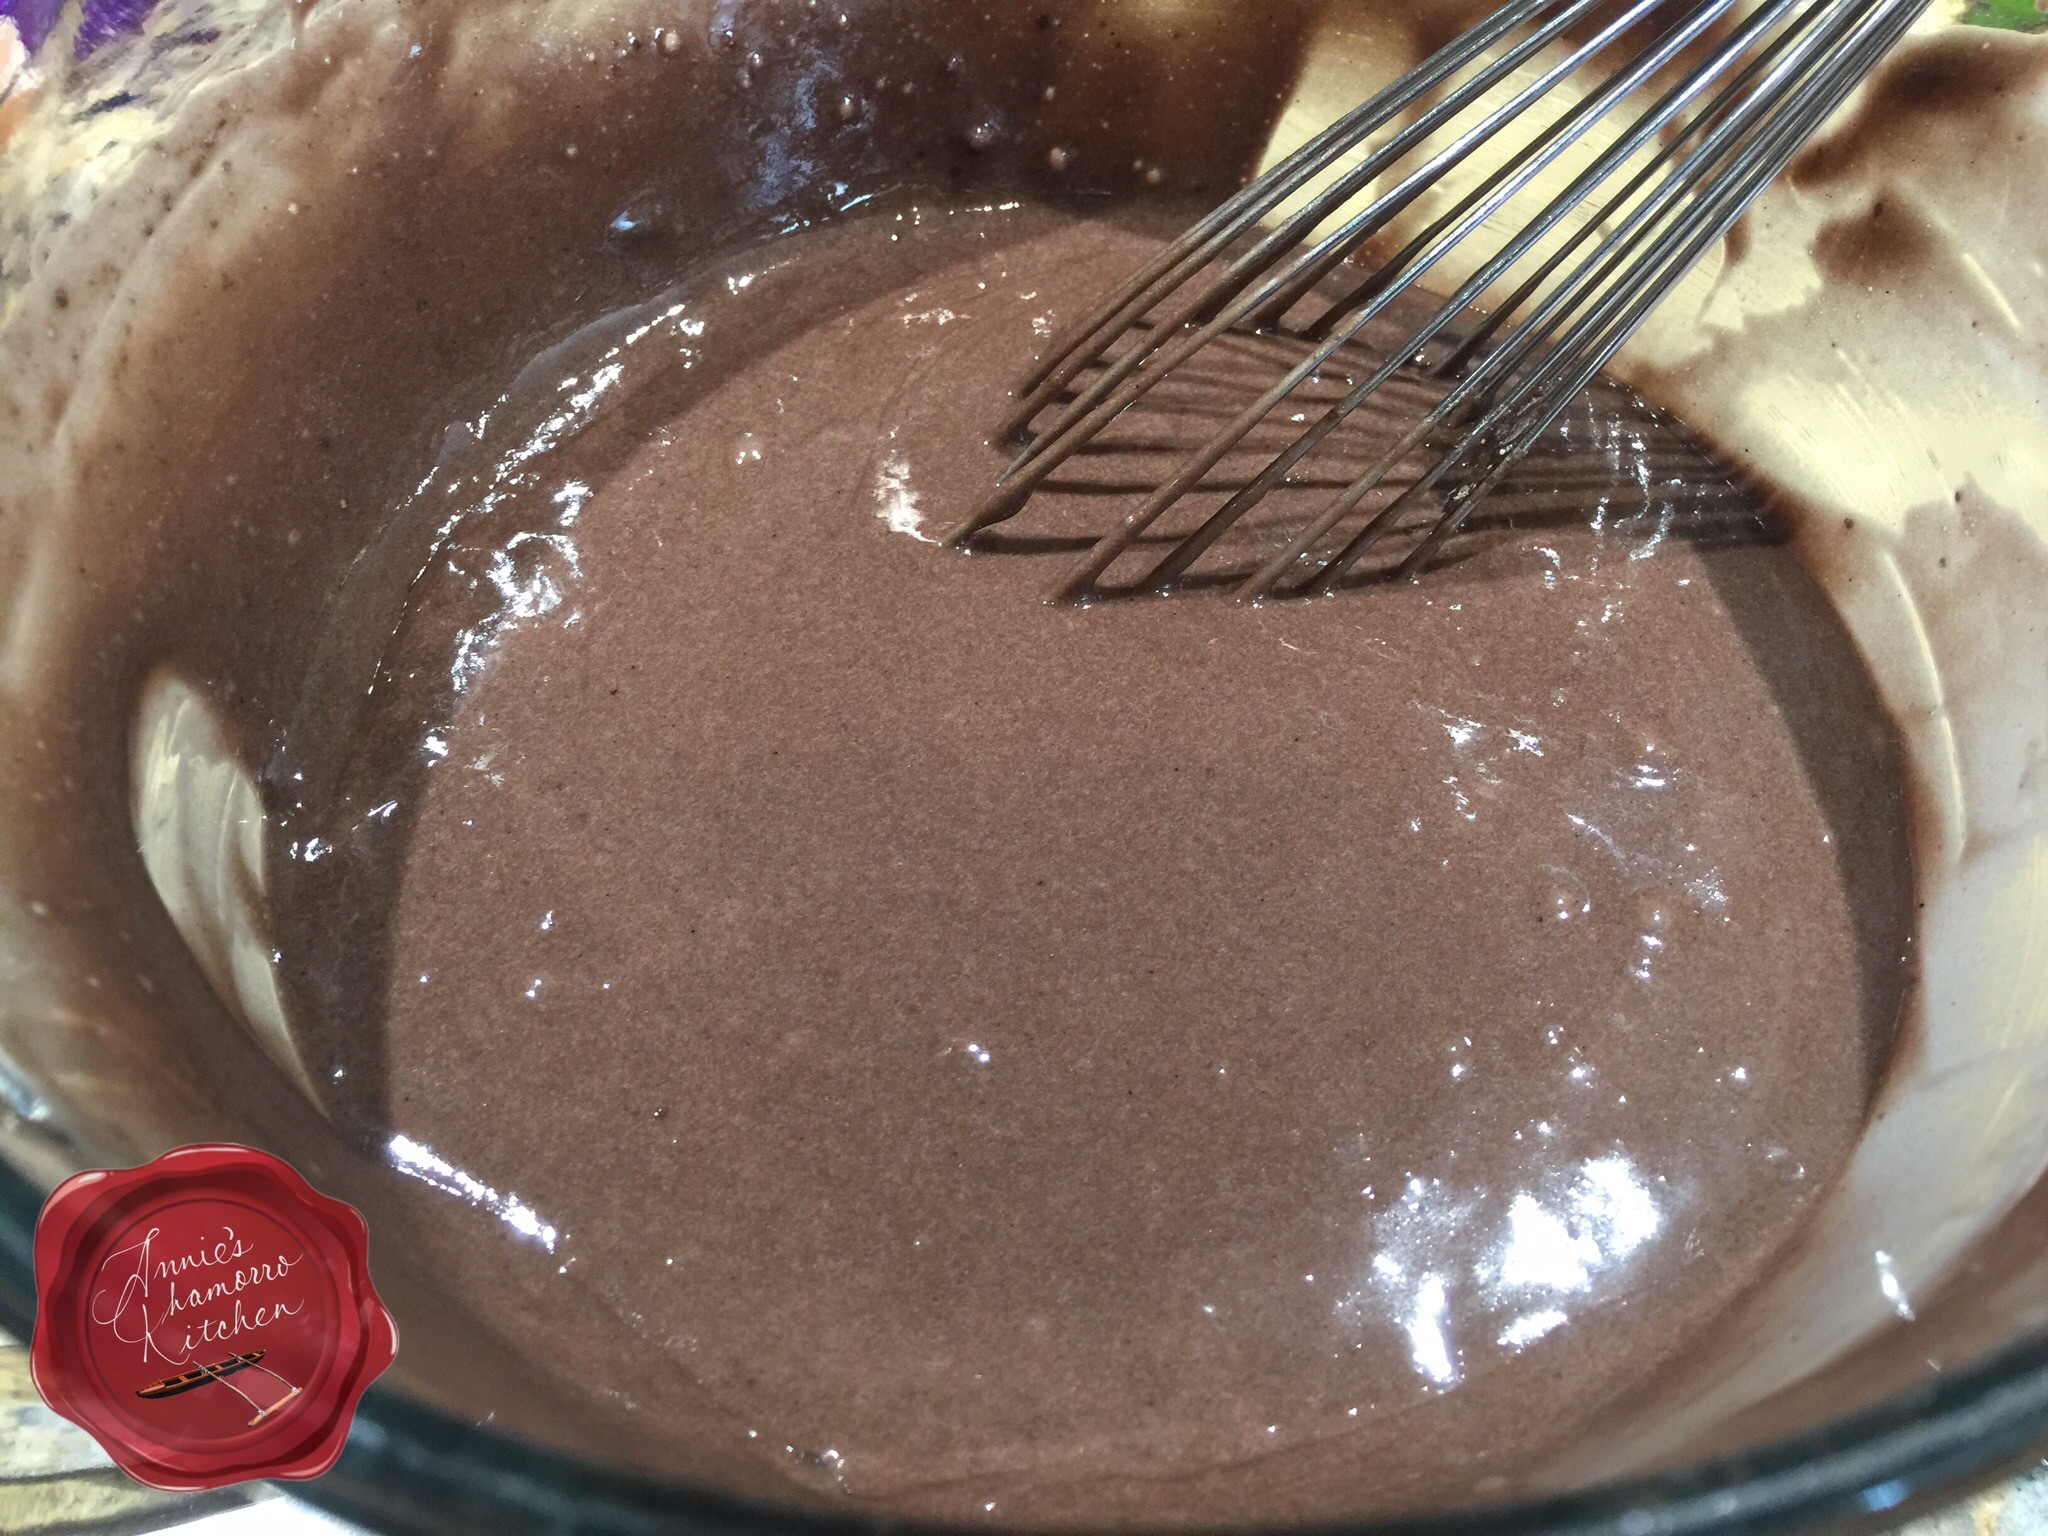
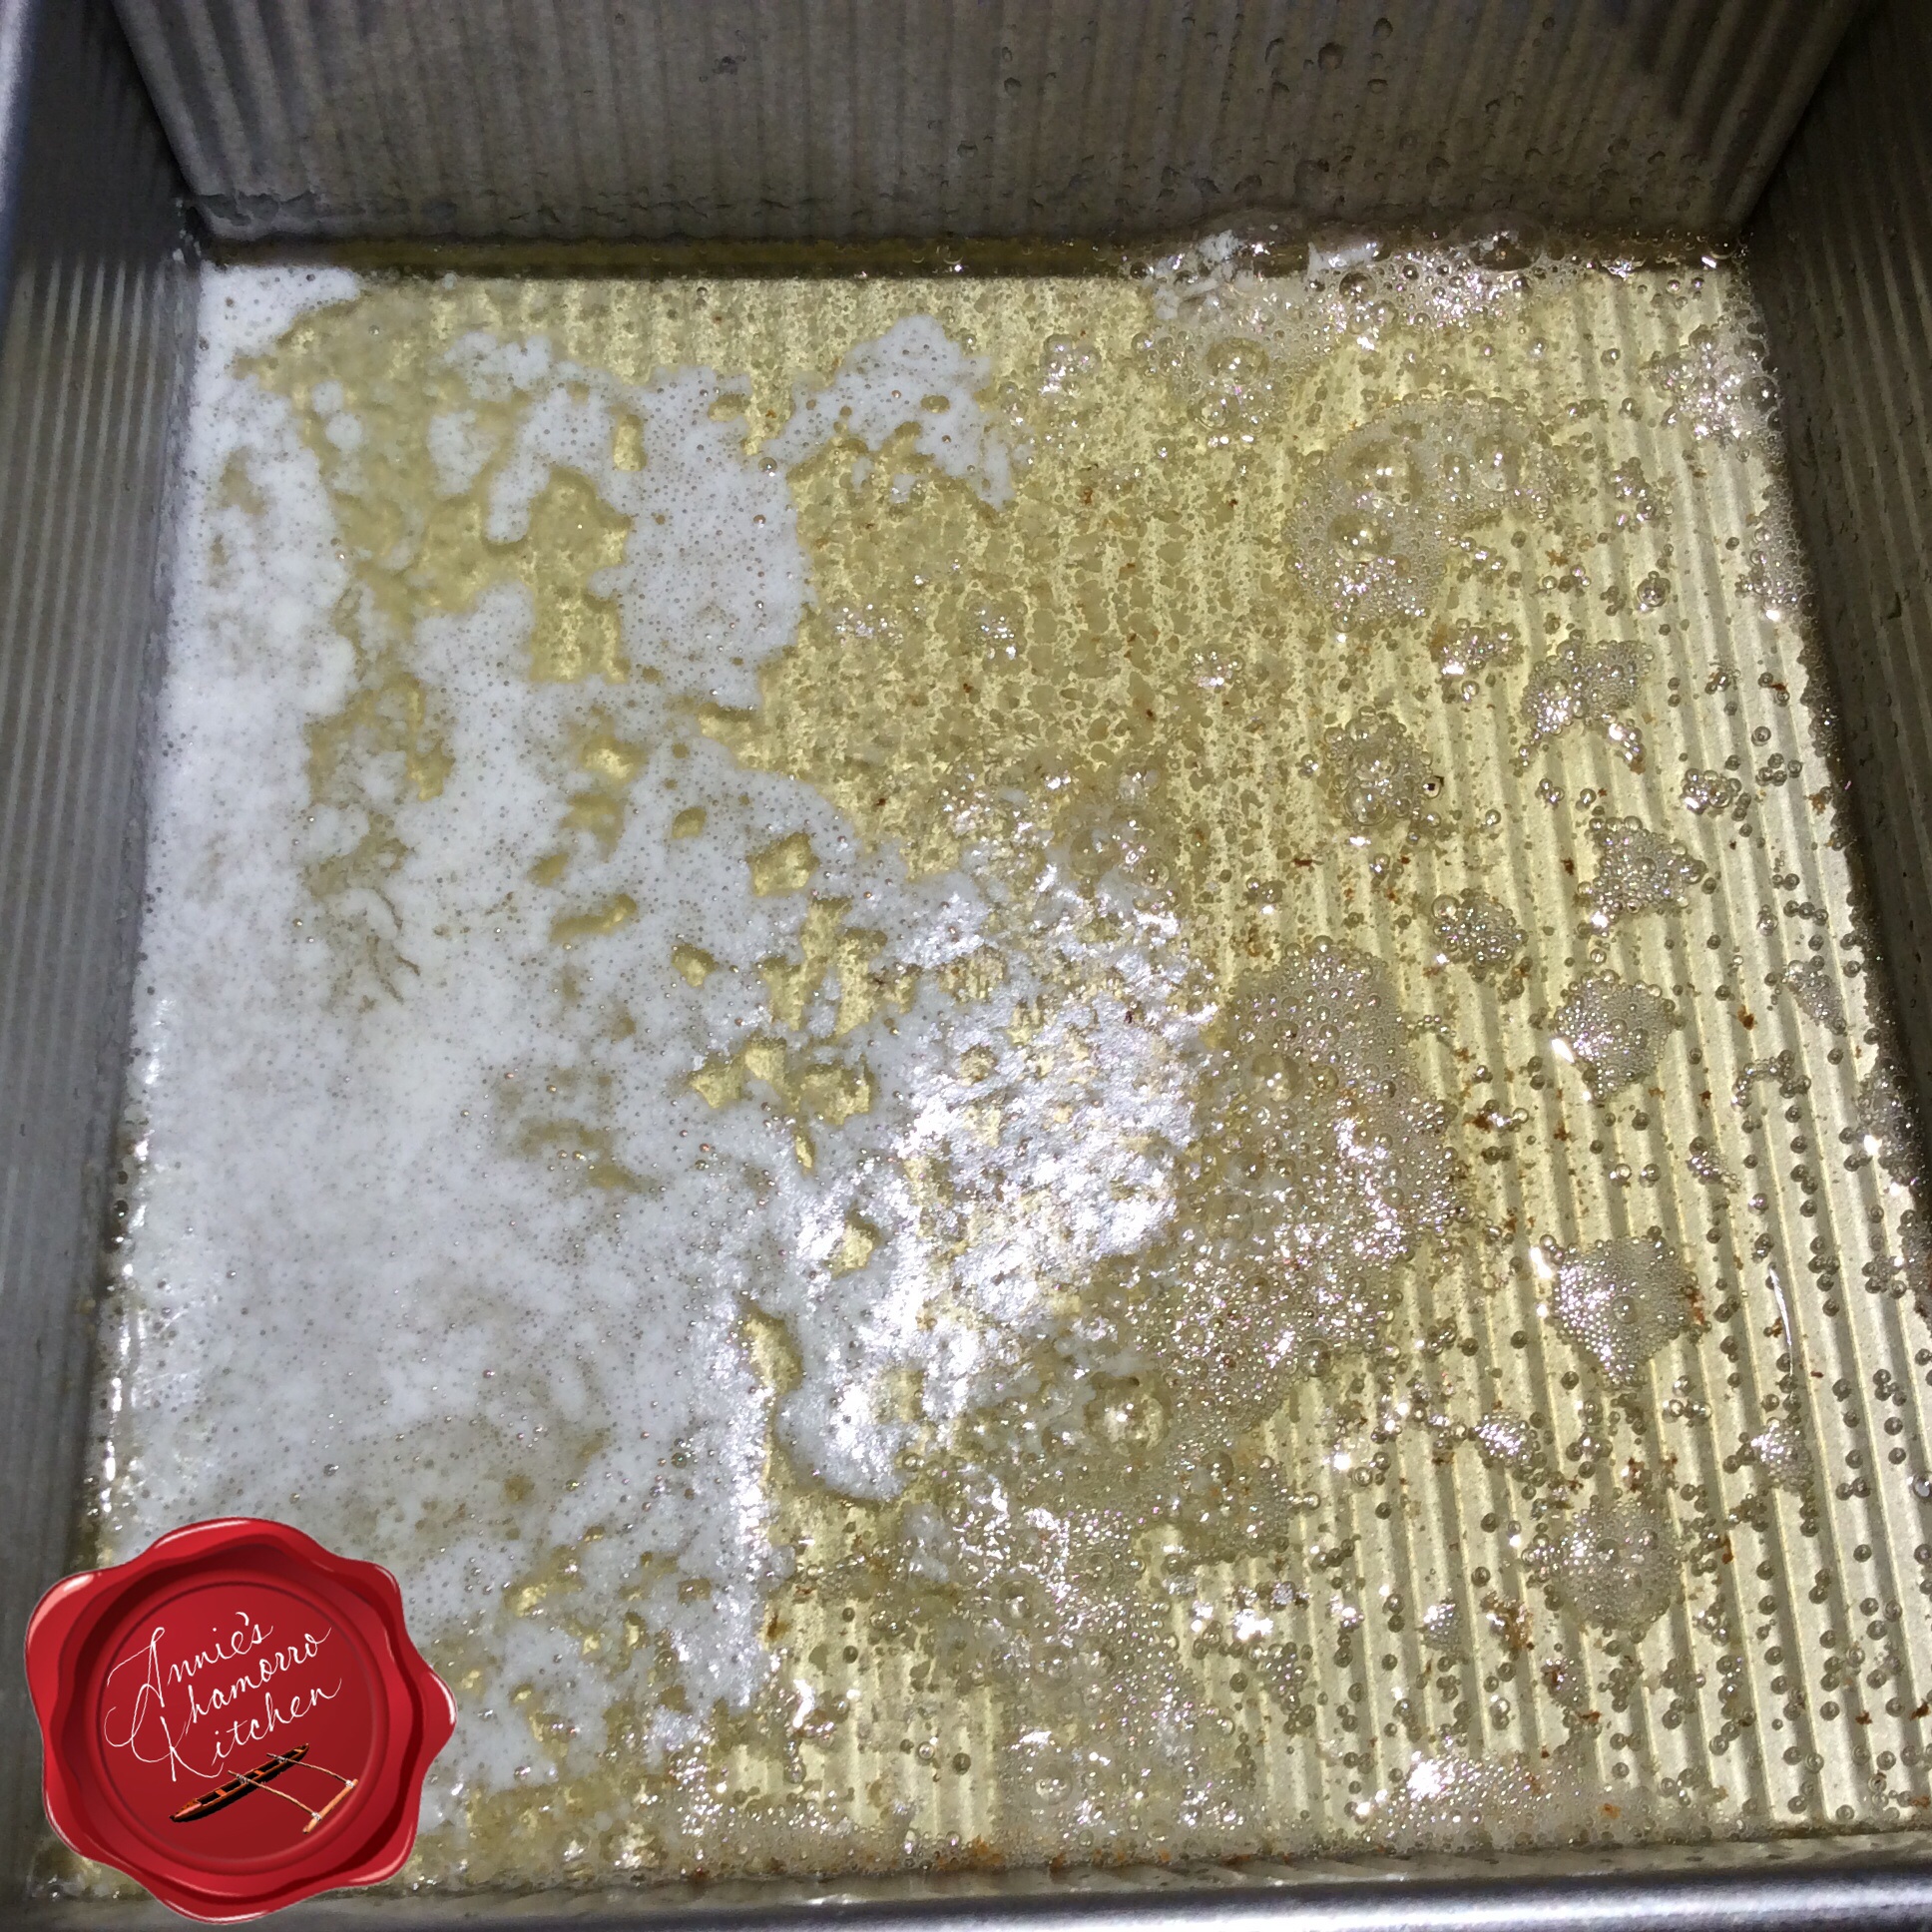
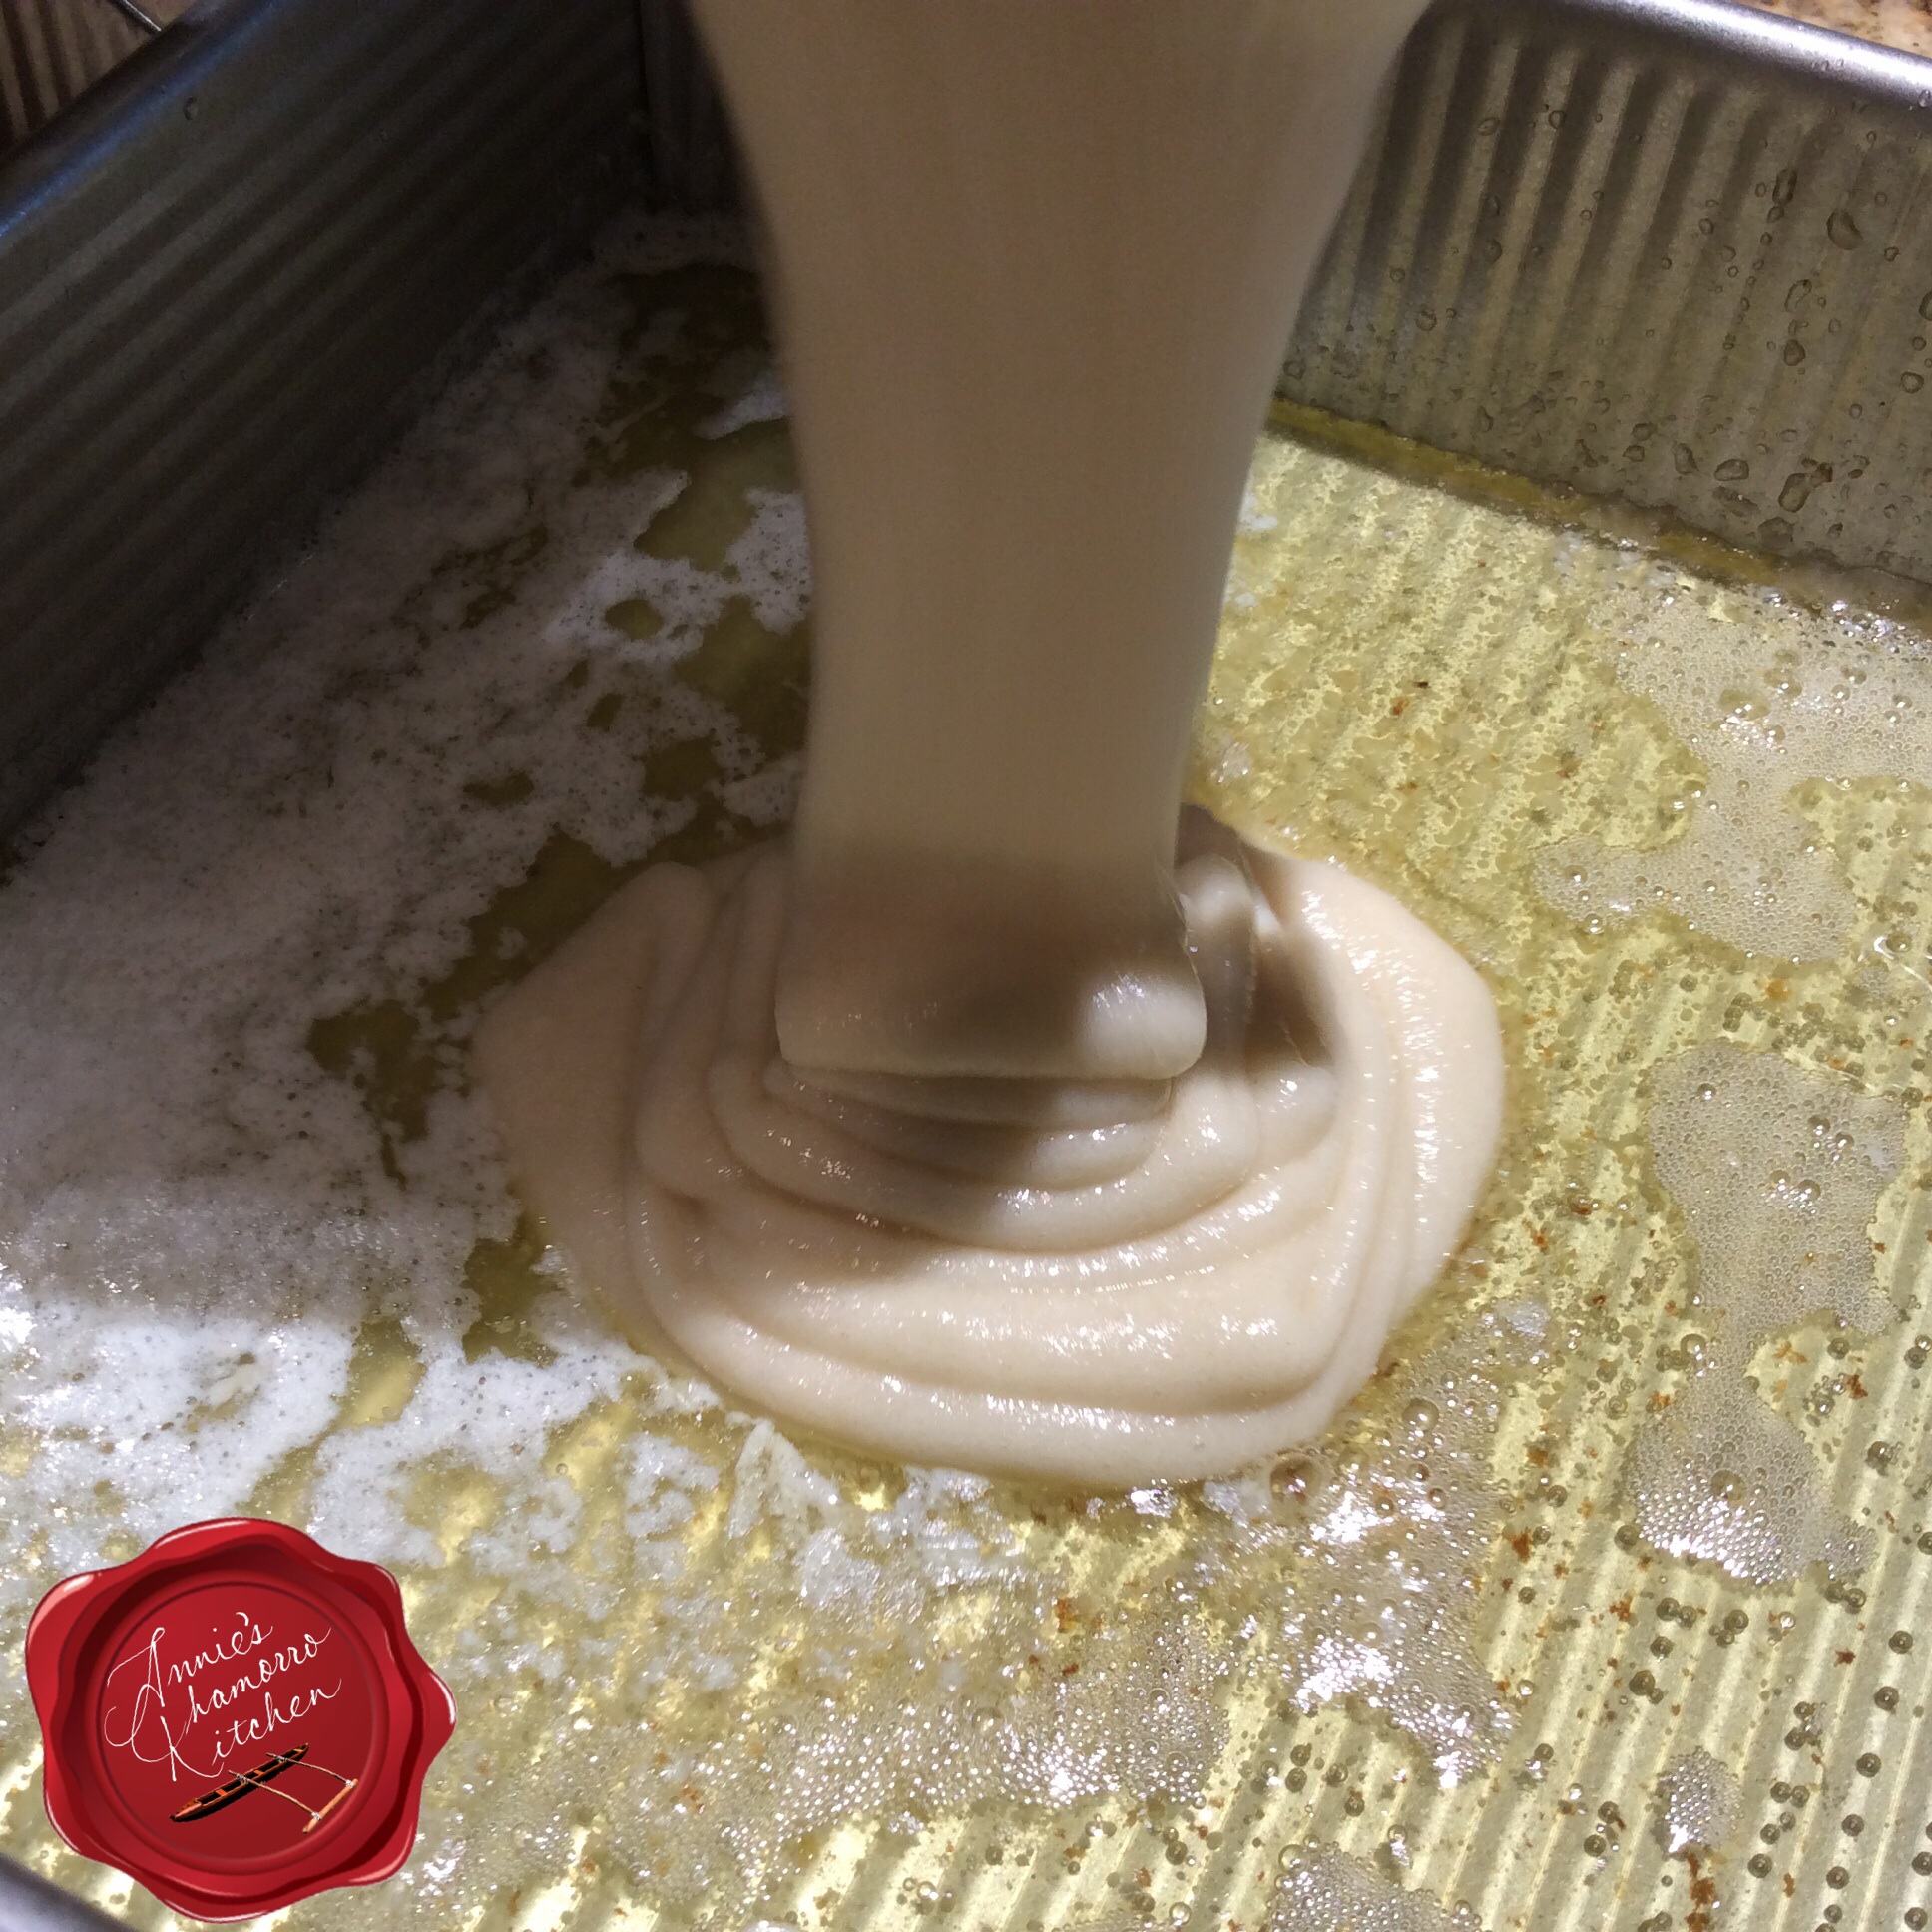
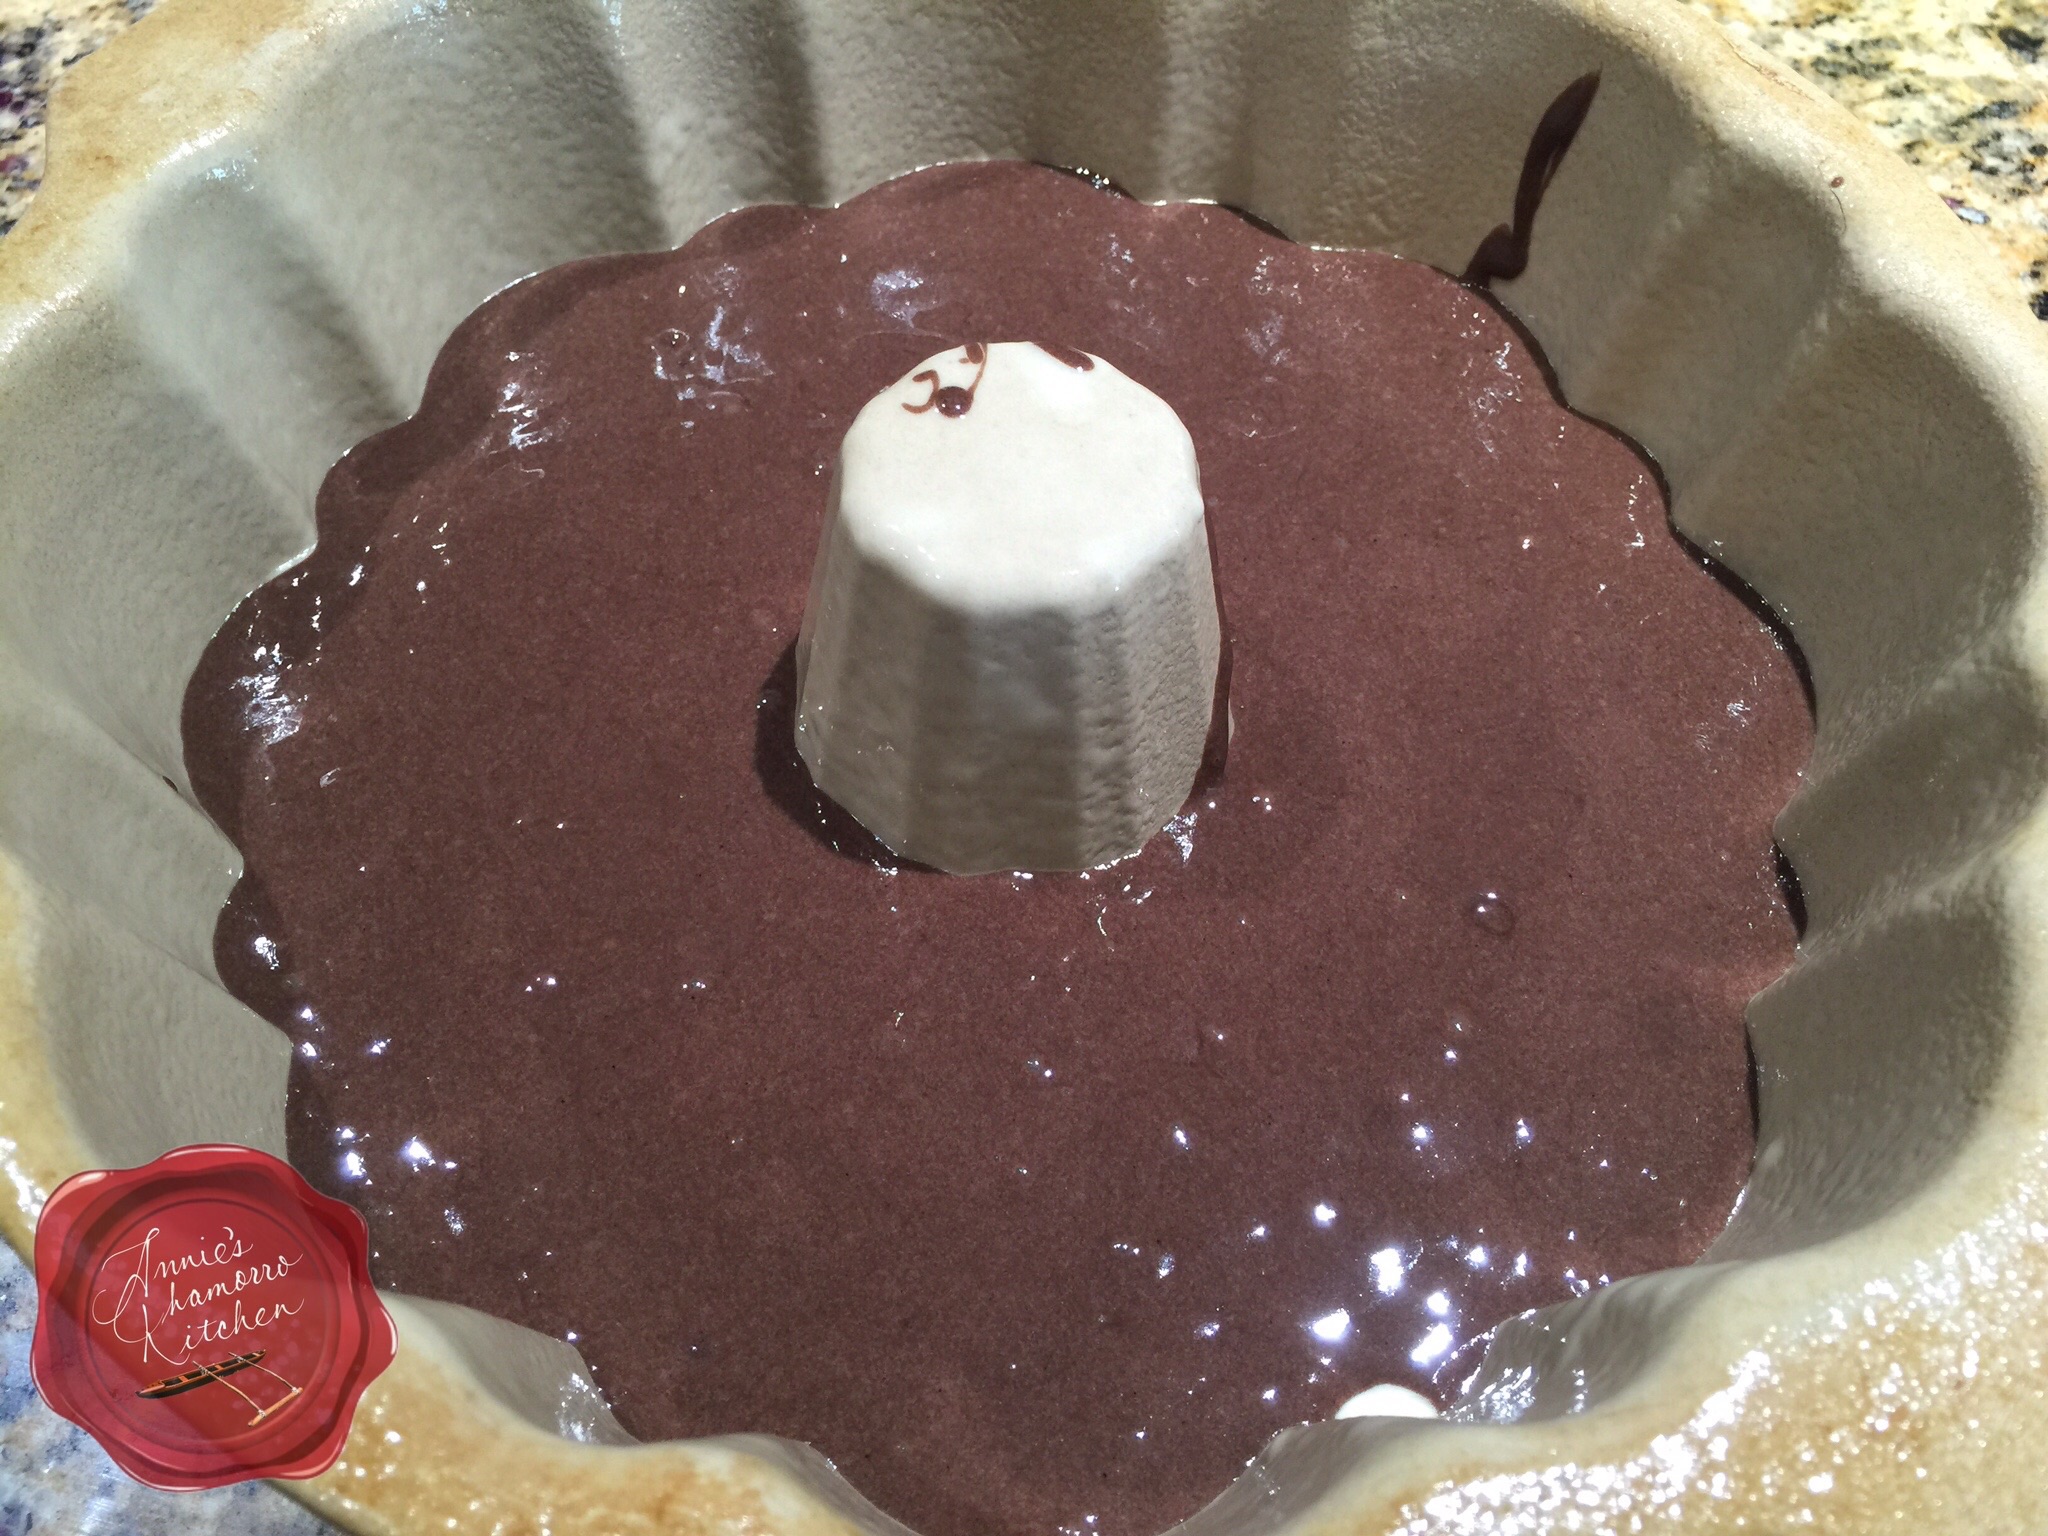
Generously spray a bundt pan with baking spray (the one that also has flour in it).  Pour the batter into the prepared pan.

imageBake the cake for 50-55 minutes at 350 degrees.  Insert a thin skewer (or knife) into the middle of the cake to test if it’s done (no crumbs should stick to the skewer or knife).

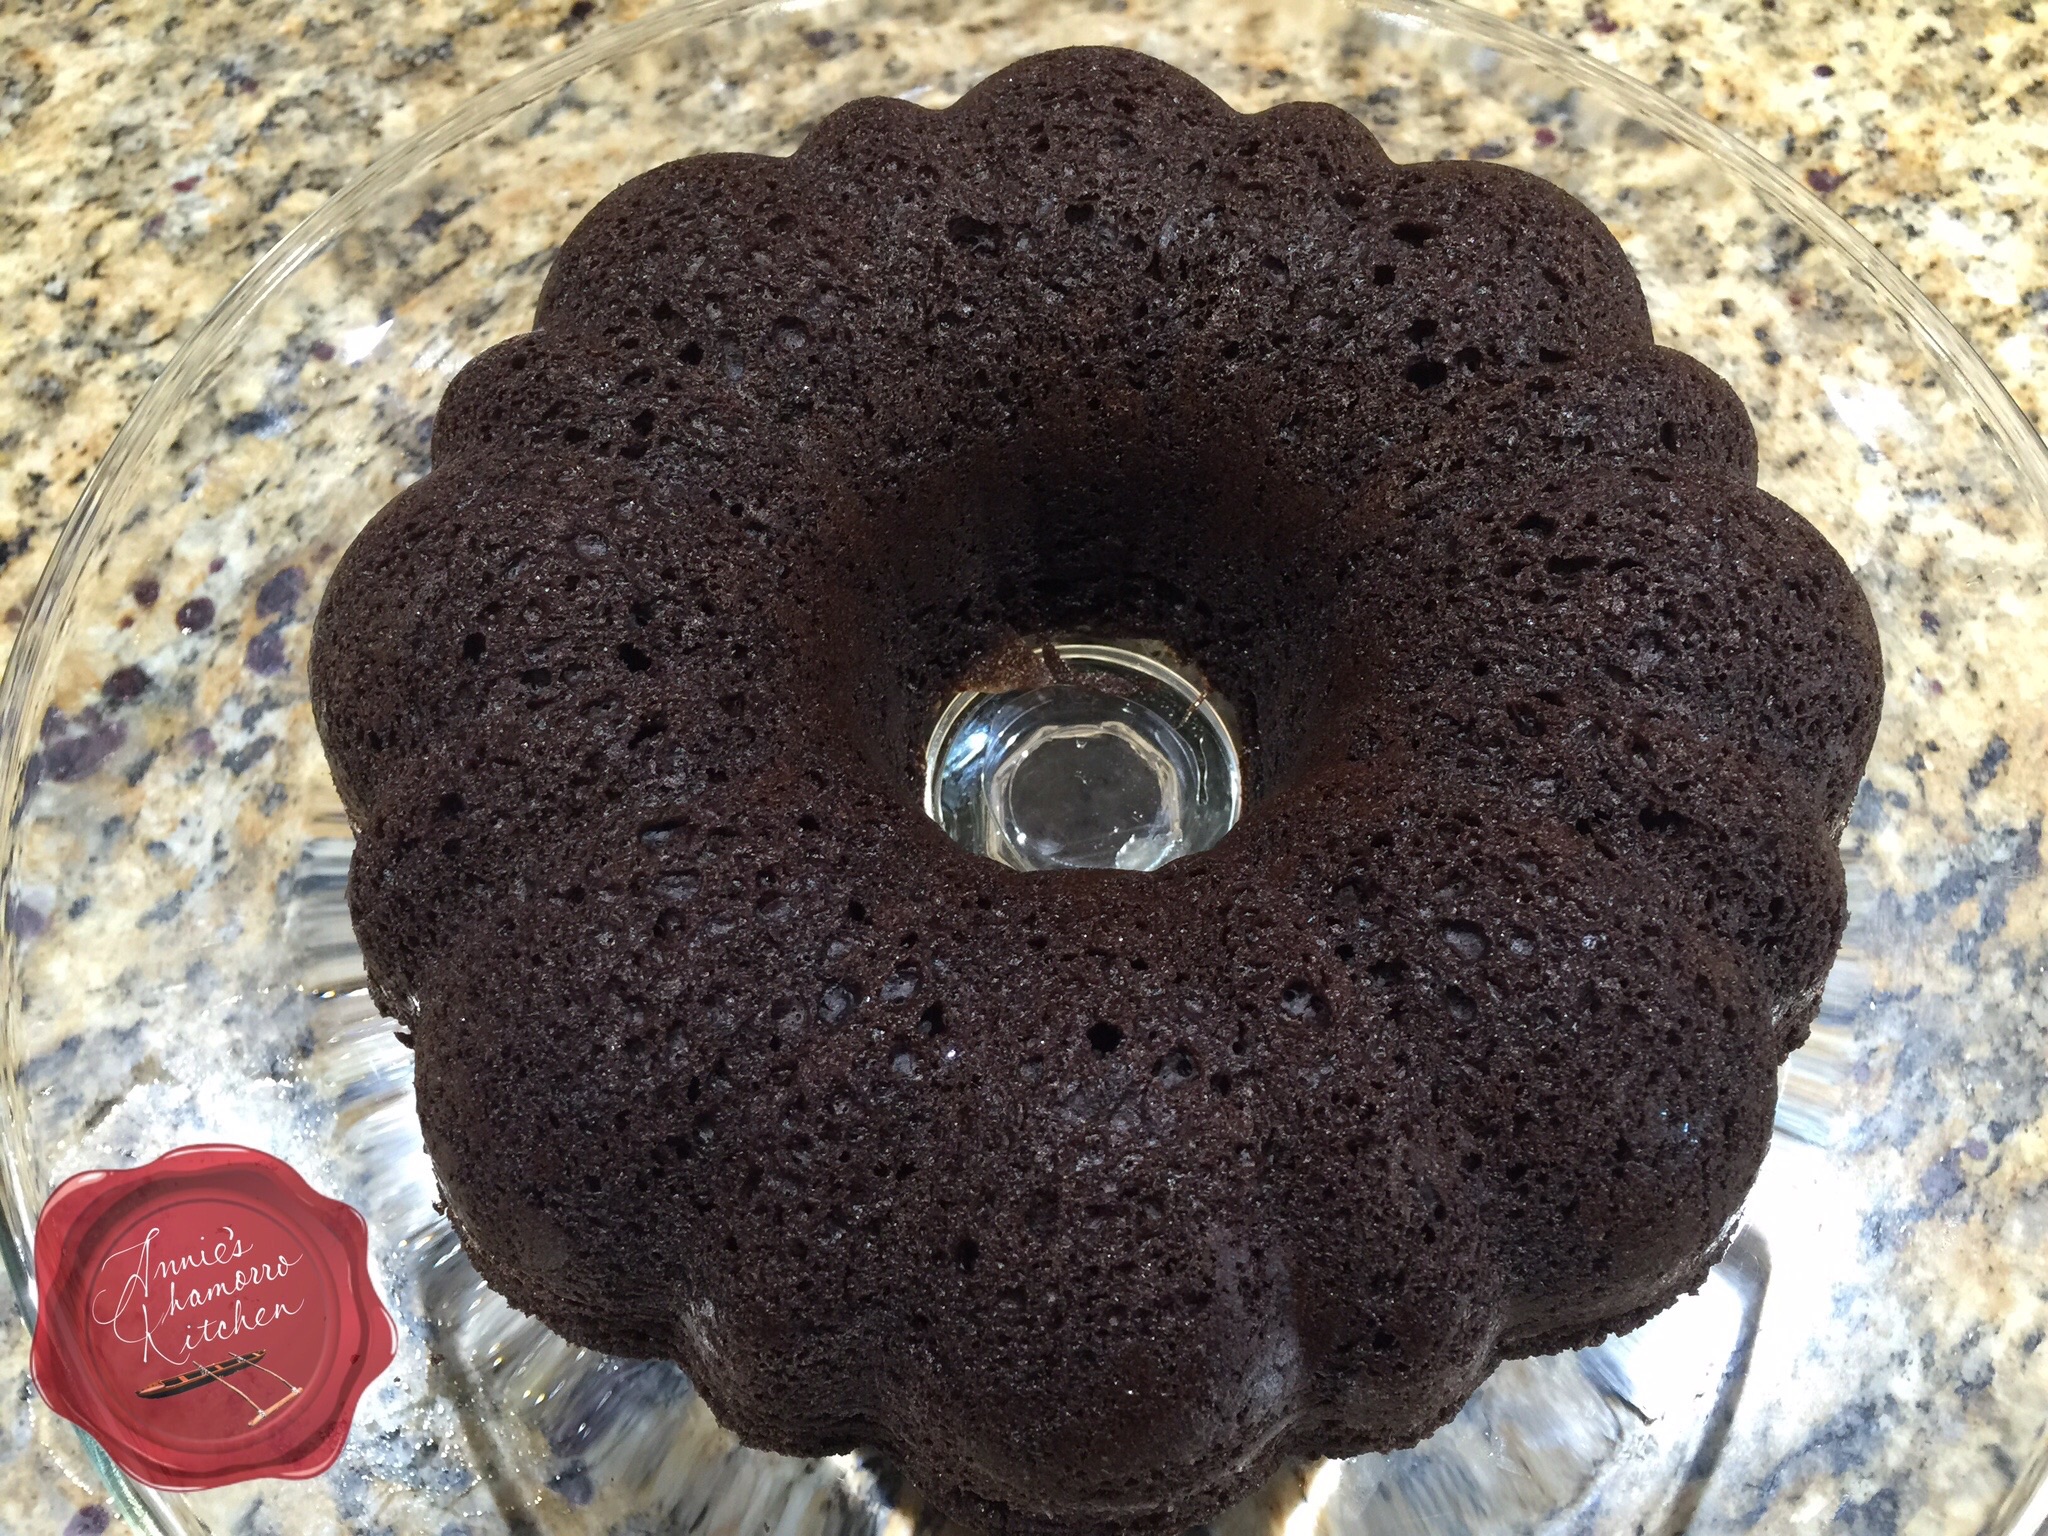
Invert the cake onto a serving dish then let it cool completely.

imageWhile the cake cools, and while the oven is still hot, toast the coconut.

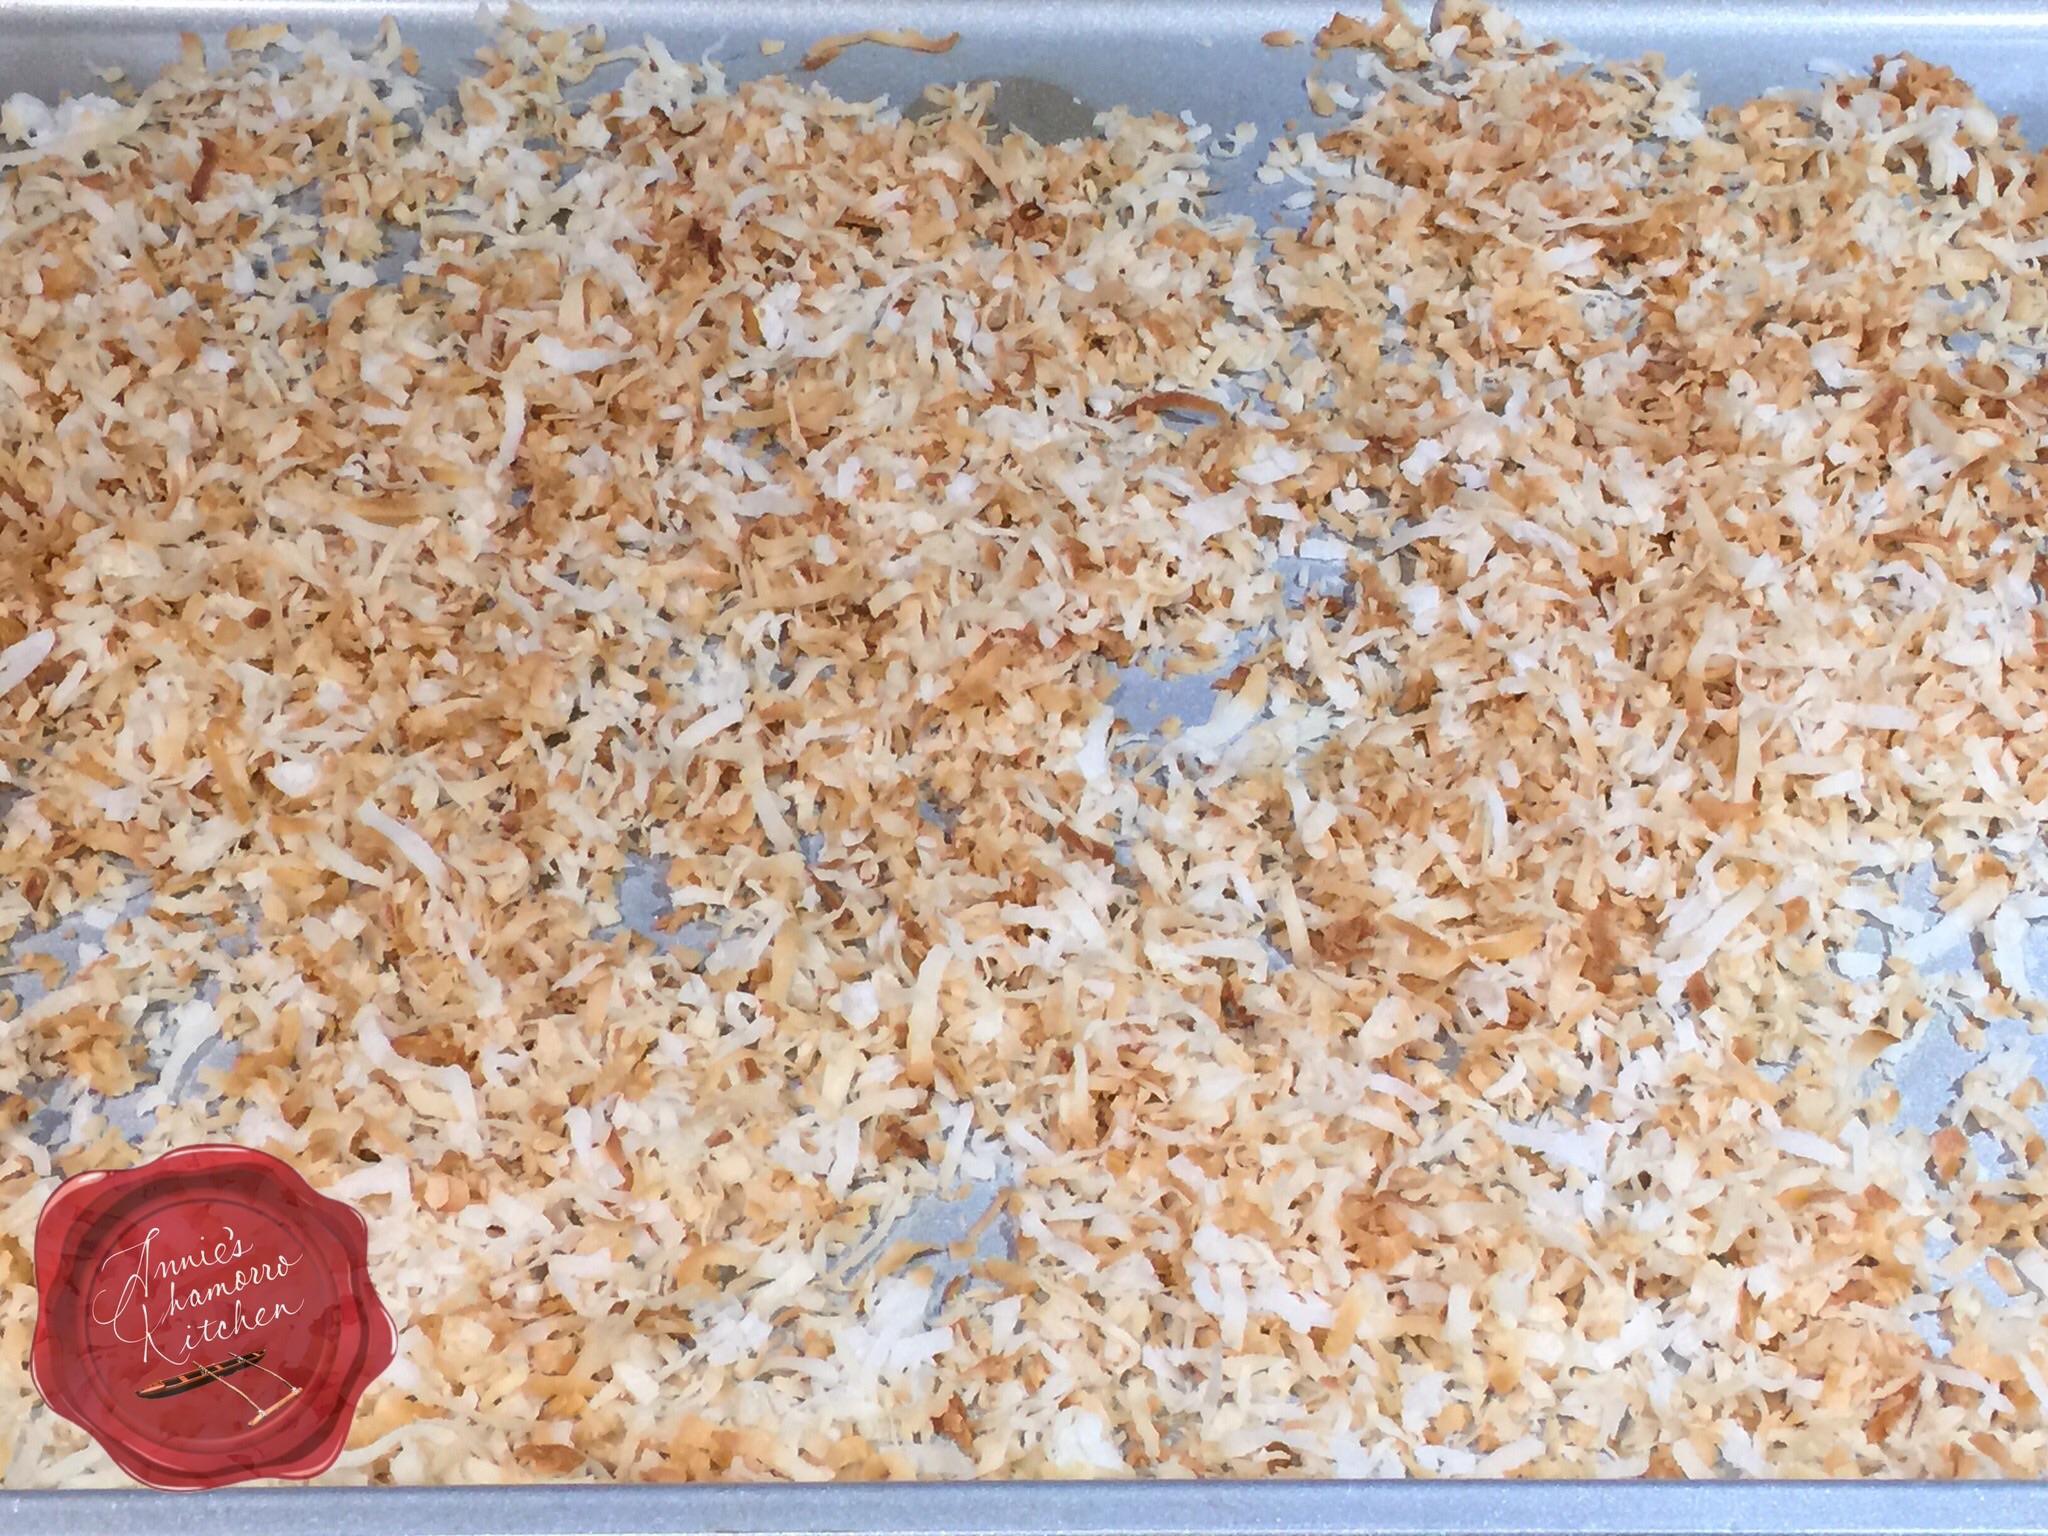
Spread out sweetened coconut flakes on a large baking pan.

image

Bake the coconut for 3 minutes at 350 degrees; use a spatula to stir the coconut around.  Bake for another 3 minutes; stir again to ensure even browning.

If the coconut is still too light, bake for 3 more minutes, but watch it carefully at this point.  Once browned, remove the coconut from the pan and allow to cool.

image

While the cake and coconut cool, prepare the frosting.

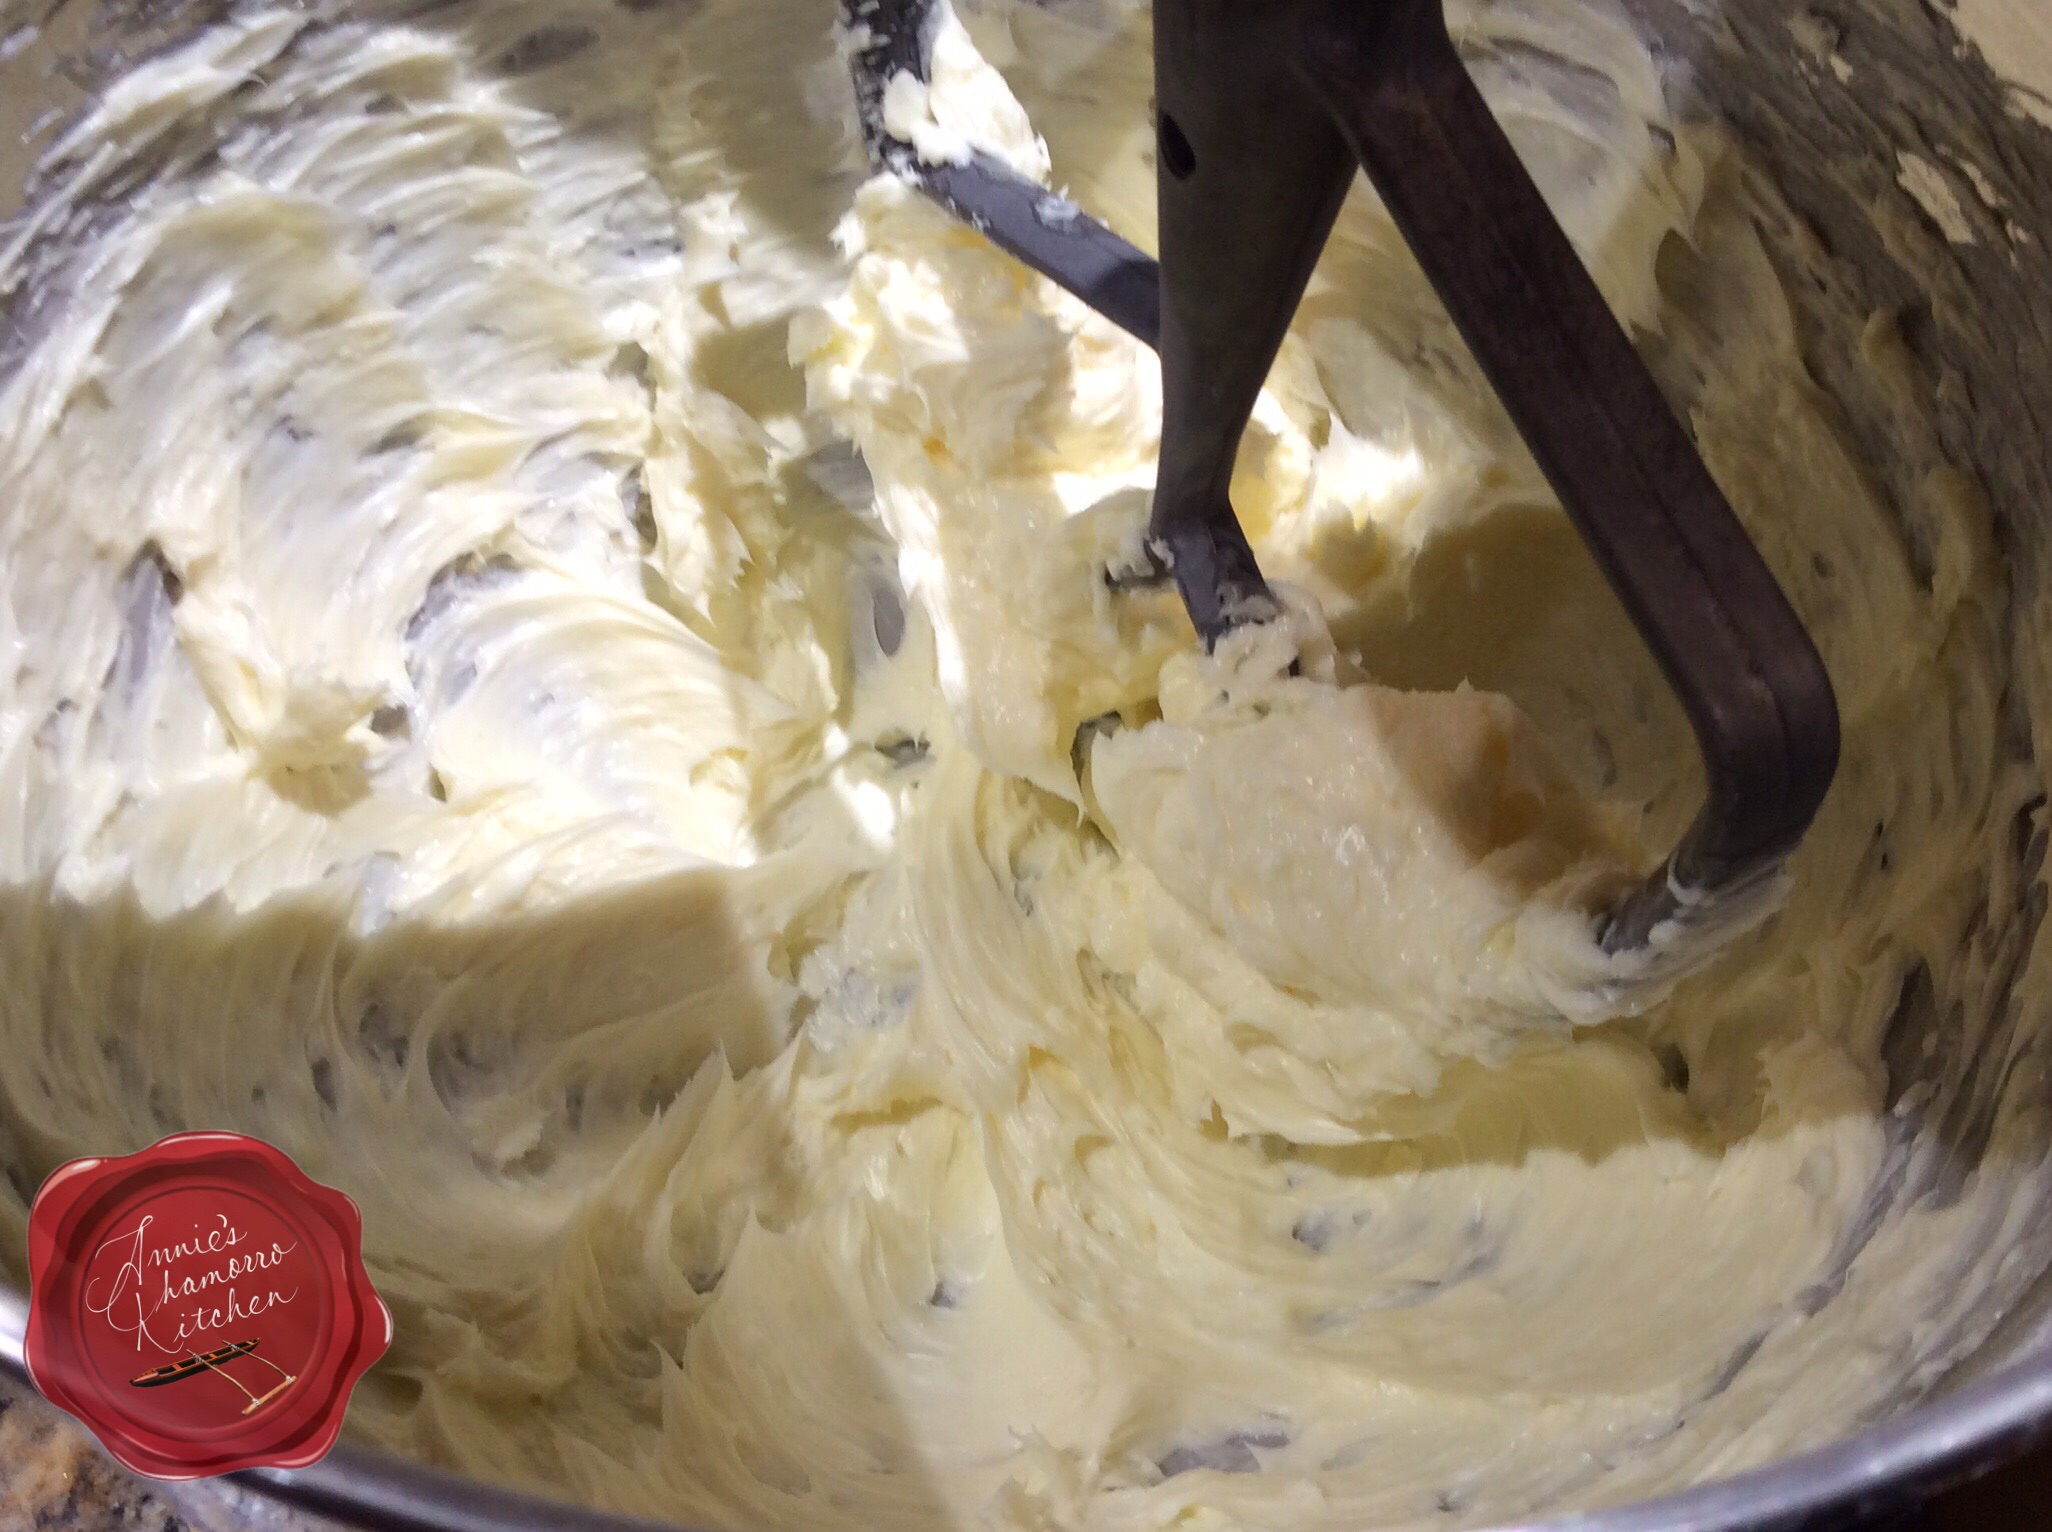
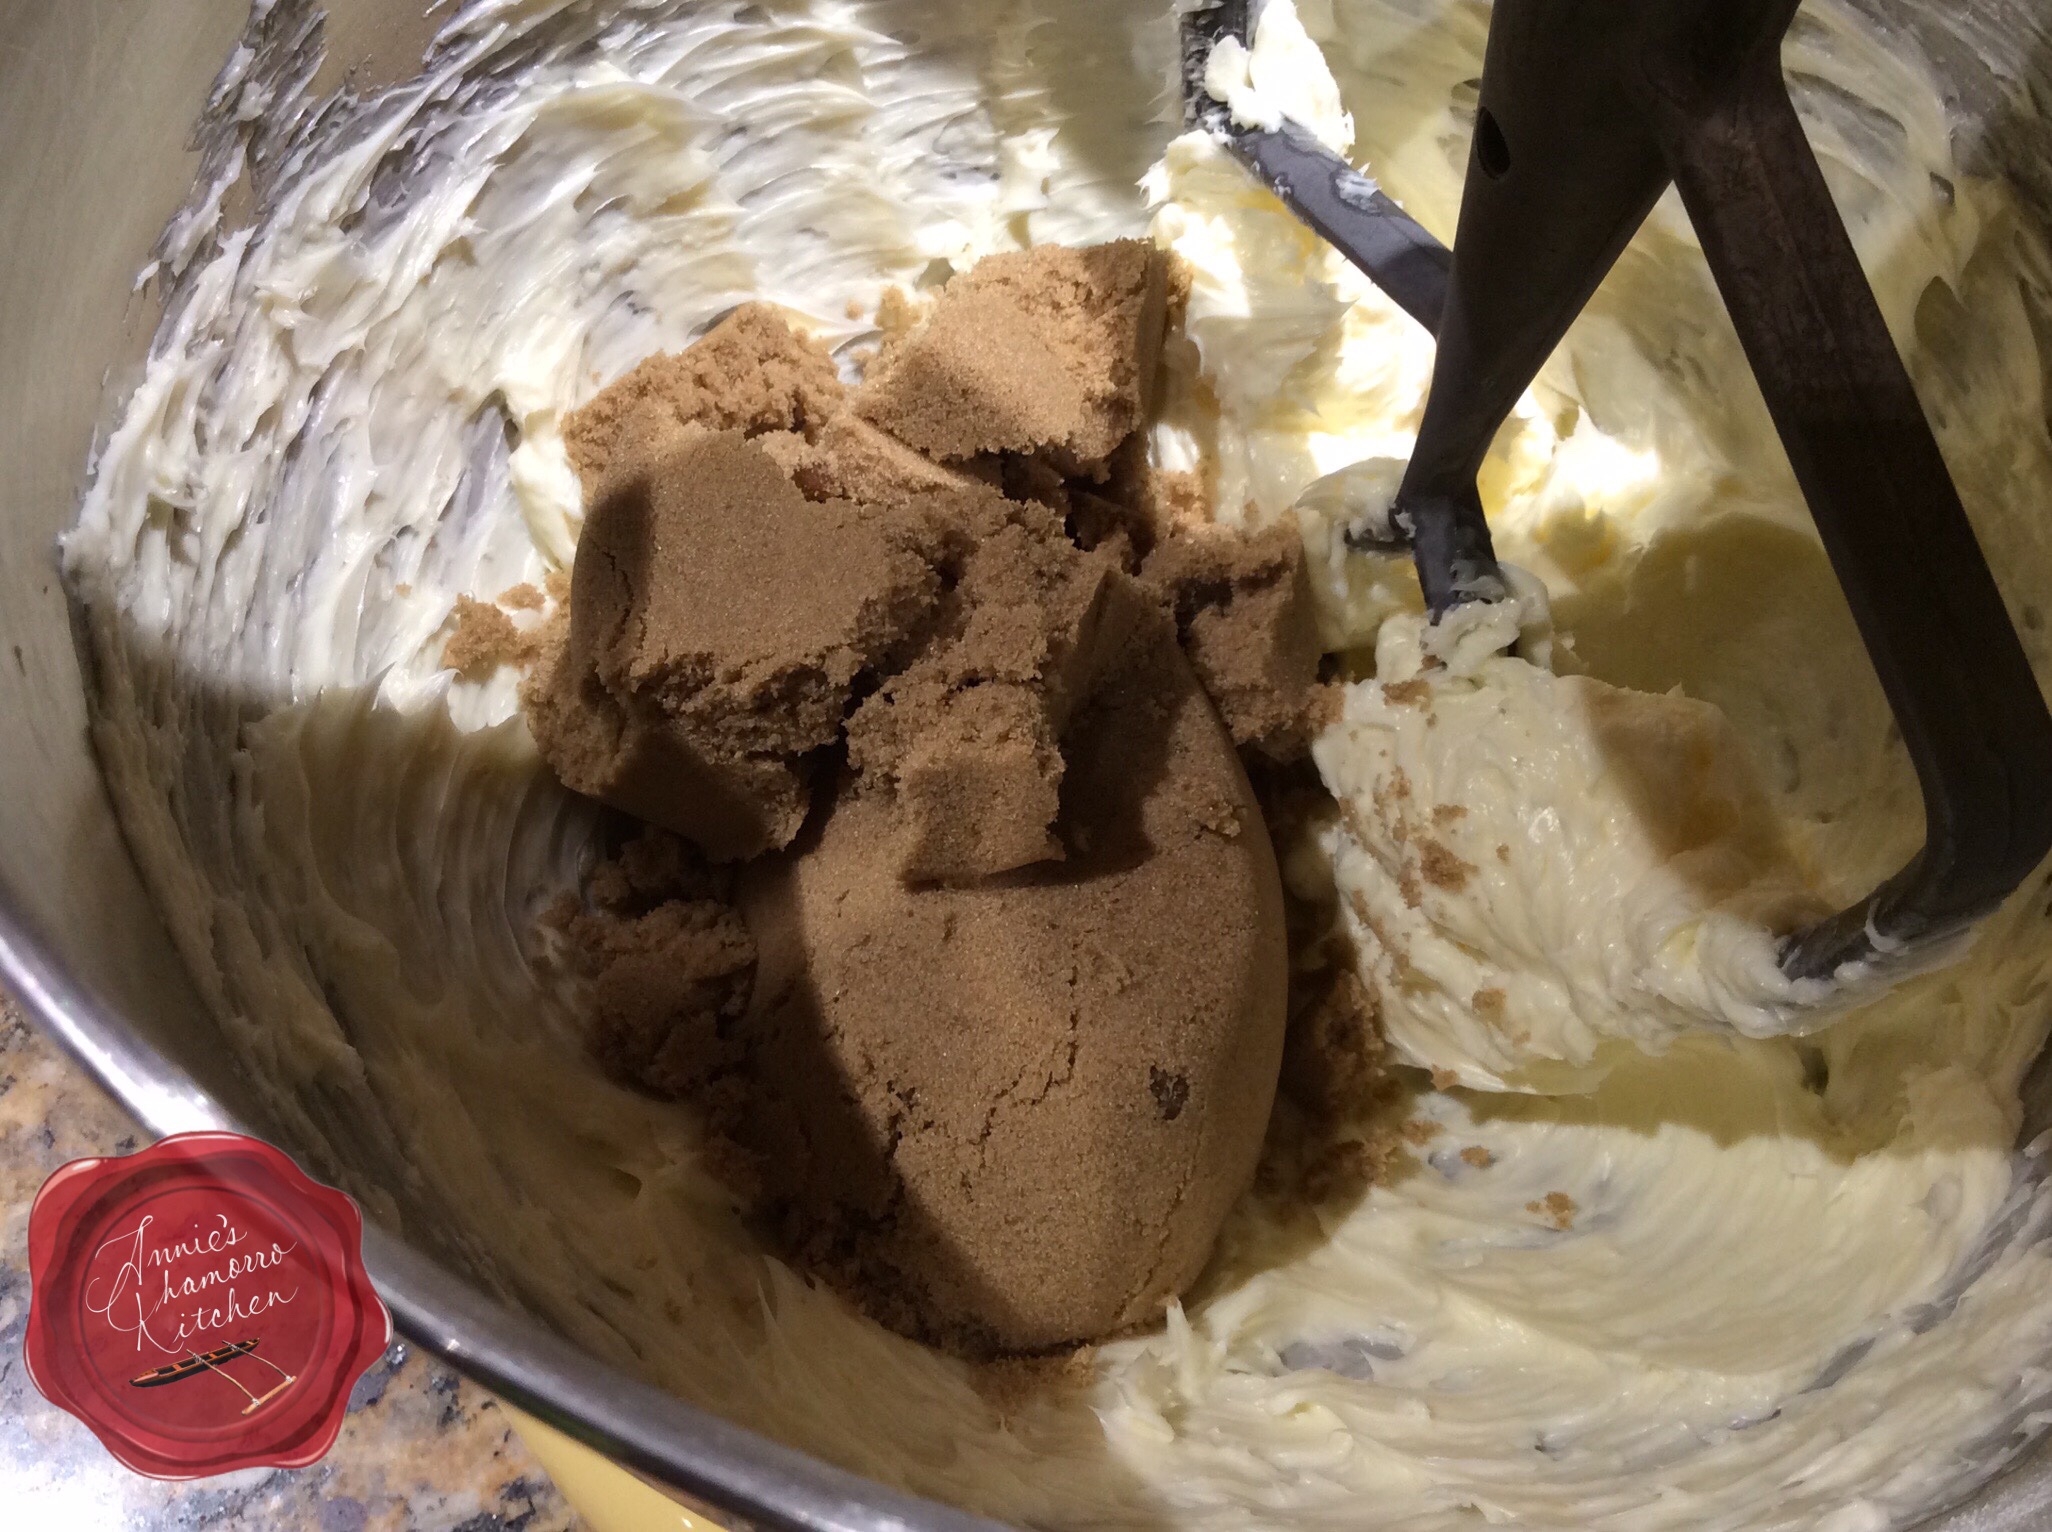
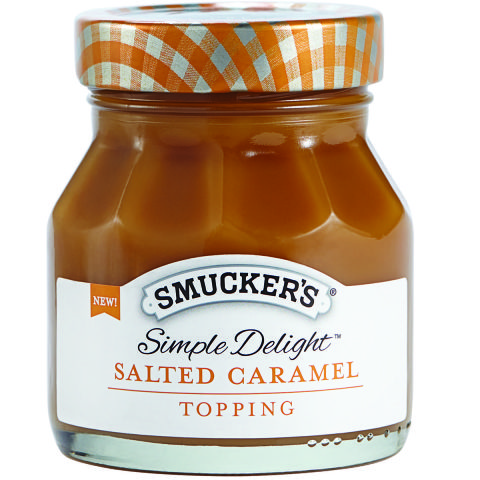
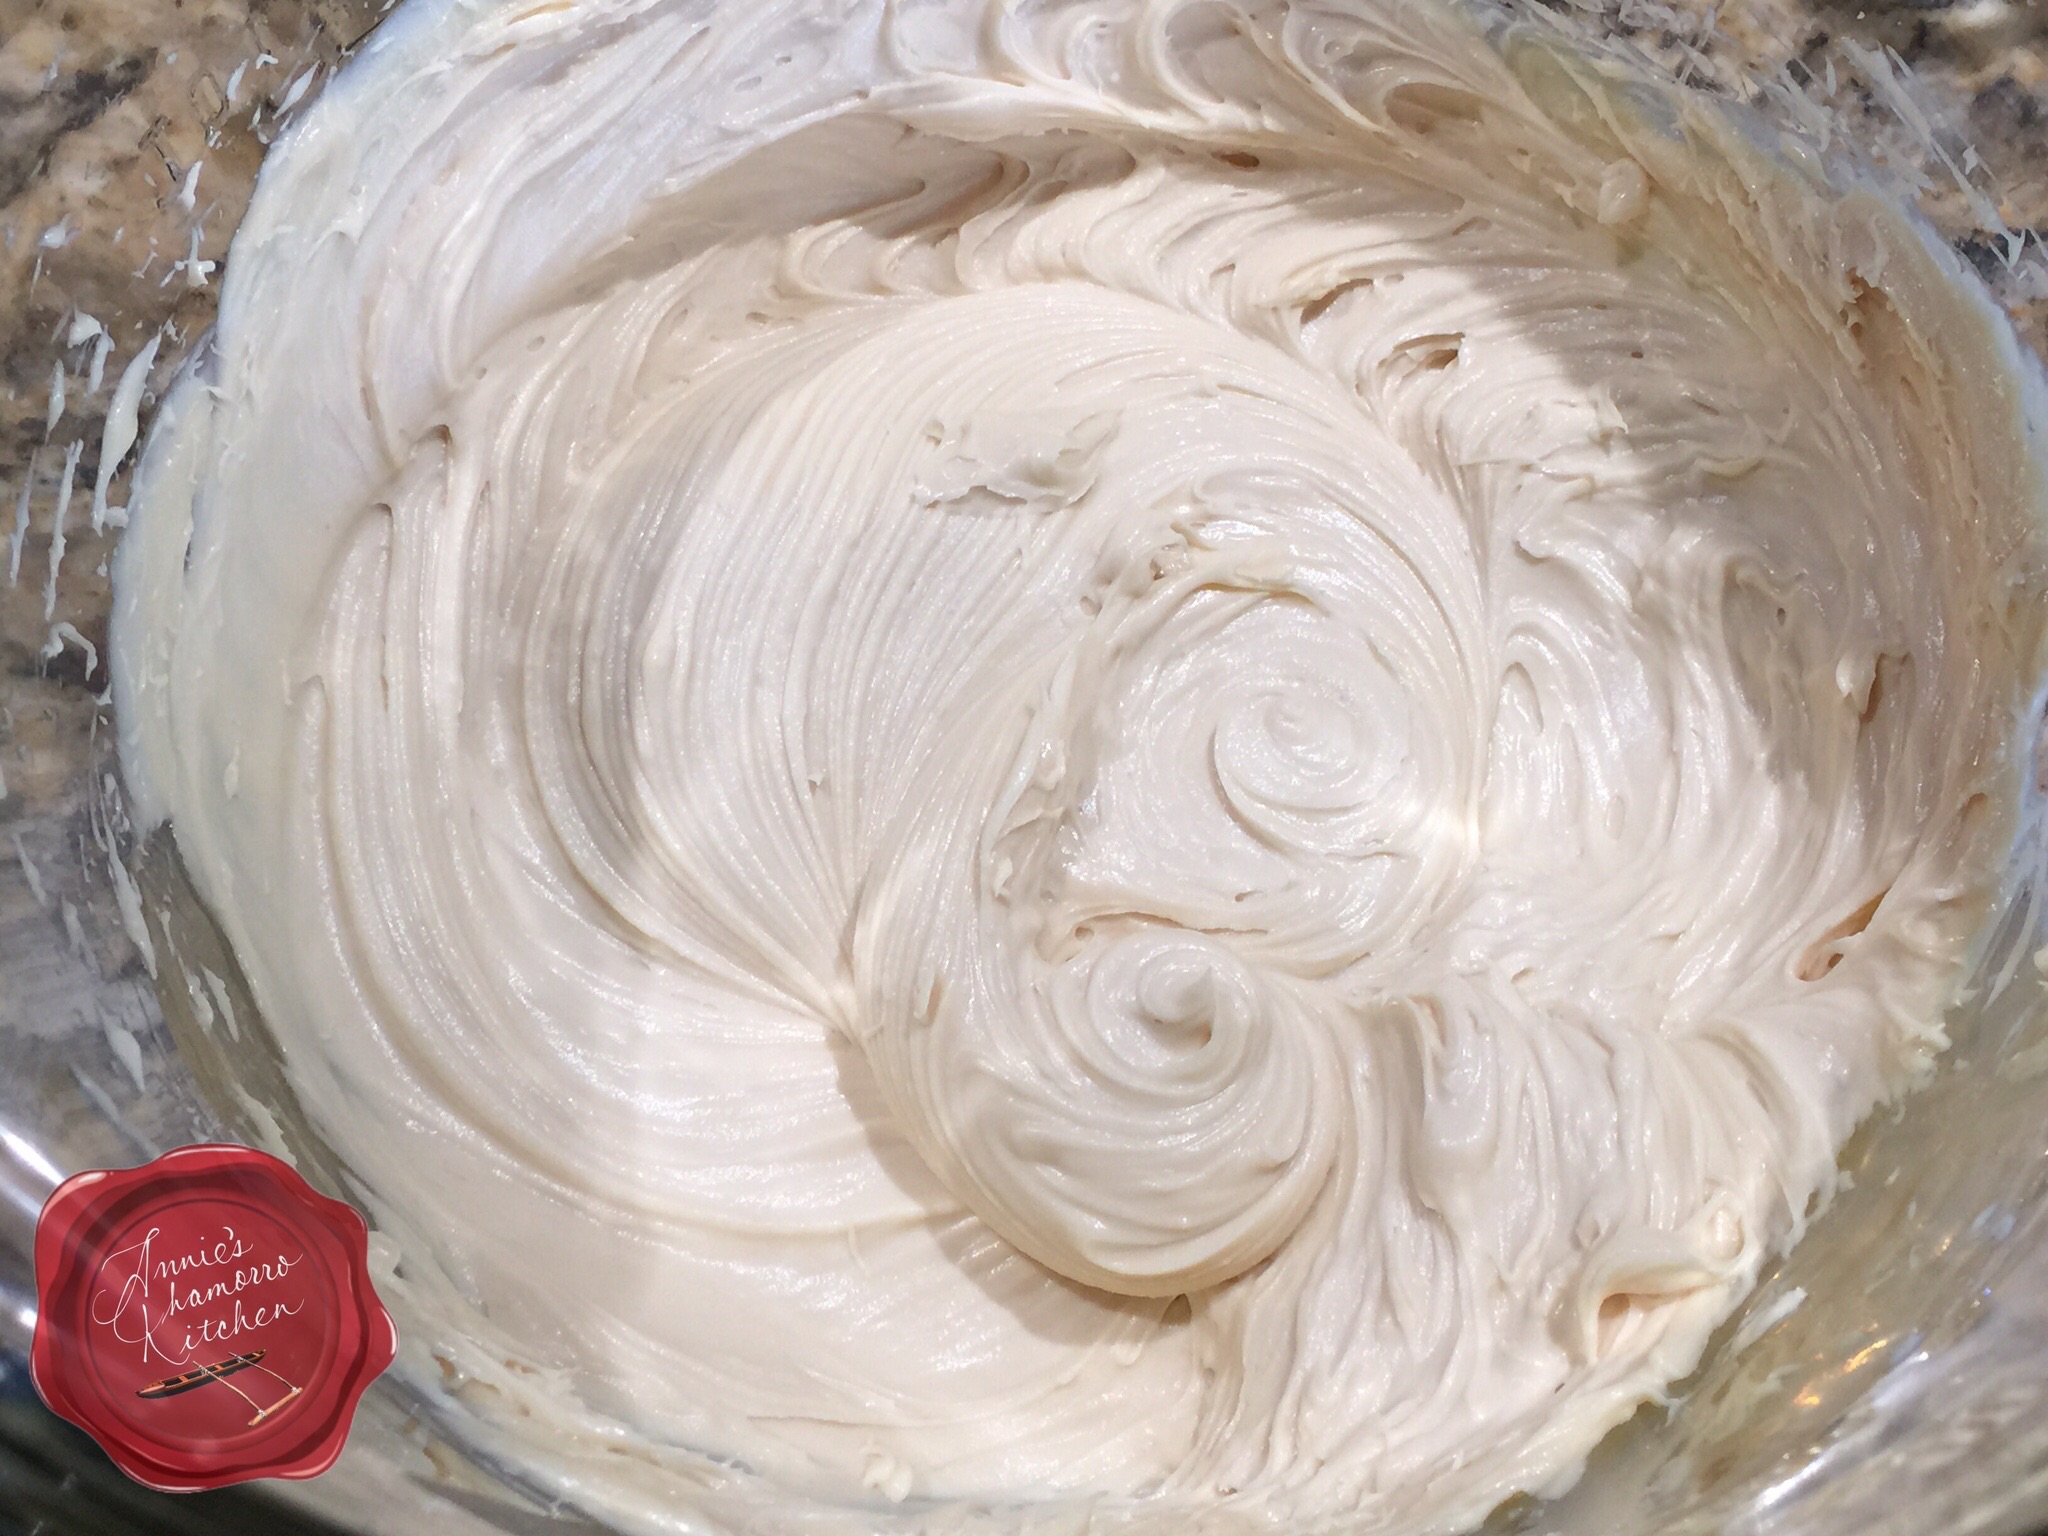
Using an electric handheld mixer, mix the softened cream cheese with the caramel sauce.  You can use the same caramel sauce that you pour over ice cream.  I used salted caramel sauce for this recipe, but any thick caramel sauce will do.  Beat until creamy.

This is the caramel sauce I used:

image

This tastes great already!  For future reference, this is the base for a delicious fruit dip — just mix in some marshmallow creme to the cream cheese-caramel mixture.

image
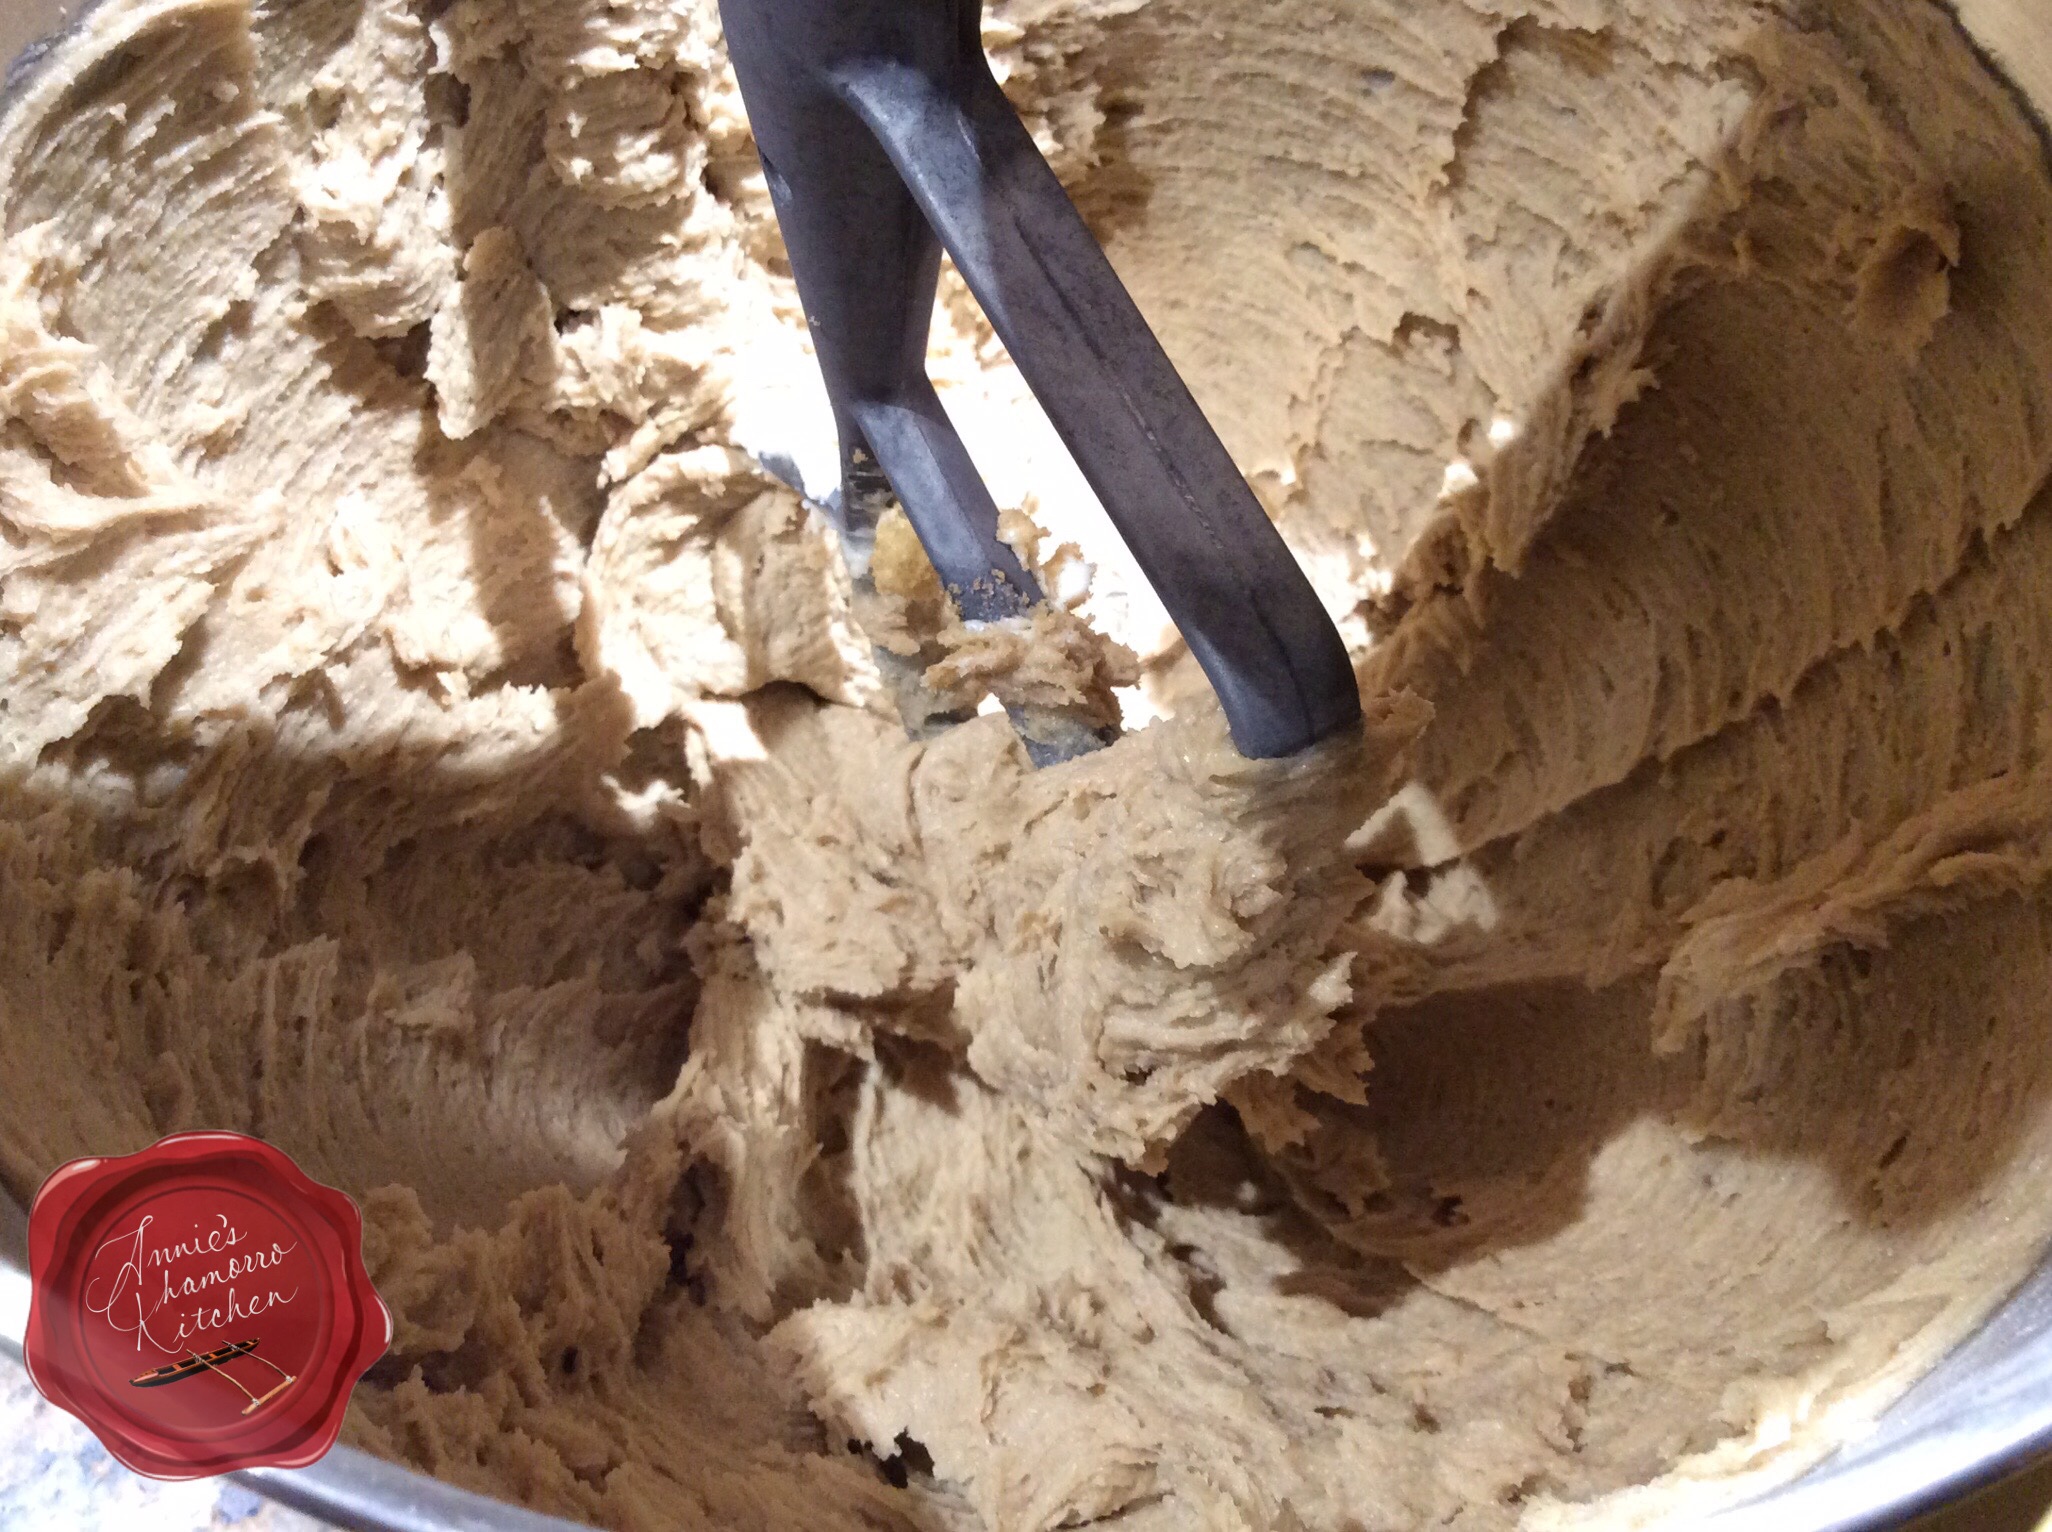
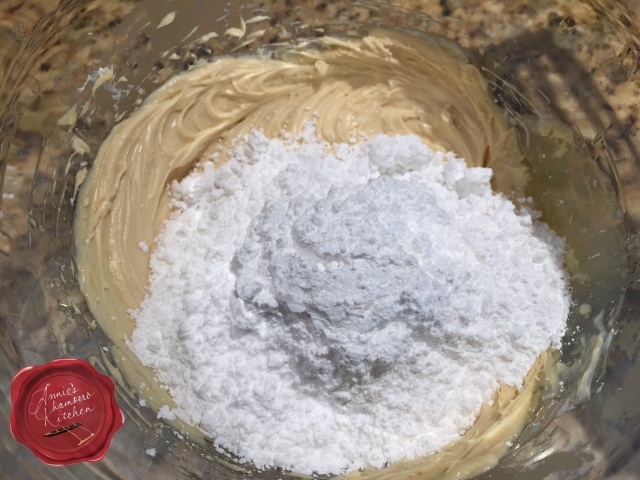
So, back to the frosting.  Mix in up to 4 cups of powdered sugar, 1 cup at a time.  I used only 3 cups of powdered sugar, but if you want a very thick layer of frosting on top of your cake, use all 4 cups of powdered sugar.

image   image

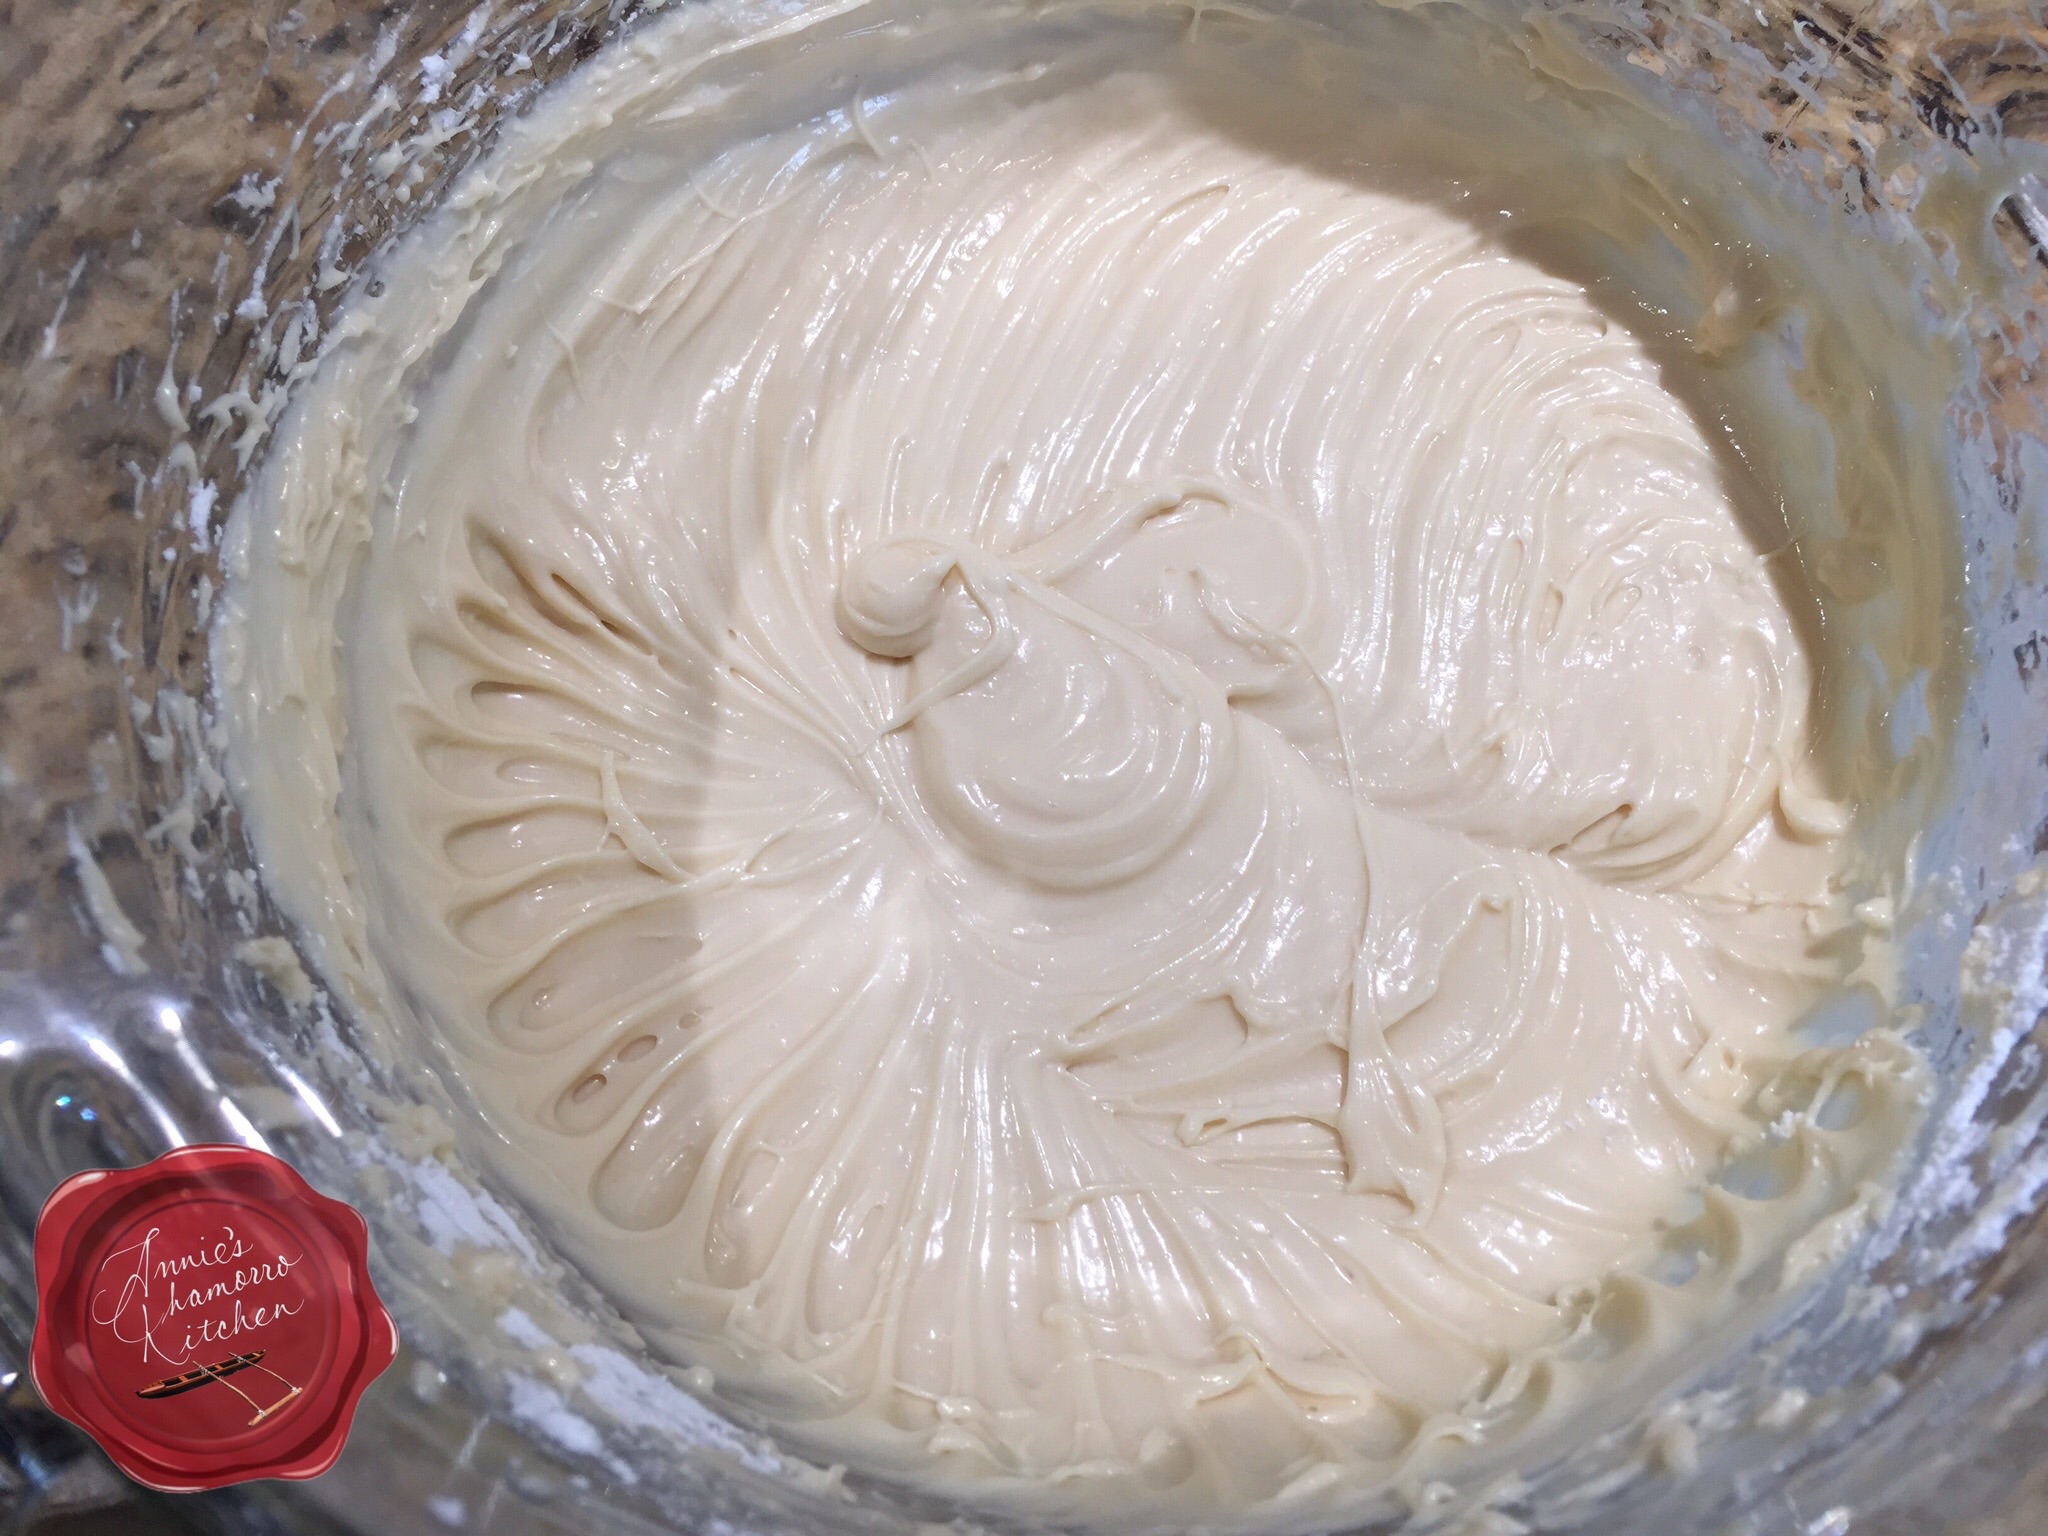
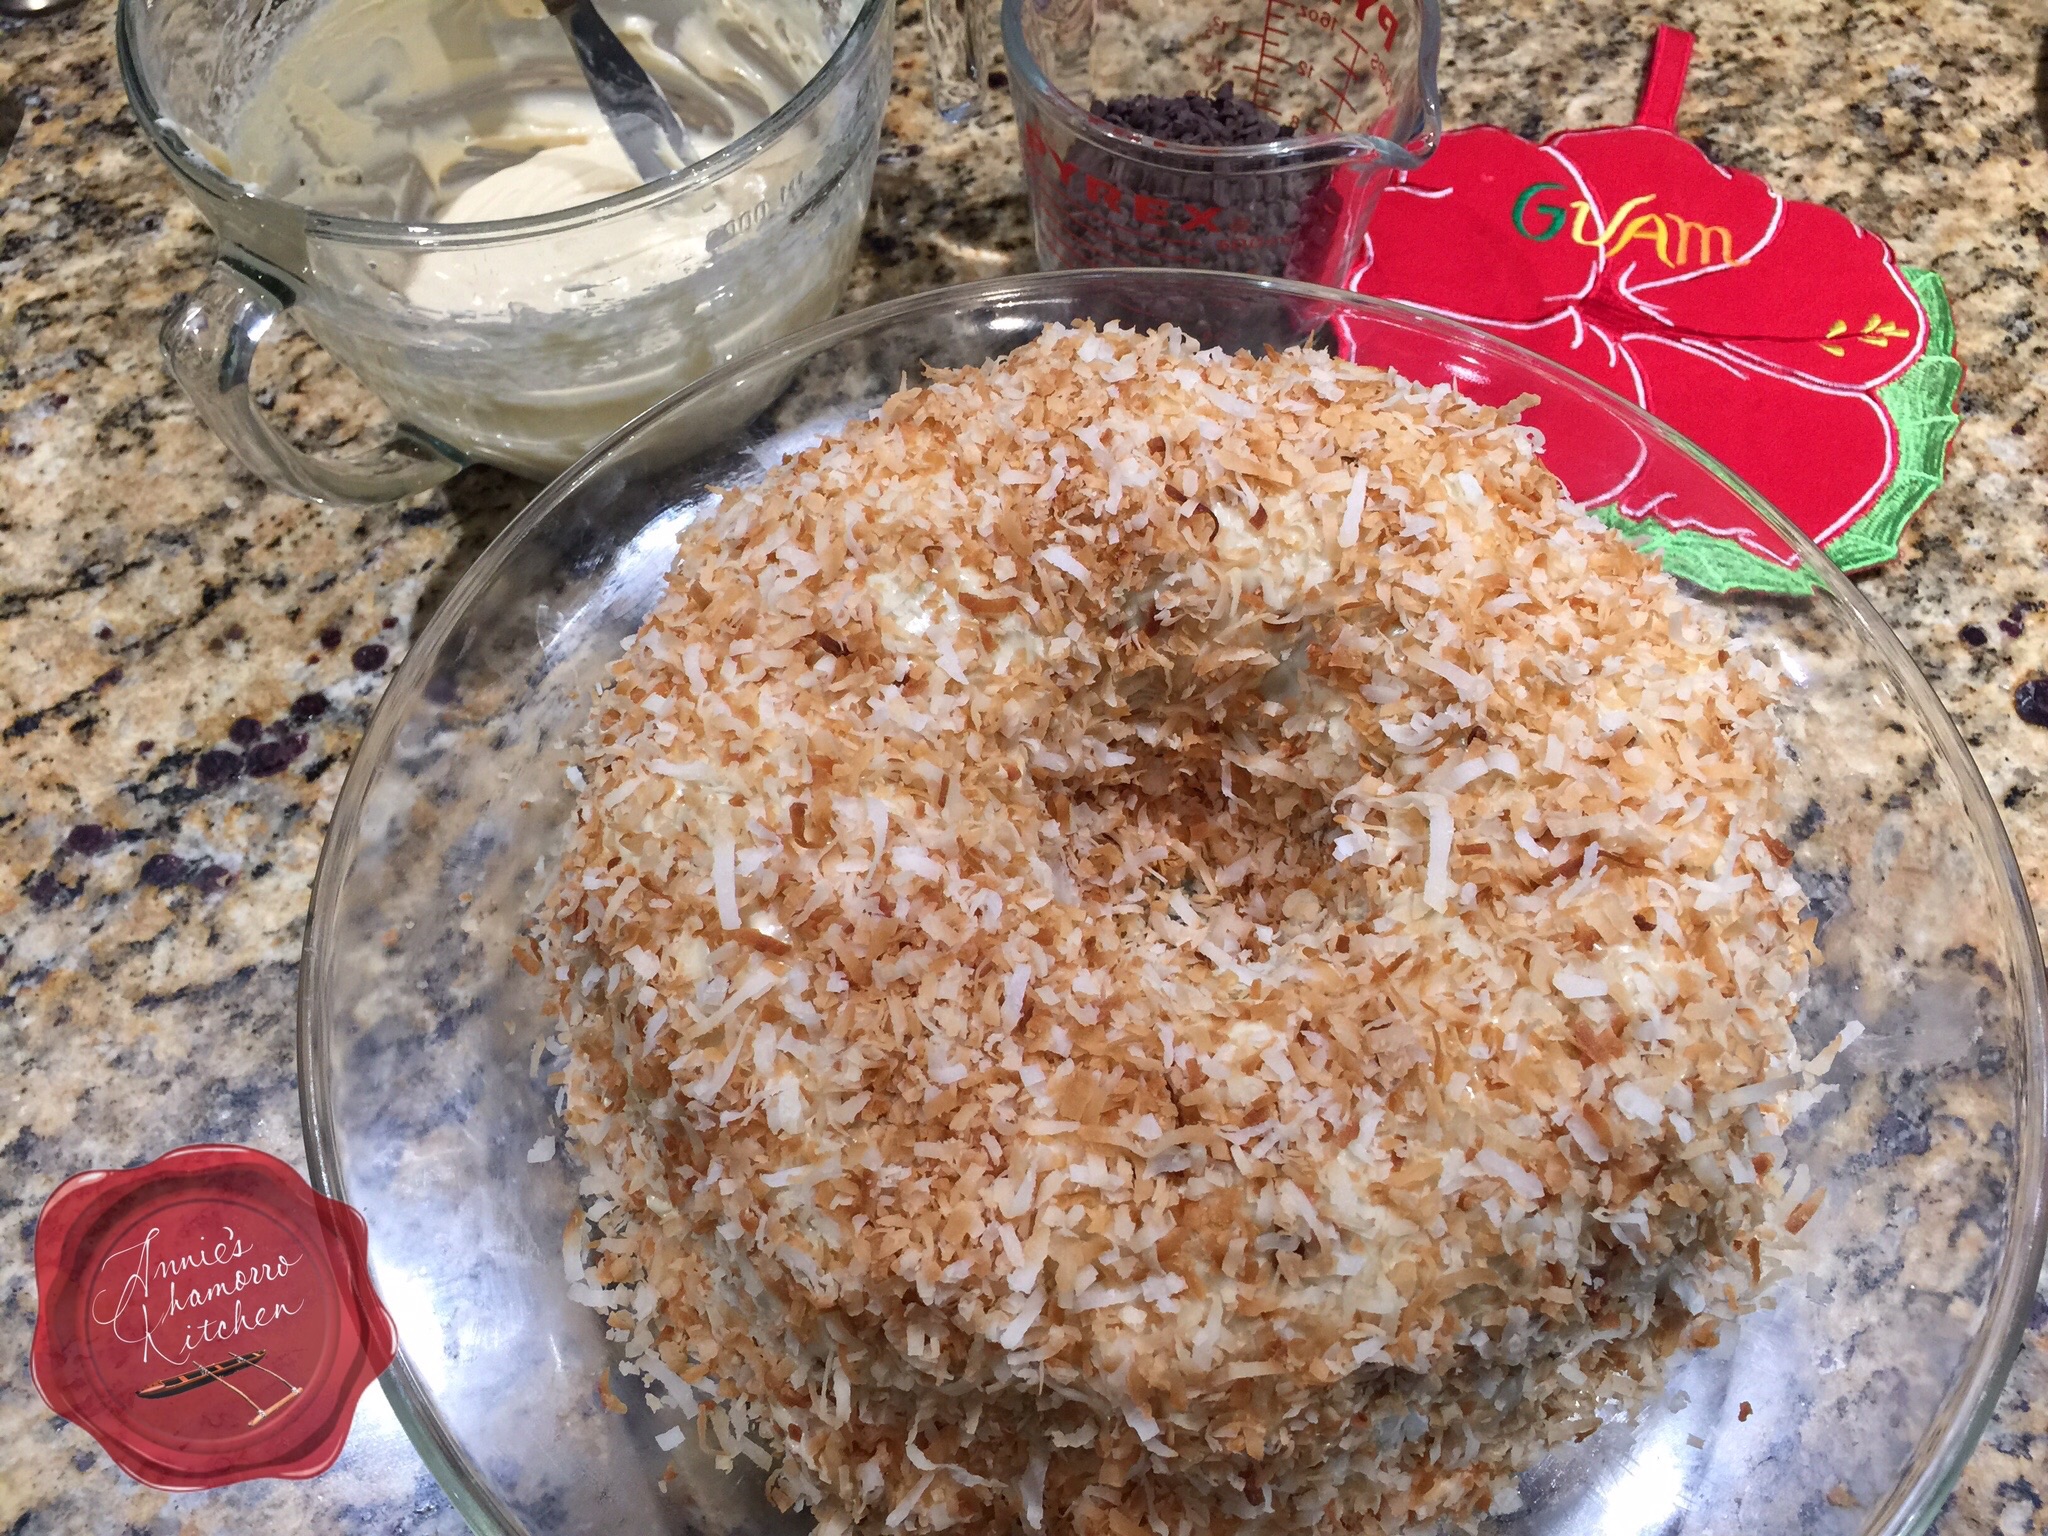
Once the cake has cooled sufficiently, it’s time to frost it.

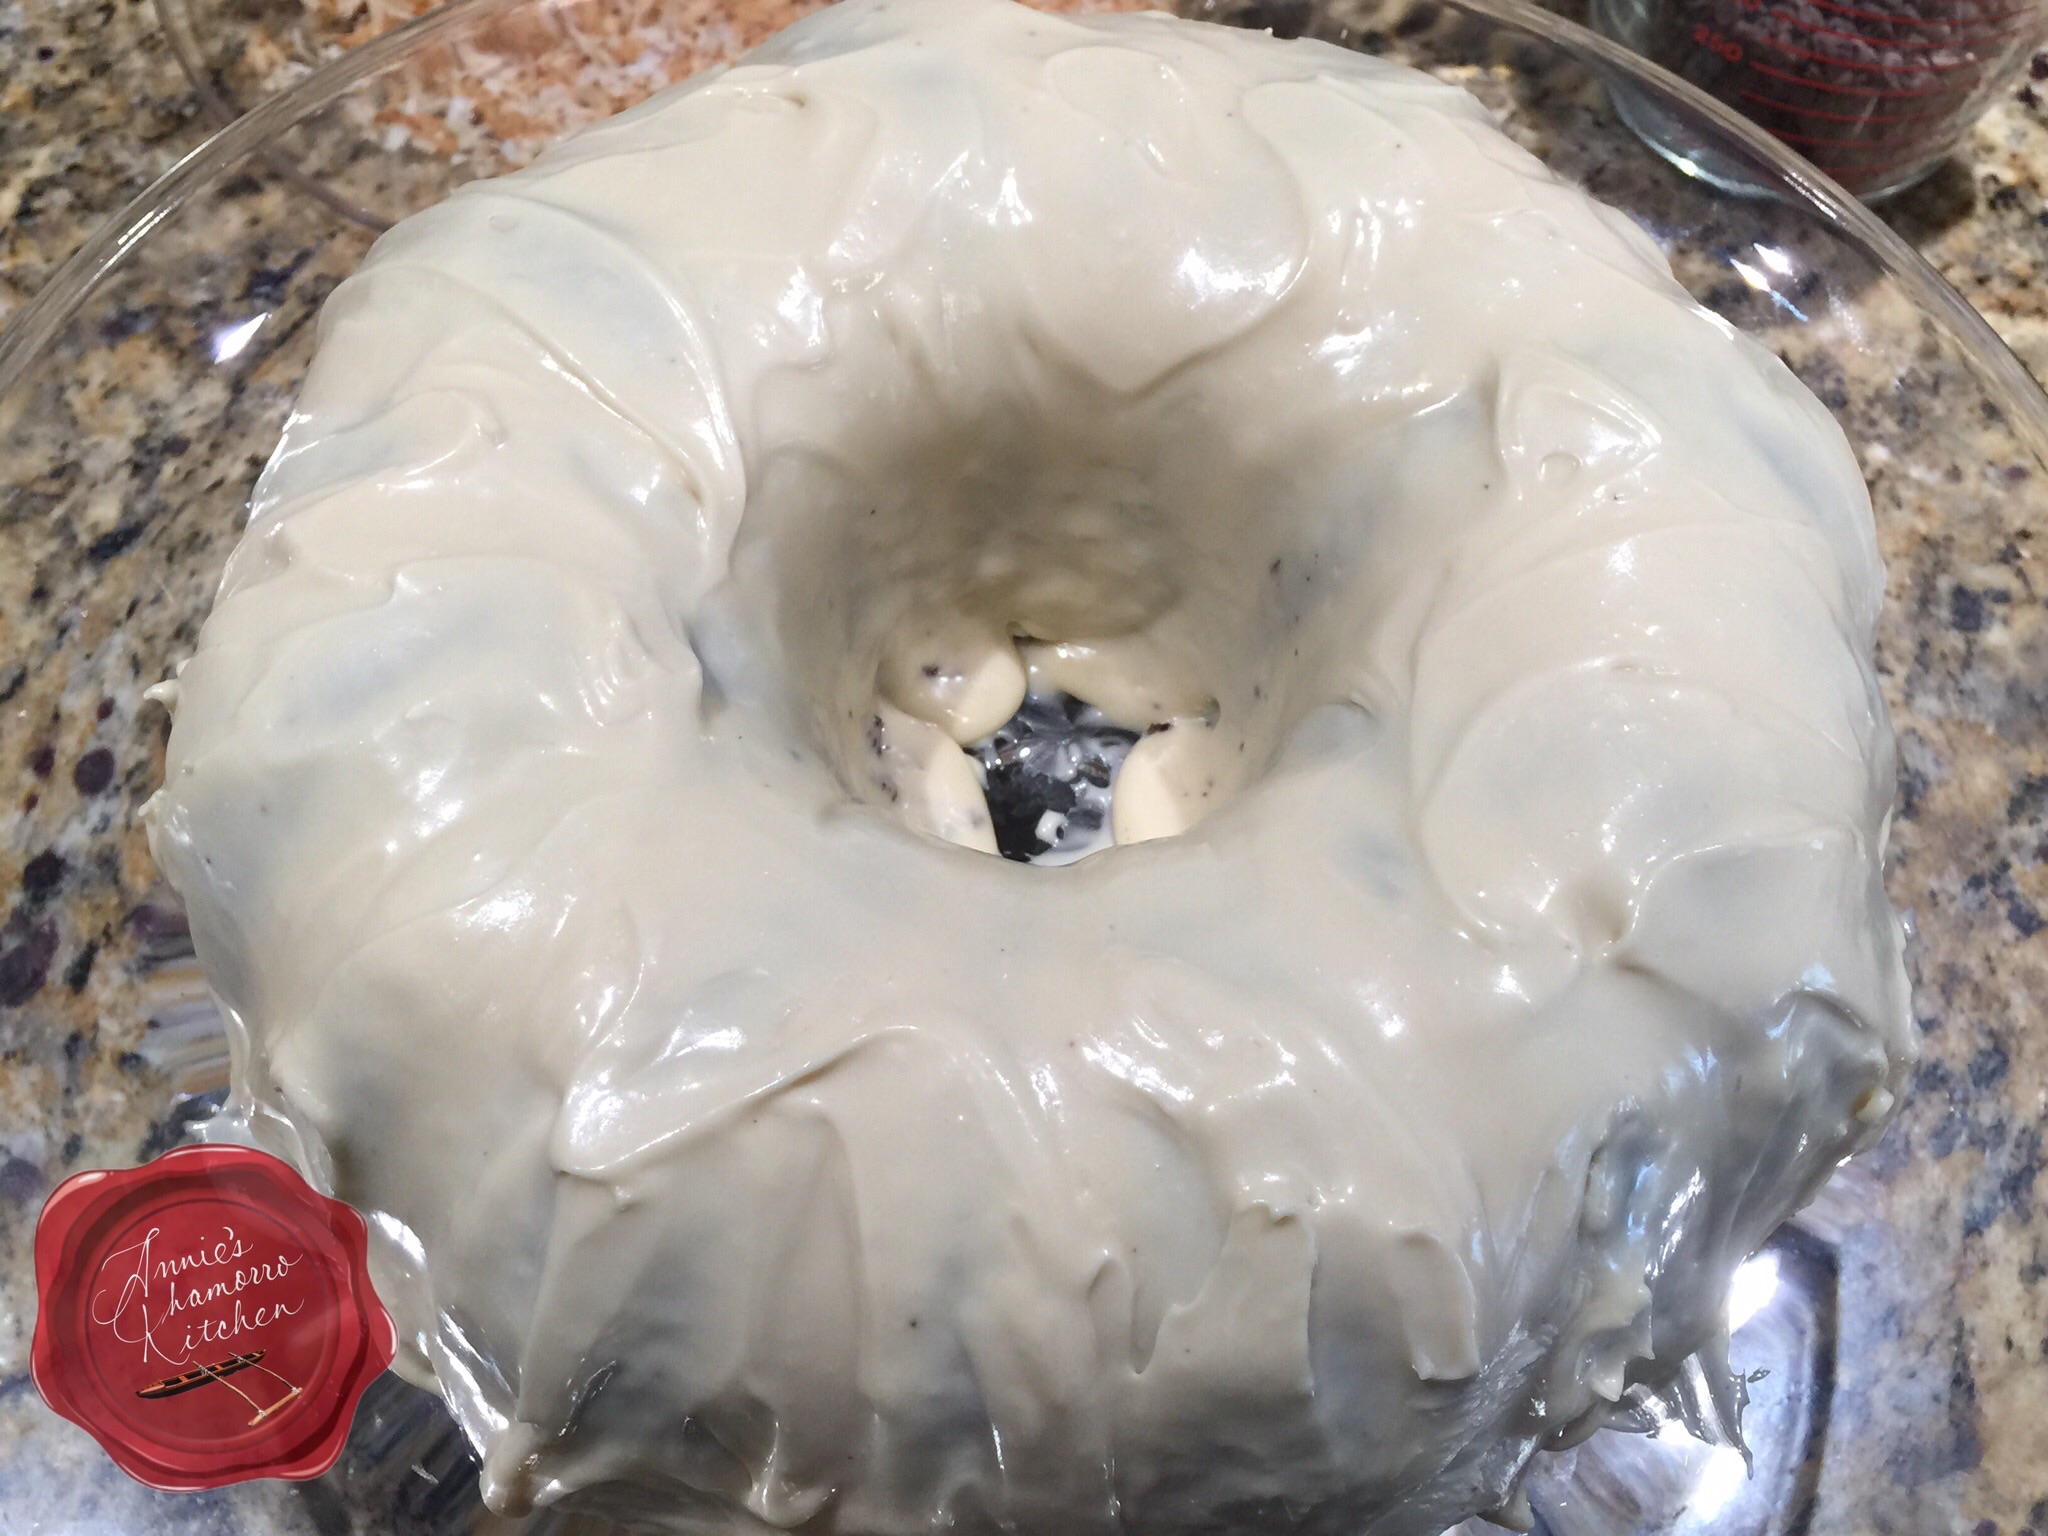
Spread the frosting all over the cake, covering it entirely.

imageImmediately sprinkle the coconut over the frosted cake.  To add the coconut to the sides, grab a handful of coconut and press it into the sides of the cake.  Shake off any excess coconut.

image

Now for the chocolate sauce.

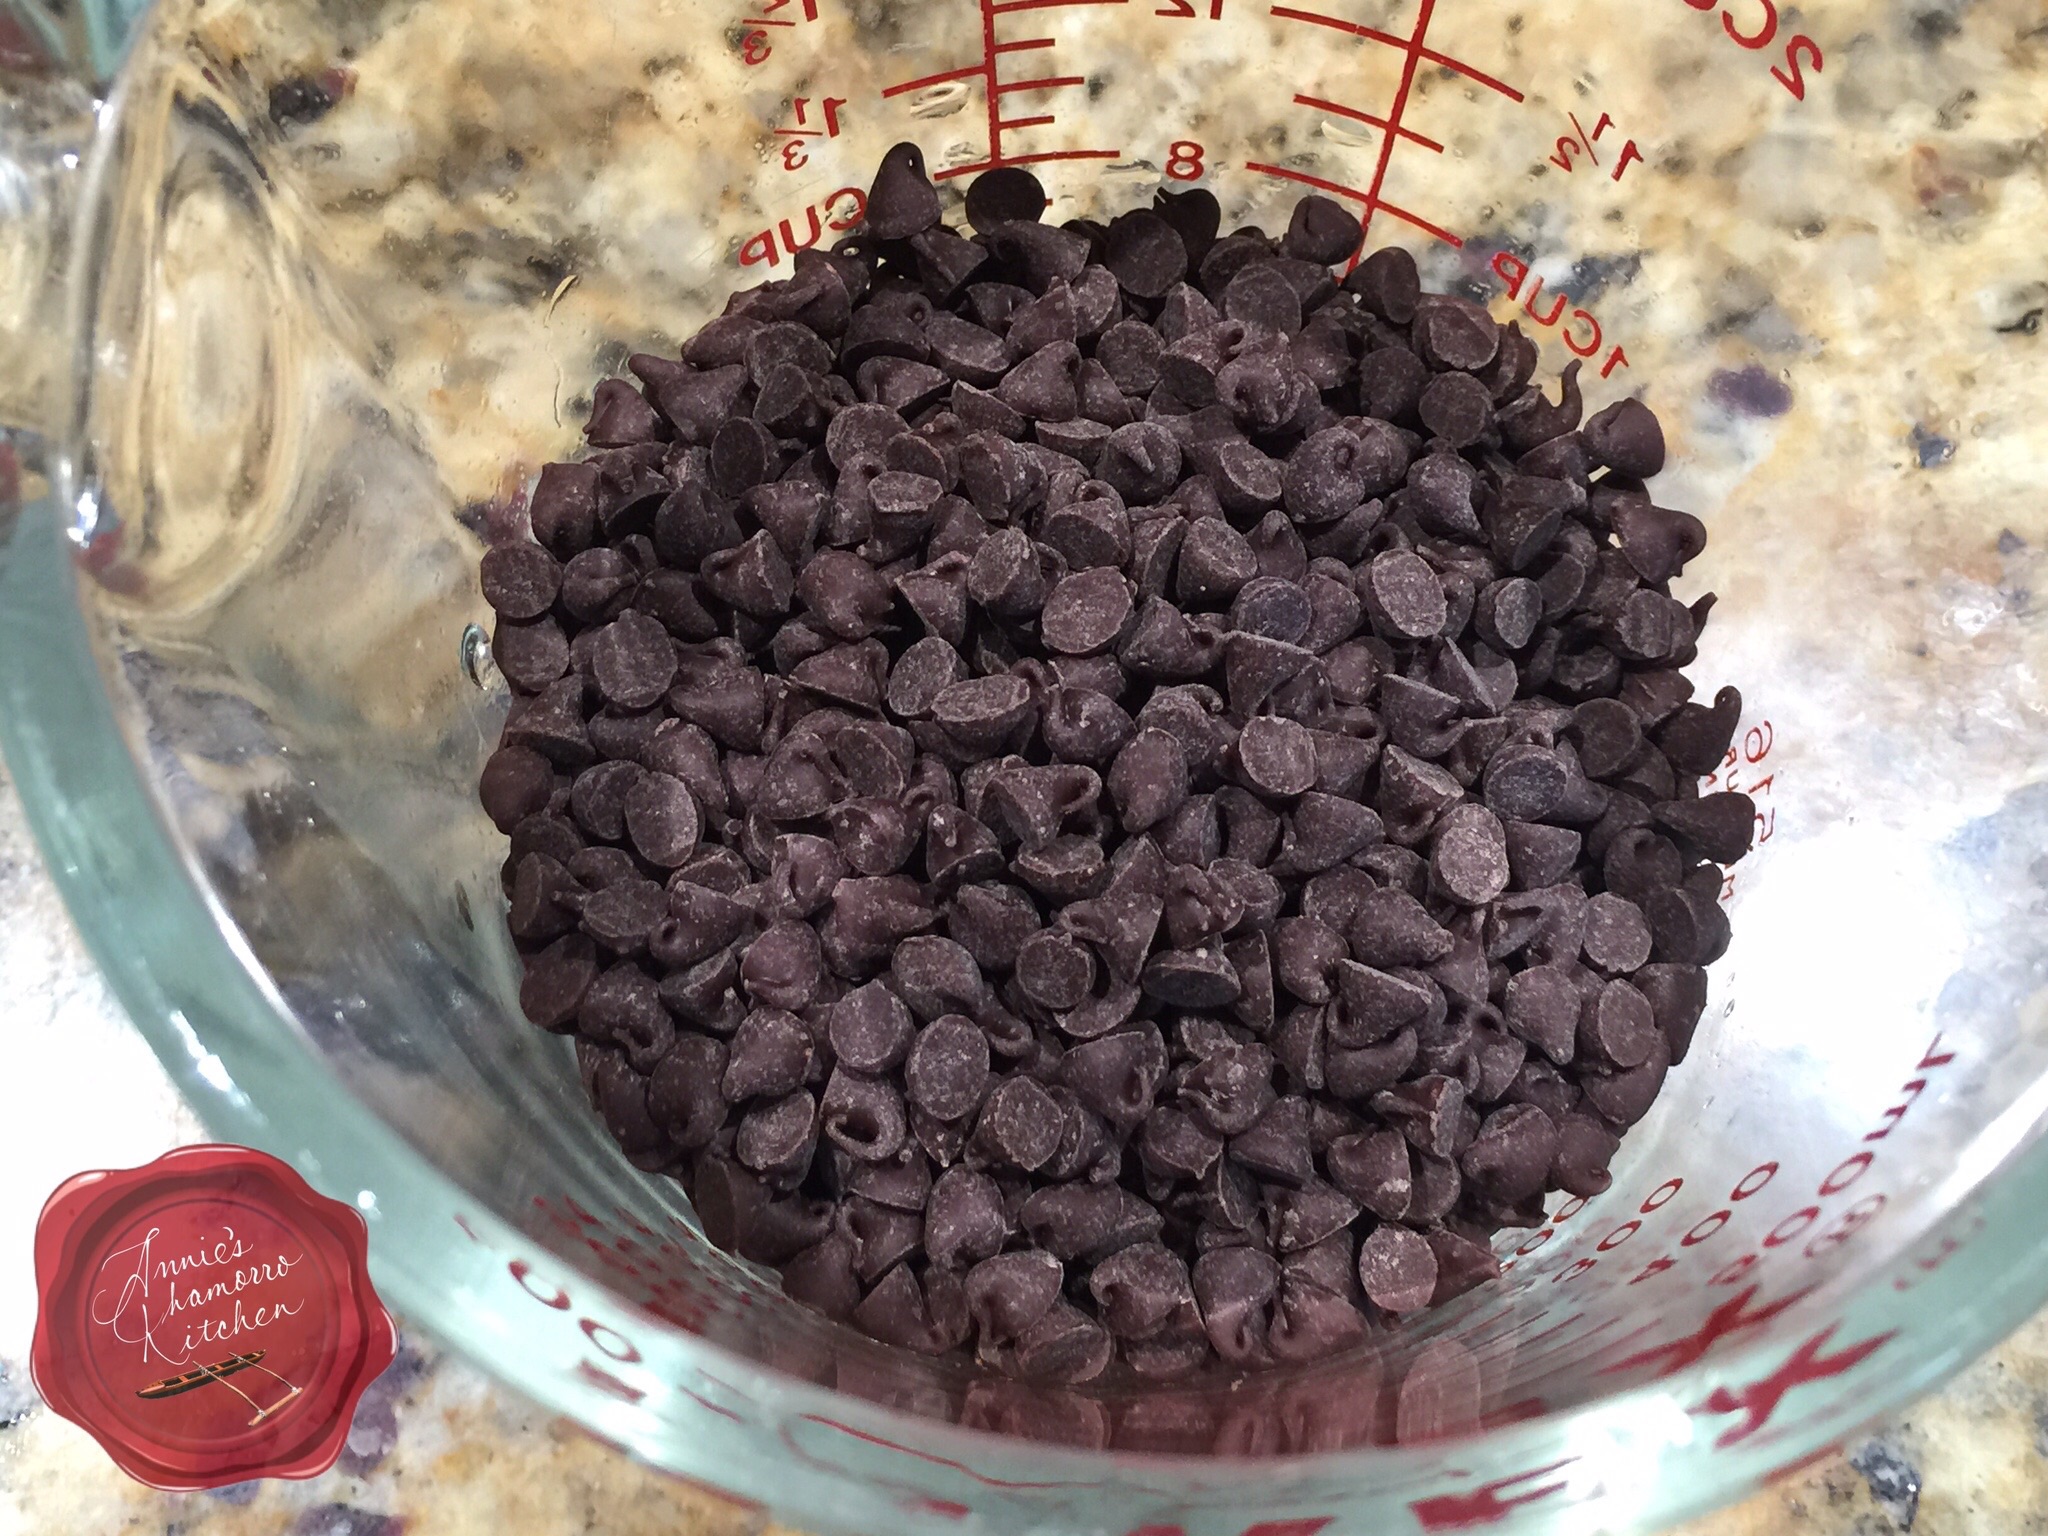
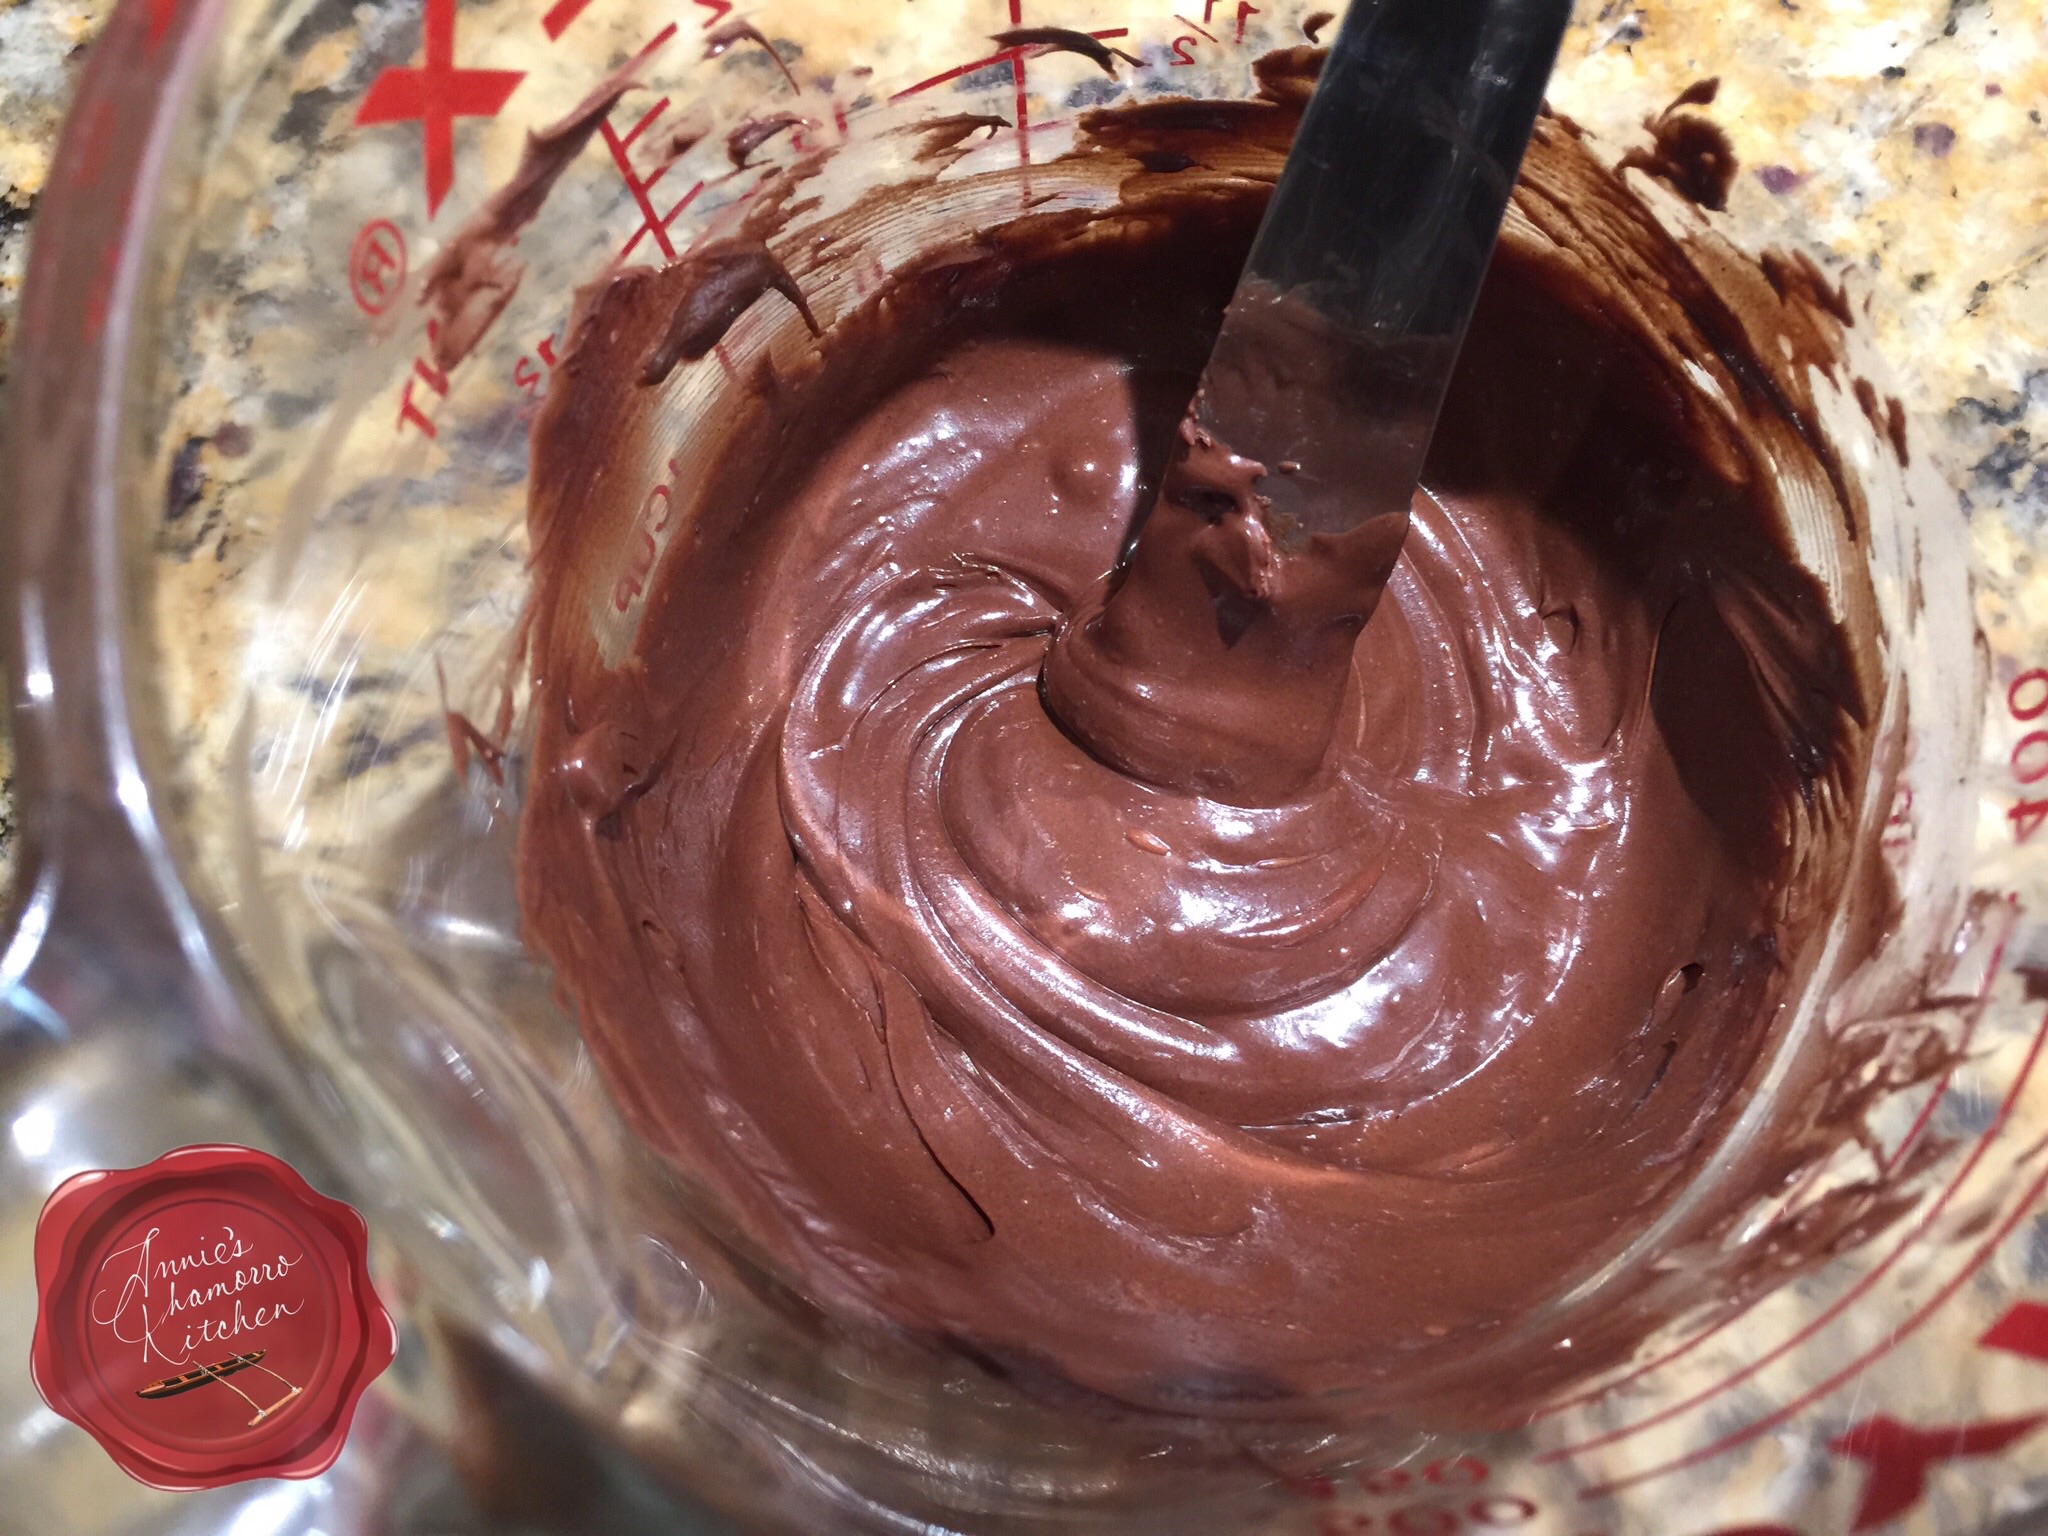
Melt a cup of chocolate chips for 30 seconds in a microwave-safe glass bowl or cup.  Stir the chocolate — it might not be melted at this point, however, but stir it nonetheless.

image

Melt the chocolate for 30 more seconds then stir again.  Once again, it may not appear as if the chocolate is melted, but trust me — the chips are already mostly melted, and will continue to melt with the heat of the glass.  Do not microwave the chocolate any more or it will seize and become stiff, lumpy and unworkable.

imageScoop out the melted chocolate and place it into a sandwich bag.

image

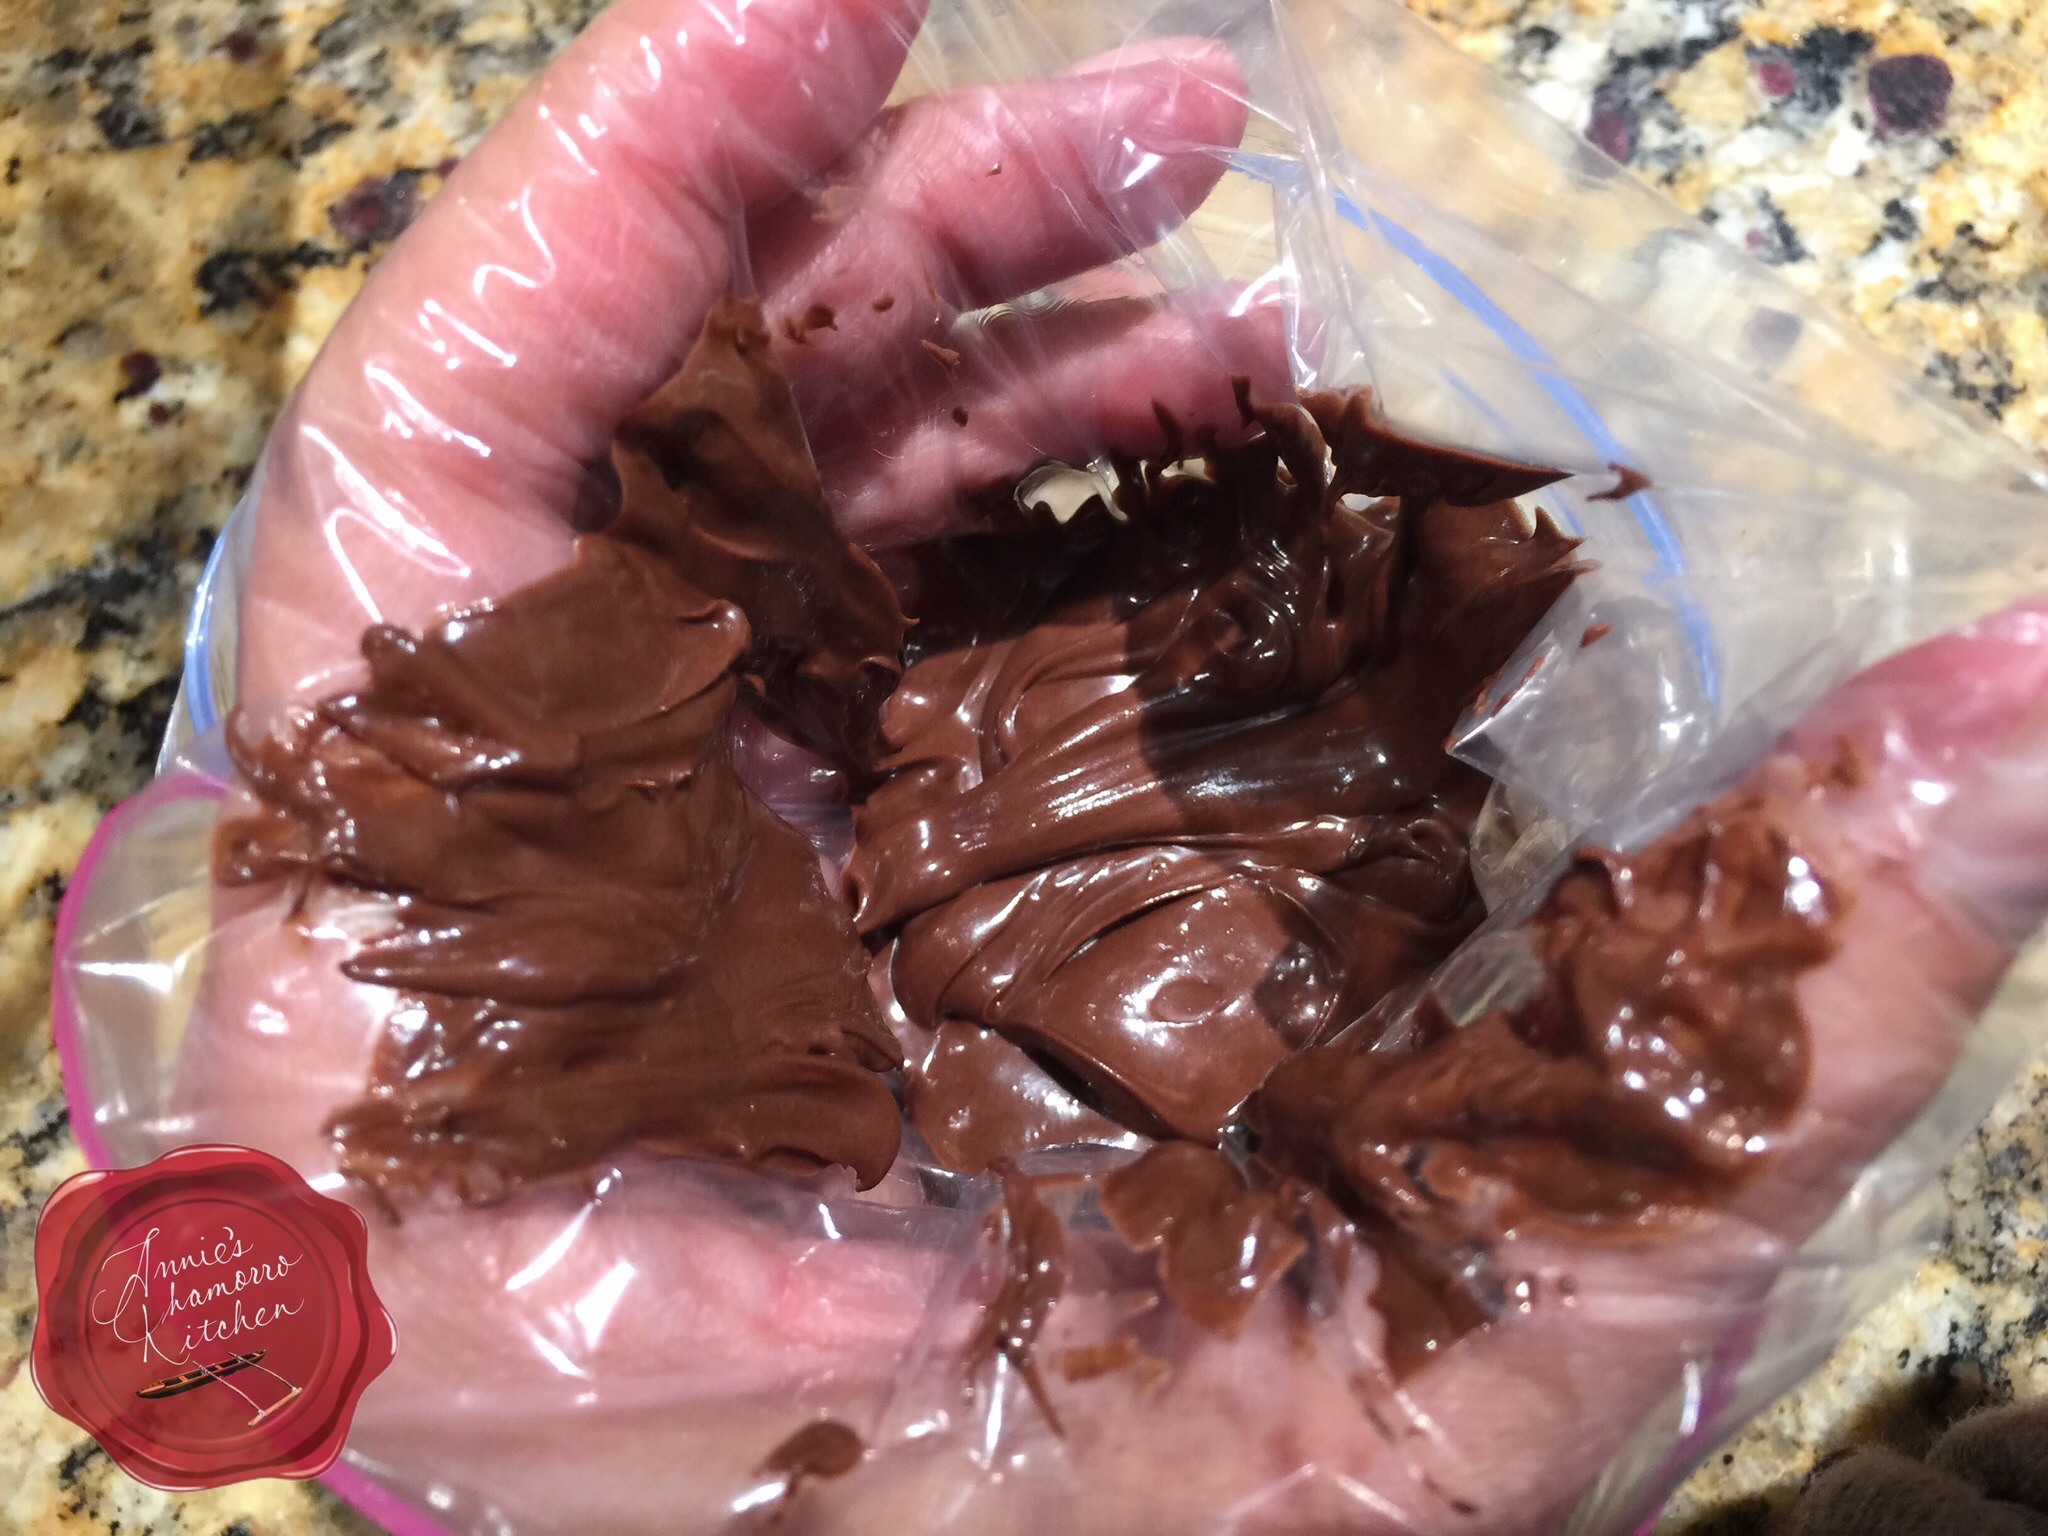
Twist the top of the bag to keep the melted chocolate in one corner of the bag.  Use a pair of scissors to snip off a tiny piece of one corner of the bag.

Squeeze the melted chocolate over the top of the cake.  I’m sure you can decorate your cake a lot nicer than I did mine. 😉

Drizzle some caramel over the cake, in the spaces between the chocolate.

image

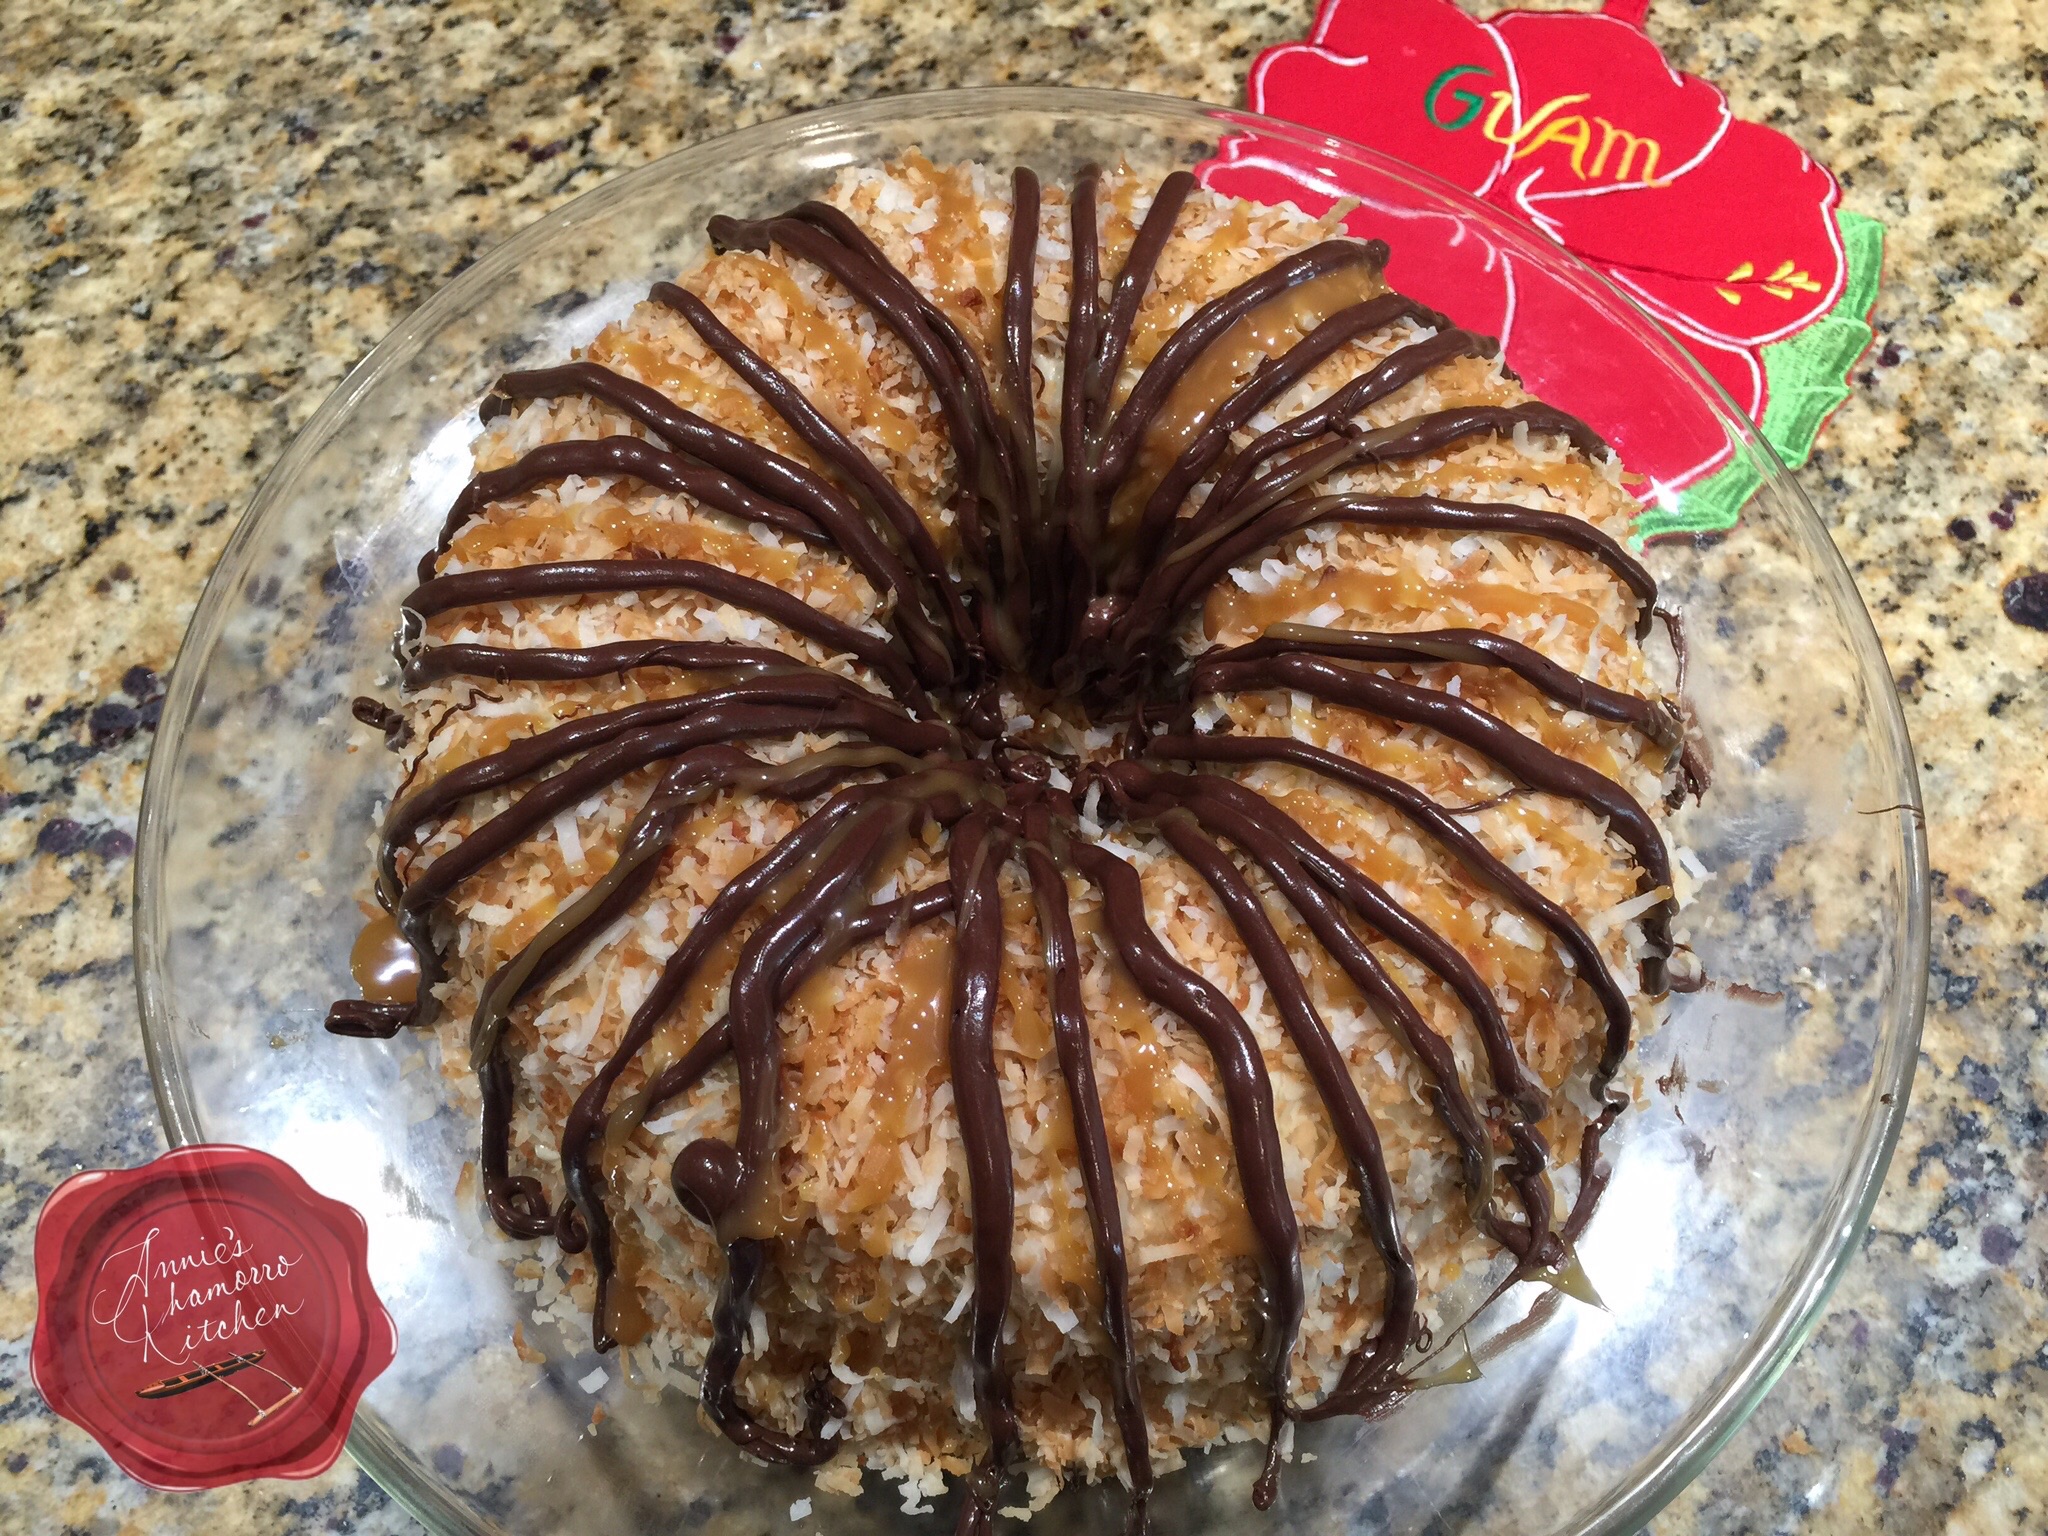
Oh my goodness…this cake is D E L I C I O U S!!!

Serve a large slice of this incredible edible with a cup of coffee or a tall glass of milk. 🙂

image

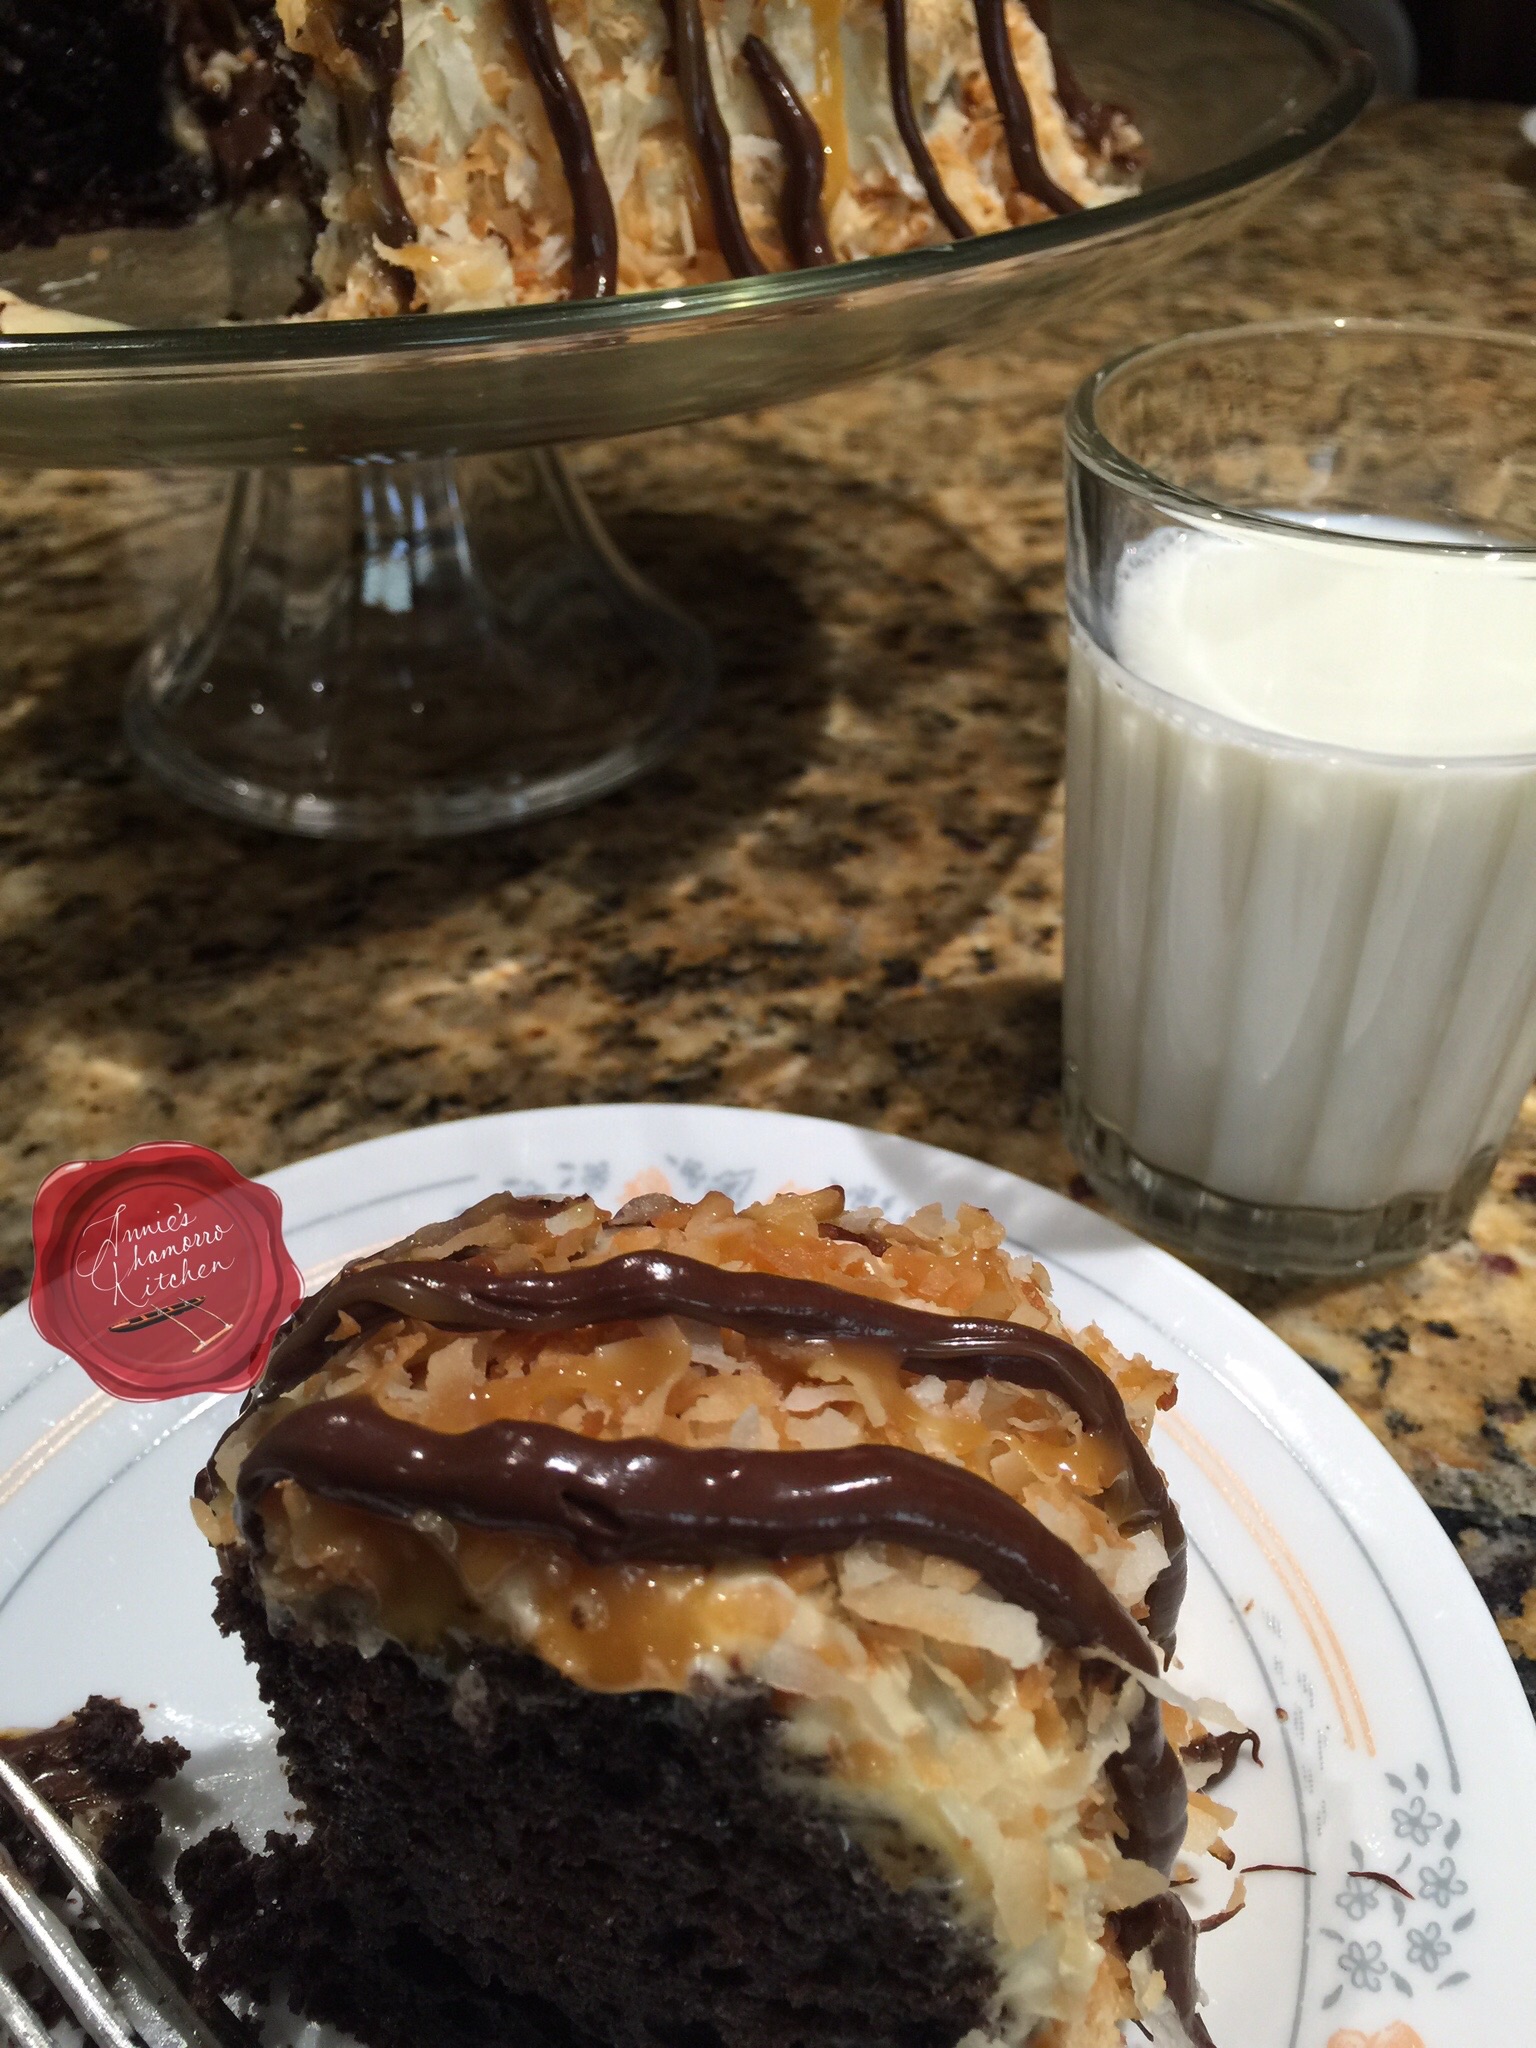
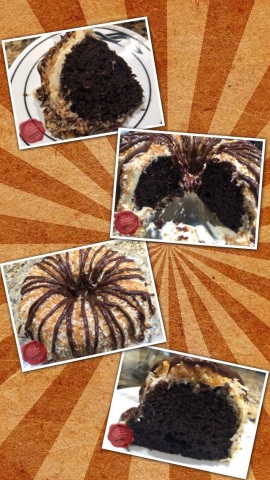
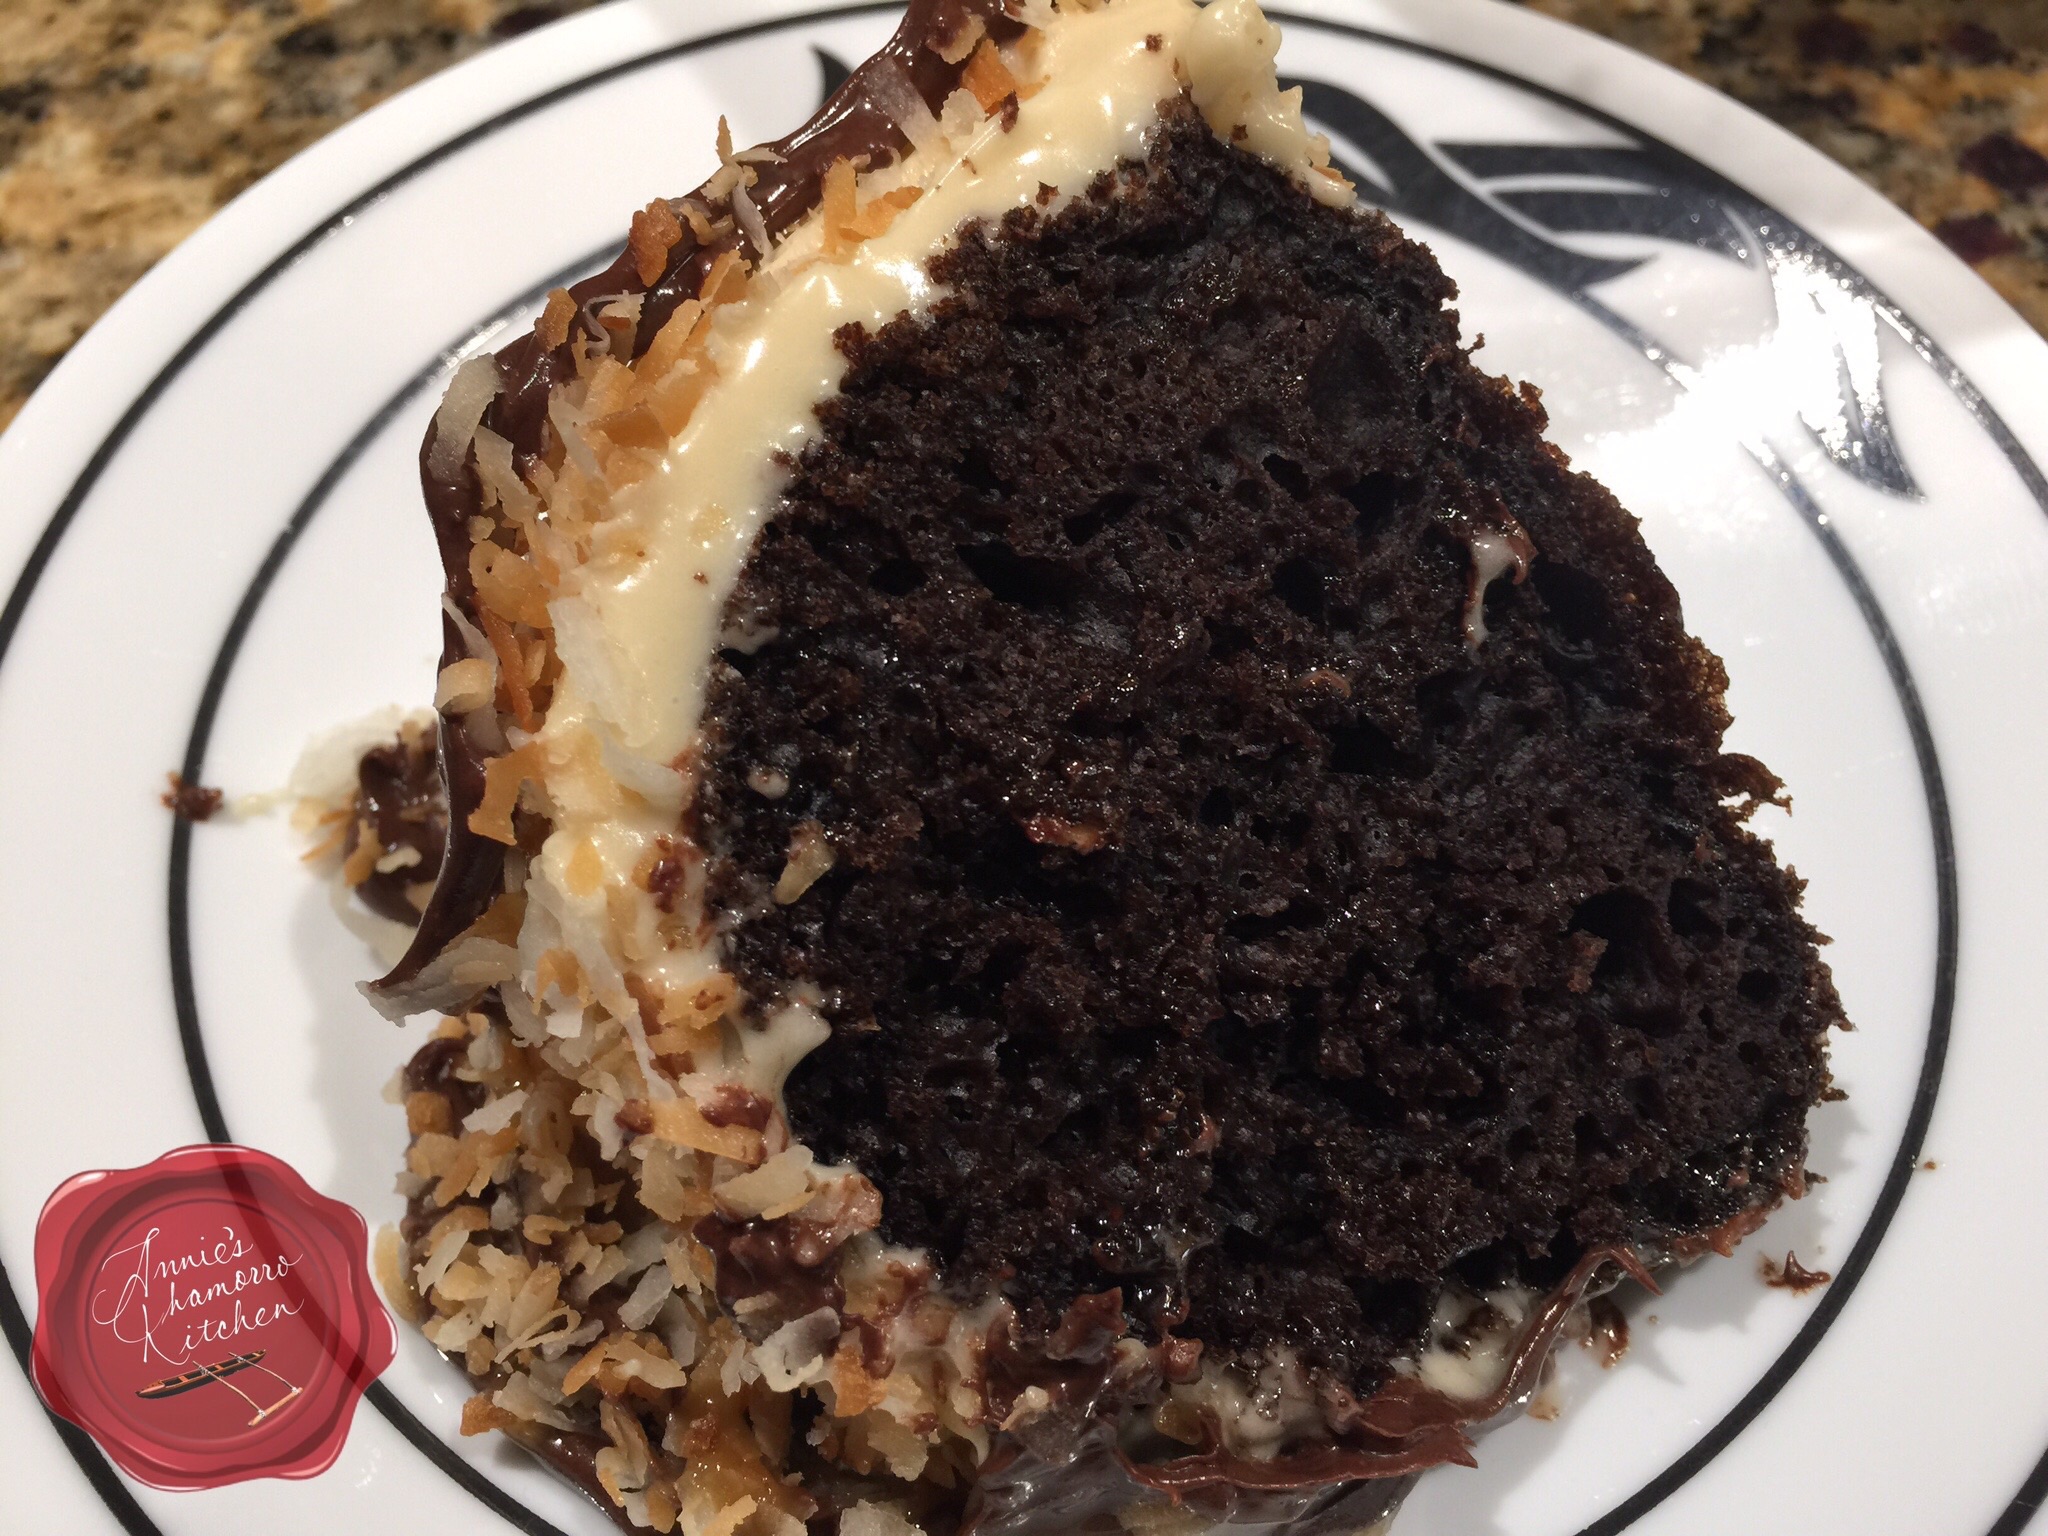
Mmmmmm mmmmmm good!  Look how moist the cake is!

image
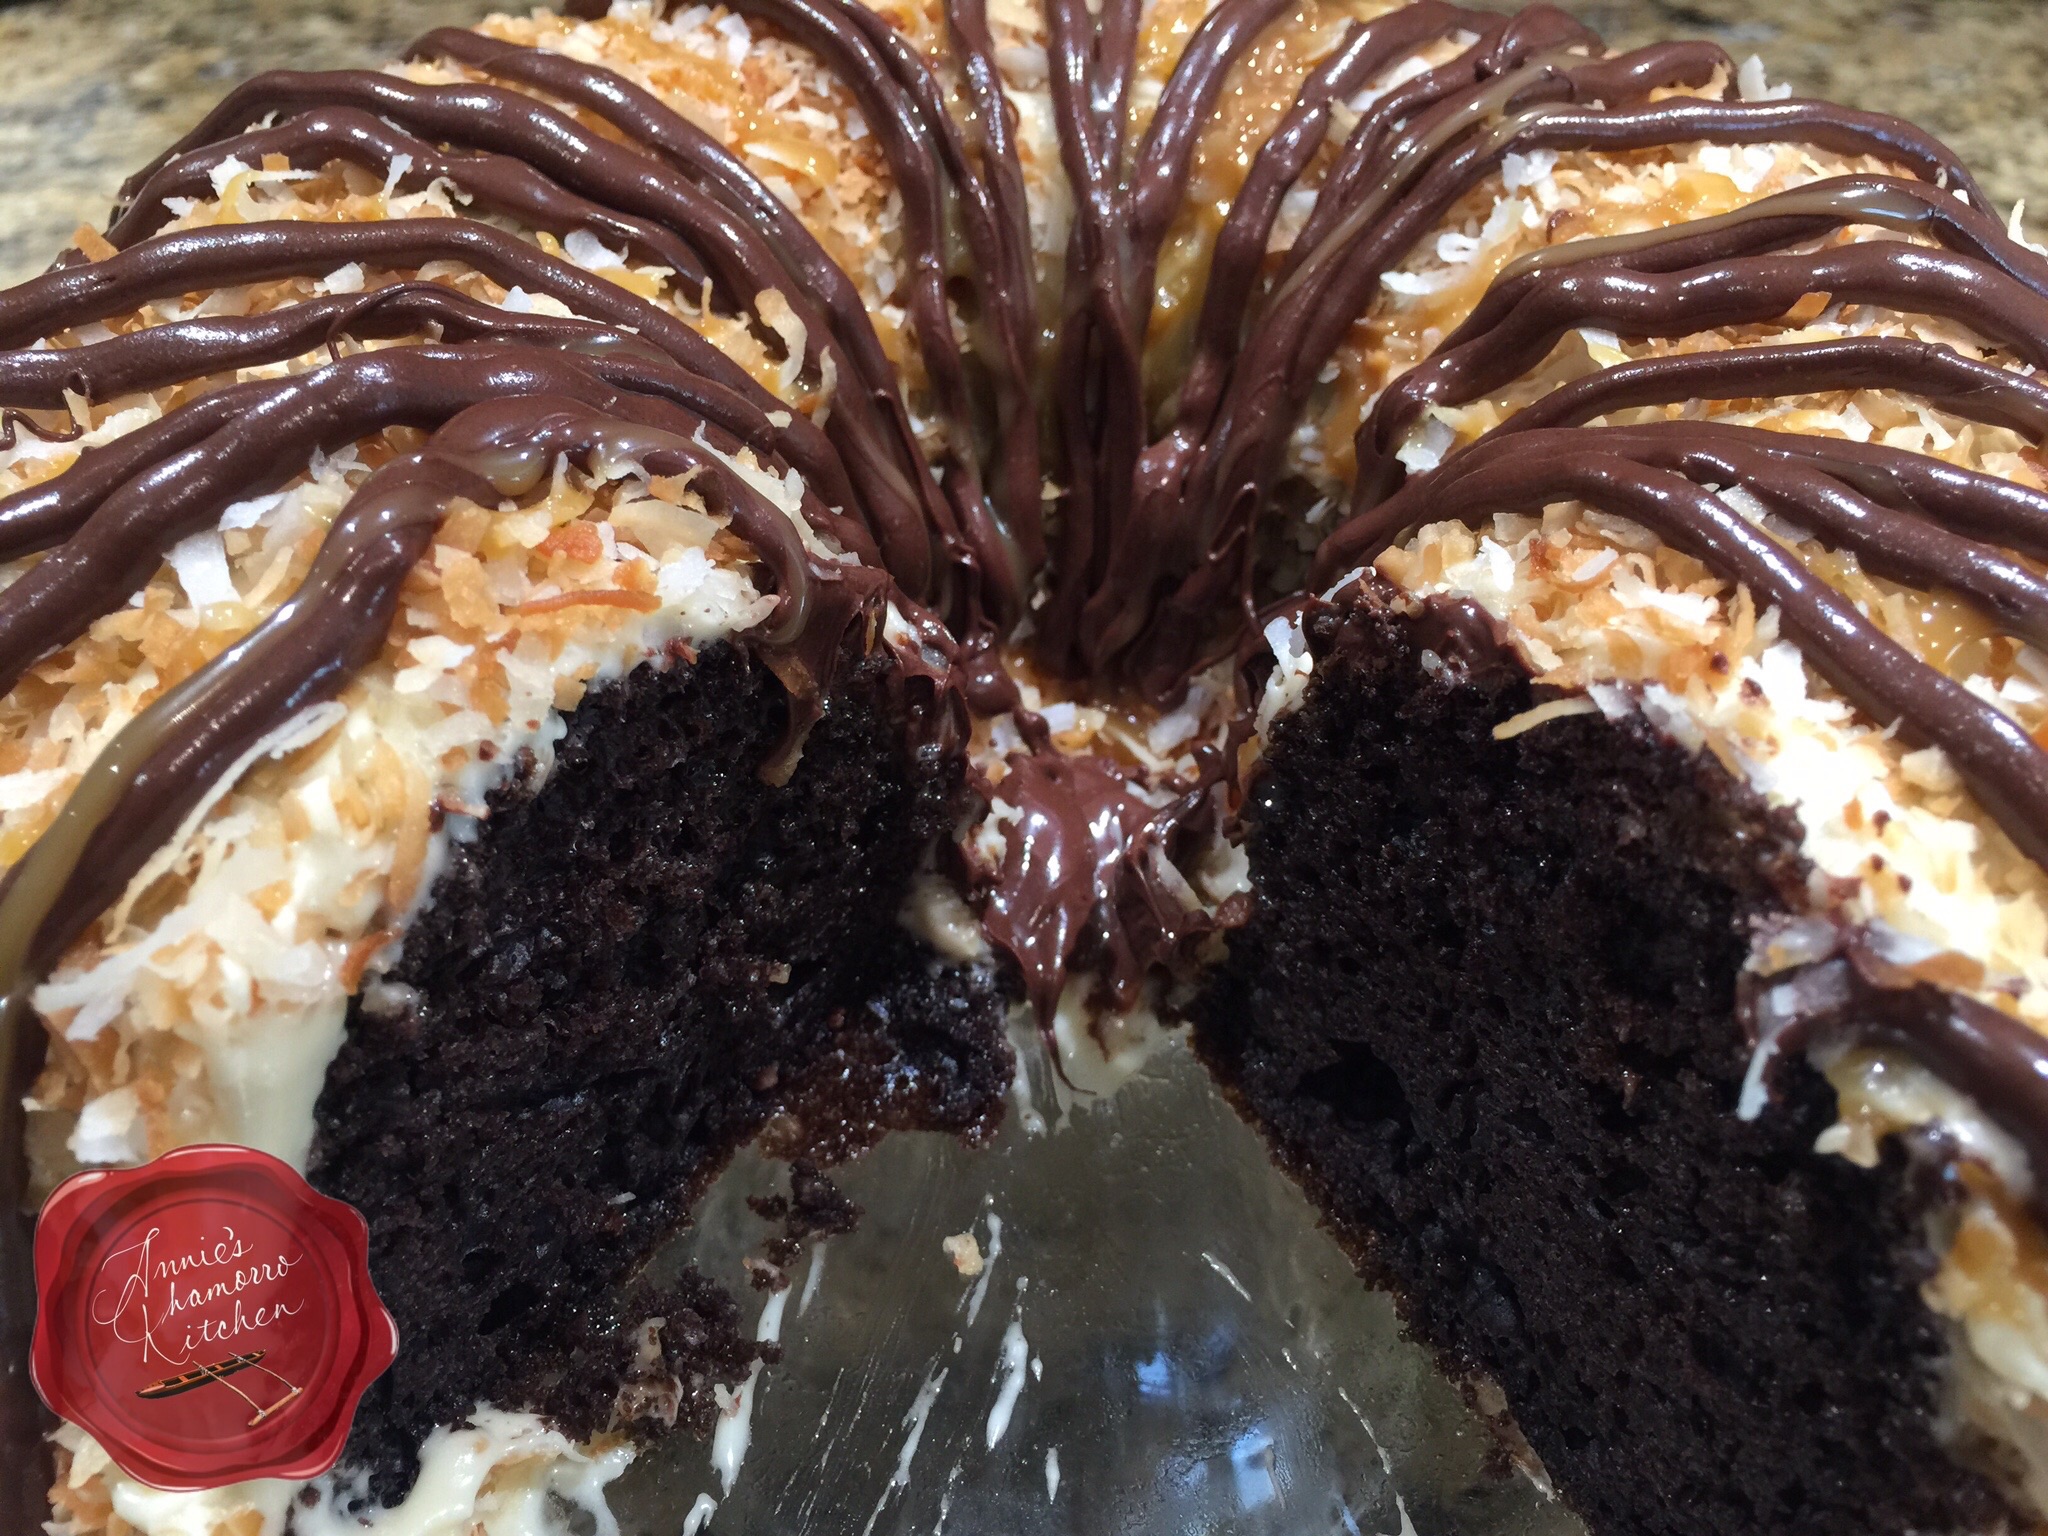
Care for a slice?  I’ll eat this one for you. 😉

image

Not convinced yet?  How about now? 😉

image
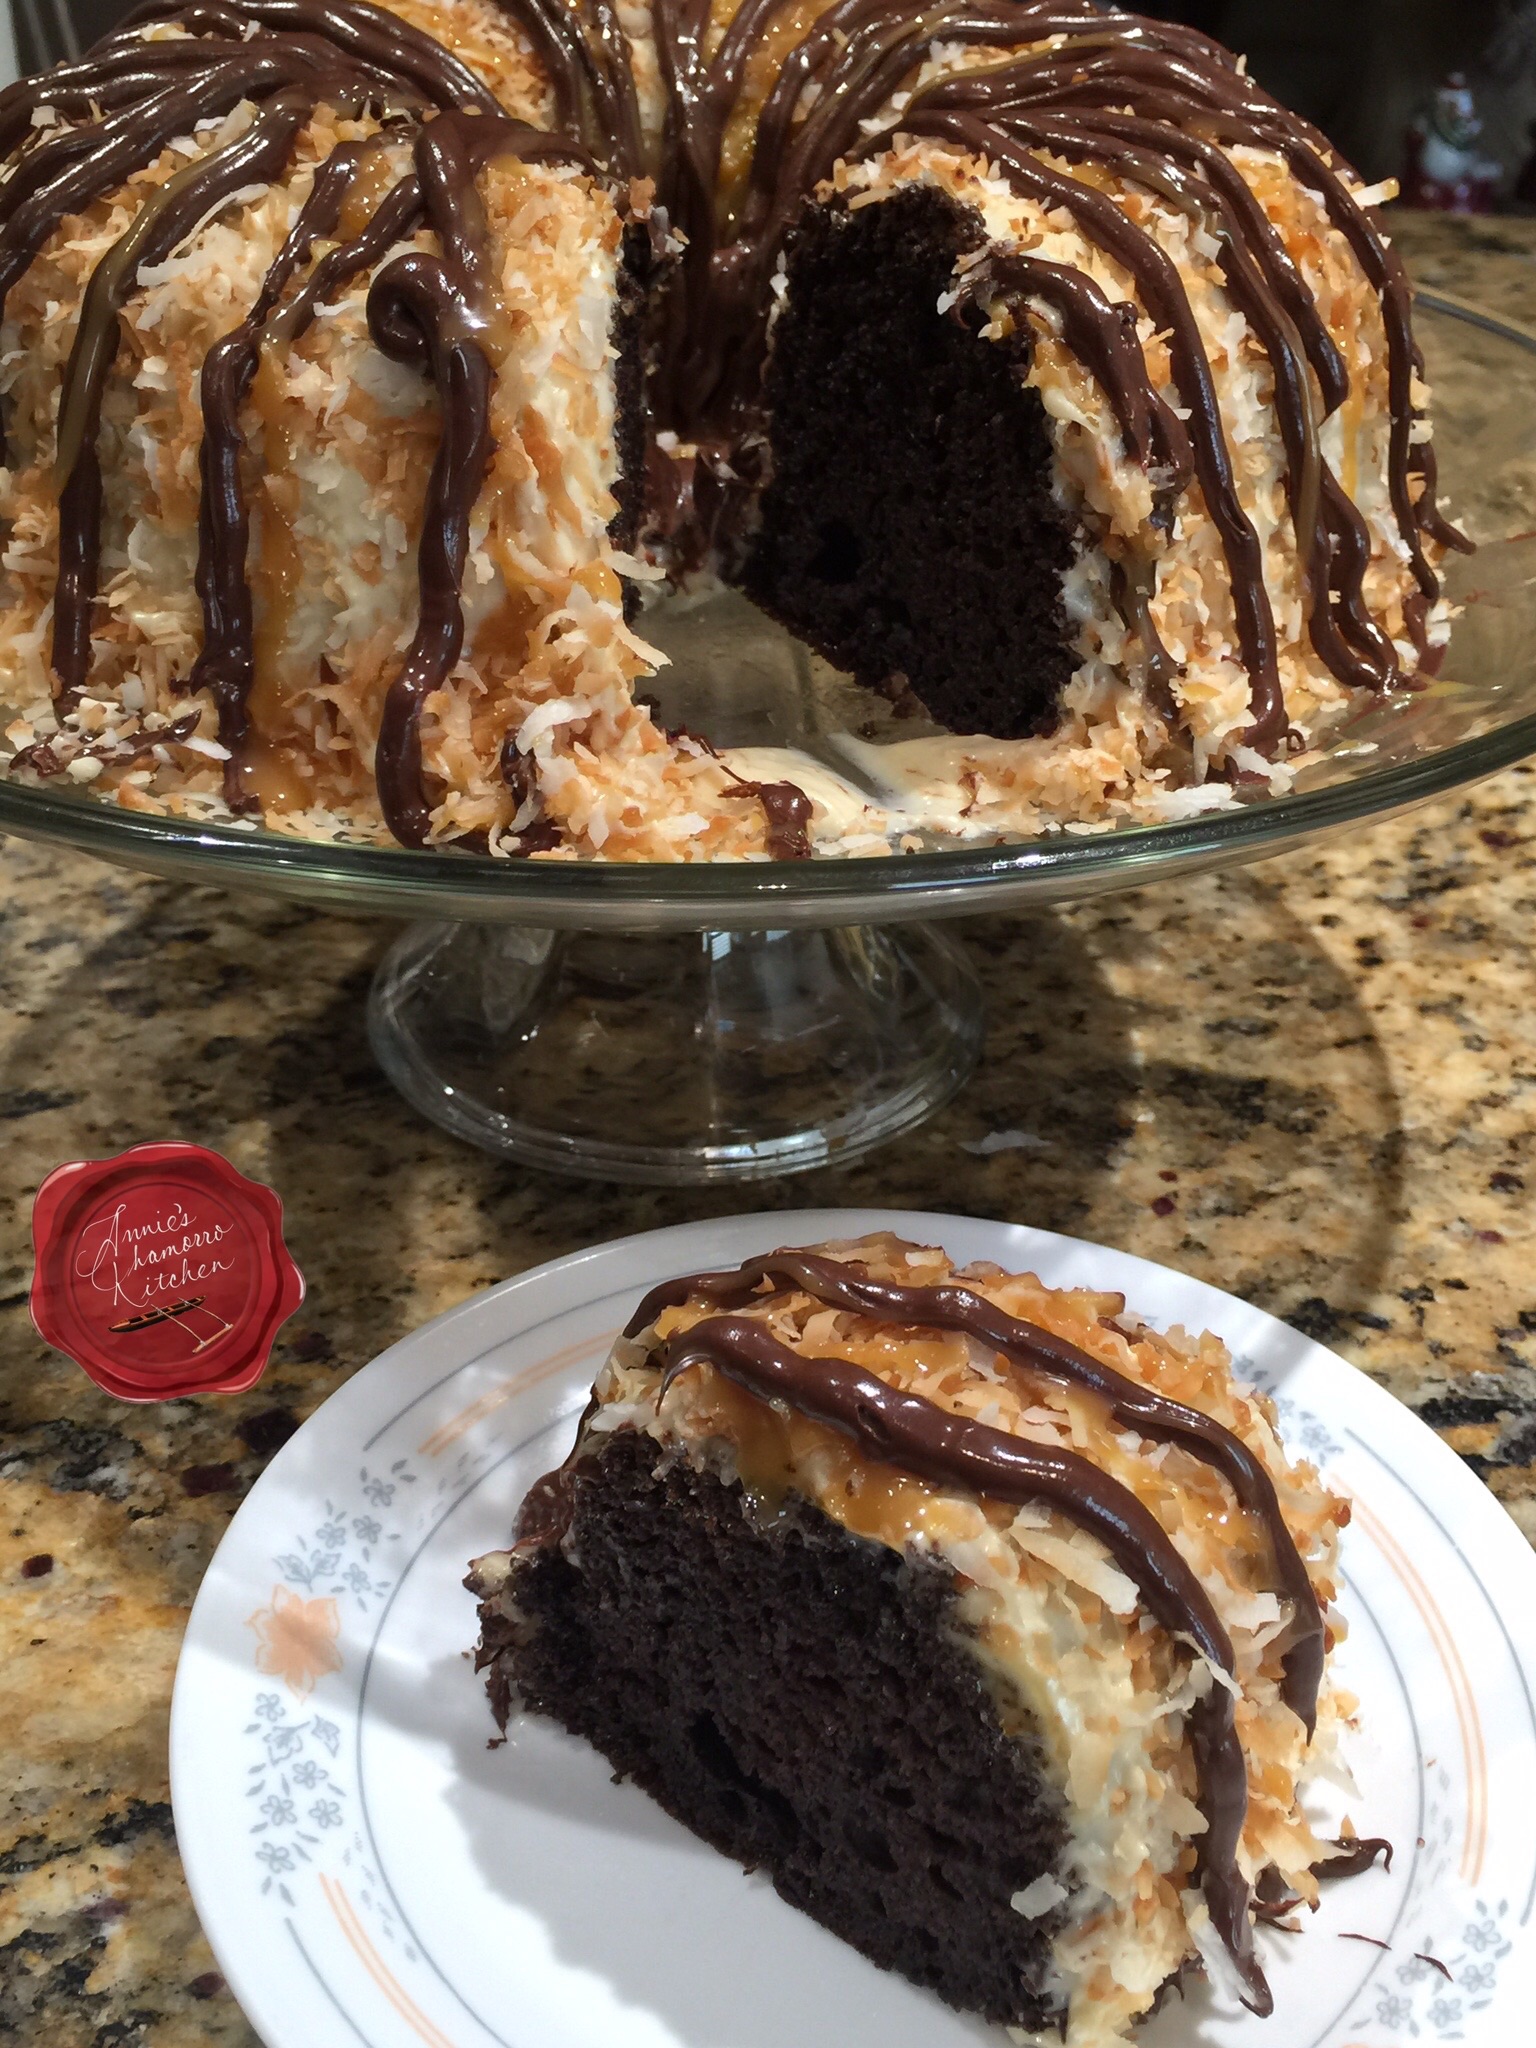
Give my recipe a try.  I KNOW you’ll like it. 🙂


Chocolate Caramel Coconut Cake
 
Moist chocolate fudge cake topped with a decadent caramel cream cheese frosting, toasted coconut, and drizzled with melted chocolate and caramel sauce.
Author:
Recipe type: Dessert
Cuisine: American
Ingredients
Cake:
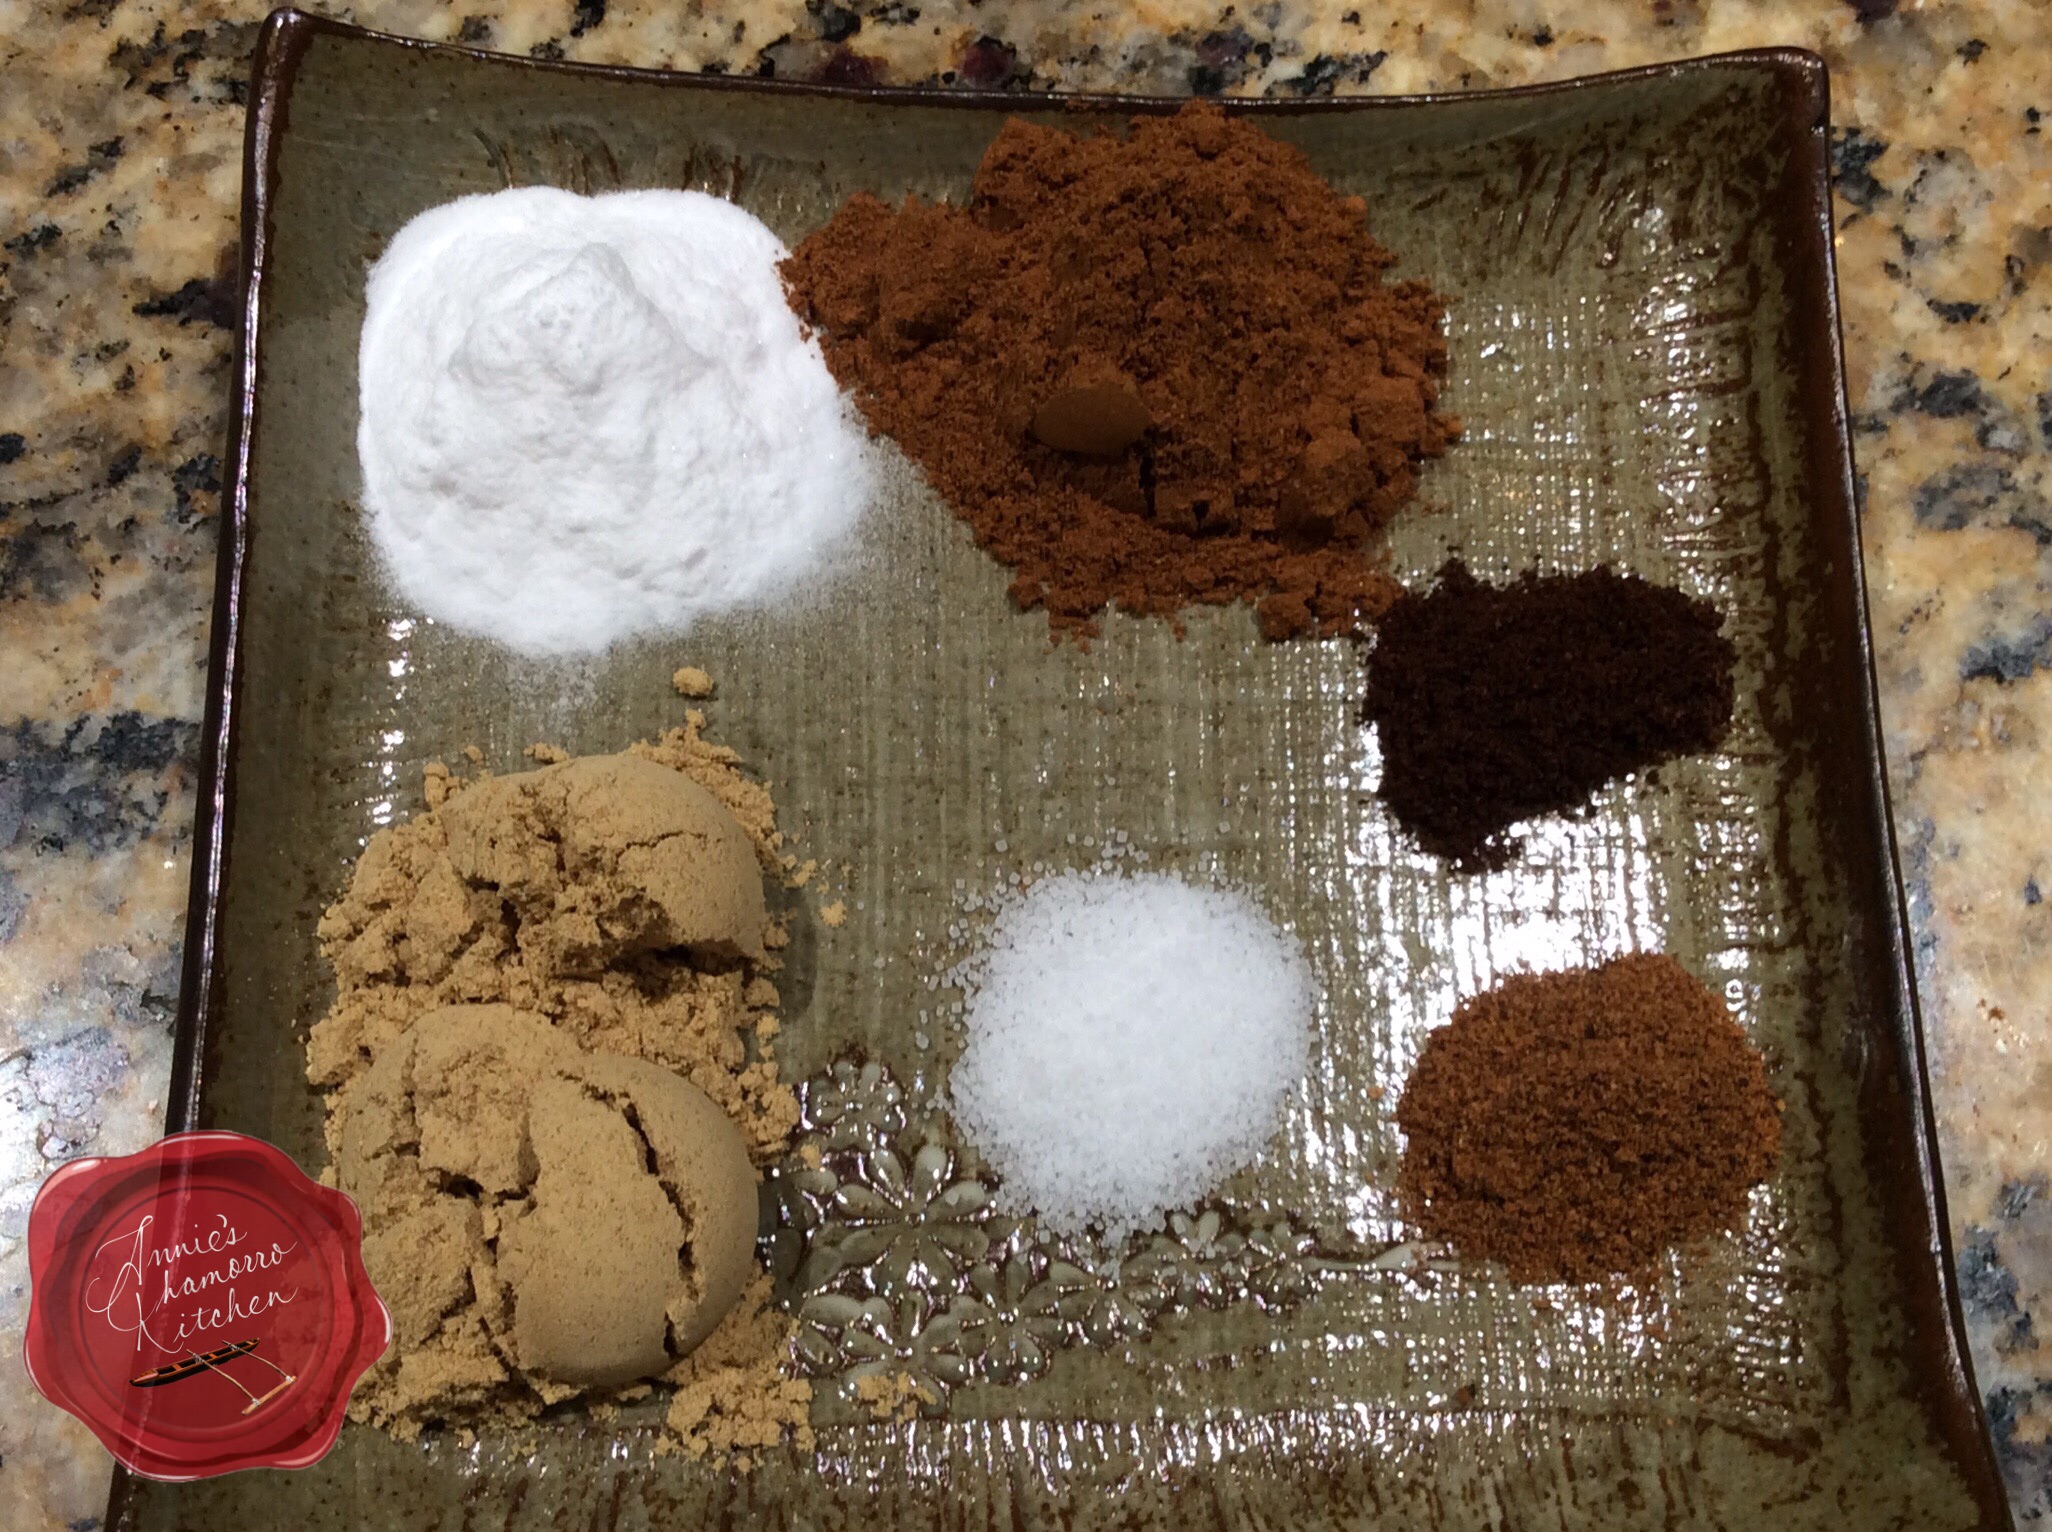
  • 1 box Betty Crocker Chocolate Fudge cake mix
  • 1¼ cups water
  • ½ cup vegetable oil
  • 3 large eggs
  • 1 teaspoon coconut extract
Toasted Coconut:
  • 2 cups (packed) sweetened coconut flakes
Frosting:
  • 1 (8-oz) package cream cheese
  • ½ cup caramel sauce
  • 3 to 4 cups powdered sugar
Drizzled Sauces:
  • 1 cup semisweet chocolate chips
  • 4 tablespoons caramel sauce
Instructions
Bake the cake:
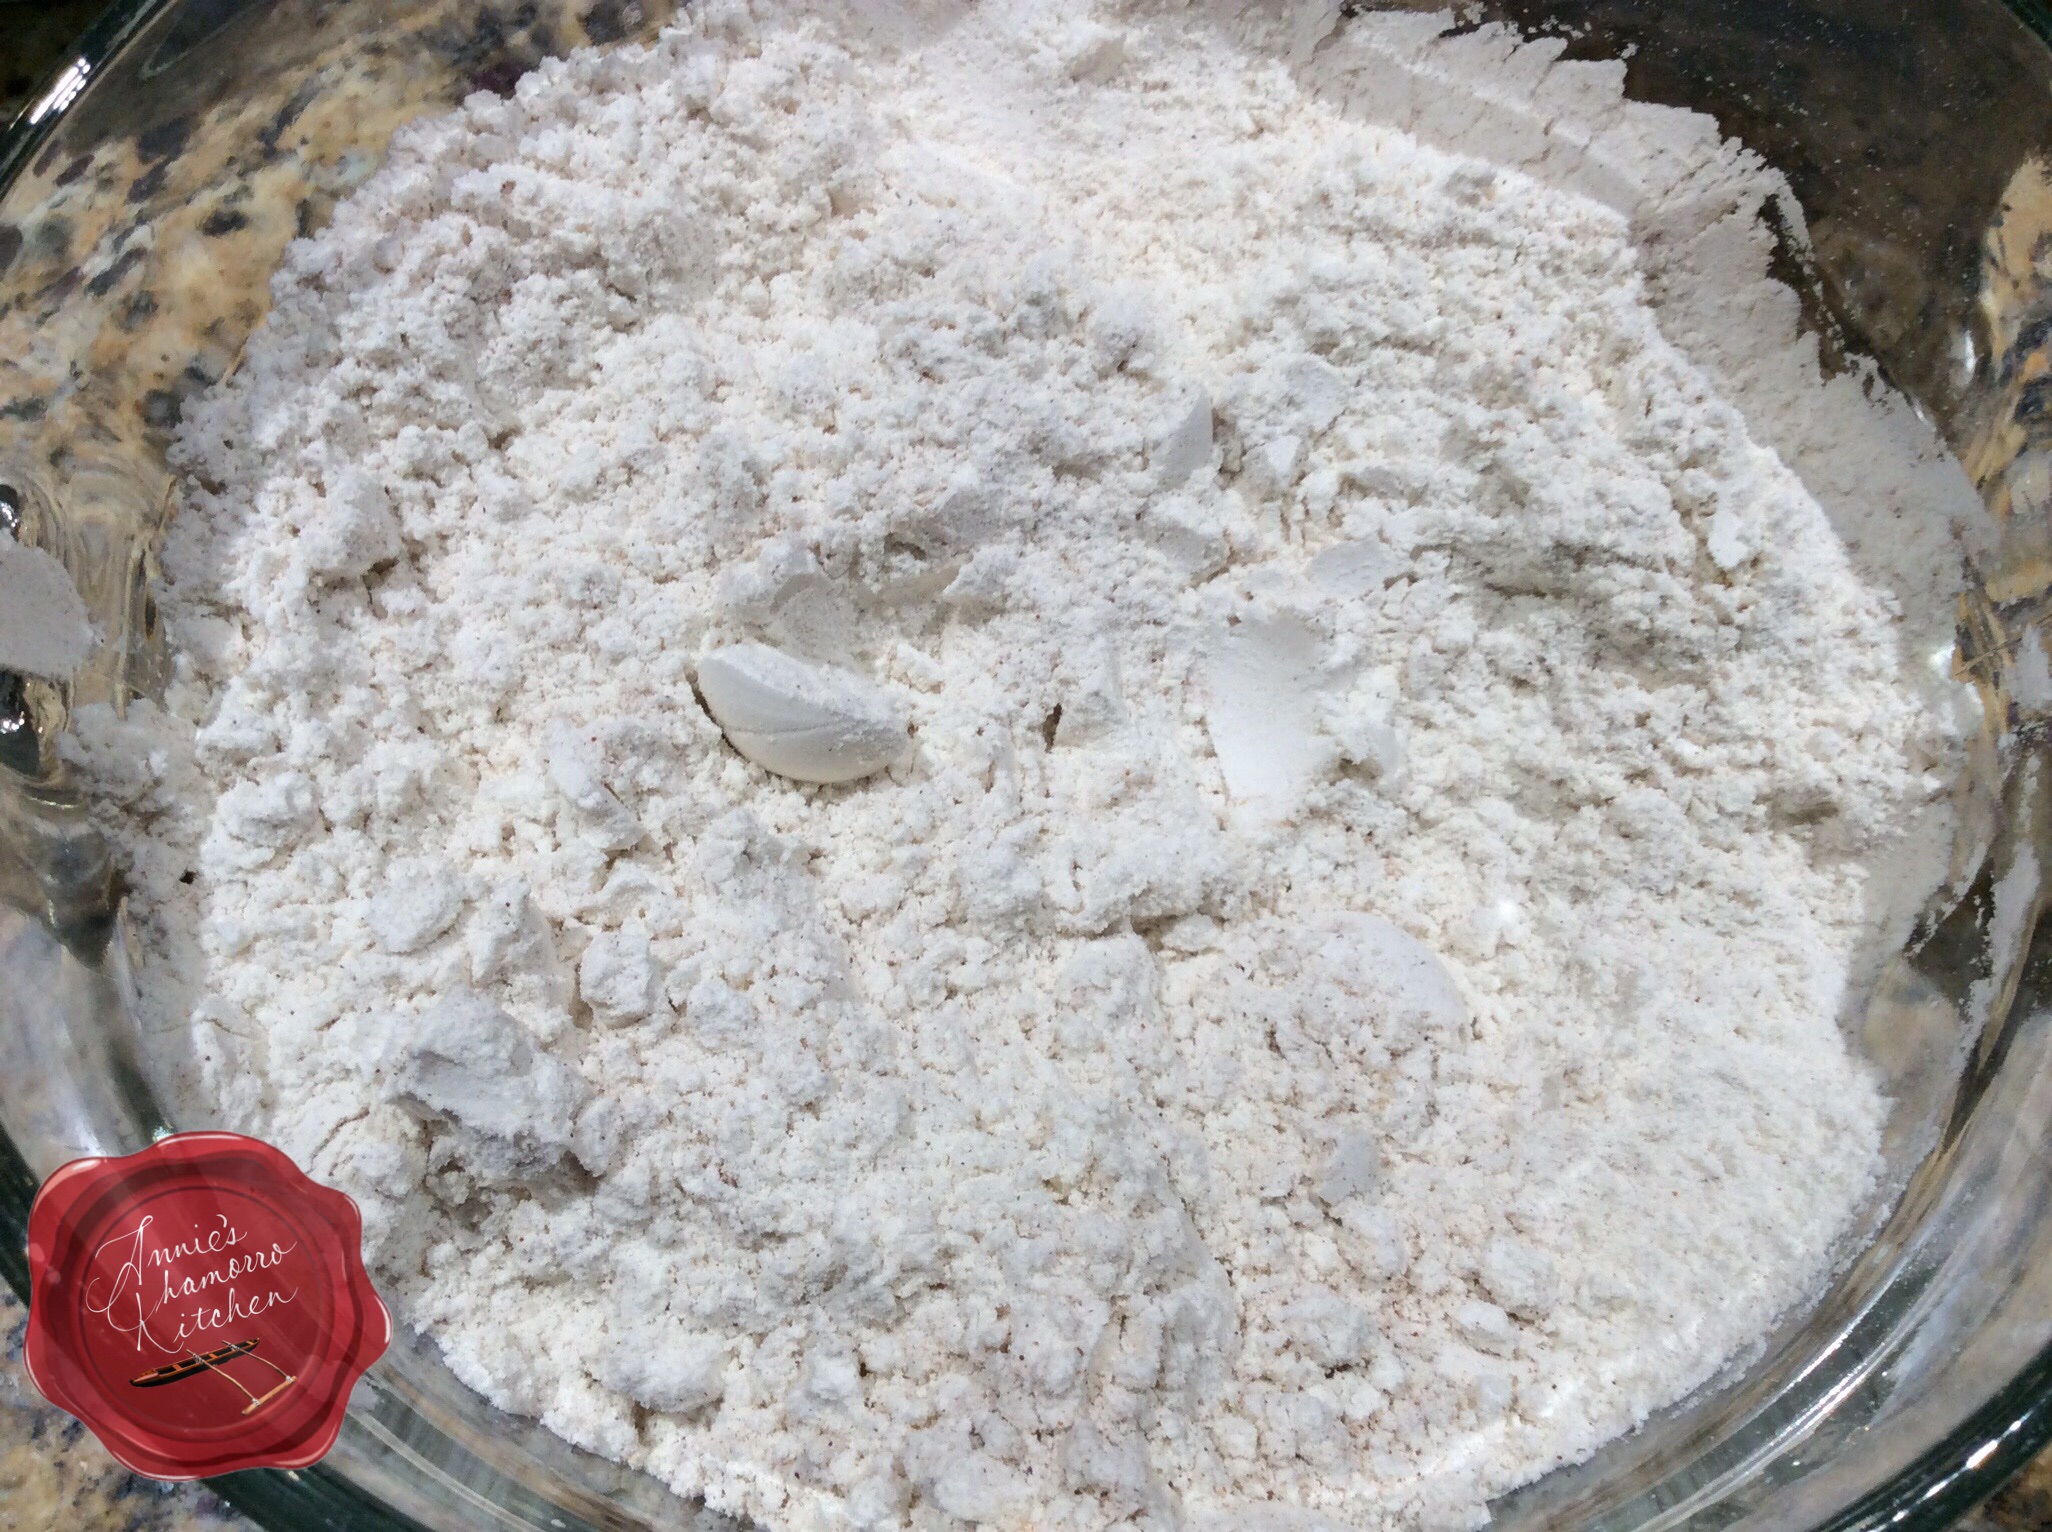
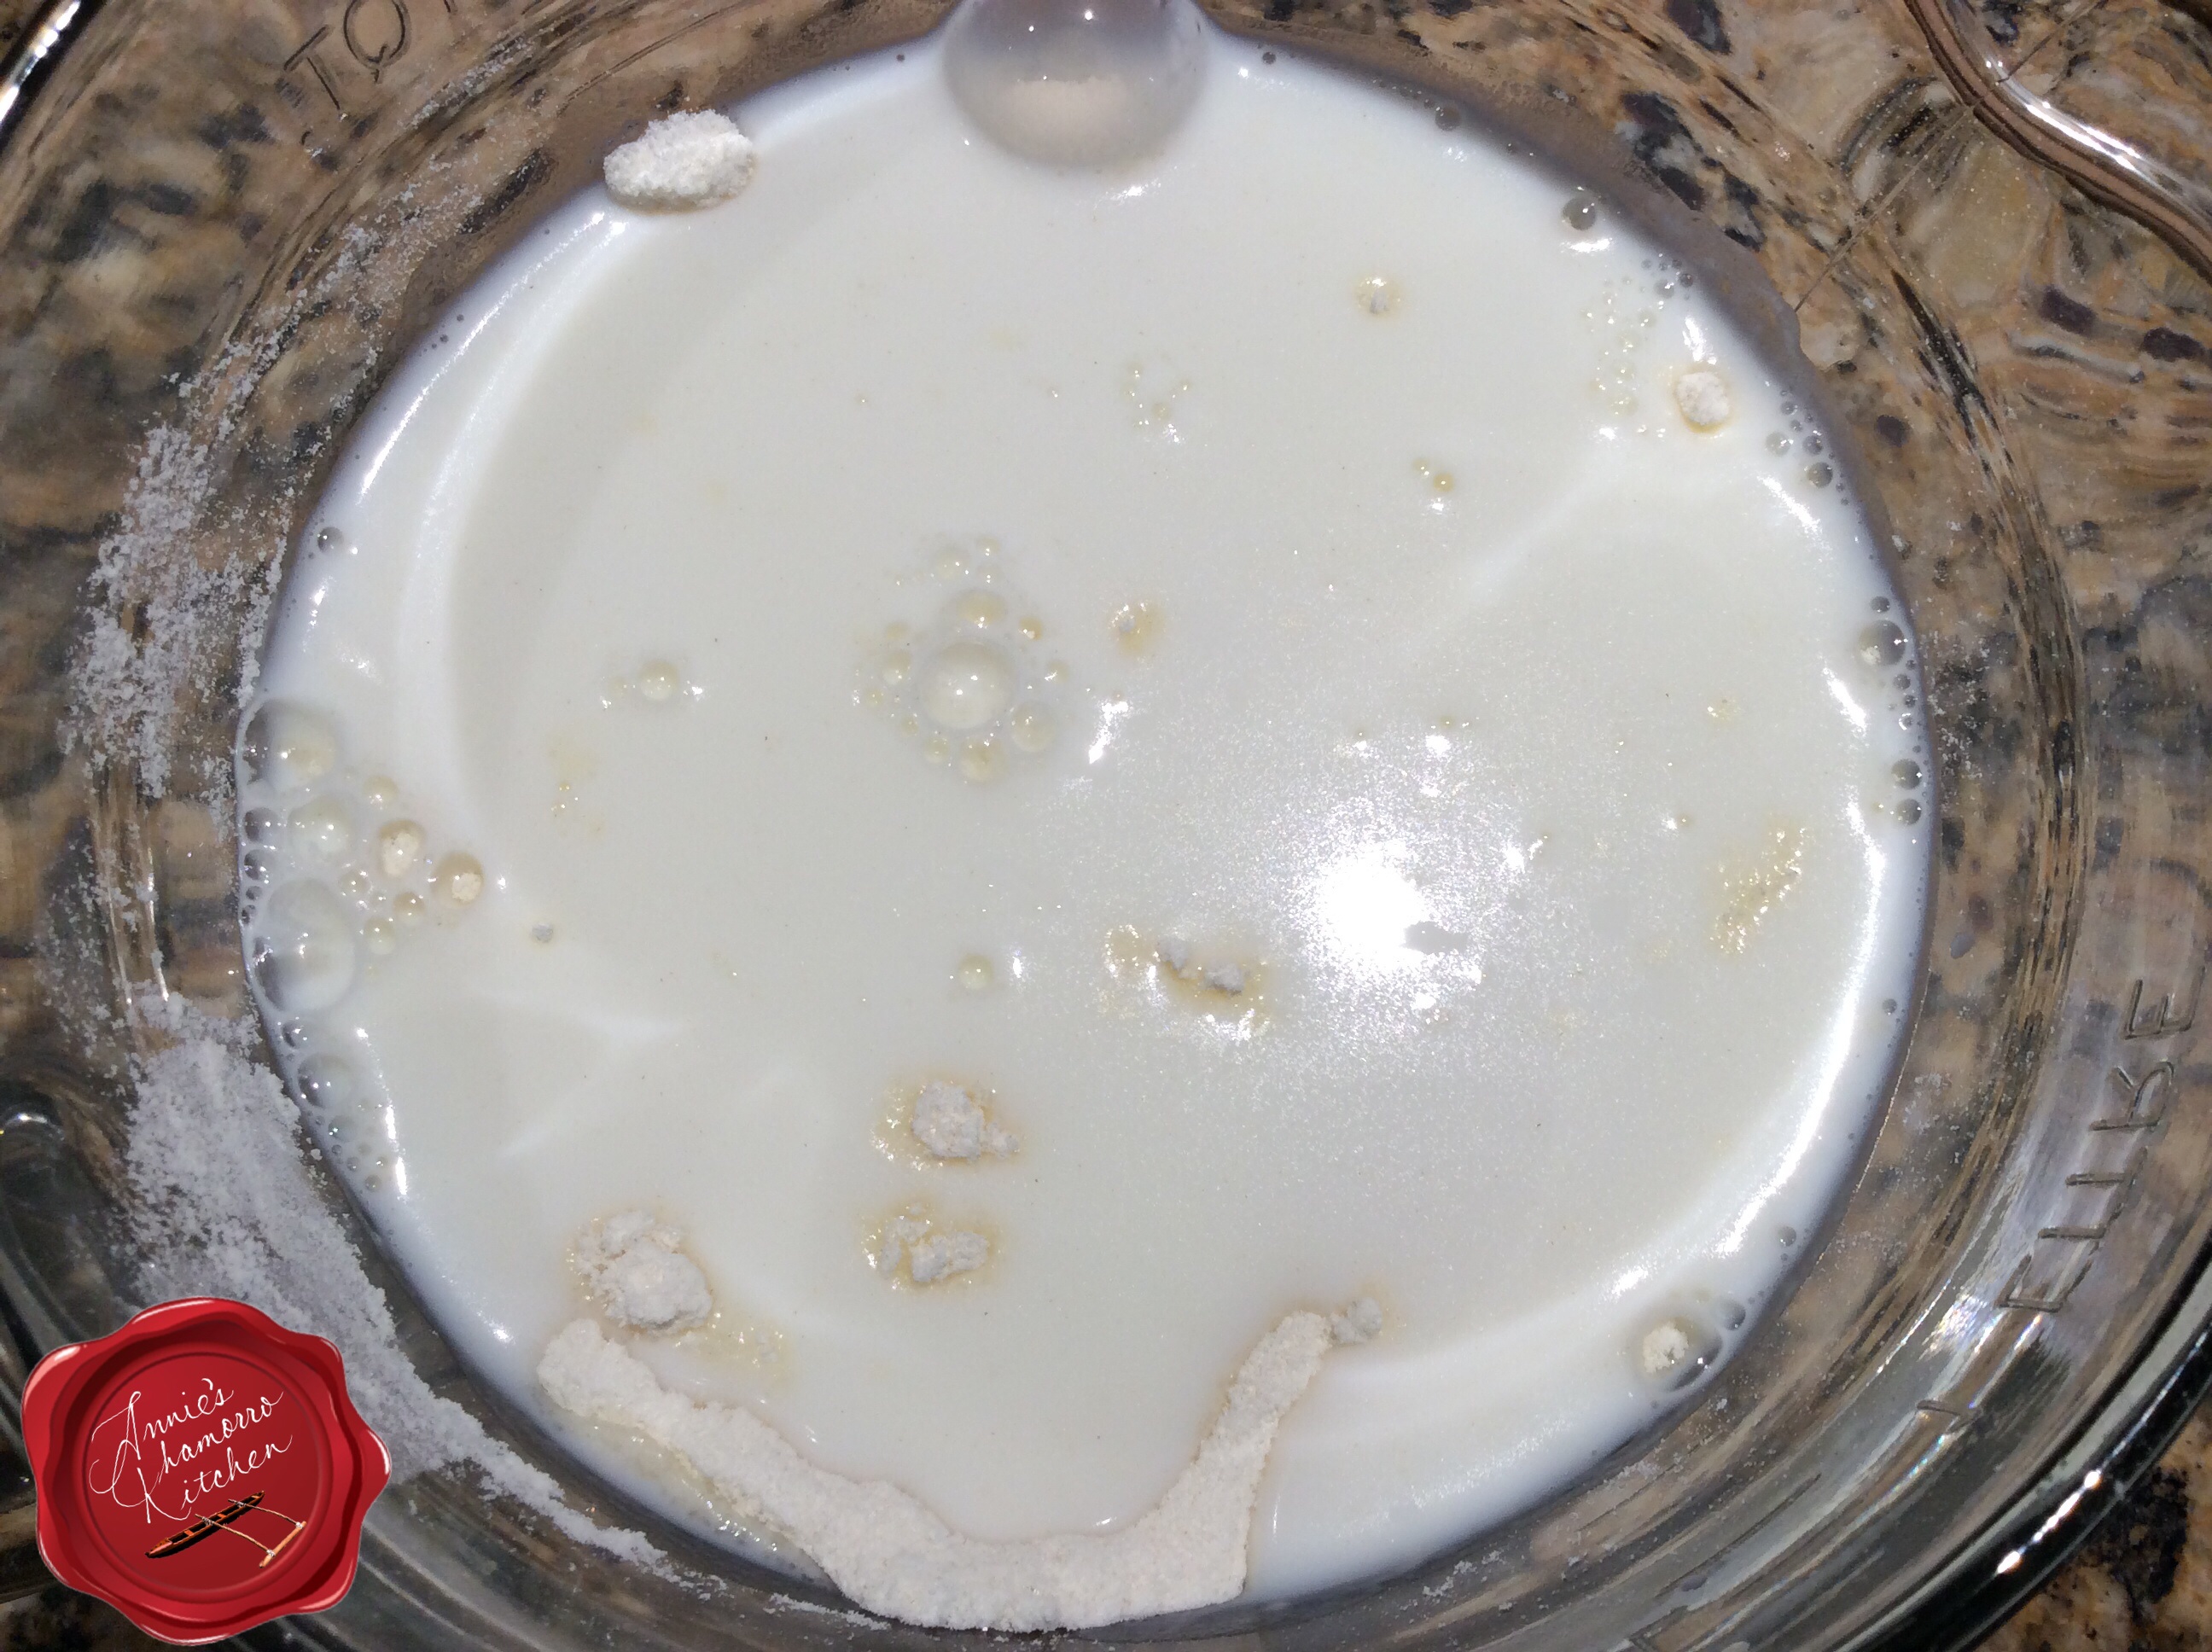
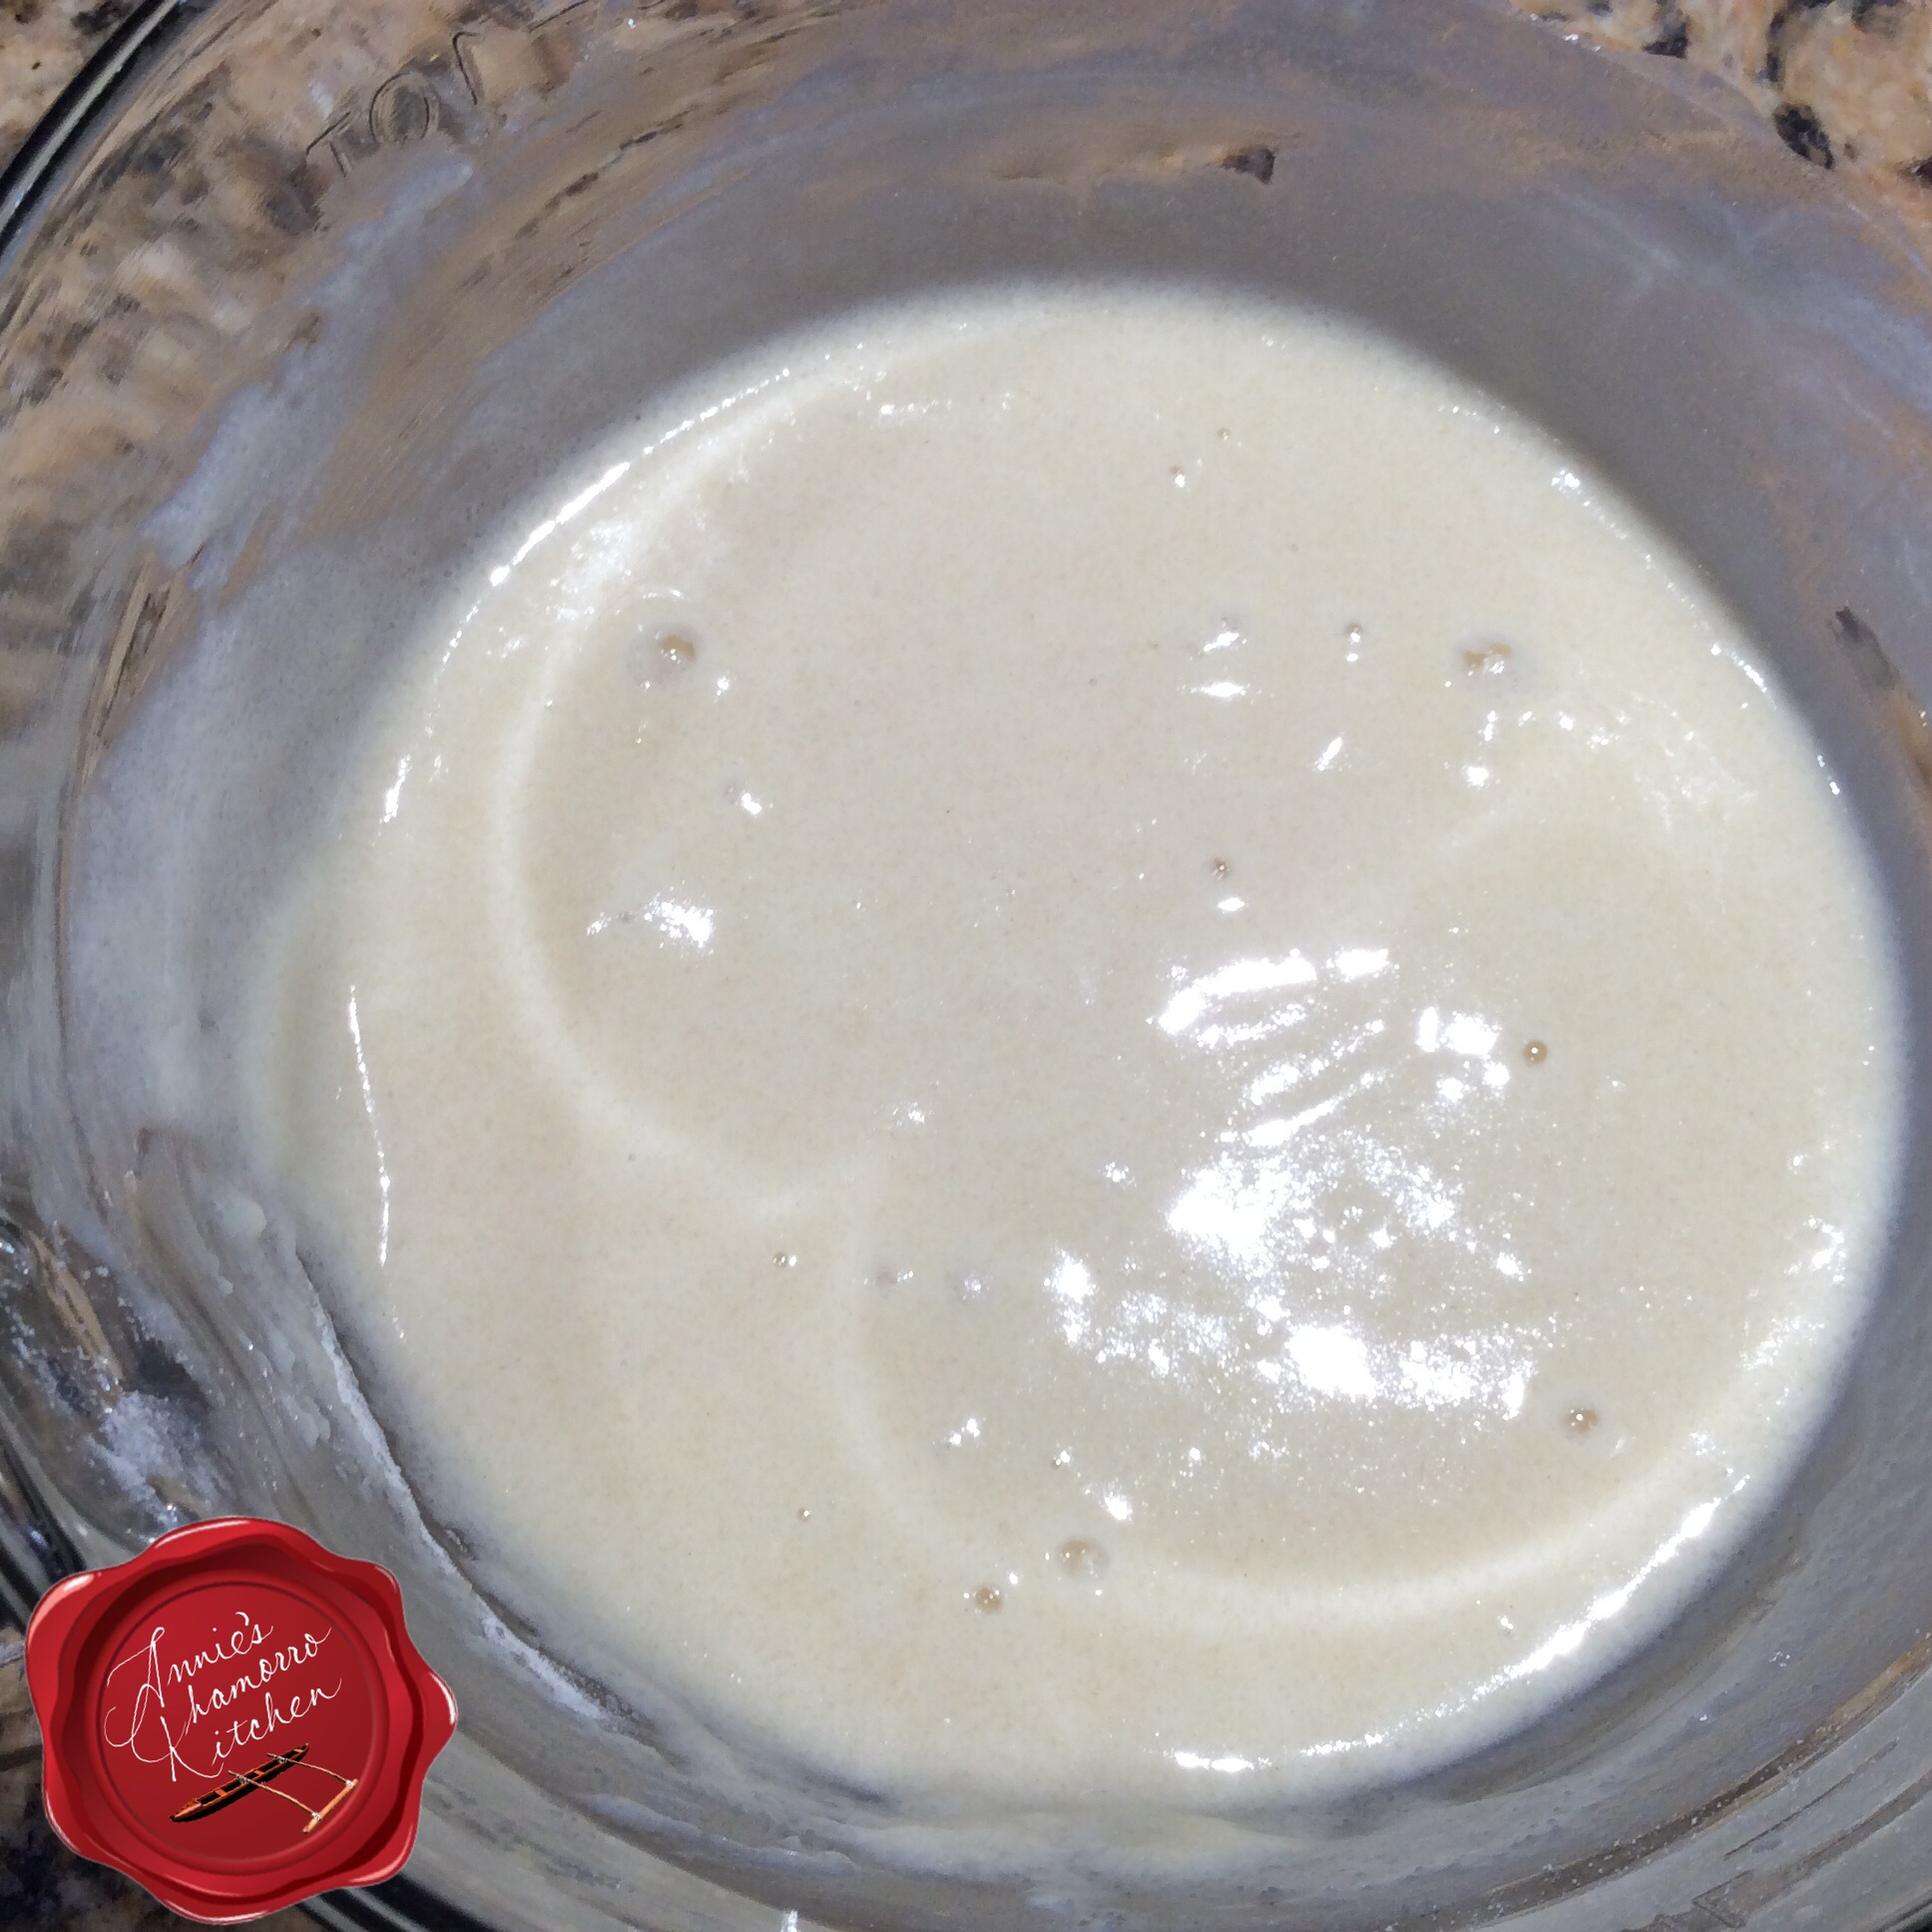
  1. Mix all of the ingredients for the cake together using a whisk. Mix just until combined and most of the lumps disappear. Do not over mix.
  2. Pour the batter into a bundt pan sprayed with baking spray. Bake for 50-55 minutes at 350 degrees. Invert the cake onto a serving plate. Let it cool completely.
Toast the coconut:
  1. Spread the coconut onto a large baking pan. Bake at 350 degrees for 8-10 minutes, stirring every 3 minutes to ensure even browning. Bake until golden brown.
  2. Remove the toasted coconut from the hot pan; allow to cool completely.
Make the Frosting:
  1. Beat the cream cheese and caramel sauce until creamy. Add the powdered sugar, one cup a time, mixing until thick and creamy. Use all four cups of powdered sugar if you like your cakes frosted with a thick layer of frosting, otherwise, three cups of sugar will suffice.
Drizzle on the Goodness:
  1. Place the chocolate chips into a microwave-safe glass cup or bowl. Microwave for 30 seconds then stir. Microwave for 30 more seconds then stir again. Place the melted chocolate into a small sandwich bag. Snip a tiny piece off one corner of the bag. Squeeze the melted chocolate over the top of the cake.
  2. Drizzle the caramel sauce over the top of the cake.
SERVE AND ENJOY! 🙂


Soft and Chewy Gingerbread Cookies

Gingerbread cookies are so much fun to make — and eat!  My daughter even says they “taste like Thanksgiving and Christmas.” 😉

image

These aren’t the kind of cookies that you bake and form into shapes suitable for ornaments or making gingerbread houses.

In fact, this dough cannot be rolled out like traditional gingerbread.  Rather, the dough is soft and moist (and actually requires chilling in order to handle it better), and the cookies bake up super fluffy, soft, and chewy.

image

Funny story here…

I brought a couple dozen cookies to work and offered them to my coworkers. They all smiled politely when I said they were gingerbread cookies, but then politely declined to eat any. The SECOND I told them they were SOFT and CHEWY, not the hockey-puck-rock-hard-gingersnap cookies, they ate them like they hadn’t eaten in days! 😀

image

So, let’s get to it, shall we?

Start by placing the flour into a medium sized mixing bowl.

image

Now for the heart and soul of these incredible gingerbread cookies.  You’ll need baking soda, cinnamon, ground cloves, nutmeg, salt and ginger.  Even before the cookies bake, the aroma of these spices make you think of fall and Thanksgiving, and all that comes with holiday baking.

image

Mix the spices with the flour.  I use a whisk to really mix it all together.  You don’t want any of the seasonings to clump together when you mix it with the wet ingredients.  Set this flour mixture aside for now.

image

Place the softened butter in a large mixing bowl.  I use a stand mixer because this makes a lot of cookie dough, but you can use a hand mixer as well.

As mentioned above, this makes a large batch of cookie dough, but don’t worry.  These cookies are so good, you’ll be glad you made a lot of them. 🙂

image

Beat the butter until creamy.

image

Add the brown sugar to the mixing bowl.

image

Mix until light and fluffy.

This is a great mixture to spread over hot dinner rolls, by the way.  Just add a teaspoon of ground cinnamon and voila! Sweet Cinnamon Butter!

image

Now I want to make some dinner rolls, but I digress.

Anyhoo…back to the cookies.

Add the molasses, eggs and vanilla extract to the mixing bowl.

image

Mix on low speed for a minute or so, or until you get a nice creamy consistency like what’s pictured below.  Scrape down the sides of the bowl if you need to then mix again.

image

Add the flour mixture, one cup at a time, mixing on low speed just until the flour mixture is incorporated into the wet batter.

image

Continue mixing in the dry ingredients, a cup at a time, until a dough forms.  Stop mixing when you no longer see clumps of dry ingredients.  Do not over mix the dough.

Because this is a really wet dough, you need to chill it for several hours before making dough balls.  I usually prepare the dough while dinner is cooking, then I pop the mixing bowl into the freezer while we eat dinner.  After dinner, I take the dough out of the freezer and bake the cookies.

image

Now that your dough chilled sufficiently enough to handle, scoop out small amounts (about 1 1/2 to 2 tablespoons) and form into balls.  I use a small cookie scoop to do this — I have a bit of OCD; I like all of my cookies to be the same size. 😉

Roll the balls of dough in a bowl of granulated sugar.  Ensure the entire ball is well-coated with sugar.

image

Place each ball of dough onto a baking pan.  If you have regular baking pans, make sure to line the pan with parchment paper first.  I use stoneware pans; there is no need to line them with parchment paper.

Place the balls about 1 1/2 to 2 inches apart.  These cookies will spread, but they won’t spread too much.

image

Bake the cookies for 10 minutes.  Let the cookies cool on the pan for a couple of minutes then remove them to a wire rack to finish cooling completely.

See how nicely they puff up?  As the cookies cool, they will settle just a little bit, but they will still be a bit puffy, and they will most definitely be soft and chewy.

image

Place any uneaten cookies in an airtight container.  They will stay soft and chewy for several days (if they last that long). 🙂

image

Here’s my complete recipe.  I think you’ll really like this one.  ENJOY!


Soft and Chewy Gingerbread Cookies
 
Prep time
Cook time
Total time
 
SOFT & CHEWY gingerbread cookies that make you think of Thanksgiving and the holidays, all year round. These are NOT at all like the typical rock-hard gingersnap cookies.
Author:
Recipe type: Cookies
Cuisine: American
Ingredients
  • 6 cups all-purpose flour
  • 2 teaspoons baking soda
  • 1 tablespoon cinnamon
  • ½ teaspoon ground cloves
  • ½ teaspoon nutmeg
  • ½ teaspoon salt
  • 1½ tablespoons ground ginger
  • 1½ cups (or 3 sticks) unsalted butter, softened
  • 1½ cups dark brown sugar
  • ⅔ cup dark molasses
  • 2 large eggs
  • 2 tablespoons vanilla extract
  • ¾ cup white, granulated sugar (for coating the cookie dough balls)
Instructions
  1. In a medium sized bowl, place the flour, baking soda, cinnamon, cloves, nutmeg, salt, and ginger. Whisk to combine all the dry ingredients then set aside.
  2. Place the butter in a large mixing bowl. Using a stand or handheld mixer, beat the butter until creamy.
  3. Add the brown sugar to the creamed butter. Mix until fluffy.
  4. Add the molasses, eggs and vanilla extract to the butter-sugar mixture. Mix until well incorporated. Scrape down the sides if required and mix again.
  5. Mix the dry ingredients, one cup at a time, with the butter mixture. Stop mixing once the last bit of the dry ingredients are mixed into the dough (do not over mix).
  6. Cover the mixing bowl with plastic wrap and refrigerate the dough for 2-3 hours. (I placed my bowl in the freezer for 30 minutes to speed things up.)
  7. Scoop out some chilled dough and roll into a ball. I use a small cookie scoop that holds 1½ tablespoons.
  8. Roll each ball of dough in the granulated sugar, coating the entire ball. Place the coated balls onto a parchment paper lined baking sheet (if you use a stoneware pan you don't need to line it), about 1½ inches apart. These cookies will spread only a little, so you don't need to space them too far apart.
  9. Bake in a preheated 350 degree oven for 10 minutes. Let the cookies cool on the pan for a couple of minutes then remove to a wire rack to finish cooling.
These cookies are soft and chewy, and will stay soft for several days (if they last that long!) when stored in an airtight container. This recipe makes about 6 dozen small cookies.


Fresh Peach Cobbler

Peach Cobbler is the ultimate summer dessert.  I like using fresh peaches when they are in season, but canned peaches (in juice, not syrup) will do in a pinch.

image

This is a very easy dessert to make.  The hardest part is peeling and slicing the peaches.  However, if you ask my kids, the hardest part is actually waiting for the cobbler to finish baking! 😉

My complete recipe is at the bottom of this post.  Give it a try.  I think you’ll like it. 🙂

Fresh Peach Cobbler

image

Place the sliced peaches into a large mixing bowl.  If you’re using canned peaches, be sure to drain all the liquid.  12 fresh peaches yields about 10 cups of peaches.

image

 Add sugar, cinnamon, vanilla extract and lemon juice to the bowl.

image

Gently stir to combine all of the ingredients.

image

In a small mixing bowl, whisk together the flour, sugar, salt and baking powder.

image

Add milk to the flour mixture.

image

Stir or whisk, just until a batter forms.  A few small lumps in the batter are okay.

image

Pour the melted butter into the pan.

image

Pour the batter over the melted butter.  DO NOT STIR. 

image

image

Place the peaches on top of the batter.  Again, DO NOT STIR.

Bake for 45-50 minutes or until the batter (that seep through to the top) is golden brown.

image

I love how the some of the batter rose through the peaches and sweet cinnamon sauce and settled on top.  If you want more of the batter to seep through to the top, save some of the batter, placing dollops of it on top of the peaches before baking.

image

The peaches are perfectly cooked, not mushy at all.  The batter is fluffy on the inside and just slightly crisp on the outside where the sugar caramelized on top.

image

What’s better than warm peach cobbler?  Why, peach cobbler with ice cream, that’s what!

Top with vanilla ice cream or whipped cream and ENJOY!

image


Fresh Peach Cobbler
 
Prep time
Cook time
Total time
 
Fresh, juicy sweet peaches mixed with sugar, cinnamon, and vanilla extract, baked with a buttery batter to create the summer dessert favorite.
Author:
Recipe type: Dessert
Cuisine: American
Ingredients
Peach filling:
  • 12 ripe peaches, peeled, pitted and sliced
  • 1½ cups sugar
  • 1 tablespoon ground cinnamon
  • 1 tablespoon pure vanilla extract
  • 1 tablespoon lemon juice
Batter:
  • 2 cups all-purpose flour
  • 2 cups sugar
  • 2 teaspoons baking powder
  • ½ teaspoon salt
  • 2 cups milk
  • 2 sticks unsalted butter, melted
Instructions
Preheat the oven to 375 degrees.
Prepare the filling:
  1. Place the sliced peaches in a large mixing bowl. Add the sugar, cinnamon, vanilla extract, and lemon juice. Stir gently to combine all of the ingredients.
Prepare the batter:
  1. In a medium-sized mixing bowl, whisk together the flour, sugar, baking powder and salt.
  2. Pour in the milk; mix together until a batter forms.
Layer the cobbler:
  1. Pour the melted butter into a 9x13 pan.
  2. Pour the batter over the melted butter. DO NOT STIR.
  3. Pour the peach mixture over the batter. DO NOT STIR.
  4. Bake for 45-50 minutes or until the top is golden brown.
Serve with vanilla ice cream or whipped cream and ENJOY!
« Older Entries