I love to bake yeast breads, but that wasn’t always the case. I distinctly remember my very first yeast rolls disaster. Instead of tender, soft, fluffy rolls, I baked up a batch of hockey pucks.
That was over 20 years ago. Now I find that bread baking is one of the easiest things to do, once you understand how the ingredients work together.
I’m not a chef by any means, but years of trial-and-error as well as reading countless recipe books and articles helped me be successful when baking with yeast.
If you are intimidated by yeast breads, read on for some of the things I’ve learned over the years. Once you understand how it all comes together, I’m sure you will feel confident enough to try your hand at it.
As always, feel free to leave a comment with any questions you may have.
I’ve also put together a tutorial video for making dinner rolls. It’s an amateur video so be kind to me. 🙂
You can find my two-part video tutorial here:
How to make Sweet Dinner Rolls – Part 1:
http://www.youtube.com/watch?v=m7prj-ftdZs
How to make Sweet Dinner Rolls – Part 2:
http://www.youtube.com/watch?v=pLkjSAUVkc8
To make a good loaf of bread (or dinner rolls), all you really need are five basic ingredients:
- Flour
- Water
- Yeast
- Sugar
- Salt
THAT’S IT! FIVE ingredients!
Flour
There are lots of different types of flour—unbleached, bleached, bread, all-purpose, whole wheat (brown), white whole wheat, enriched, whole grain…the list goes on and on. Don’t be discouraged; the standard all-purpose flour will do in most of my recipes (and most recipes you’ll find on the internet as well).
Water
Water activates yeast. Too much water, however, will make your bread flat. Too little water will make your bread dense and dry. More on this topic in another post (see my post on Liquid to Flour Ratio — coming soon).
Yeast
As with flour, there are different types of yeast you can find at the grocery store, some are more common than others, however. There is active dry, instant, or fresh yeast. You may have seen packets or jars of active dry or quick (rapid) rise, bread machine yeast, and yeast cakes. I’ll talk more about yeast in another post (see my post on Types of Yeast — coming soon). You won’t go wrong if you use only Active Dry yeast; it’s what I use in most of my recipes. I usually buy the Active Dry yeast that comes in jars. You’d be surprised how little yeast you really need; most of the time, one envelope of yeast is really too much yeast for a basic bread recipe (scroll down for my Basic Bread Recipe).
Sugar
Yeast is an active organism, unlike chemical leaveners like baking soda and baking powder. Therefore, you have to feed it in order for it to grow. Oh, don’t be grossed out about this—feeding the yeast is a GOOD THING. You only need a little bit of sugar for this, about a tablespoon per envelope of yeast.
Salt
Yeast does not like salt. Just as sugar feeds yeast and enables it to grow, salt inhibits yeast fermentation. However, salt adds flavor to bread. You WANT flavorful bread, don’t you? Yes, yes you do.
Other ingredients (though not necessary, they do different things to bread when added):
Milk
Adding milk to bread helps make it have a softer texture, kind of like the soft sandwich breads you buy in the grocery store. You can also use dry (powdered) milk instead of “regular” milk in recipes. Some of my bread recipes call for dried milk. Breads made with milk will need to bake at lower temperatures (350 instead of 375 degrees). You will also need a bit more milk if you are substituting it for water to compensate for the milk solids. Yeast doesn’t dissolve well in milk; be sure to still use water when proofing (or activating) the yeast.
Butter (or oil)
Butta is Betta (use your own accent here). ‘Nuff said. Okay, seriously, adding butter to a bread recipe is really just for flavor. You can omit it. I personally think it makes my breads softer. Brushing melted butter on top of rolls or a loaf BEFORE (and after) baking definitely adds flavor, a nice color, and makes a soft crust. You can even substitute coconut oil for butter or oil (1:1). Aside from adding flavor, I’ve found that bread made WITHOUT butter or any type of fat/oil tends to get stale faster. Oh yeah, make sure to use UNSALTED butter as you’re already (usually) adding salt to the recipe, plus different brands of butter have varying amounts of salt added to SALTED (aka Sweet) butter.
Eggs
Eggs add color and richness to bread. It also adds a tad more protein. You can use whole eggs or egg whites (1/4 cup of egg whites roughly equals one large egg).
Sweet Stuff
Sugar feeds yeast, as I already mentioned before. Yeast needs sugar to grow. Sweeteners also make breads stay moist longer. I use either sugar or honey to sweeten my breads or rolls.
Vital Wheat Gluten
Gluten is the protein in flour that forms the structural framework of the resulting bread. Gluten develops during the kneading process, forming elastic strands that give the bread structure and texture. Without going too much into the science of things, it is the development of gluten that makes a chewy bread chewy. Think of it this way: you don’t want a lot of gluten in things like cakes (that’s why you don’t want to over mix cake batter, so gluten doesn’t develop), but you want gluten in breads (so you develop that chewy texture), which explains the kneading process. Generally, the more you mix a batter or dough, the more the gluten develops. Also, gluten needs more water to fully develop and form those elastic strands. If you don’t have enough liquid in your bread recipe, the gluten will not develop fully and your bread won’t be as tender. Adding vital wheat gluten is especially important when baking with low protein flours (like whole wheat and rye flour), or in recipes that add dried fruit, nuts, or seeds. I add vital wheat gluten to my bread recipes that call for both white and brown whole wheat flour.
Vital wheat gluten is becoming a common item in regular grocery stores these days. The brand I usually buy is Bob’s Red Mill. If you can’t find it in your local grocery store, try looking for it in specialty stores or health food stores. You can also order it online from Bob’s Red Mill, King Arthur Flour, or Arrowhead Mills.
So now that you know what the basic ingredients do for a good “standard” loaf of bread (or basic dinner rolls), here is a very basic recipe for a “standard” white loaf or pan of dinner rolls.
Basic Bread Recipe:
Ingredients:
- 3 cups all-purpose flour
- 2 teaspoons salt
- 2 teaspoons yeast (or one envelope)
- 1 tablespoon white, granulated sugar
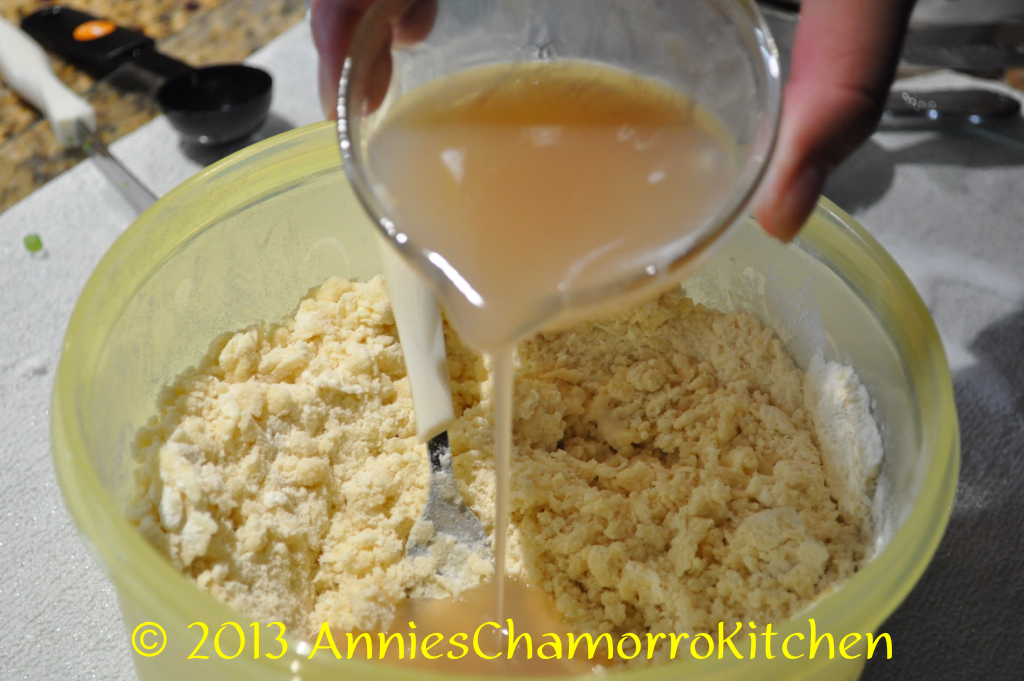
- 1 to 1¼ cups warm water (start out with only one cup; add the remaining ¼ cup if the dough doesn’t form a ball).
Directions:
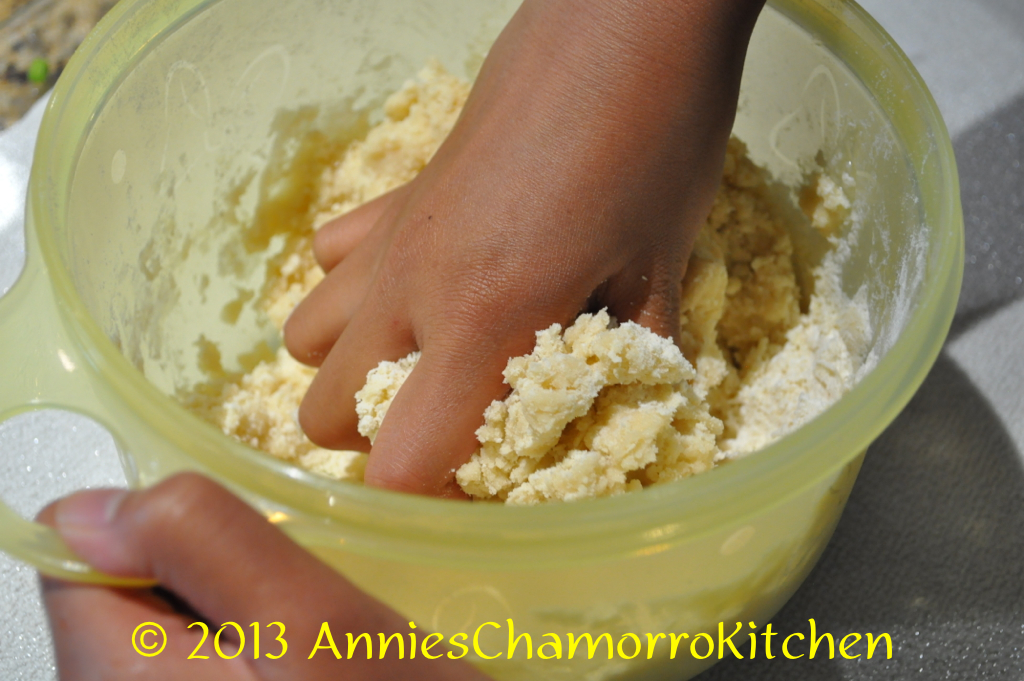
- Mix all the ingredients together. Knead it for 8-10 minutes. Place the dough in a greased bowl, cover it (with a clean cloth or plastic wrap) and set it aside to rise until doubled in size.
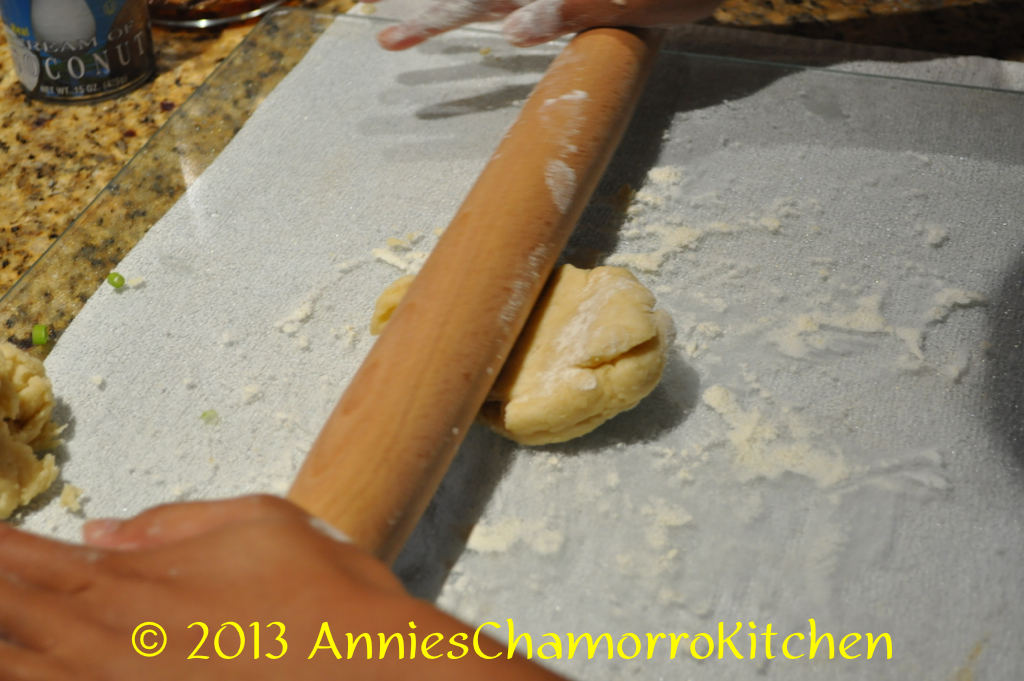
- After the dough has risen, punch it down, shape it into a loaf (either on a baking sheet or in a greased loaf pan), then cover and set it aside to rise again.
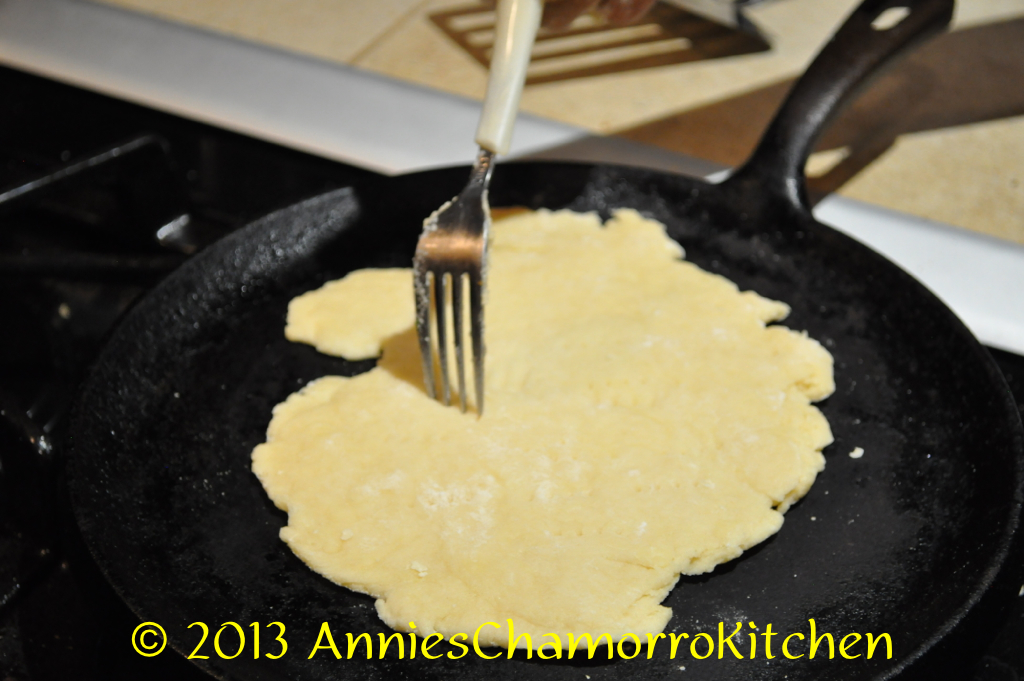
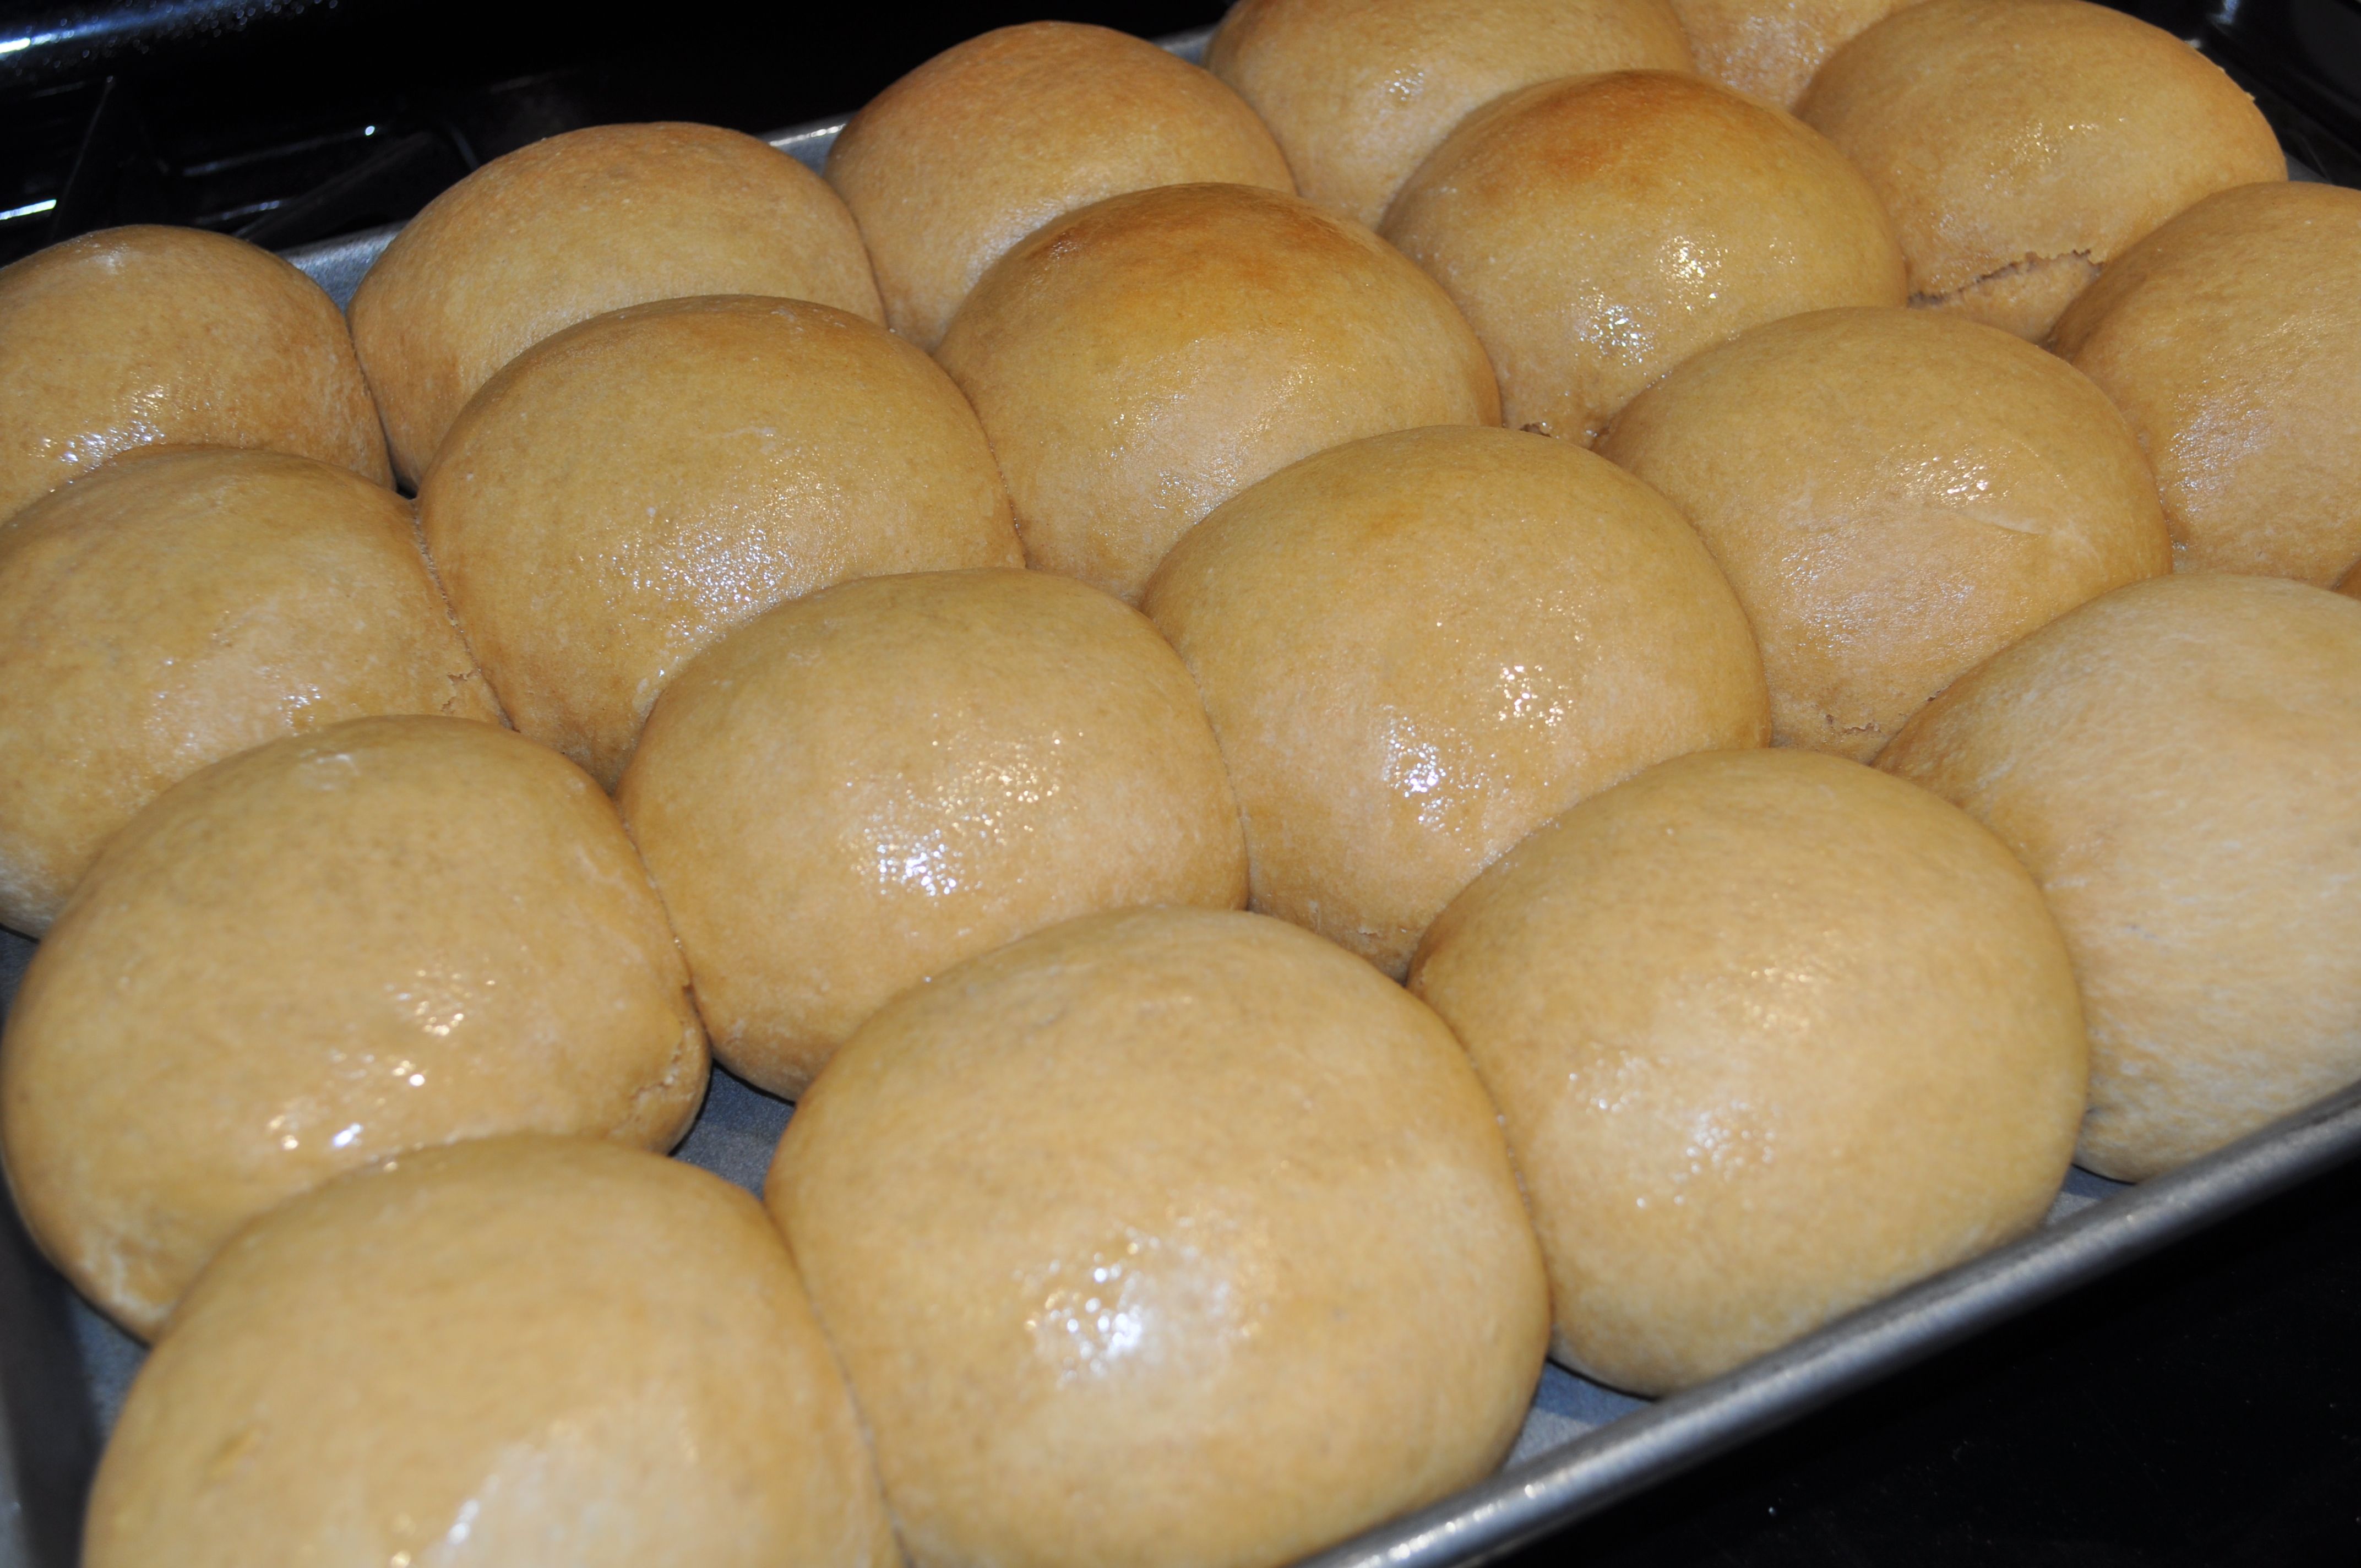
- After the dough has doubled in size again, bake it (in a preheated, 375 degree oven) for 40-45 minutes (for a loaf) or about 20-25 minutes for rolls (the length of time varies by oven; bake until golden brown).
This basic recipe makes good sandwich bread, or bread for soaking up yummy gravies (this would be delicious with my pot roast recipe).
Once you master the basic bread-making techniques (and this basic bread recipe), try adding modifications such as honey, more sugar (for sweet breads), eggs, milk and butter, and even dried fruit.
For sweeter breads, see my other posts and recipes here.