Archive for Uncategorized

Pistachio Cake

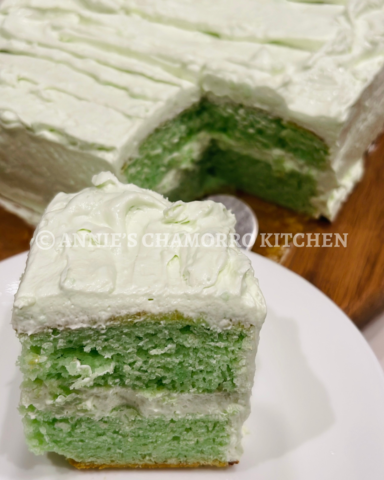
In honor of Saint Patrick’s Day, I wanted to bake something green.  I’ve made green velvet cake before, but I remembered a childhood favorite — pistachio cake — and I knew that’s what I wanted to make instead.

One of my favorite baking “hacks” is using a box cake mix as the base for any cake recipe I’m using. The use of a box cake mix in this Pistachio Cake recipe is AMAZING and so easy. The addition of the pudding mix adds the perfect pistachio flavor and makes the cake so moist and rich.

This recipe isn’t just for St. Patrick’s Day, it would make a great addition to your next gathering, party, or just for dessert!

You can find my complete recipe at the end of this post below, along with my recipe for a super-simple whipped cream frosting (it’s great on all cakes, by the way).

Give my recipe a try. I think you’ll like it. 🙂

Pistachio Cake
 
Prep time
Cook time
Total time
 
Moist, rich, and delicious pistachio cake with a light whipped cream frosting. The use of box cake mix makes this recipe quick and easy!
Author:
Recipe type: Dessert
Cuisine: Chamorro
Serves: 15 servings
Ingredients
  • 1 box white cake mix
  • 1 box instant pistachio pudding mix
  • 1 stick melted butter
  • 4 egg whites
  • 1 cup milk (regular or buttermilk)
Instructions
  1. Preheat oven to 350 degree, and line a 8x8 cake pan with parchment paper.
  2. Combine the box cake mix and the pudding mix in a large bowl. Mix together.
  3. Prepare your wet ingredients (butter, egg whites, milk).
  4. Add in the melted butter, egg whites, and milk to the cake and pudding mix.
  5. Beat together until just combined with a whisk or electric mixer.
  6. Fill cake pan with batter. If using two smaller cake pans, split the batter evenly into each pan.
  7. Bake for 35-45 minutes.
  8. Let cake cool completely before trimming, cutting, or frosting.

Whipped Cream Frosting
 
Prep time
Cook time
Total time
 
Easy whipped cream frosting, perfect for any cake or dessert!
Author:
Recipe type: Dessert
Ingredients
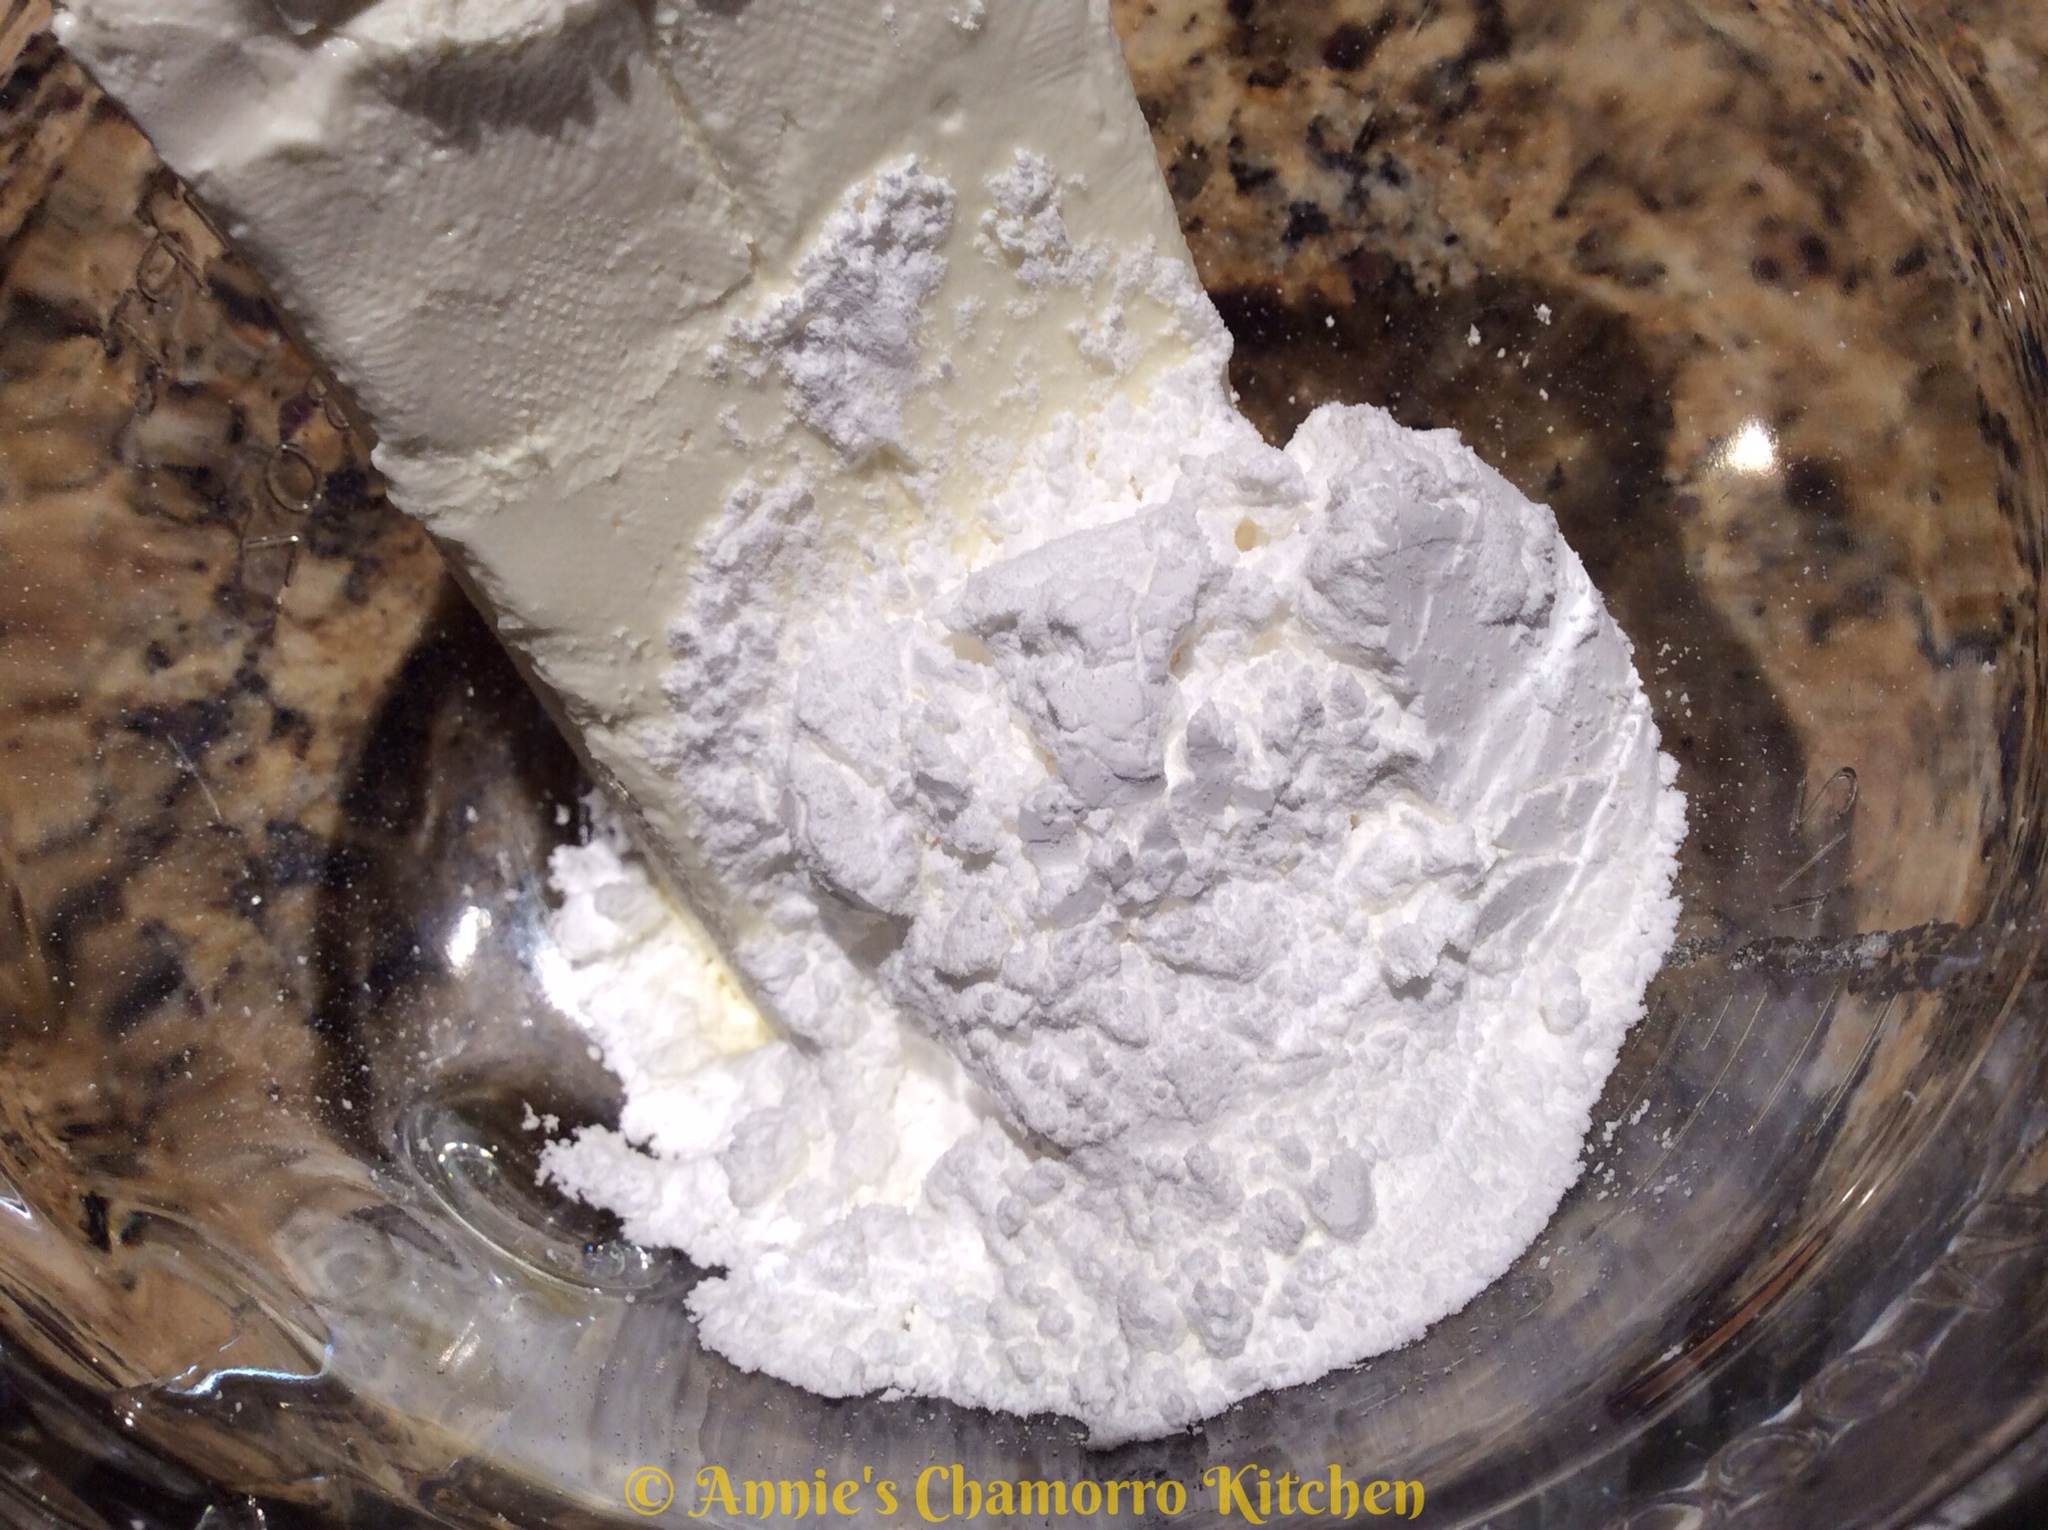
  • 1 block (8 oz.) softened cream cheese
  • 1 box instant pistachio pudding mix
  • 1 large tub of Cool Whip
  • 3 tablespoons heavy cream or milk
Instructions
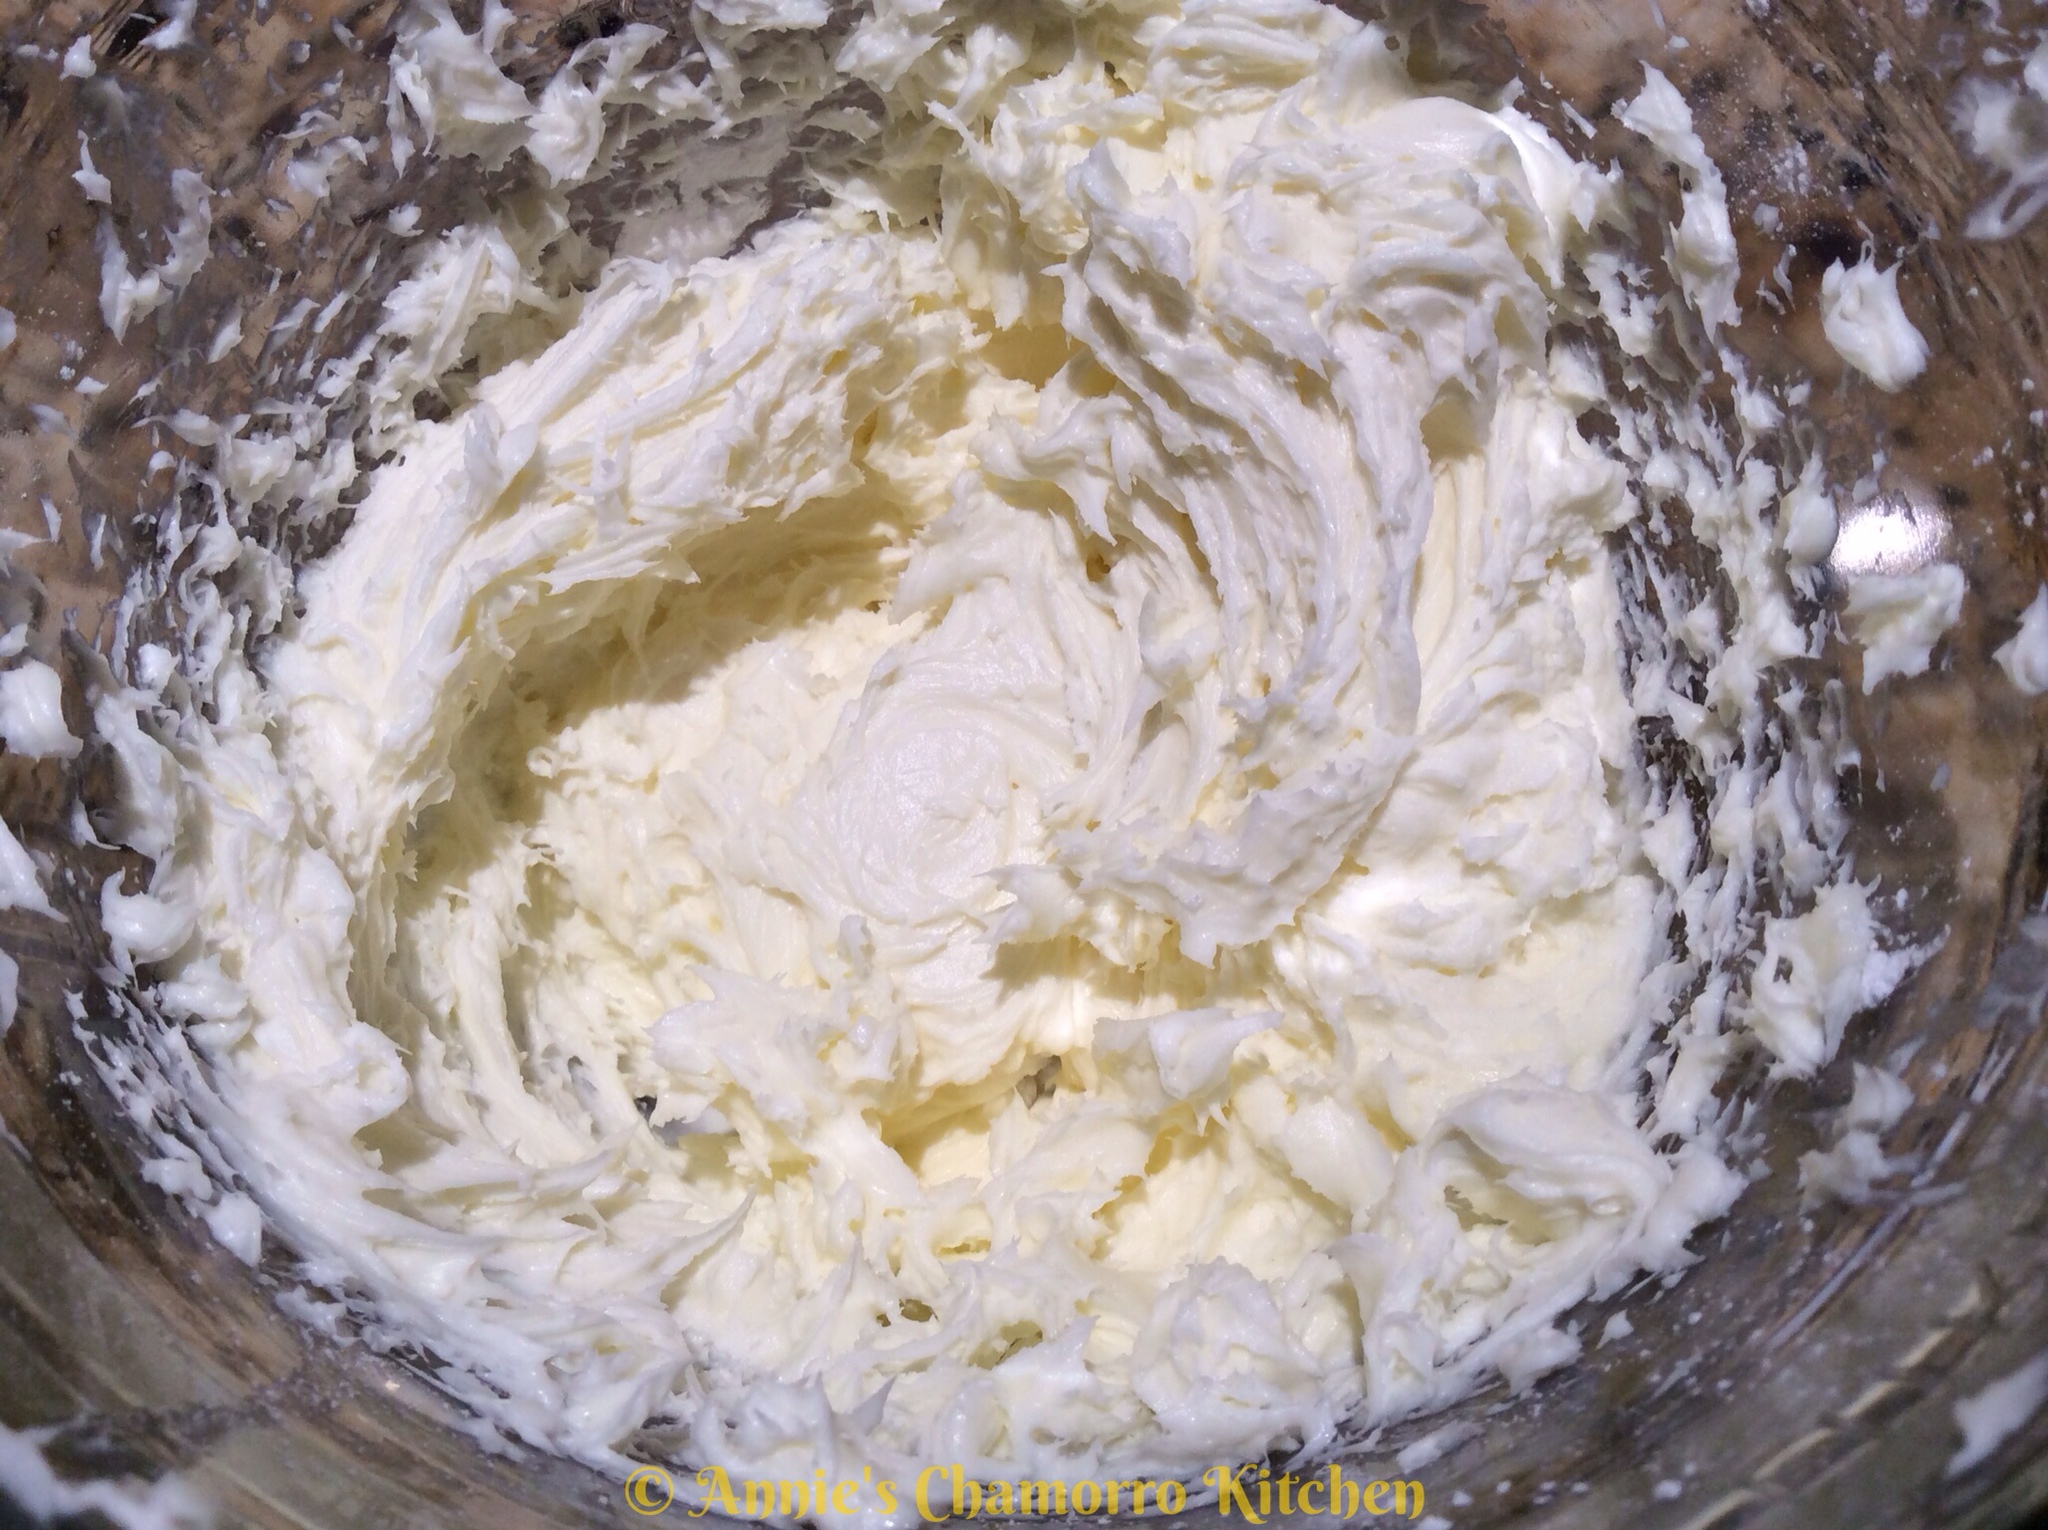
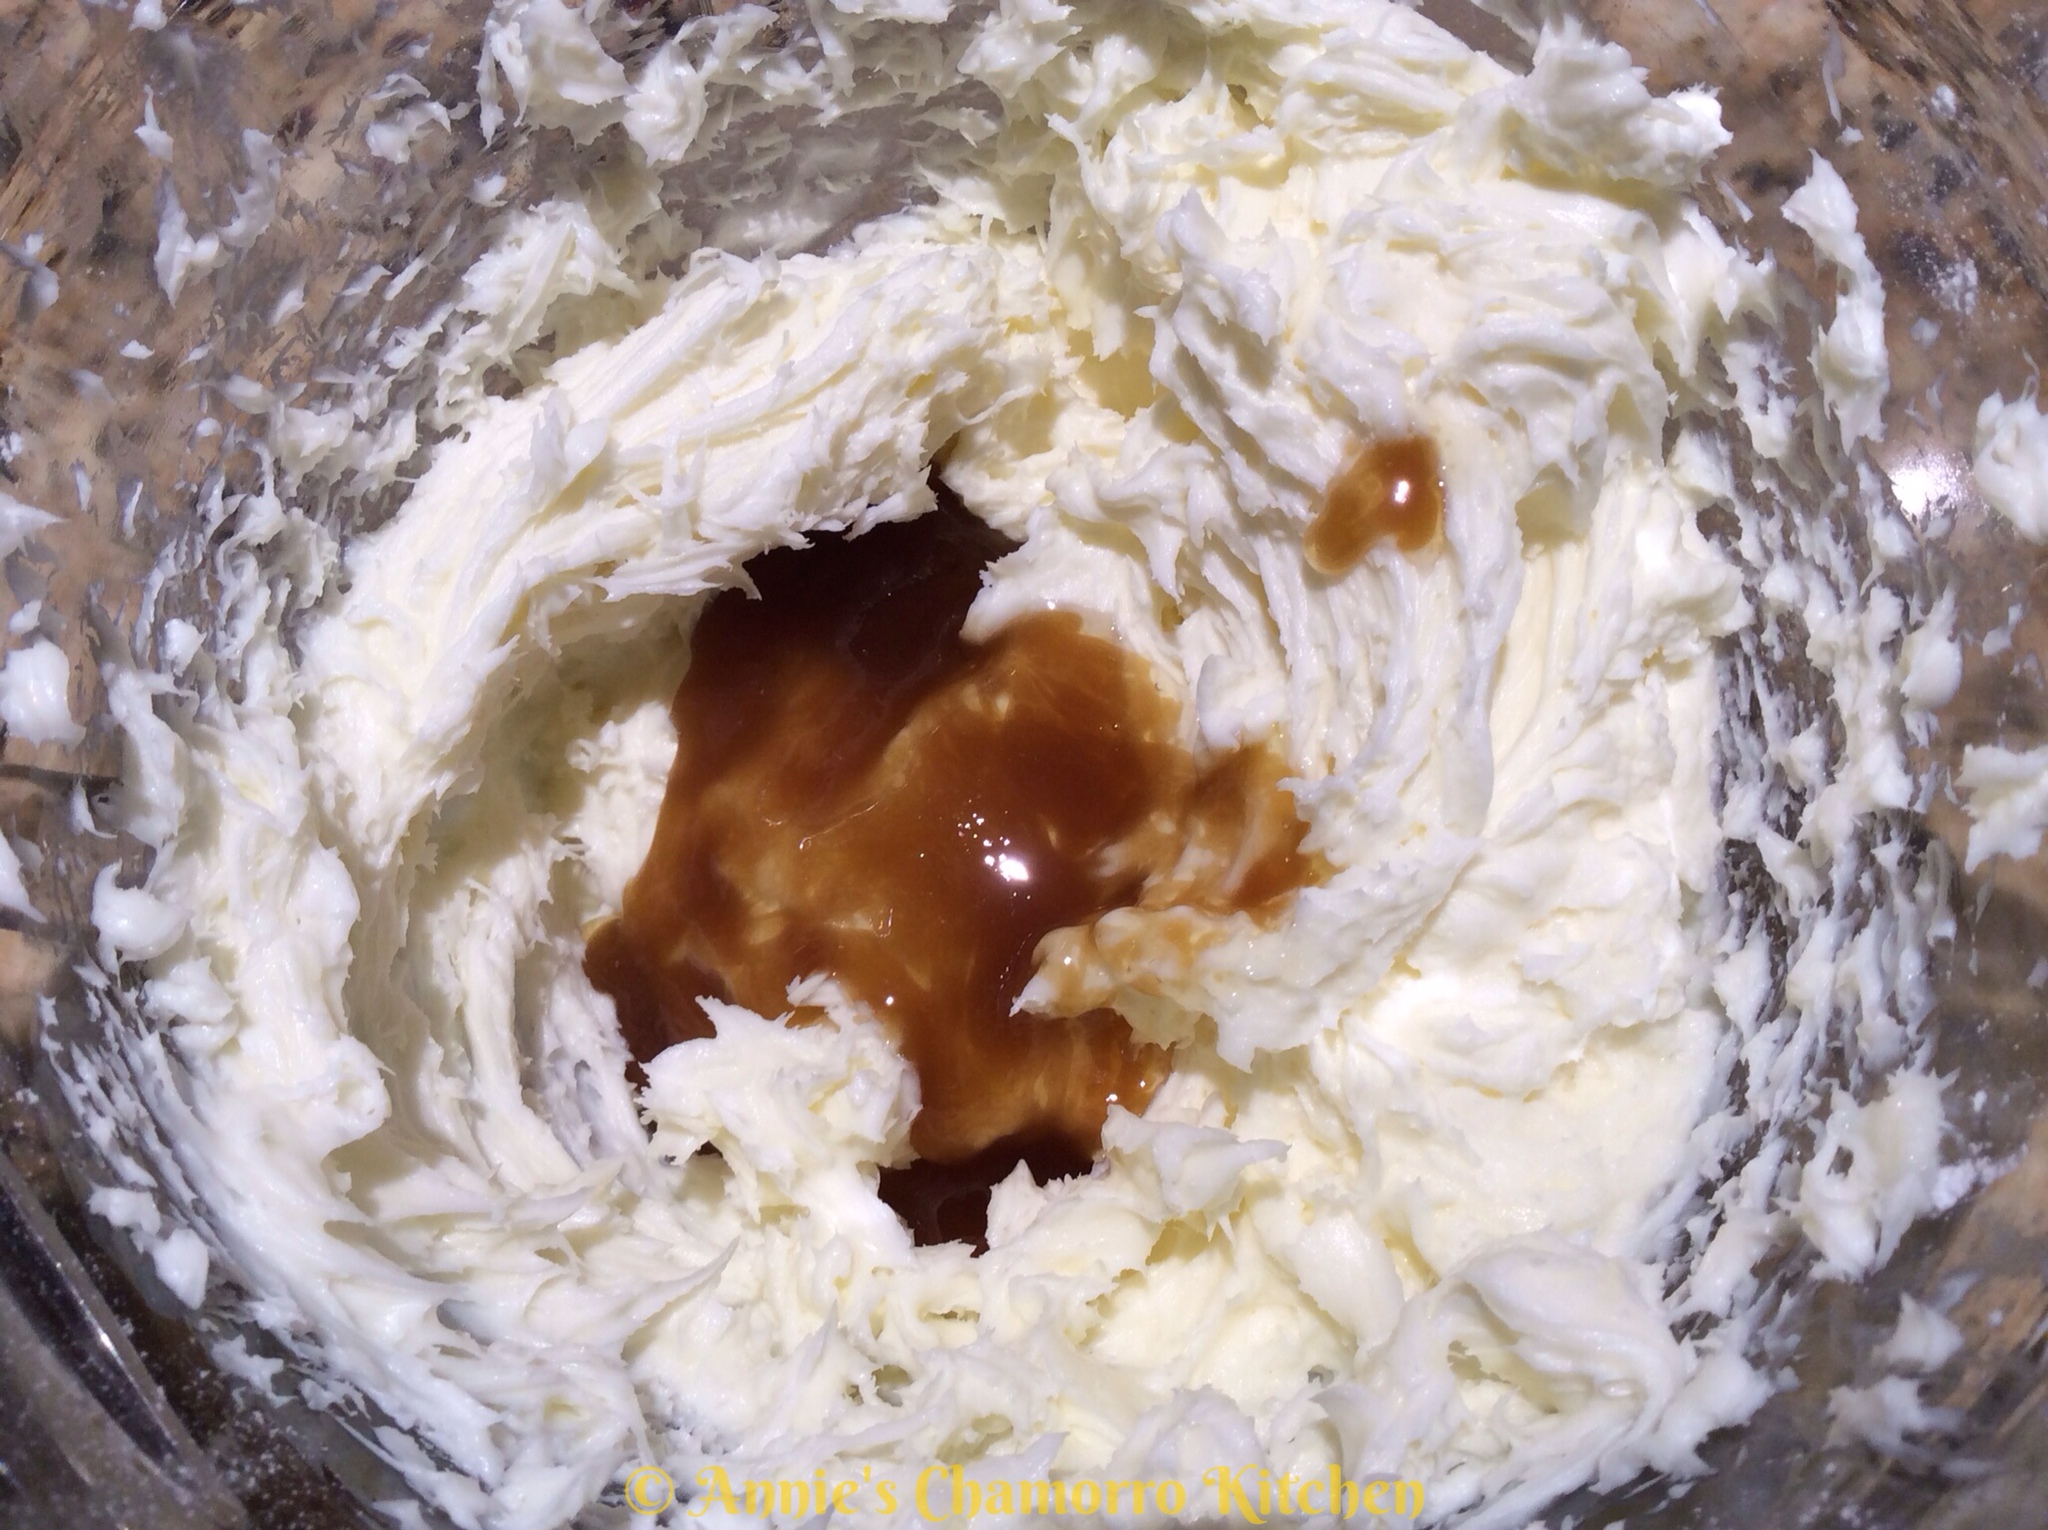
  1. In a medium size bowl, add in the cream cheese and 3 tablespoons of pudding mix.
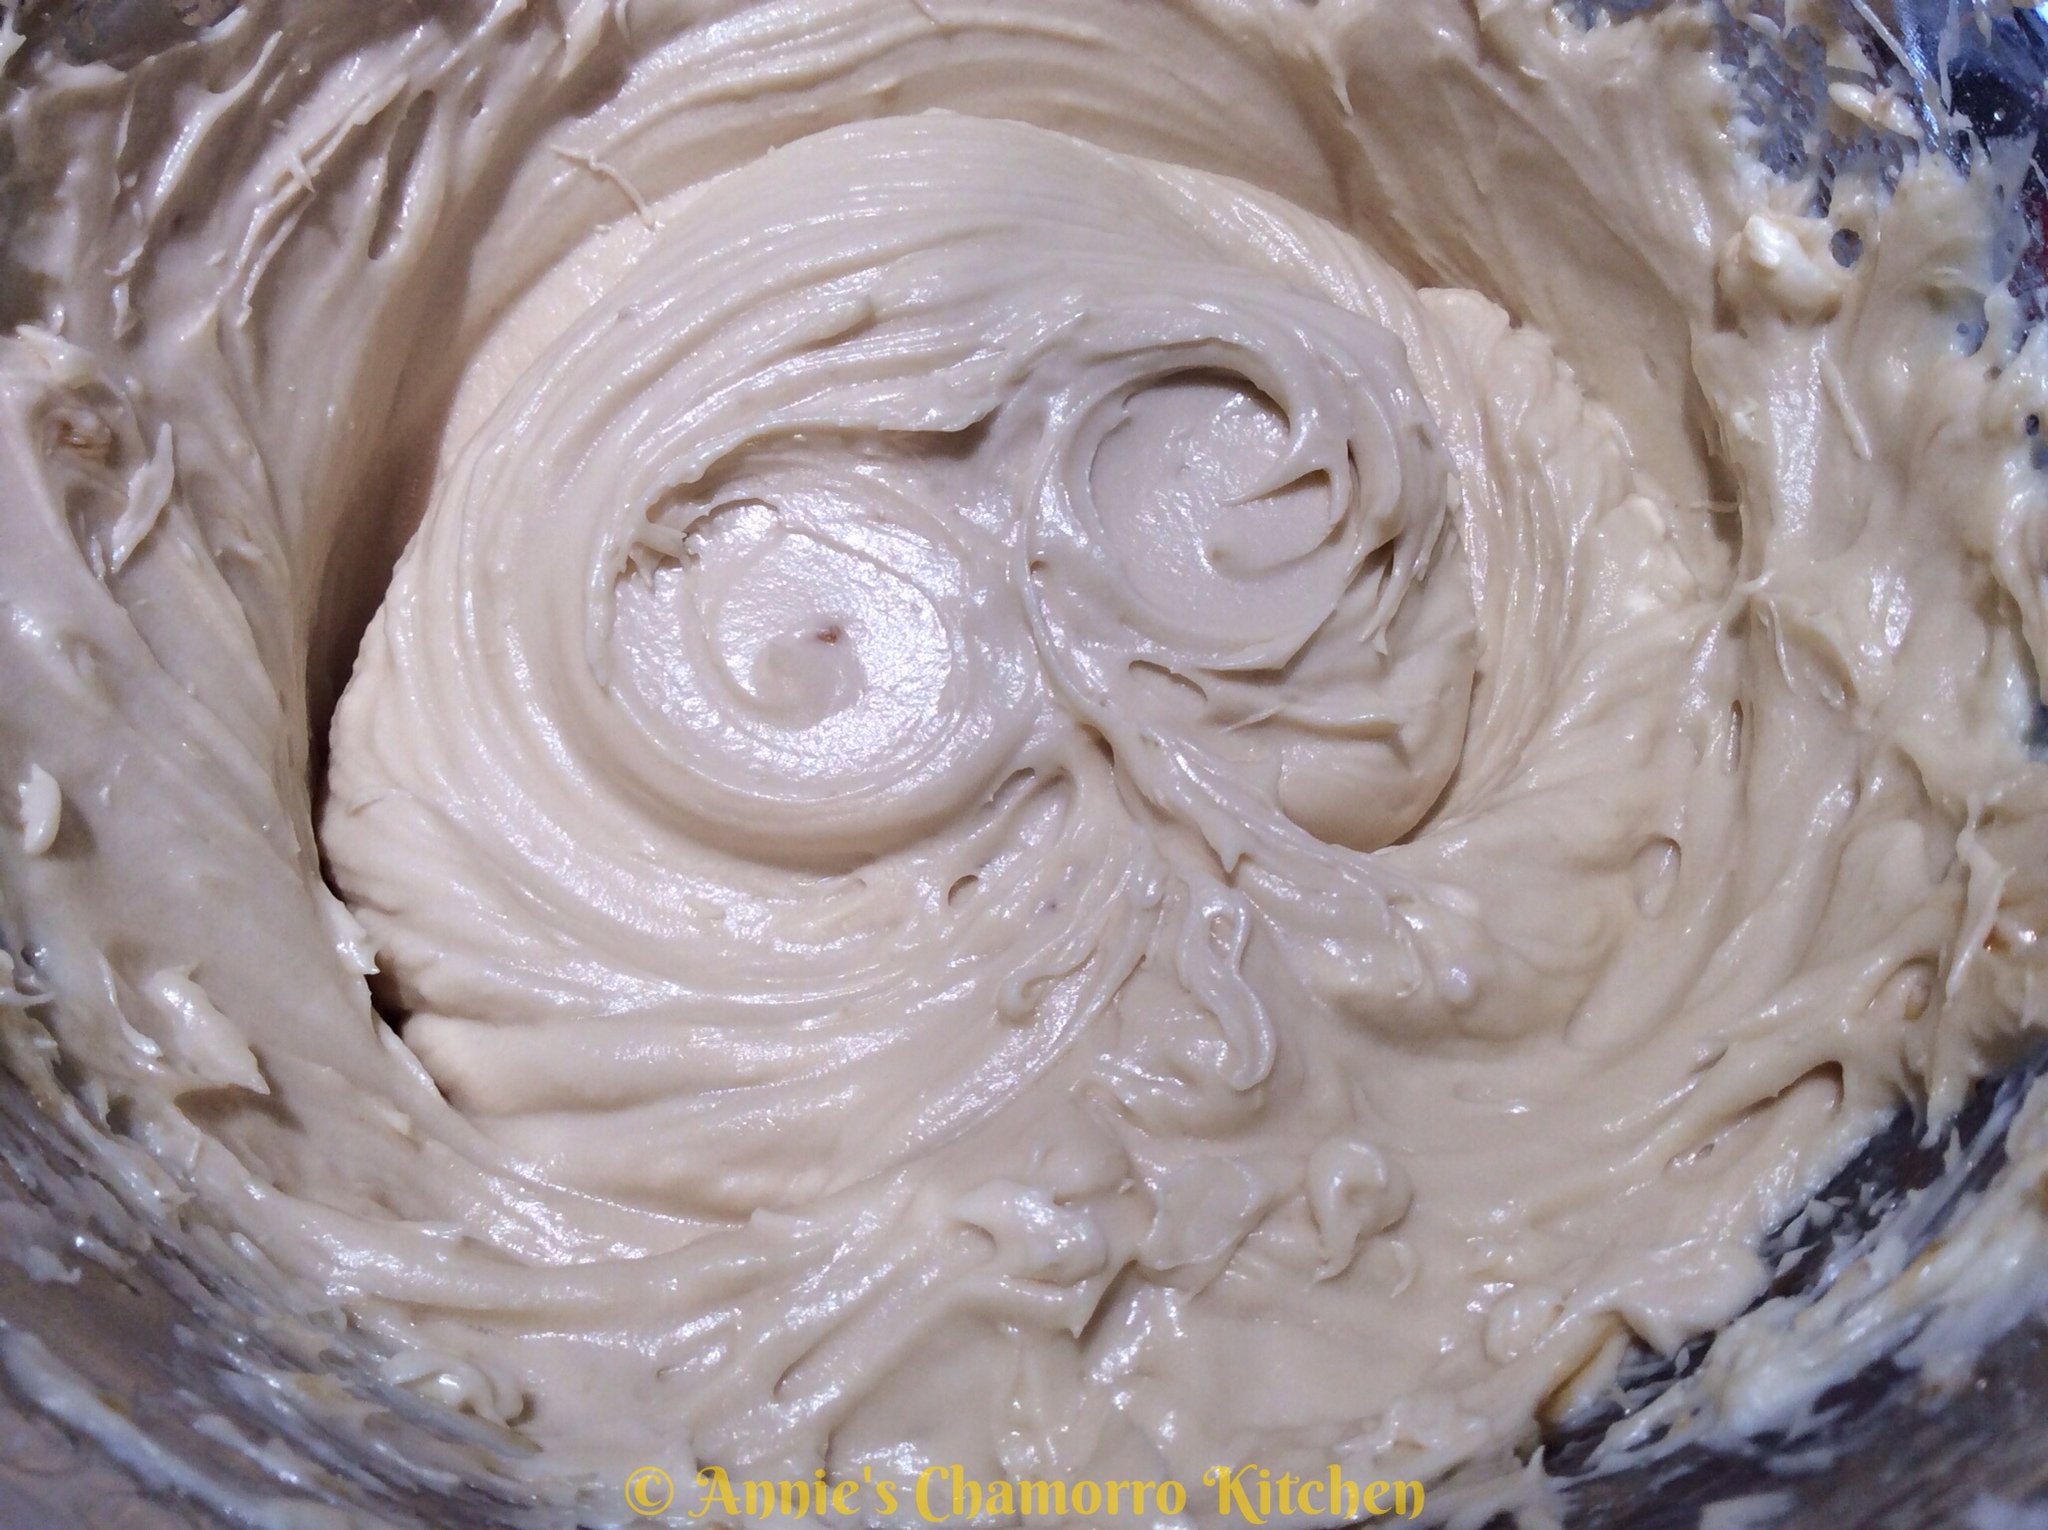
  2. Mix the cream cheese and pudding mix together until light and fluffy.
  3. Add in the Cool Whip and mix together.
  4. Add in heavy cream or milk until the frosting is the consistency you like.
  5. NOTE: If you would like the frosting to be a different flavor, you can change the pudding mix flavor or omit the pudding and use 1 tablespoon of extract instead.


Print Friendly, PDF & Email

Teriyaki Salmon

Hafa Adai Everyone!

My teriyaki salmon is one of my go-to dinners since it’s so simple to make. This savory dish is definitely a classic with the light salmon and savory, umami, teriyaki sauce. My family likes to eat this with the extra sauce and some rice, but you can also serve this as onigiri with some spicy mayo!

We have this at least every other week since we almost always have the ingredients on hand, and if you make my recipes often then so will you 😉 .


Teriyaki Salmon
 
Prep time
Cook time
Total time
 
Give my quick and easy salmon recipe a try!
Author:
Recipe type: Dinner
Serves: 4 Servings
Ingredients
  • 2 - 3 salmon filets
  • ½ cup brown sugar
  • ⅔ cup soy sauce
  • ¼ cup rice vinegar
  • 2 tablespoons mirin
  • 1 tablespoon ginger
  • 1 tablespoon garlic
  • 1 tablespoon sesame oil
  • 1 small chopped onion
  • 1 tablespoon cornstarch
  • 2 tablespoons water
Instructions
  1. Preheat oven to 375.
  2. Mix the brown sugar, soy sauce, rice vinegar, mirin, ginger, garlic, and sesame oil together.
  3. Set aside ⅓ cup of the sauce. Pour the rest of the sauce on the salmon.
  4. Bake covered with foil for 15 minutes.
  5. After 15 minutes, remove the foil and bake for another 10 minutes.
  6. Heat the reserved sauce on low until it begins to simmer.
  7. Mix together the cornstarch and water.
  8. Add the cornstarch mixture to the pan and stir until thick.
  9. Pour sauce onto cooked salmon, serve with rice and enjoy!


Print Friendly, PDF & Email

Chocolate Chip Cookie Dough Dip

Do you love to eat raw chocolate chip cookie dough? I must admit that I won’t eat the raw dough–soft, chewy, warm-from-the-oven BAKED cookies, however are another story! If you’re among the many who love eating cookie dough by the spoonful, this recipe is for you.

You can do an internet search for ‘chocolate chip cookie dough dip’ and come up with over 1.7 million hits, with almost all of the ingredients seemingly identical. This one is no different. I don’t know who the original creator of this recipe is, but whomever thought it up…THANK YOU!

In the words of a friend, “This should be illegal, it’s so good!” 🙂

Give this recipe a try. I think you’ll LOVE it.

Chocolate Chip Cookie Dough Dip

wpid-Photo-Feb-20-2014-350-PM.jpg

 Ingredients:

  • 1 stick unsalted butter
  • 1/3 cup light brown sugar
  • 1 1/2 teaspoons vanilla extract
  • 8 ounces cream cheese, softened
  • 1/2 cup confectioner’s sugar (a.k.a. powdered sugar)
  • 1 small bag miniature chocolate chips
  • Honey graham crackers

Directions:

 Melt the butter in a small sauce pan.

 Add the brown sugar to the pan.

 Simmer over low heat until the brown sugar melts.

 Add 1/2 teaspoon of vanilla extract.  Stir to combine then remove from the heat.

This is what the butter-sugar-vanilla mixture looks like.  It smells divine!

As the butter mixture cools, prepare the cream cheese mixture.

Place the cream cheese and powdered sugar into a small mixing bowl.

 Mix on medium speed until fluffy.

Add the remaining 1 teaspoon vanilla extract.

 Mix until creamy.

Pour the cooled butter mixture into the bowl.  Mix until creamy.

 Add the chocolate chips to the bowl.

Fold the chips into the cream cheese mixture.

Resist the urge to stick your fingers into the bowl and scoop out some of this yumminess!  Okay, you can use a spoon instead of your fingers, but save some for the graham crackers! 🙂

Serve with graham crackers and ENJOY! 😀

Print Friendly, PDF & Email

Chicken Stir Fry with Udon Noodles

According to Chinese folklore, noodles represent long life and good health. So, here’s my contribution to living a long, healthy life! 🙂

All kidding aside, you can add this recipe to you list of healthy options by changing up a few of the ingredients (read more below for my healthy substitutions).

This also is another of those versatile dishes that can be changed up according to the vegetables and meat you prefer. The vegetables I add to this recipe vary depending on what looks most fresh in the grocery store.

Chicken Stir Fry with Udon Noodles

INGREDIENTS:

  • 6 chicken thighs (or 2 chicken breasts if you want a healthier version)
  • 1 small head of cabbage
  • 4 stalks green onions
  • 1 package mushrooms
  • 1 green bell pepper
  • 1 package pre-cut carrots
  • 1 package udon noodles
  • 1 tablespoon minced garlic
  • 1 teaspoon black pepper
  • 3 tablespoons hoisin sauce
  • 5 tablespoons soy sauce

DIRECTIONS:

Prepare the ingredients — thinly slice the chicken, cabbage, green onions, mushrooms and bell pepper.

Cook the noodles according to the directions on the package. You can substitute the udon noodles for a gluten-free or whole wheat noodle of your choosing.

Set the cooked noodles aside.

Place the chicken in a large skillet over medium high heat. If you use a non-stick skillet, you do not need to add any oil to the pan, although a bit of sesame oil will add flavor to this dish.

Add the garlic, seasonings, hoisin sauce and soy sauce. To cut back on the sodium in this dish, cut the hoisin sauce in half and use low sodium soy sauce.

Add the carrots to the pan.

Add the sliced mushrooms to the pan.

Stir to combine. Cook for a couple of minutes.

Add the sliced cabbage.

Stir and cook for another couple of minutes, just until the cabbage starts to wilt.

Add the bell peppers.  If you prefer the peppers to be cooked longer, add them when you add the carrots.  I like mine cooked only just a little so that they’re still crunchy, so I add them almost at the end of the cooking process.

Stir to combine.

Gently stir in the noodles.

Add the green onions.

Stir gently so you don’t mash the noodles. Cook for another minute then serve and ENJOY!

Print Friendly, PDF & Email

Riyenu ~ Chamorro Stuffing

Chamorro stuffing, or Riyenu, is a delicious side dish usually served during special holiday meals, alongside baked turkey, ham, or roast pig.

My mom taught me how to make this a very long time ago, when I was a very young girl.  In fact, this recipe is one of the few I added to a recipe book that I made when I was perhaps 8 or 9 years old.  I remember stacking small pieces of paper and gluing one side to make a spine, then creating a cover out of stiff cardboard and gluing a piece of scrap fabric with blue polka dots on it to make the cover soft and pretty.  Even at that young age, I loved to cook, and I made my very own recipe book, which I still have to this day.

I’ve been asked what makes this a Chamorro stuffing.  Well, I guess it’s the addition of potatoes, pimento and olives, kind of like our Chamorro Potato Salad.

A few optional ingredients that my mom sometimes puts in her Riyenu are finely diced celery and a small jar of sweet pickle relish.  I prefer my stuffing without those two ingredients, so I leave them out.

You don’t need to wait for a holiday to make this yummy stuffing.  Give my recipe a try.  I think you’ll like it. 🙂

Riyenu ~ Chamorro Stuffing

image

Ingredients:

  • 2 medium potatoes
  • 1 cup vegetable oil, for frying
  • 1 pound ground beef
  • 1 small onion, diced
  • 1 box Stove Top Stuffing Mix for Turkey
  • 2 small jars diced pimento, drained
  • 1 small can chopped black olives, drained
  • 1 cup raisins
  • 1 can evaporated milk
  • 1/2 stick unsalted butter, melted
  • Salt and pepper, to taste

Directions:

Peel and dice the potatoes into small pieces, about 1/4 inch square.

image

Place the vegetable oil in a shallow frying pan over medium heat.

image

Fry the diced potatoes in batches; cook until the potatoes are a very light golden brown and cooked through (use a fork to test for doneness).

image

Drain the cooked potatoes on a paper towel-lined plate.  Set aside.

image

Brown the ground beef in a medium sized pot.

image

Add the contents of the stuffing mix (dried bread pieces and seasoning), the cooked potatoes and onions to the pot.  Stir to combine.  Cook over medium heat, stirring occasionally.

image

Add the pimentos and olives to the pot.

image

Stir to combine.  Continue to cook over medium heat for a minute or so, stirring occasionally.

image

Add the raisins.  I actually like lots of raisins in my stuffing so I tend to add more than a cup.

image

Pour in the evaporated milk.  You can also use vegetable or chicken stock instead of milk.

image

Add the melted butter.  Cook for another minute or two.  Taste, then add salt and pepper if needed (the seasoning packet from the stuffing is already quite salty, so you might not need to add more salt).

image

Place the stuffing into an oven-safe baking dish.

image

Bake at 350 degrees for 20 minutes.

image

Serve and ENJOY!

image

This makes a wonderful side dish, served alongside my smoked/grilled turkey and brown sugar glazed ham.

image

ENJOY!

image

Print Friendly, PDF & Email
« Older Entries