I may be dating myself, but one of my favorite burger places to eat was Cool Spot, a quaint drive-in burger joint in Barrigada owned and operated by Josefina and Francisco Cruz. The juicy burgers and hot-out-of-the-frier french fries were the perfect lunchtime meal when I was going to high school.
Anyone can make burgers at home, but to me, it’s about the special sauce that set these apart from ordinary. You don’t have to use my recipe below, but give it a try. The addition of my special sauce sets these apart from ordinary cheeseburgers.
Juicy burgers are not hard to make, but surprisingly, you’ll find that most homemade burgers use store-bought patties that turn out dry and hard. Here are some tips to ensure moist, juicy burgers every time.
- Use ground beef that has at least 18-20% fat. Beef that is too lean will make your burgers too dry.
- Do not over-handle the meat. Add your seasonings to the meat then mix as little as possible.
- Do not–I repeat, do NOT smash the patties with your spatula! Doing this squeezes out a lot of the meat’s natural juices that keep the meat moist.
- In addition to not pressing on the patties as they cook, another tip is to flip them one time only. If you like rare burgers, cook them for 2 minutes on each side, 3 minutes on each side if you like them medium-rare, 4 minutes on each side for medium, and 5 minutes for well-done burgers.
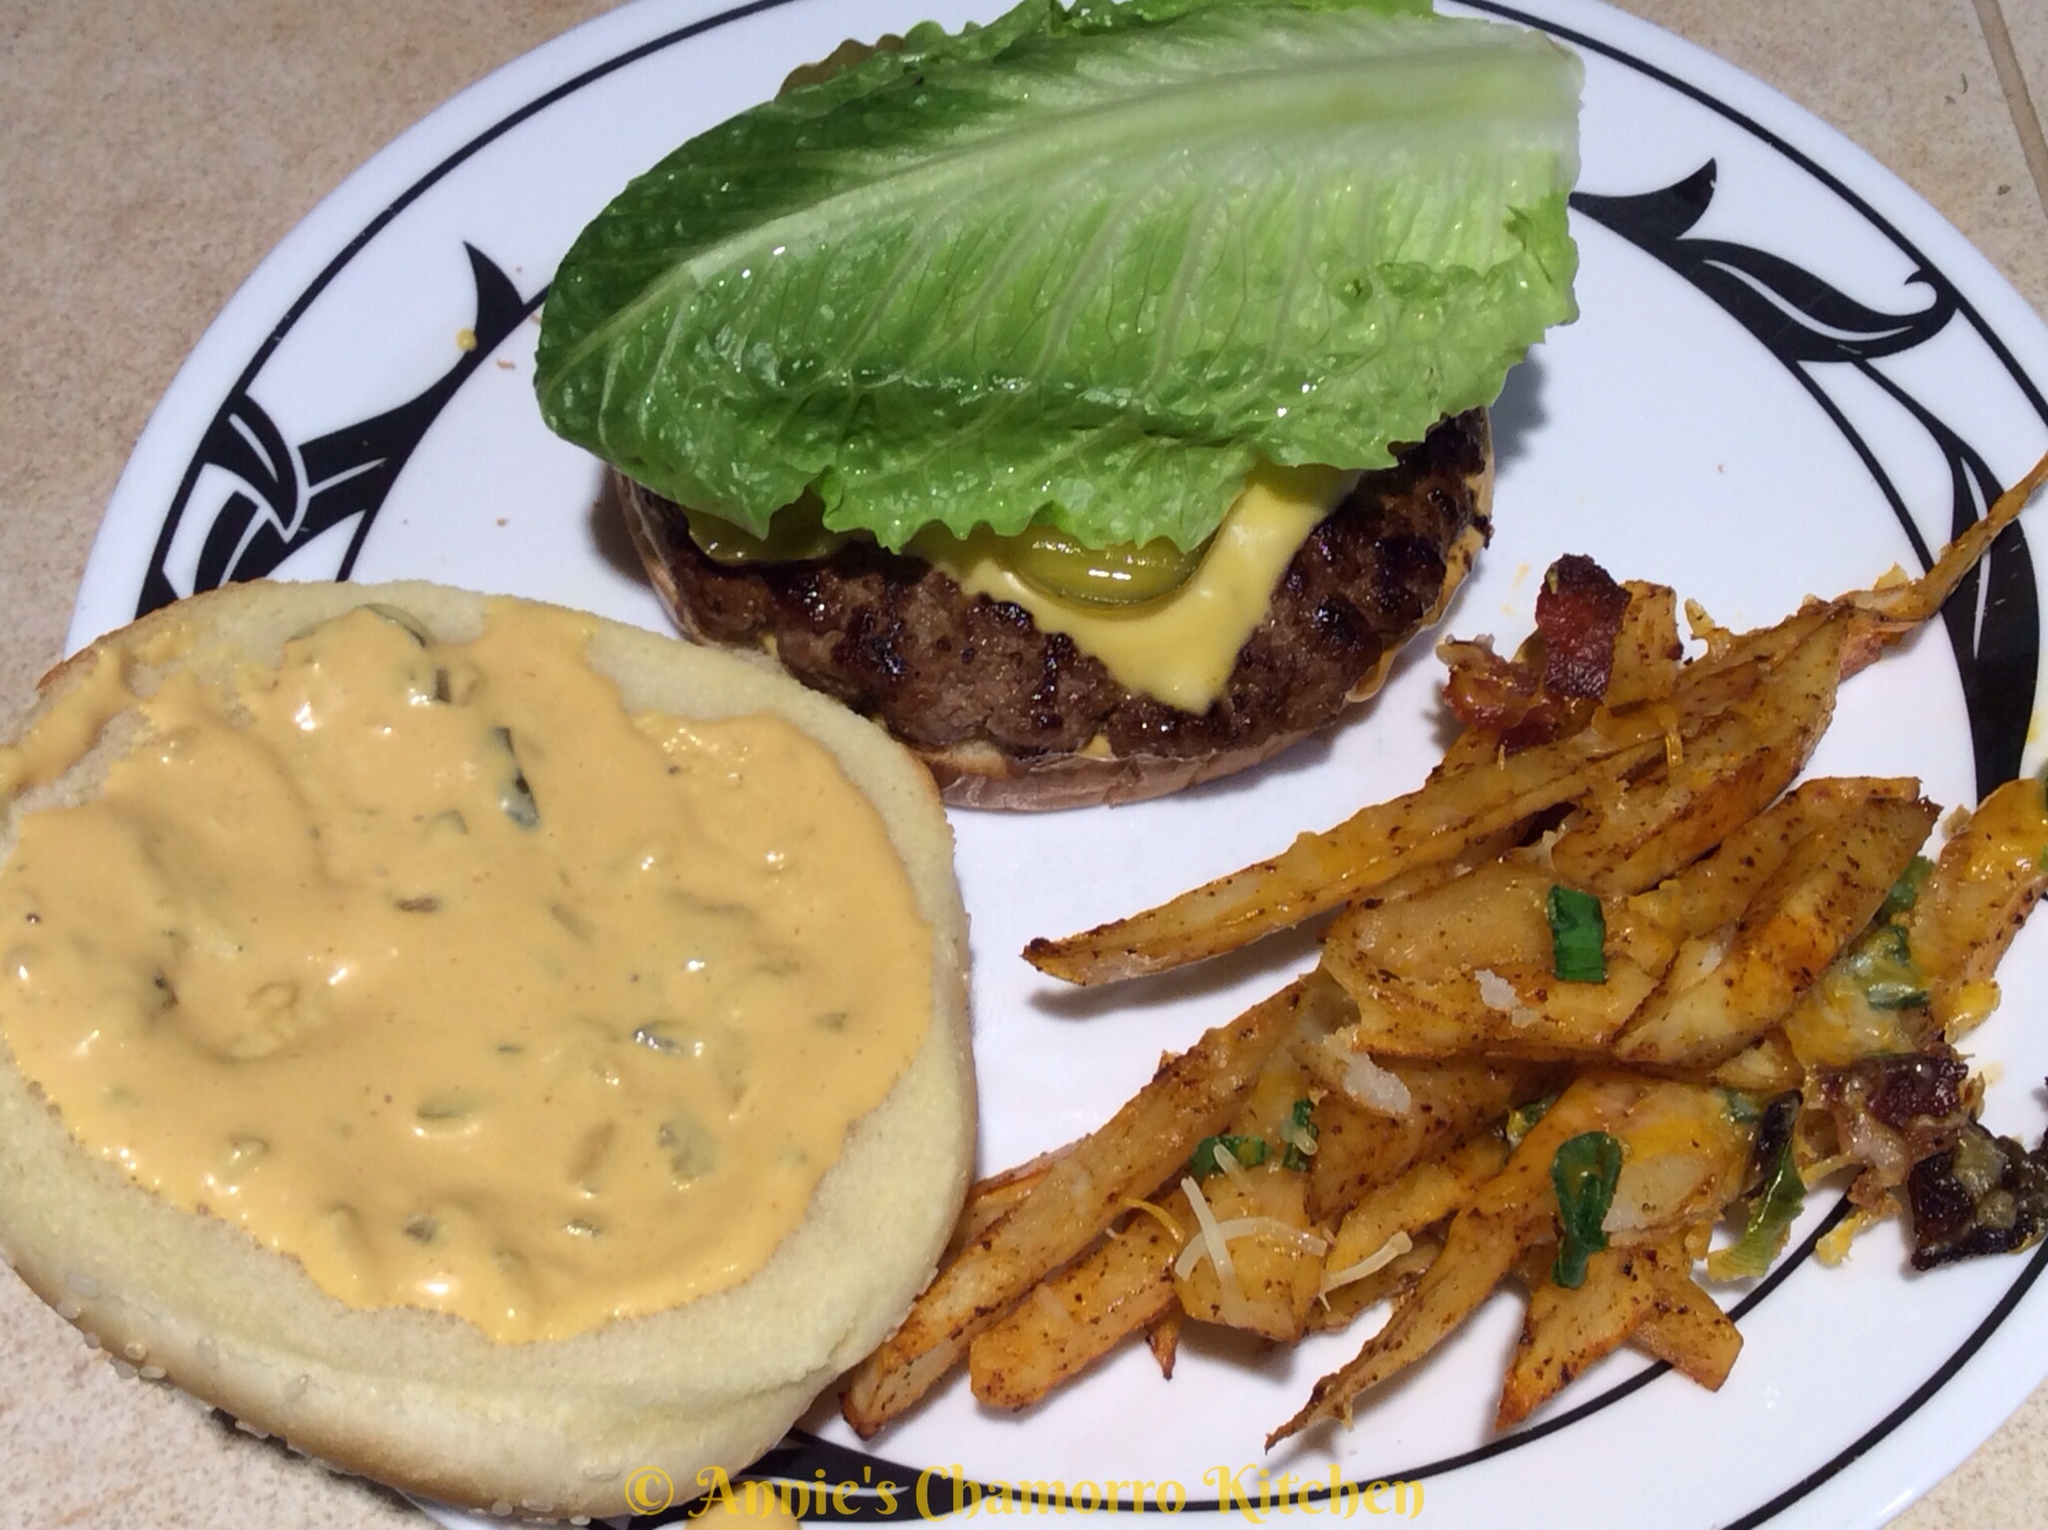
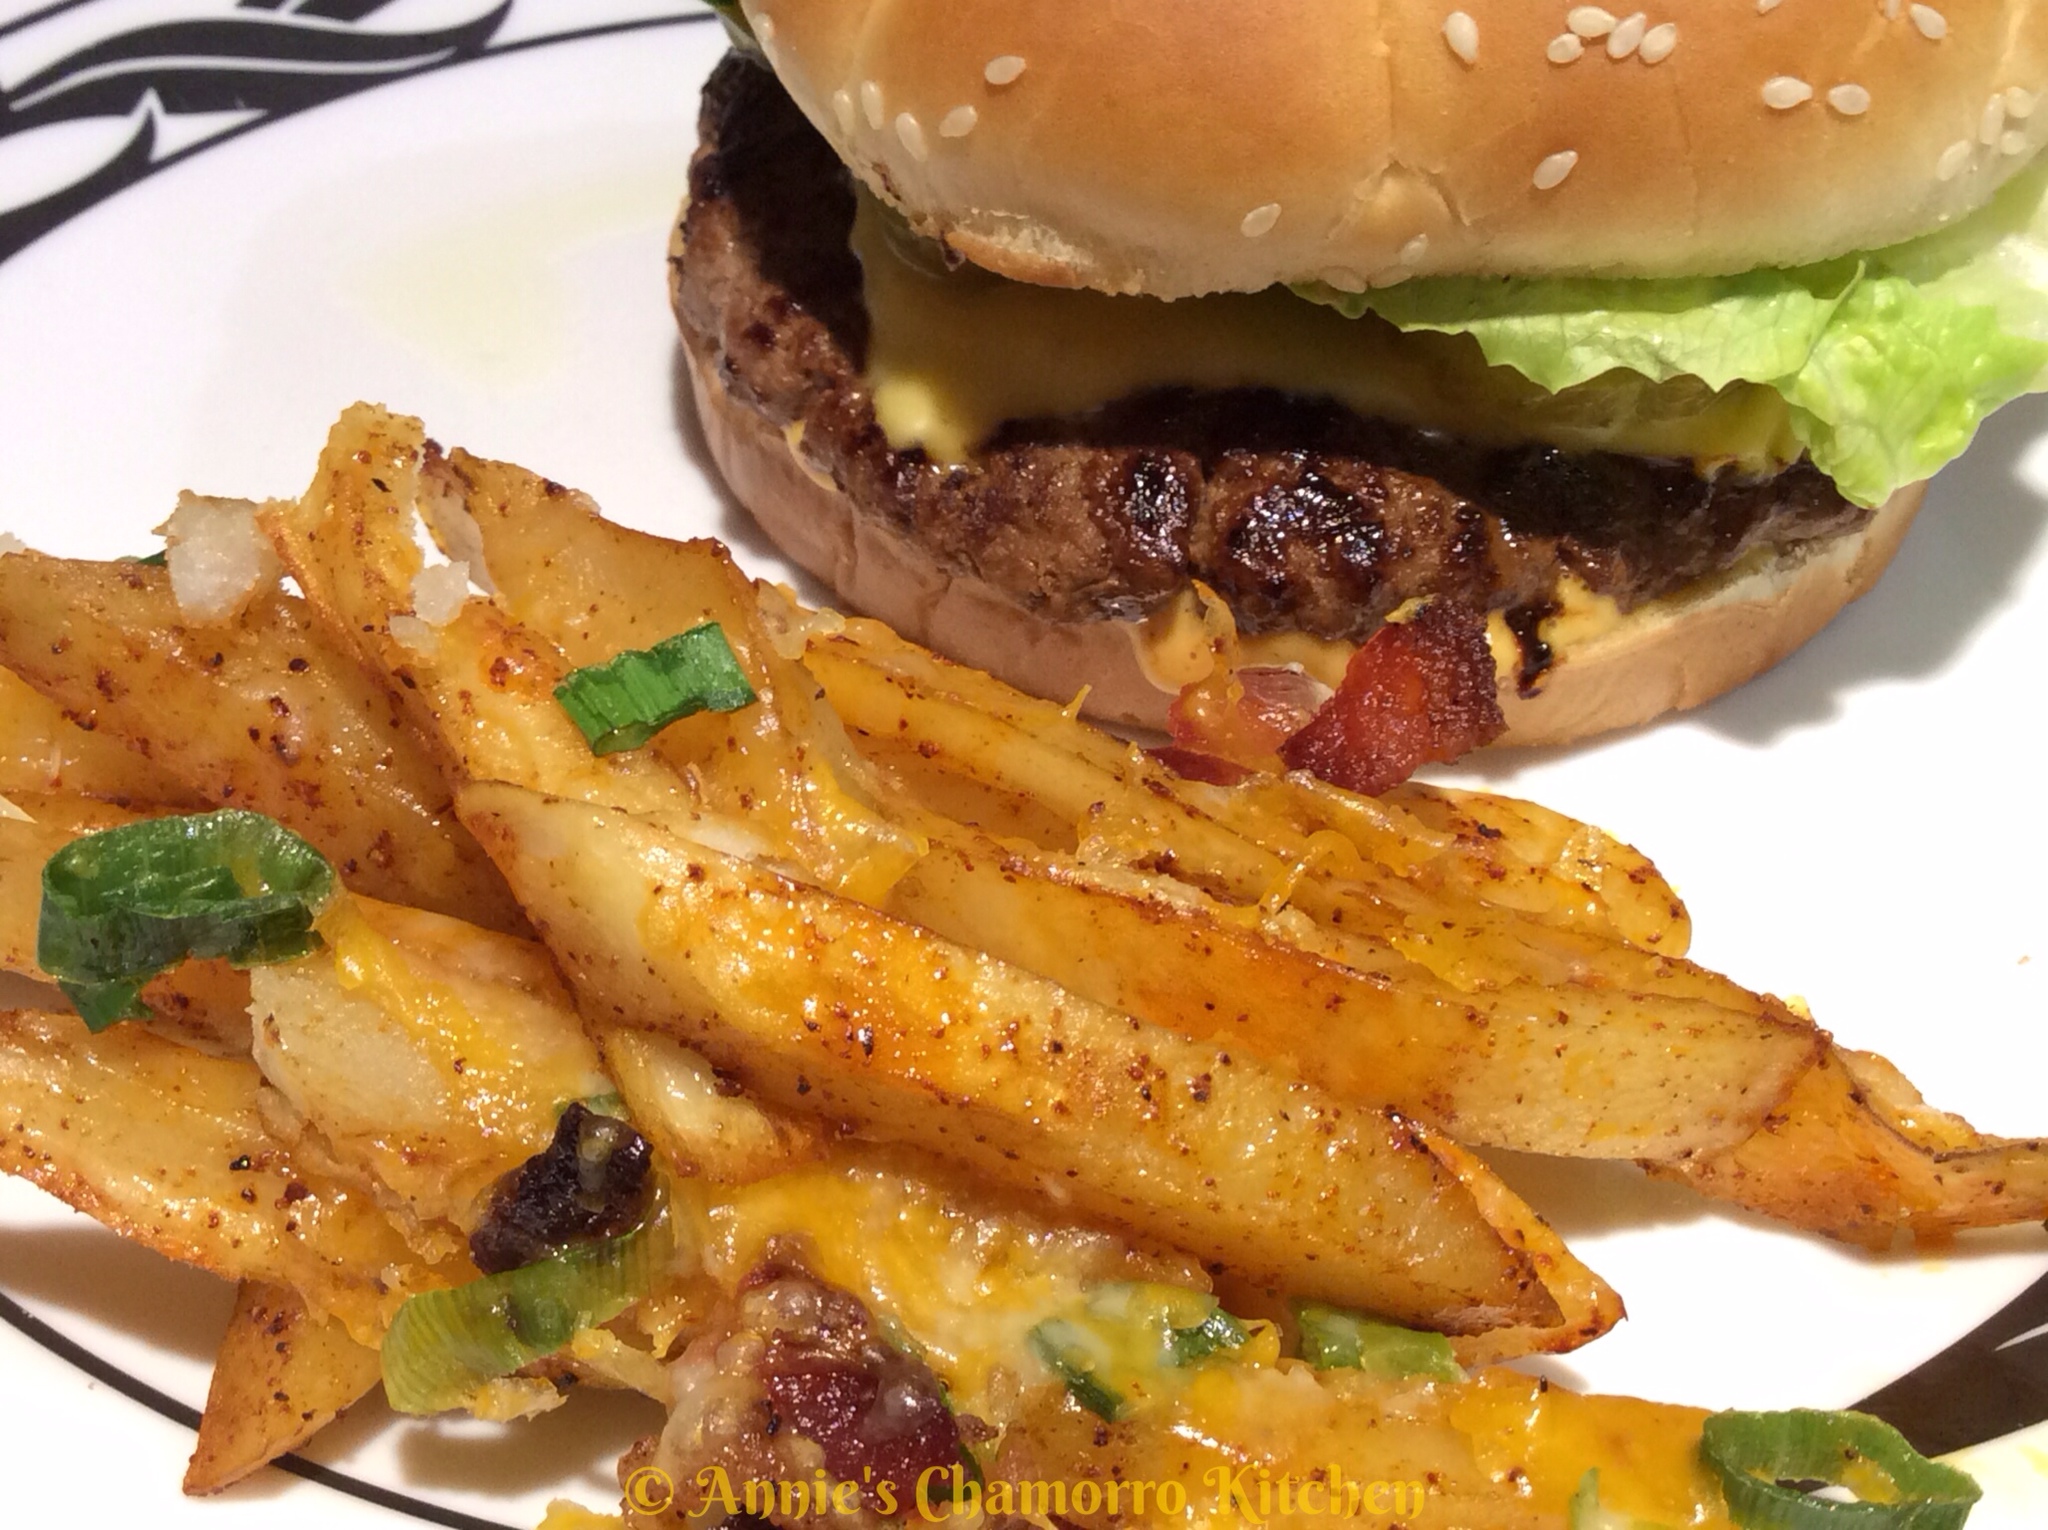
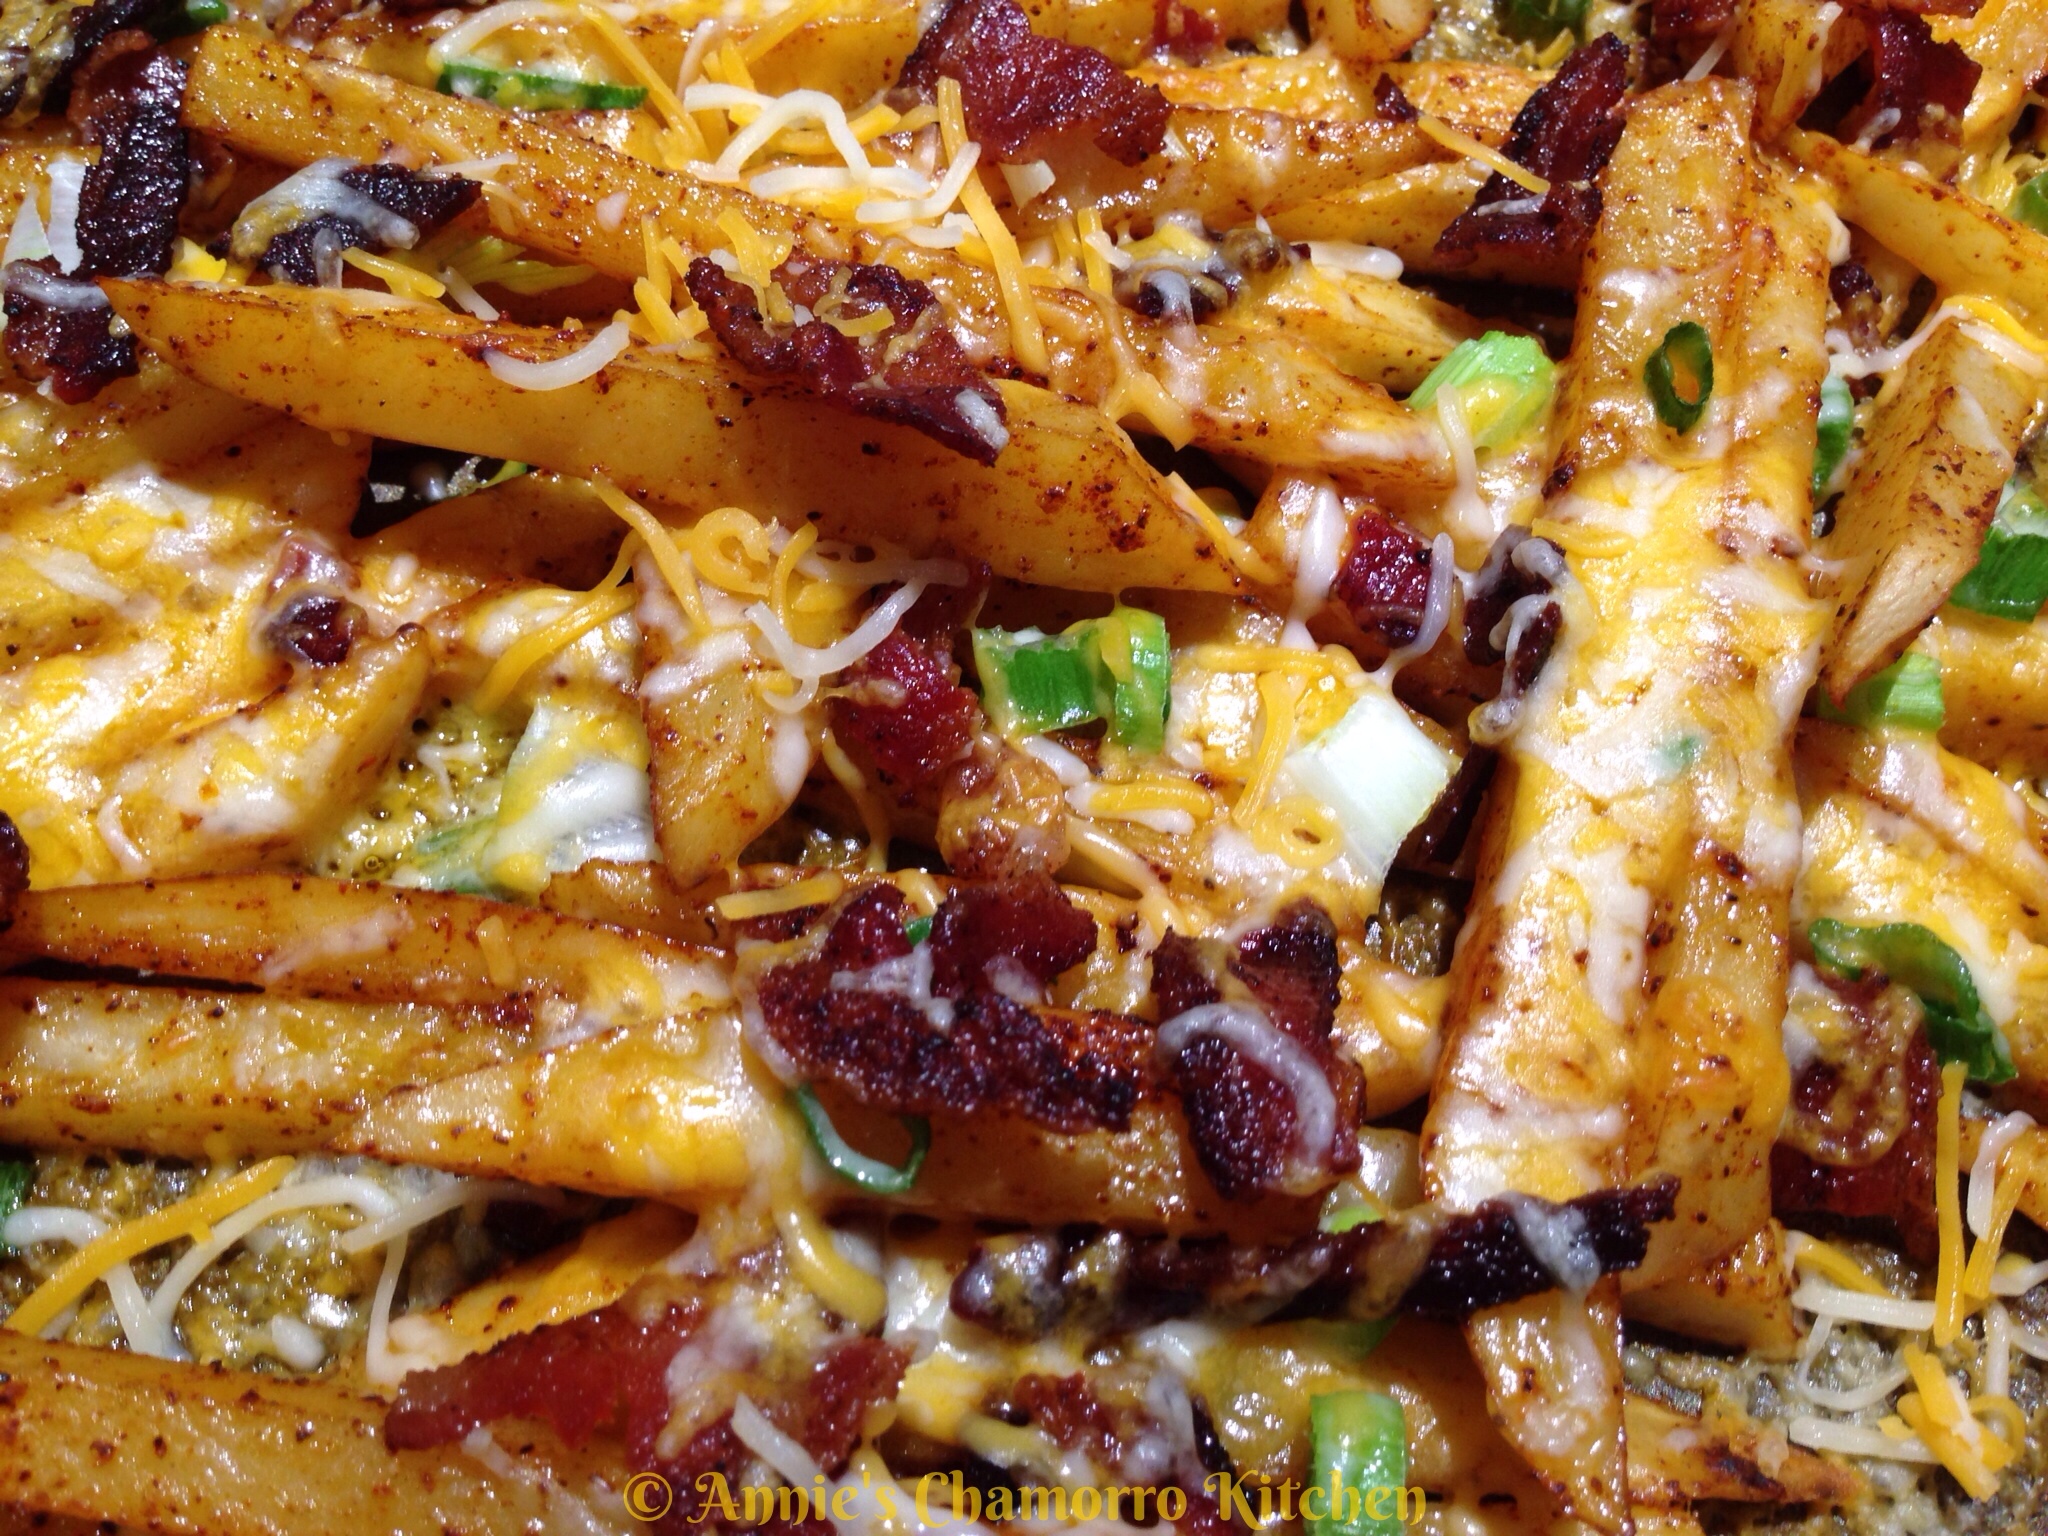
Fantastic burgers go hand-in-hand with french fries, but no ordinary fries will do. Try my version — potato slices (wedges are good too) that are generously seasoned then baked and topped with shredded cheese and bacon. Yum!!
Give my recipes a try. I think you’ll like them. 🙂
Juicy Burgers with Baked Smothered Fries
Ingredients for the Smothered Fries:
- 2 large potatoes (russets are great for this)
- 1 tablespoon olive oil (I use garlic-infused olive oil for more flavor)
- 1/2 teaspoon garlic powder
- 1/2 teaspoon chili powder
- 1/2 teaspoon smoked paprika
- 1/2 teaspoon salt (you can add more after baking if you’d like it more salty)
- 1 cup shredded cheese blend (I like a blend of cheddar, mozzarella, asadero and queso quesadilla)
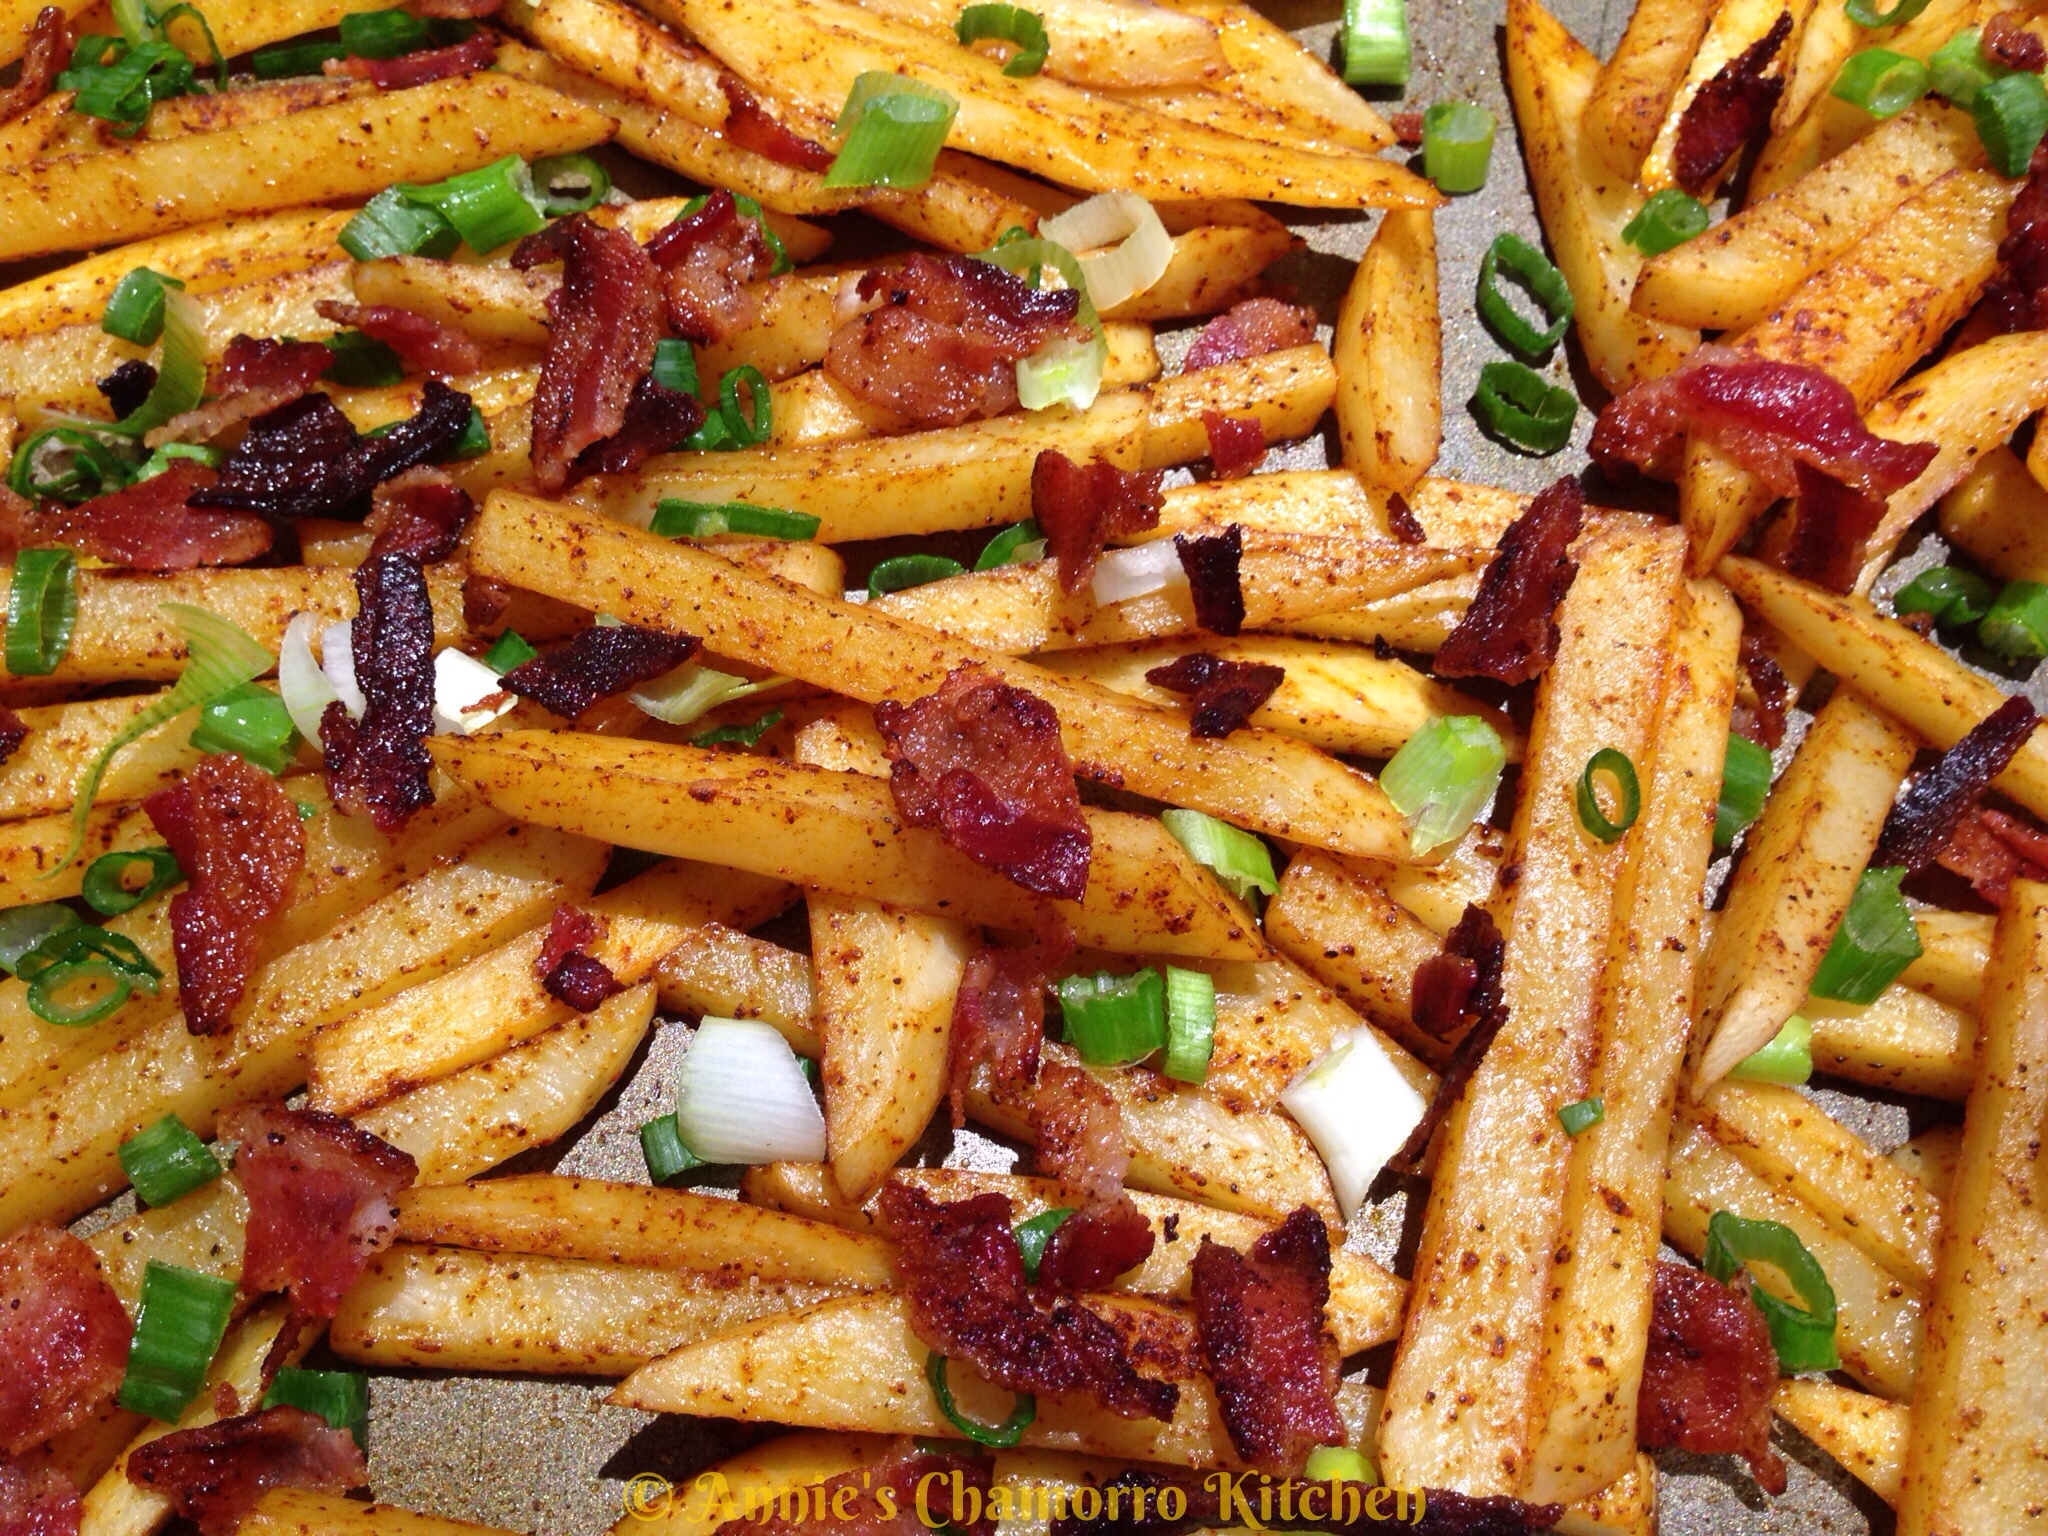
- 5 slices cooked bacon, crumbled
- 4 green onions, thinly sliced
Ingredients for the Special Sauce:
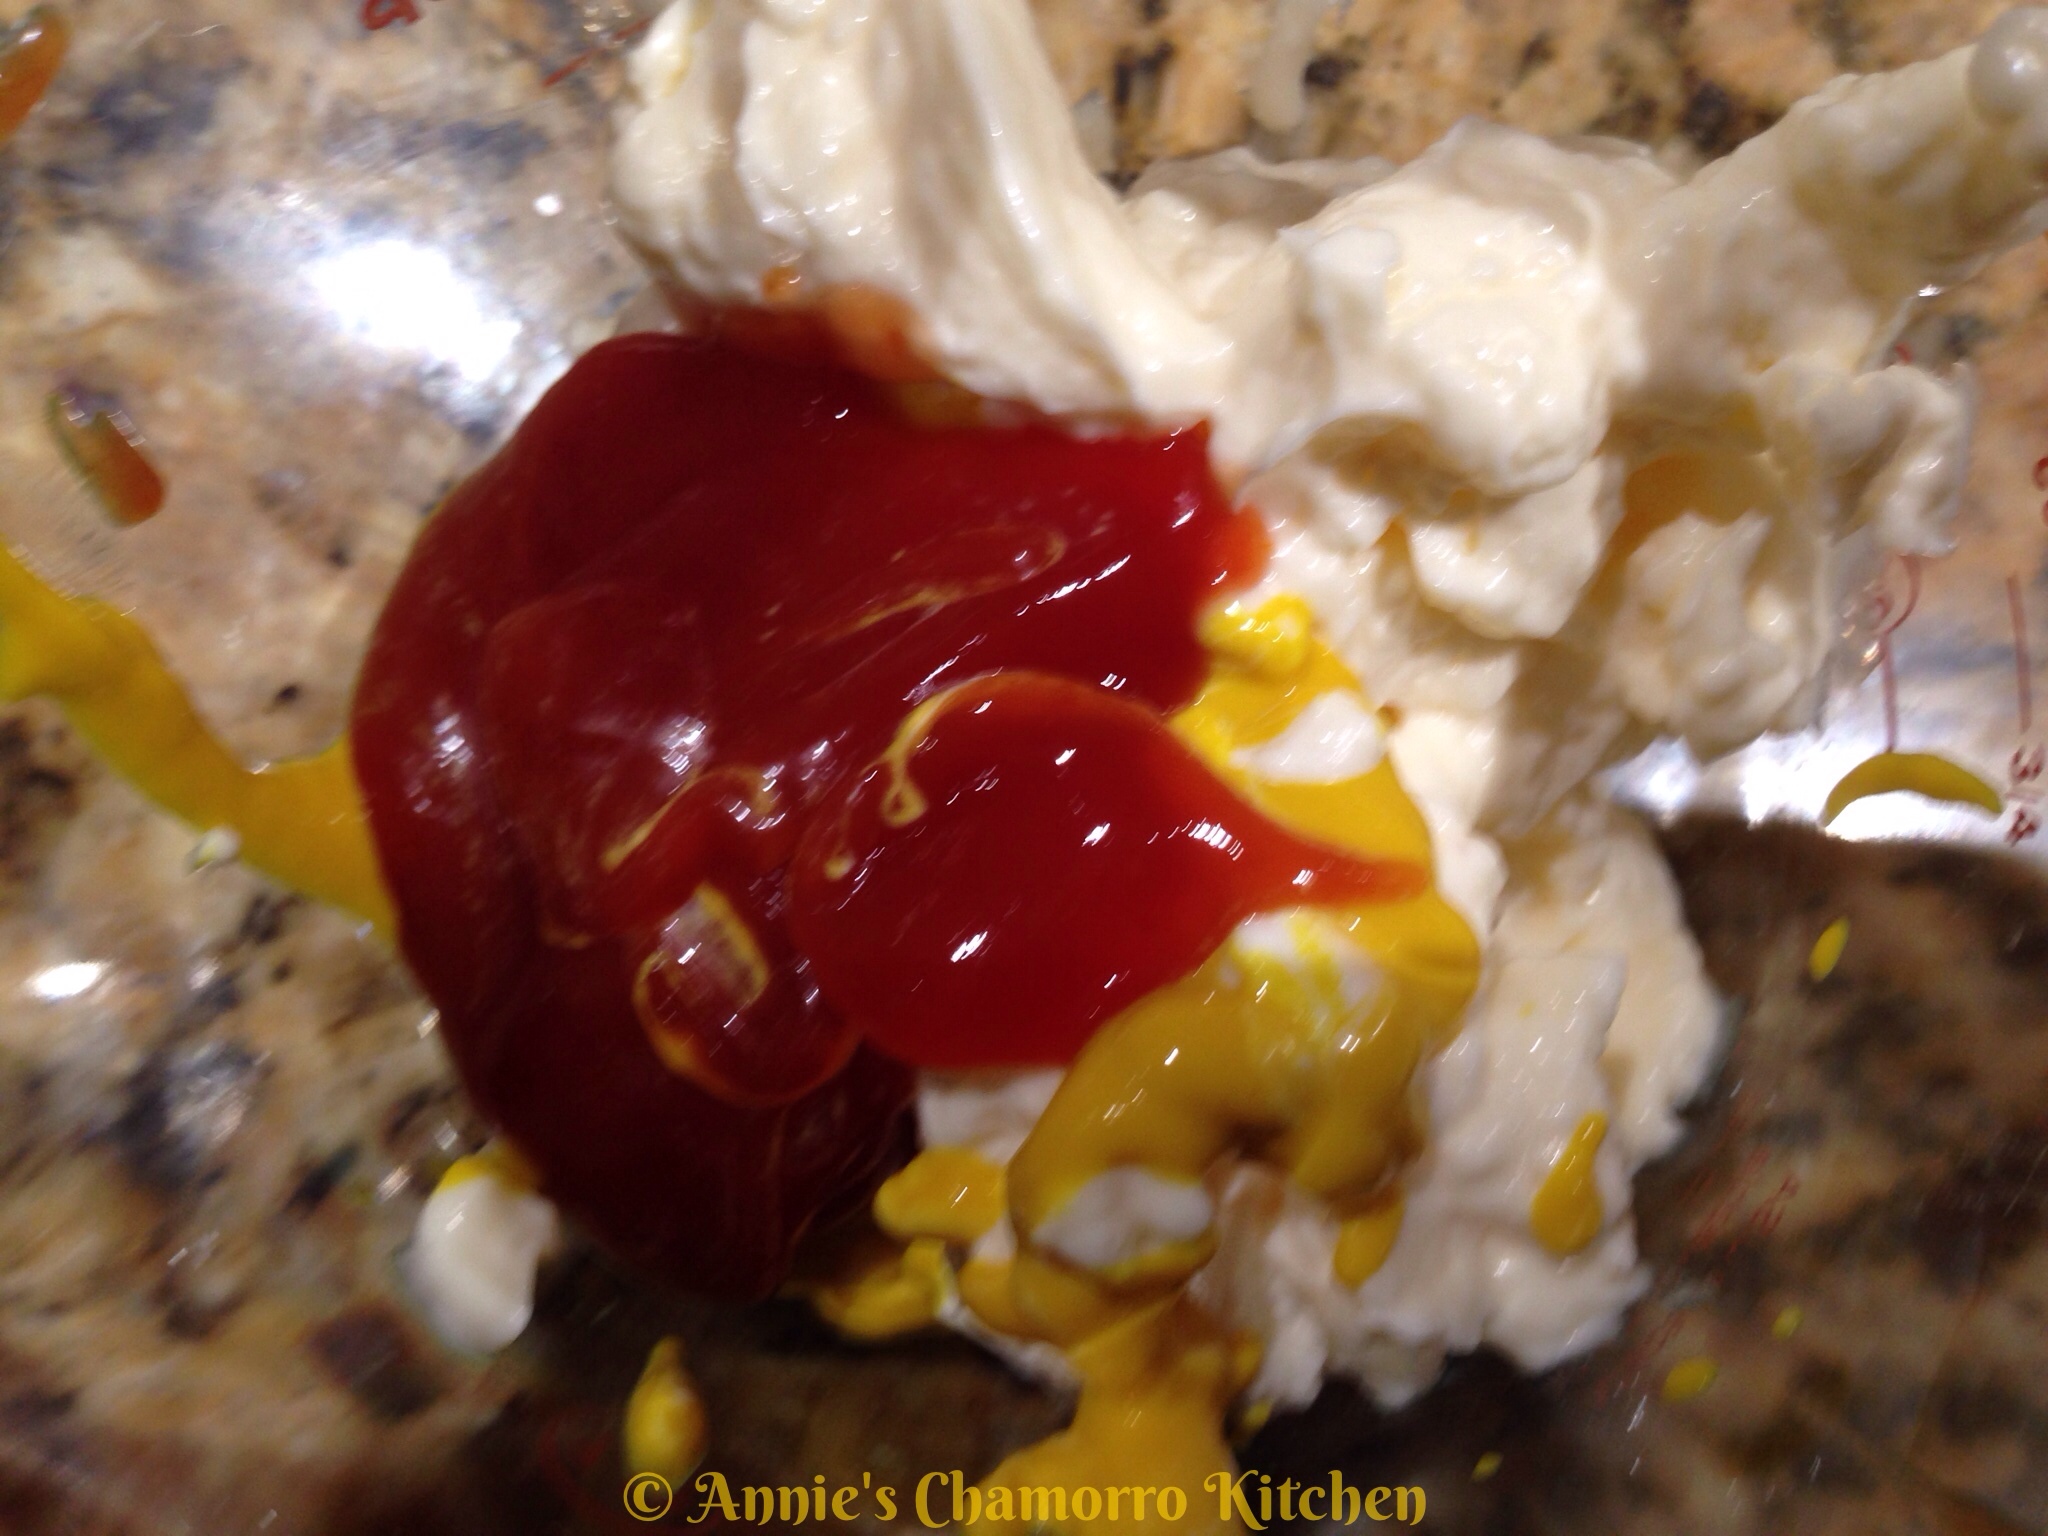
- 4 tablespoons Best Foods real mayonnaise
- 2 tablespoons mustard
- 2 tablespoons ketchup
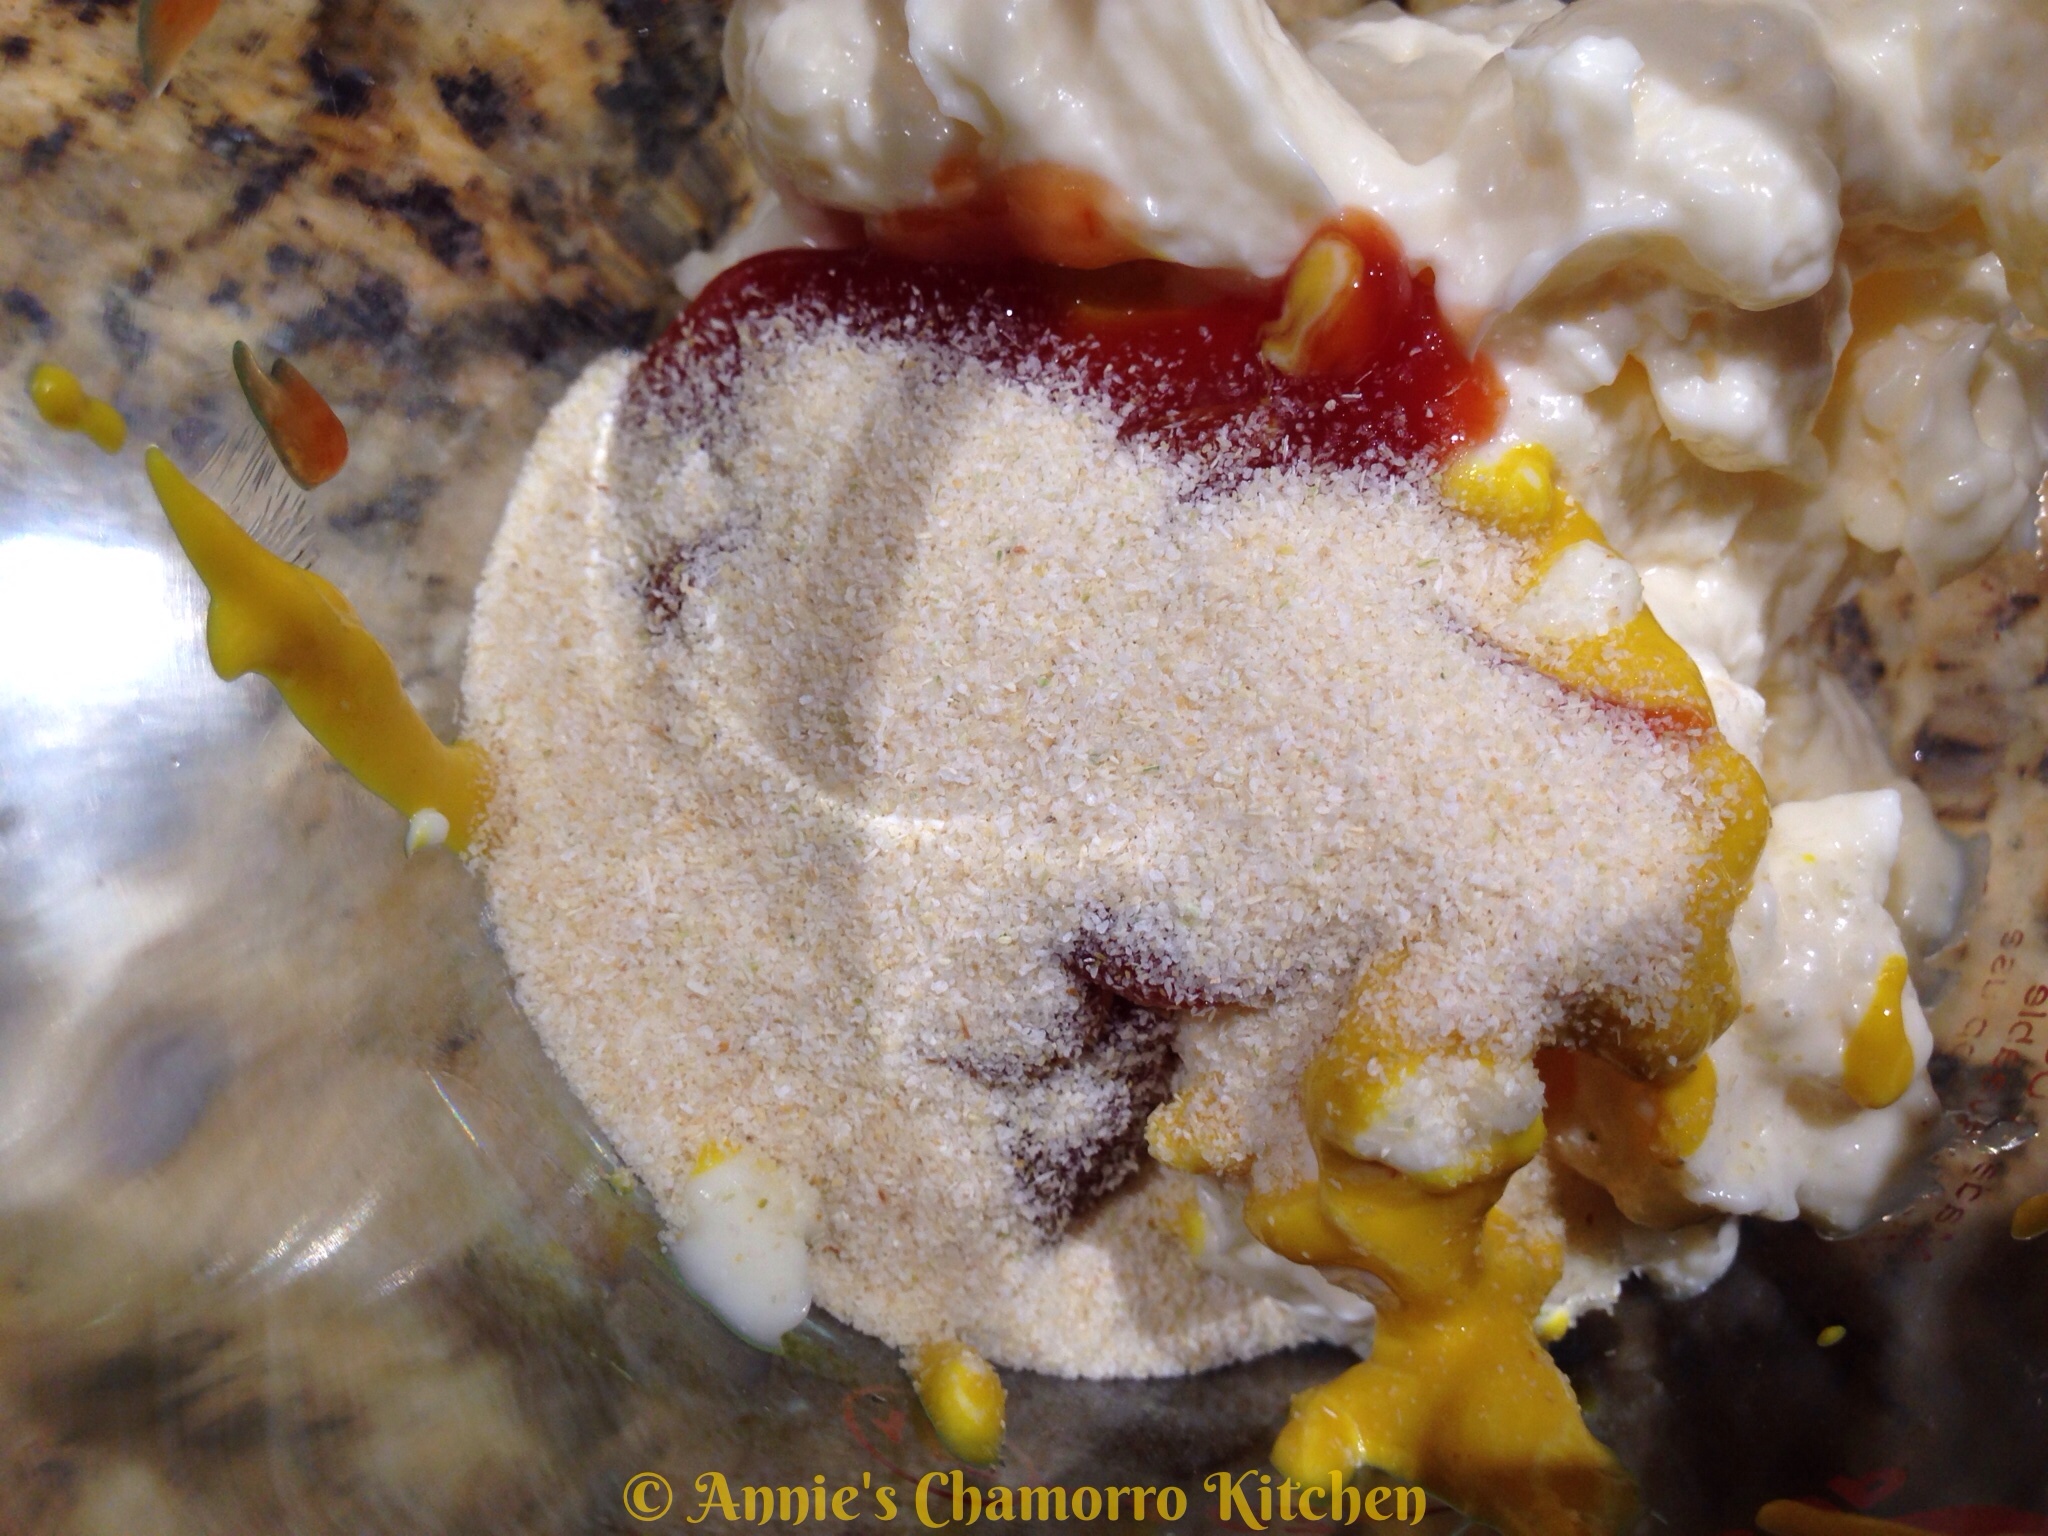
- 1 teaspoon onion powder
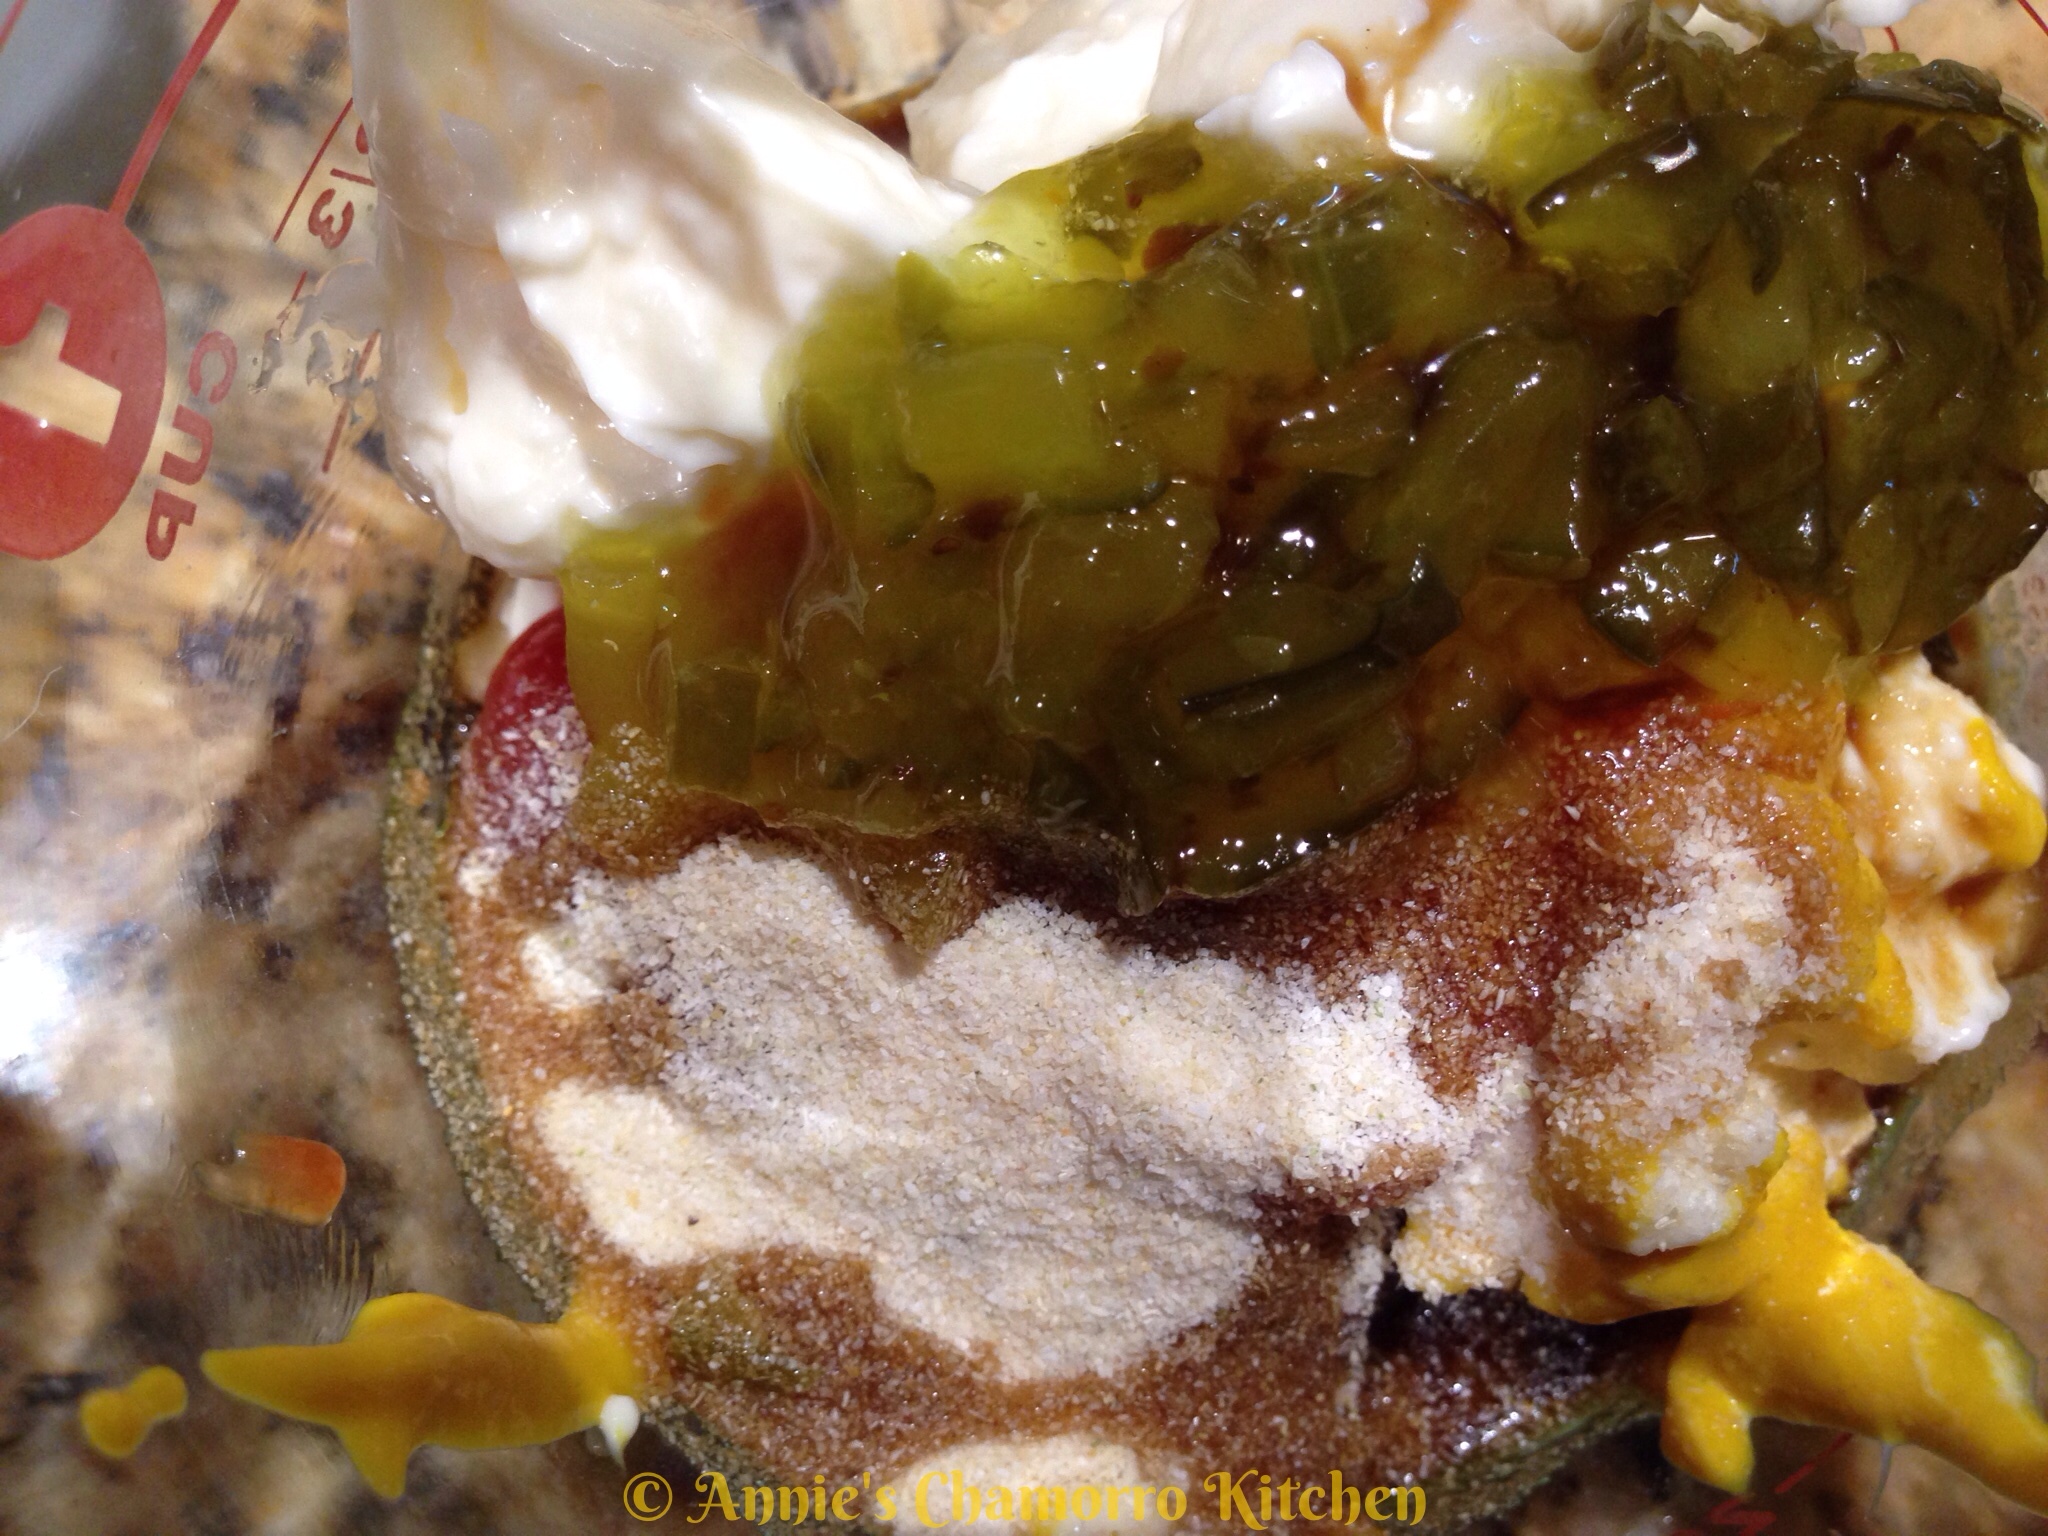
- 2 teaspoons Worcestershire sauce
- 1/3 cup sweet pickle relish
Ingredients for the Burgers:
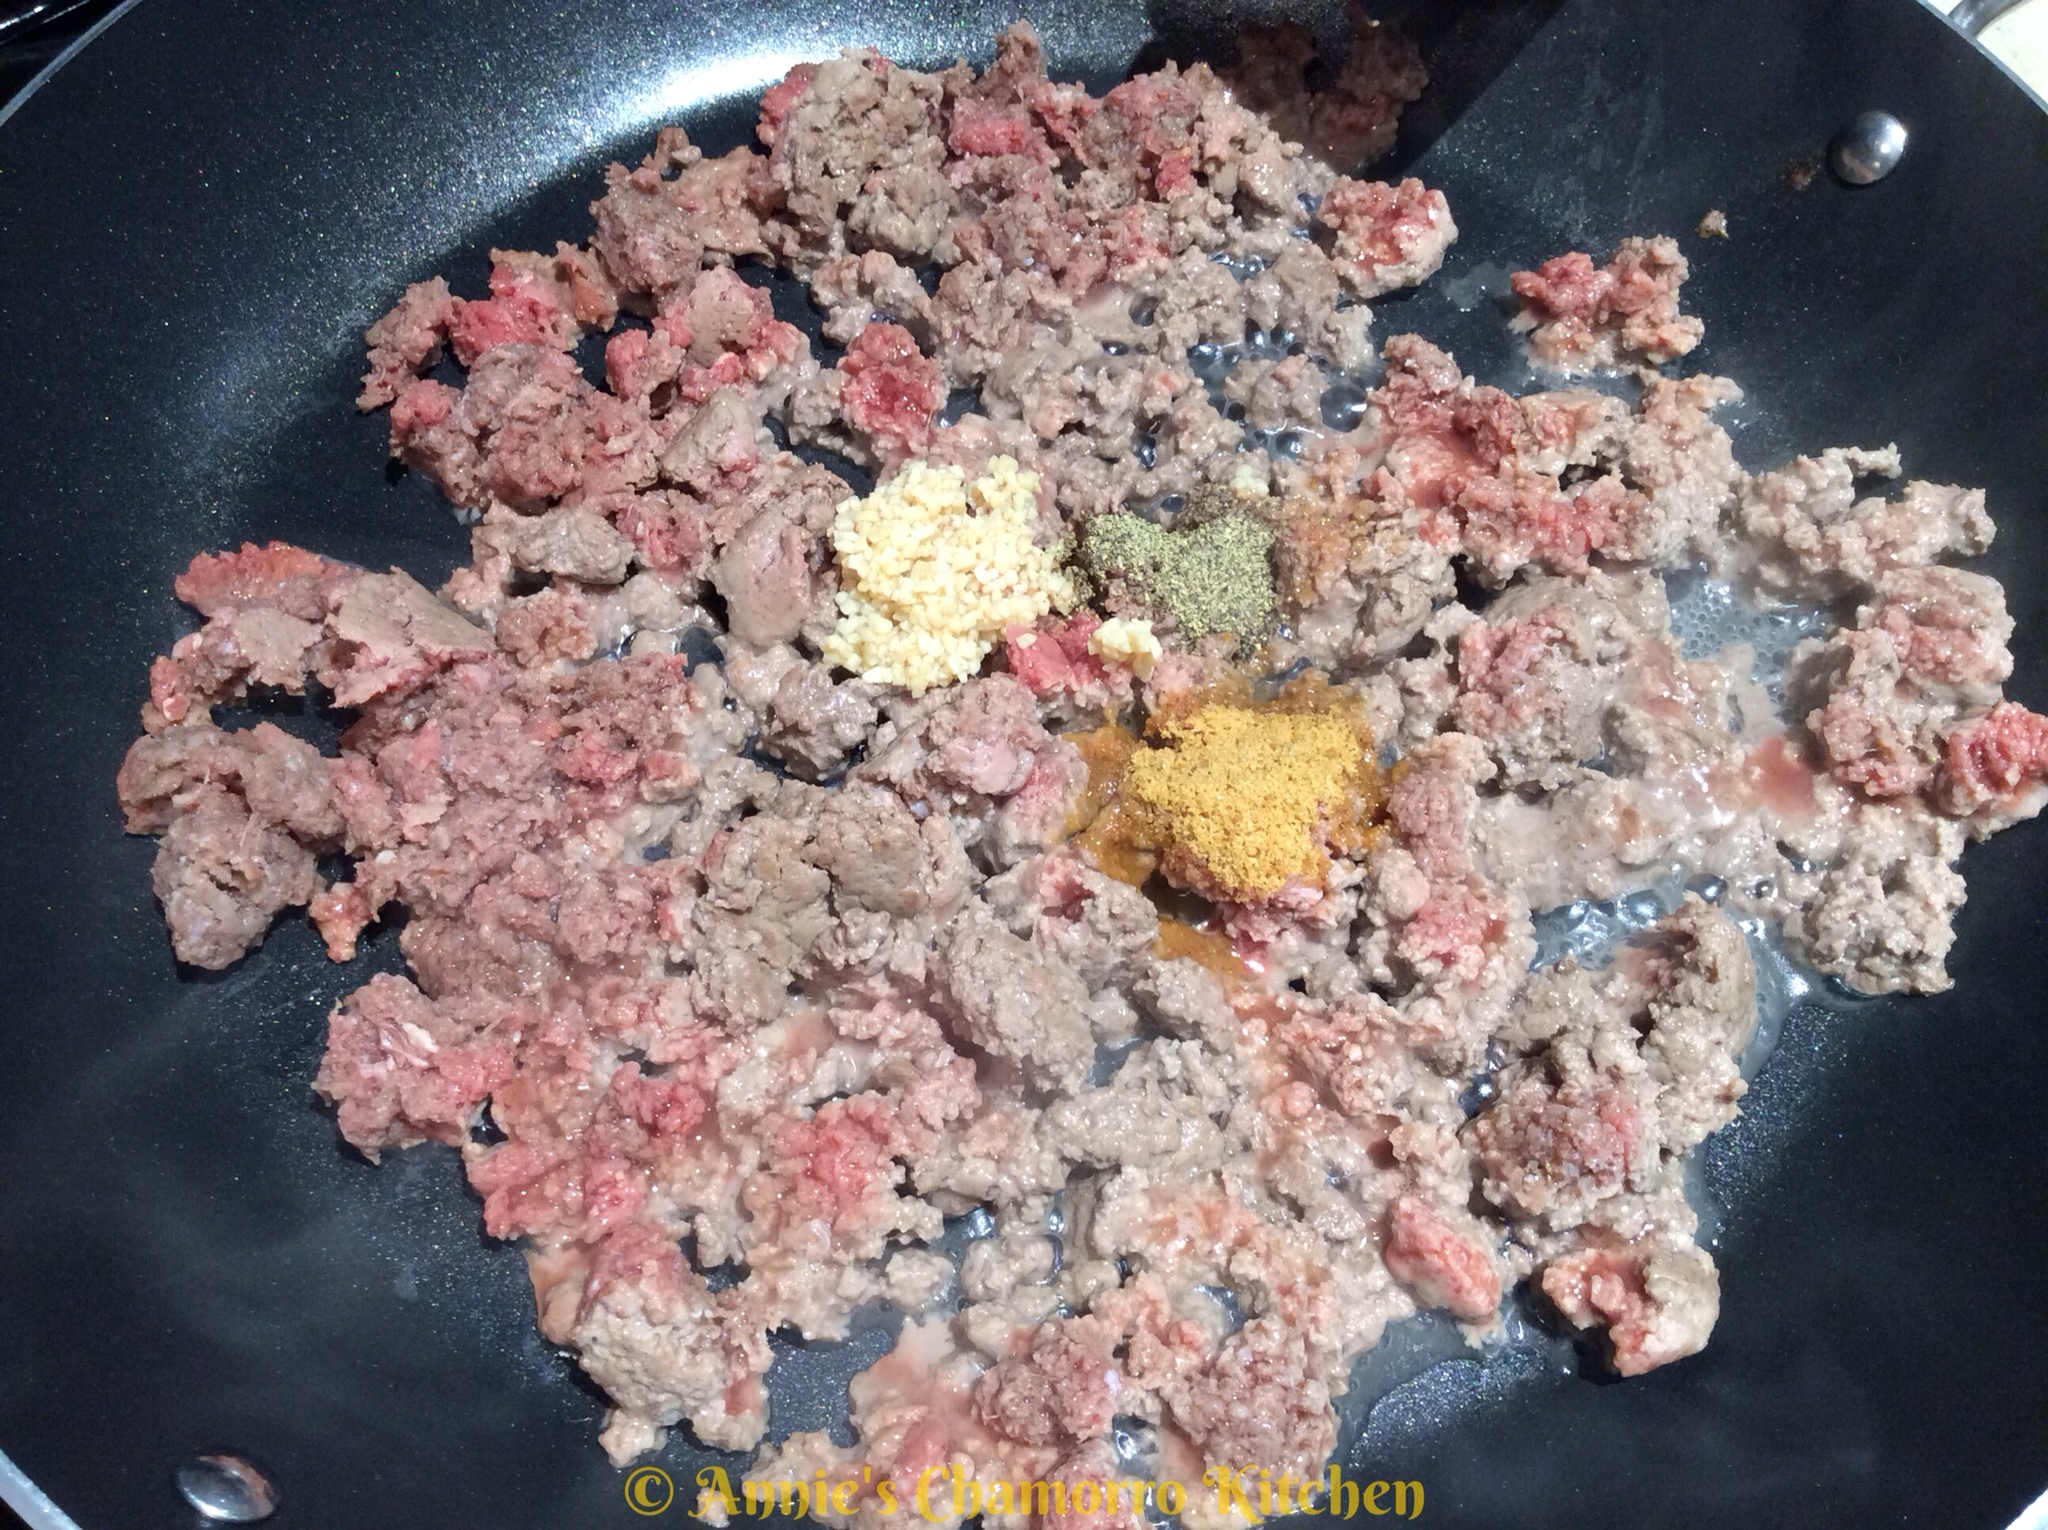
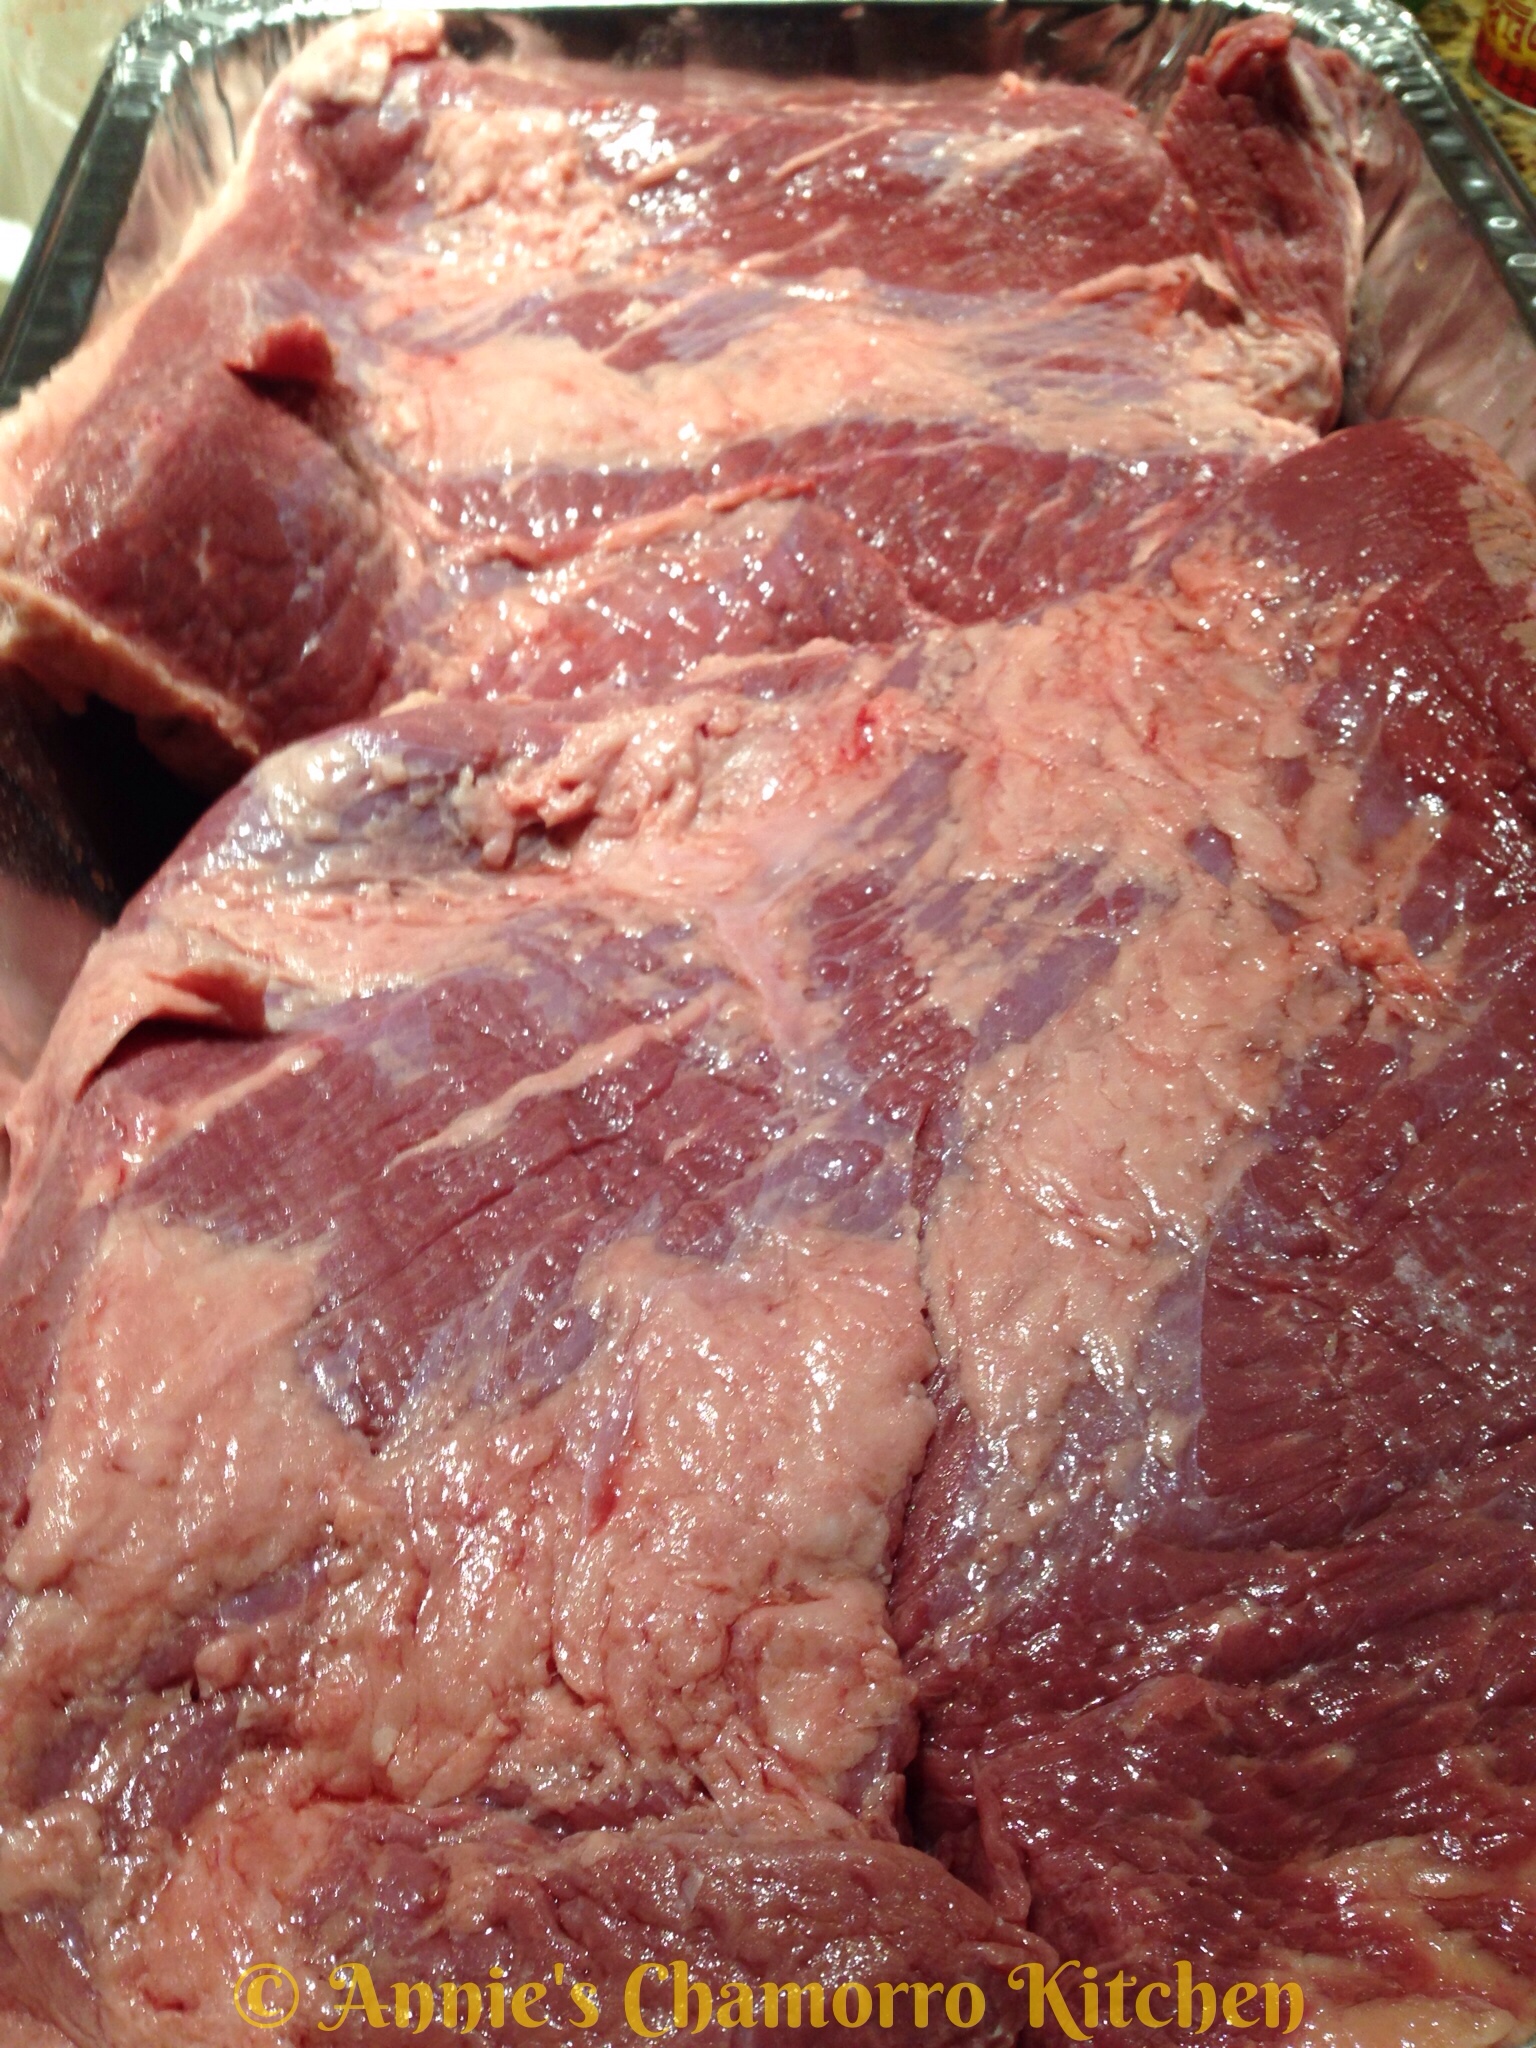
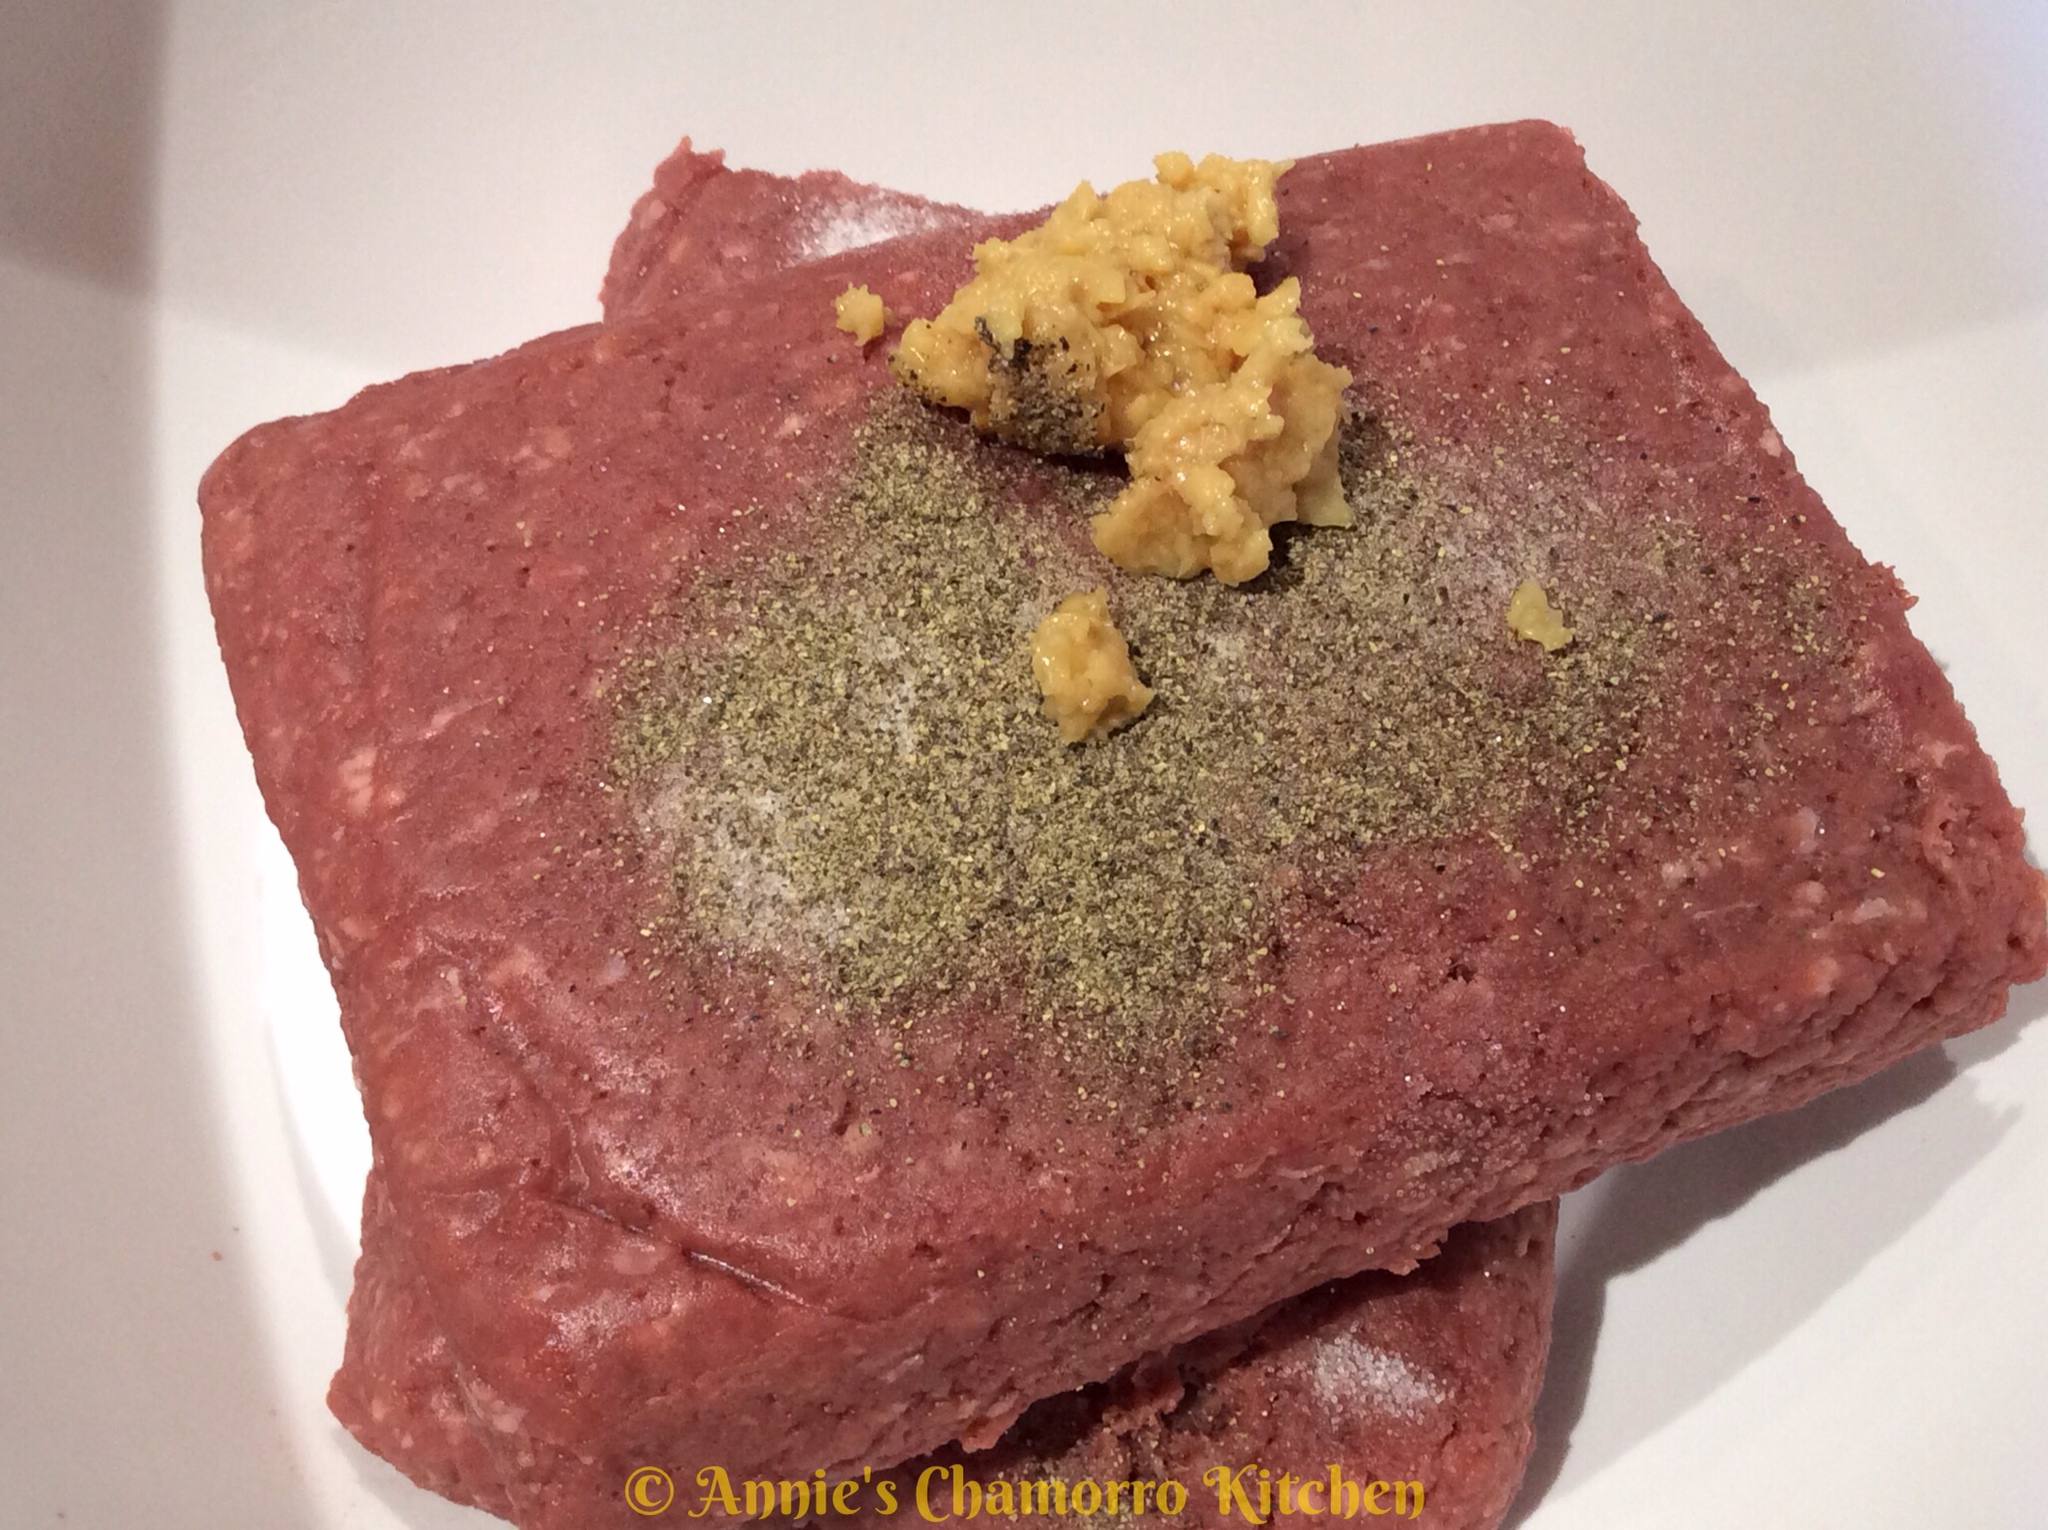
- 3 pounds ground beef, 80-82% lean
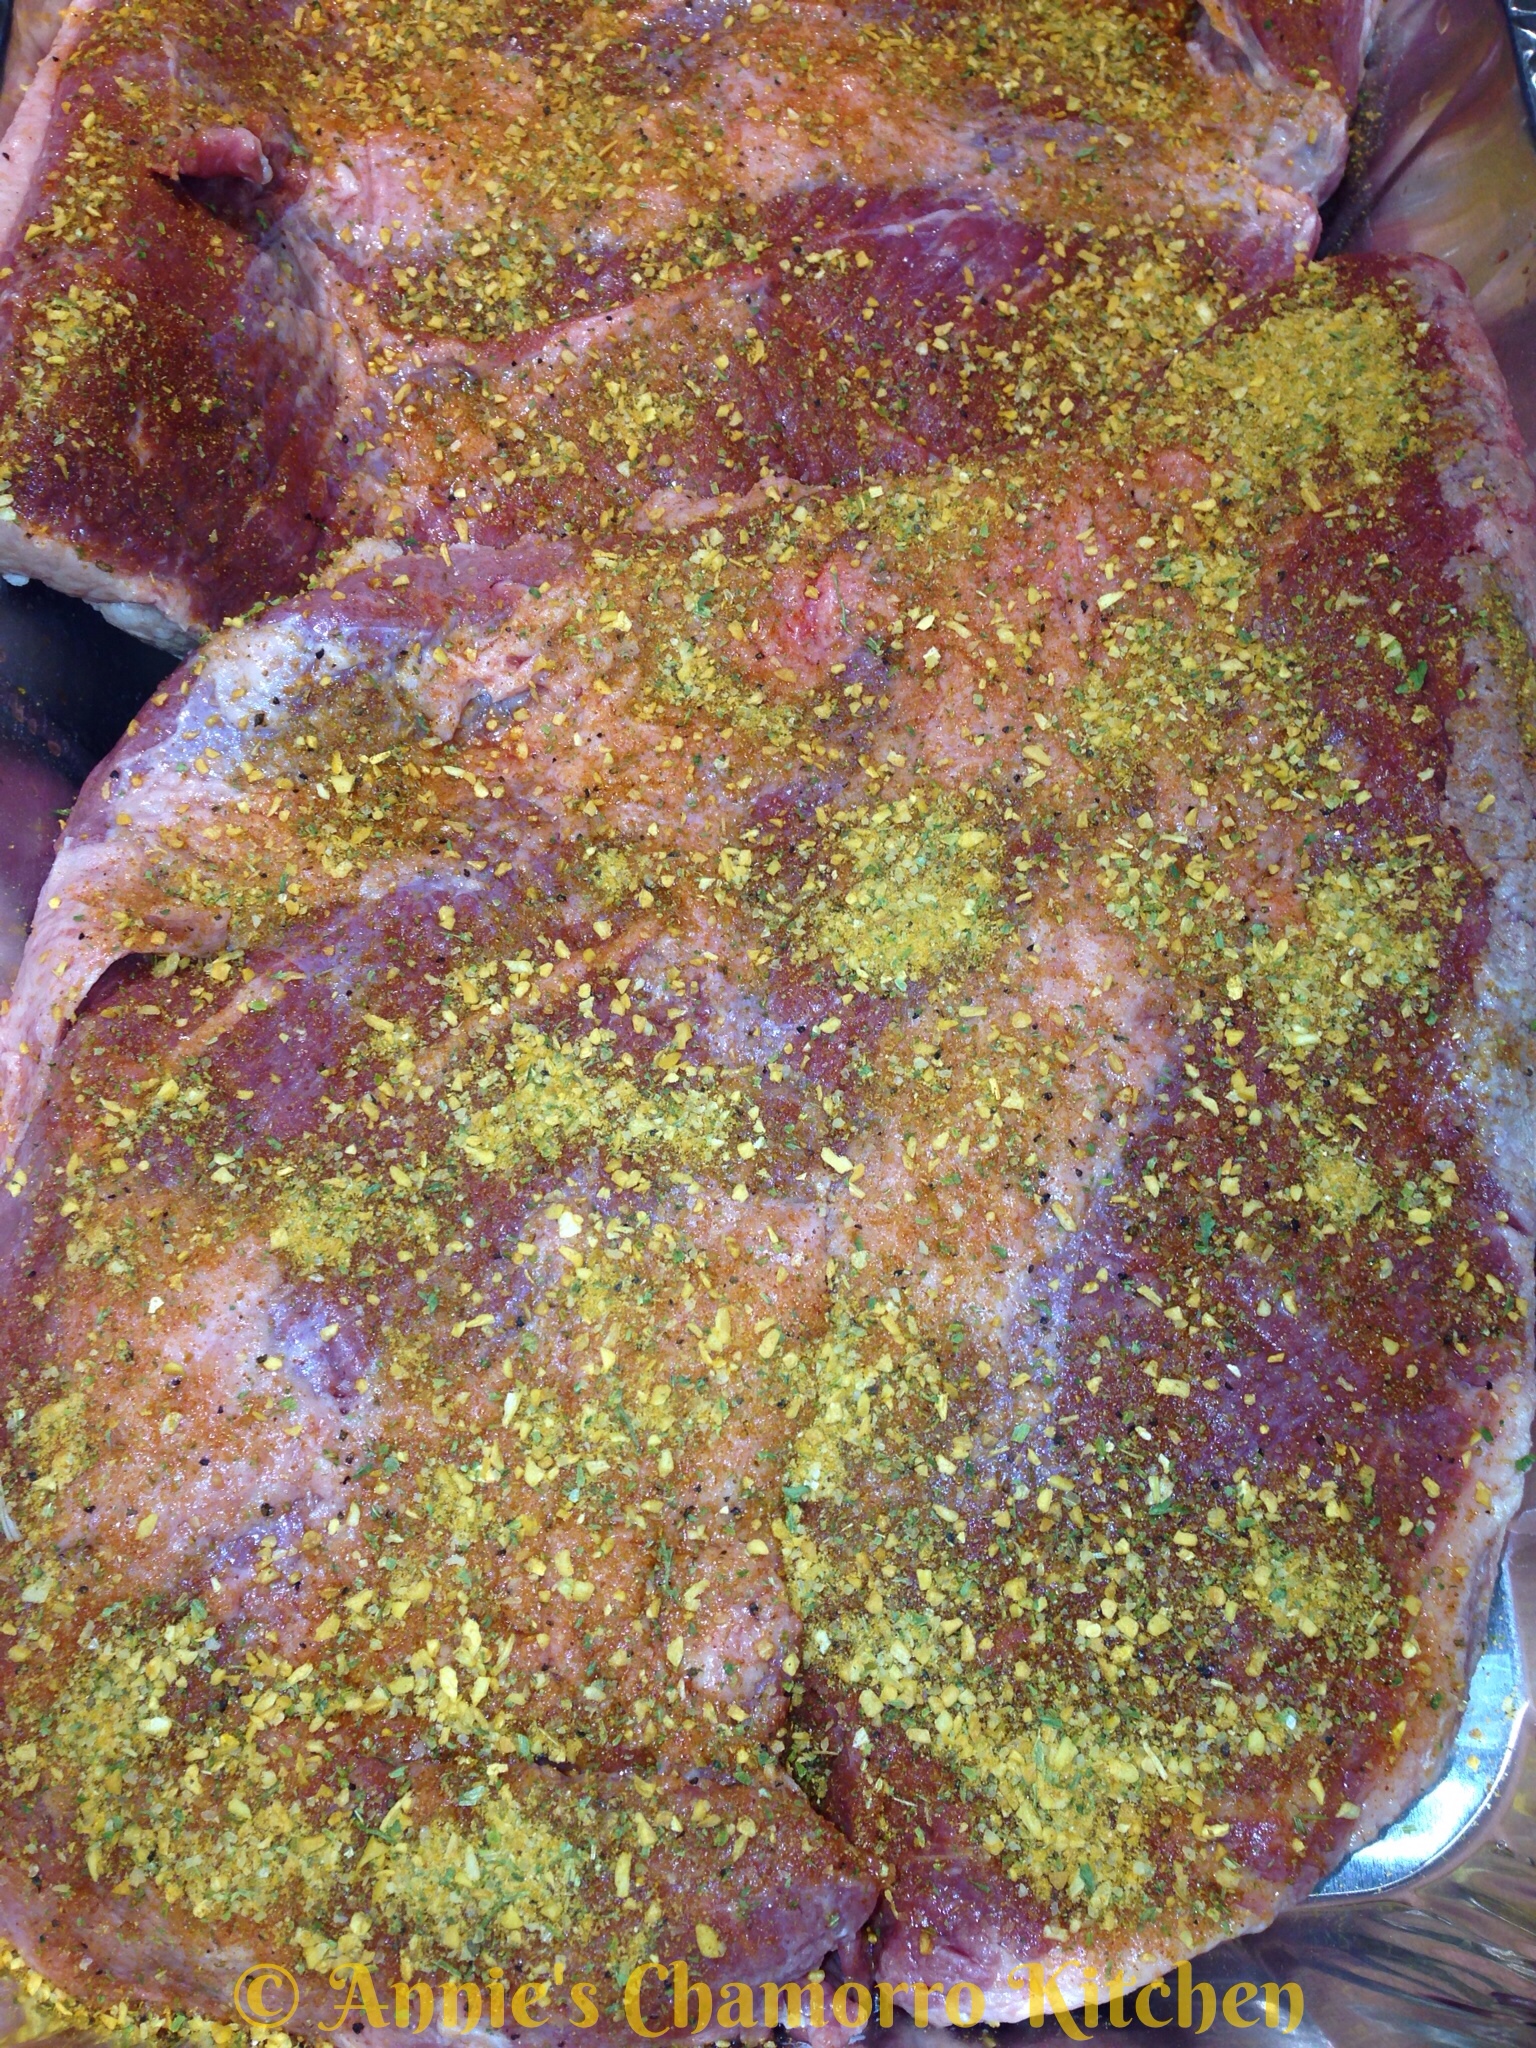
- 1 tablespoon chopped garlic
- 2 teaspoons salt
- 1 teaspoon black pepper
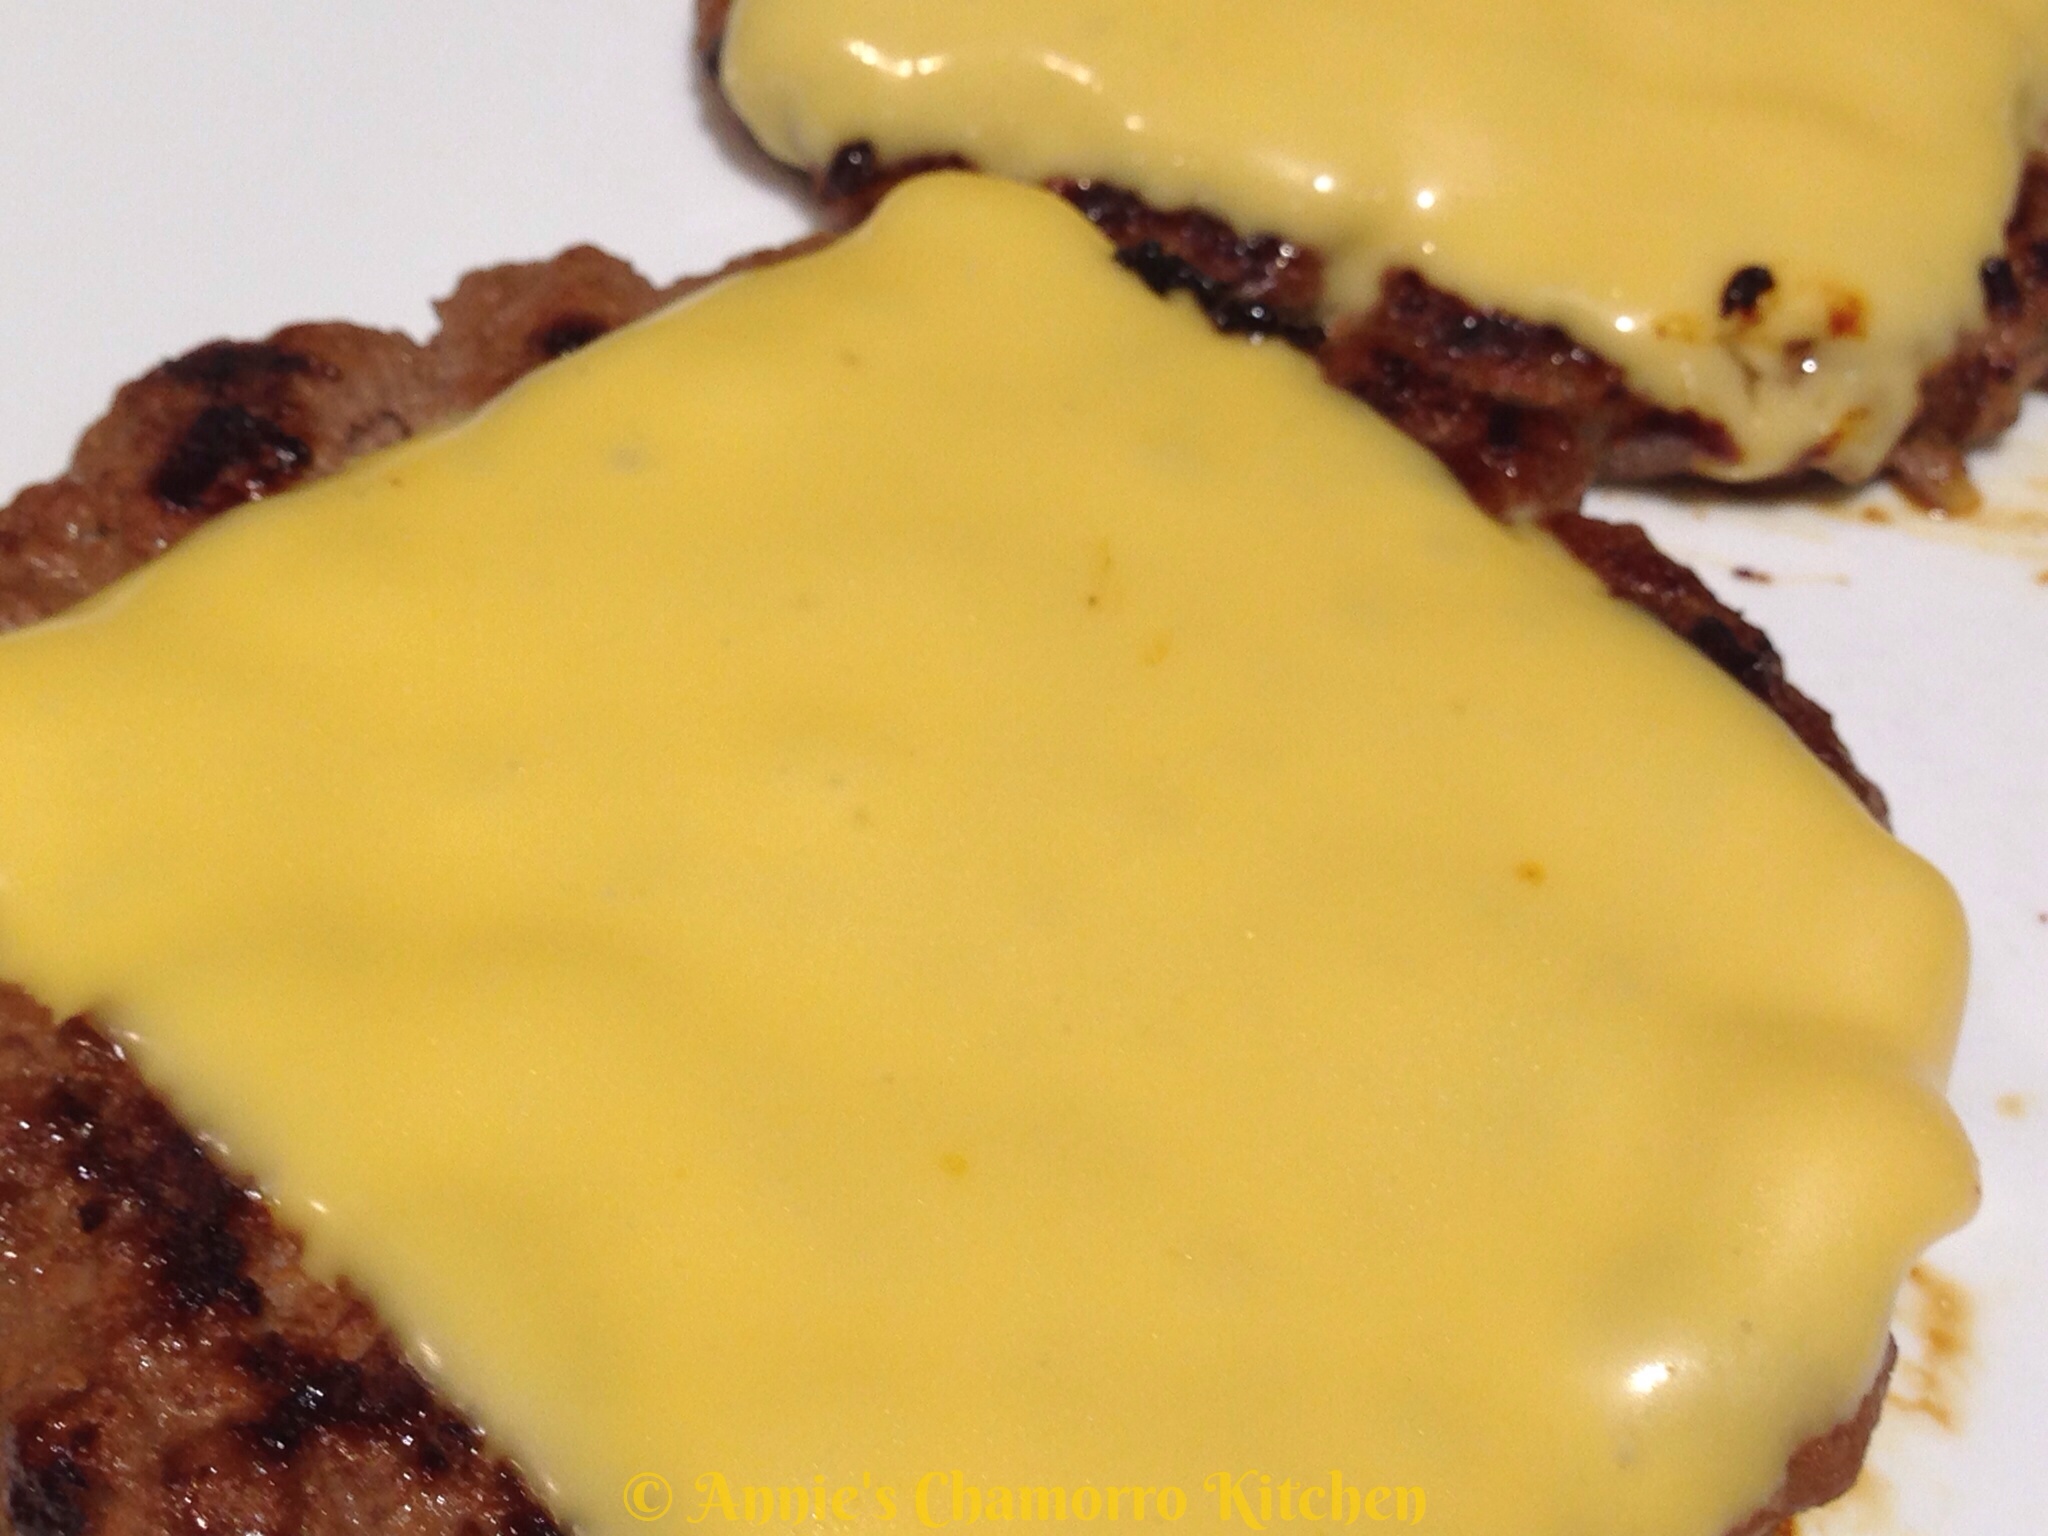
- 12 slices of your favorite cheese (I used American cheese in these photos)
- 12 sesame topped burger buns
- Optional toppings: romaine lettuce leaves, sliced tomates, pickles, bacon strips
Directions:
1. Prepare the fries.
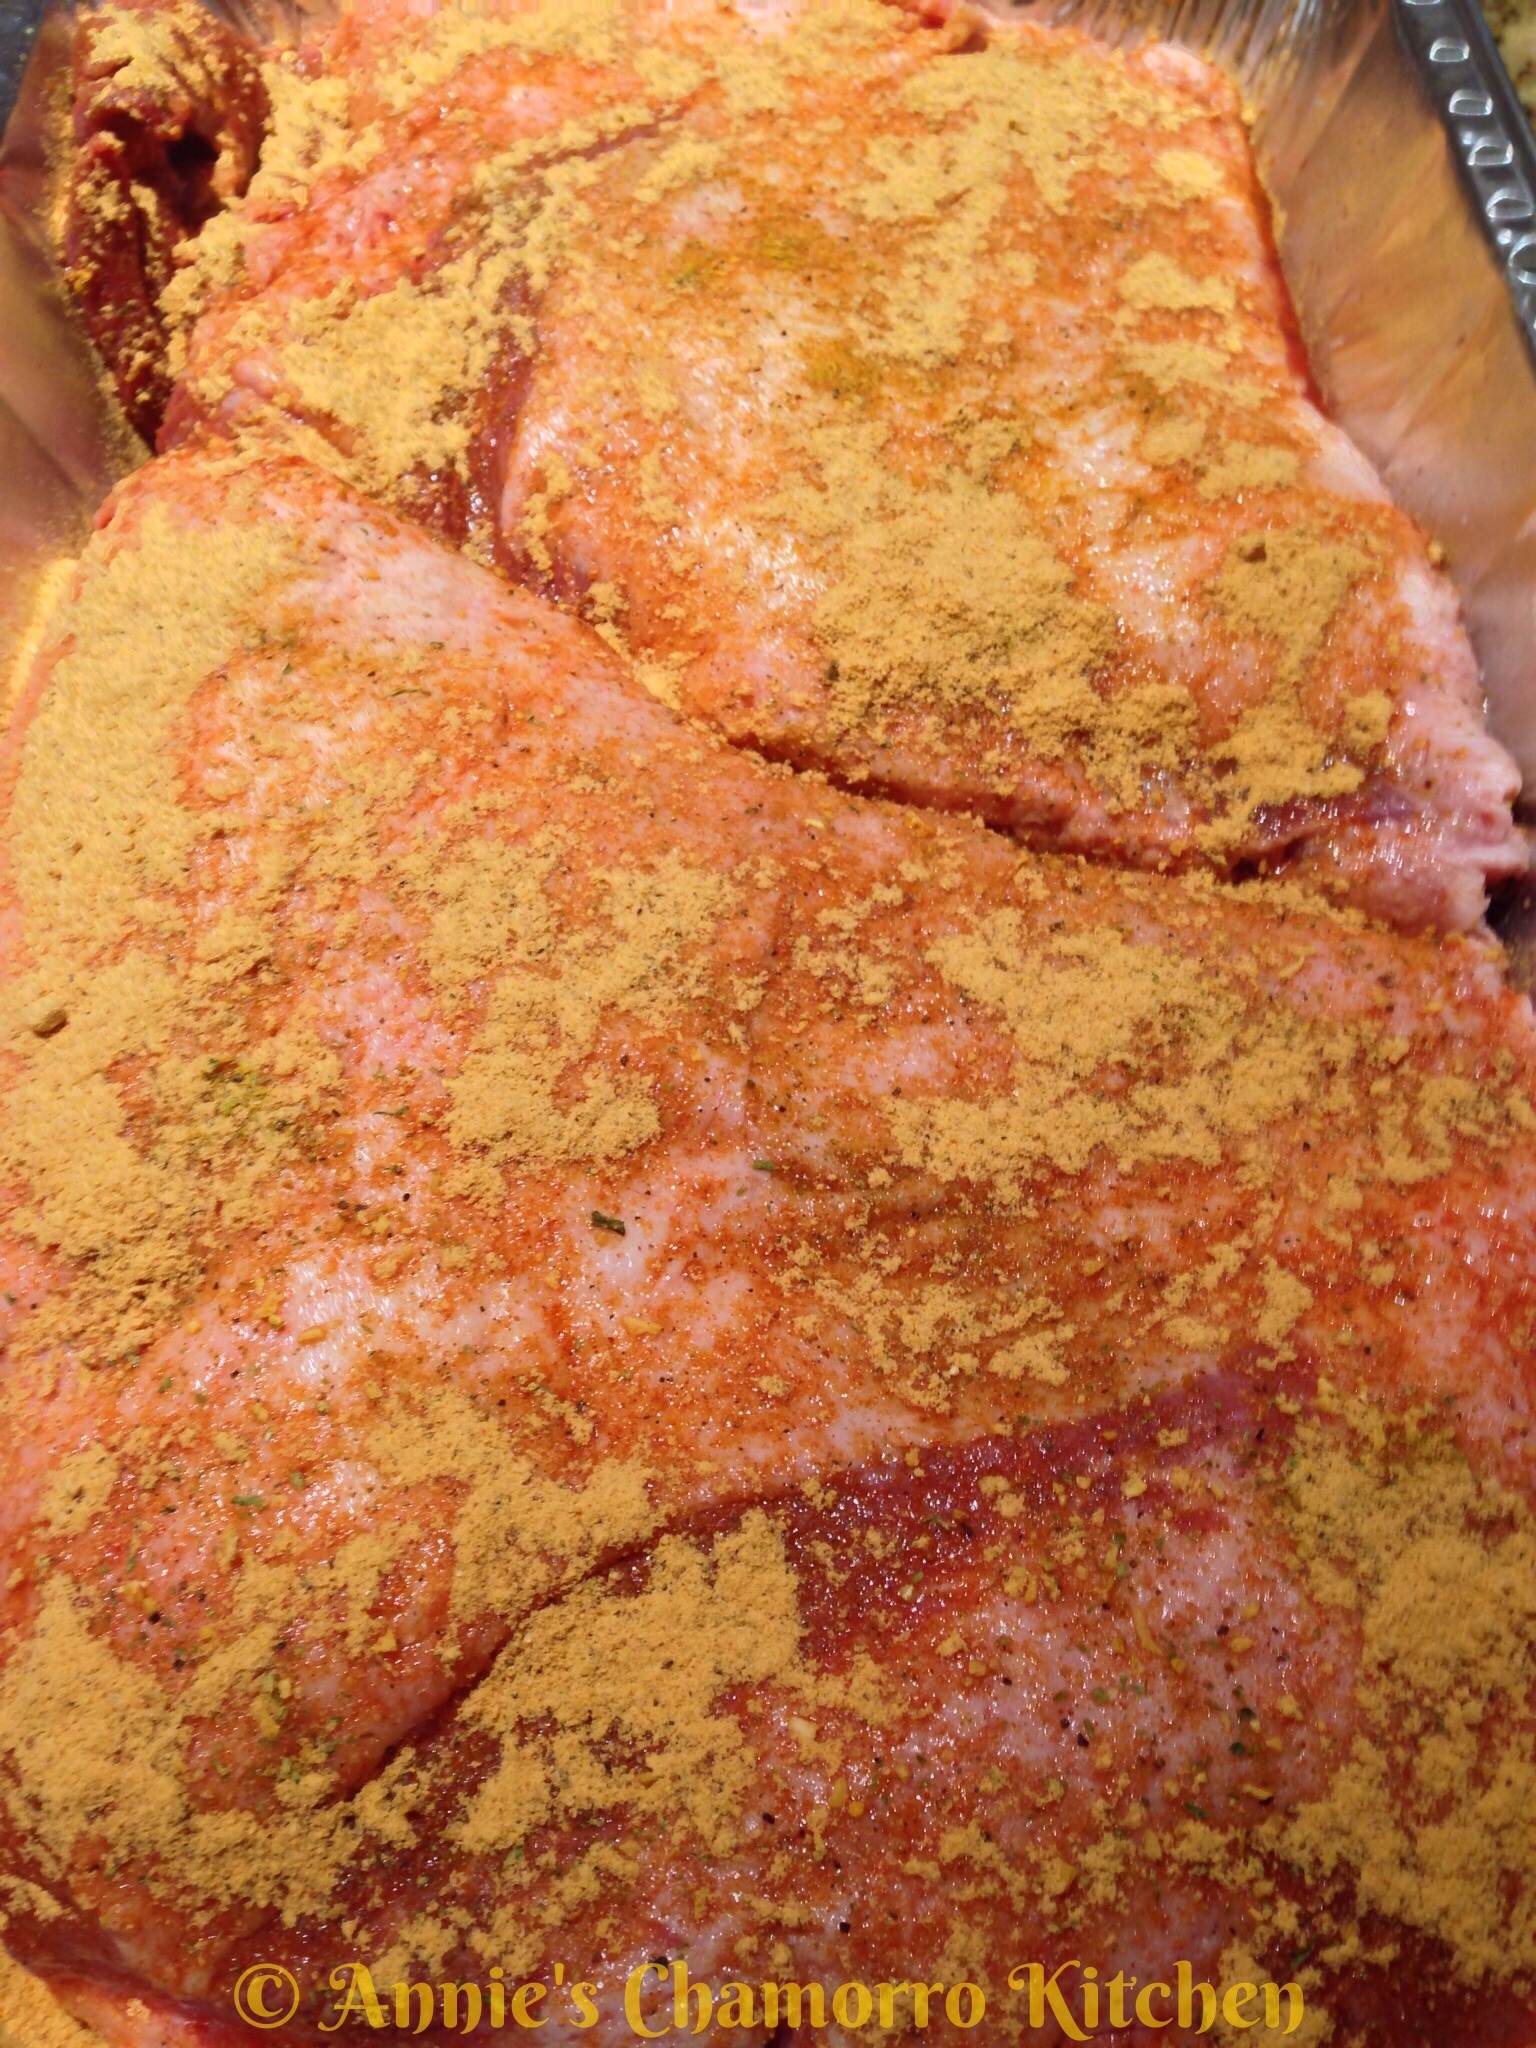
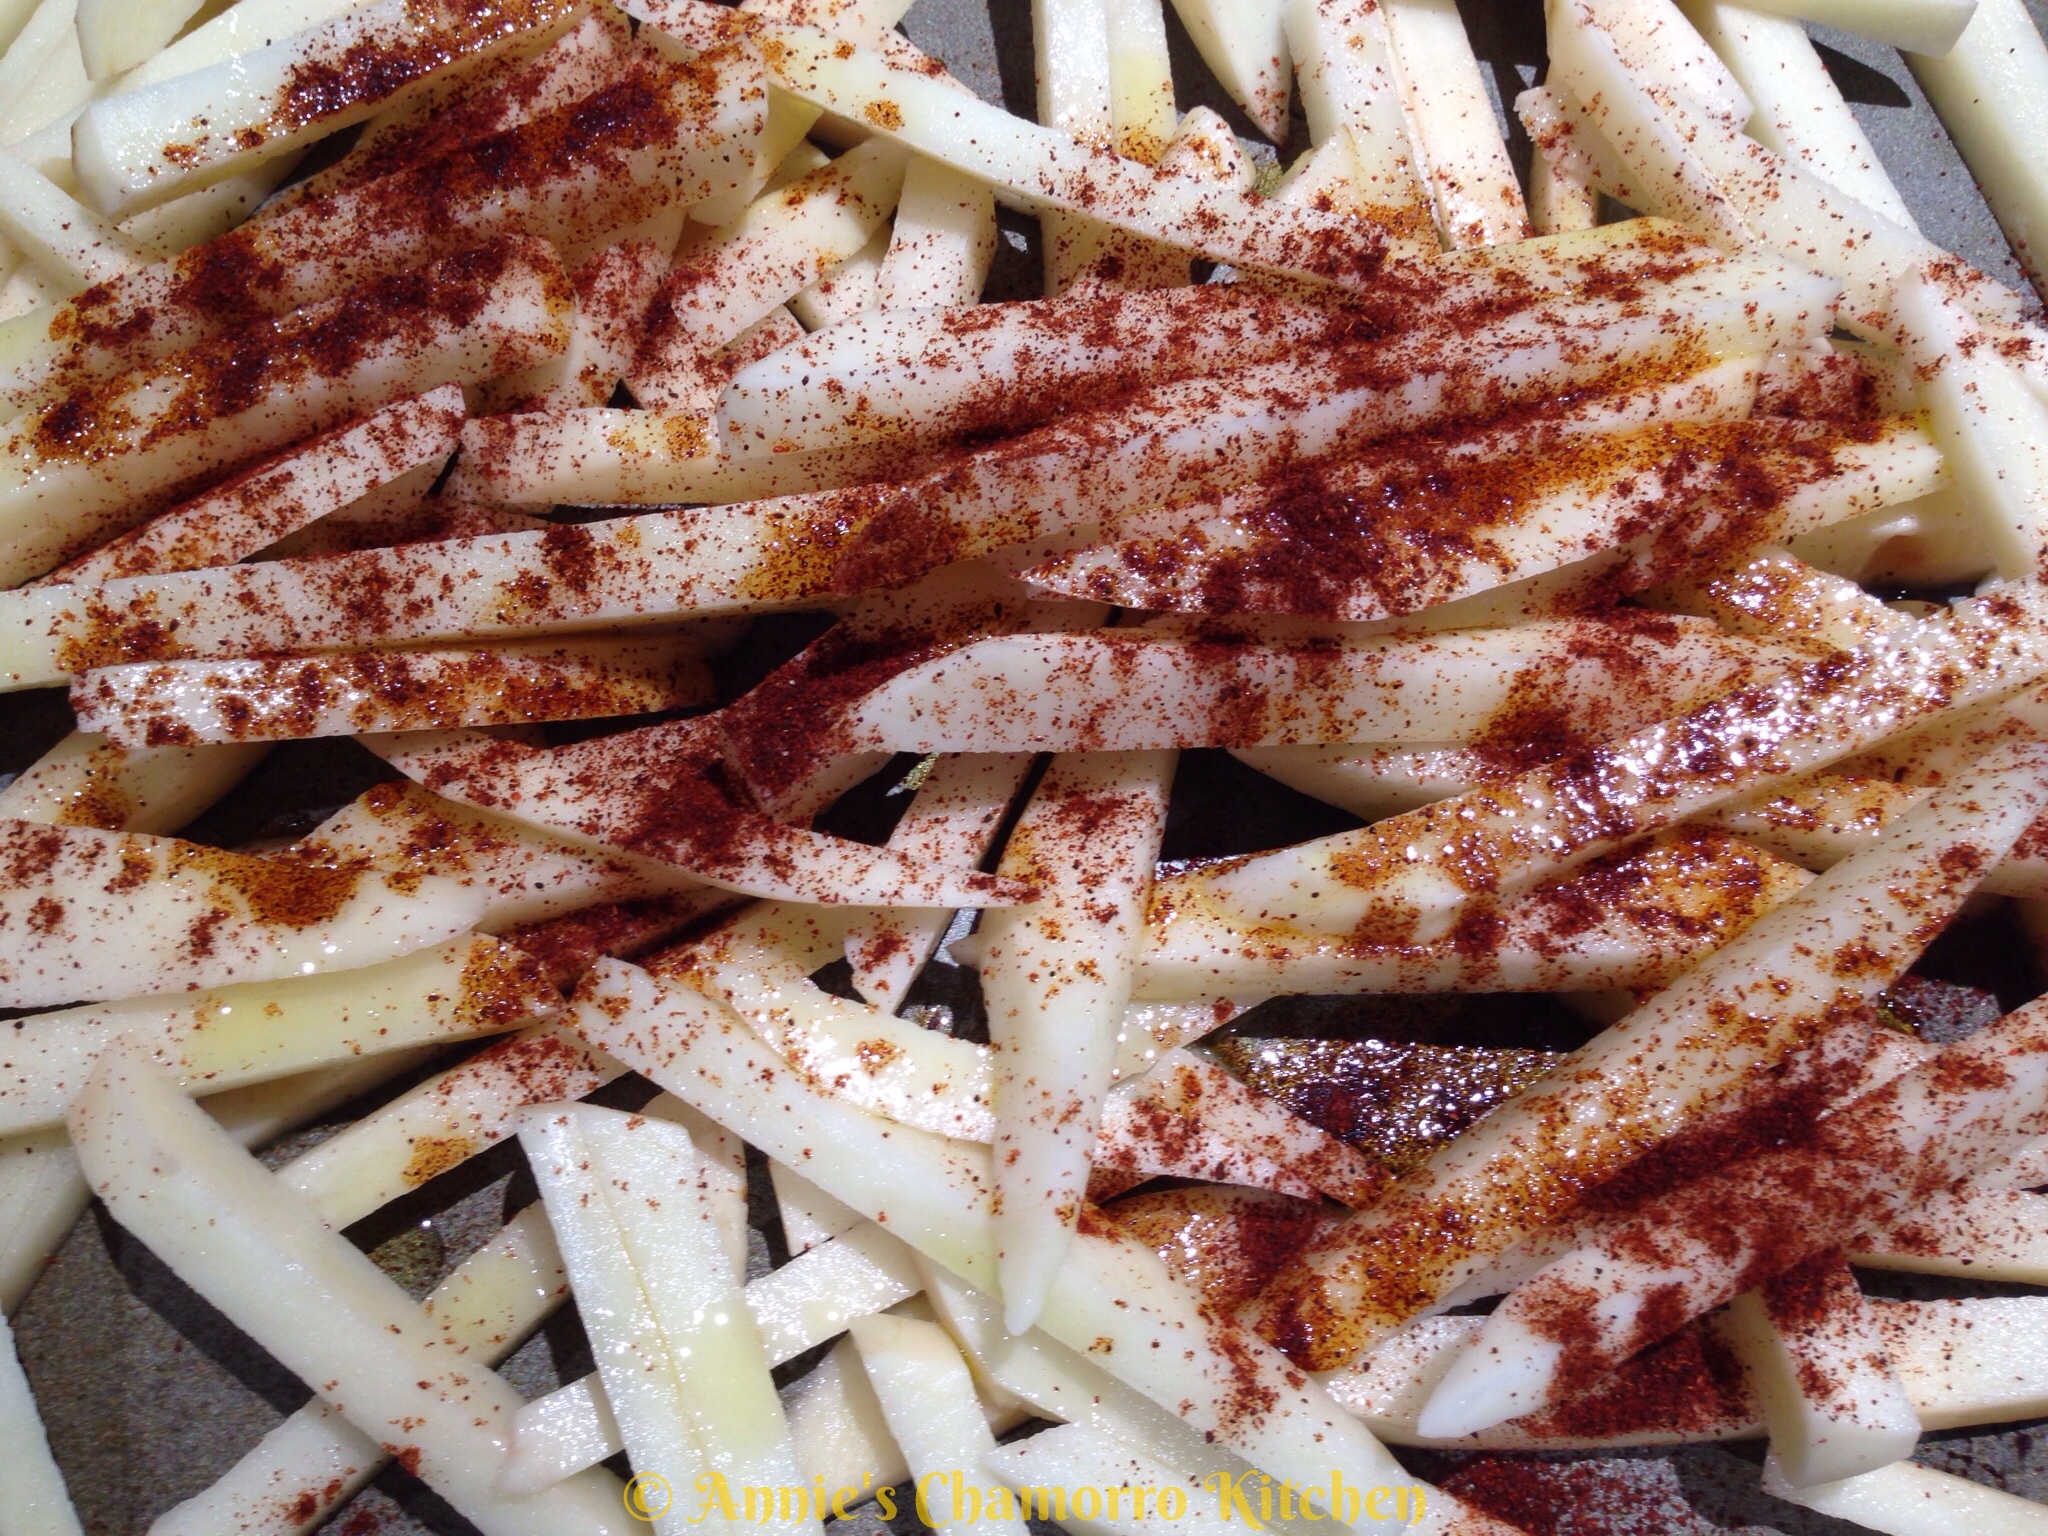
Peel the potatoes then cut them into 1/4-inch sticks. Place them onto a large baking sheet.
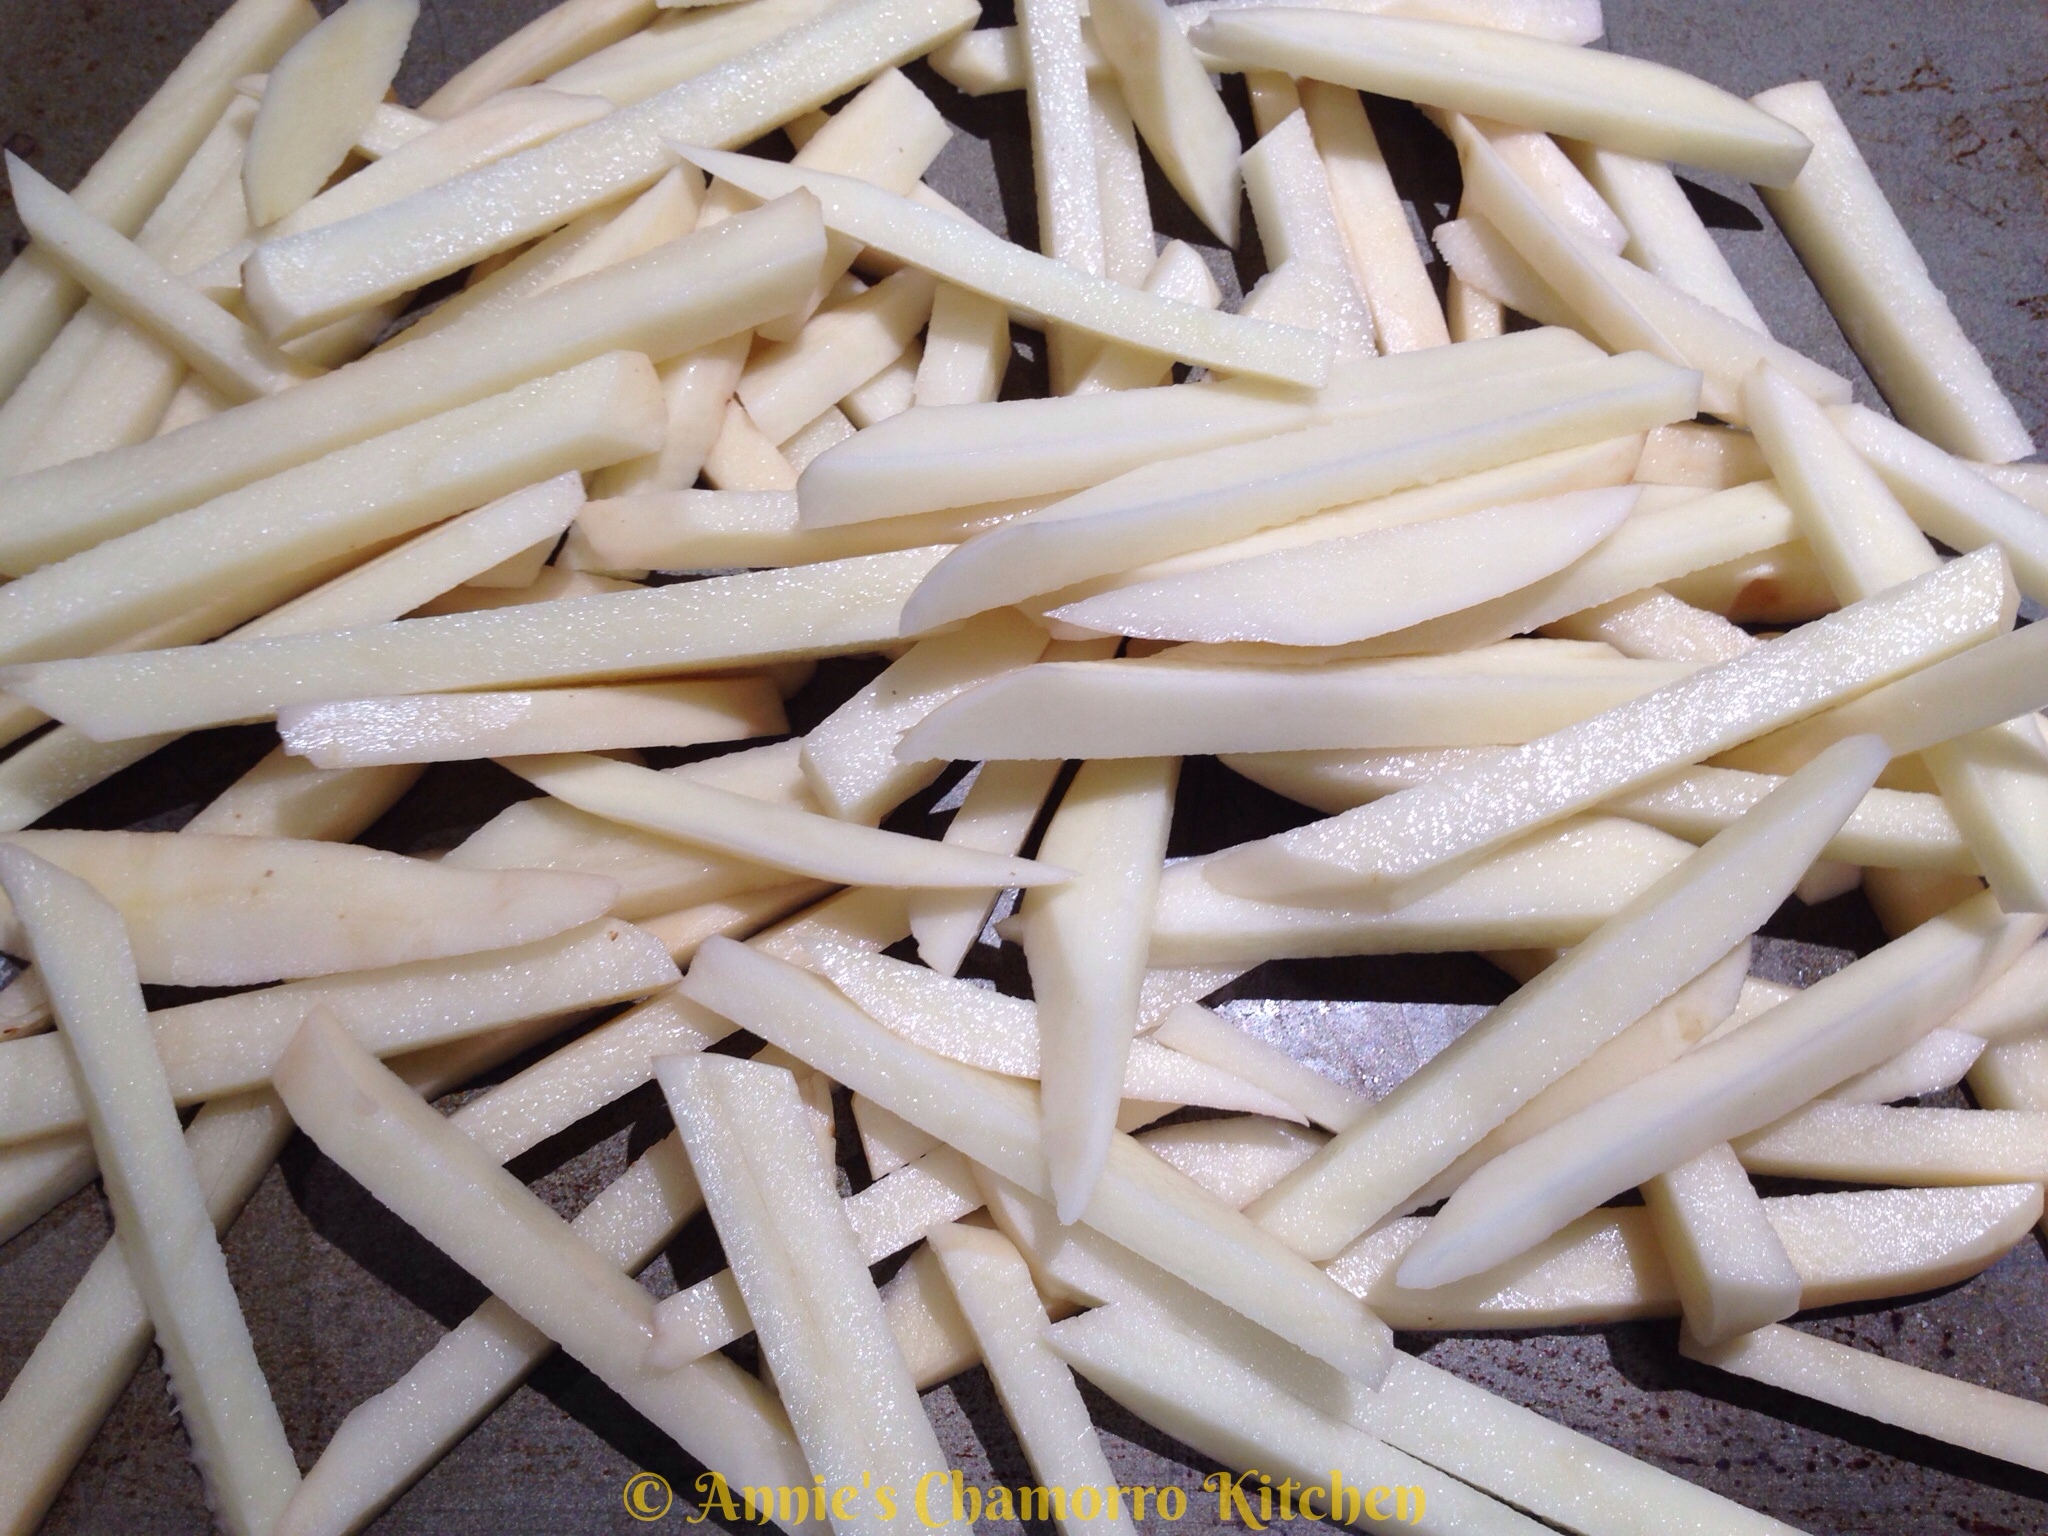
Drizzle the olive oil over the potatoes. Use your impeccably clean hands to toss the potatoes to evenly distribute the oil.
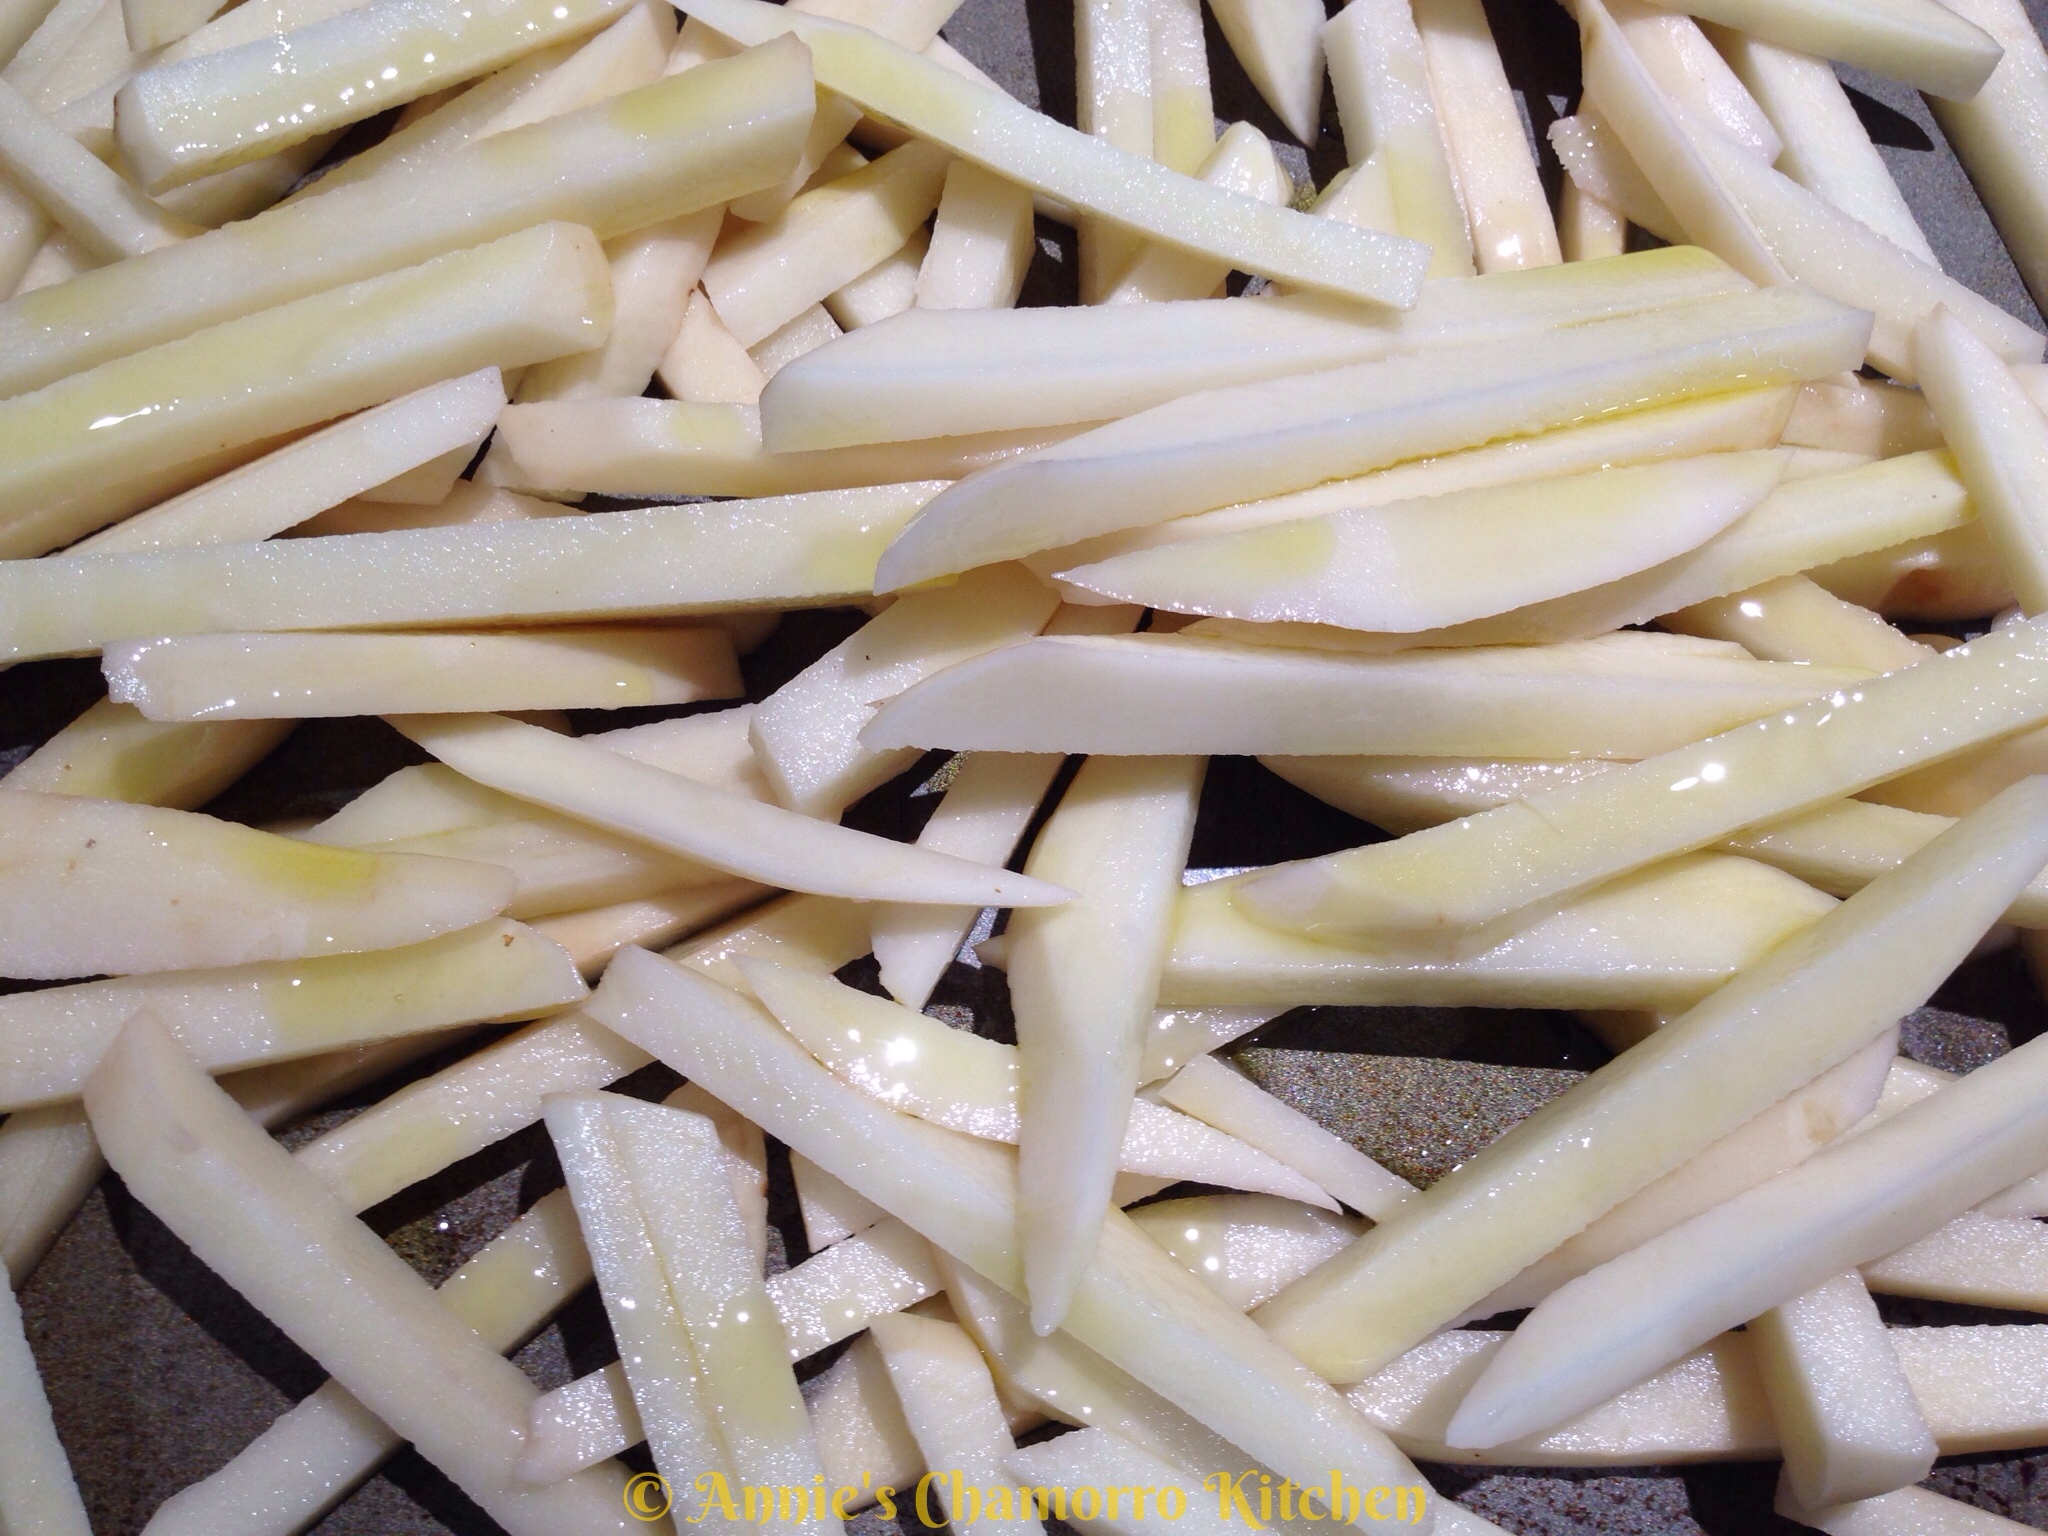
Sprinkle the garlic powder, chili powder, paprika and salt over the oiled potatoes. Toss to evenly coat the potatoes.
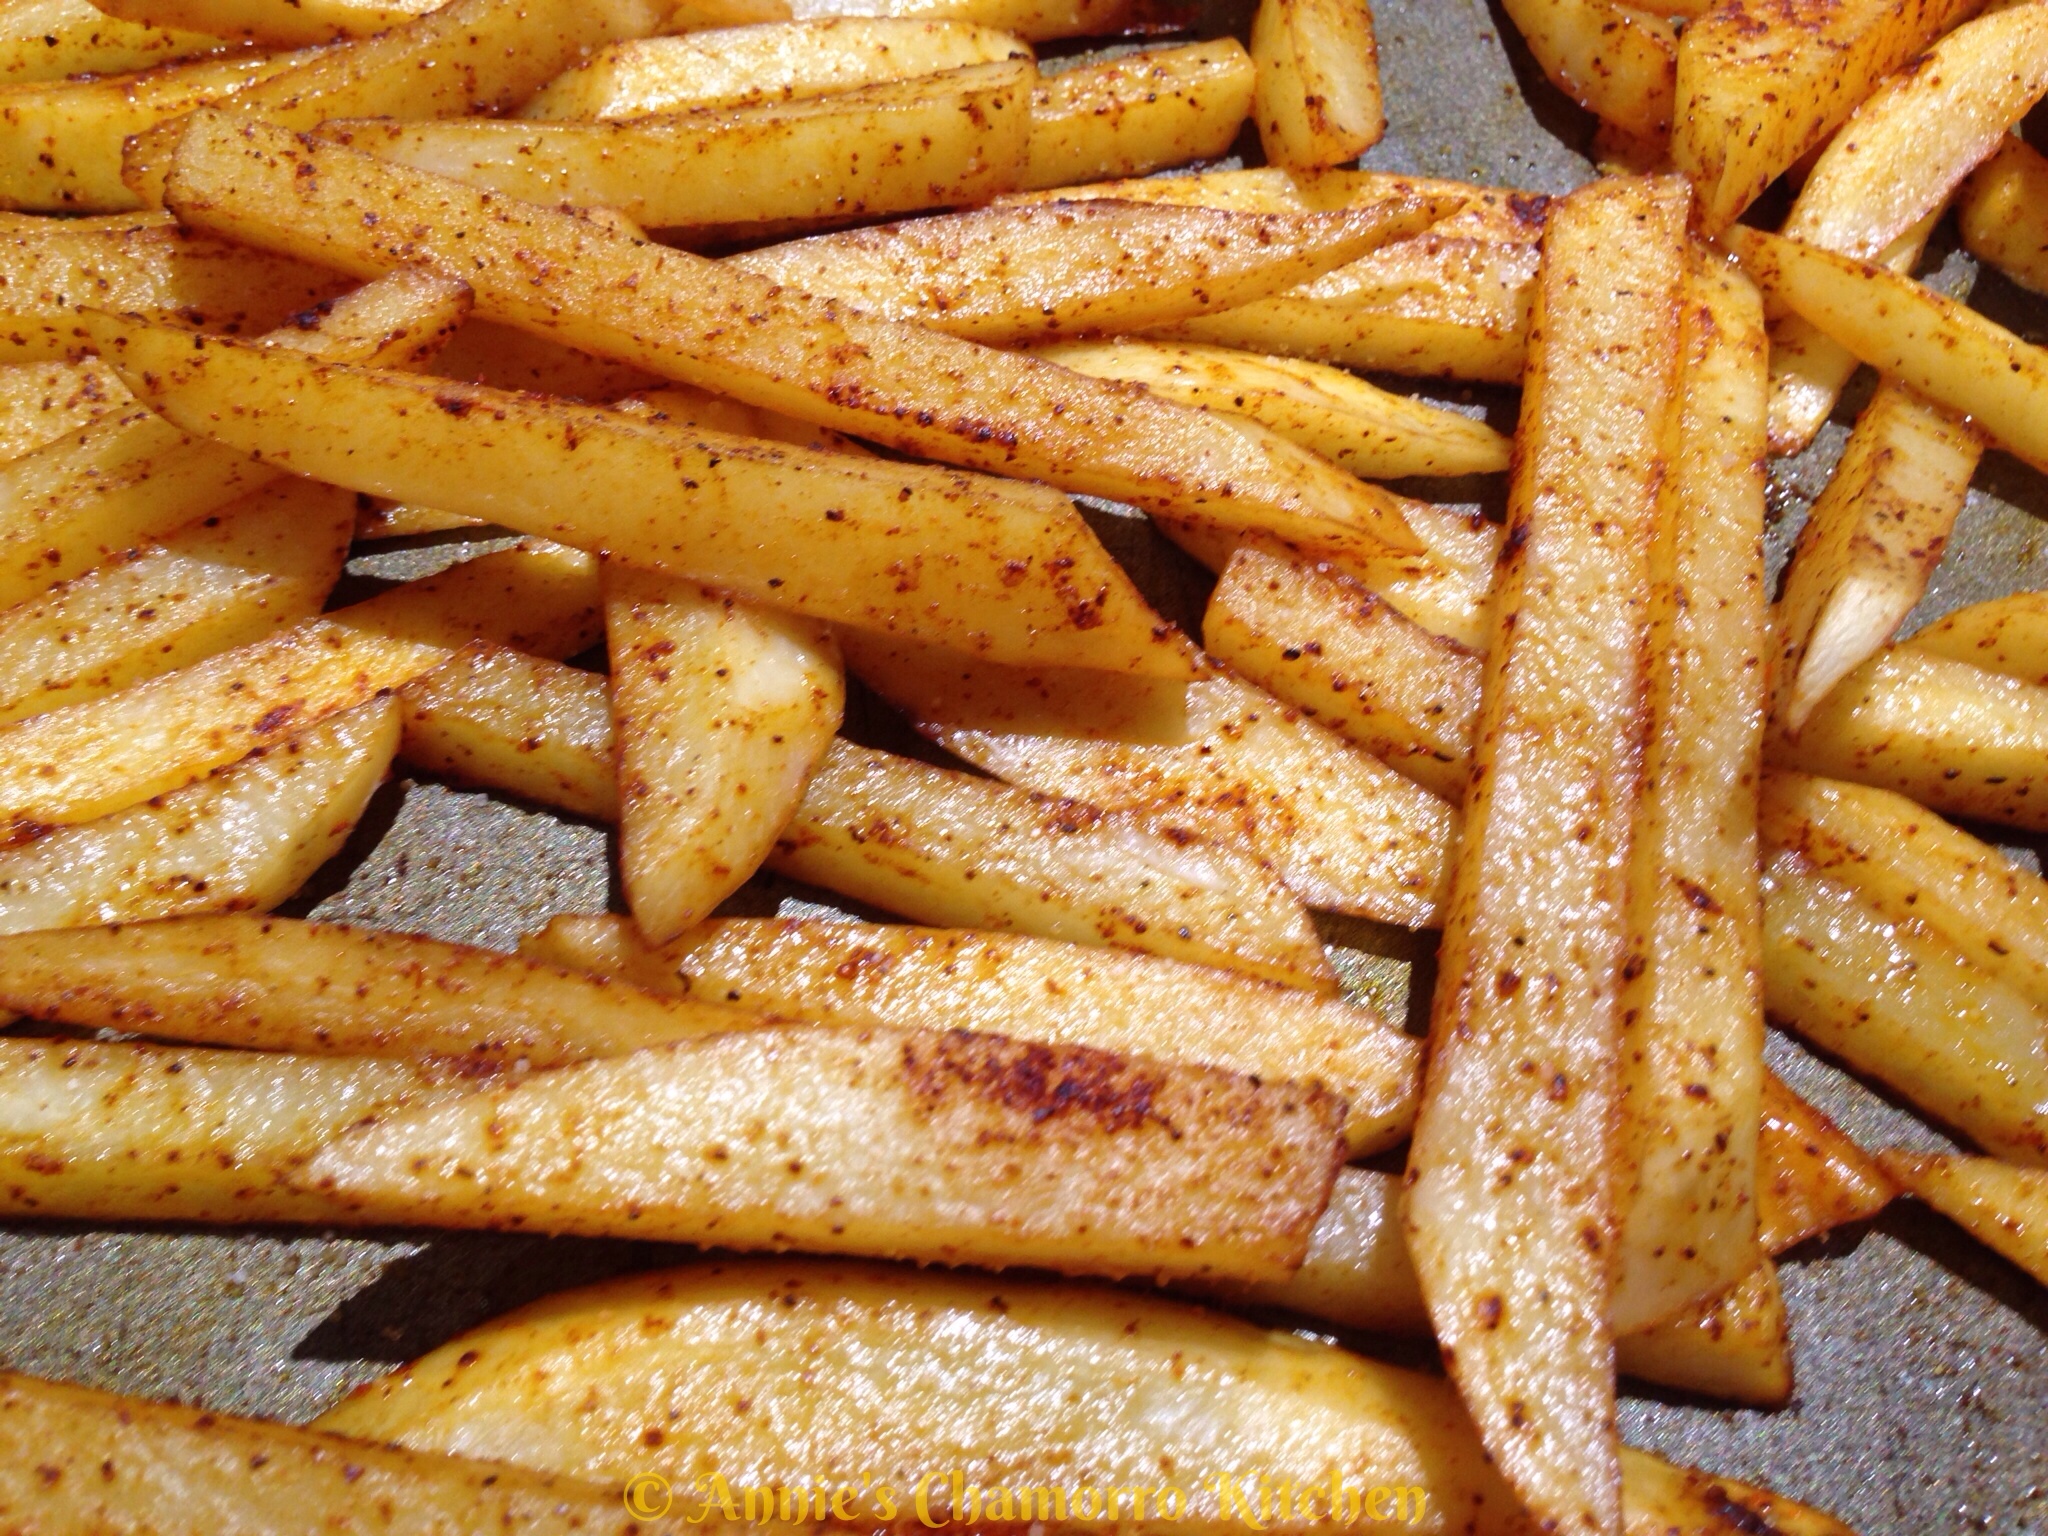
Bake the potatoes at 425 degrees for 20 minutes.
After the fries are done, taste one and add more salt if you’d like.
Sprinkle the crumbled bacon and green onions on top of the fries.
Add the shredded cheese.
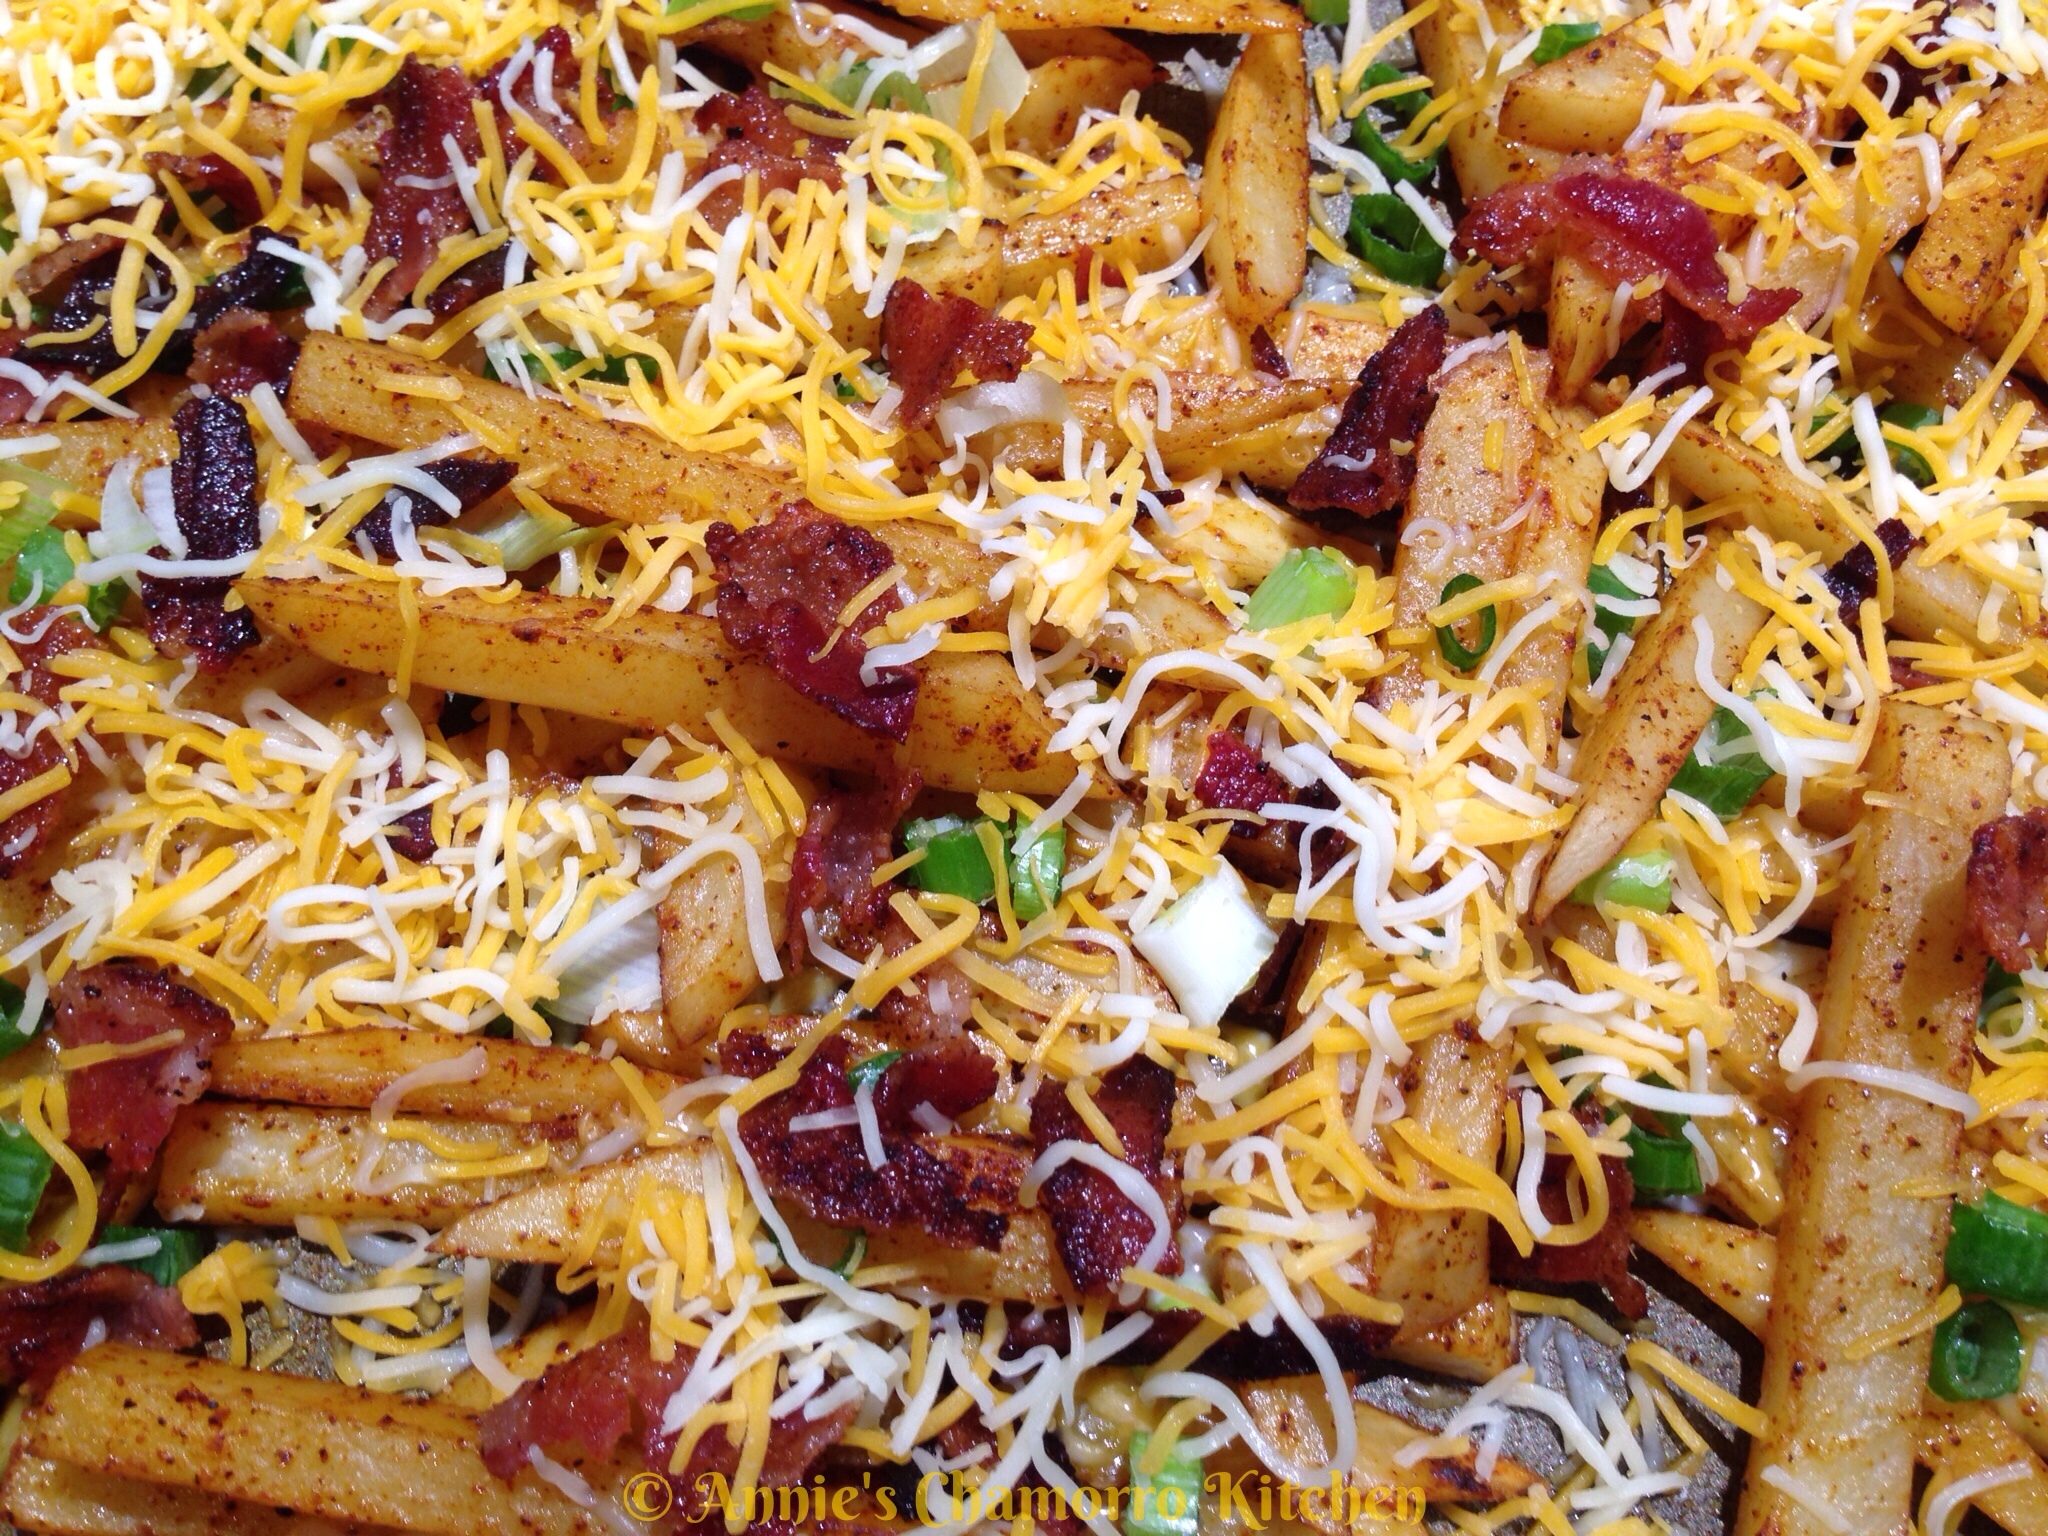
Bake for 5-10 more minutes, or just until the cheese melts.
Serve alongside the juicy burgers and ENJOY!
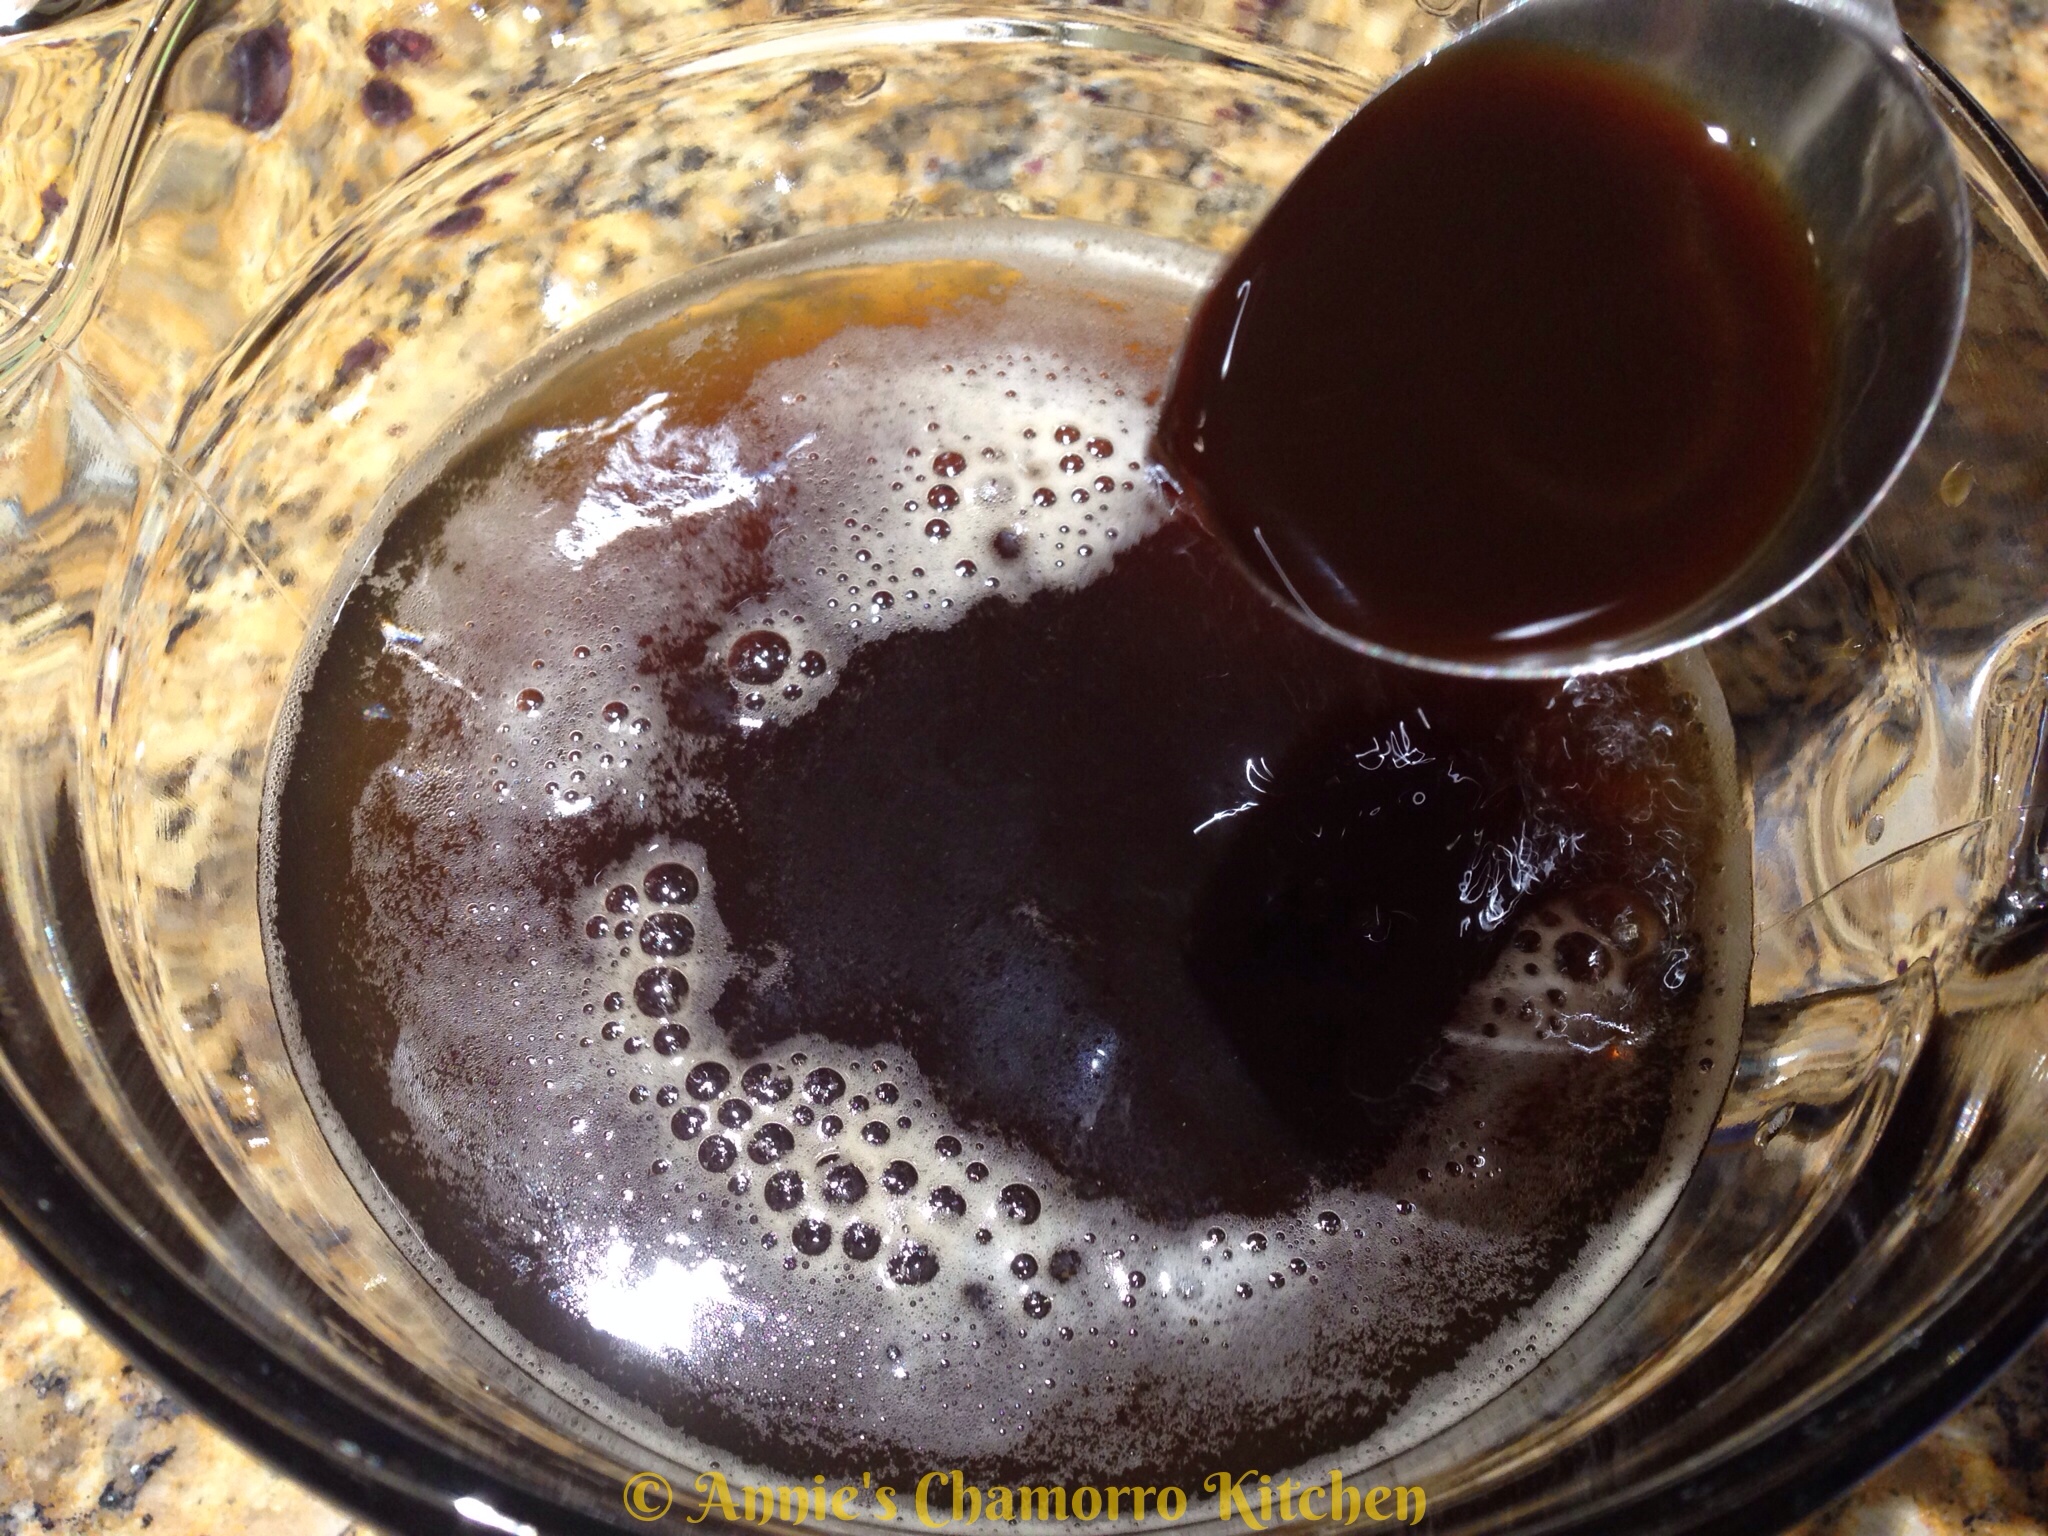
2. Prepare the Special Sauce while the fries are baking.
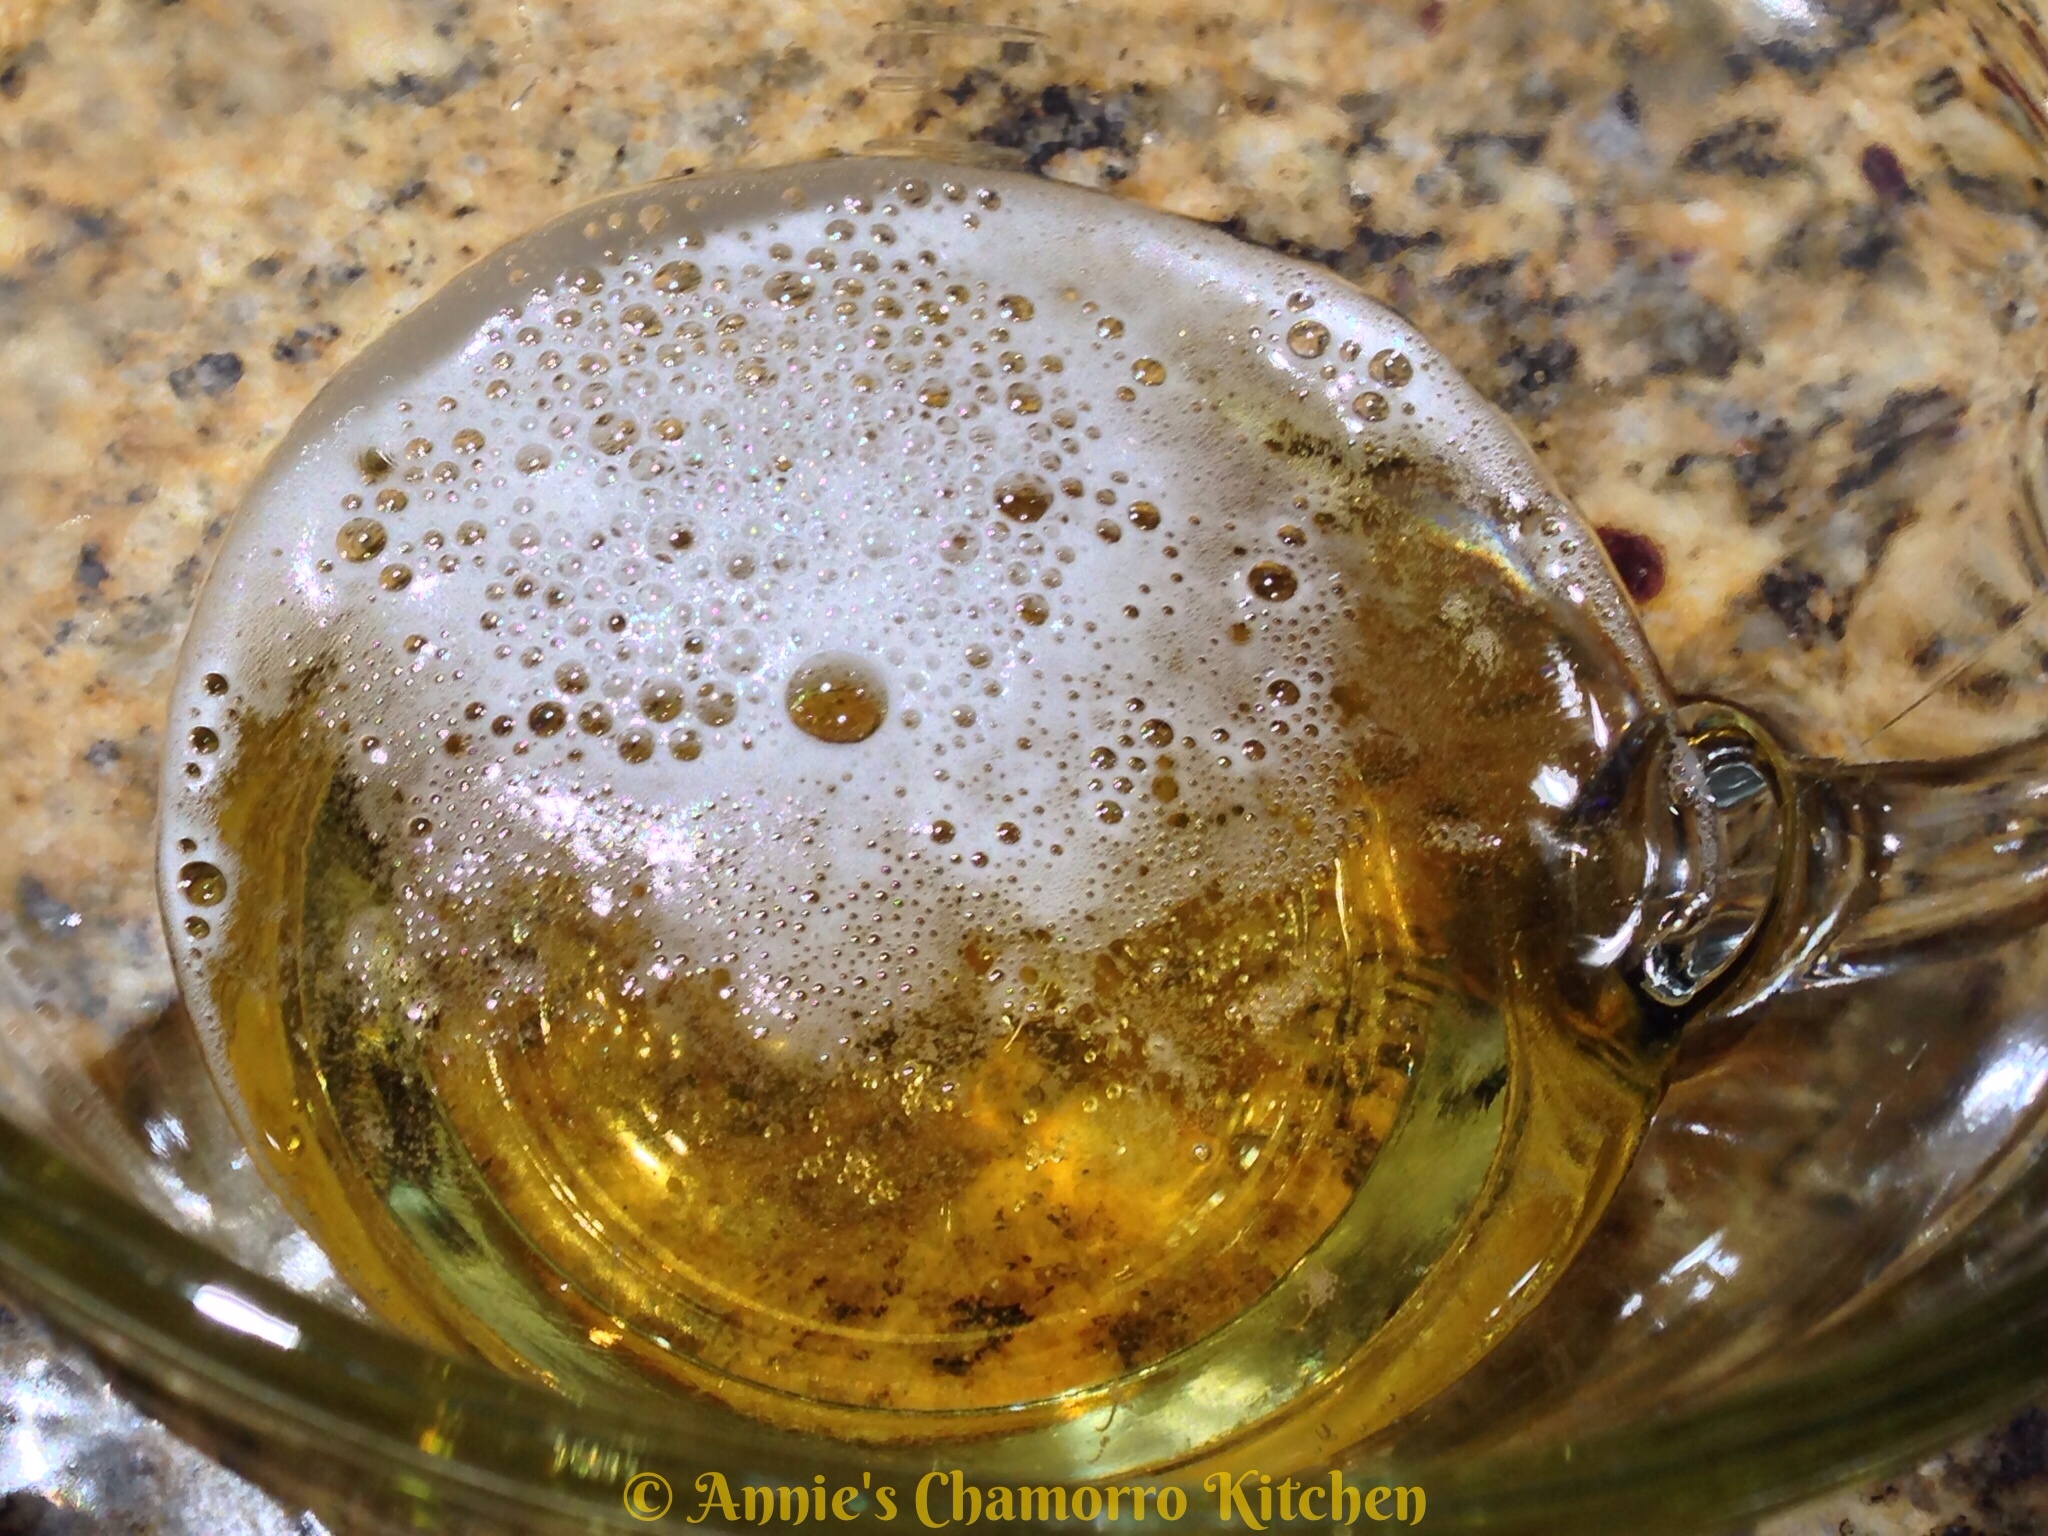
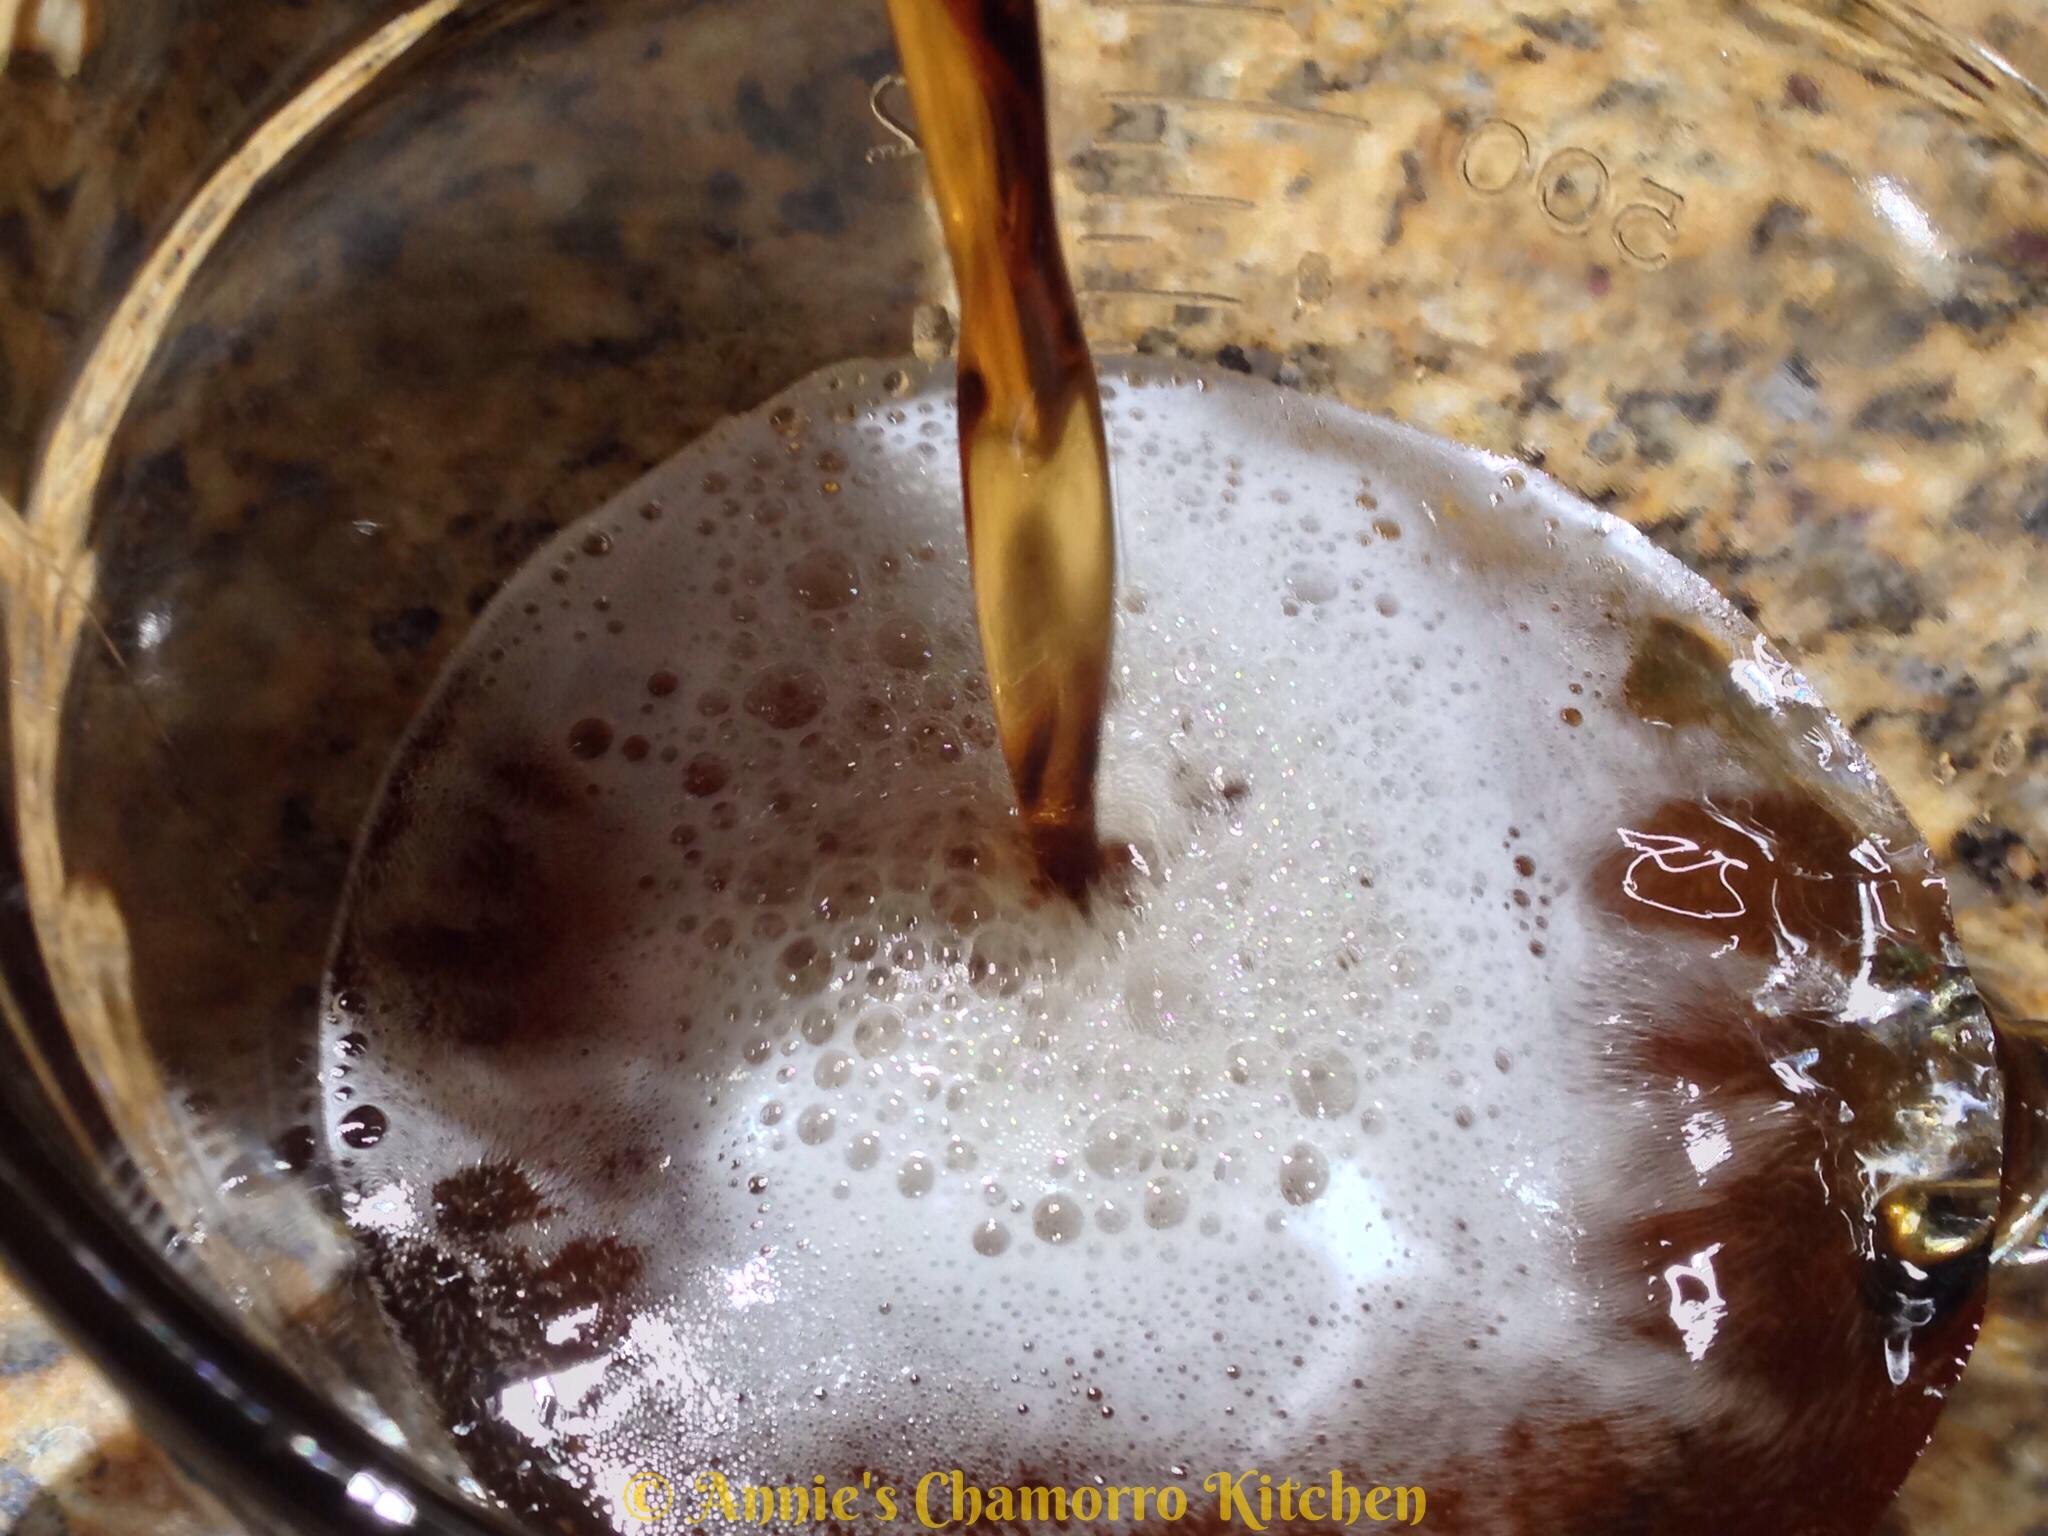
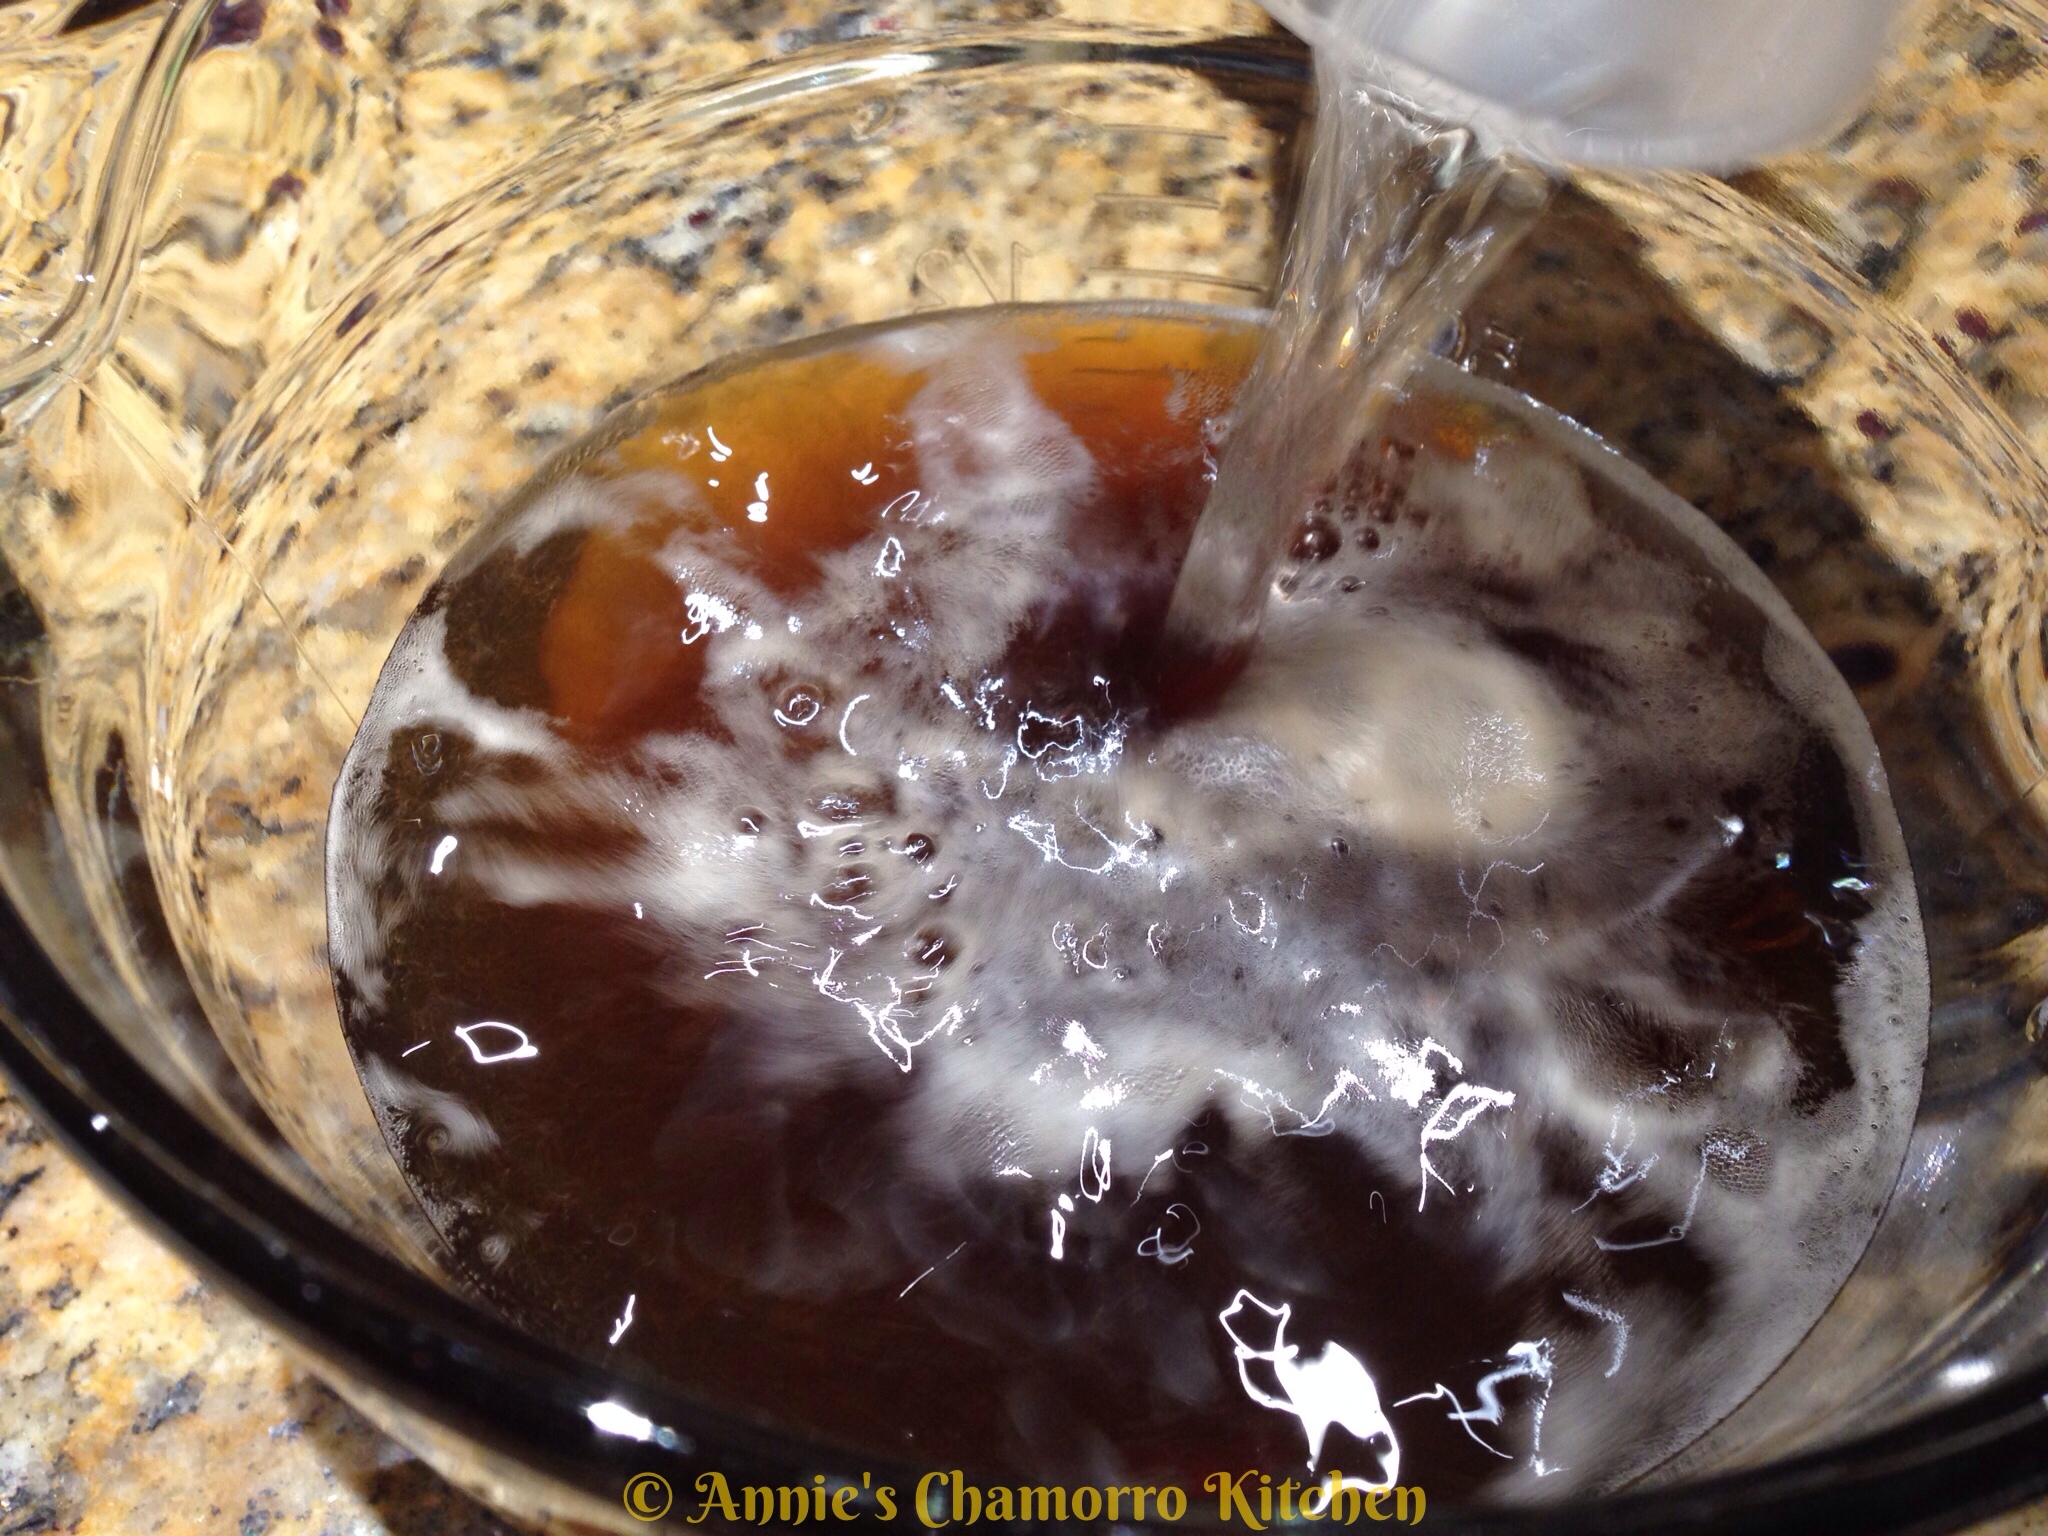
In a small mixing bowl, place the mayo, mustard and ketchup.
Add the onion powder.
Add the Worcestershire sauce and relish. Stir, mixing well. Set aside.
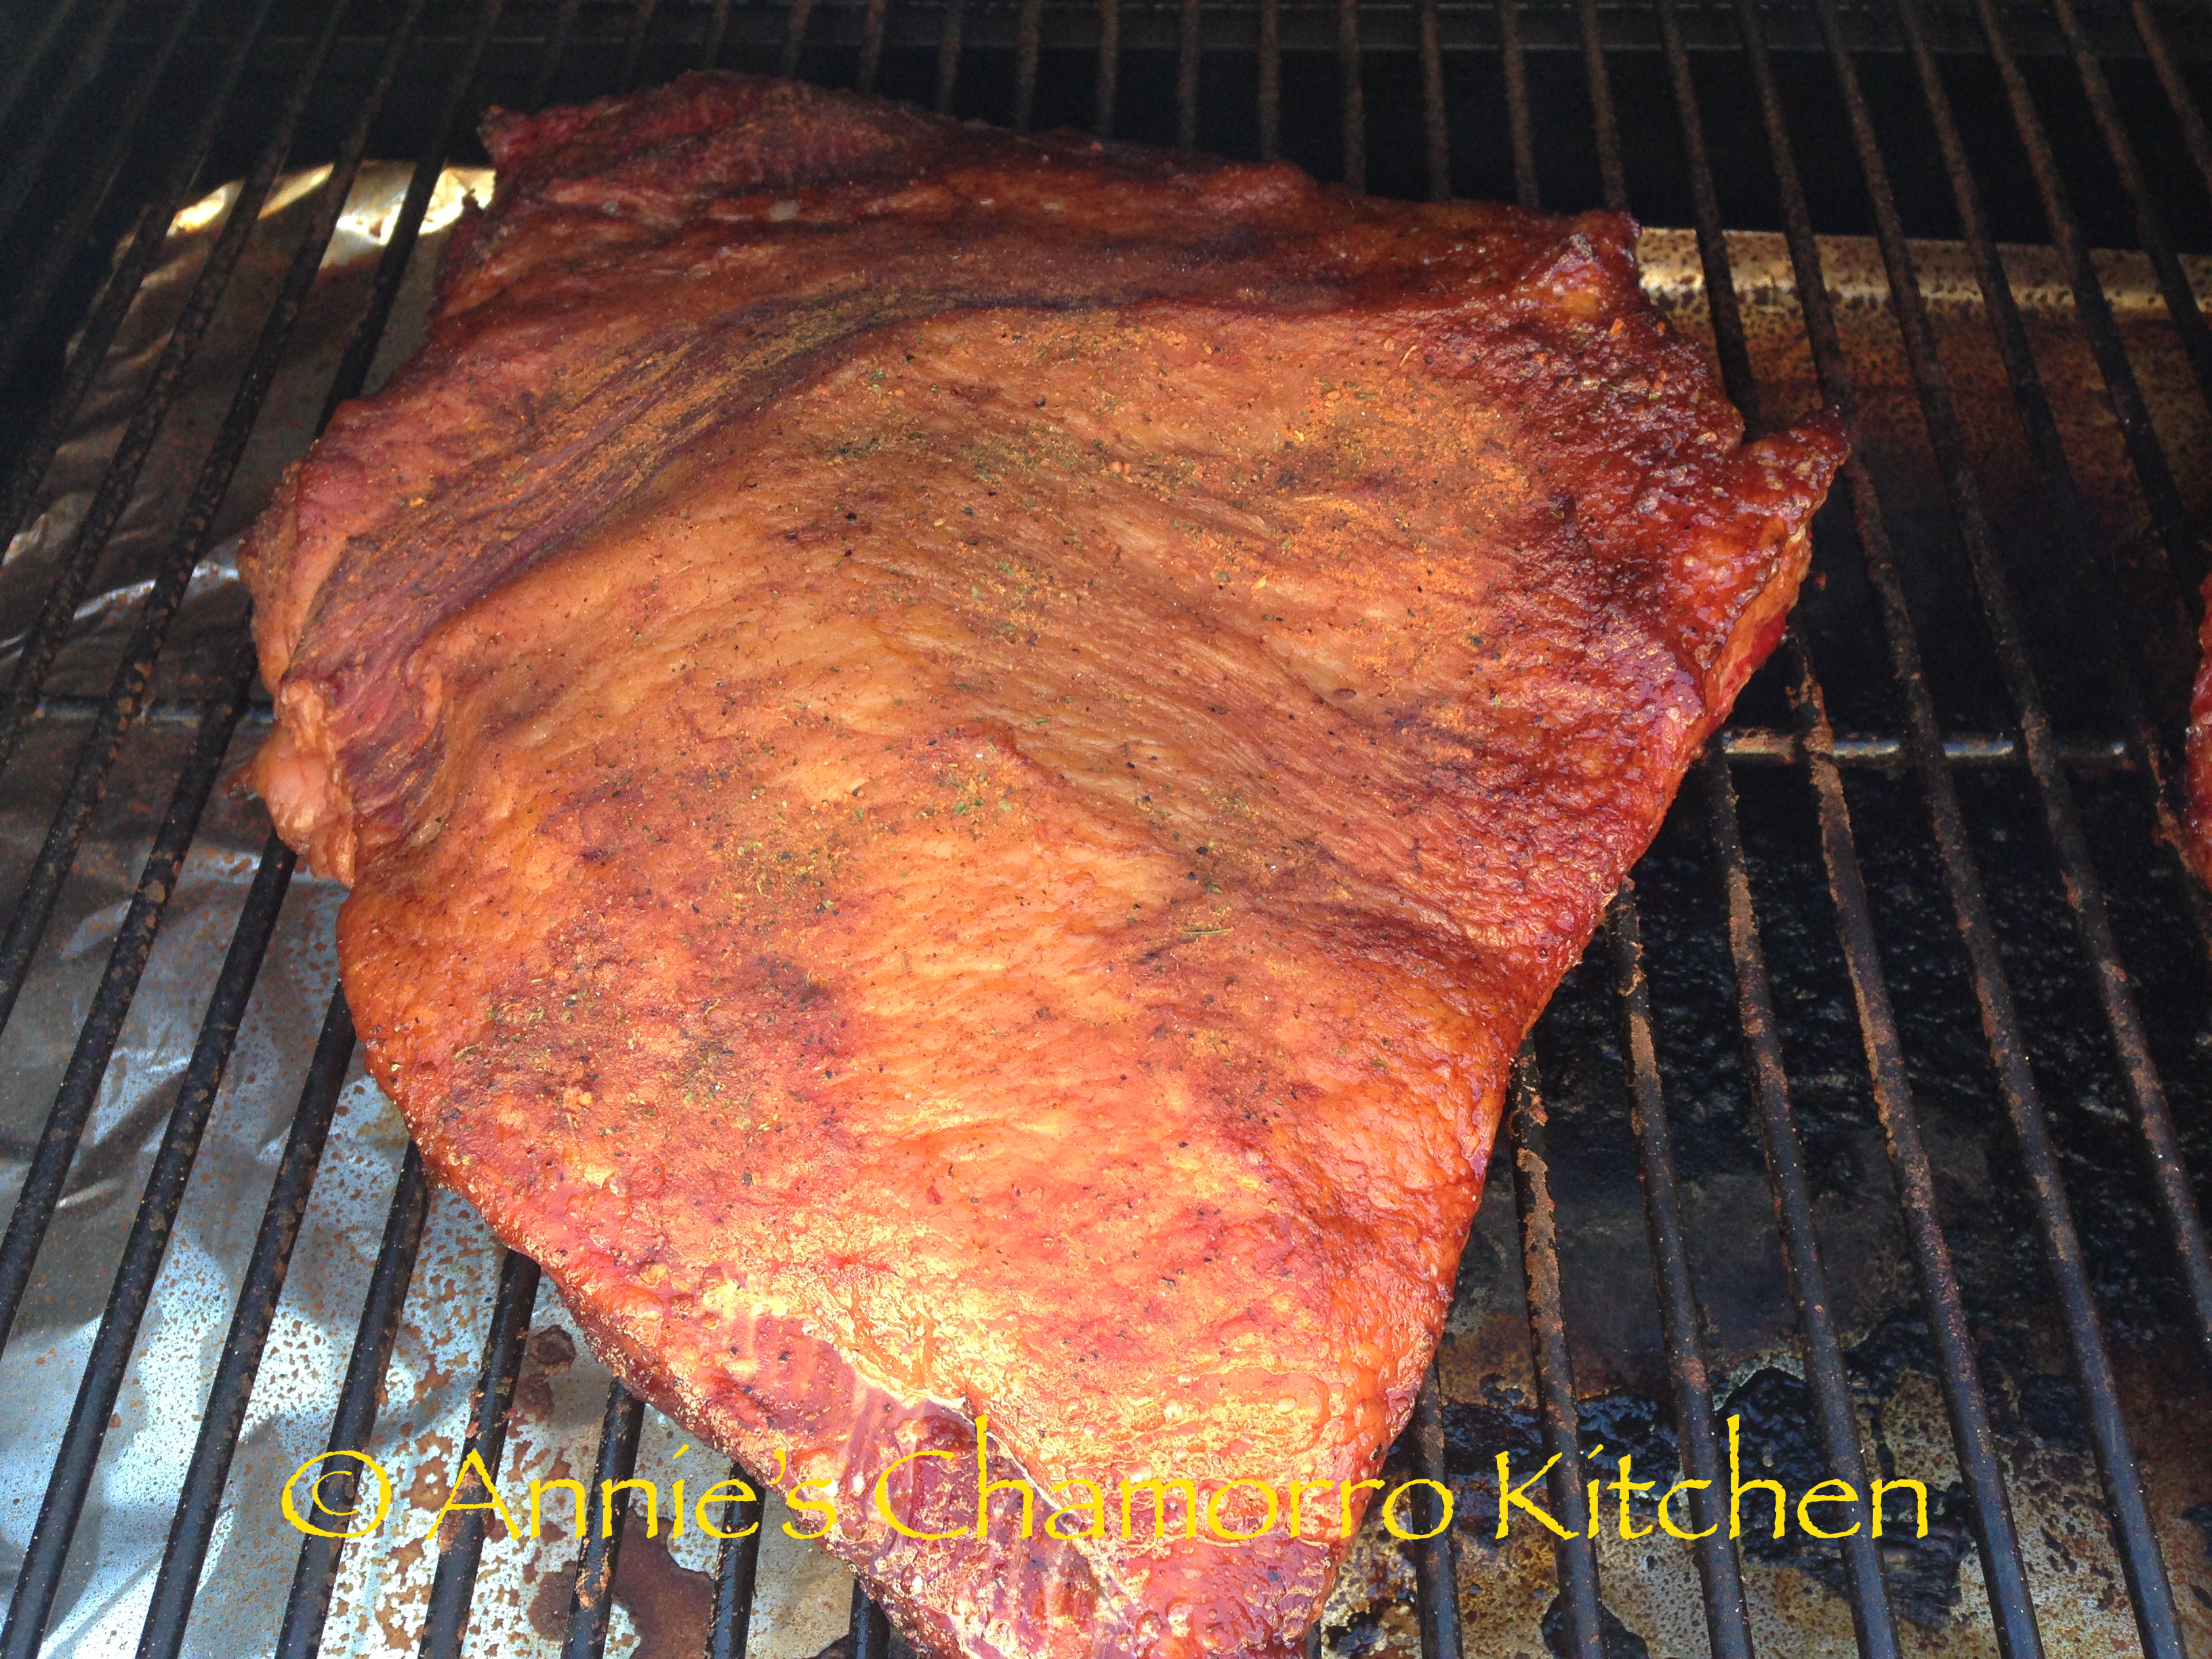
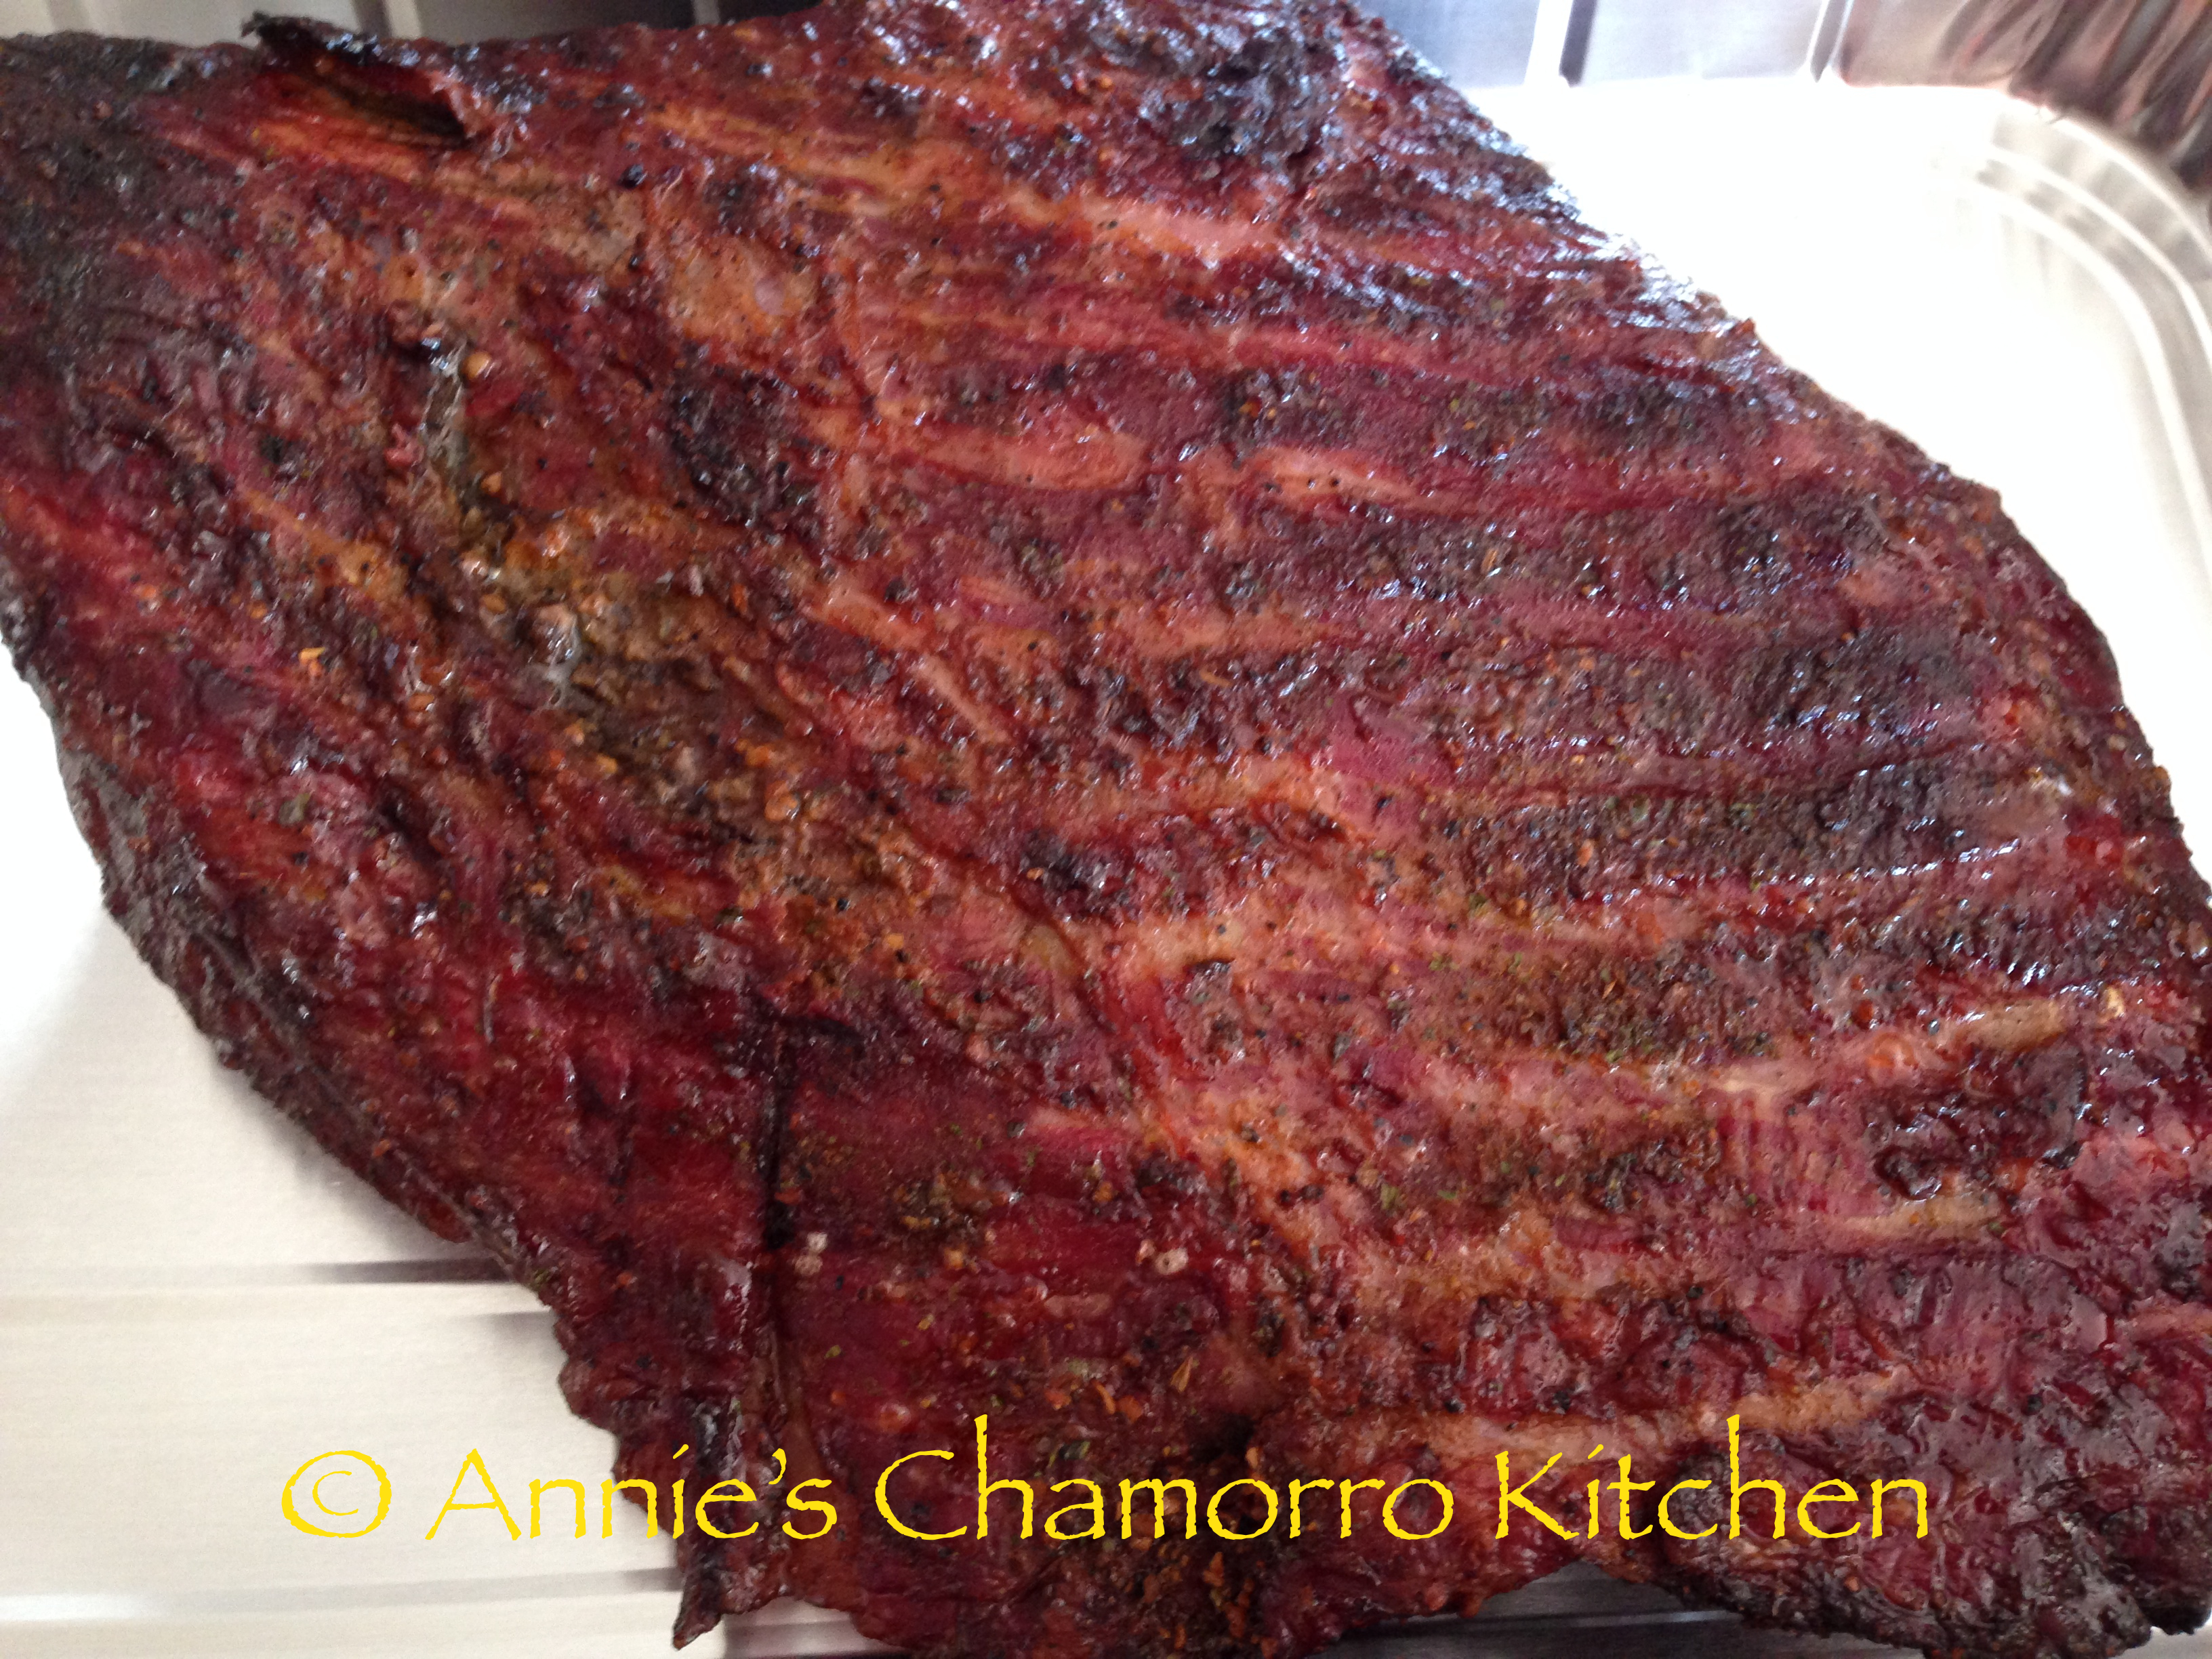
3. Make the burgers while the fries are baking.
In a large mixing bowl, place the ground beef, garlic, salt and black pepper. You can also add some chopped onions (optional). Mix together (do not over-mix) then separate into 12 balls. Flatten each ball into patties, about 1/4-inch thick (they will shrink as they cook, so don’t make them too thick or you’ll have burgers that are much smaller than the buns).
Cook over a hot grill or skillet (see my tips above for how long to cook them).
Top each burger patty with a slice of cheese.
4. Assemble the burgers.
Spread some of the Special Sauce onto each sesame bun half. Top the bottom bun with a juicy burger patty, pickles, tomato slices, bacon strips and romaine lettuce. Place the top bun on the assembled burger, serve with a side of Smothered Fries and ENJOY!