This is a cross between two of my family’s favorites — Kahlua Pork and traditional pulled pork with BBQ sauce.
The pork has that hint of smokiness like with Kahlua Pork, thanks to a bit of liquid smoke. The addition of pineapple juice and brown sugar gives the pork a touch of sweetness, but not too much sweetness that you can’t eat the roast pork with our Chamorro standard fare of steamed rice and fina’denne if that’s what you prefer. 😉
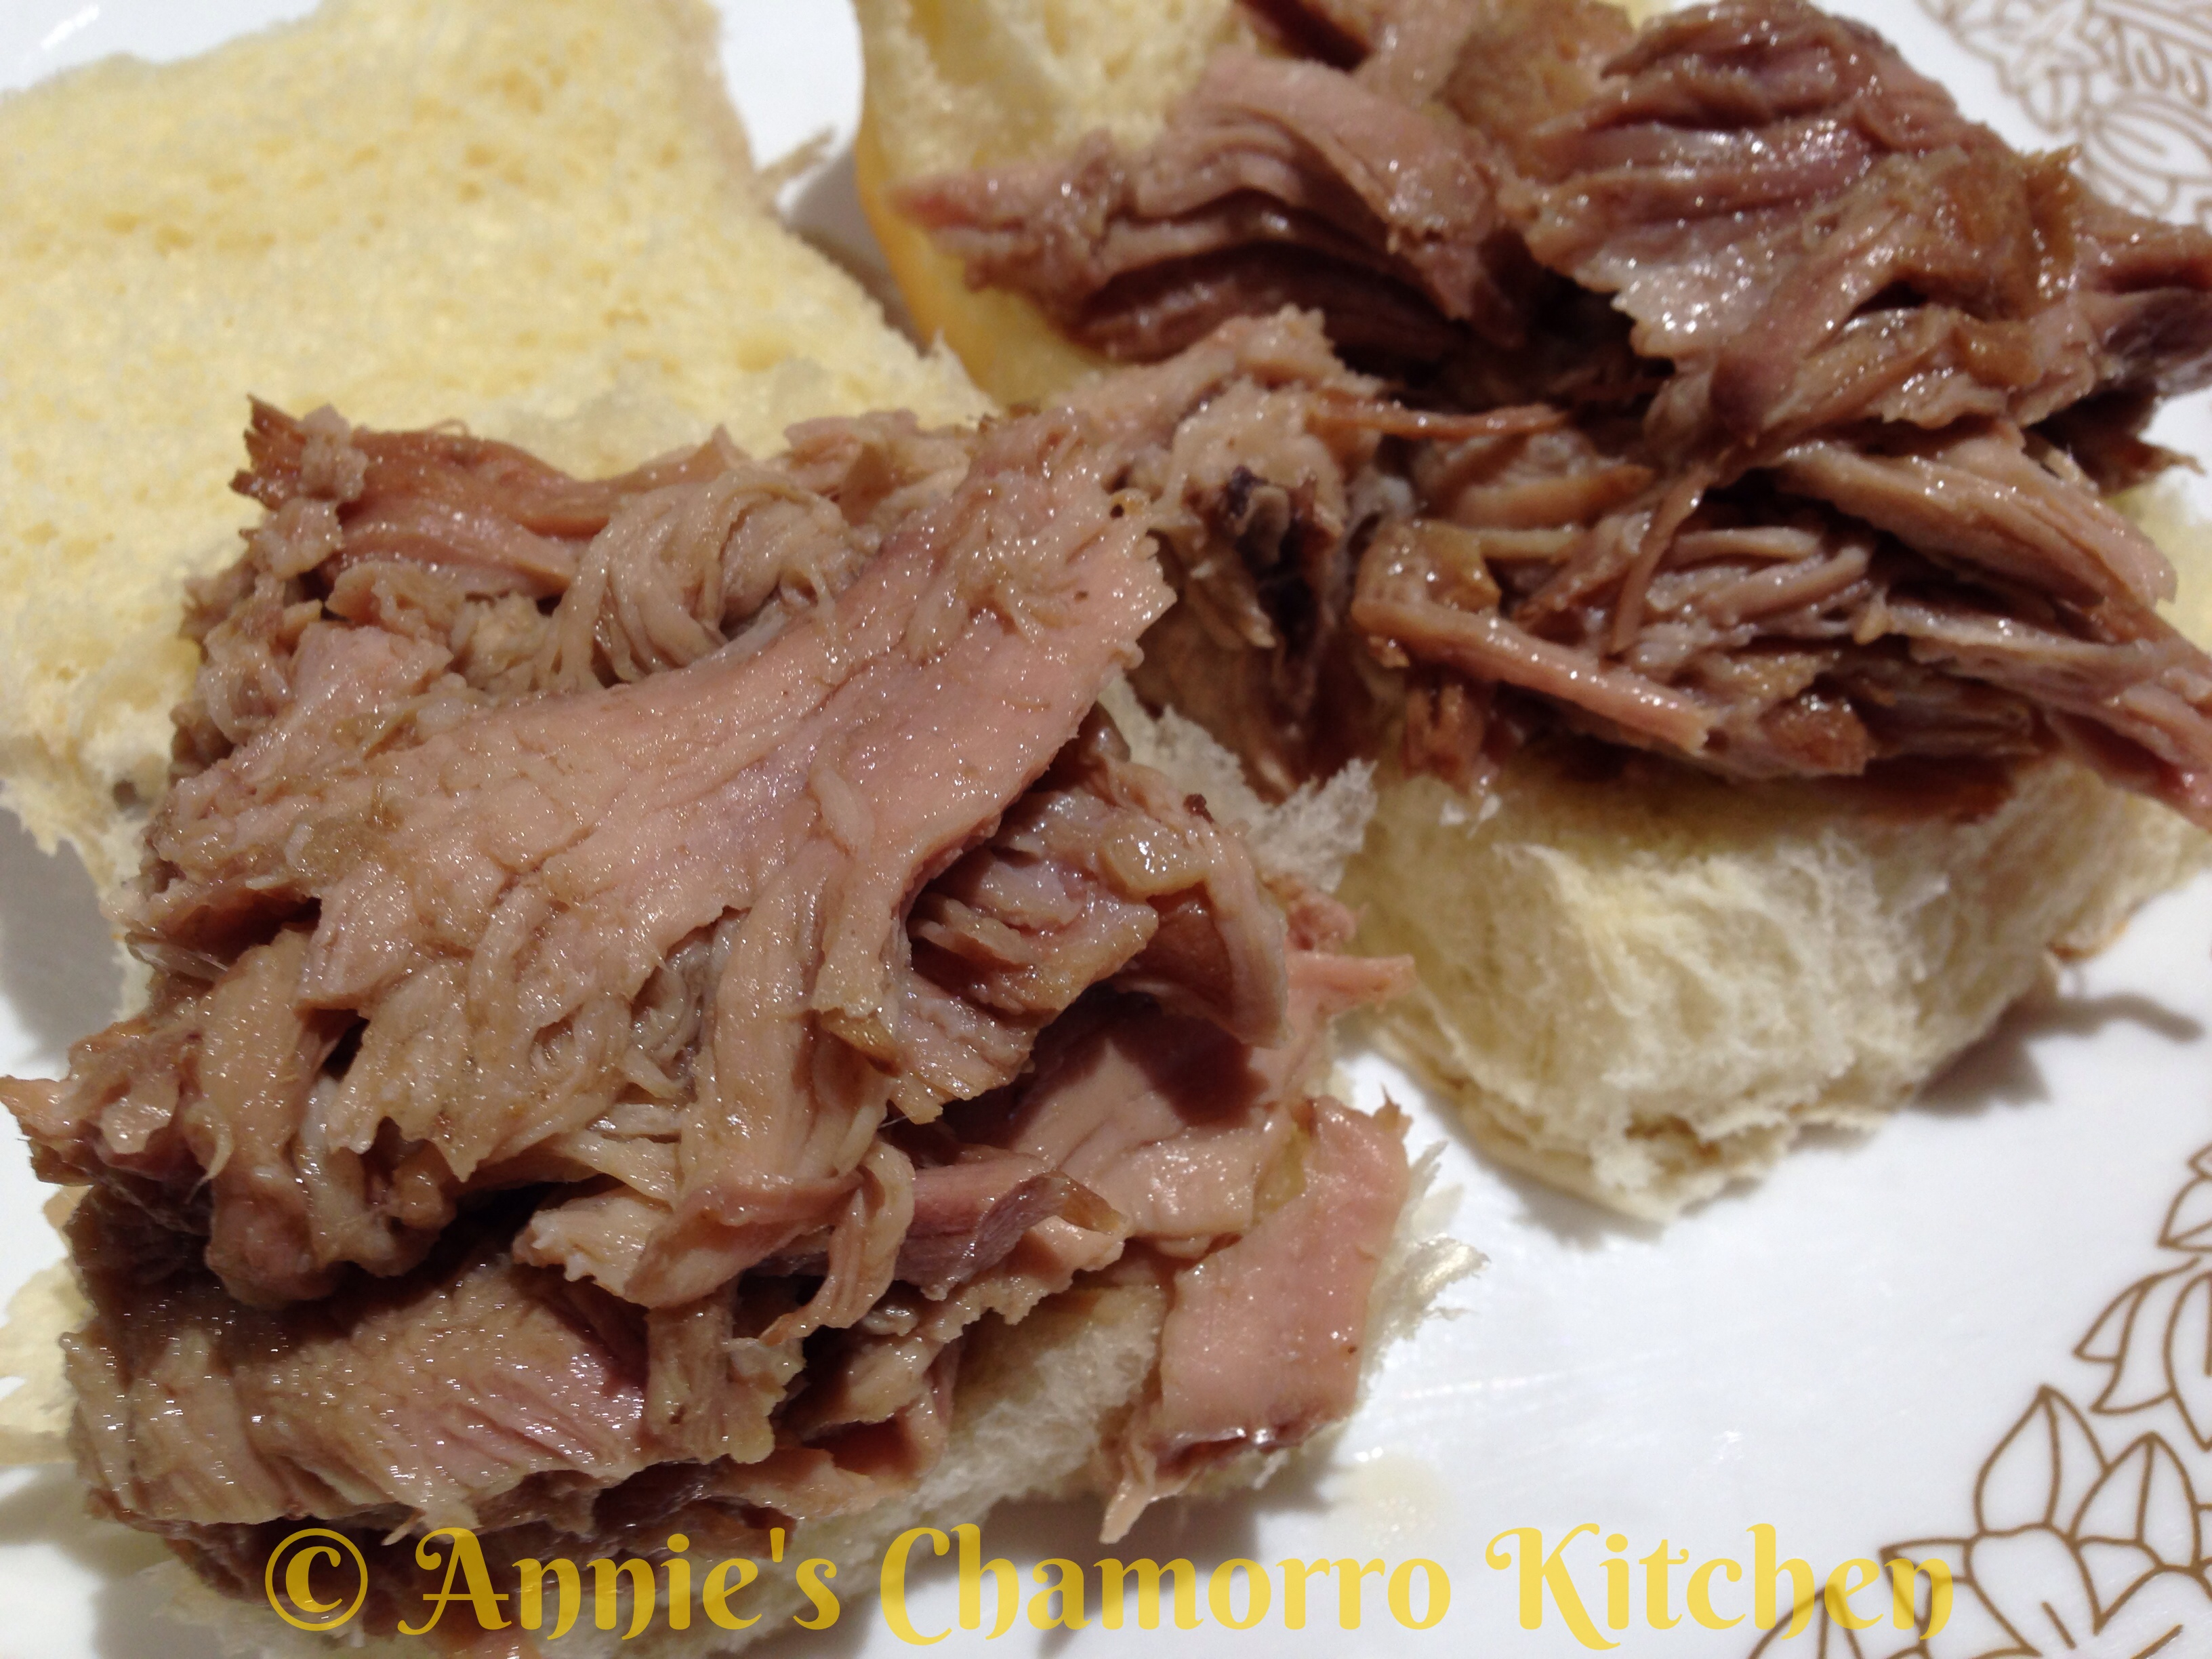
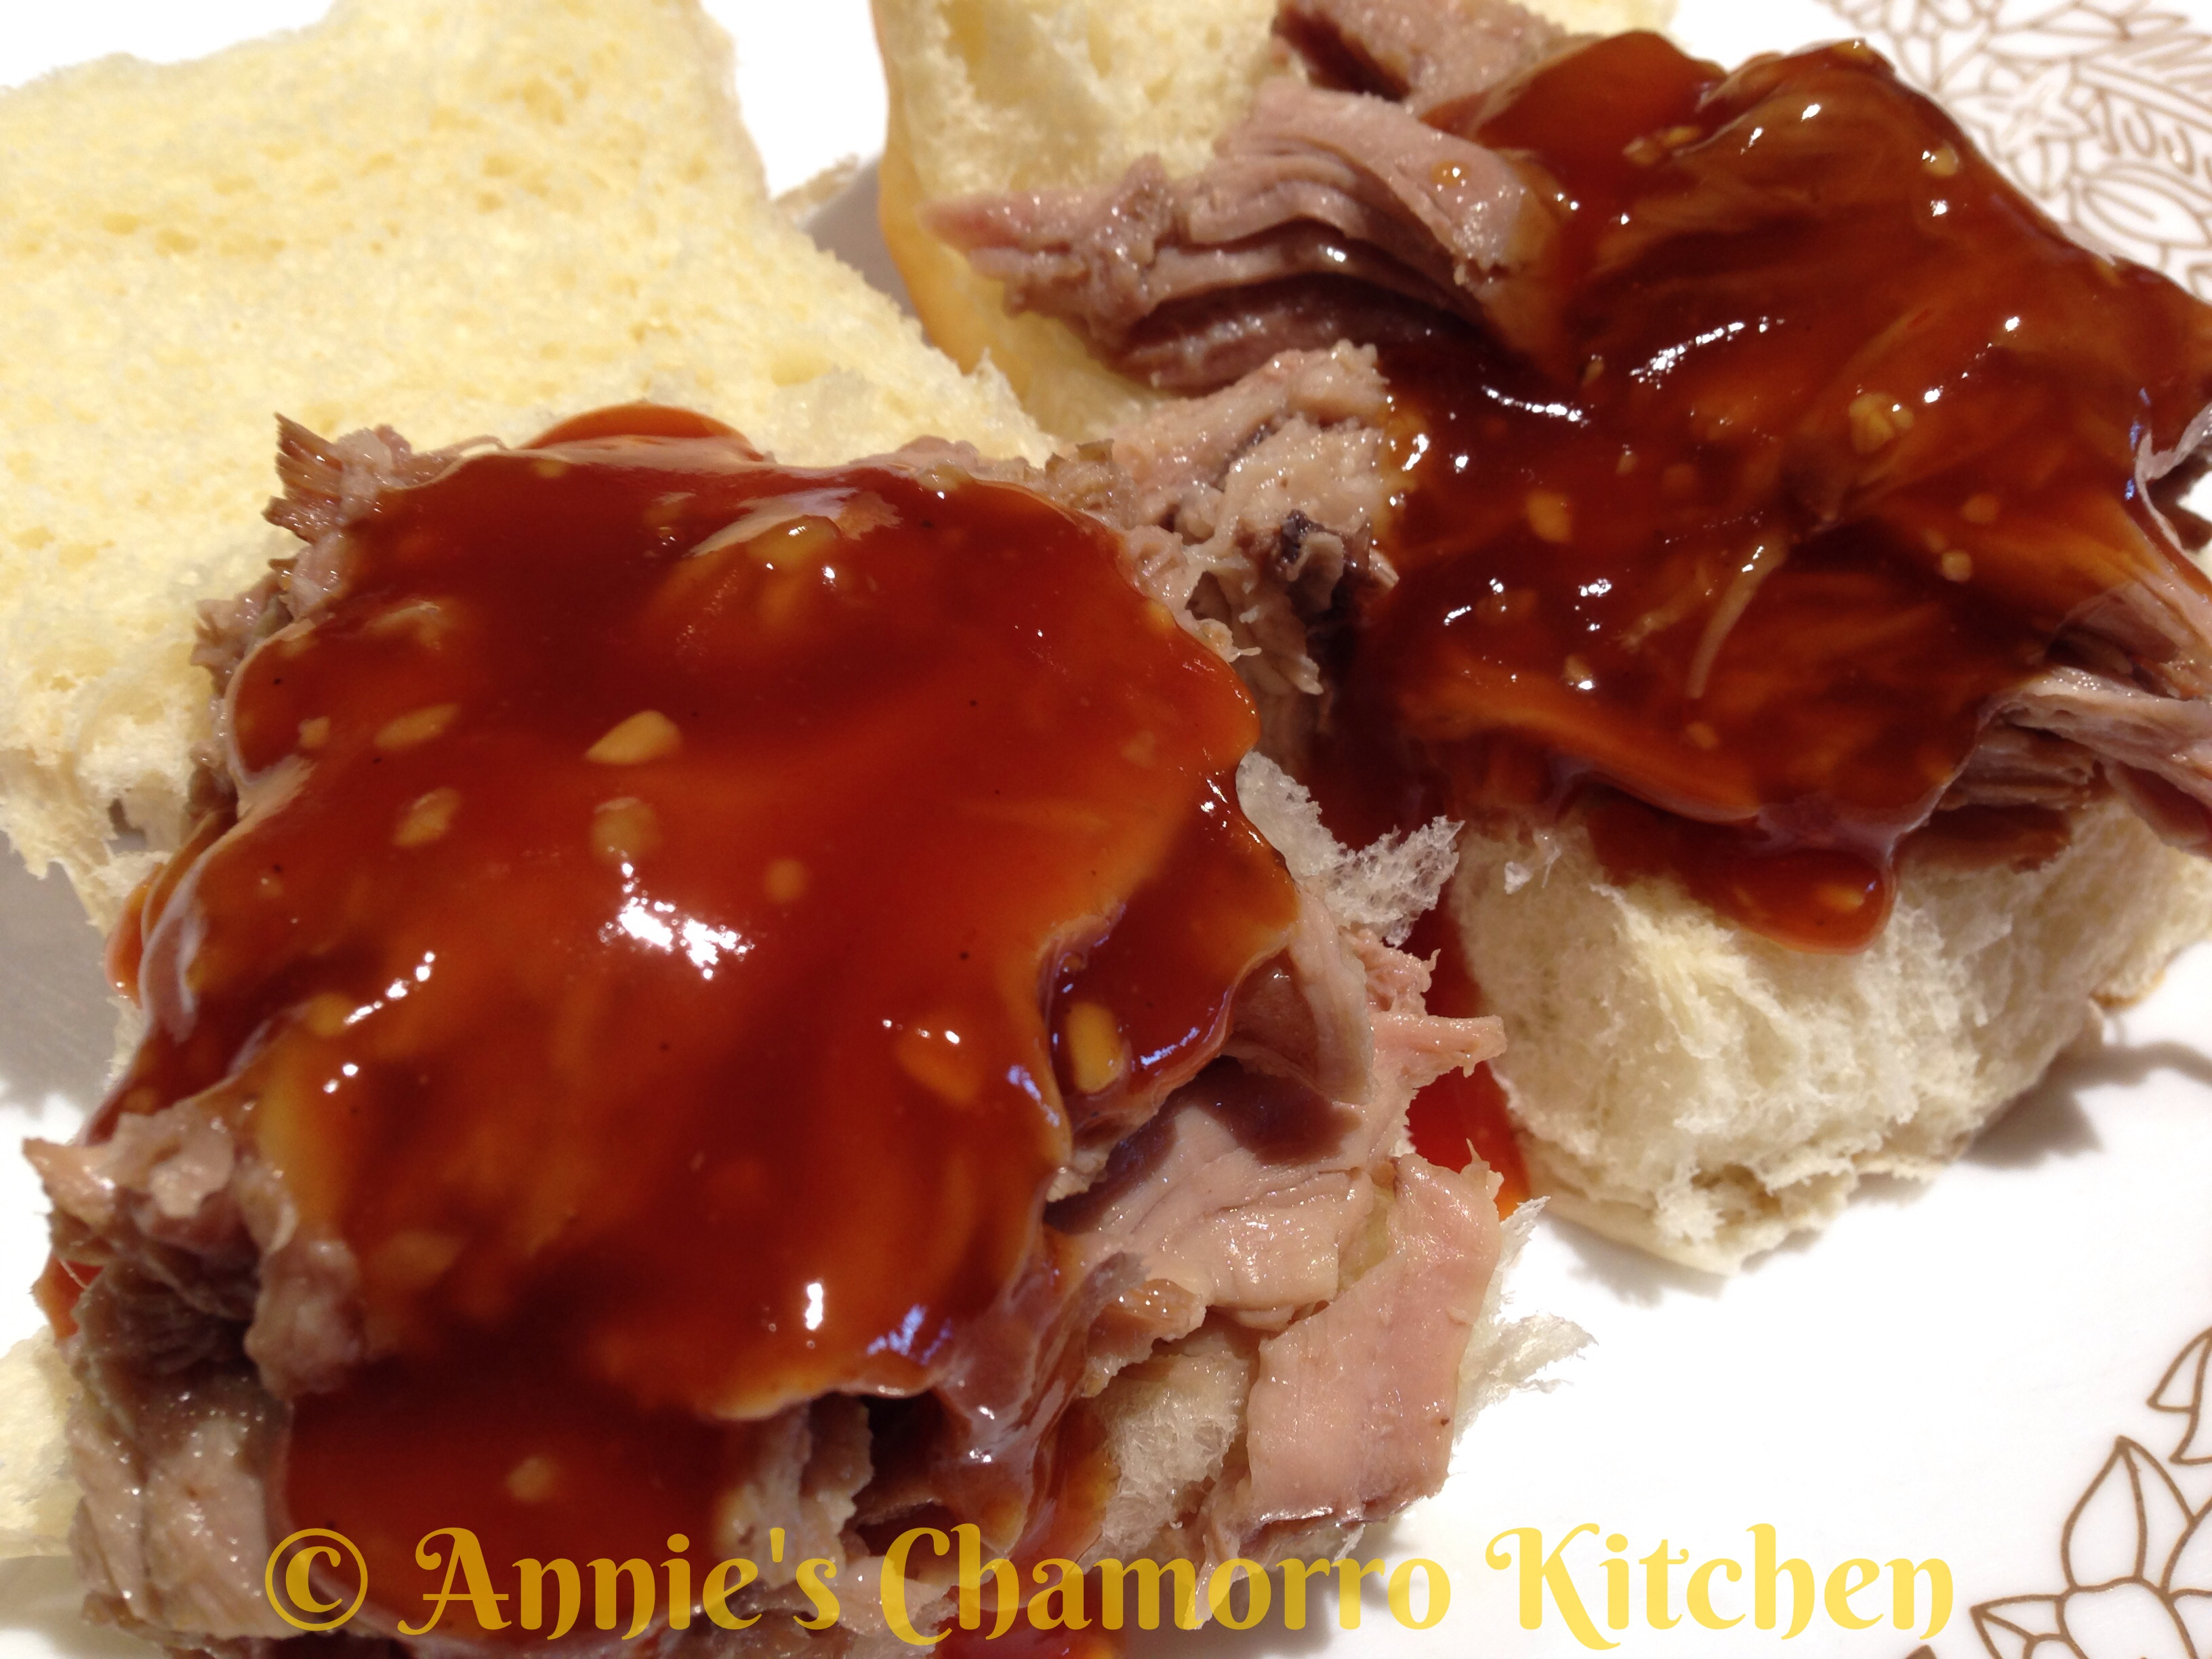
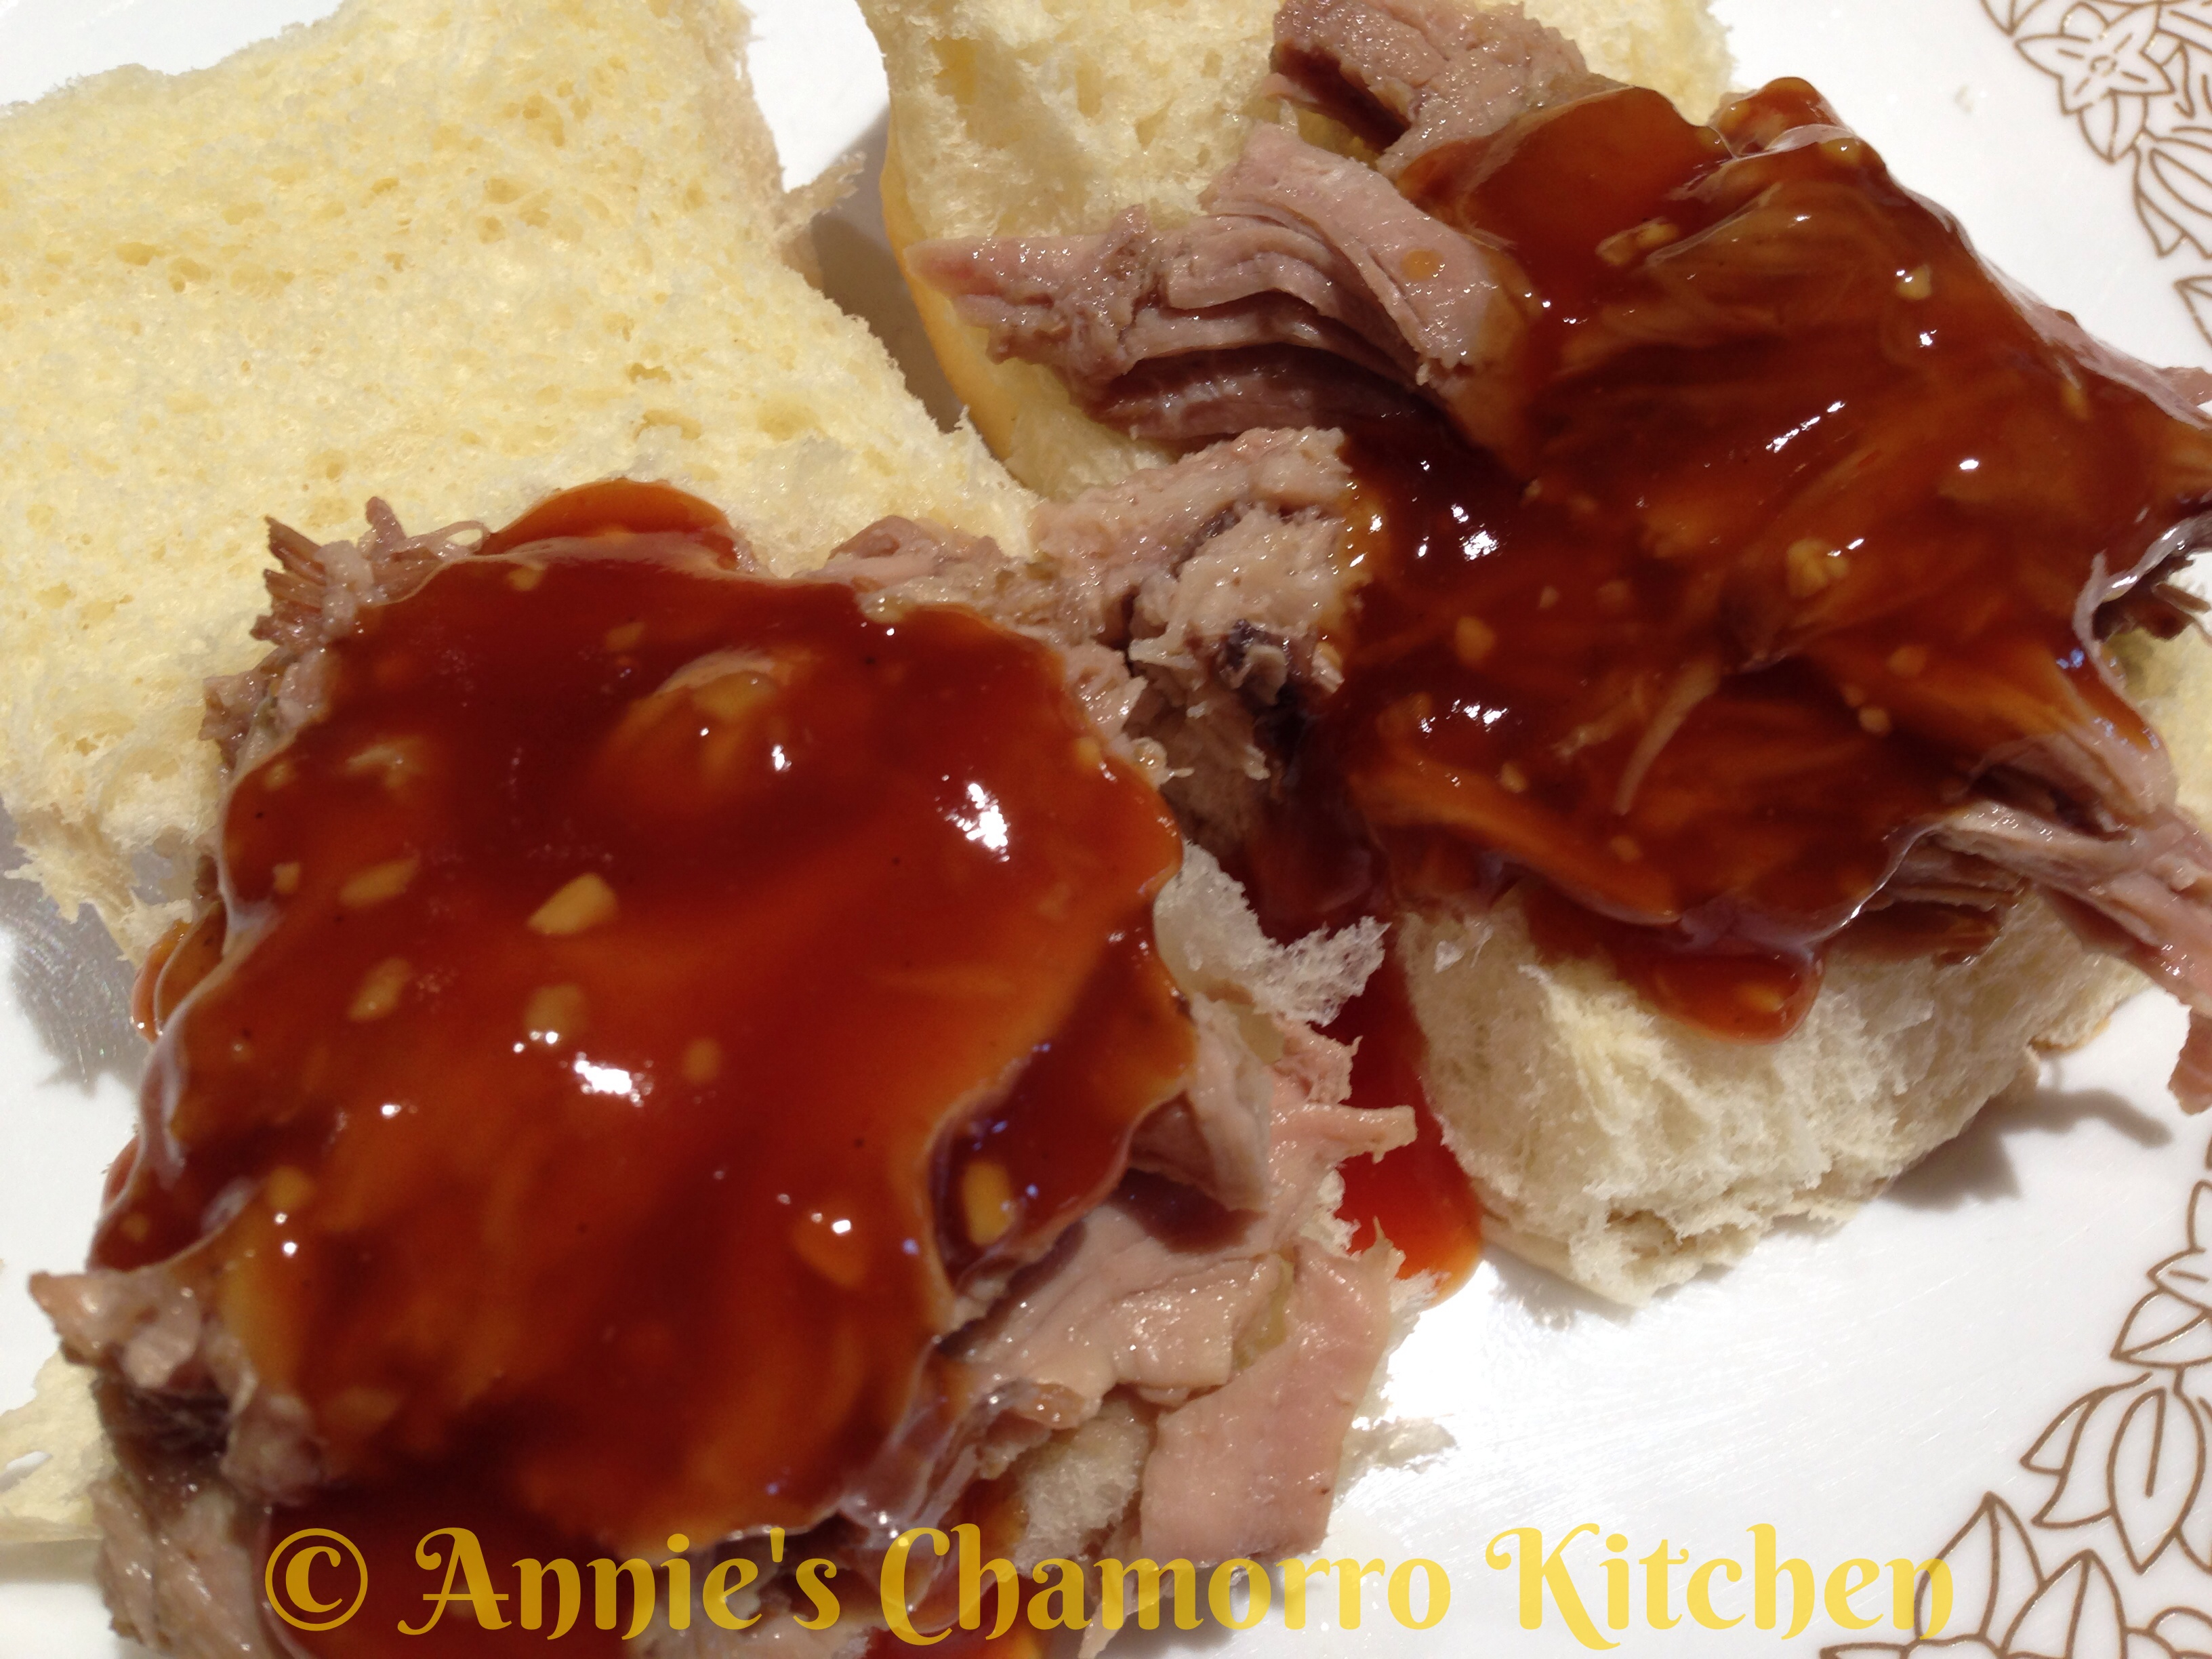
In fact, my household is split in how we eat this succulent, fall-apart, fork-tender pork roast. My oldest daughter and I like to create pulled pork sandwiches topped with my sweet and tangy Pineapple BBQ Sauce. My husband and youngest daughter prefer it without the sauce — hubby likes it with rice, fina’denne’ and Tabasco, and daughter dearest likes it as a sandwich with a side of the broth (au jus) to dip her sandwich into.
If you’re as busy as I am, you’re usually looking for quick meals to prepare. One of the last things I want to do when I come home from work is figure out what to cook for dinner. Thankfully, this is a very easy recipe to prepare. The pork itself cooks for several hours in a slow cooker or crock pot, and the sauce takes only minutes to cook. Start cooking the roast in your crock pot when you wake up in the morning, and you’ll have dinner ready by the time you get home from work later in the day.
If you have any leftover pork and sauce, mix them together for the perfect filling for siopao.
Give my recipe a try. I think you’ll like it. 🙂
Hawaiian Pulled Pork
Ingredients:
- 9-10 pounds boneless pork butt or shoulder
- 1 medium onion, chopped
- 2 tablespoons SEA salt (do not use regular table salt or it will be too salty)
- 1/2 cup dark brown sugar
- 1 cup pineapple juice
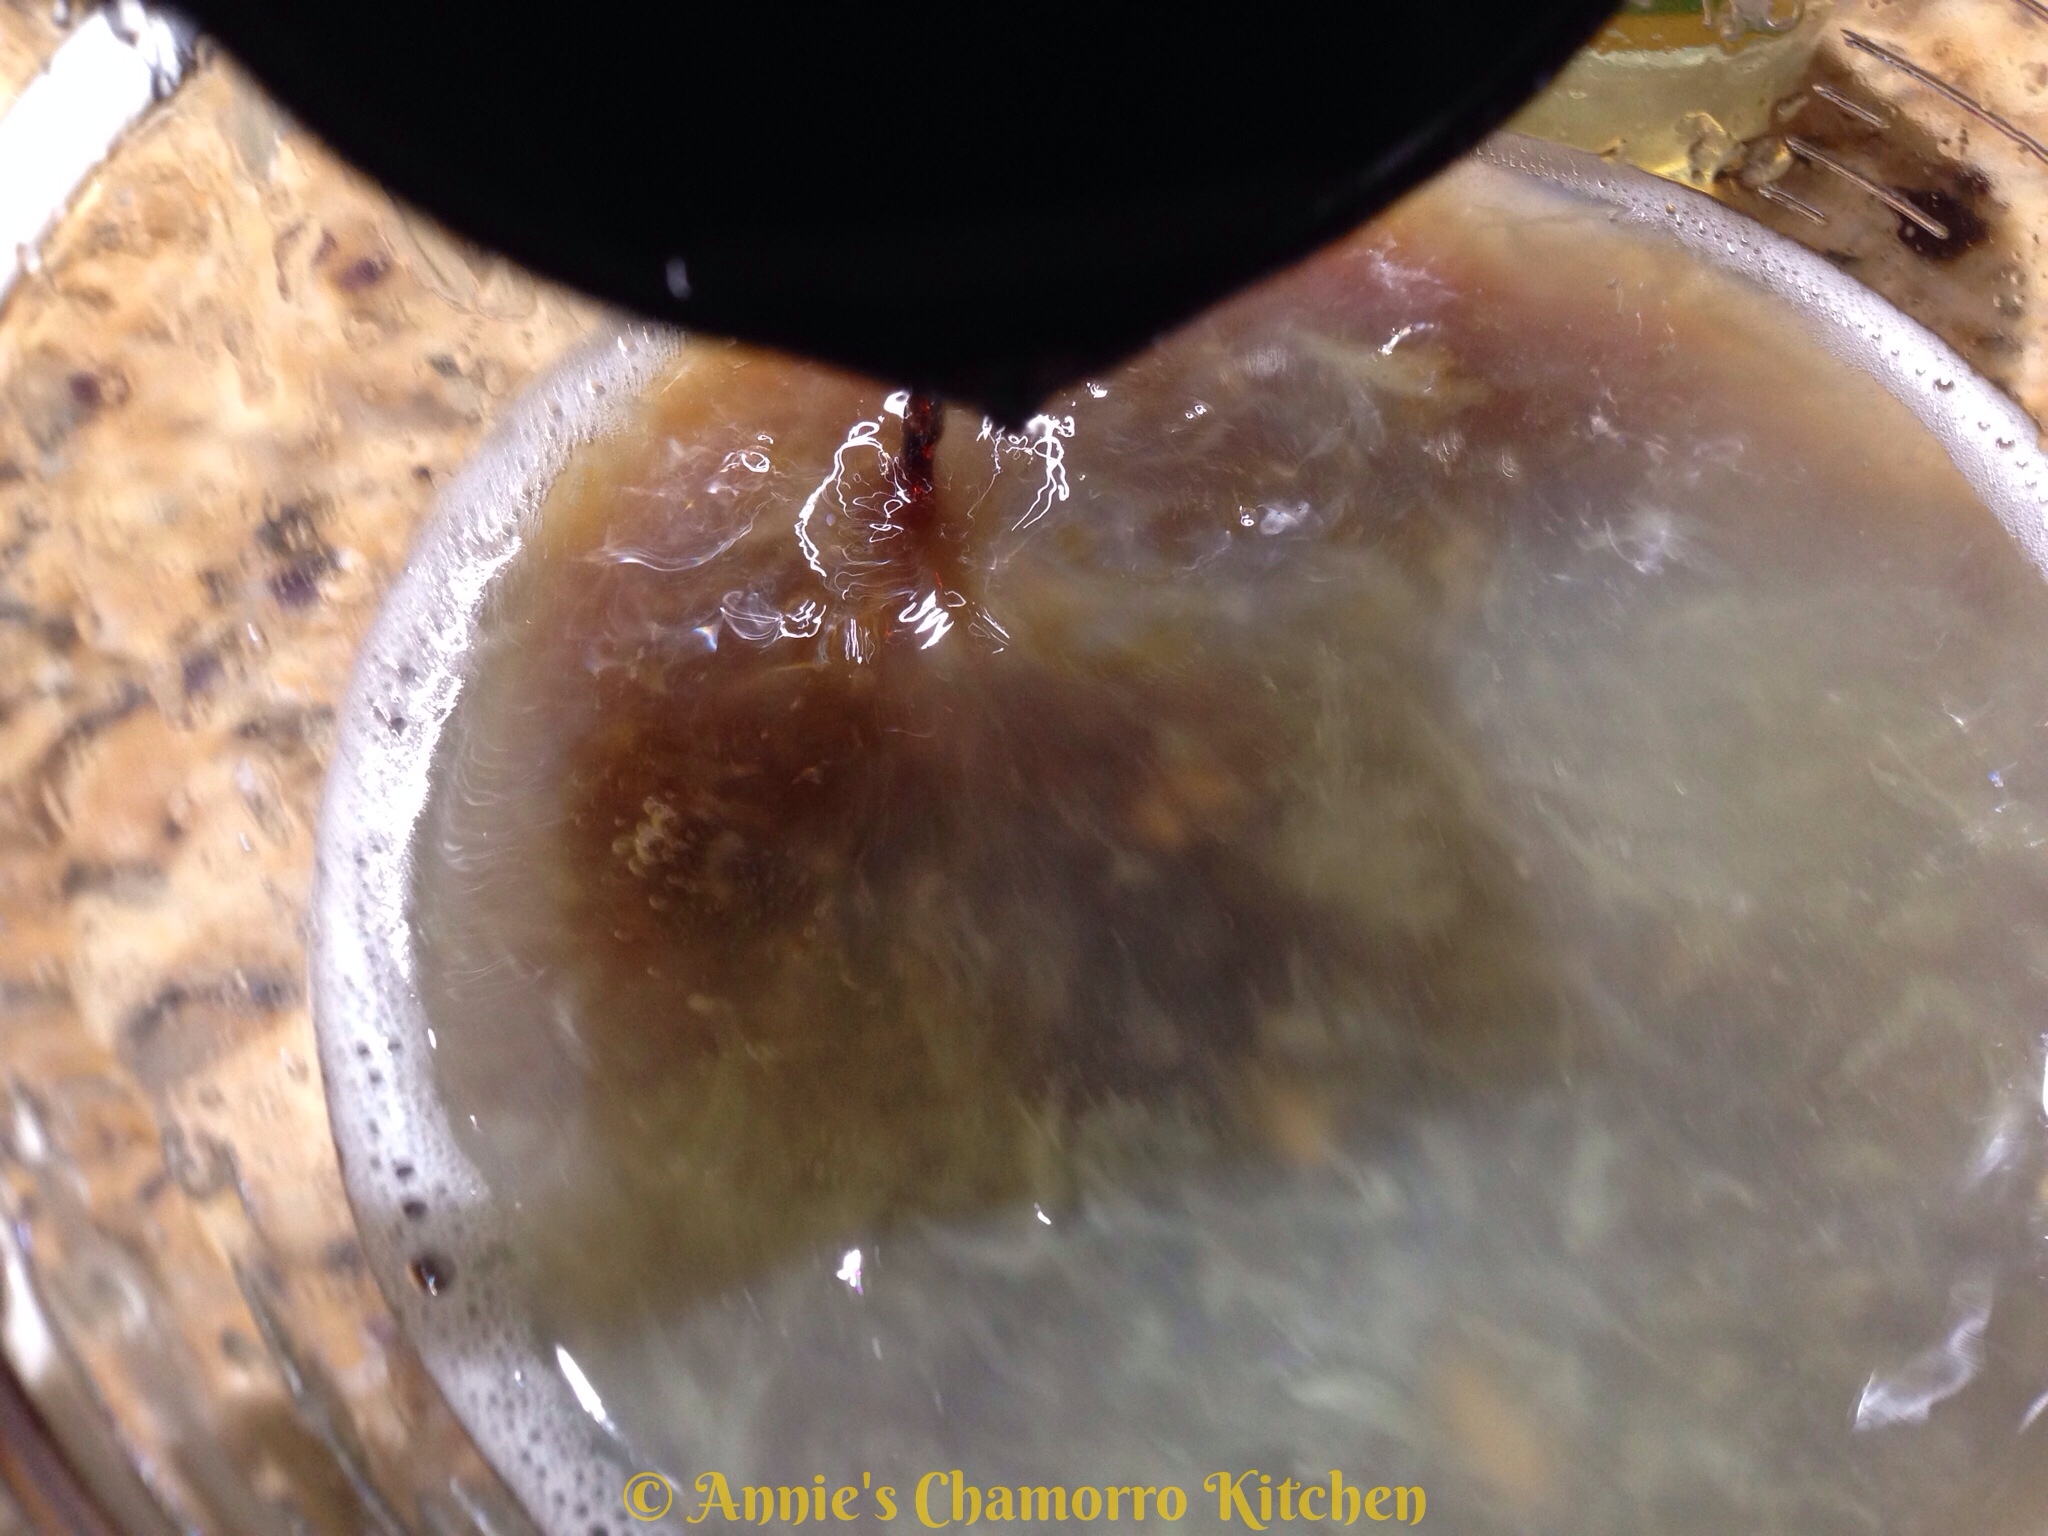
- 1/4 cup soy sauce
- 1 tablespoon liquid smoke
- 2 tablespoons chopped garlic
- 1 teaspoon whole black peppercorns
Directions:
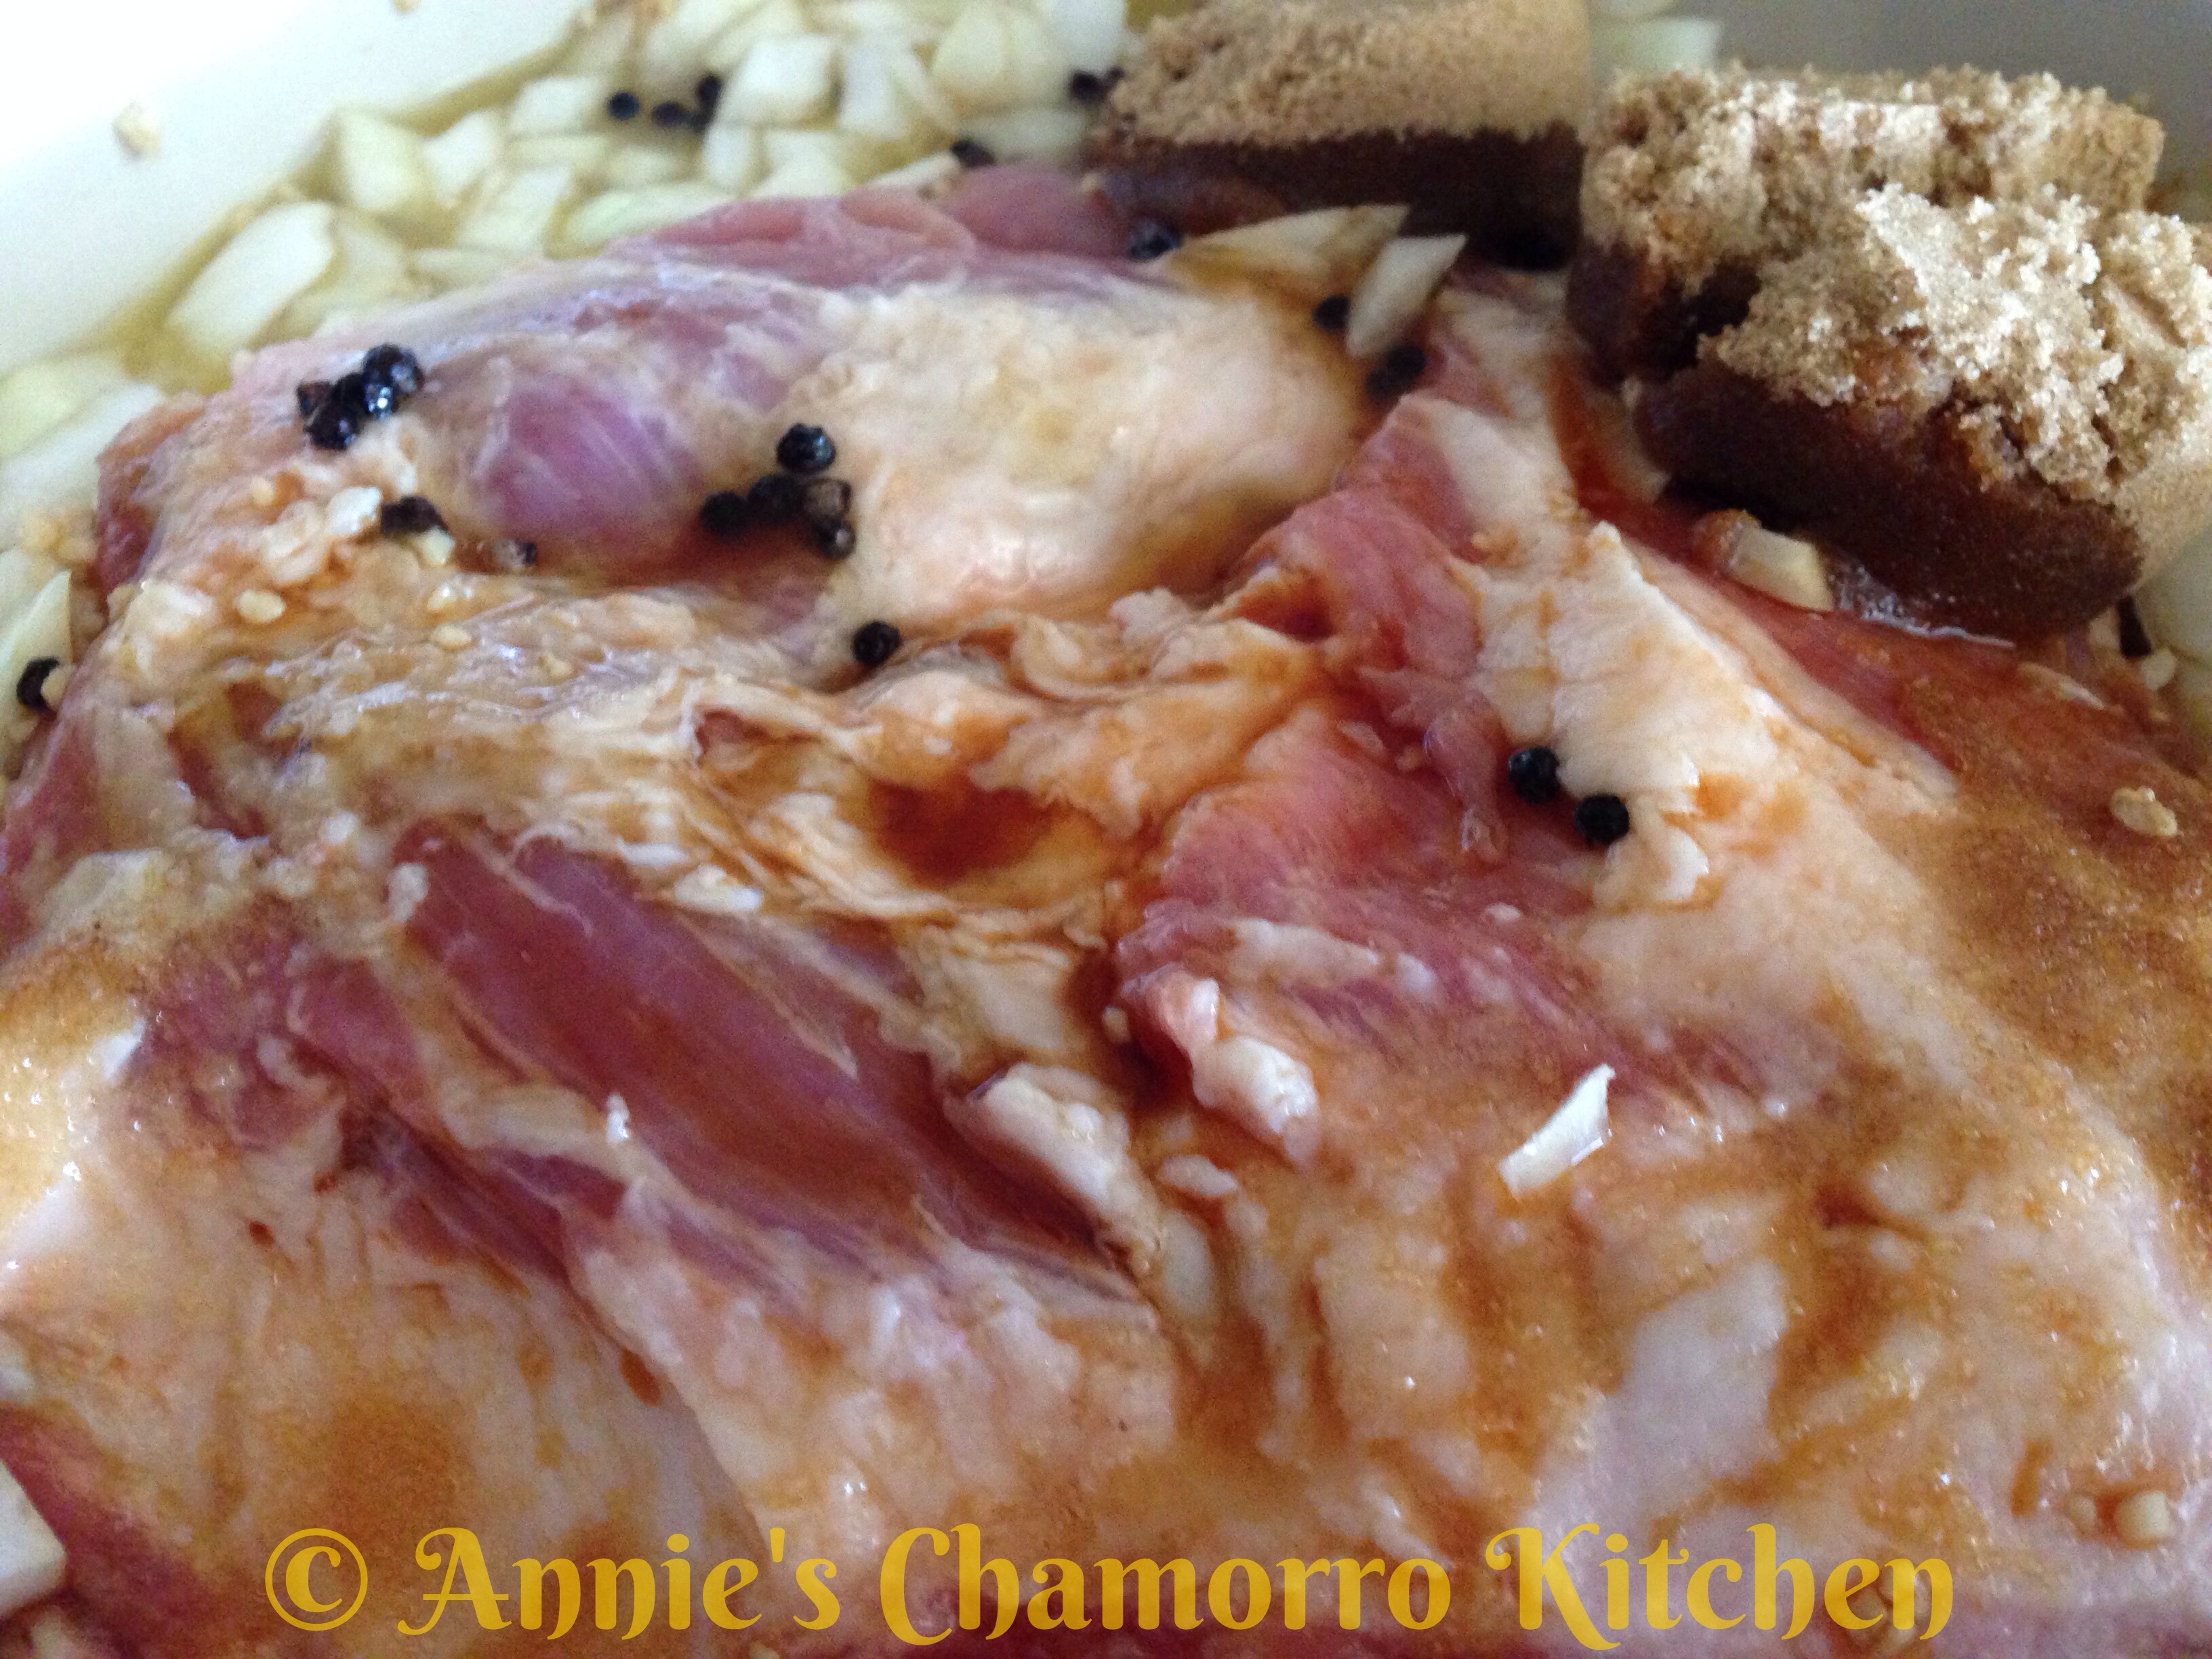
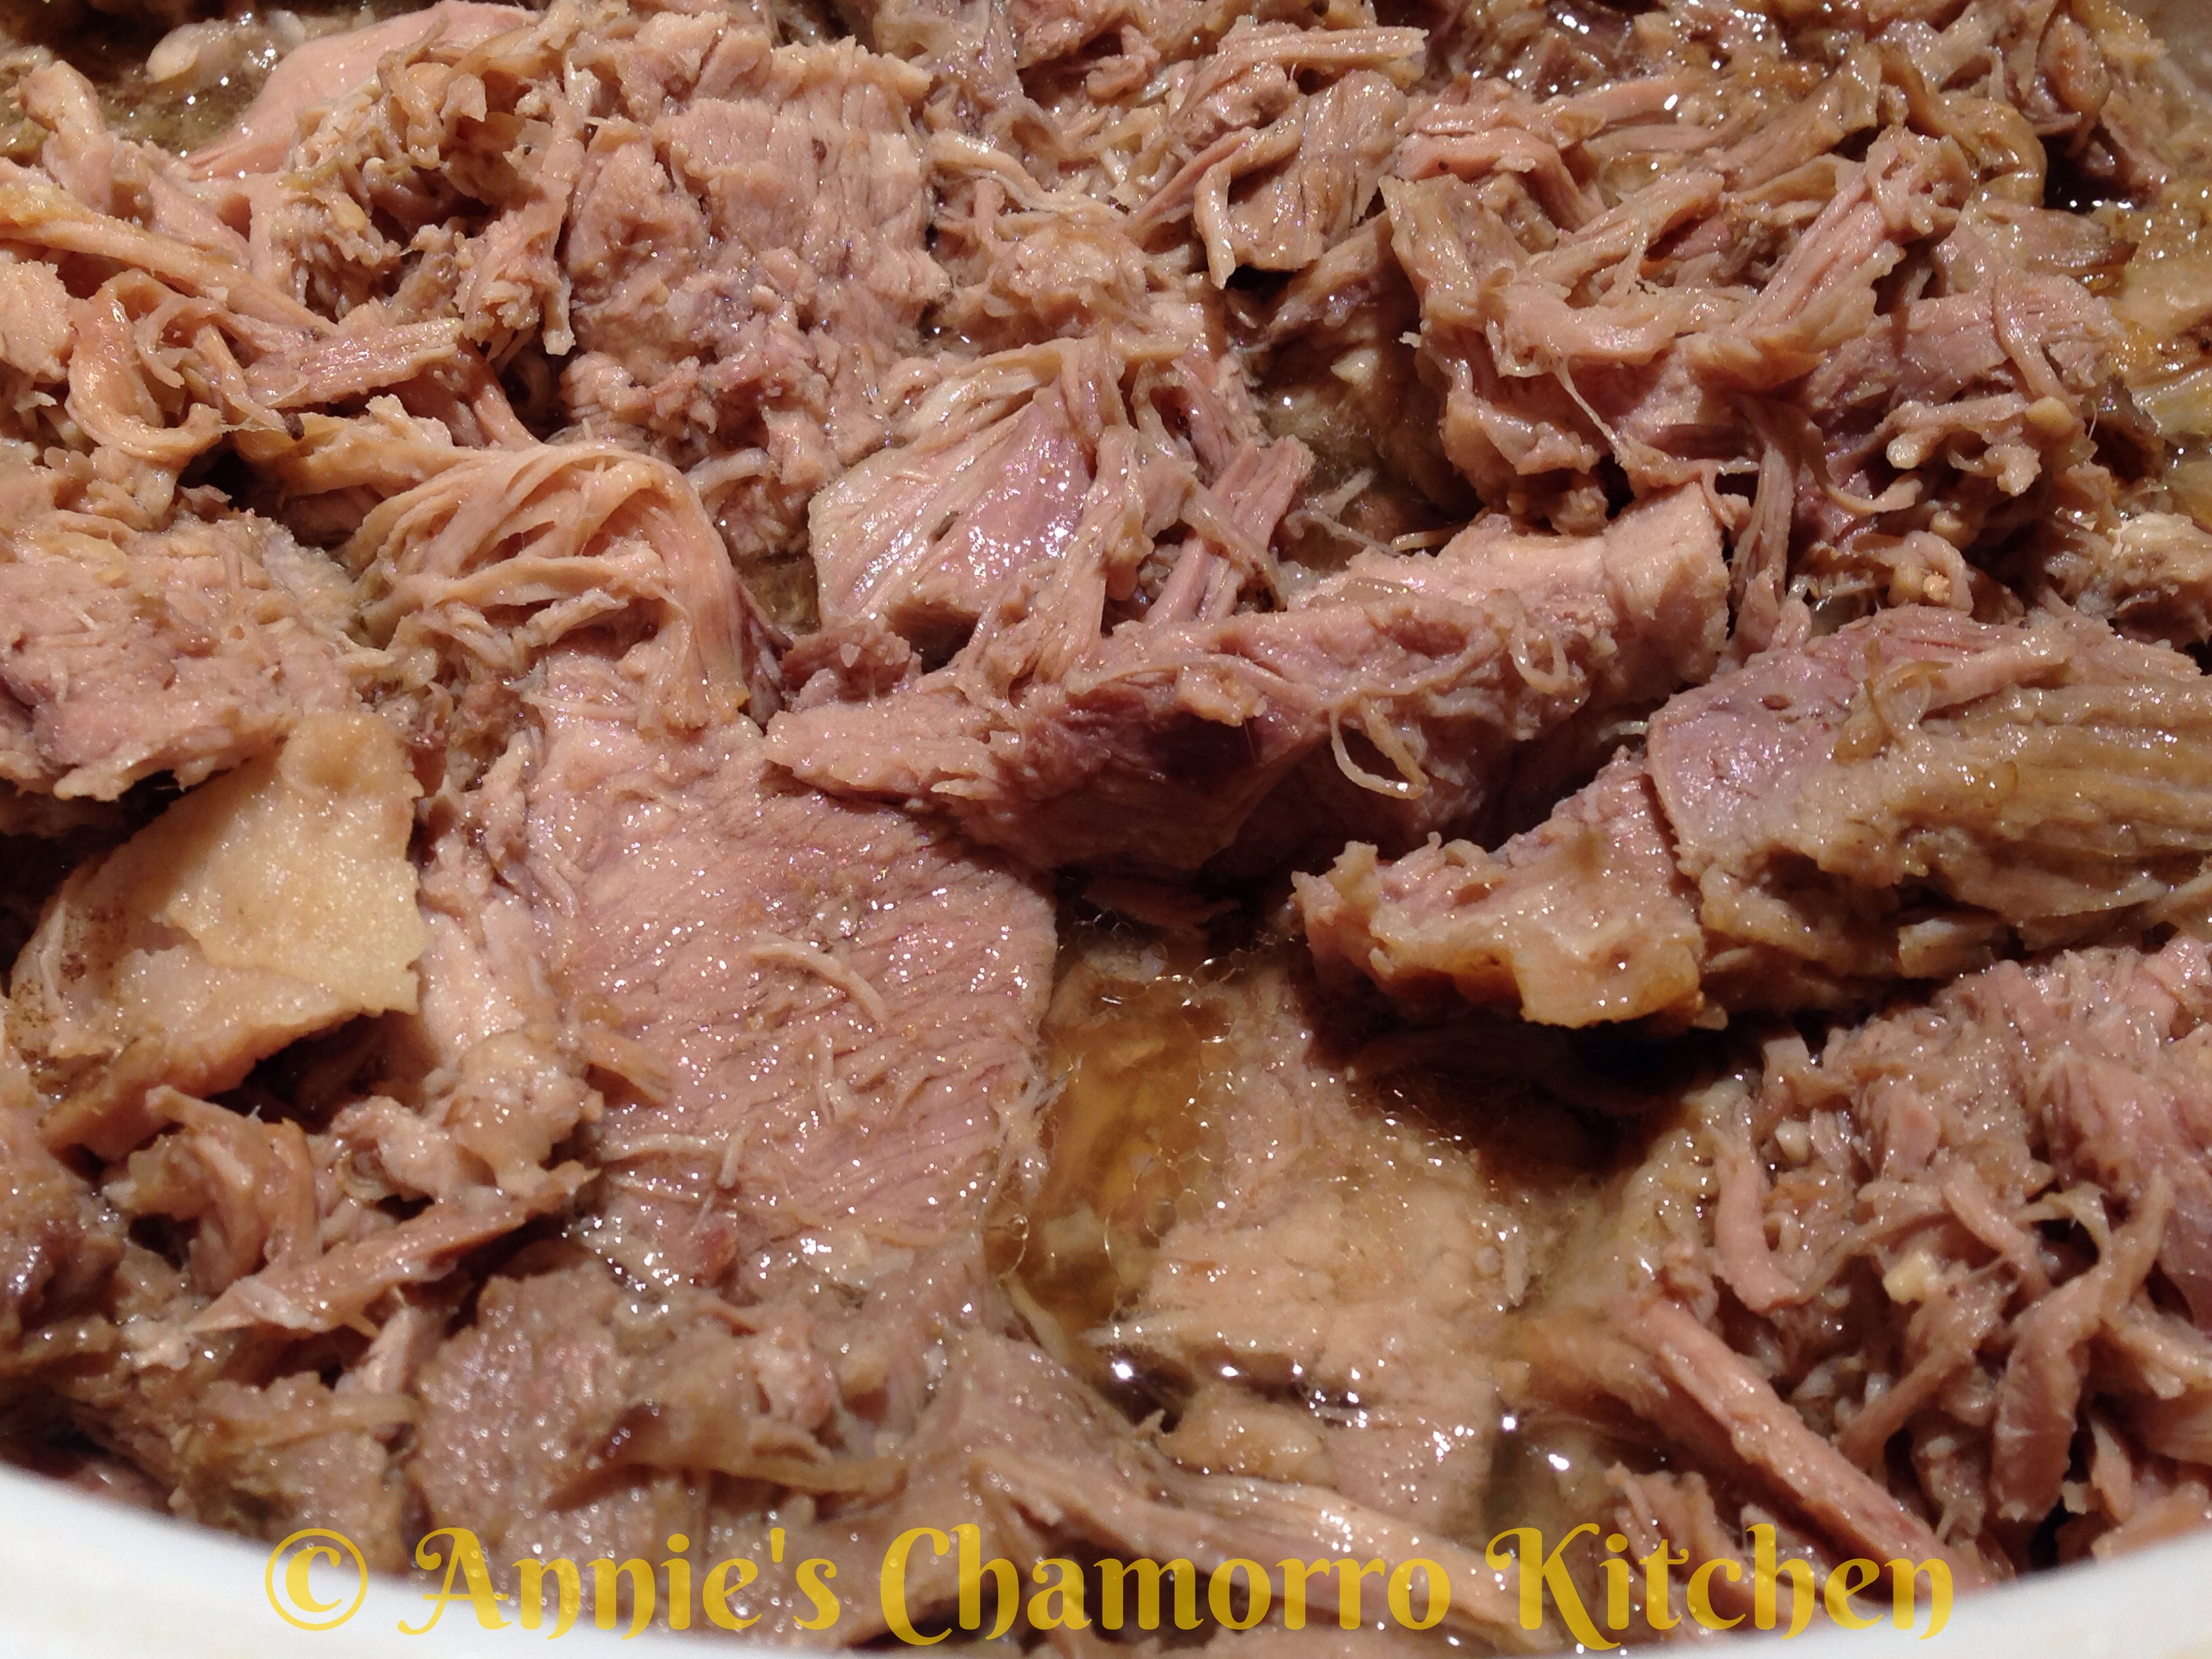
1. Rinse the pork and trim off any excess fat. Poke holes over the entire piece of pork (or pierce it with a sharp knife). Place the pork into a crock pot with the remaining ingredients for the roast. Give it a stir to roughly mix the ingredients together. Set the crock pot to it’s medium-high setting (I use “auto-shift” on mine). Cook the pork for at least 8 or 9 hours, 10 if you have the time.
2. After 8-9 hours of cooking, the pork will be tender enough to shred. Skim off the fat from the broth and discard.
3. Serve with rolls and top with Pineapple BBQ Sauce or with some broth in a small dish on the side to dip your sandwich in.
ENJOY!
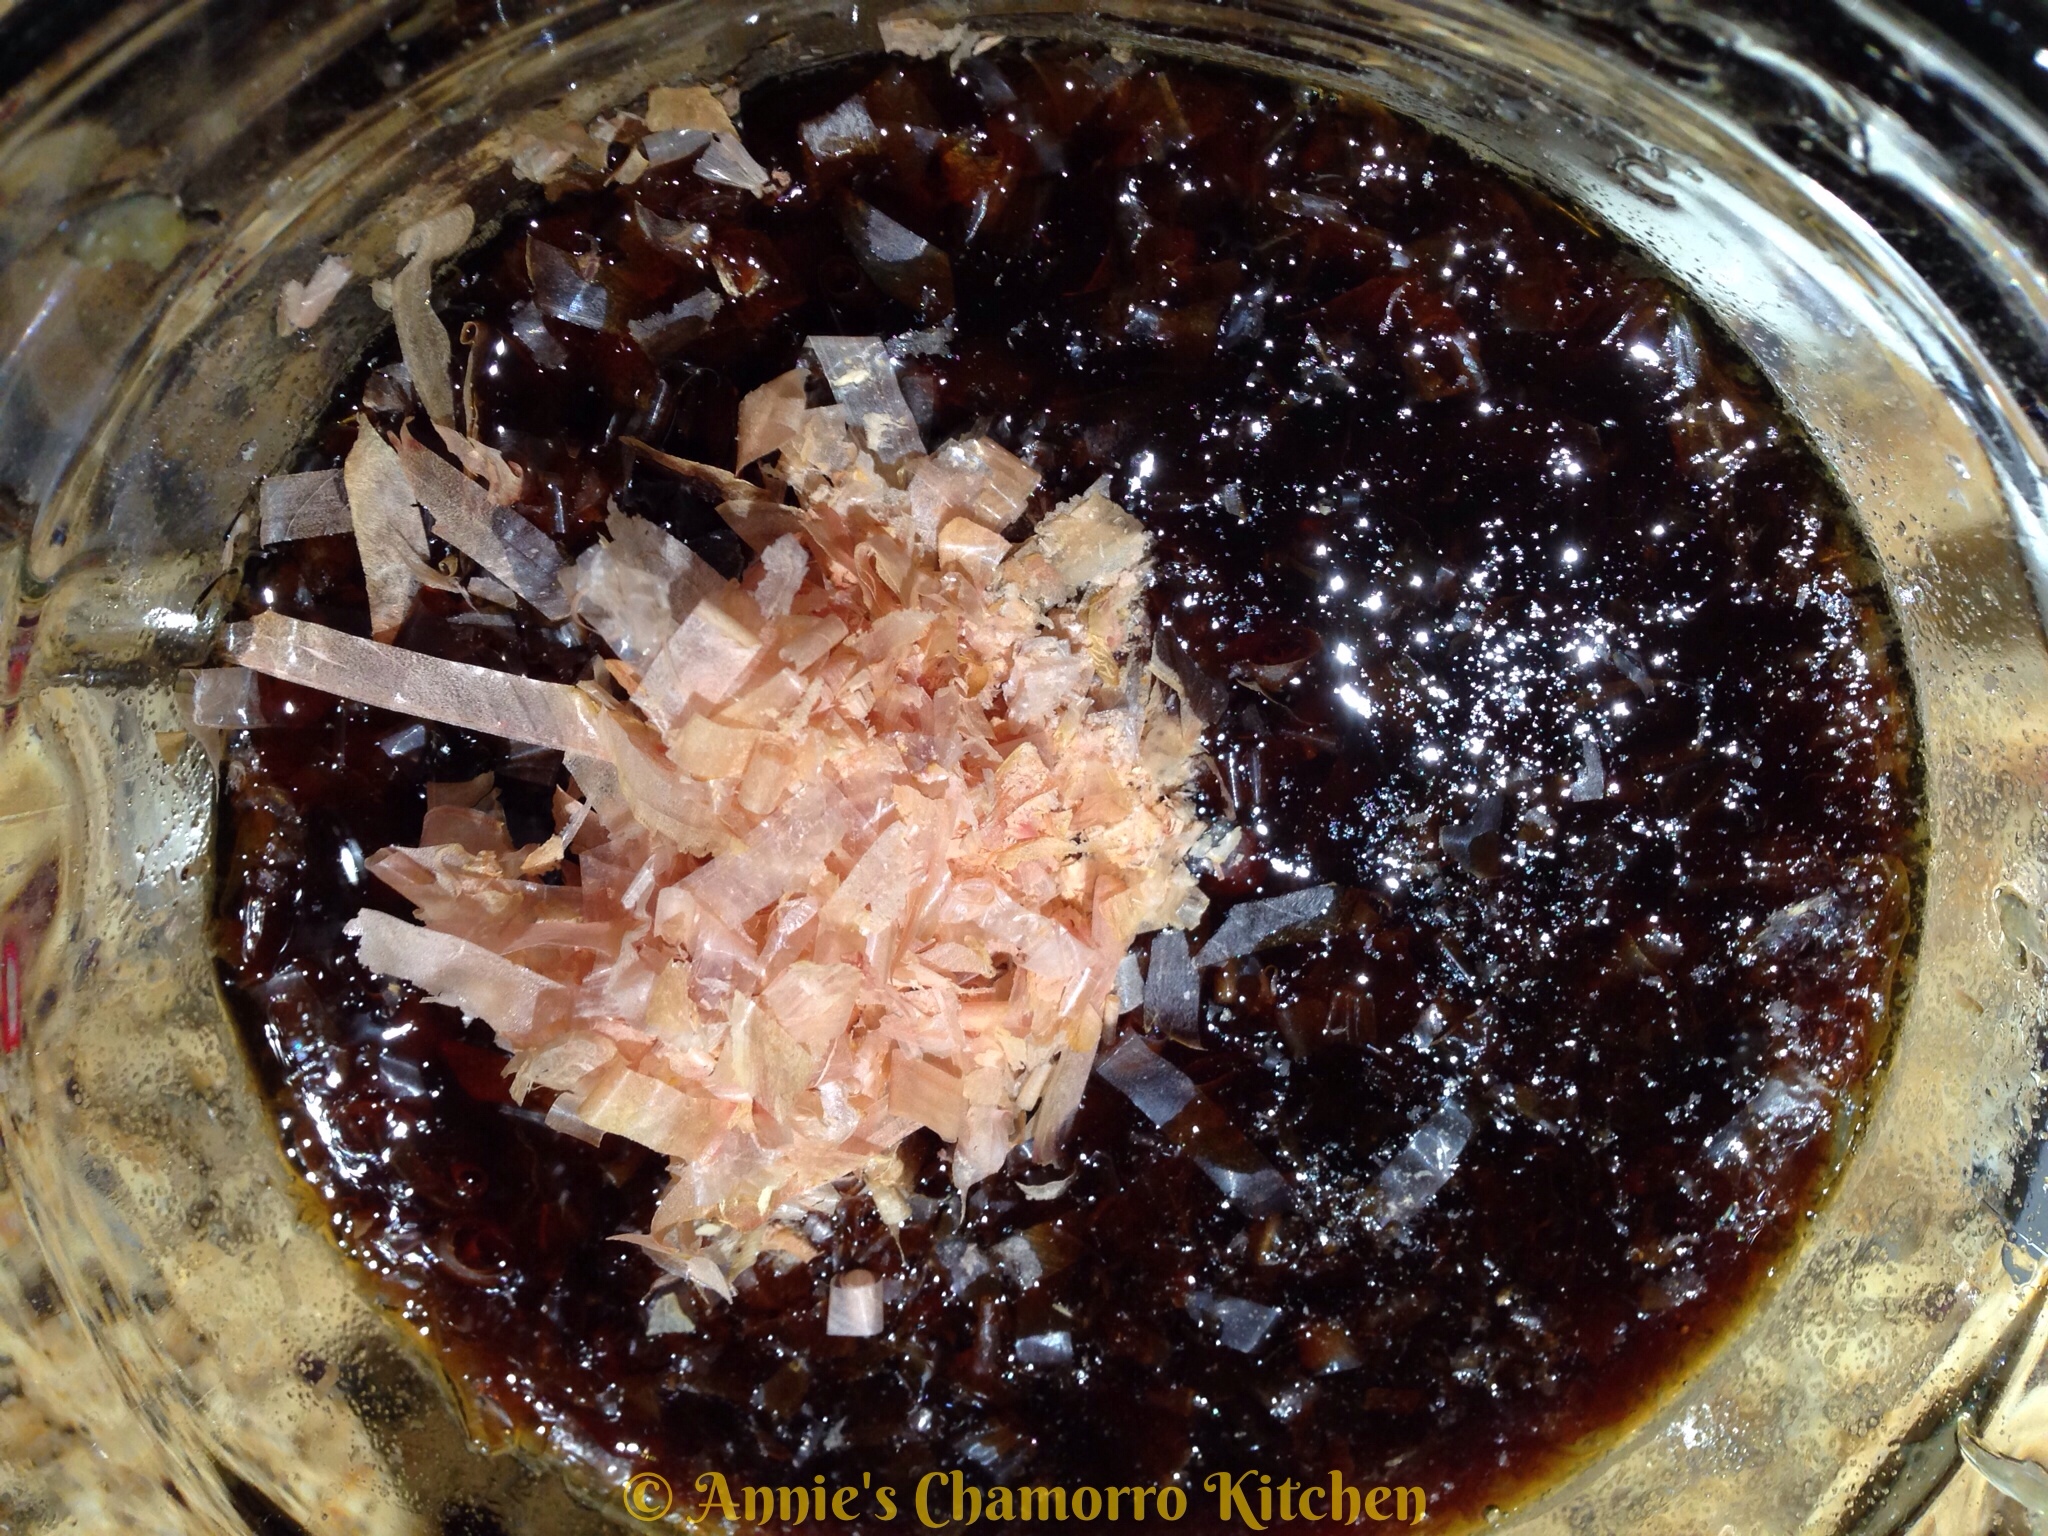
Pineapple BBQ Sauce

Ingredients:
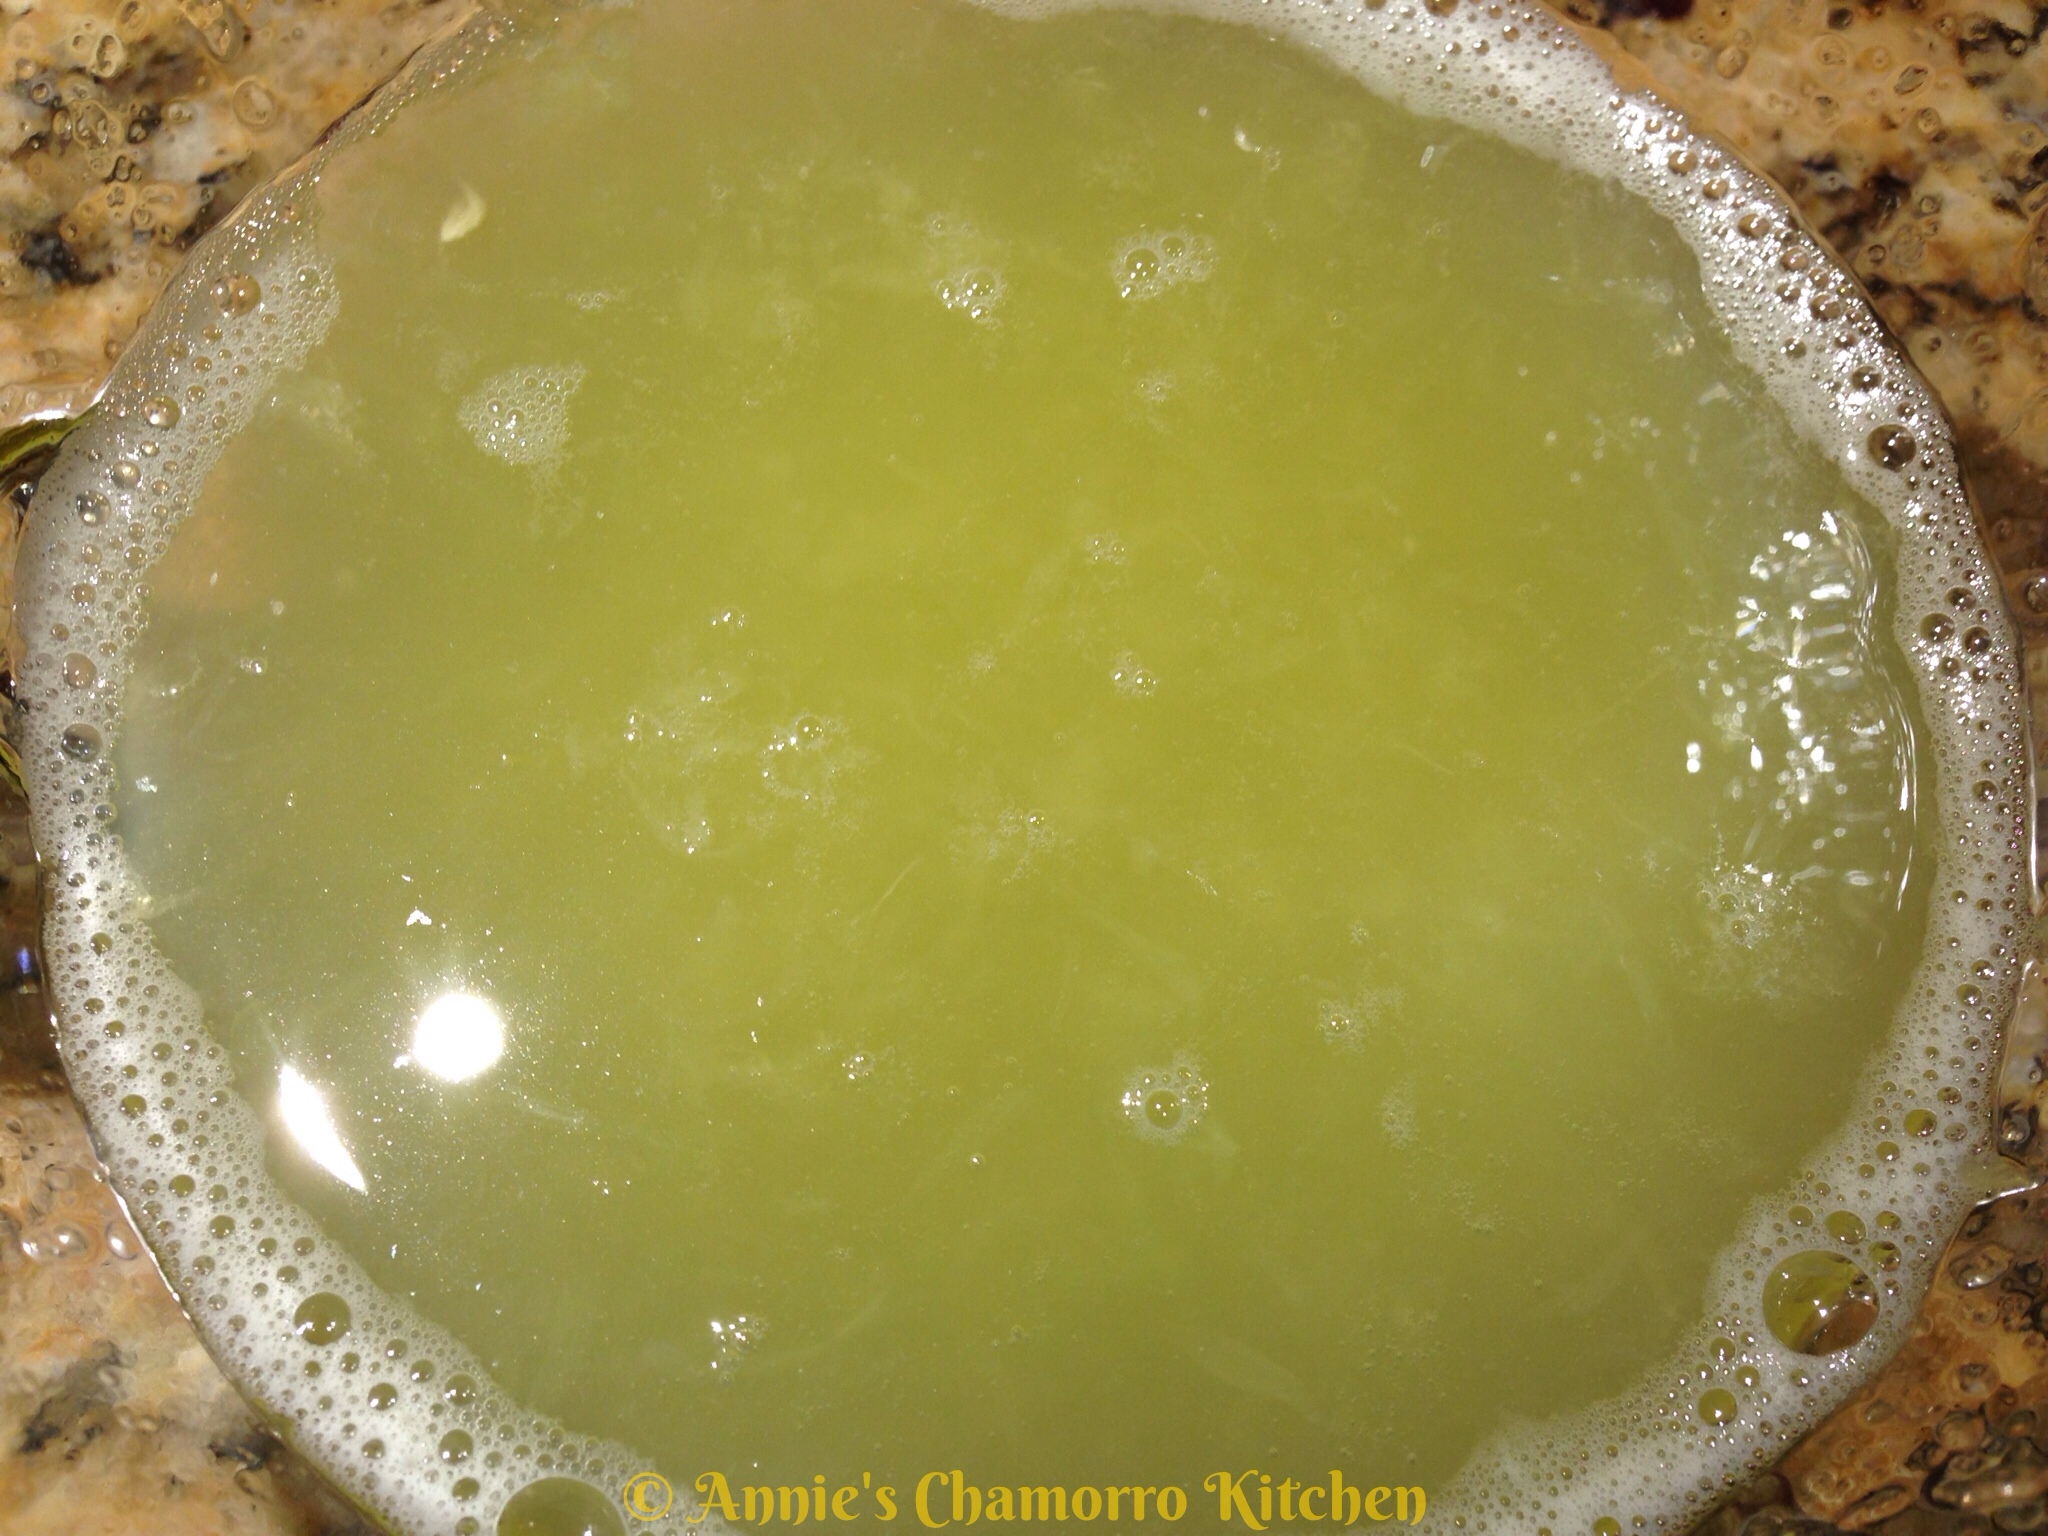
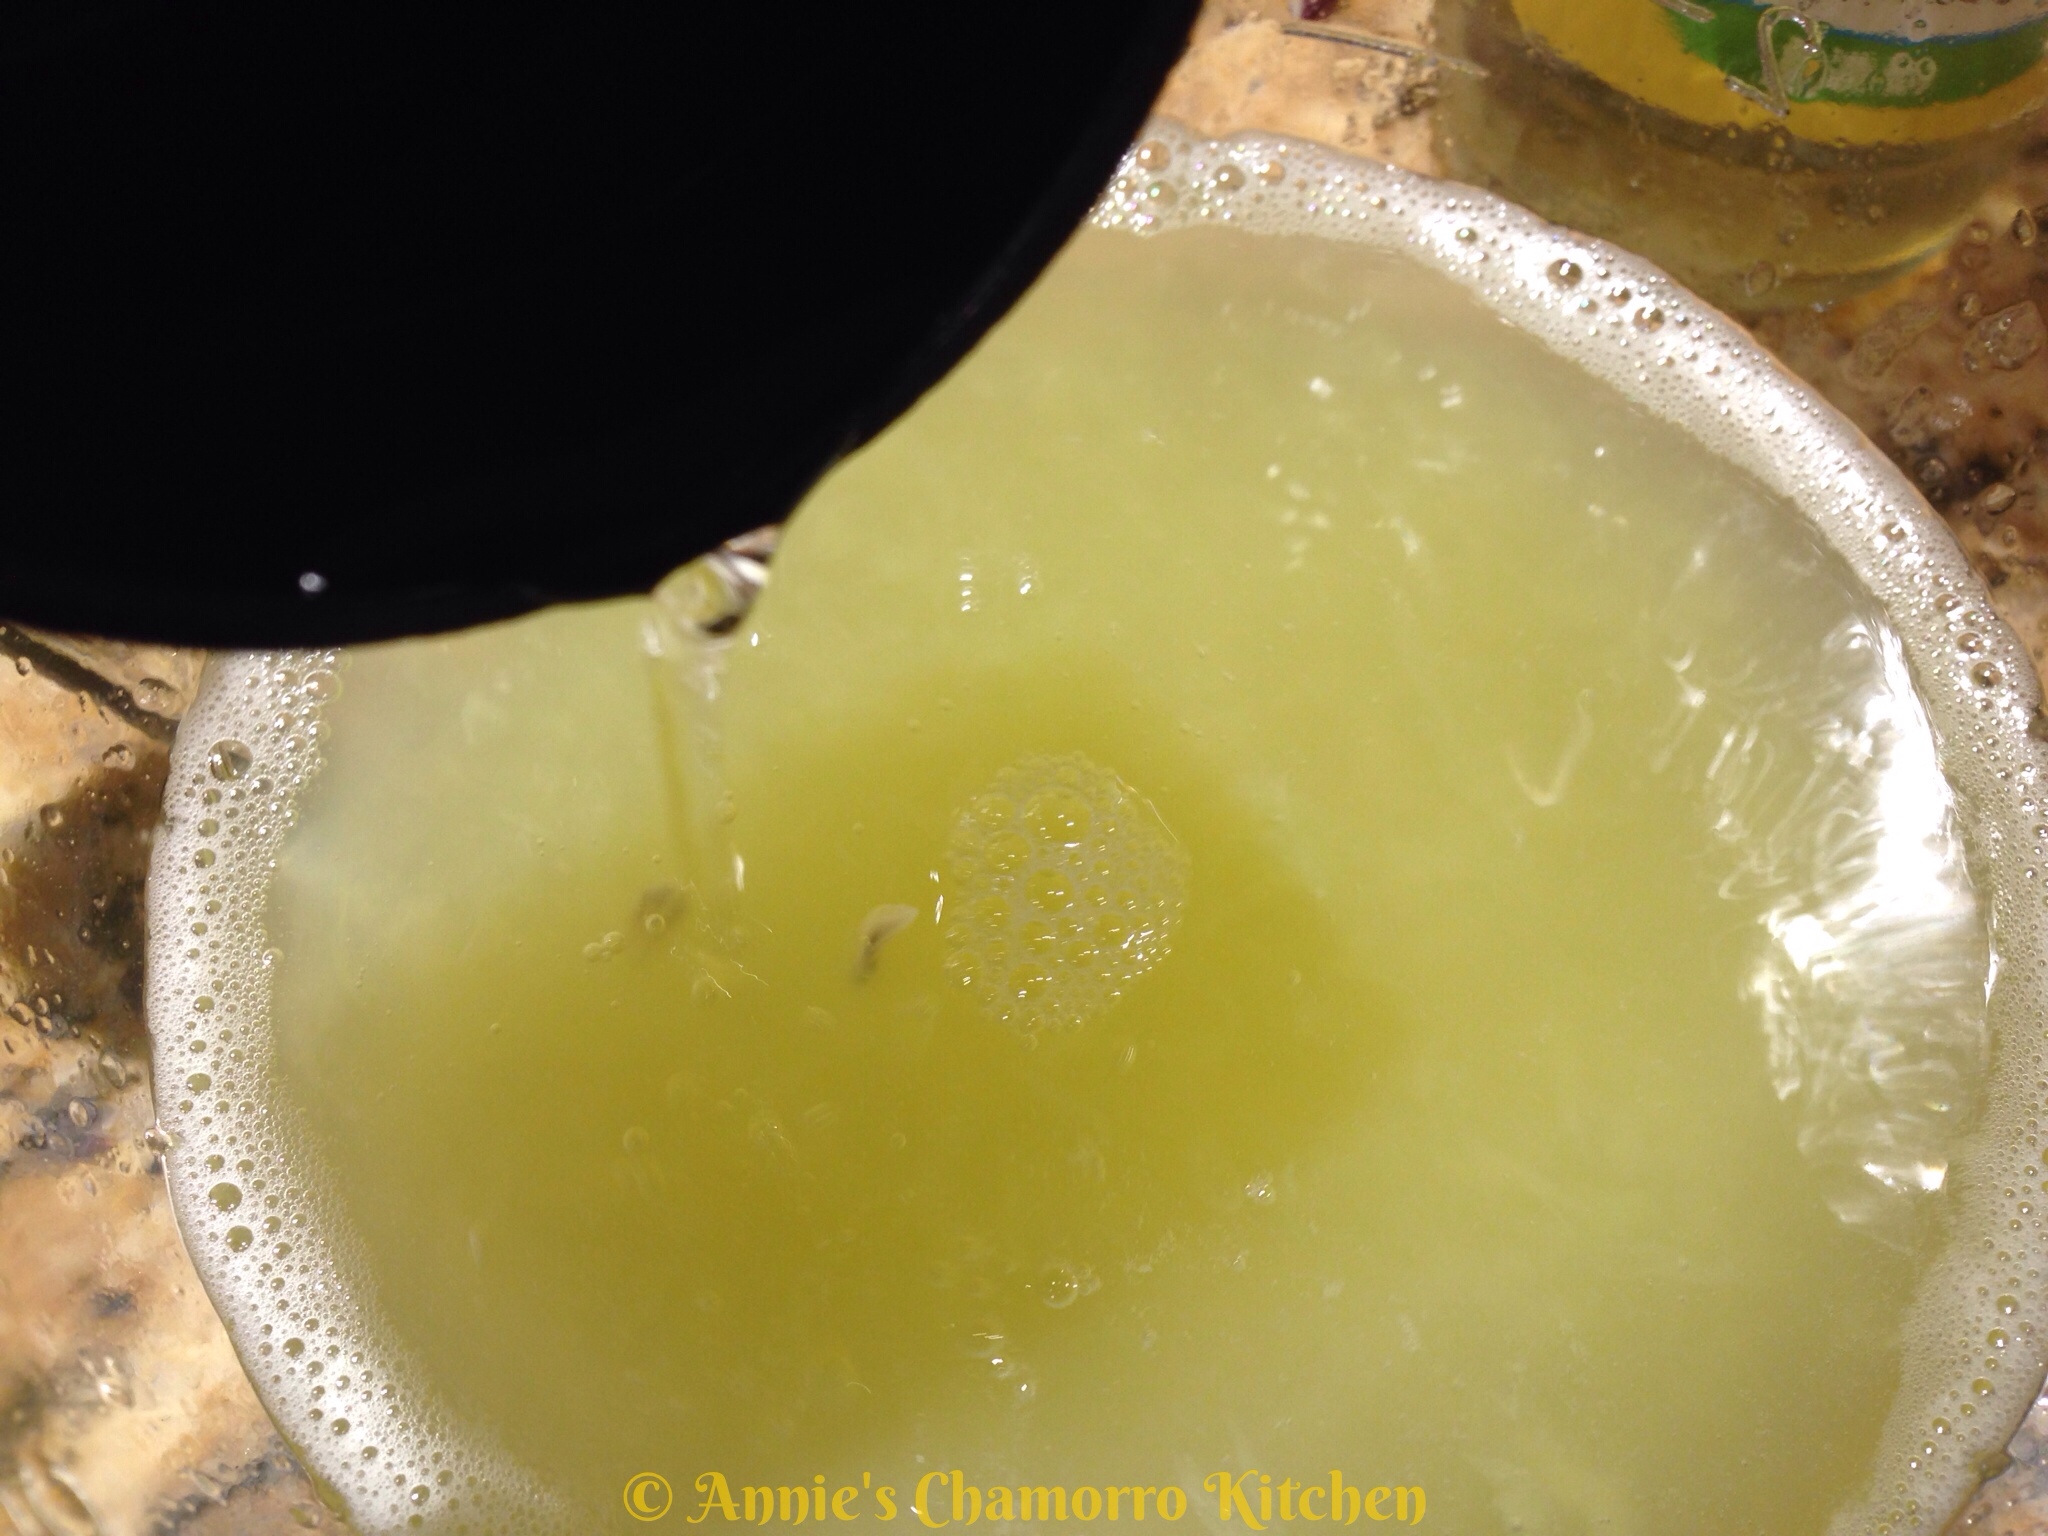
- 3/4 cup pineapple juice
- 1/4 cup soy sauce
- 1/2 cup ketchup (you can also use chili sauce)
- 1/4 cup plus 1 tablespoon dark brown sugar
- 1/2 teaspoon ground ginger
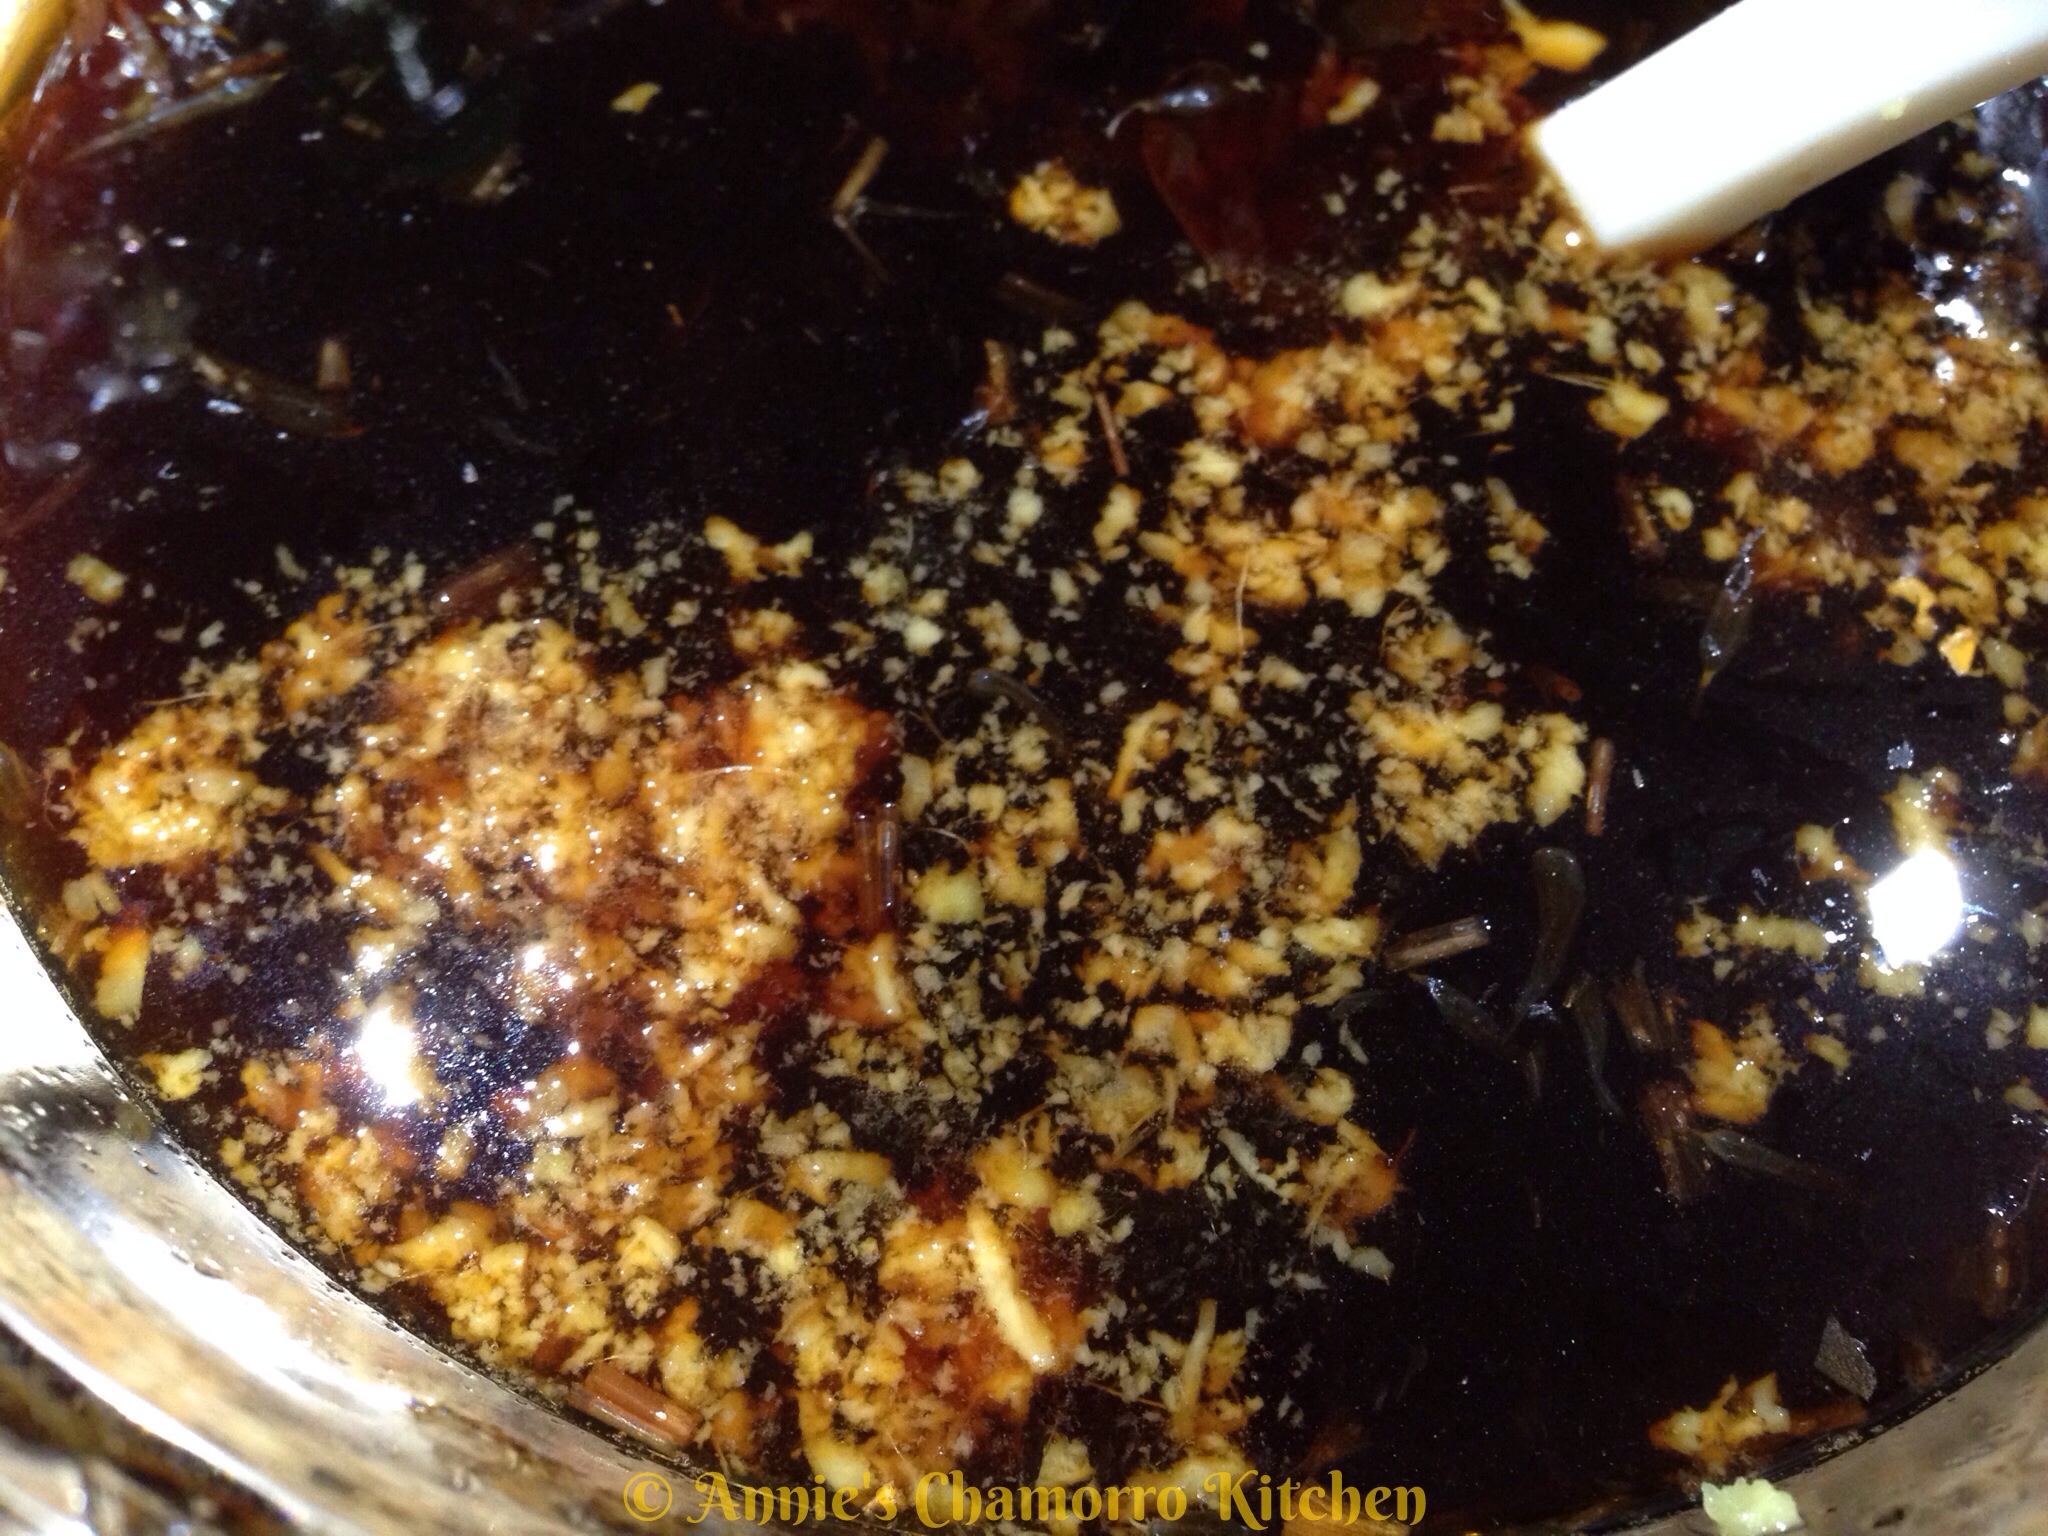
- 1 tablespoon chopped garlic
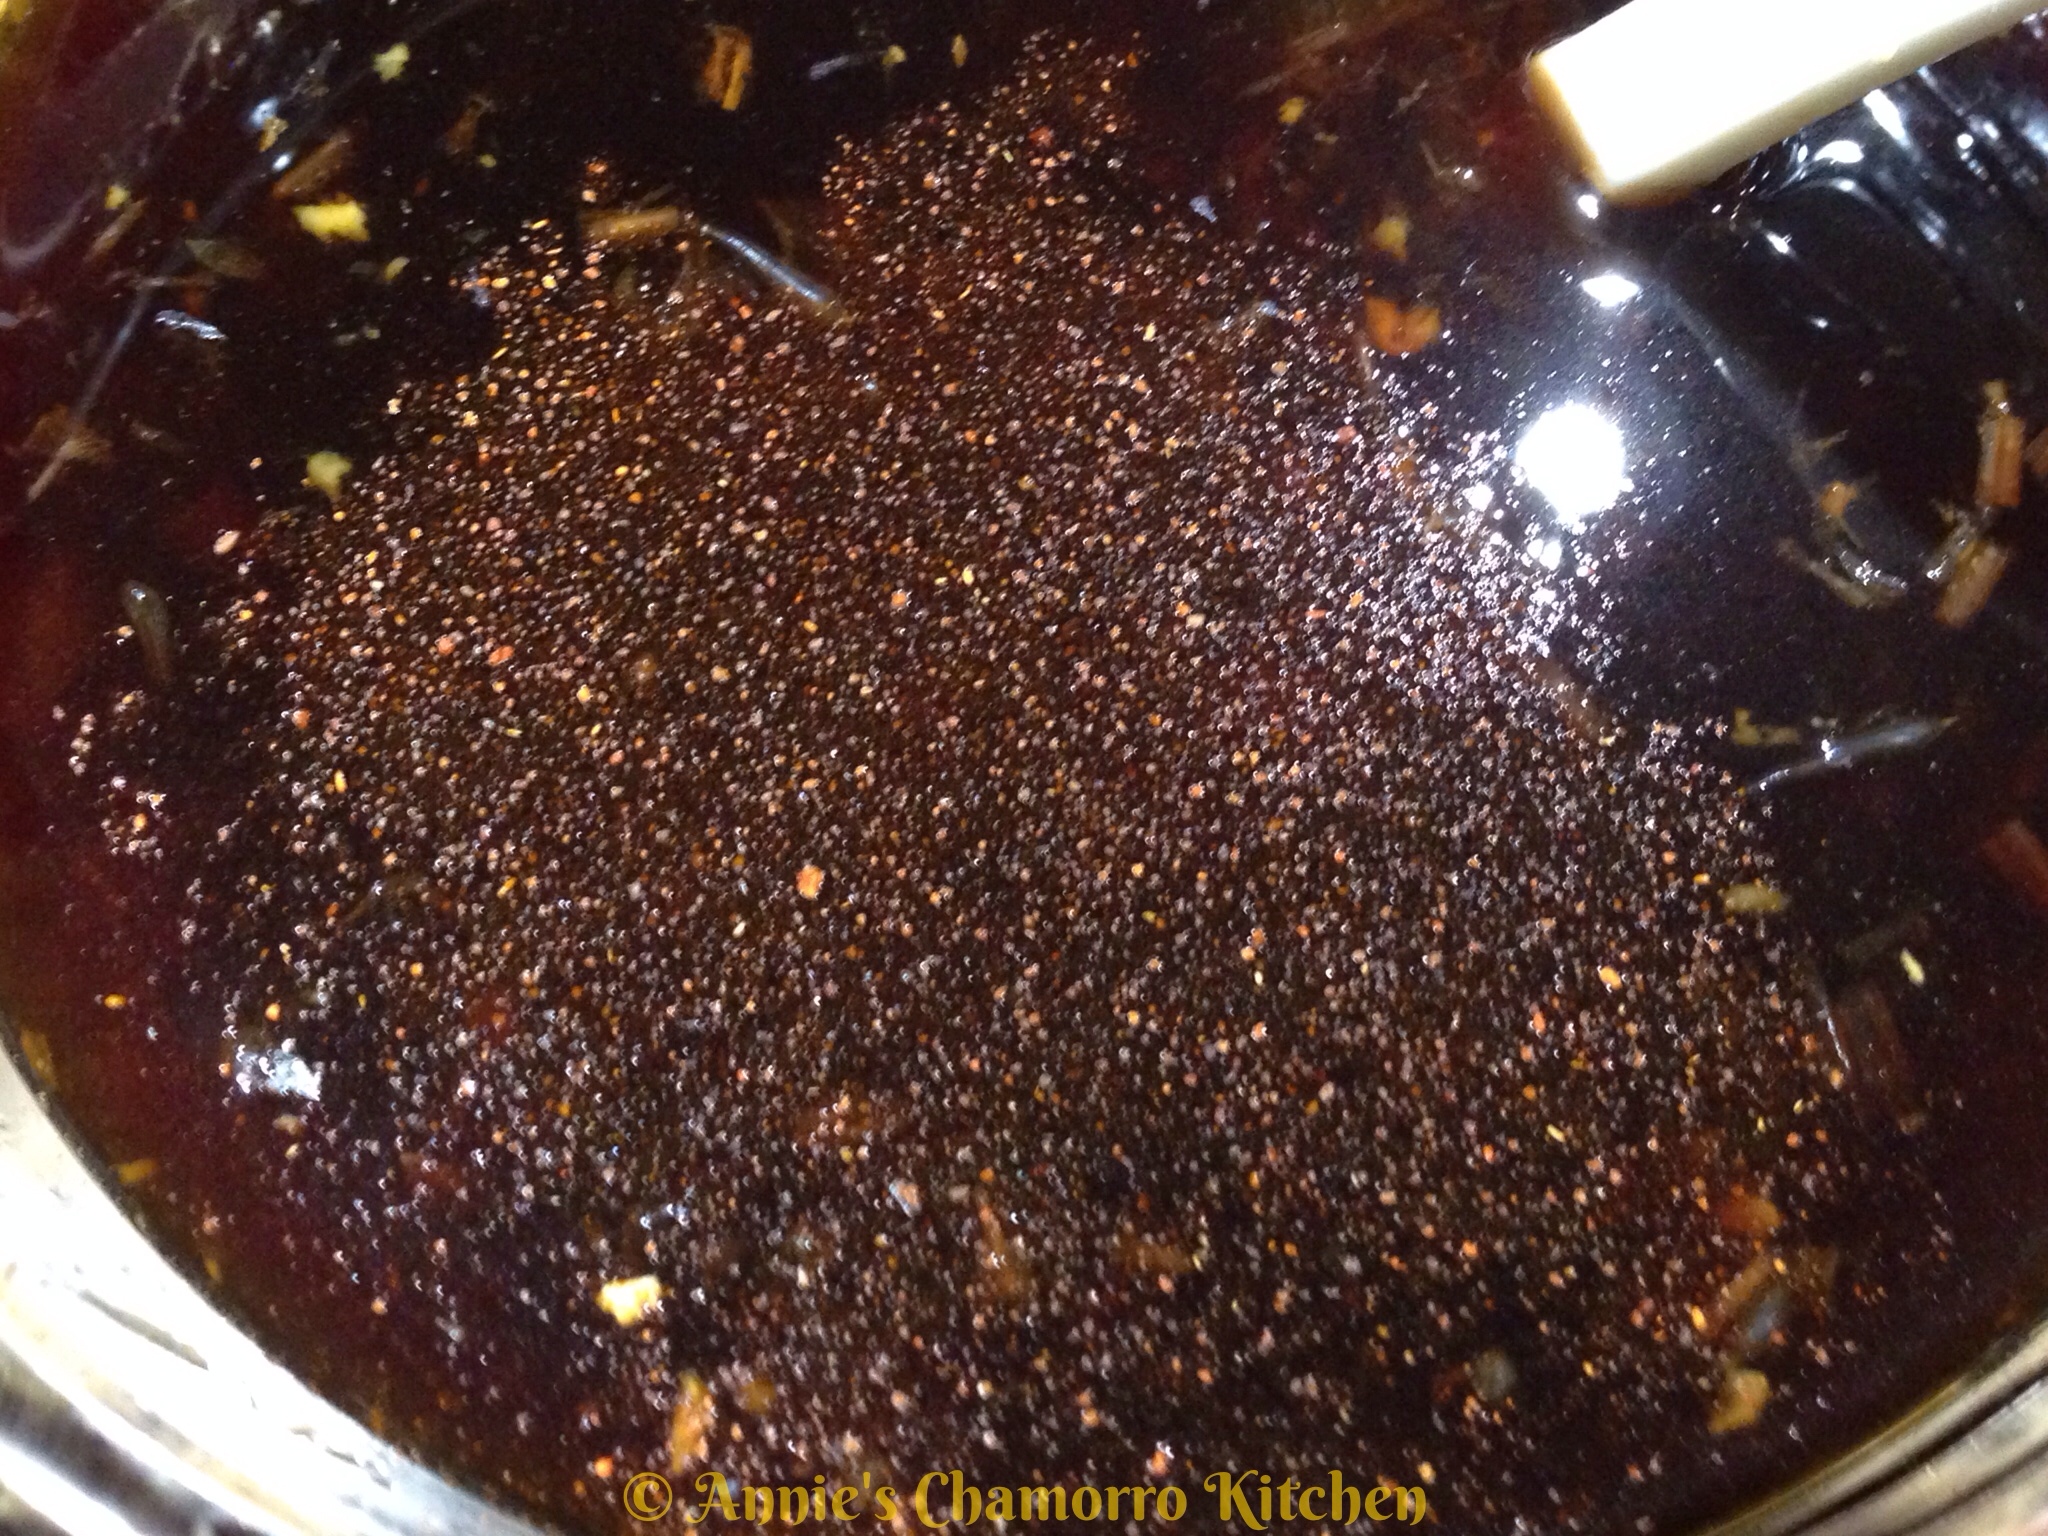
- Pinch of ground black pepper
- 1/4 cup pineapple juice mixed with 1 tablespoon corn starch
Directions:
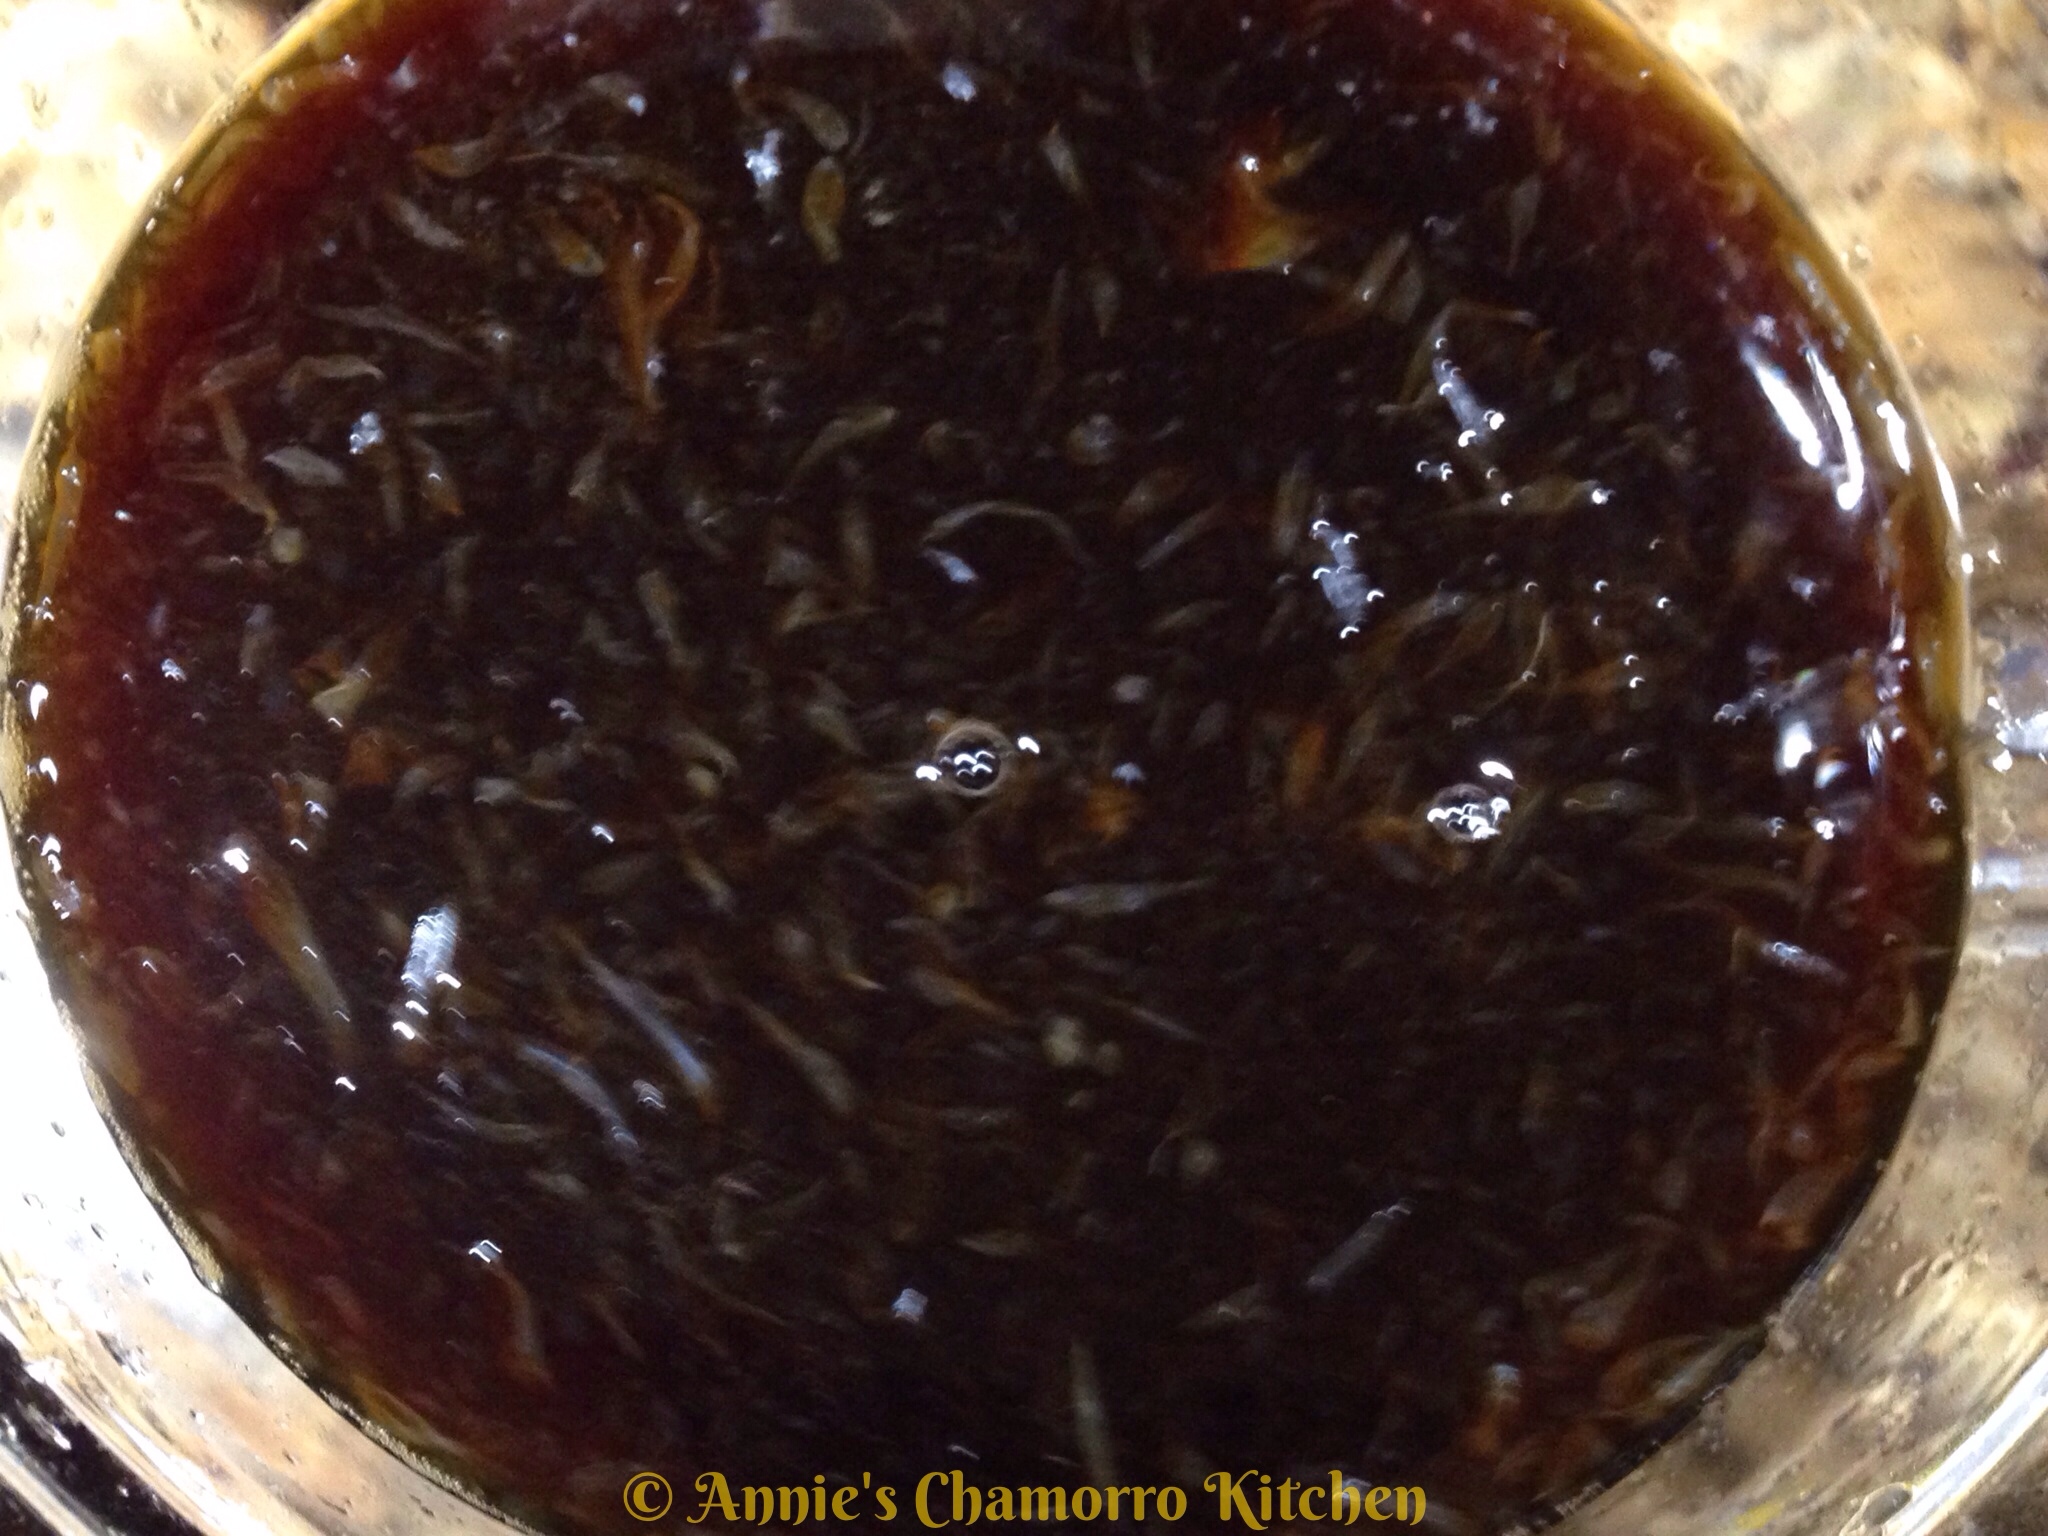
1. Place all of the ingredients into a small sauce pan, EXCEPT FOR the pineapple juice-corn starch mixture. Bring the mixture to a boil.
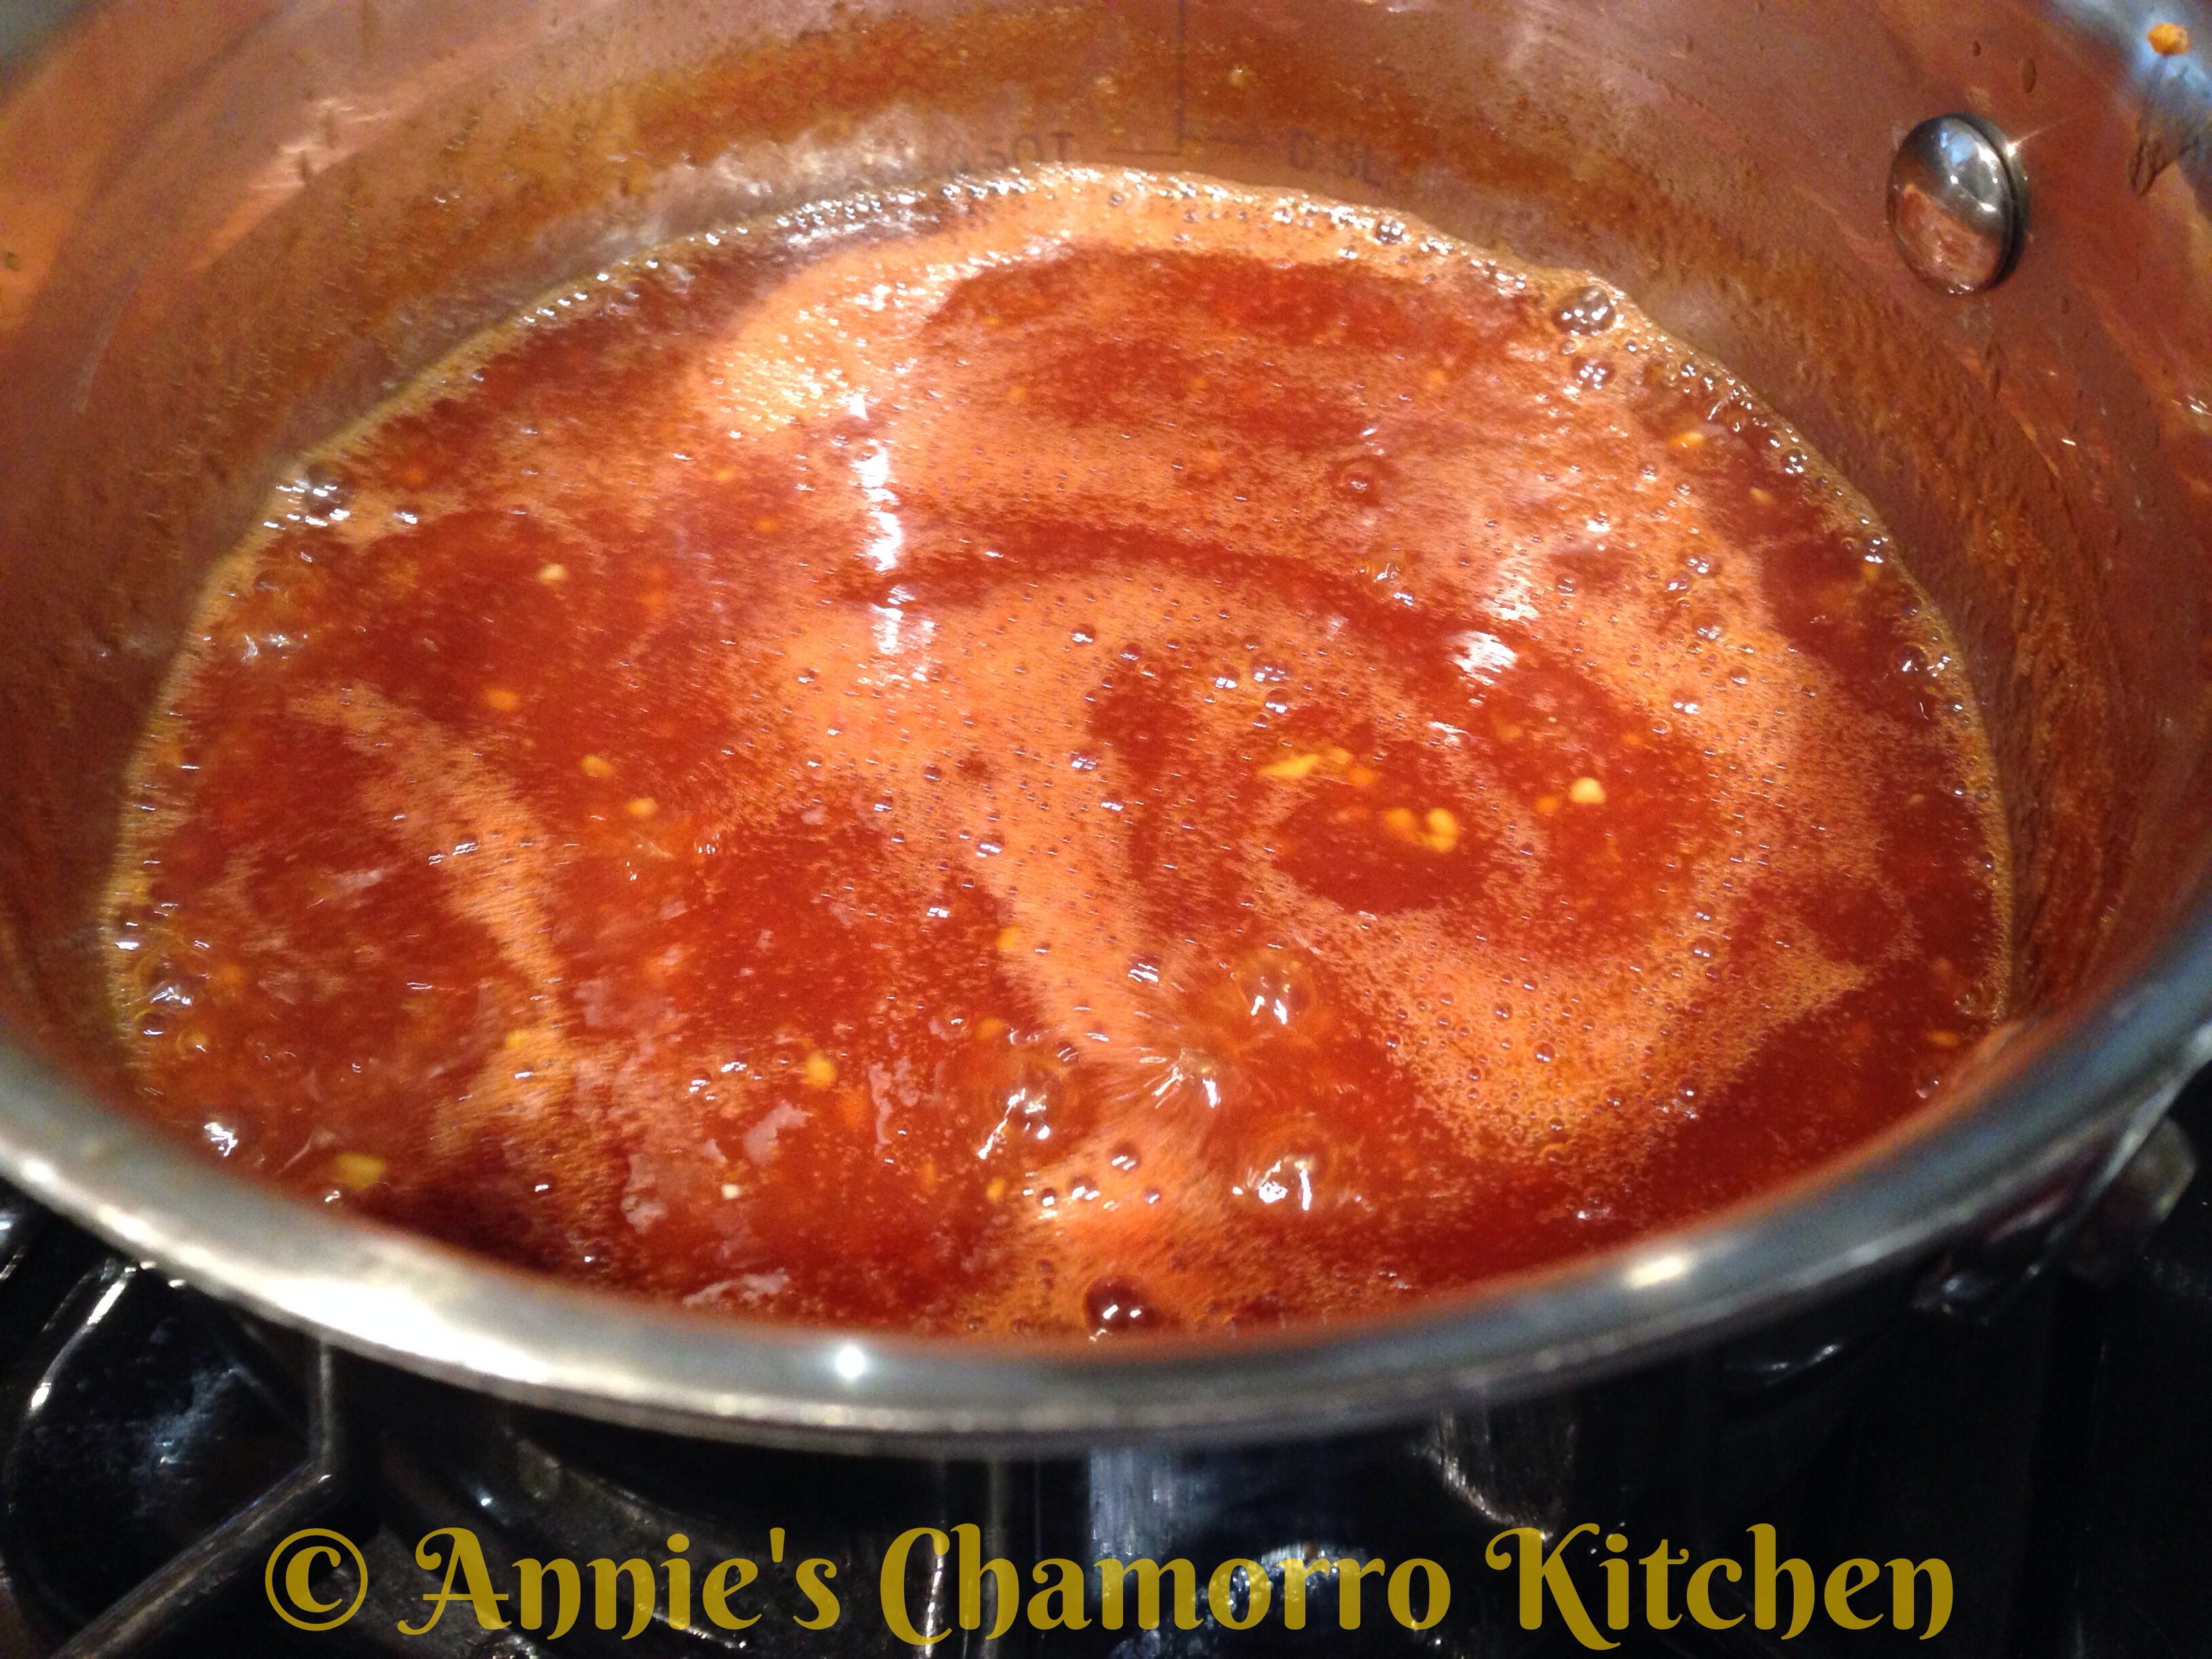
2. Whisk in the pineapple juice-corn starch mixture. Cook for a minute or two, just until the sauce thickens.

Serve with my Hawaiian Pulled Pork and ENJOY!
If you have any leftover pulled pork (about 4 cups of meat), use it to make my Pork Siopao. Find my recipe here.