
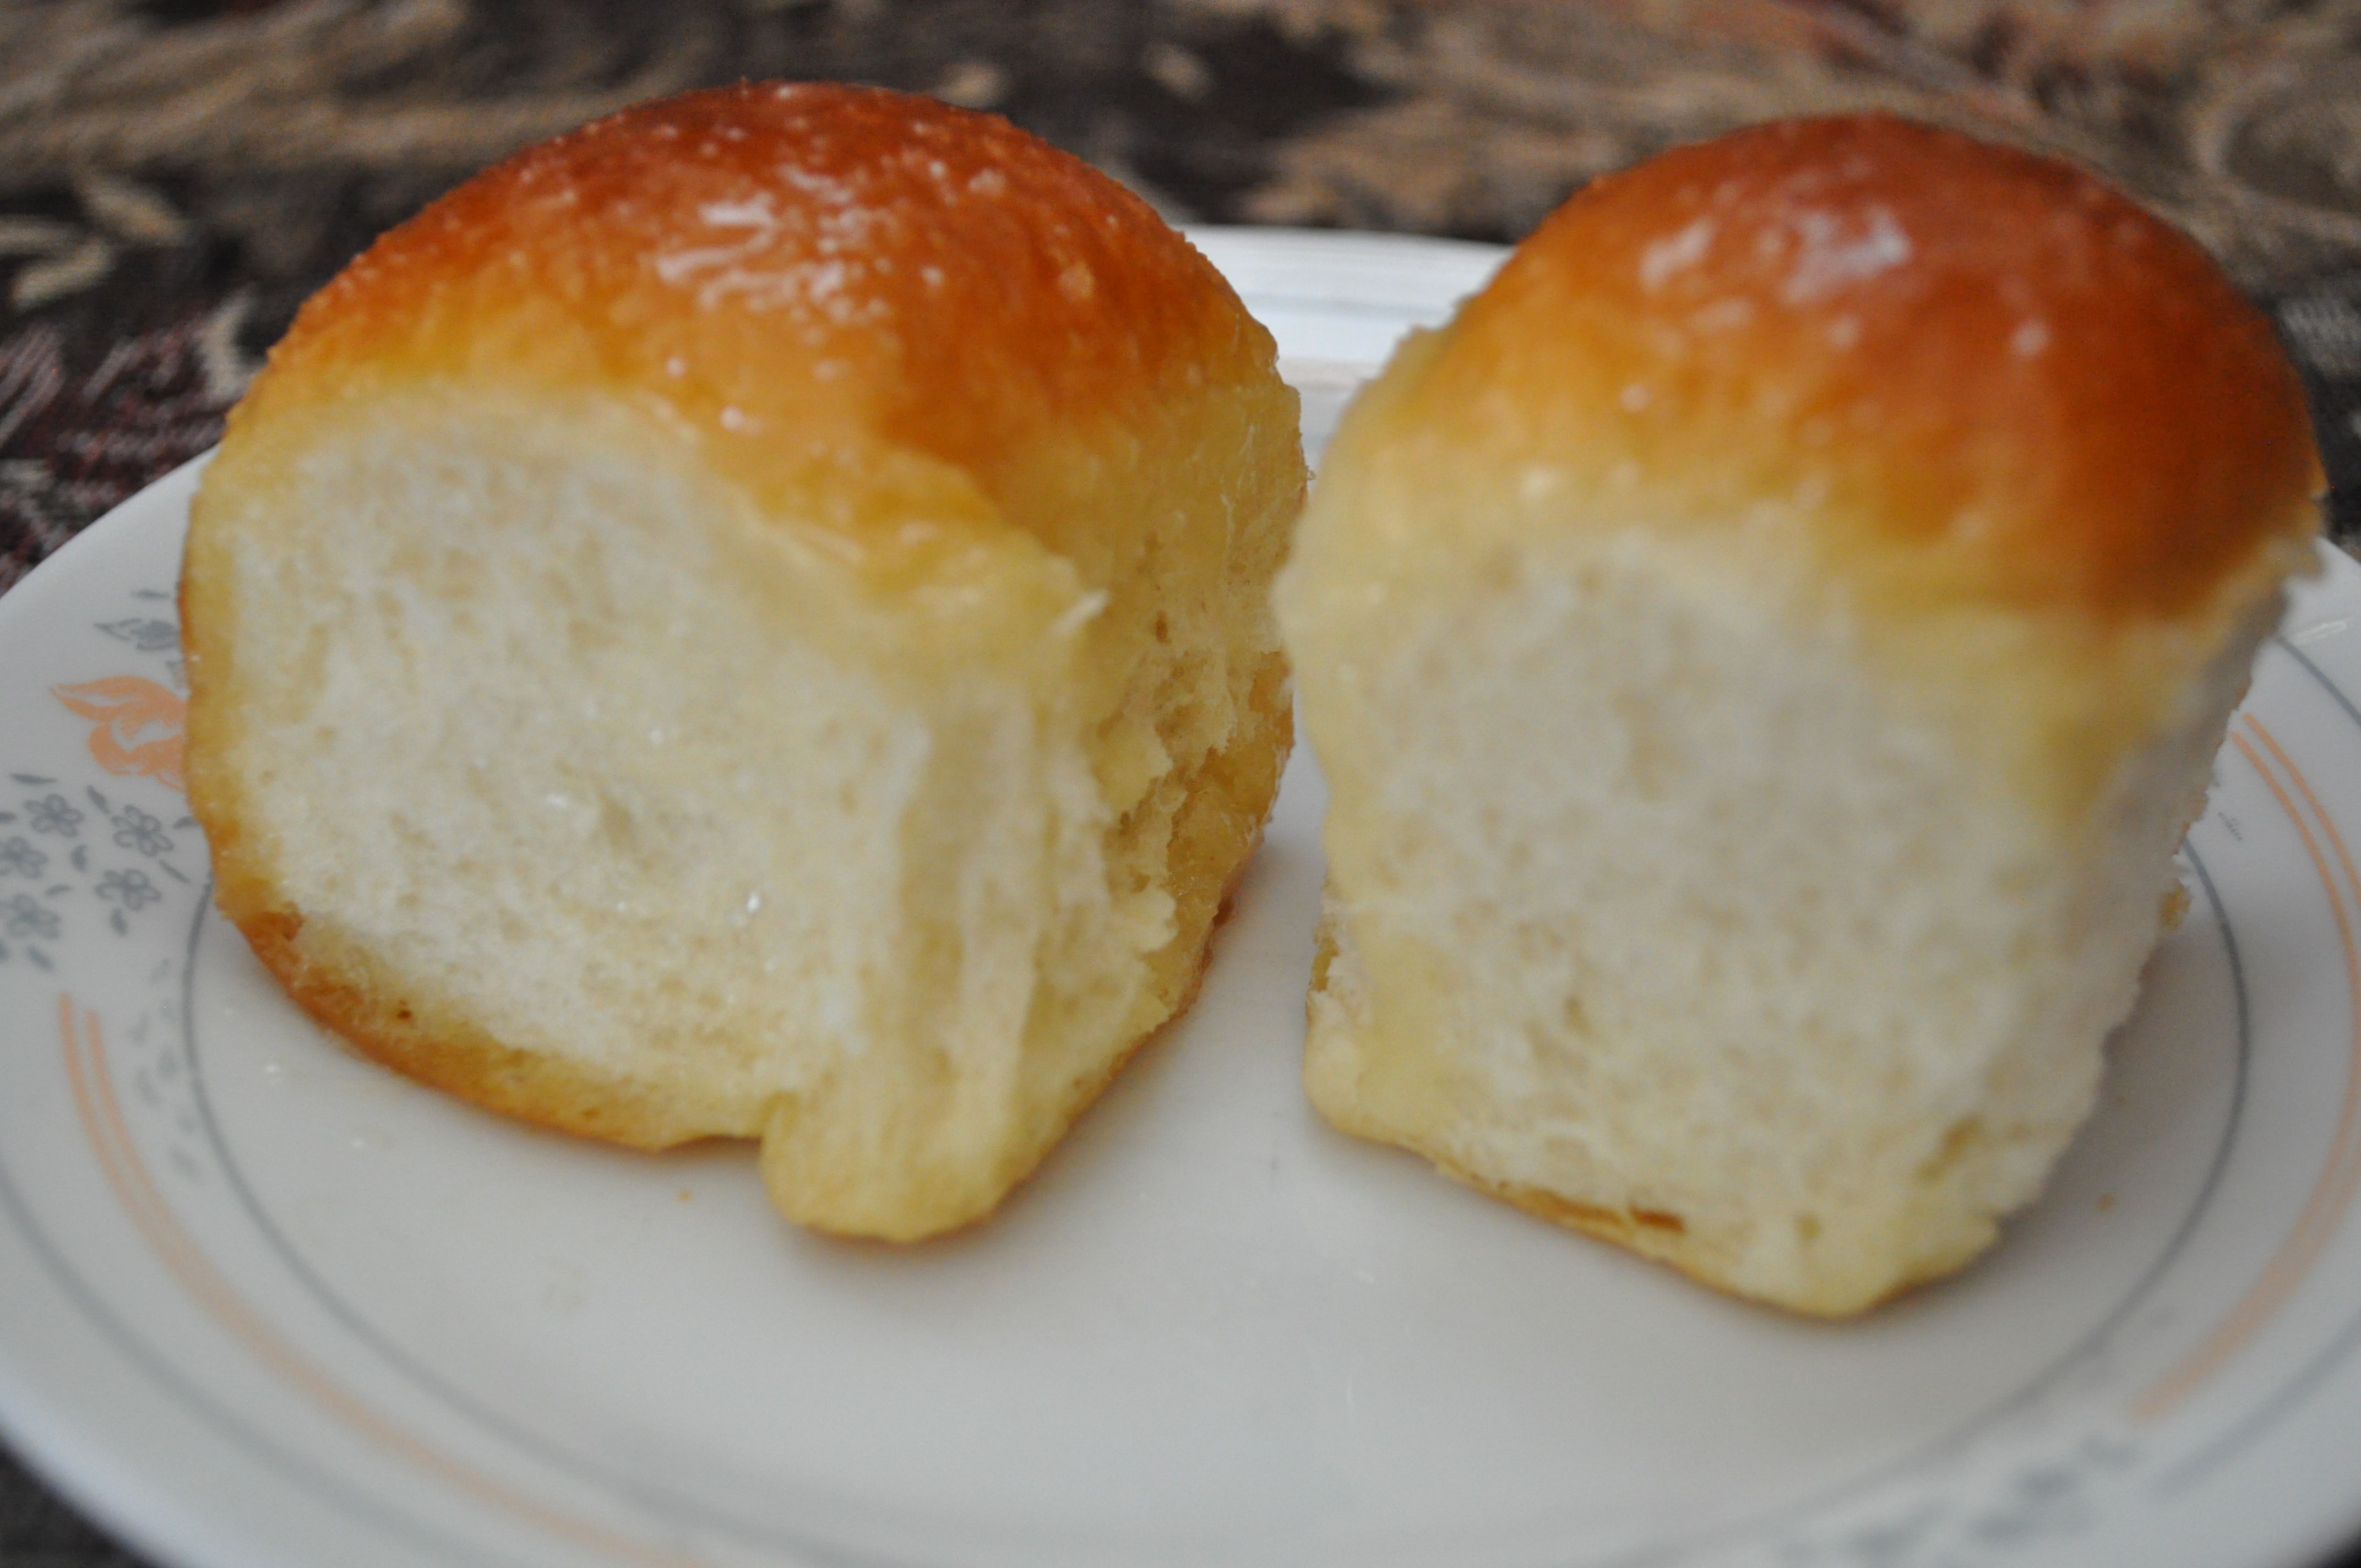
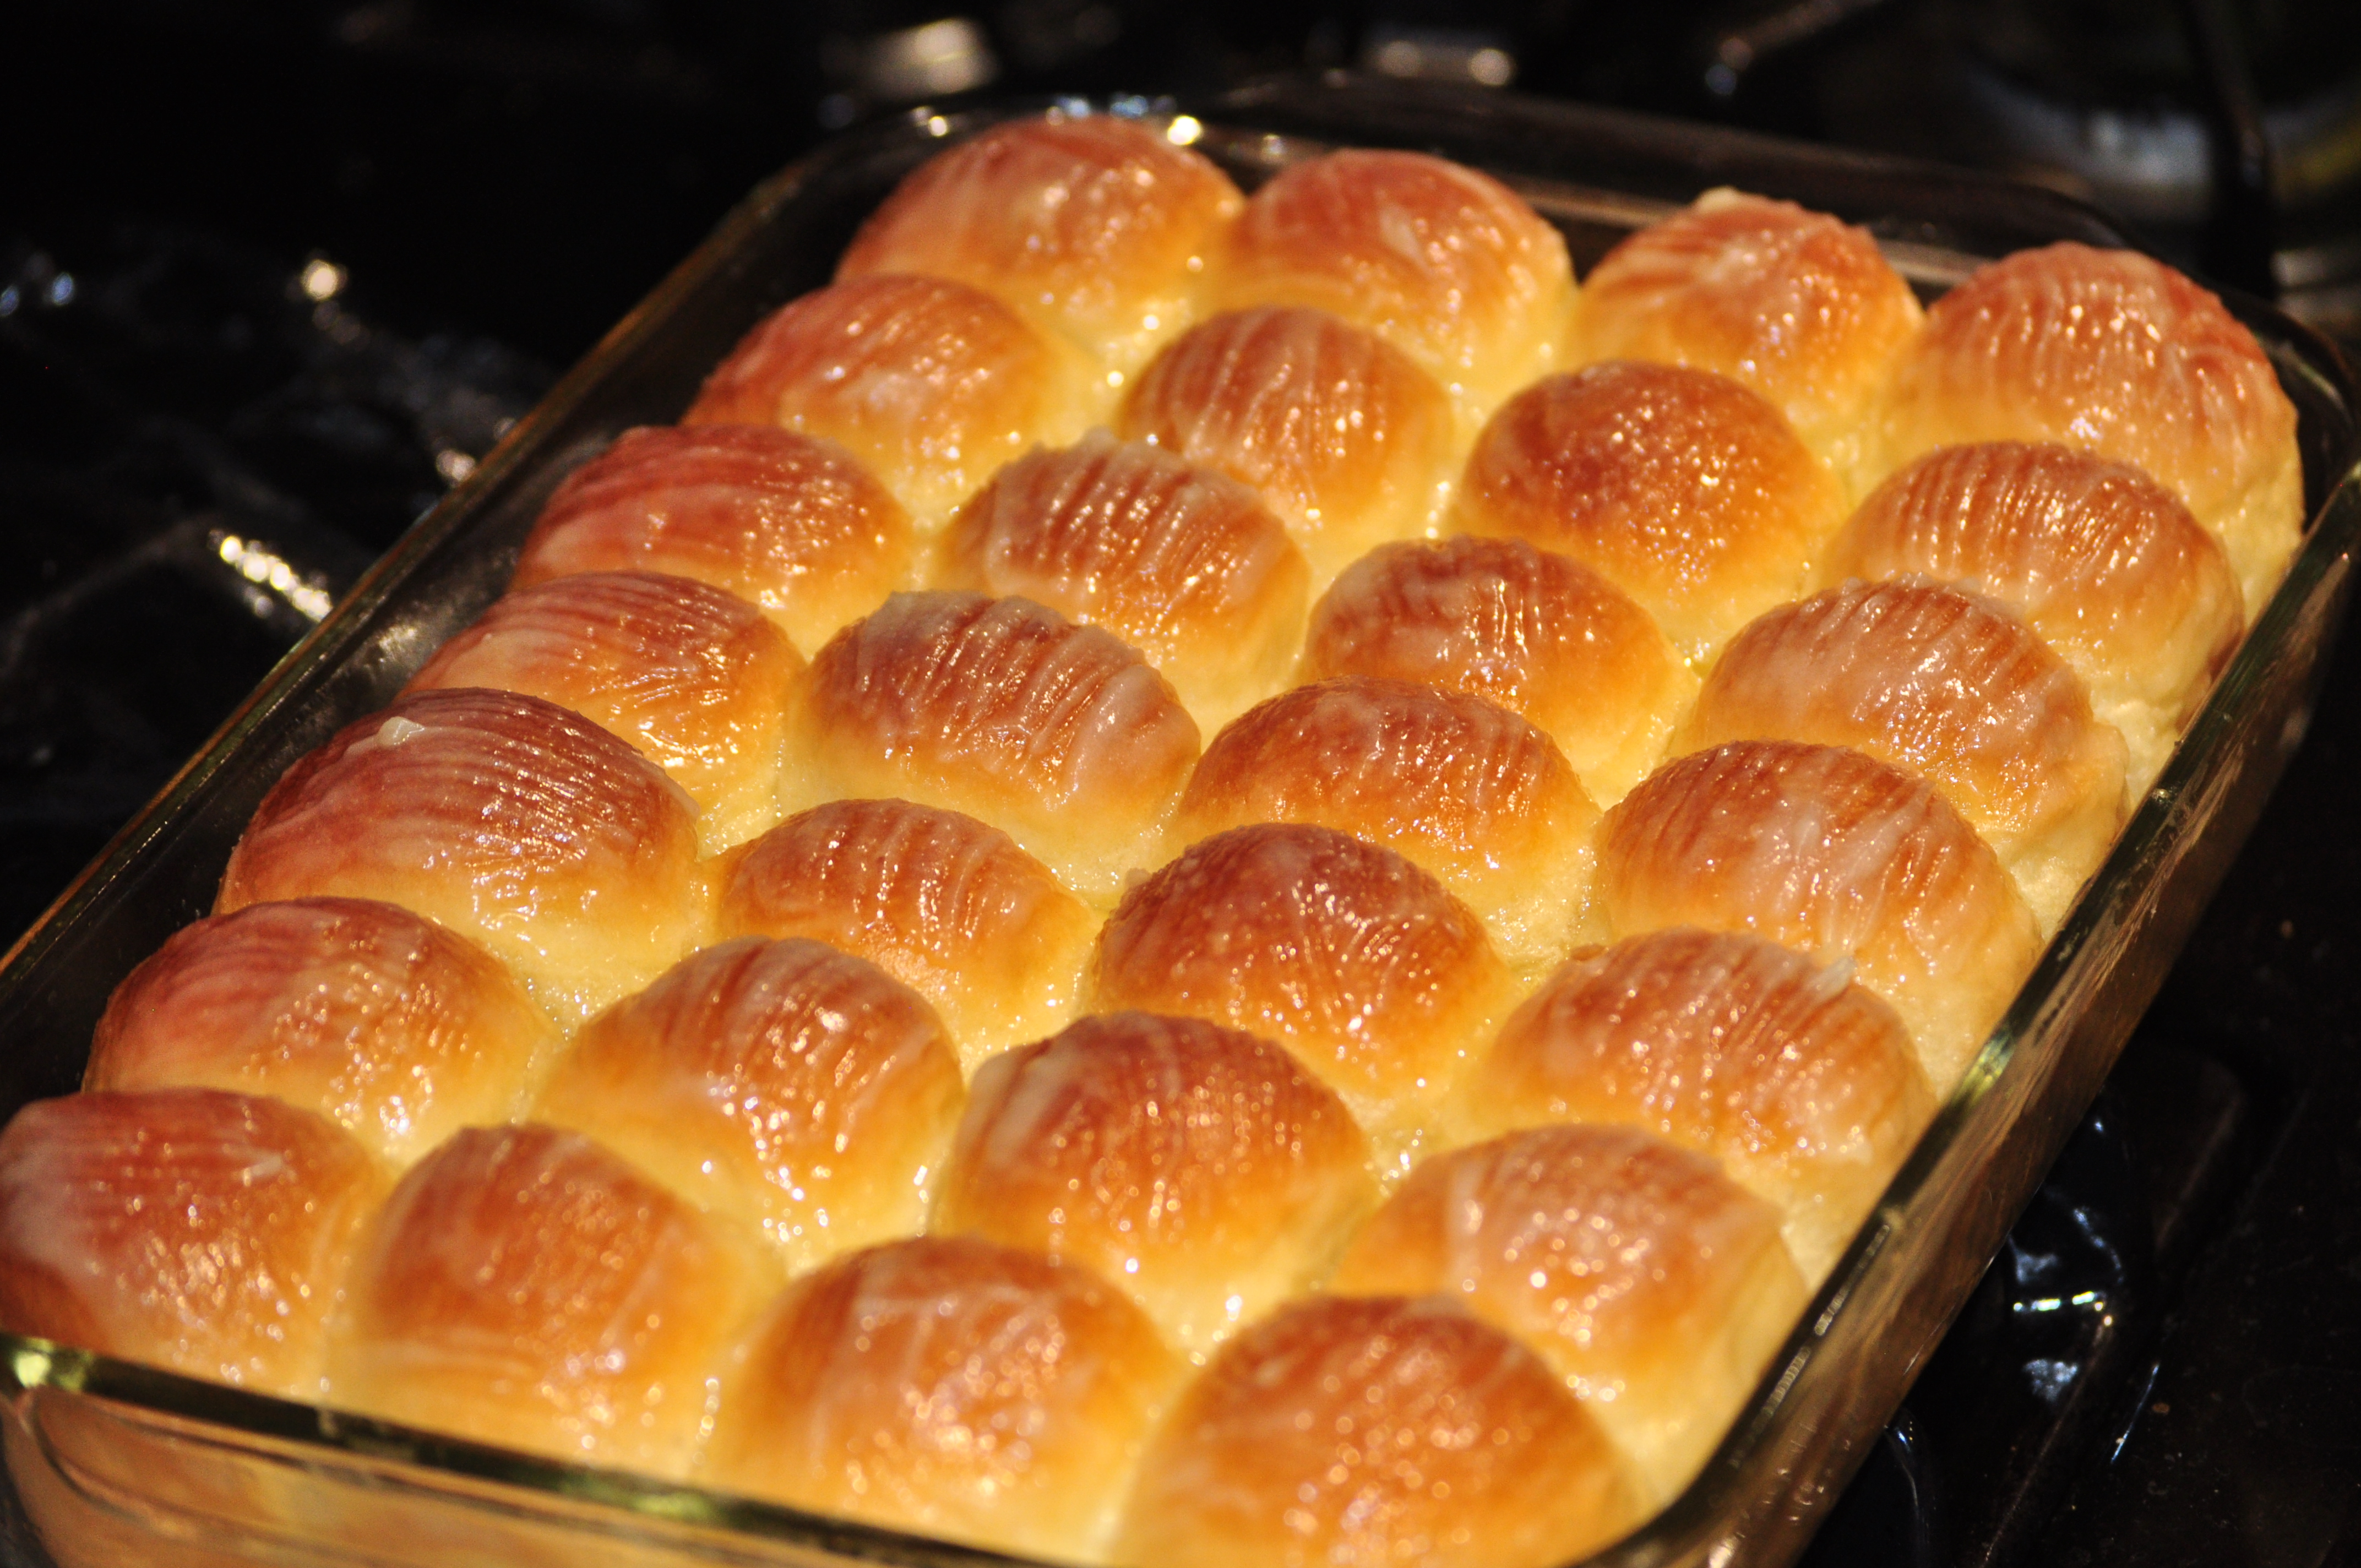
Sweet Dinner Rolls ~ My Original Go-To Version
As the title for my recipe states, this is my go-to recipe when I want to whip up a tray of sweet dinner rolls.
It’s also the same recipe I use in my tutorial videos for making dinner rolls (see below).
I’ve heard from many people who have made dinner rolls following this recipe and my instructions in my tutorial videos. Most of them were successful at their first try, but I will tell you that baking with yeast requires PATIENCE and practice.
If you don’t succeed in your first try, keep at it. My very first attempt at baking with yeast was an epic failure — my rolls were as hard as rocks! But not anymore! I can’t tell you how much money went down the drain, not to mention the valuable ingredients I wasted each time I tried, but tried I did until I got it right!
Here are some tips when baking yeast breads:
- Sometimes the dough is MEANT to be sticky. Do not be tempted to add a ton of flour just to prevent it from sticking to your hands or you’ll end up with super dense and rock-hard rolls. Instead of adding flour to the dough, flour your hands, or rub a bit of vegetable oil to your hands to prevent the dough from sticking to them.
- Even if a recipe states to wait about an hour for dough to double in size, sometimes it takes longer depending on the temperature of your rising place. BE PATIENT…the dough will rise and double eventually (provided your yeast is active).
- Test the temperature of the water (or other liquid) you use to proof your yeast. Use a thermometer if you have one. Otherwise, use your finger to determine whether the liquid is too hot. The perfect yeast-proofing temperature should feel like the temperature of your skin, or a low-grade fever (around 100-101 degrees). Or, for you moms out there, if the temperature feels like it would be too hot to put in a baby’s bottle, then let it cool longer before adding the yeast. Too hot of a temperature will KILL the yeast.
- Yeast needs sugar to grow. Make sure you add a tablespoon or two of sugar to the proofing liquid. If your yeast doesn’t start to bubble after 5 minutes of proofing, chances are the liquid was too hot (and you killed the yeast), or the yeast was old, or you didn’t add any sugar to feed it.
- Do not over knead the dough. Hand kneading should take about 10-12 minutes, or 6-8 minutes if using a stand mixer.
Give my recipe a try (posted beneath my tutorial videos).
Post any questions in the comment section below, or message me on Facebook at http://www.facebook.com/AnniesChamorroKitchen1/ for a quick response.
Good luck, and happy baking!
Tutorial Video, Part 1:
Tutorial Video, Part 2:

- 3 cups all-purpose flour
- ¼ cup sugar (up to ¾ cup if you want it sweeter, but use 2 packets yeast if you add more sugar)
- 1 teaspoon salt
- ¼ cup butter
- 1 large egg
- ½ cup milk (low fat or whole milk)
- 1 packet dry yeast
- 1 teaspoon sugar (for proofing the yeast)
- ¼ cup warm water (for proofing the yeast)
- In a small bowl, mix together the yeast, 1 teaspoon sugar, and warm water. Stir together to dissolve the sugar and yeast. Let it stand for 5-10 to allow the yeast to proof.
- Meanwhile, melt together the ¼ cup butter and milk in a microwave. Let it cool slightly. Add some of the cooled milk mixture to the beaten egg (this is to temper the egg so it won't scramble when you add it to the milk mixture). Add the egg to the rest of the milk mixture. After the yeast has proofed for 10 minutes, add the milk- butter-egg mixture to the yeast. Stir to combine.
- In a stand mixer fitted with a dough hook, mix together 2½ cups of flour, sugar, and salt. Reserve the remaining flour (you might not need it). Pour in the yeast-milk mixture. Turn the mixer to medium, mixing until the dough pulls away from the sides. If the dough still looks very sticky and is not pulling away from the side of the mixing bowl, add in more flour, a few spoonfuls at a time until the dough pulls away from the sides of the bowl. (See NOTE below.) Once the dough pulls away from the sides, turn the mixer to medium high and knead for 5 minutes.
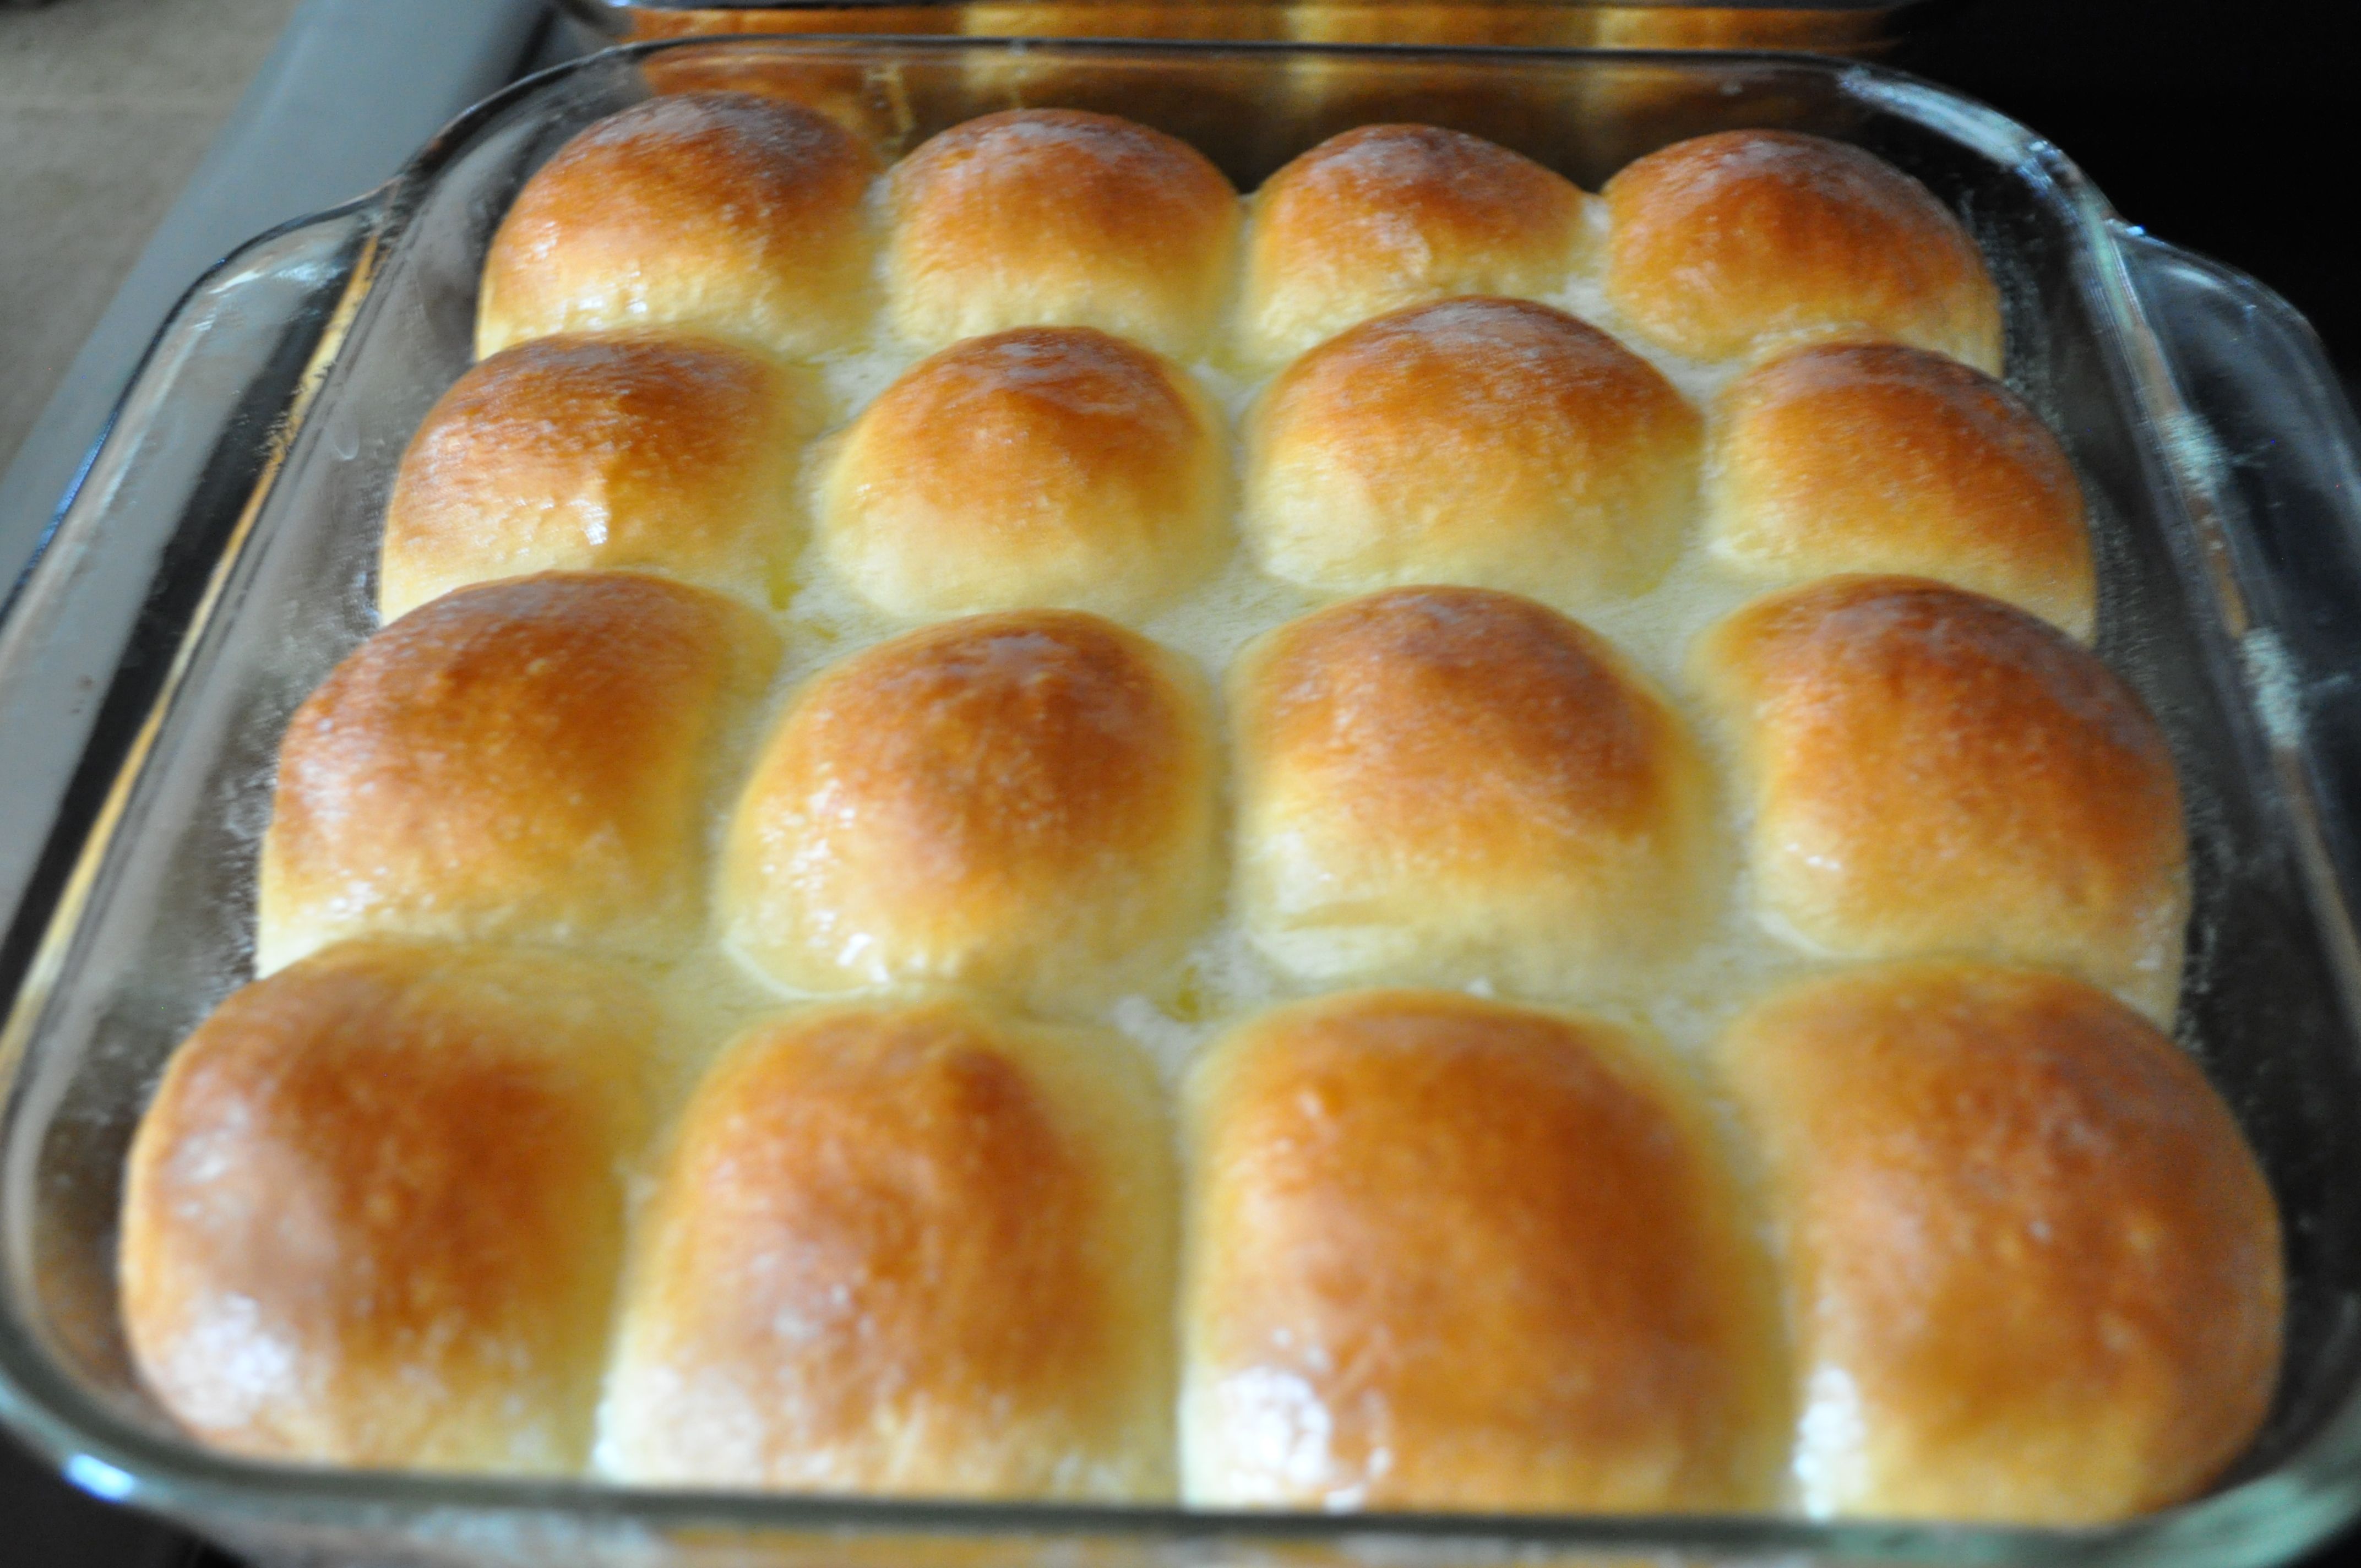
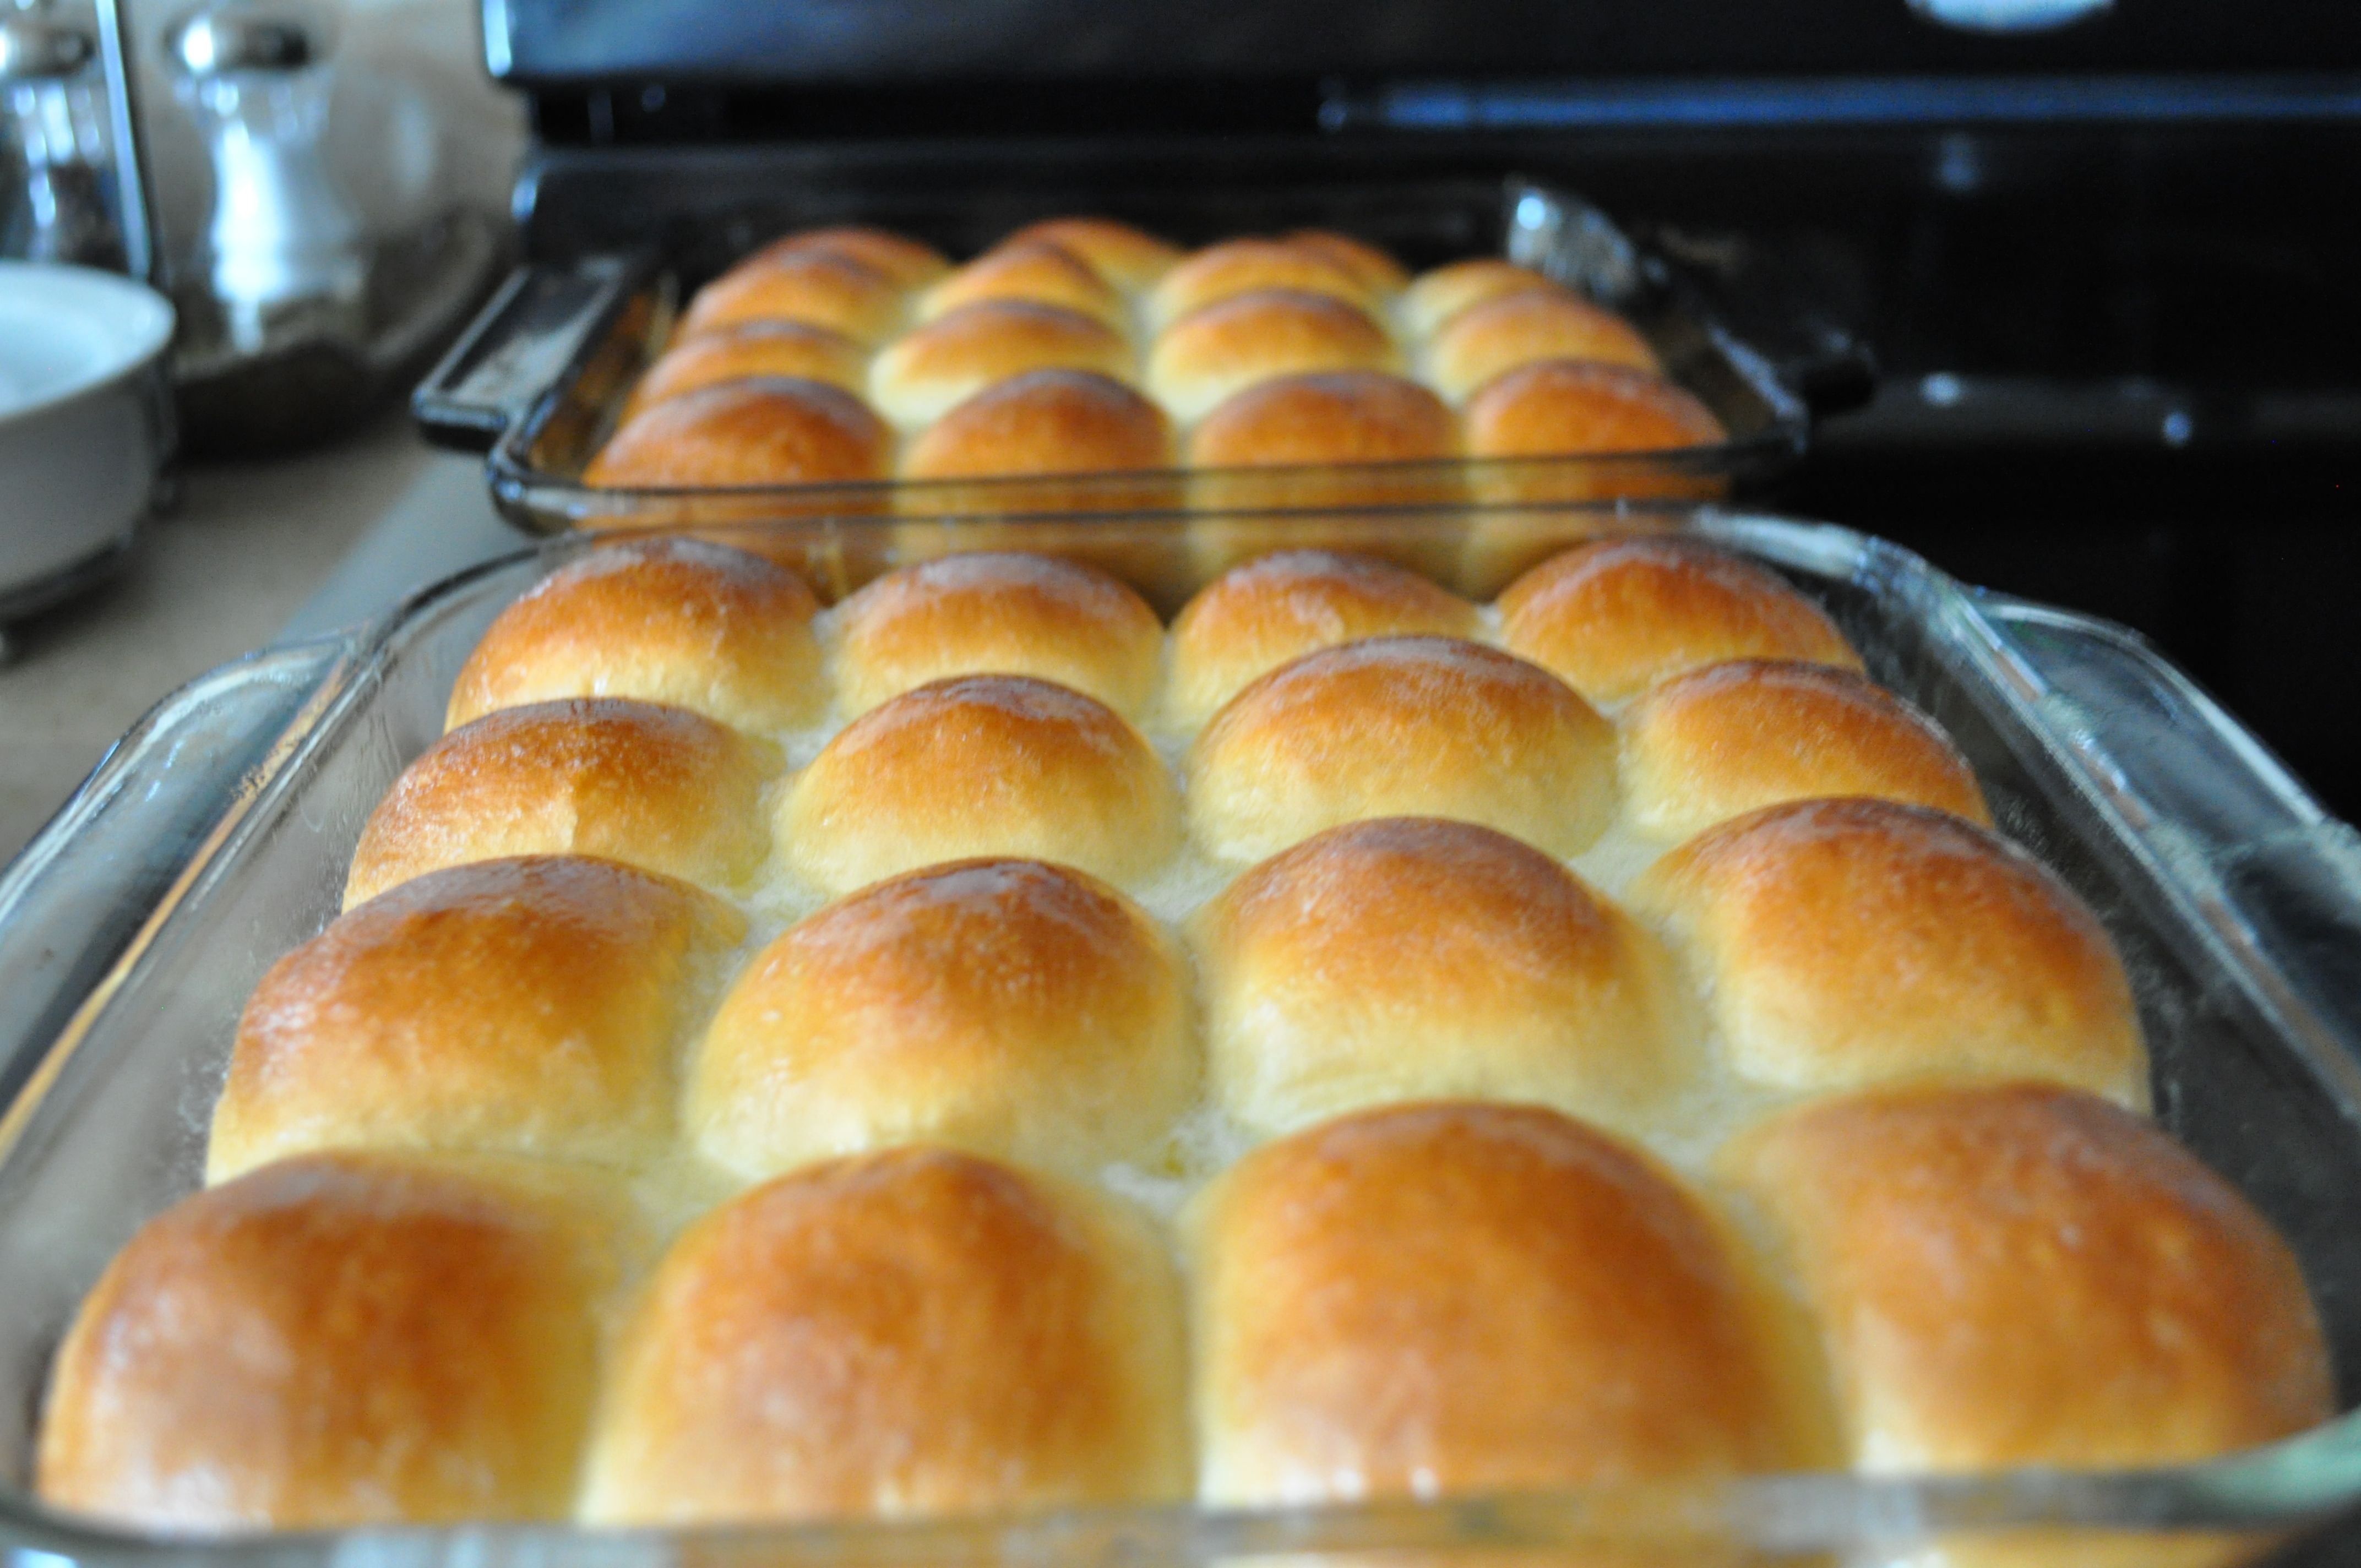
- After 5 minutes of kneading, remove the dough to a clean and greased bowl (you can use cooking spray). Cover with plastic wrap and place in a warm place to let the dough rise and double in size, about 1 hour. After the dough has doubled, take it out of the bowl and gently punch it down. Cut the dough into 28 small pieces then roll them out into balls. Place the balls of dough in a greased 9x13 pan (7 rolls across and 4 rolls down). Cover with plastic wrap and let it rise again until doubled.
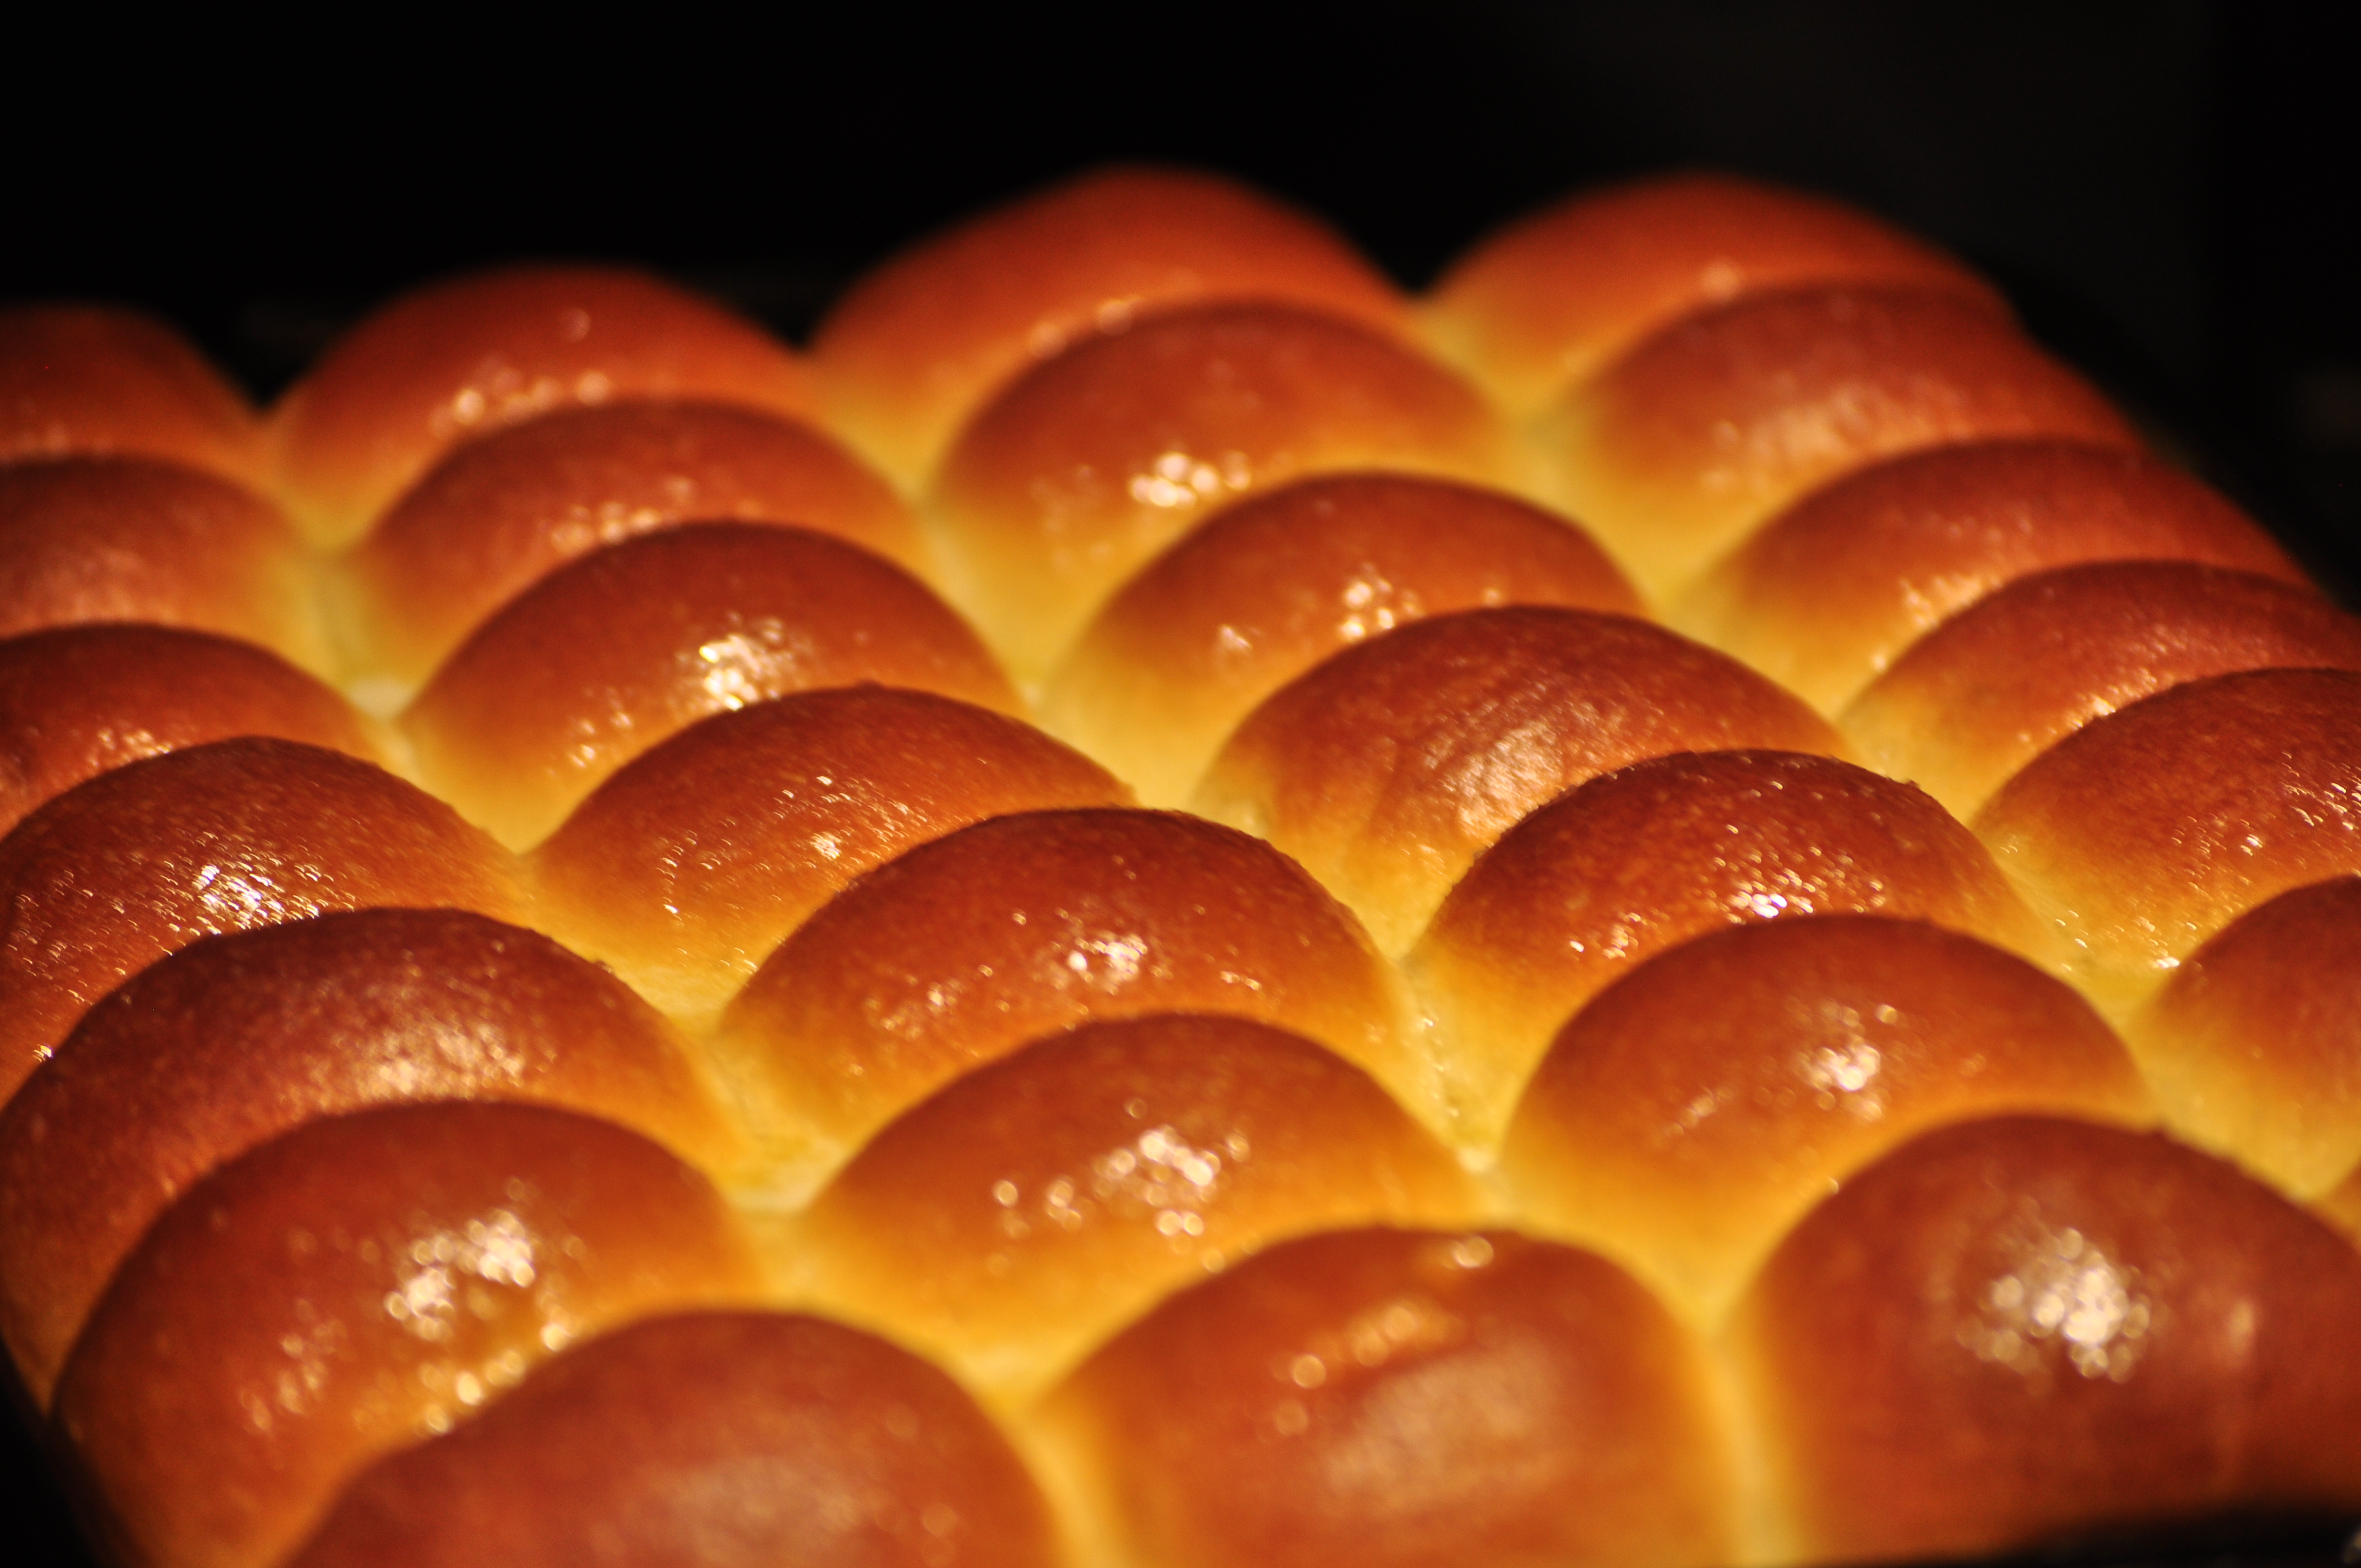
- After the rolls have doubled in size, remove the plastic wrap and brush the tops with melted butter. Bake at 375 degrees for 20-25 minutes or until golden brown on top. Remove from the oven and brush with more butter.
In most types of yeast bread recipes, the ratio of flour to total liquid should be 3:1. For instance, this recipe calls for just over 1 cup of liquid (including the egg); therefore, use only about 3 c. flour. Start out by mixing in a little less flour than the recipe calls for; If your dough seems too sticky, use only a little more flour just to allow you to knead it, but resist the urge to keep adding flour just so the dough won't stick. Too much flour (and kneading too long and too roughly) will make your finished bread come out tough/hard.

I have made many before but these are the best. The children loved them! Thank-you Annie
Thanks! I’m glad they approve!
I have made many before but these are the best. The children loved them! Thank-you Annie
Hi Annie,
I’ve been dreaming about this lately. Since quarantine, I’ve been baking more yeast breads with success. But then, my husband never complains so I’m never really sure. My haole is ti cha cha! I’m above 6000ft. What changes do you recommend I make to the ingredients or cooking time, if any? My cousin sent me a similar recipe but it includes lard and I try to stay away from lard if I can avoid it.
PS. I can’t wait to make your tamales gisu next!
Hafa Adai! I’m at 6035’ in elevation and I haven’t had any issues with my recipe. However, if you think you want to make any adjustments, there are some great tips here: https://www.wheatmontana.com/content/high-altitude-baking-how-make-your-recipes-work-mountains
I did it, they came out nice but my dough was too wet, impossible to work, I had used a little more flour and tons of cooking spray, nice flavor and texture, I will try again putting less butter and milk.
thank you for the recipe!!
Yeah, working with dough is a bit tricky. Your flour likely also absorbed moisture in the air, adding to the overall moisture content. You can hold back on the wet ingredients, or add more flour. Let me know it turns out When you try it again.
Hi Annie
I can’t wait to try your recipe, but have one question. Can I use rapid rise yeast in this recipe?
The short answer is yes, you can. For more information about using the two types of yeast, I recommend doing a google search for the differences between active dry and rapid rise yeast.
I made the sweet dinner rolls and followed the recipe to the tee. And it came out perfect just need to work more on my rolls..lol.. THANK YOU SO MUCH FOR SHARING. Plan to make more
You’re welcome! I’m glad it turned out well for you!
Hafa adai, Annie! I have suffered much criticism recently about my baking attempts. I watched and followed the video carefully. These rolls were a hit last week with my extremely particular family members and that’s saying a lot. I’m making more for tomorrow’s supper. Thank you.
I tried making your dinner rolls twice, I use 2 1/2 cup of flour then added the rest but it never got to the point of coming together. It was very sticky and was sticking to my fingers and bowel. I was using a stand mixer and kneed for 5 minutes on 4, like you stated in the video.
On both tries the same thing happened. Can you add more than 3 cups of flour? And the total time to knead from beginning to end
Your dough WILL be a bit sticky. If you add too much flour, your rolls/bread will come out hard. I recommend following the amounts in my recipe or it won’t turn out as I show in the end. You should also knead the dough for about 8 minutes if you’re using a stand mixer, 10 minutes if kneading by hand.
Amazing. What are the measurements of butter and sugar you use for the glaze? Thank you for the wonderful recipes.
For one 9×13 pan of rolls, melt together a half stick of butter (4 tablespoons) with 1/4 cup sugar. Brush the melted butter-sugar mixture over the top of the rolls while still warm.
I have tried this recipe twice now and idk what it is but I can not get the dough to rise at all. I’m not sure what is going on but I’ve made sure all liquids were the right temp. I following the video and made sure not to over knead but it simply will not rise. I’ve done tons of recipes with yeast but have never had this much difficulty. Not sure I’ll try a third time and waste more baking supplies.
Gosh, I hate that you wasted a lot of ingredients already! I’m not sure what could be going wrong. Could your yeast be old or expired?
Thank You Annie for sharing your recipe. It came out perfect! Love it!
You’re welcome!
I haven’t tried this recipe yet, but I was wondering if I don’t have a mixer like that can I just mix it with a spoon? Or does it have to be a mixer? Also I’ve never tried a yeast recipe before so I’m completely new to this but reading this recipe my mouth was watering!
Yes, you sure can. You can do some of the mixing with a large wooden spoon, and the kneading by hand.
Can this be made in a loaf instead of rolls?
I’m sure it can, but as I’ve never made it in loaf form, I can’t tell you with any accuracy how long to bake it for.
Can you use bread flour in place of the all purpose flour?
I always advise to use the ingredients called for in a recipe, but yes, you can use bread flour in place of APF.
Ugh, I just pulled the saran off, (second rise) buttered the tops and they all sank……I thought that might happen, will they raise back up while baking???
Oh, Debora. I’m so sorry to hear that! No, unfortunately, it won’t. Deflated dough usually happens when it’s risen too long. If you decide to make this again (which I hope you do), don’t let the dough rise too much for the second rise as it will continue to rise in the oven.
I am new to yeast dough, my first attempt was a honey butter roll that came out light and beaitiful (just not sweet enough for me) my 2nd was a “sweet” dinner roll that came hard as a rock and not sweet at all.
I am so excited to try this recipe but I would like the rolls to be sweeter, do I use 2 pks of yeast for 1/2 c sugar or only for 3/4? Have you made them 3/4 cup of sugar before? Was the dough affected? Am I better off just brushing them with the sugar butter? Thank you very much!
Use two packets of yeast for 1/2 to 3/4 cup of sugar. If you use the butter-sugar topping, you can probably leave it at 1/4 cup sugar in the dough.
Use 2 packets of yeast for 1/2 to 3/4 cup of sugar.
I absolutely LOVE this recipe. But, I have a question. What do you have drizzled on top? I would like try it as well, haha.
That’s just melted butter and sugar mixed together and brushed over the top.
That’s sounds heavenly! Haha, thanks for replying so quickly because I’m making these right now:)
How did your rolls turn out?
I made 20 rolls and with a blink of an eye there were only 2 left! They were FANTASTIC!!!!! Planning on trying another one of your recipes this weekend. If I have any questions, I’ll be sure to contact you. Thanks for the recipe;)
Awesome!
Hi Annie,
How well do these rolls last? I want to make them in the morning for dinner will they get hard? Thanks.
Hi there! If you make them in the morning, they will still be nice and soft for dinner. Let the rolls cool completely then either place in an airtight container or cover your pan with plastic wrap.
Can these be frozen after the first rise but before they are baked?
Yes, freeze them after the first rise and after shaping into rolls. Let them thaw/rise at room temperature before baking.
I think this is great but do you have a recipe for Bonelos pak ‘yu? Would really love to make some of those!
I do. Look for Bunelos Manglo or Typhoon Donuts.
I now bake this for every family get together. We’re German and Scots-Irish by heritage, but have traveled extensively and especially enjoy the variety of foods from different cultures! This has easily become a favorite and gets raves every time! Thank you for sharing your culture!
You’re most welcome, and I’m glad my recipe is a fave.
I’ve made this recipe two times now and am currently waiting for my rolls to dubble for a third batch. This recipe is great, my rolls come out small but soft and sweet. I’m going to definitely review this recipe on my blog!
Thanks! I’m glad you like it.
I’d love to visit your blog. Be sure to send me a link to your review.
Hi! I am excited to try this recipe, but have a question about the ingredients. I am assuming the measurement for milk is ½ CUP (it says “1/2 milk”), but your note says that the total liquid is 1 cup, including the egg. Should I break the egg into a liquid measuring cup, then add milk to the 1-cup line? Thanks for your advice. These look yummy!
Hi Laura,
Yes, that should read “1/2 cup milk” — I’ll update that. This recipe calls for just a little over 1 cup total liquid, but still only start out with 3 cups flour. Depending on the humidity in the air where you live, you may need more or less flour (flour absorbs the liquid in the air, so higher humidity means use less flour; low humidity means you may need a little more flour). This dough is supposed to be a little sticky.
Yummy. Thanks for sharing.
Just made a half batch of your recipe to test it out and it turned out beautiful! Tastes soooo good. Thank you!
Awesome! I’m glad you liked it. 🙂
Hi thank you for sharing your recipe i just got home from my holiday from the Philippines & i used to buy this kind of bread but we called it special ensaymada…i can’t wait to make this today & i will top it with buttercream & grated cheddar cheese.
🙂
Thank you for sharing! What a great thing you are doing in helping to preserve our Chamorro culture. We grew up together in Talofofo., I just moved to San Diego and cooking our Chamorro dishes helps reconnect me to home . My grandma used to make this. Ana Mesa. Thanks for bringing back fond memories.
Doines BORJA Guevara
Hi Doines! Wow, it’s been a long time! How’ve you been? Thanks for stopping by.
thank you for the recipe. I enjoyed it…hope to see ensaimada recipe next time:)
Thanks for giving my recipe a try; I’m glad you liked it. I’ll work on that ensaymada recipe soon. 🙂
Making the dinner rolls hope it will turn out just right☺
I hope so too! Let me know how it turned out.
I just pulled them out of the oven about 5 minutes ago. They turned out great. This recipe will now replace the one I used in the past. My husband loved your recipe better, too. Si yu’us ma’ase!!!
Hafa Adai, Mary! I’m happy to hear it turned out good, and I’m glad you like it! 🙂
Annie, if we don’t have individual packets how much measurement we need?
Hi Annette (I love your name, by the way)! One packet or envelope of yeast is equivalent to 2 1/4 teaspoons of dry yeast.
Love this bread it’s my favorites.