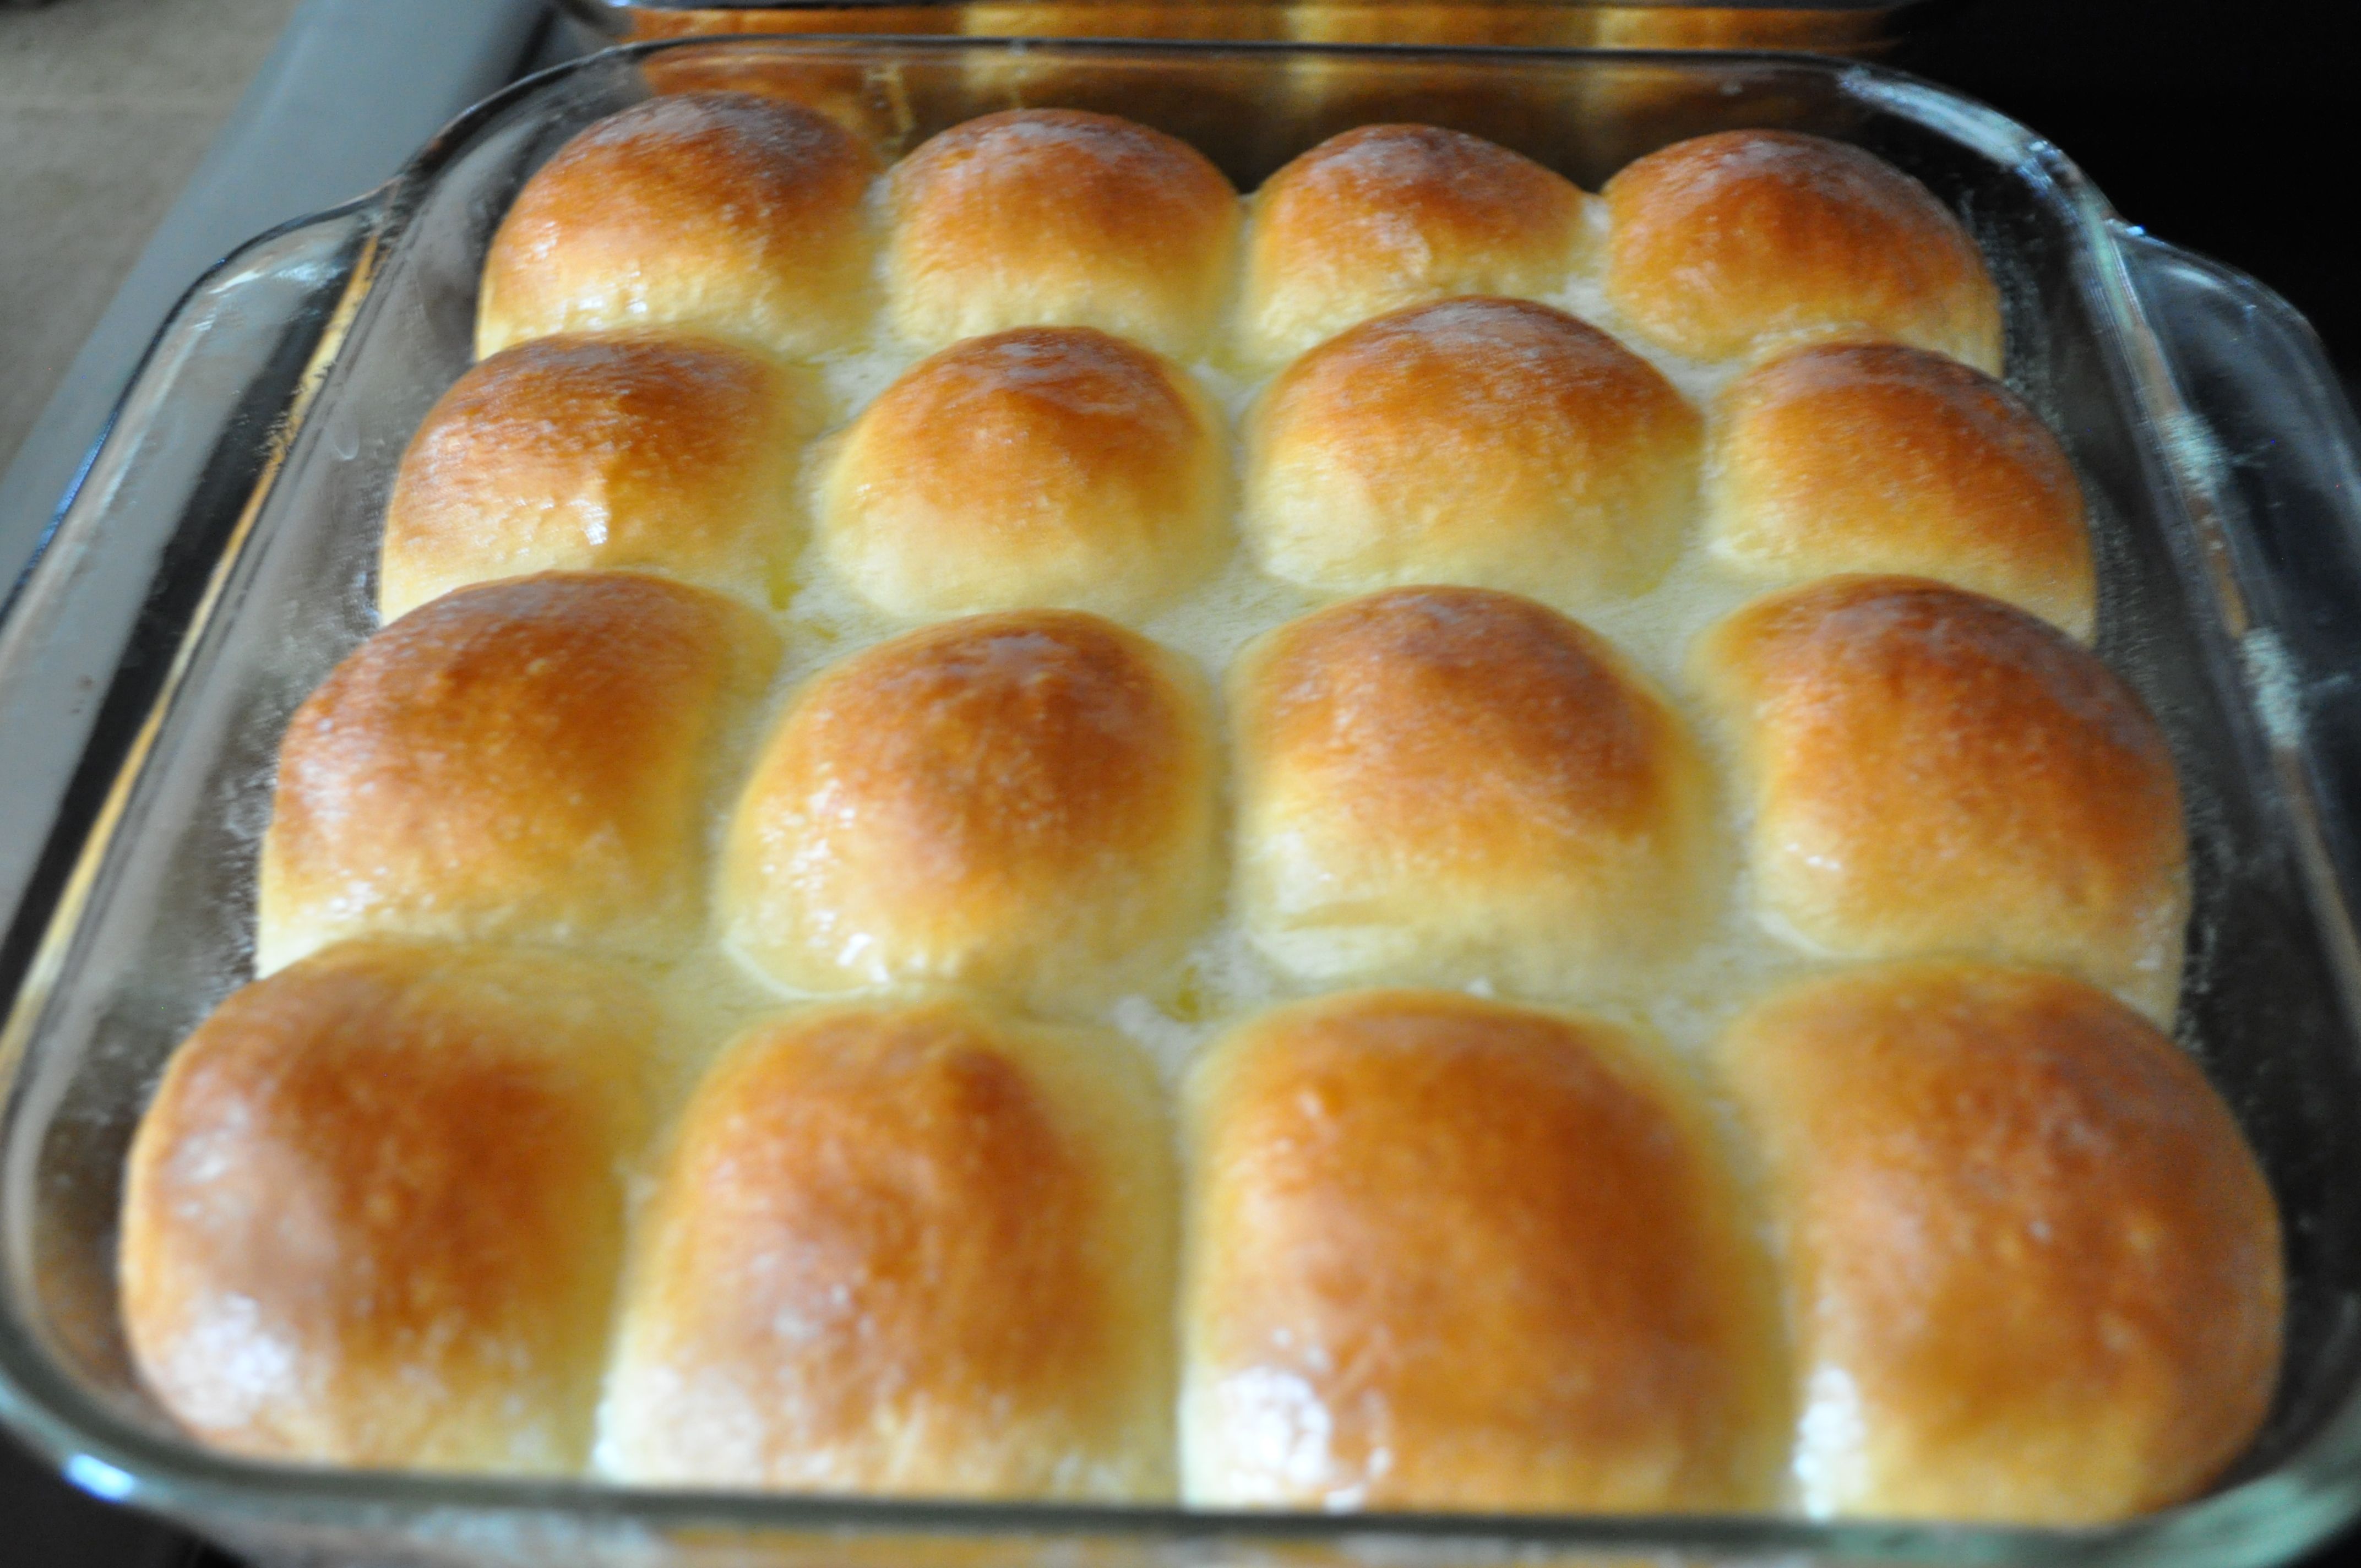
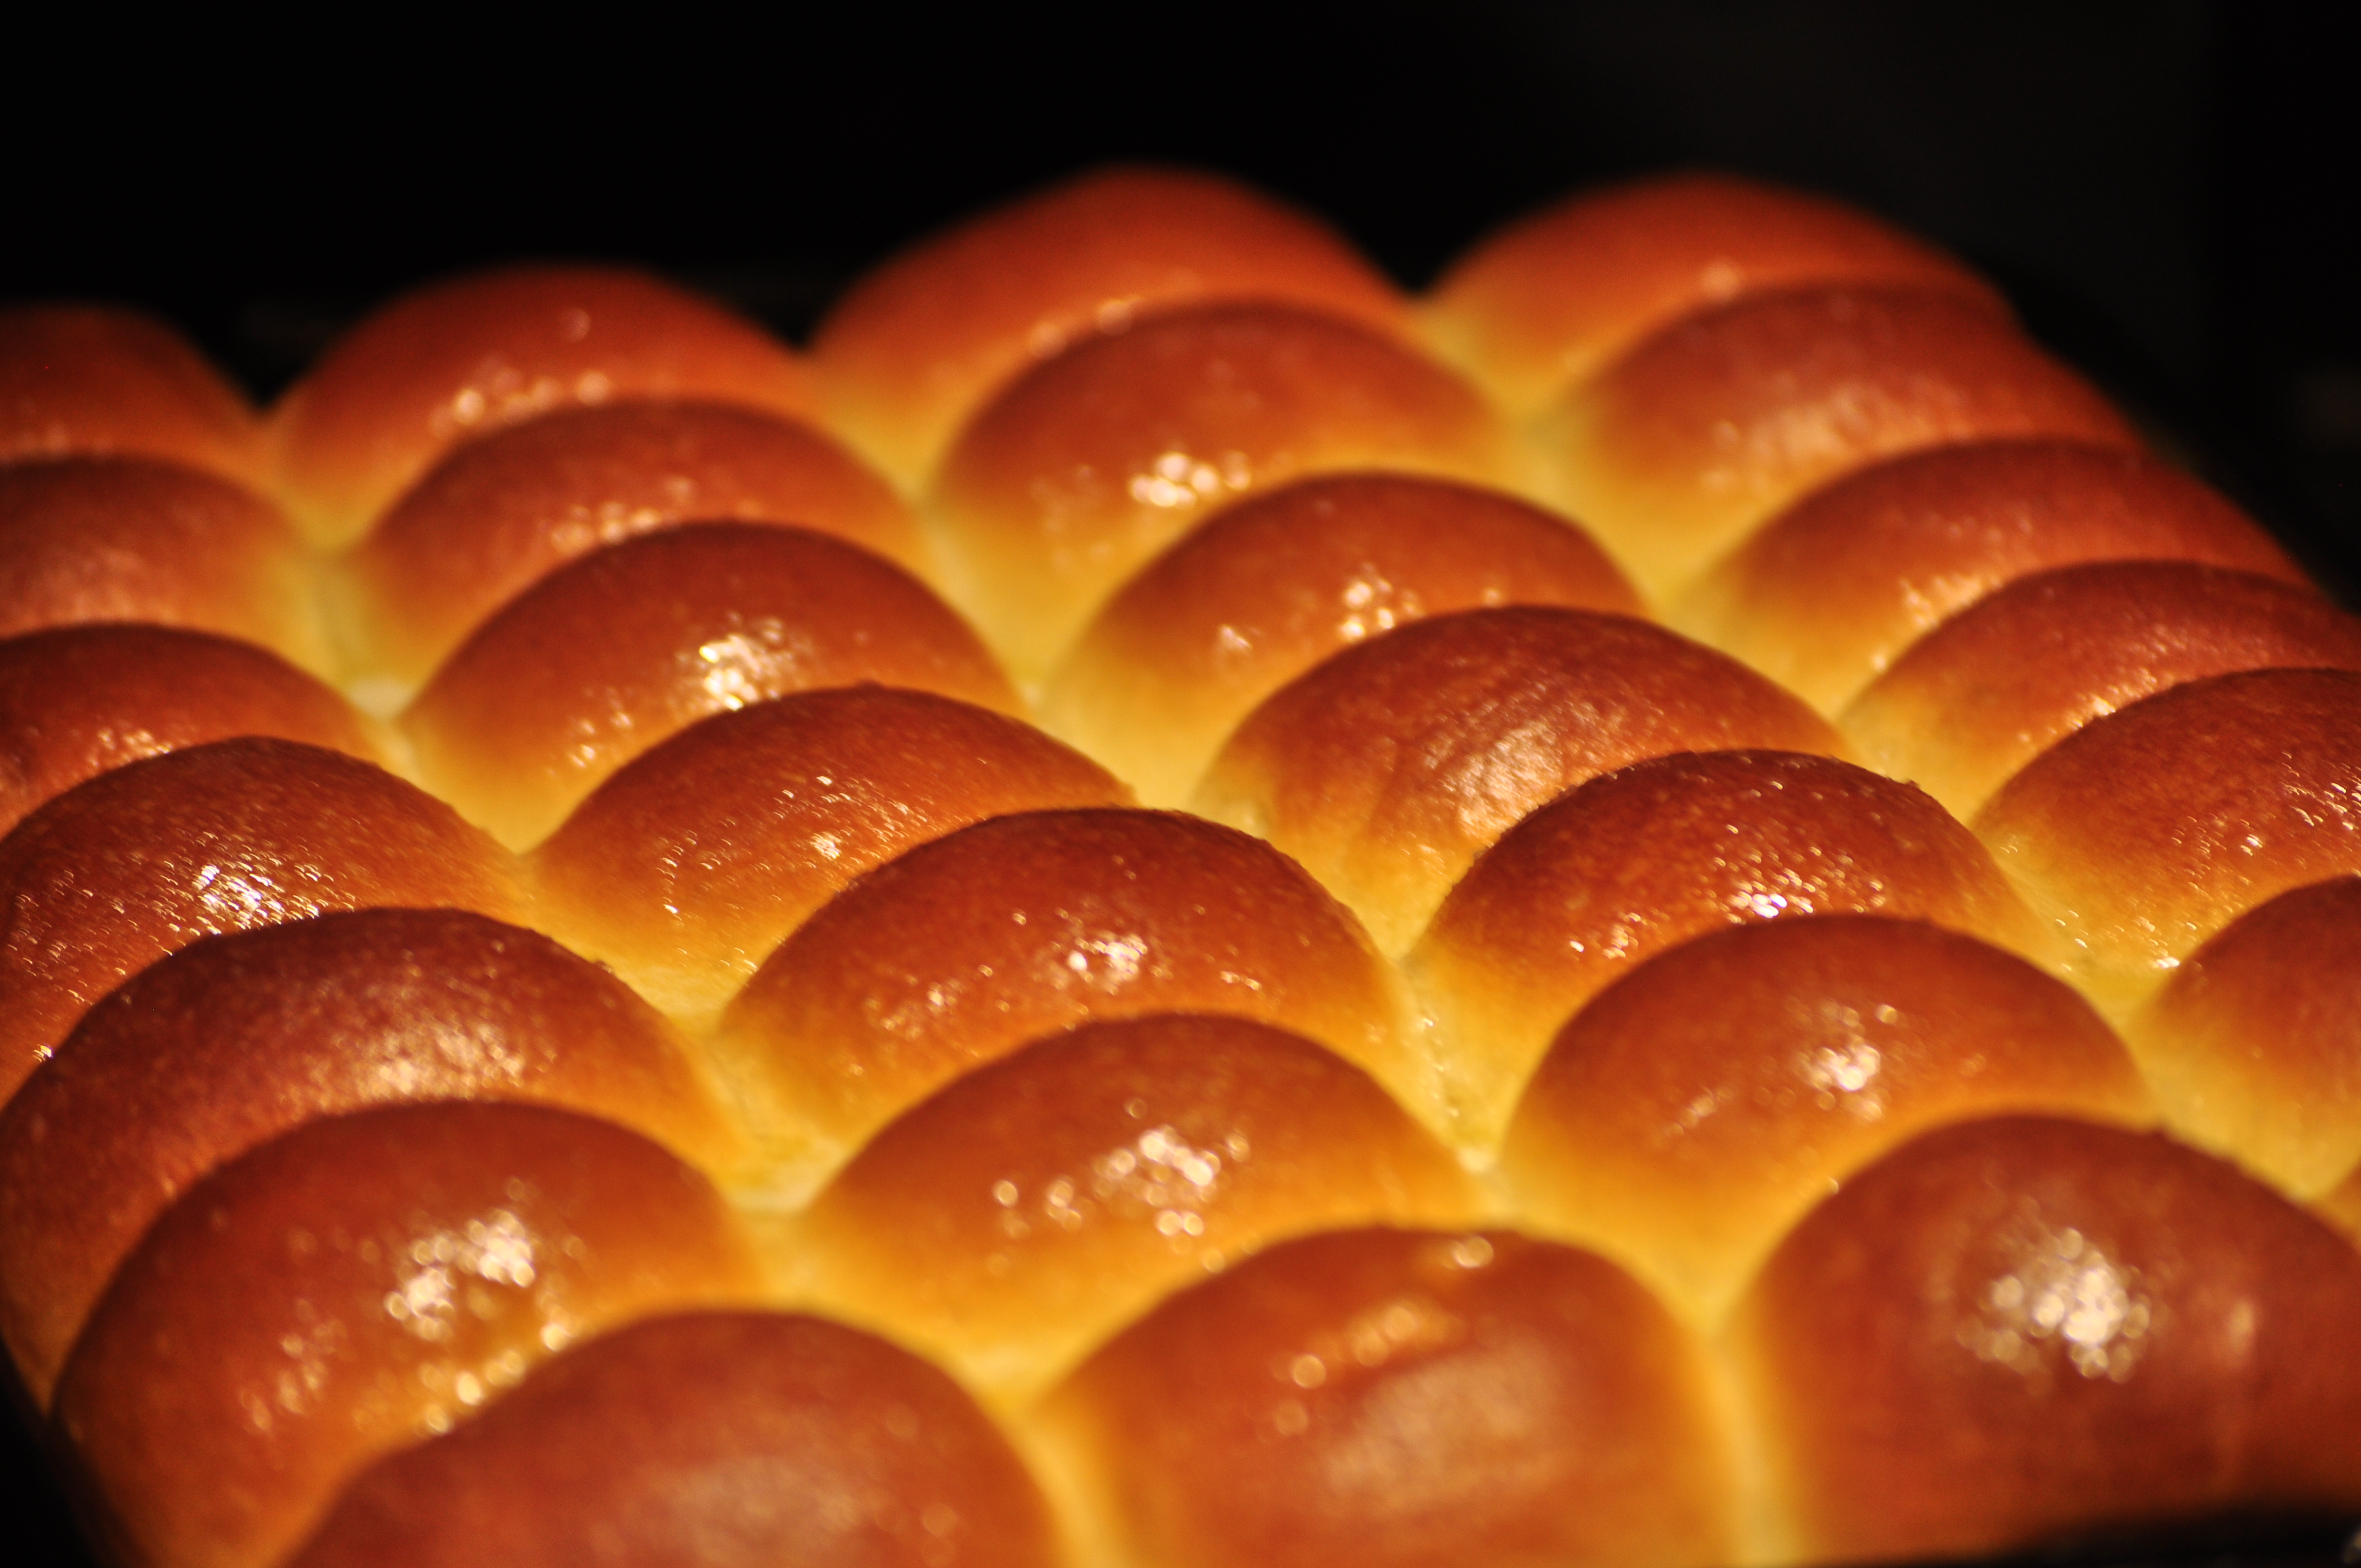
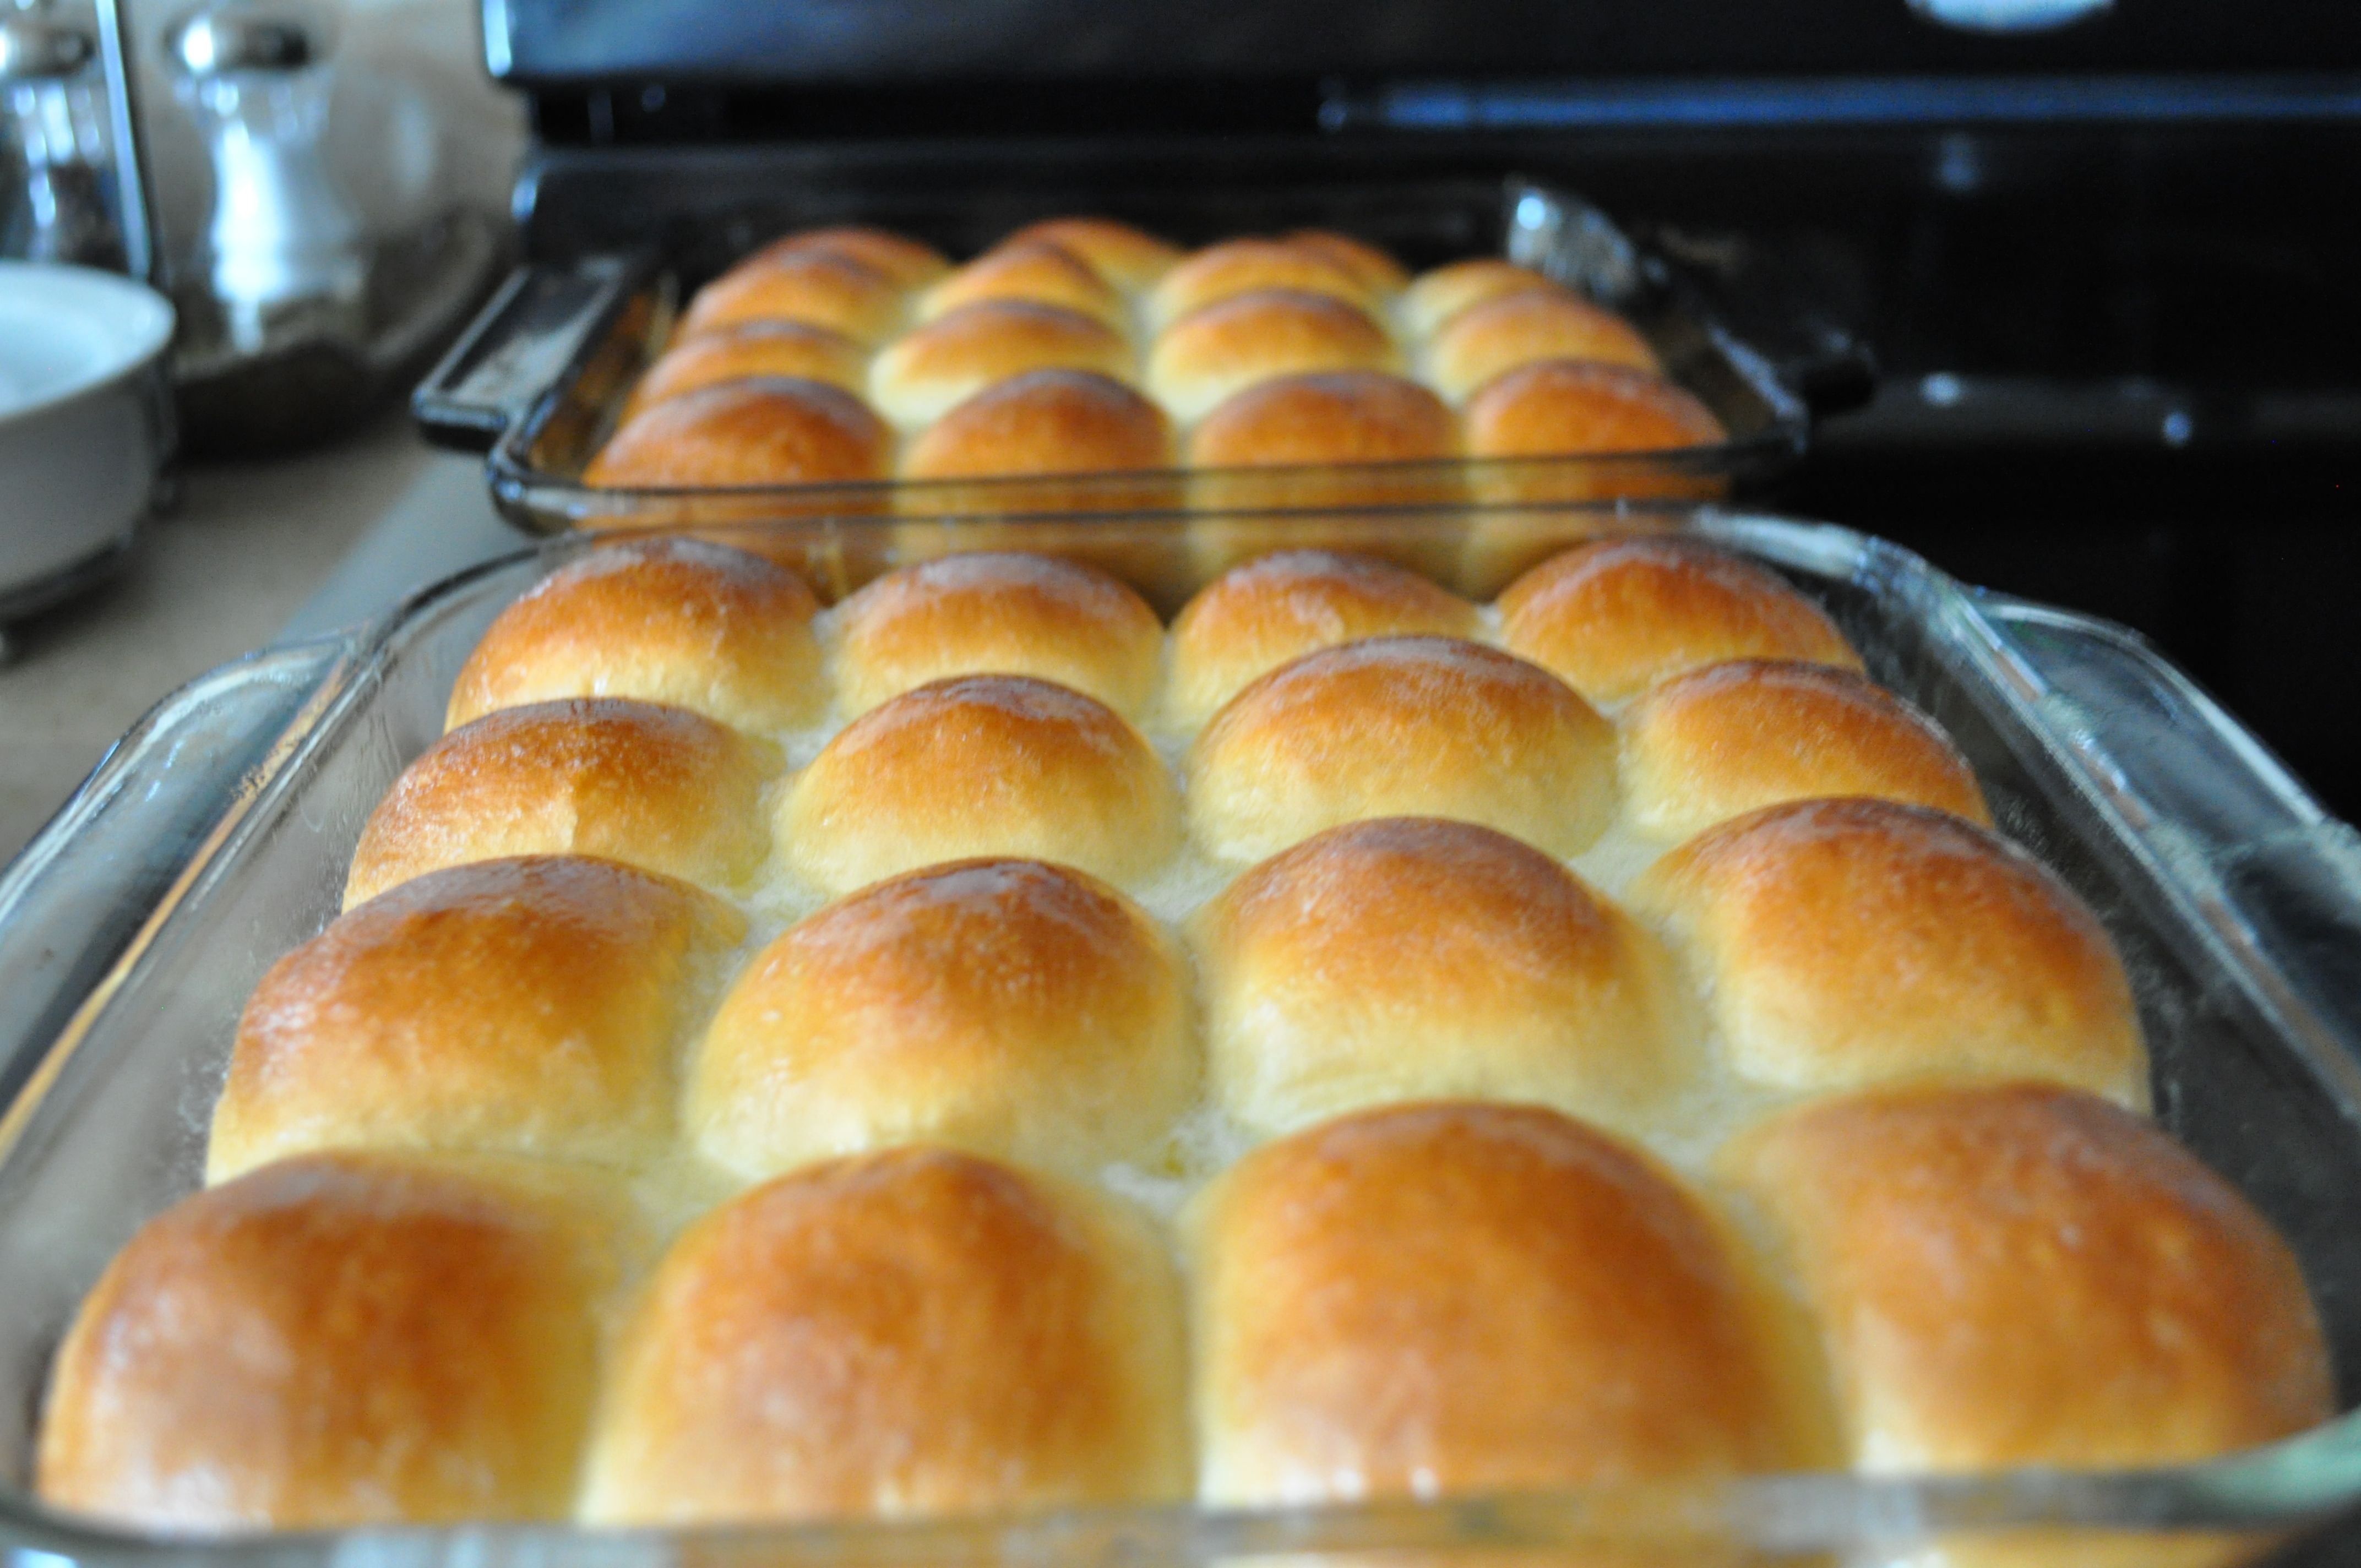
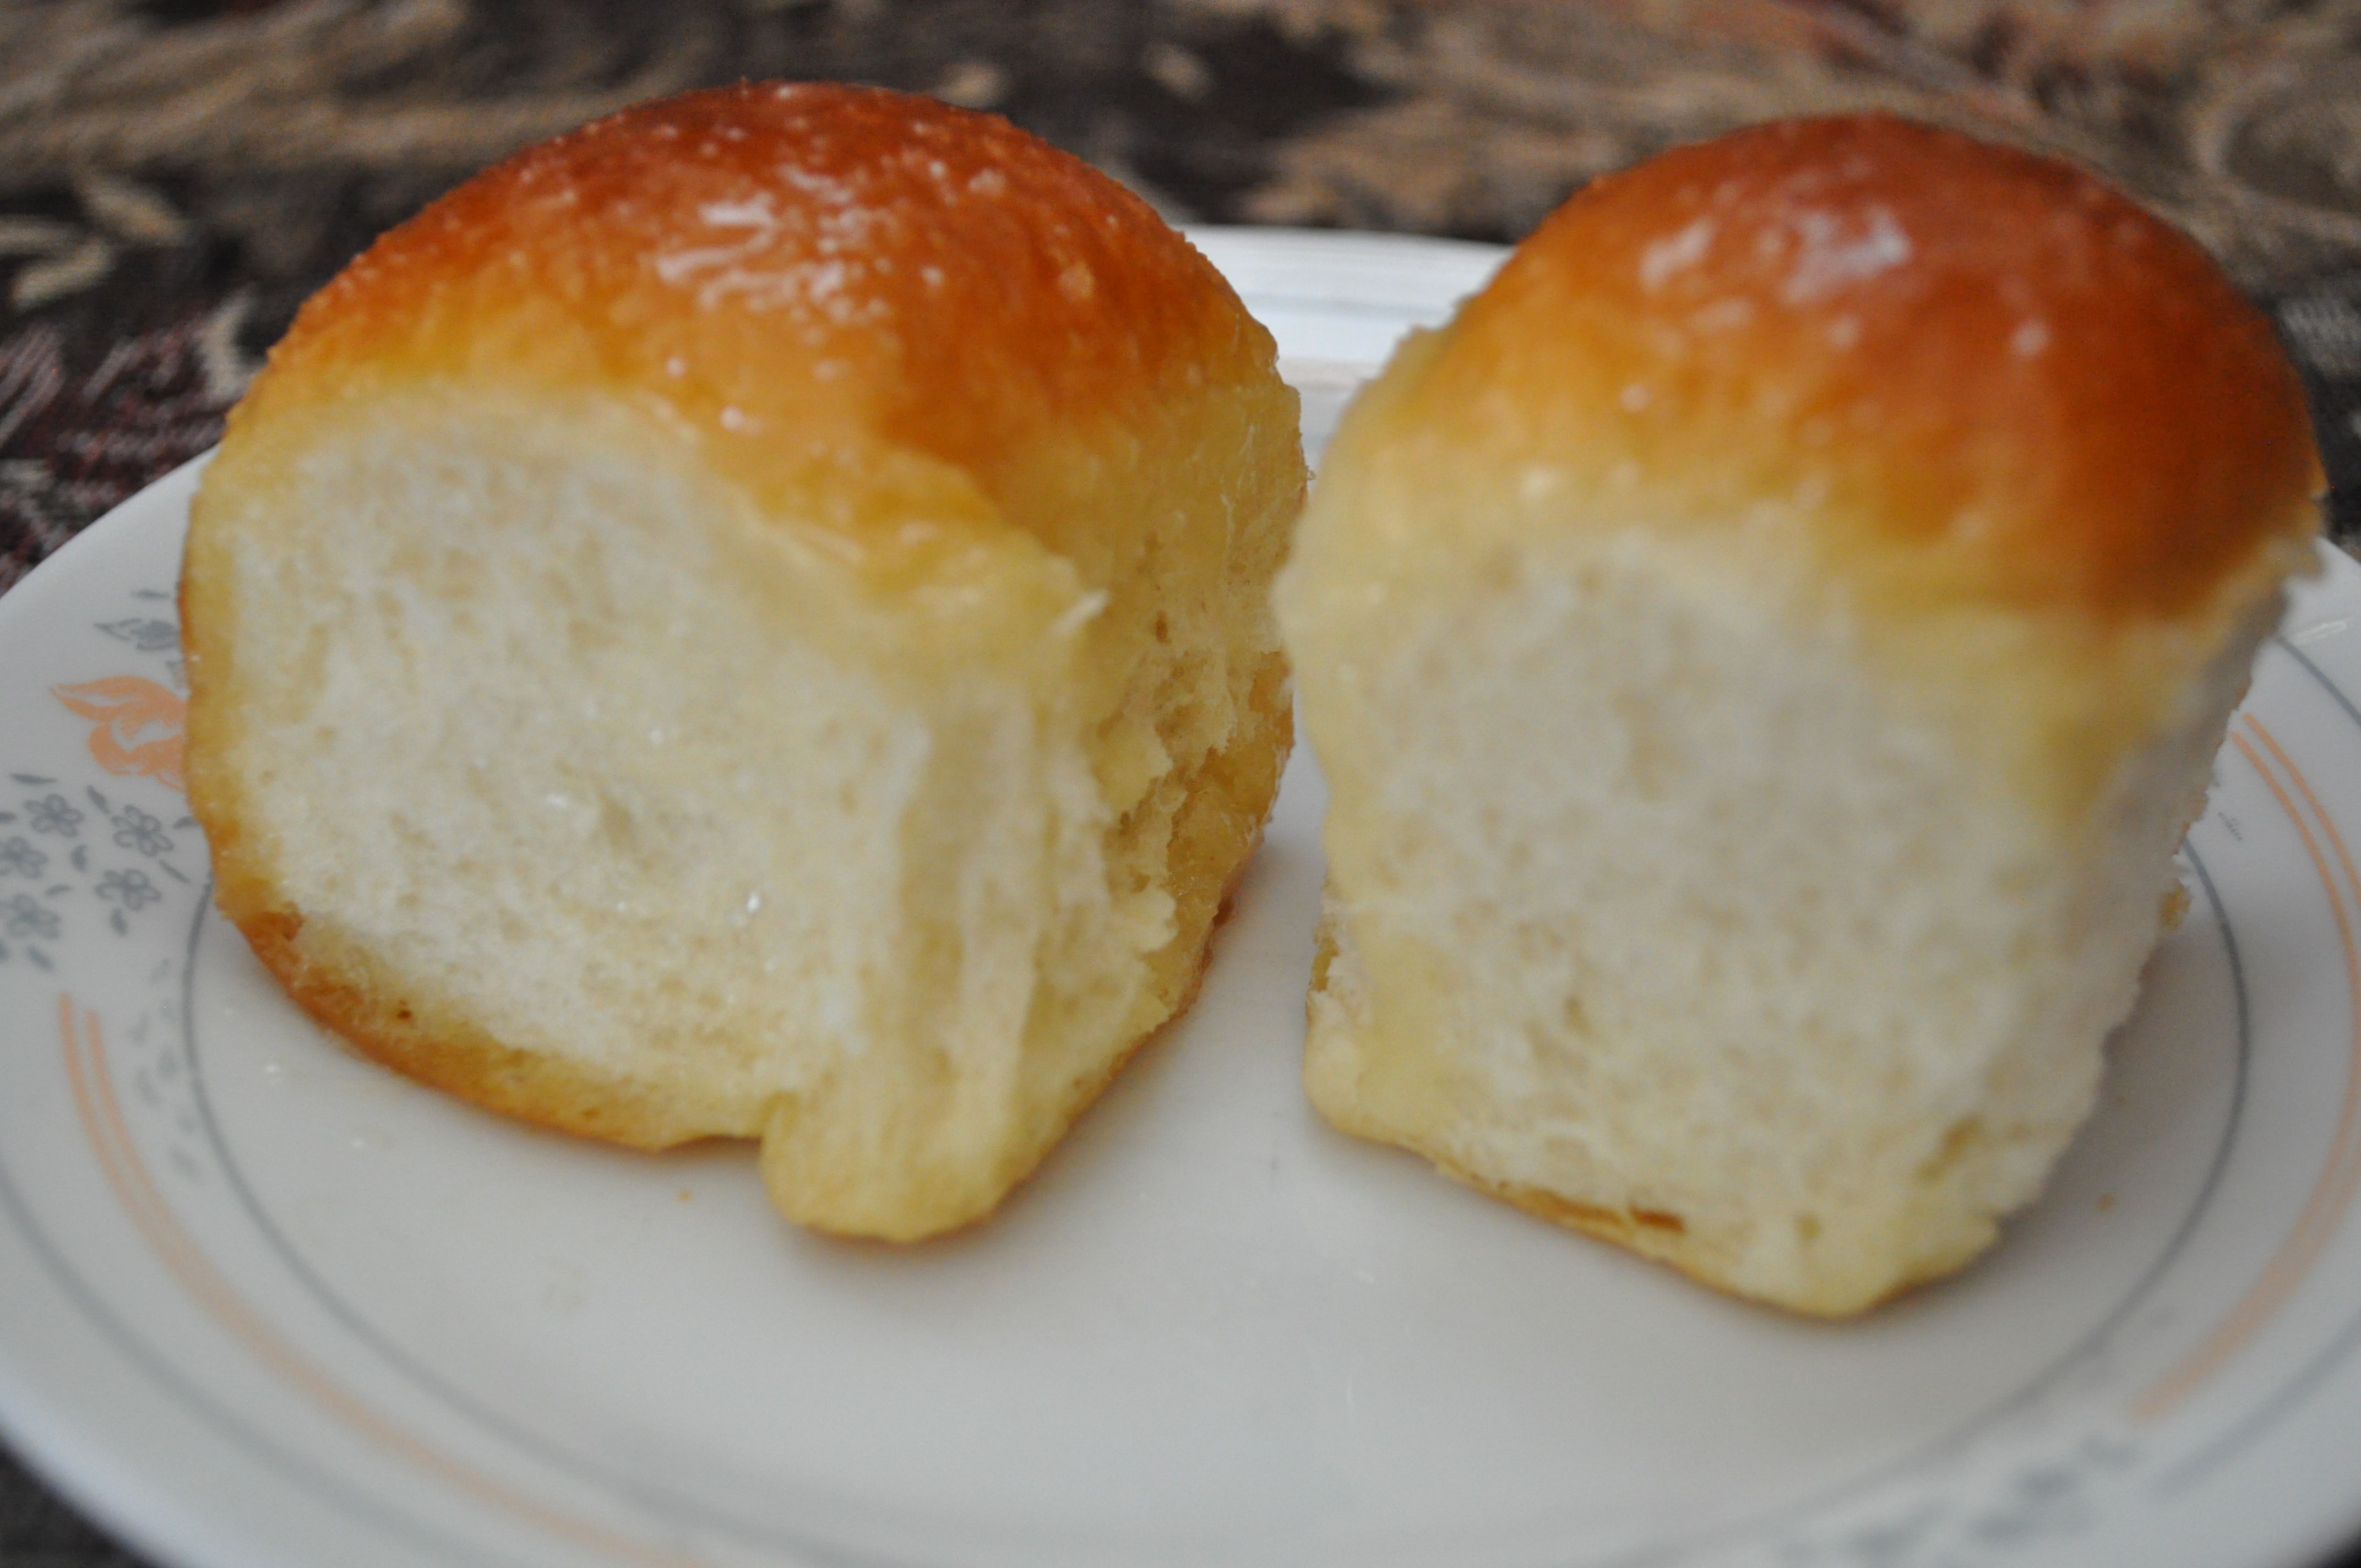
As the title for my recipe states, this is my go-to recipe when I want to whip up a tray of sweet dinner rolls.
It’s also the same recipe I use in my tutorial videos for making dinner rolls (see below).
I’ve heard from many people who have made dinner rolls following this recipe and my instructions in my tutorial videos. Most of them were successful at their first try, but I will tell you that baking with yeast requires PATIENCE and practice.
If you don’t succeed in your first try, keep at it. My very first attempt at baking with yeast was an epic failure — my rolls were as hard as rocks! But not anymore! I can’t tell you how much money went down the drain, not to mention the valuable ingredients I wasted each time I tried, but tried I did until I got it right!
Here are some tips when baking yeast breads:
- Sometimes the dough is MEANT to be sticky. Do not be tempted to add a ton of flour just to prevent it from sticking to your hands or you’ll end up with super dense and rock-hard rolls. Instead of adding flour to the dough, flour your hands, or rub a bit of vegetable oil to your hands to prevent the dough from sticking to them.
- Even if a recipe states to wait about an hour for dough to double in size, sometimes it takes longer depending on the temperature of your rising place. BE PATIENT…the dough will rise and double eventually (provided your yeast is active).
- Test the temperature of the water (or other liquid) you use to proof your yeast. Use a thermometer if you have one. Otherwise, use your finger to determine whether the liquid is too hot. The perfect yeast-proofing temperature should feel like the temperature of your skin, or a low-grade fever (around 100-101 degrees). Or, for you moms out there, if the temperature feels like it would be too hot to put in a baby’s bottle, then let it cool longer before adding the yeast. Too hot of a temperature will KILL the yeast.
- Yeast needs sugar to grow. Make sure you add a tablespoon or two of sugar to the proofing liquid. If your yeast doesn’t start to bubble after 5 minutes of proofing, chances are the liquid was too hot (and you killed the yeast), or the yeast was old, or you didn’t add any sugar to feed it.
- Do not over knead the dough. Hand kneading should take about 10-12 minutes, or 6-8 minutes if using a stand mixer.
Give my recipe a try (posted beneath my tutorial videos).
Post any questions in the comment section below, or message me on Facebook at http://www.facebook.com/AnniesChamorroKitchen1/ for a quick response.
Good luck, and happy baking!
Tutorial Video, Part 1:
Tutorial Video, Part 2:

- 3 cups all-purpose flour
- ¼ cup sugar (up to ¾ cup if you want it sweeter, but use 2 packets yeast if you add more sugar)
- 1 teaspoon salt
- ¼ cup butter
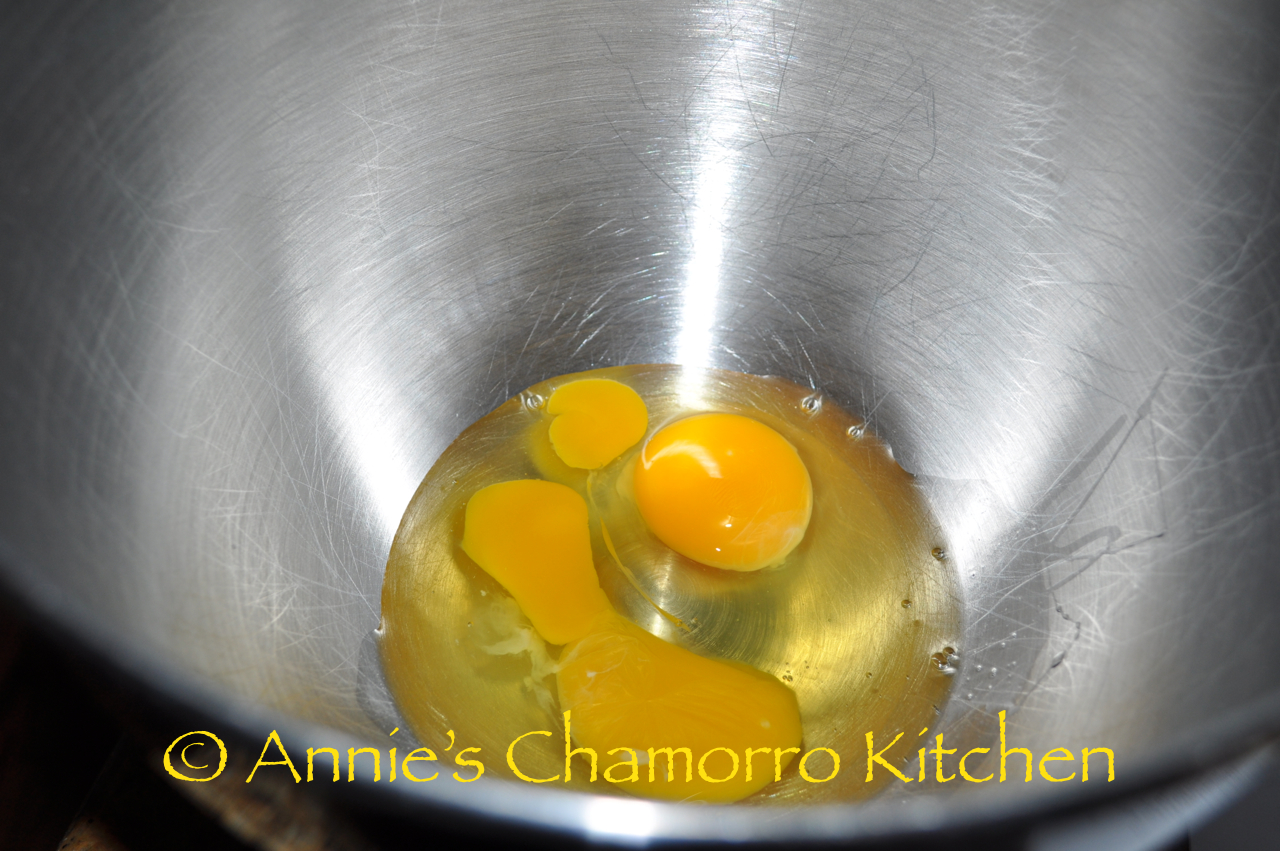
- 1 large egg
- ½ cup milk (low fat or whole milk)
- 1 packet dry yeast
- 1 teaspoon sugar (for proofing the yeast)
- ¼ cup warm water (for proofing the yeast)
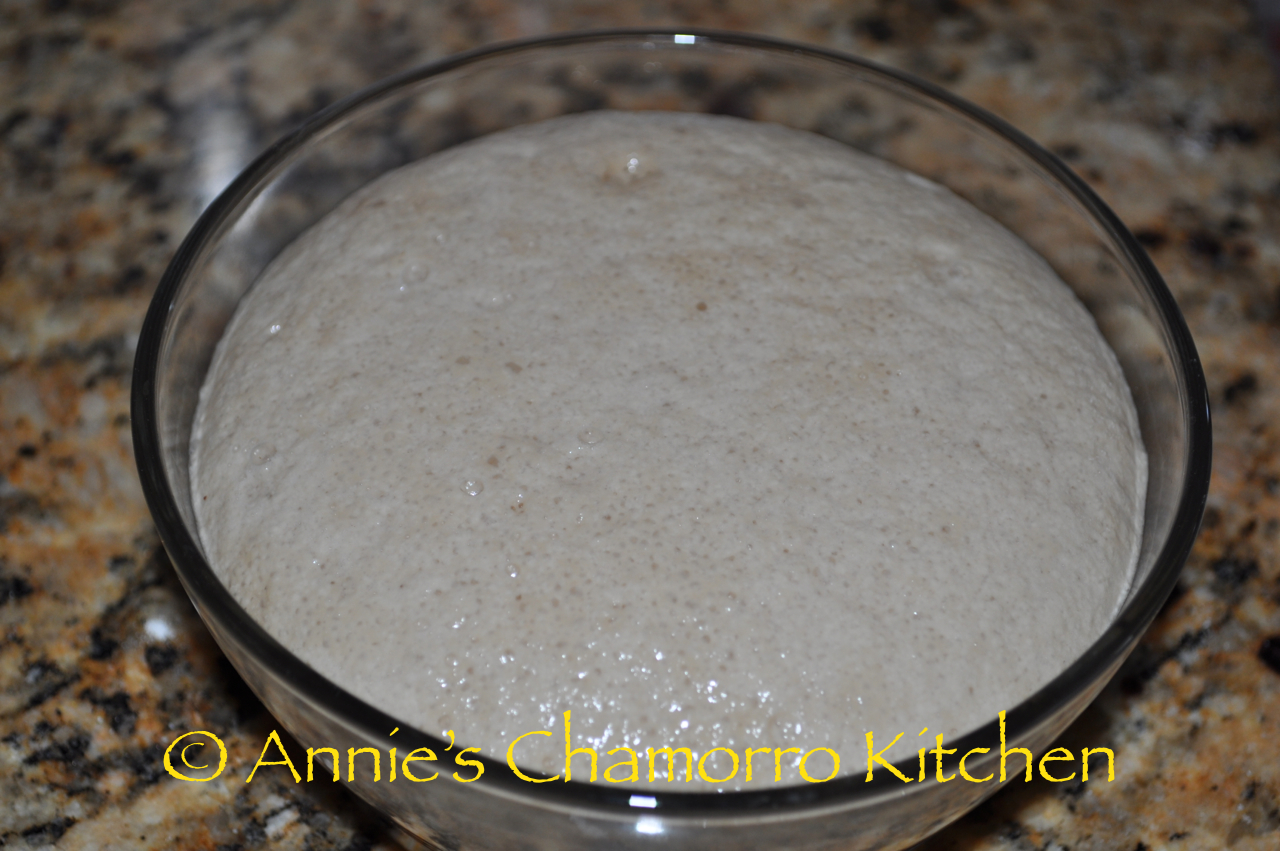
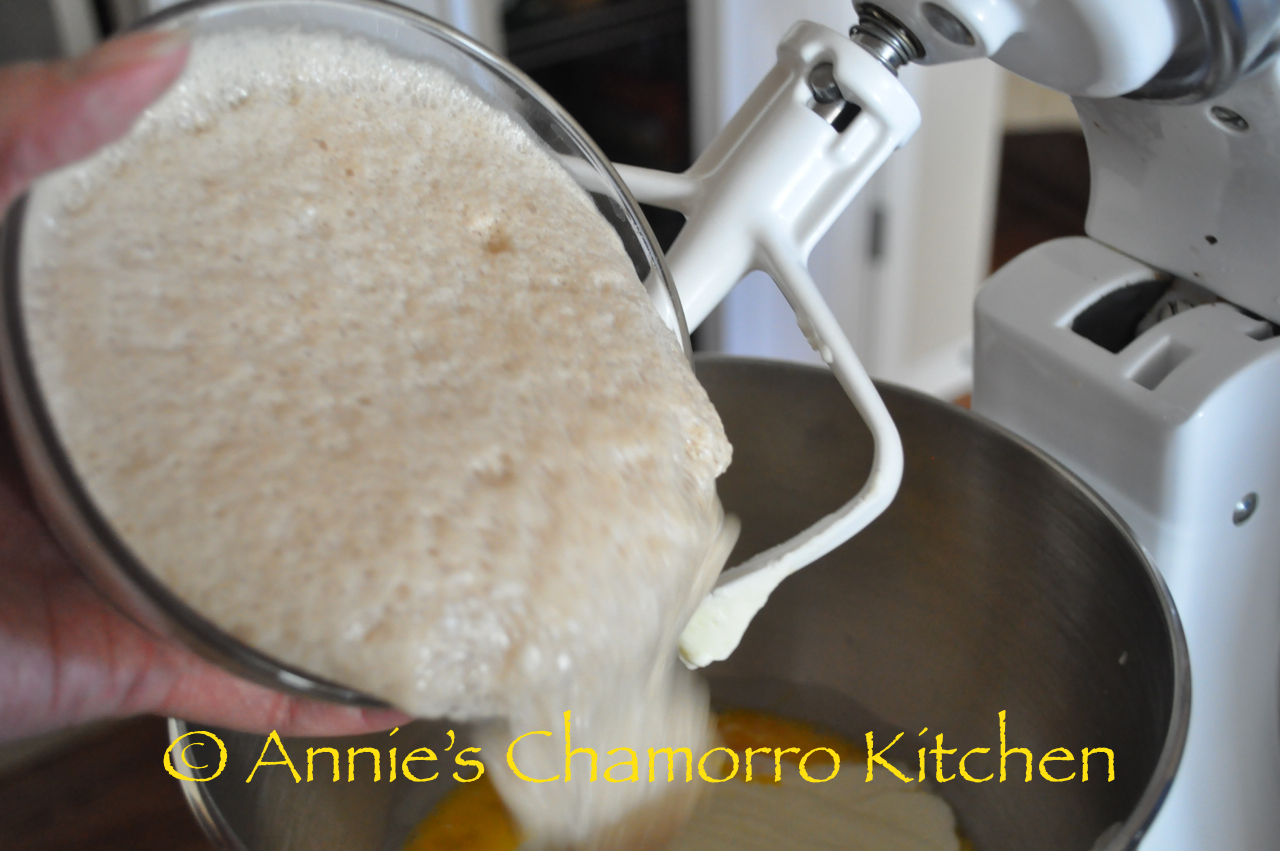
- In a small bowl, mix together the yeast, 1 teaspoon sugar, and warm water. Stir together to dissolve the sugar and yeast. Let it stand for 5-10 to allow the yeast to proof.
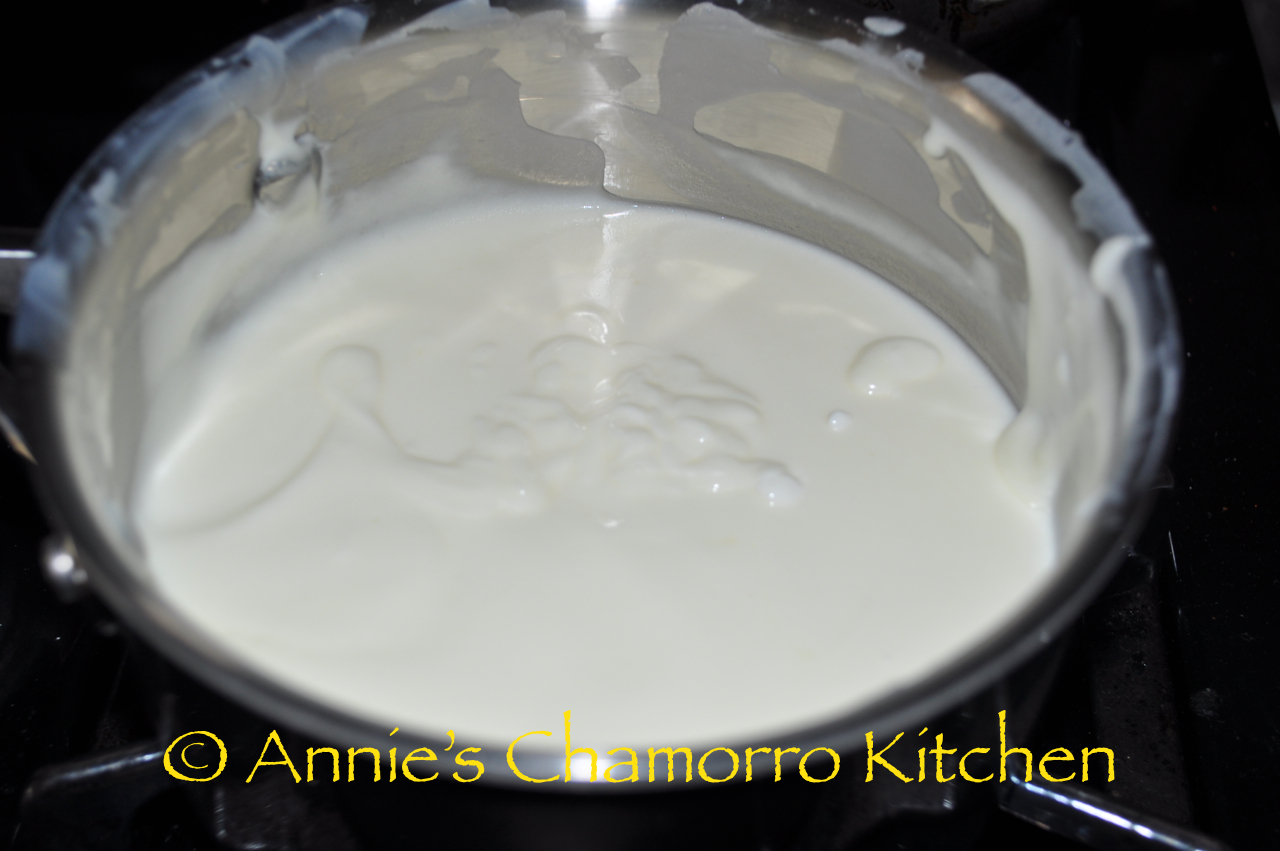
- Meanwhile, melt together the ¼ cup butter and milk in a microwave. Let it cool slightly. Add some of the cooled milk mixture to the beaten egg (this is to temper the egg so it won't scramble when you add it to the milk mixture). Add the egg to the rest of the milk mixture. After the yeast has proofed for 10 minutes, add the milk- butter-egg mixture to the yeast. Stir to combine.
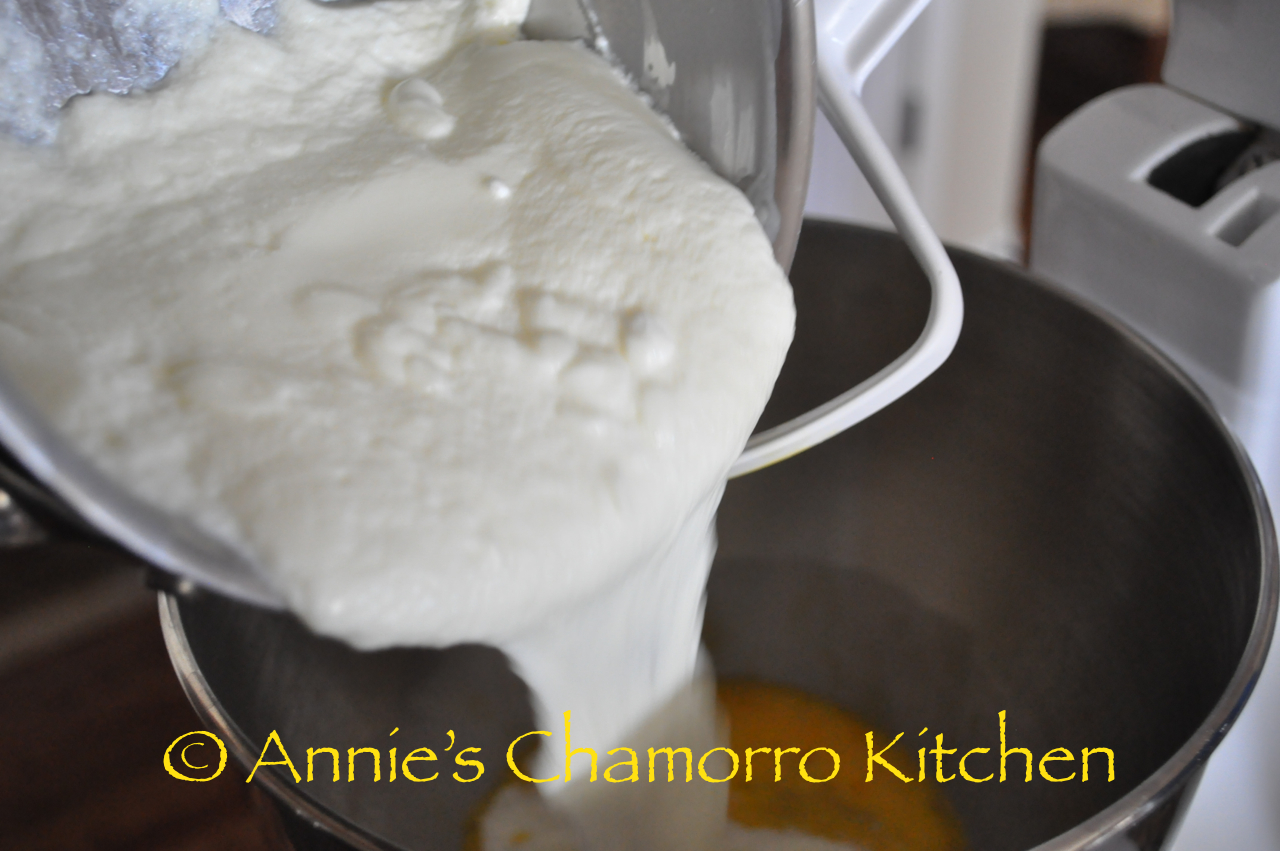
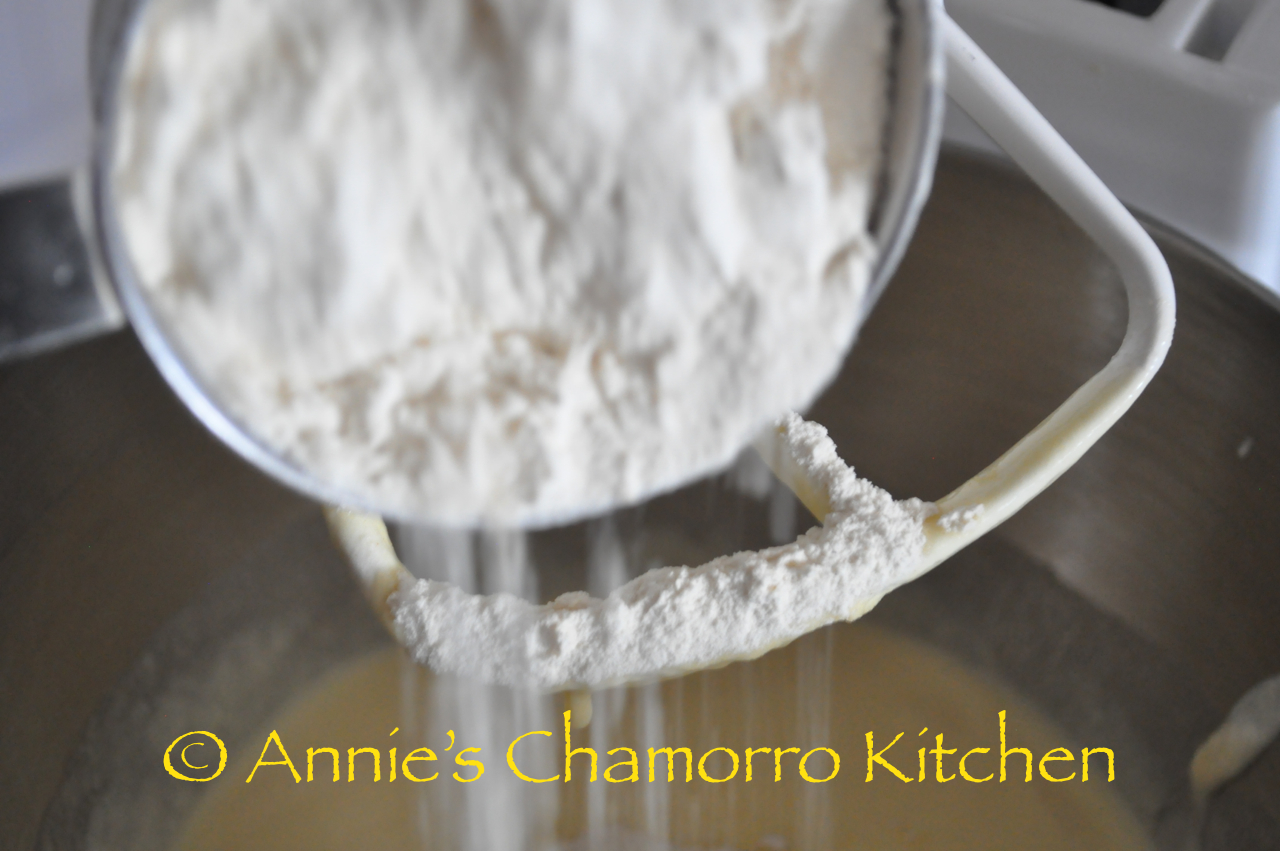
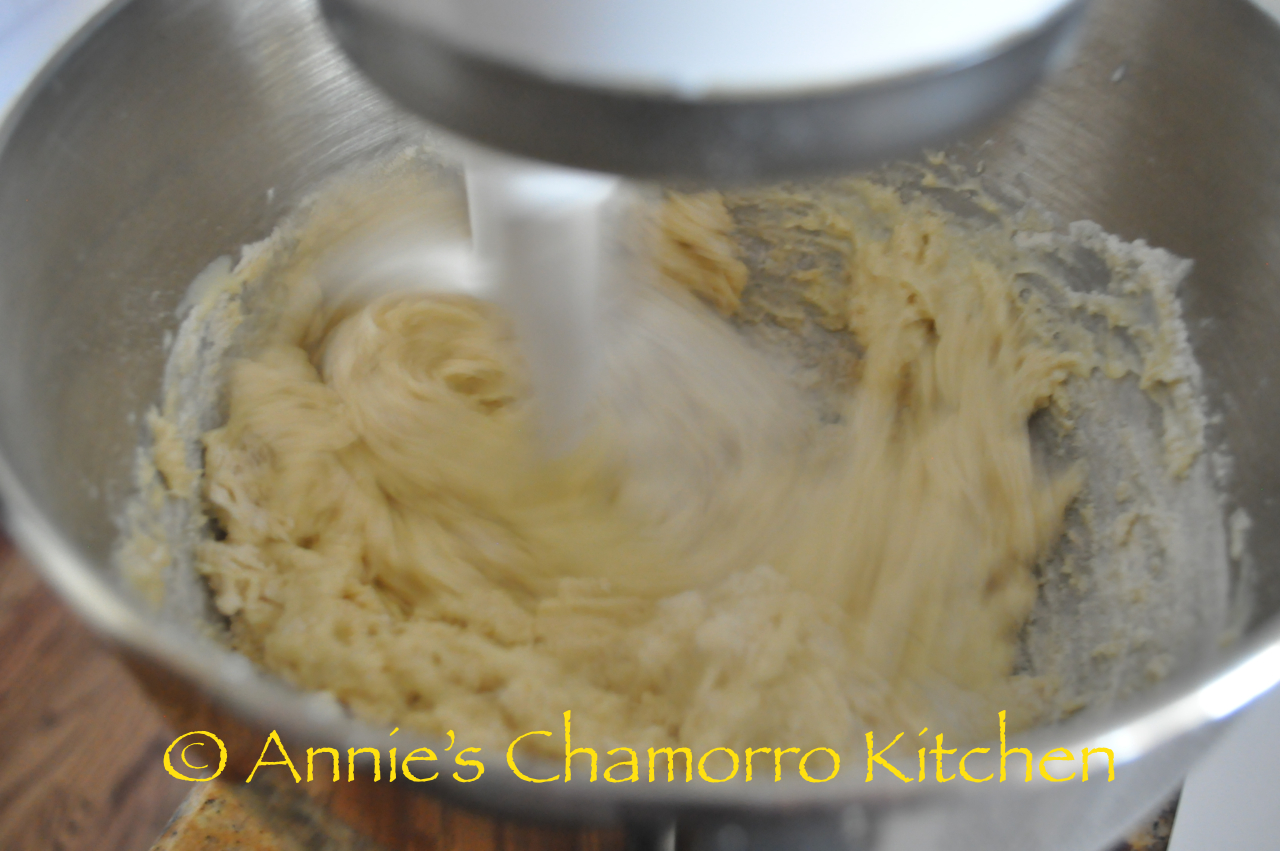
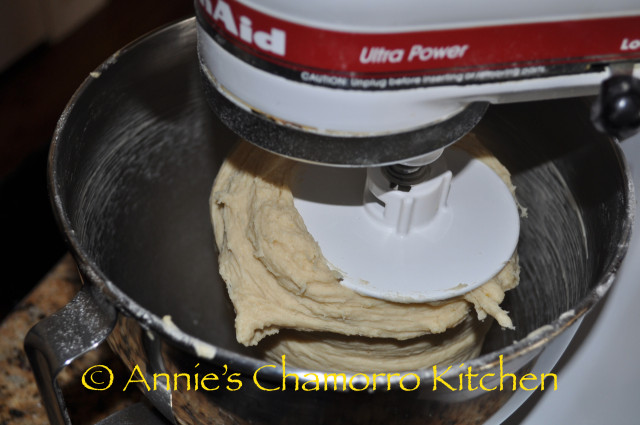
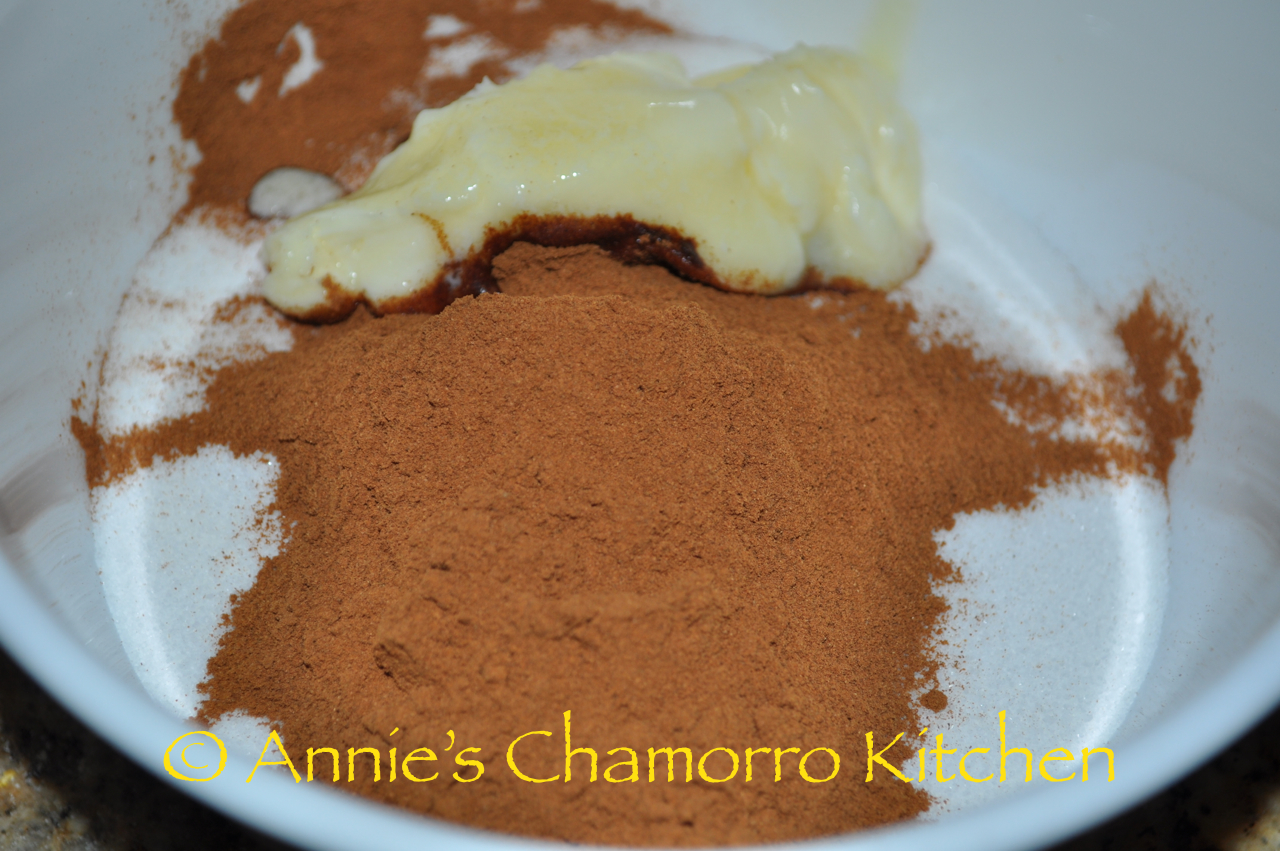
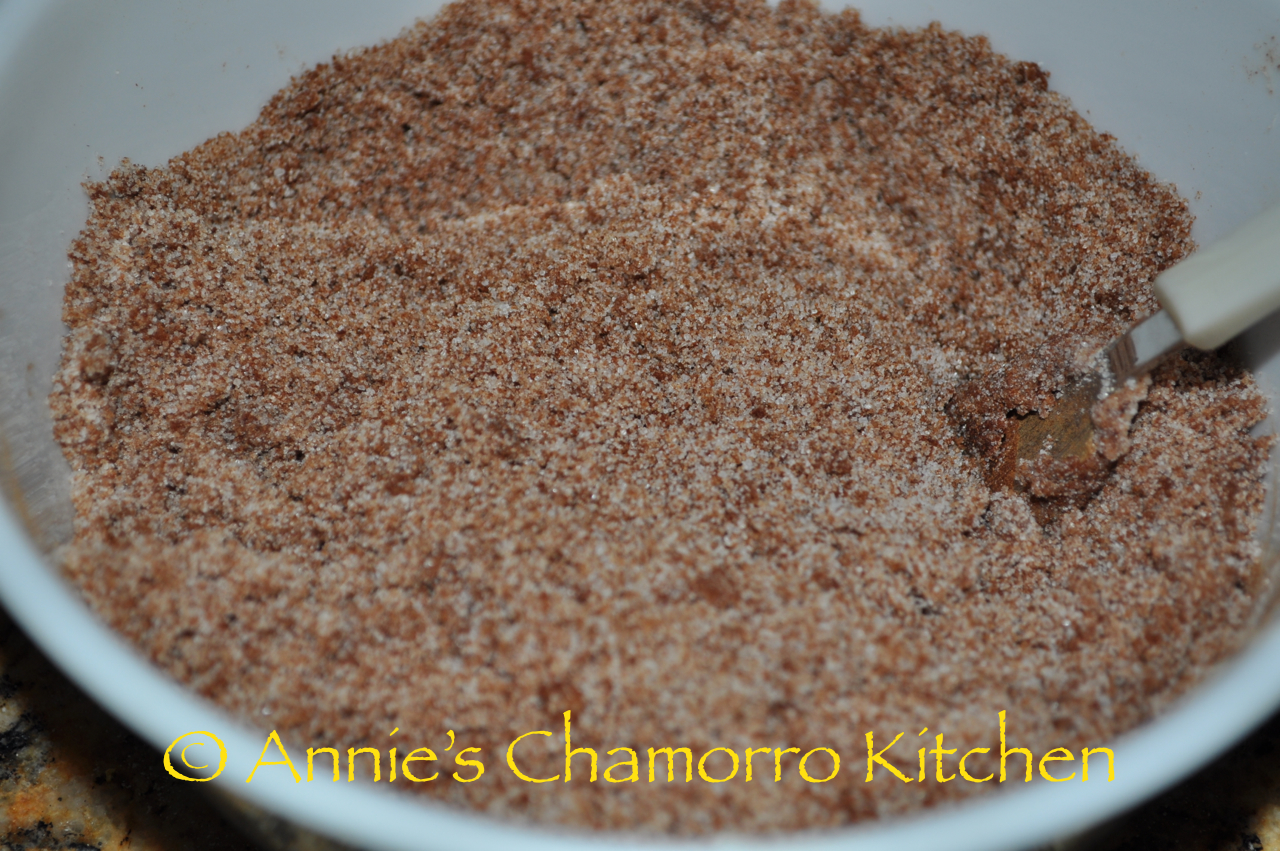
- In a stand mixer fitted with a dough hook, mix together 2½ cups of flour, sugar, and salt. Reserve the remaining flour (you might not need it). Pour in the yeast-milk mixture. Turn the mixer to medium, mixing until the dough pulls away from the sides. If the dough still looks very sticky and is not pulling away from the side of the mixing bowl, add in more flour, a few spoonfuls at a time until the dough pulls away from the sides of the bowl. (See NOTE below.) Once the dough pulls away from the sides, turn the mixer to medium high and knead for 5 minutes.
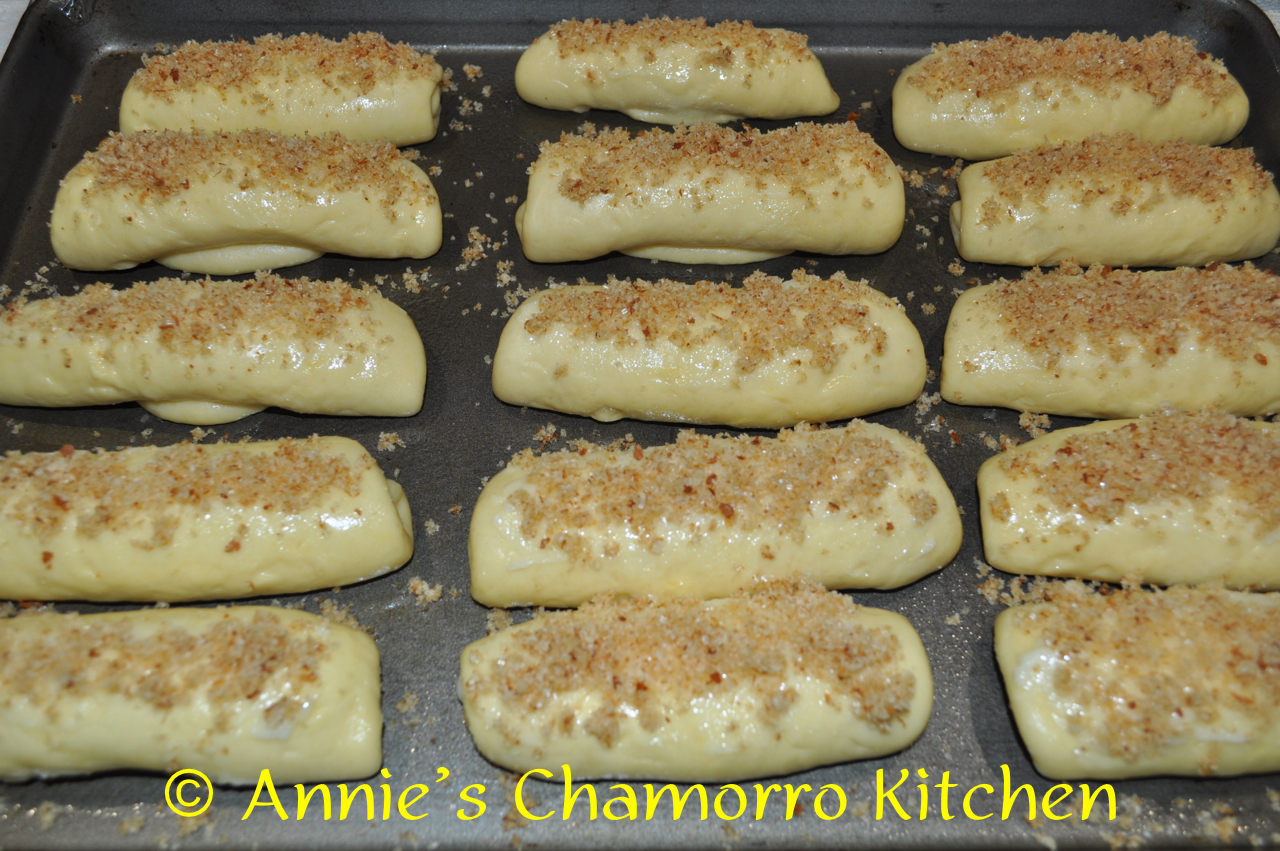
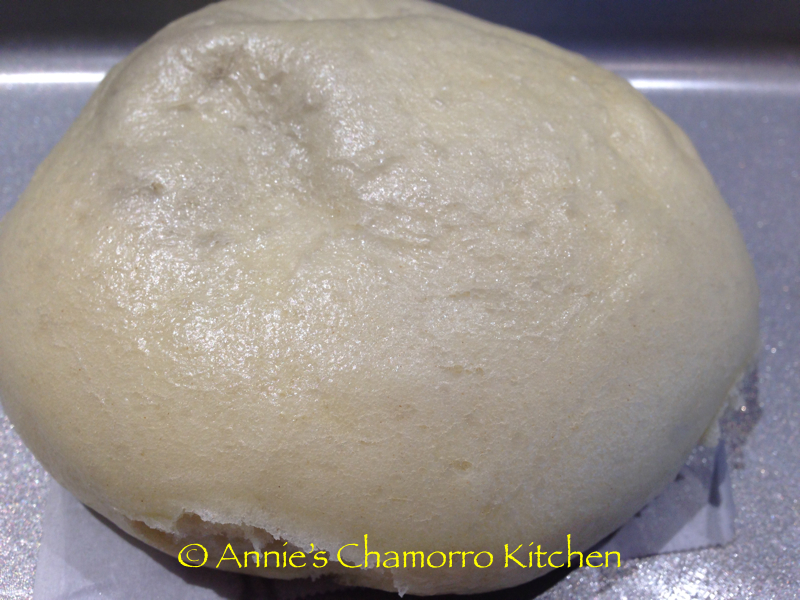
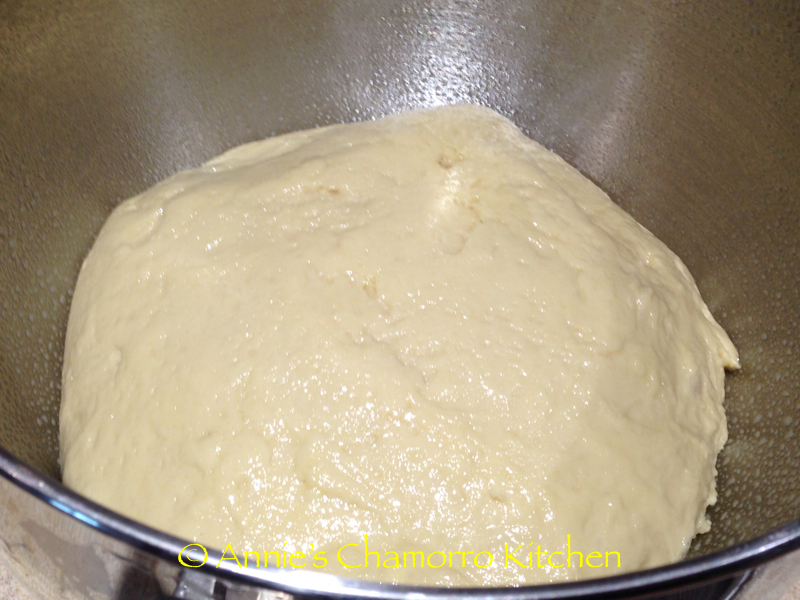
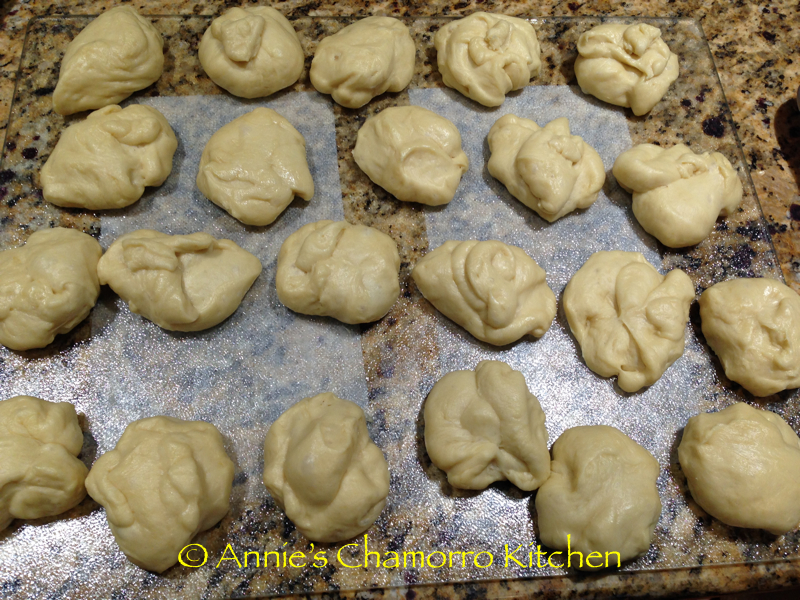
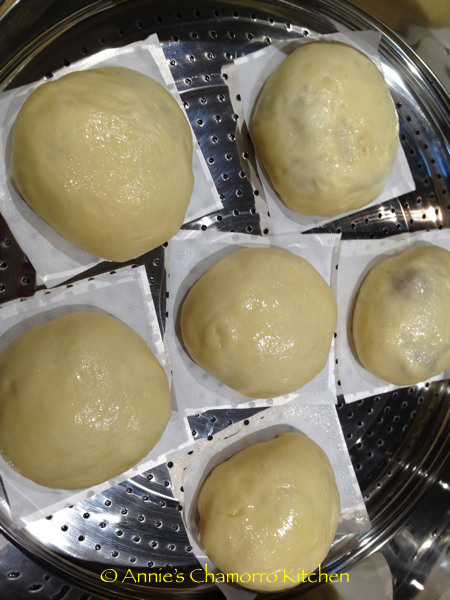
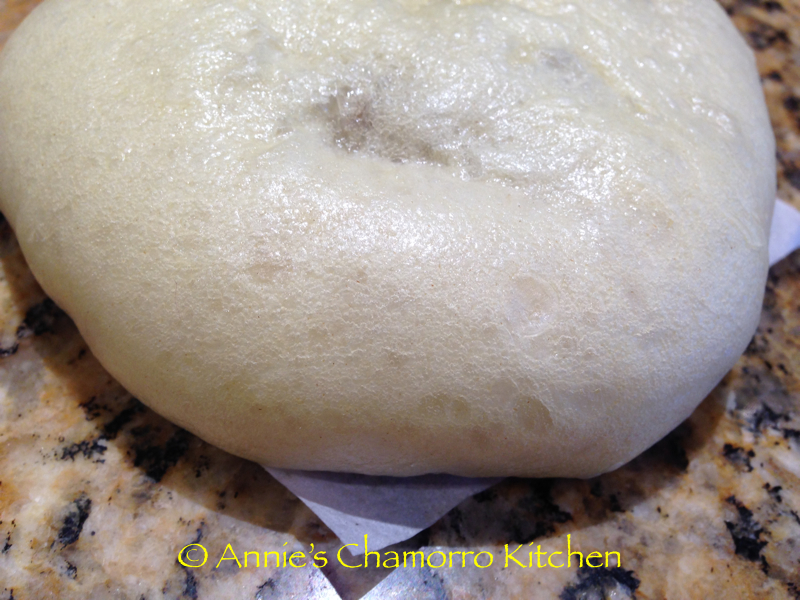
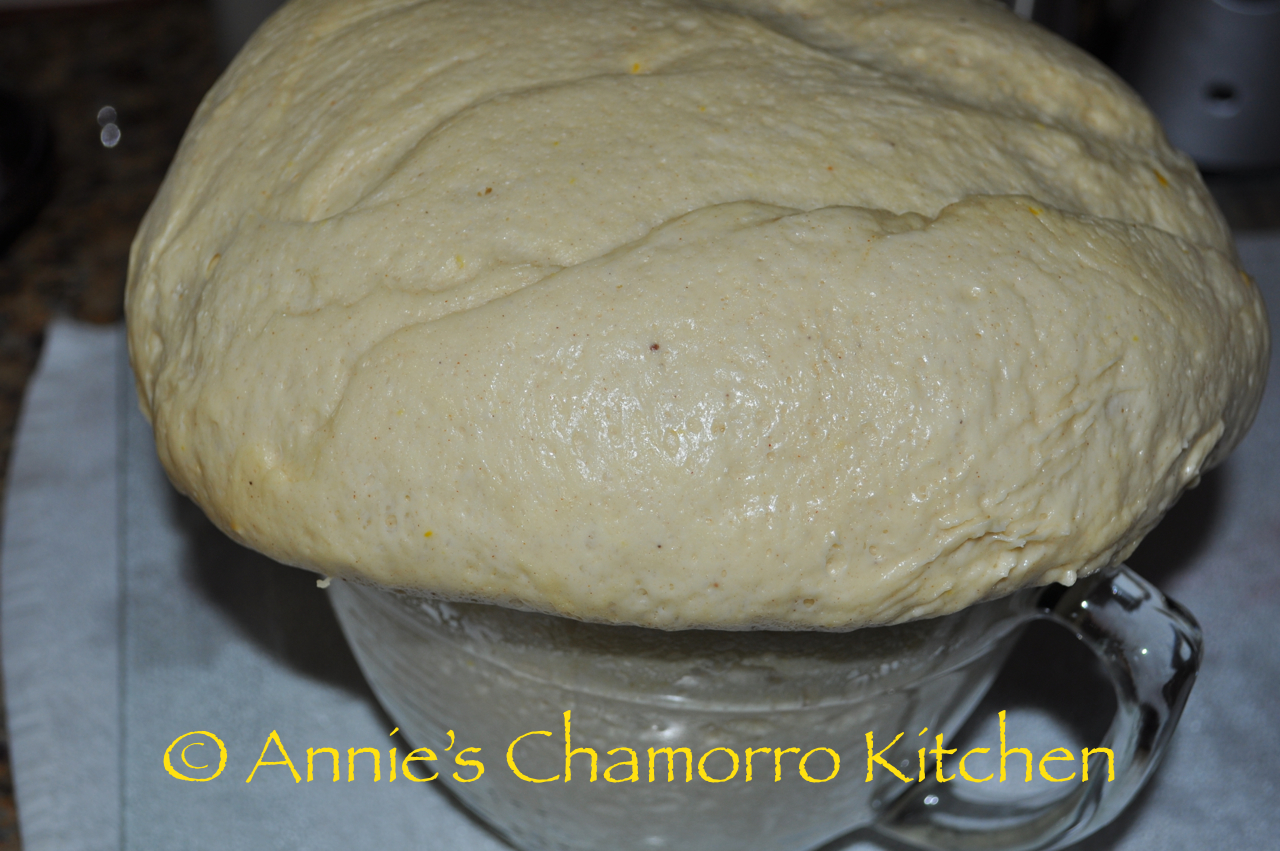
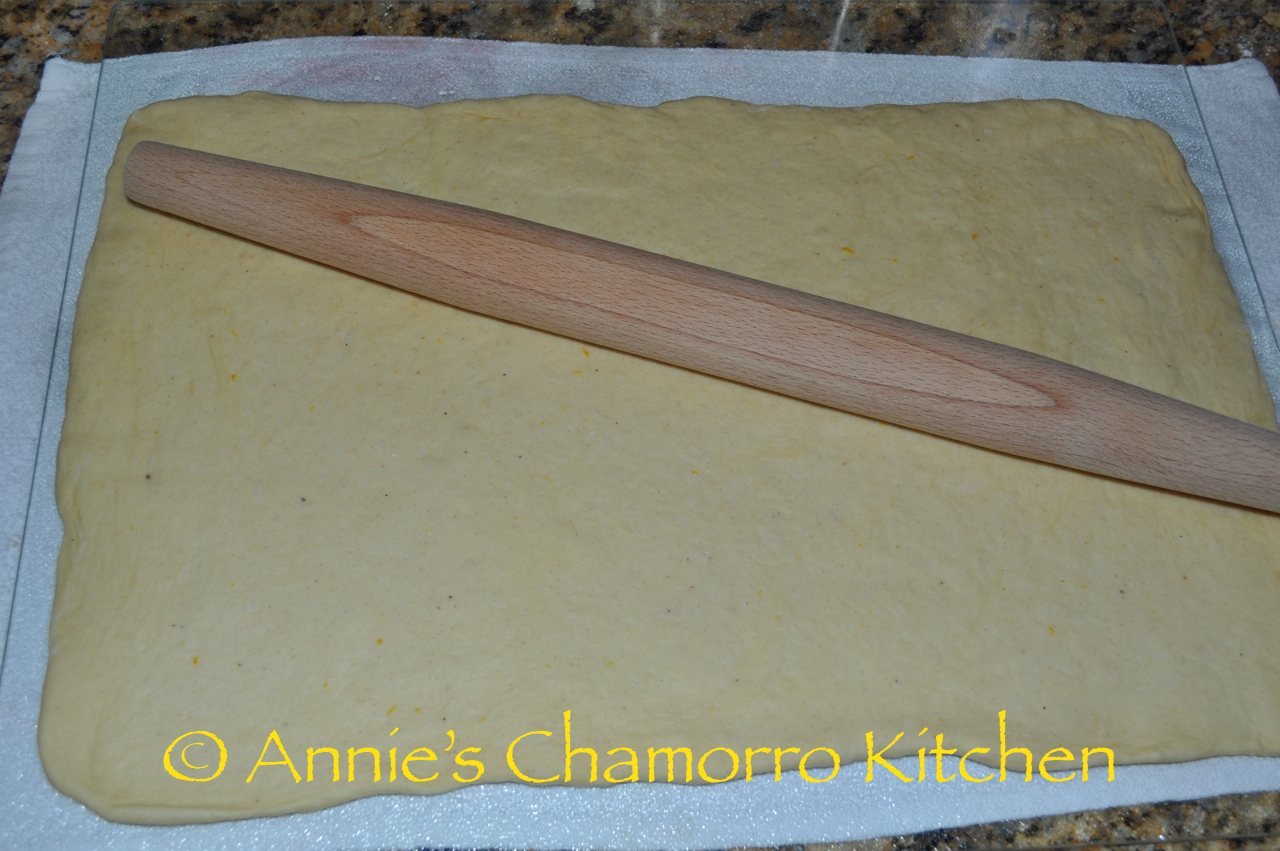
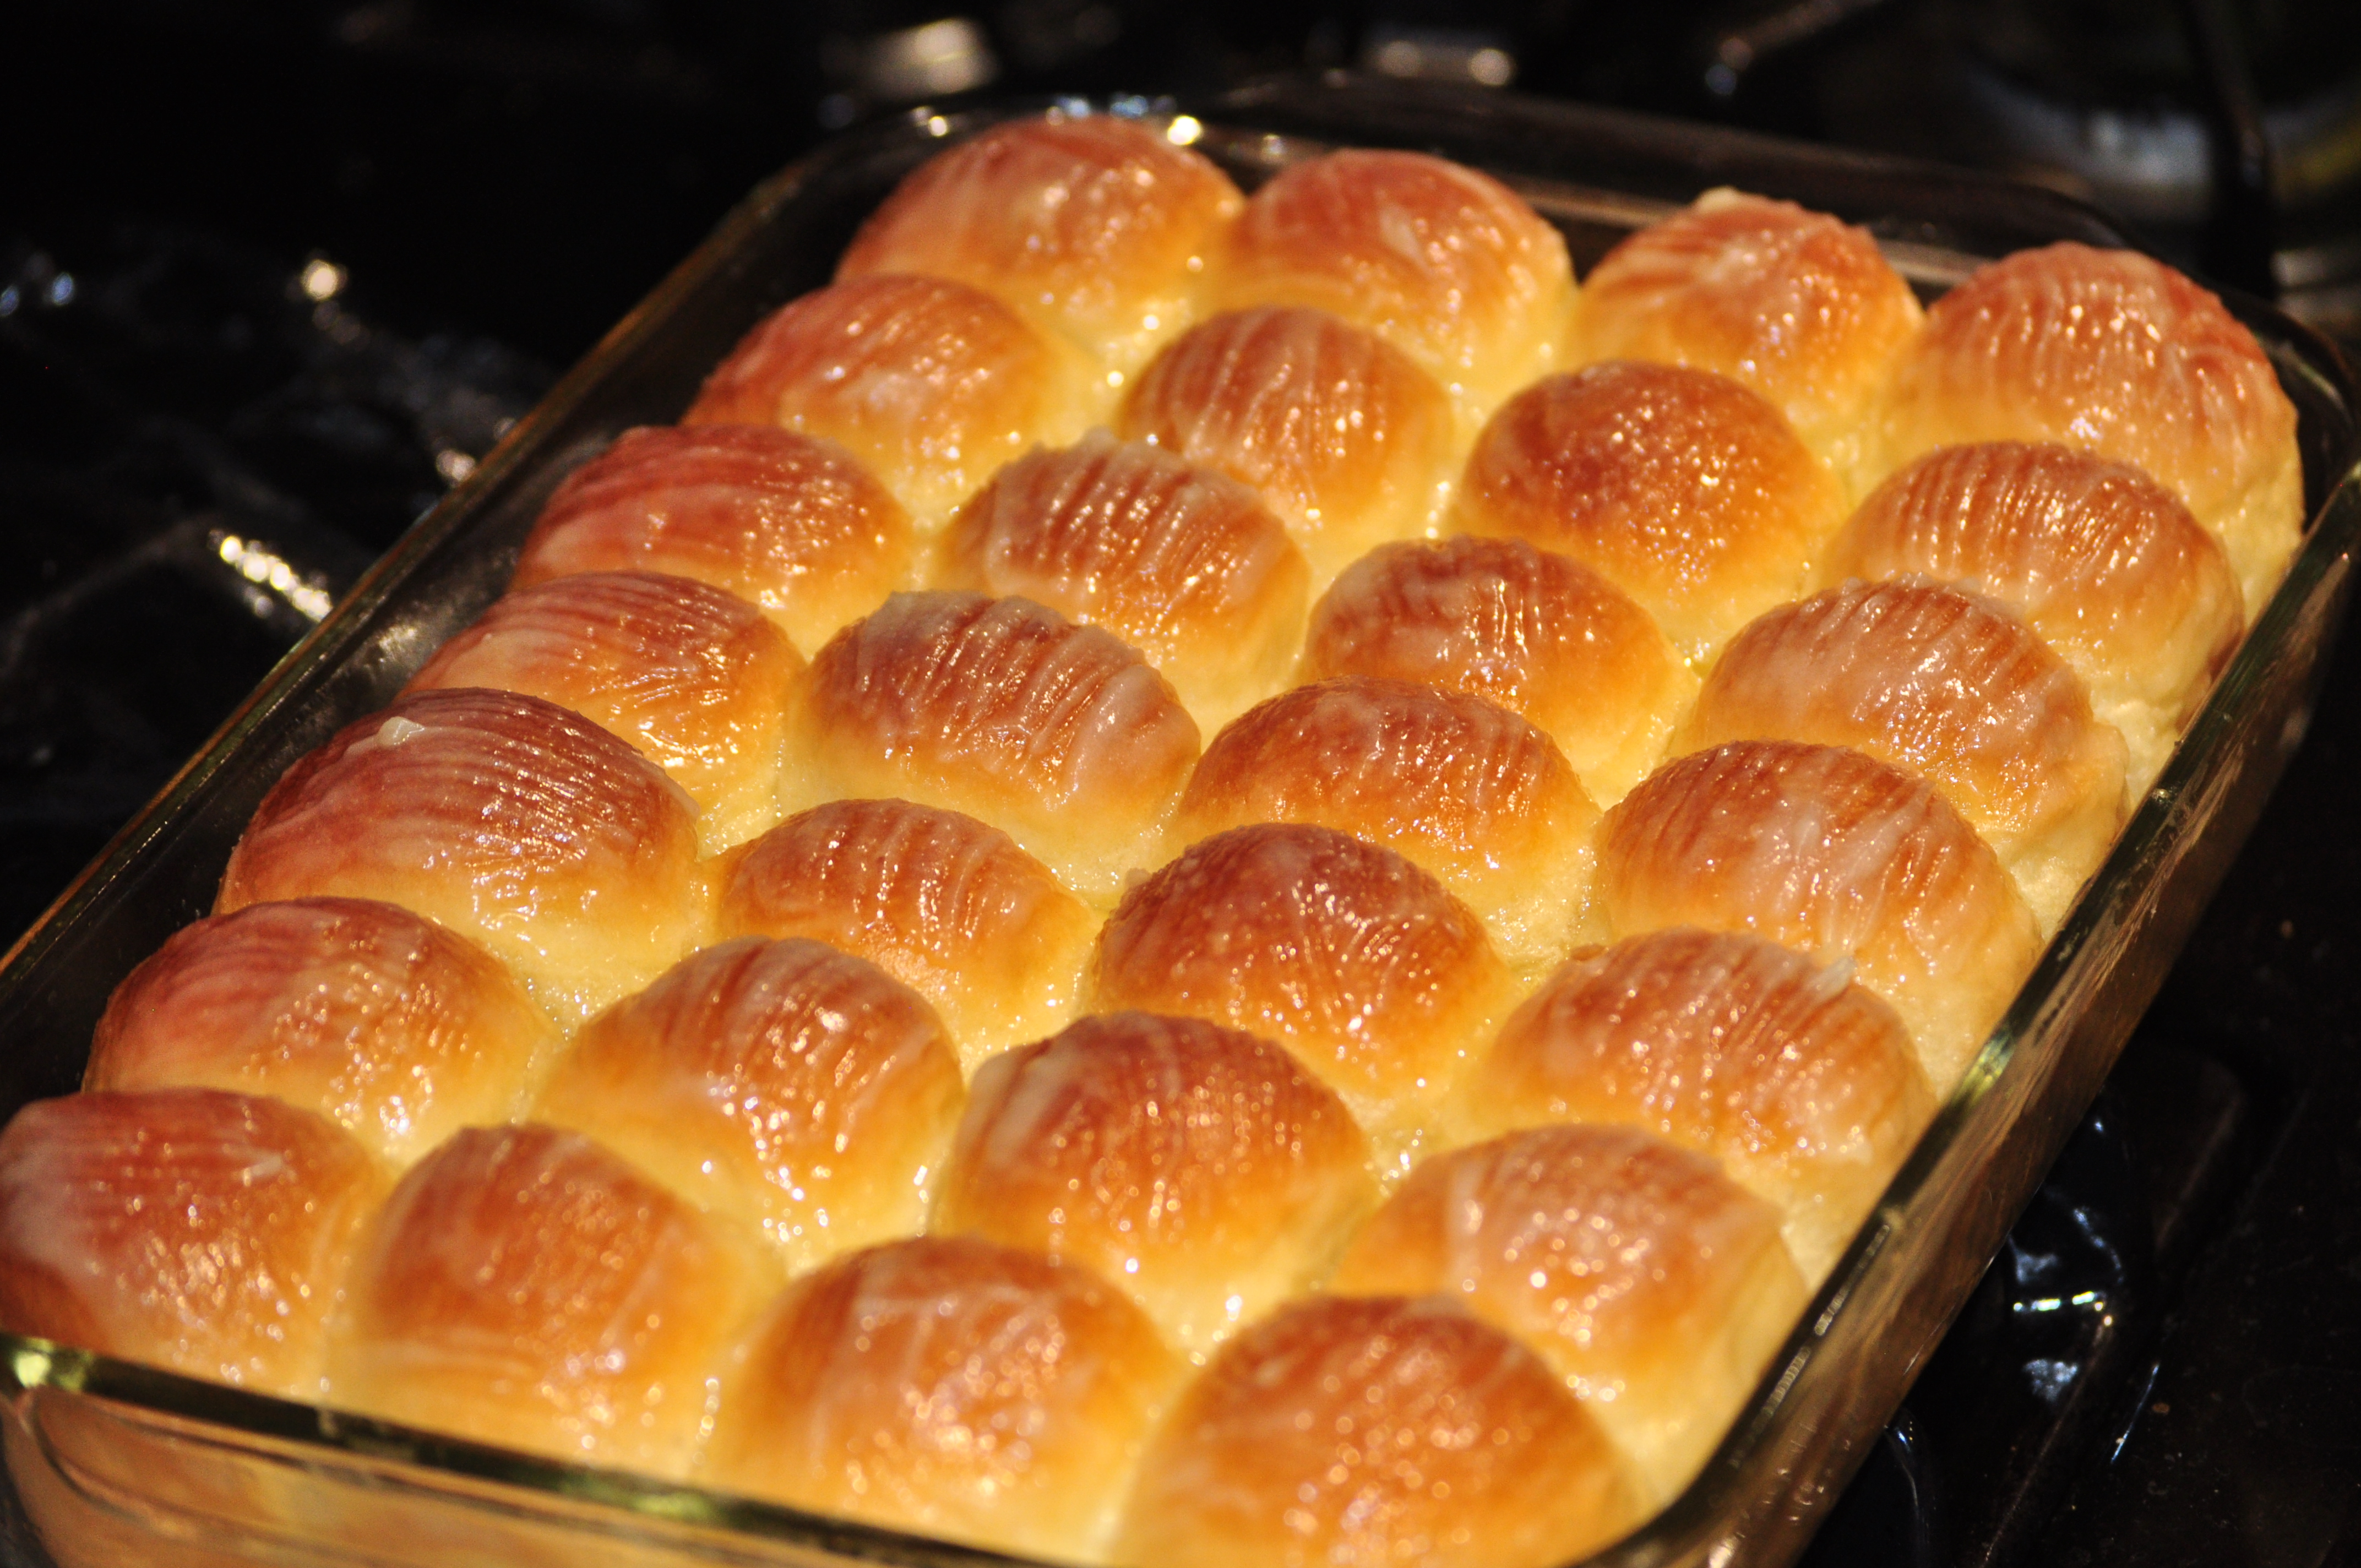
- After 5 minutes of kneading, remove the dough to a clean and greased bowl (you can use cooking spray). Cover with plastic wrap and place in a warm place to let the dough rise and double in size, about 1 hour. After the dough has doubled, take it out of the bowl and gently punch it down. Cut the dough into 28 small pieces then roll them out into balls. Place the balls of dough in a greased 9x13 pan (7 rolls across and 4 rolls down). Cover with plastic wrap and let it rise again until doubled.
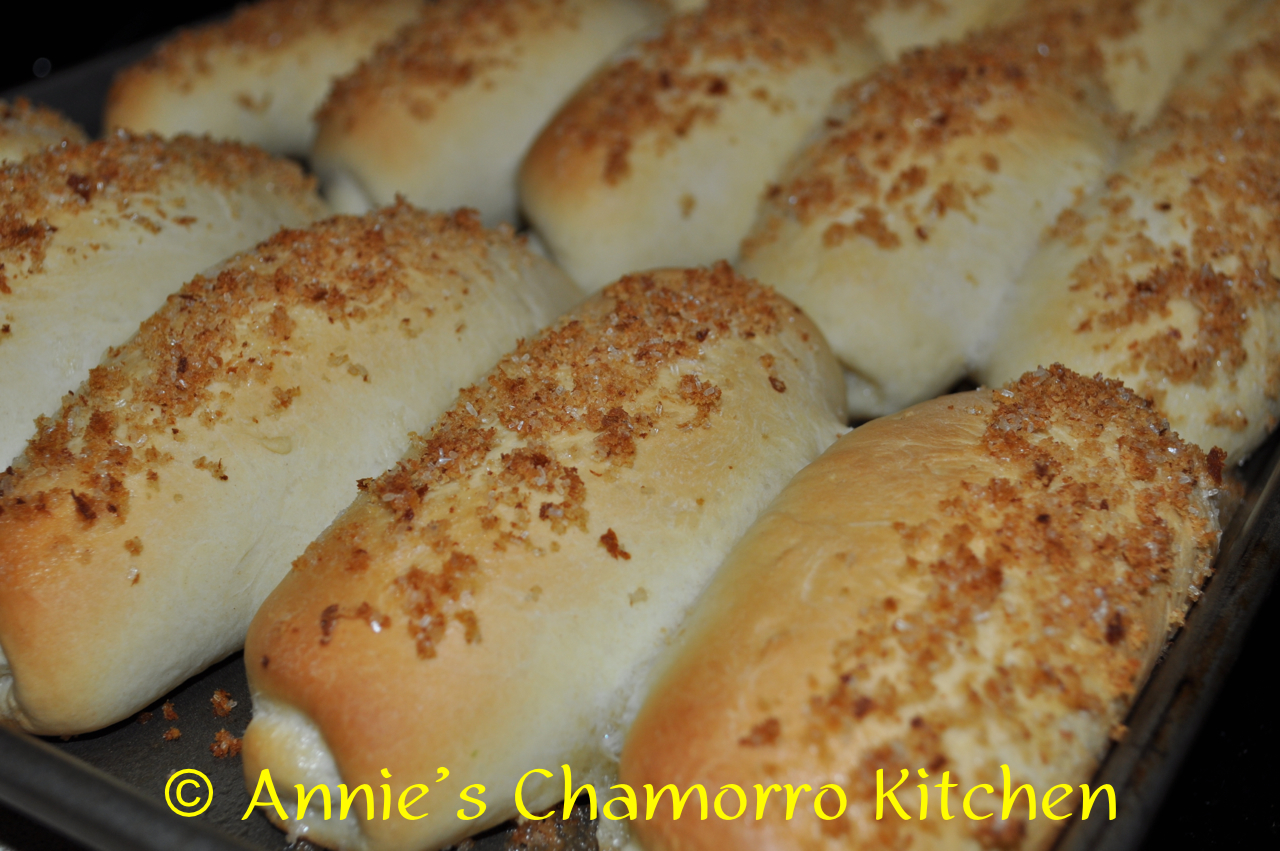
- After the rolls have doubled in size, remove the plastic wrap and brush the tops with melted butter. Bake at 375 degrees for 20-25 minutes or until golden brown on top. Remove from the oven and brush with more butter.
In most types of yeast bread recipes, the ratio of flour to total liquid should be 3:1. For instance, this recipe calls for just over 1 cup of liquid (including the egg); therefore, use only about 3 c. flour. Start out by mixing in a little less flour than the recipe calls for; If your dough seems too sticky, use only a little more flour just to allow you to knead it, but resist the urge to keep adding flour just so the dough won't stick. Too much flour (and kneading too long and too roughly) will make your finished bread come out tough/hard.