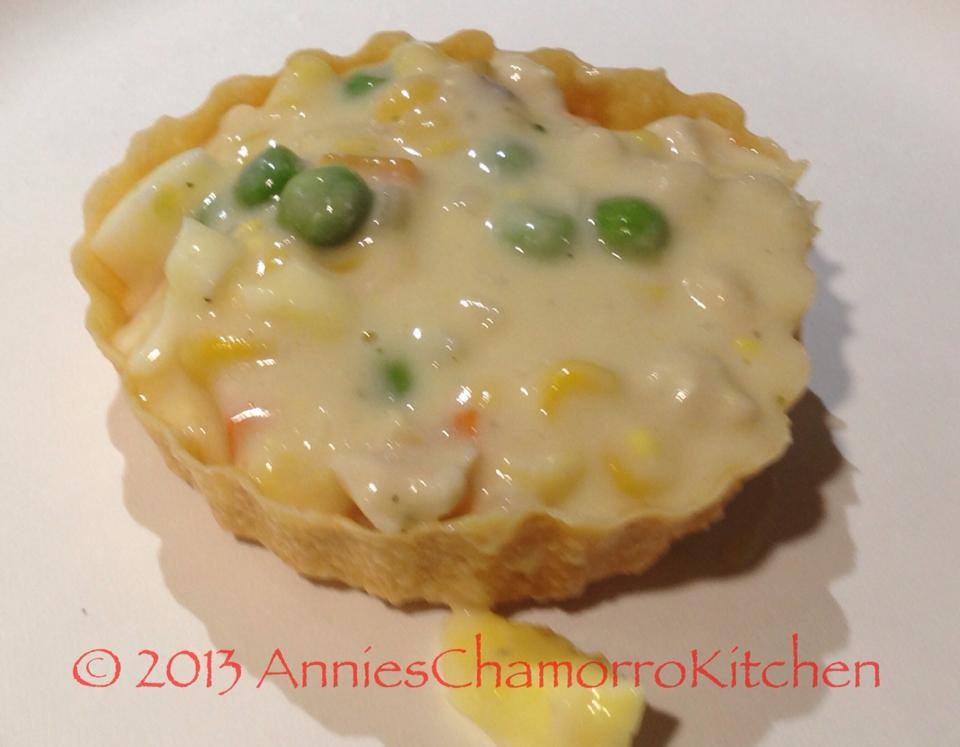
Chicken ala King is a classic comfort dish.
Growing up, chicken ala king was usually served at rosaries, after the prayers were completed, of course. It was chicken ala king, beef vegetable soup with glass noodles or long rice, rosketti, and custard pie that I remember being served most often after rosaries.
Now you don’t have to wait for those somber occasions to enjoy this comfort meal. My recipe and step-by-step photos show how easy it is to prepare yourself.
My daughter calls it chicken pot pie without the crust. I wouldn’t say it’s quite like chicken pot pie, however. I think it’s BETTER than chicken pot pie. Who agrees with me? Give my recipe a try and I think you’ll agree too. 🙂
CHICKEN ALA KING
MAKE THE FILLING:
INGREDIENTS FOR THE FILLING:
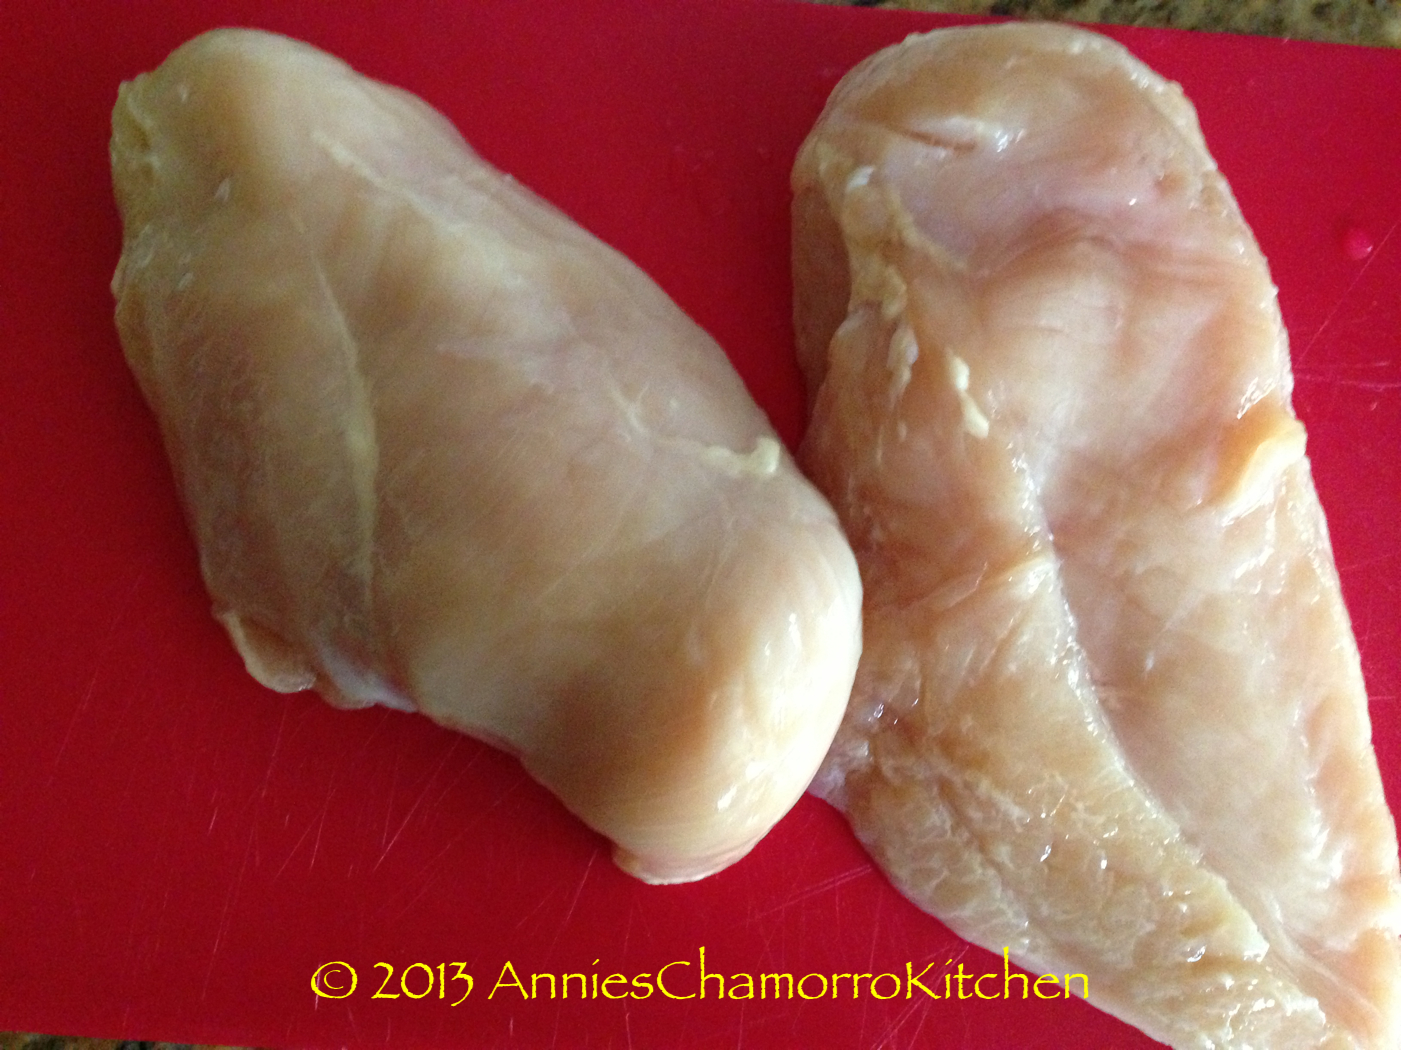
- 2 chicken breasts
- 5 tablespoons butter
- 1 medium onion, diced
- 2 tablespoons minced garlic
- 3 to 4 tablespoons powdered chicken bouillon, more or less to taste
- 2 cups flour
- 3 cups water
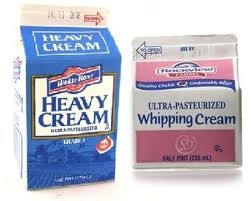
- 2 cups heavy cream
- 1 12-ounce can evaporated milk
- 2 16-ounce bags frozen corn
- 2 12-ounce bags frozen peas and carrots
- 4 hard boiled eggs, chopped
This is what heavy cream looks like. You can find it in the dairy section of your grocery store.
DIRECTIONS:
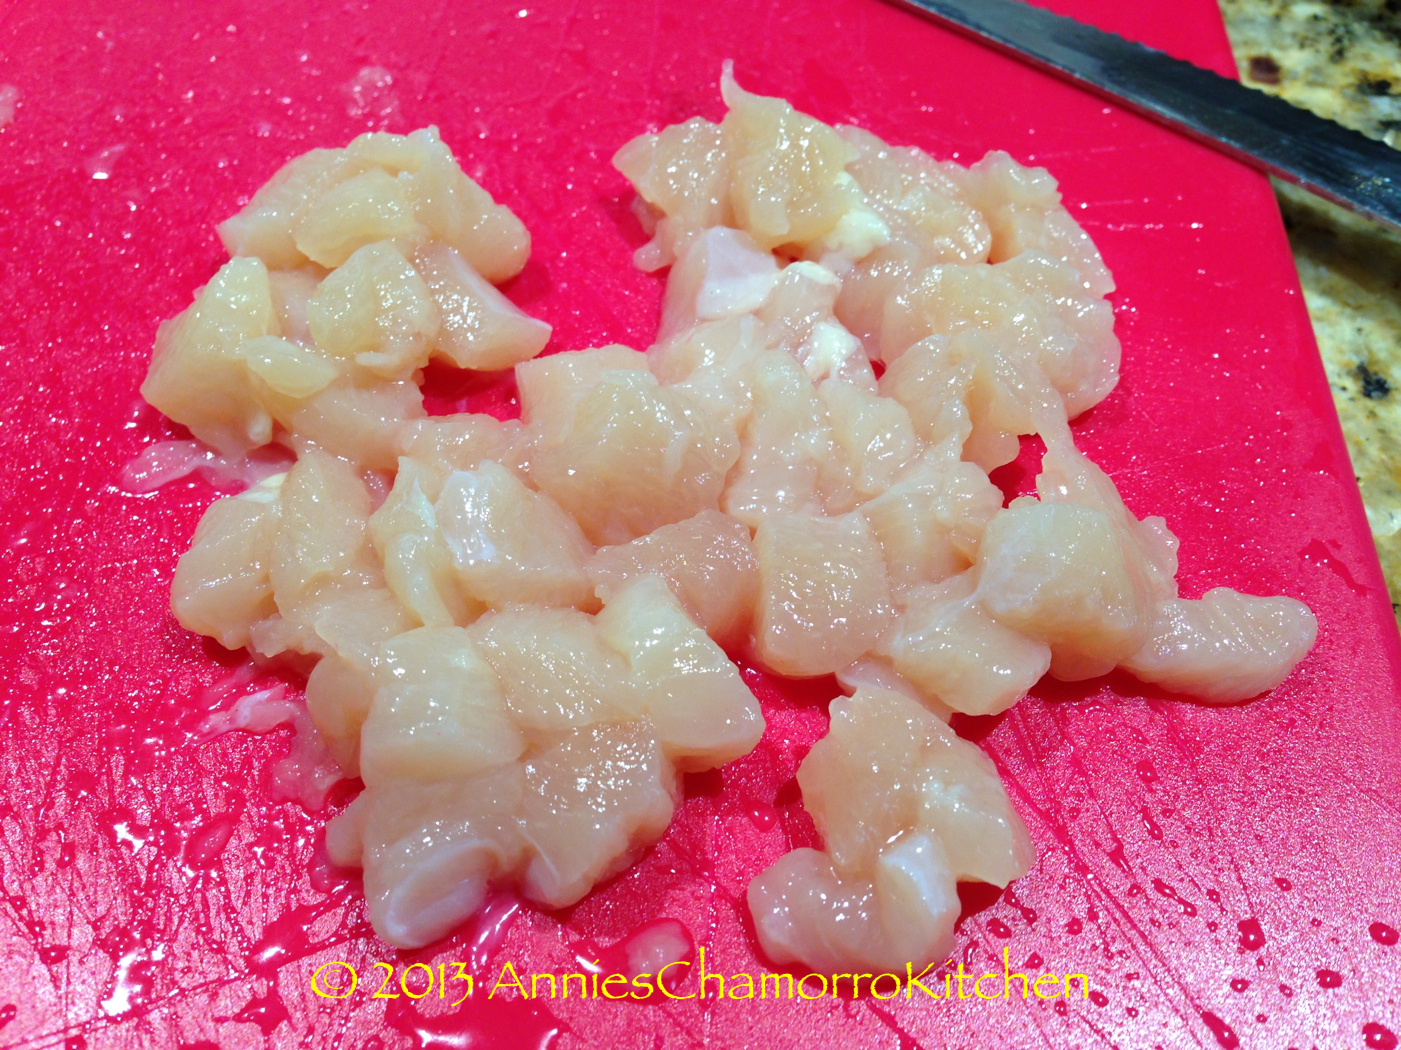
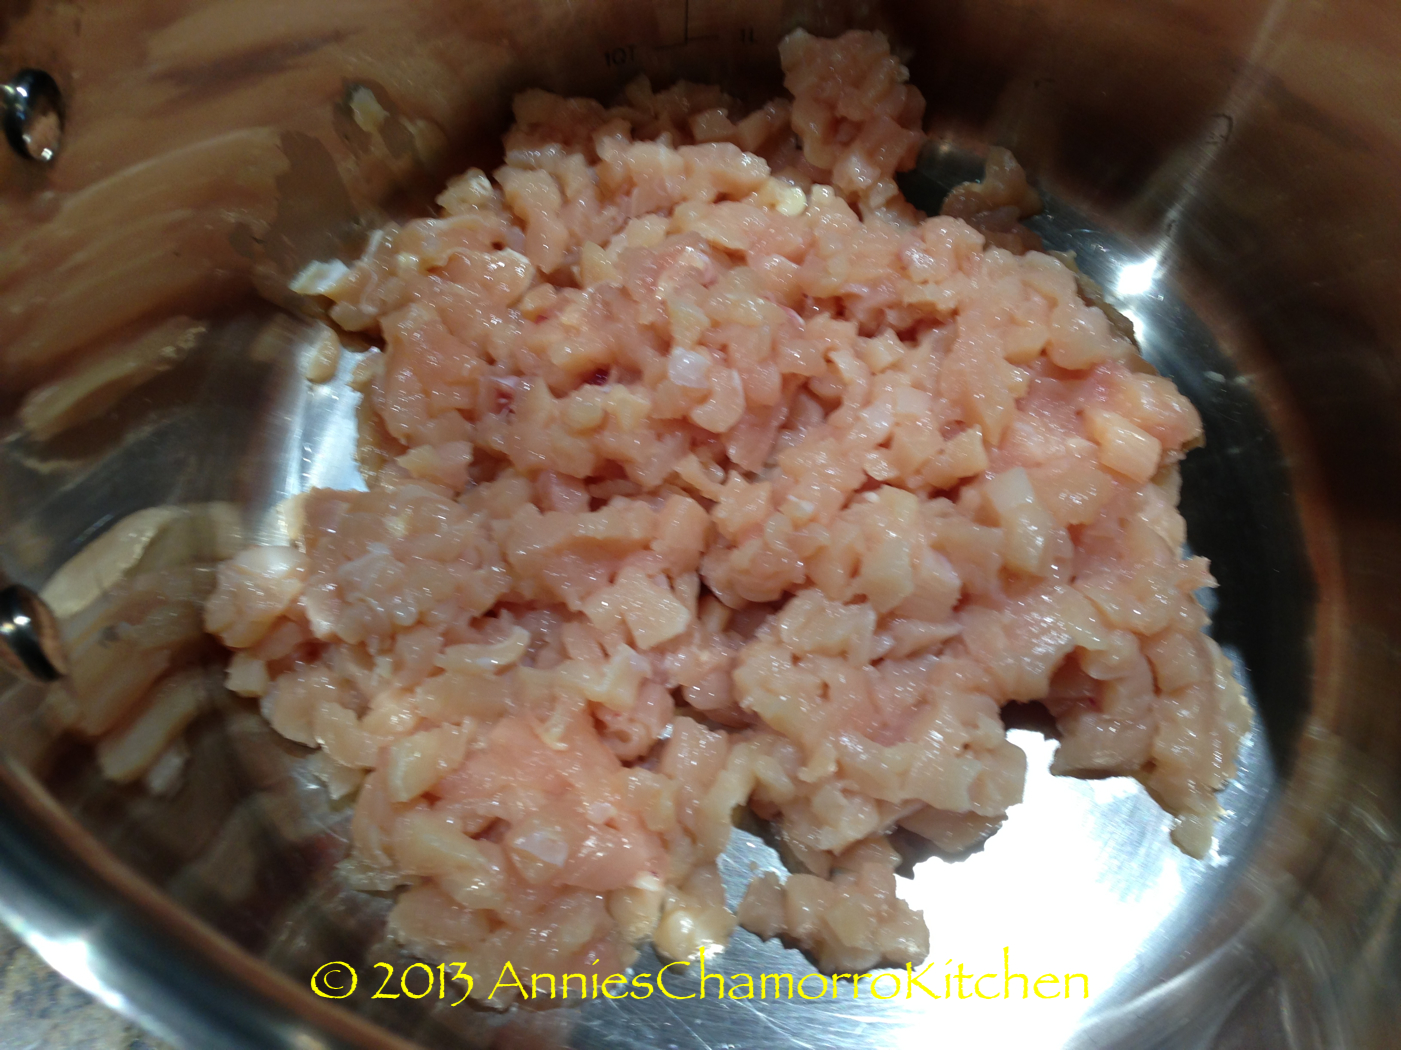
1. Cut the chicken breasts into very small pieces then place into a large soup pot.
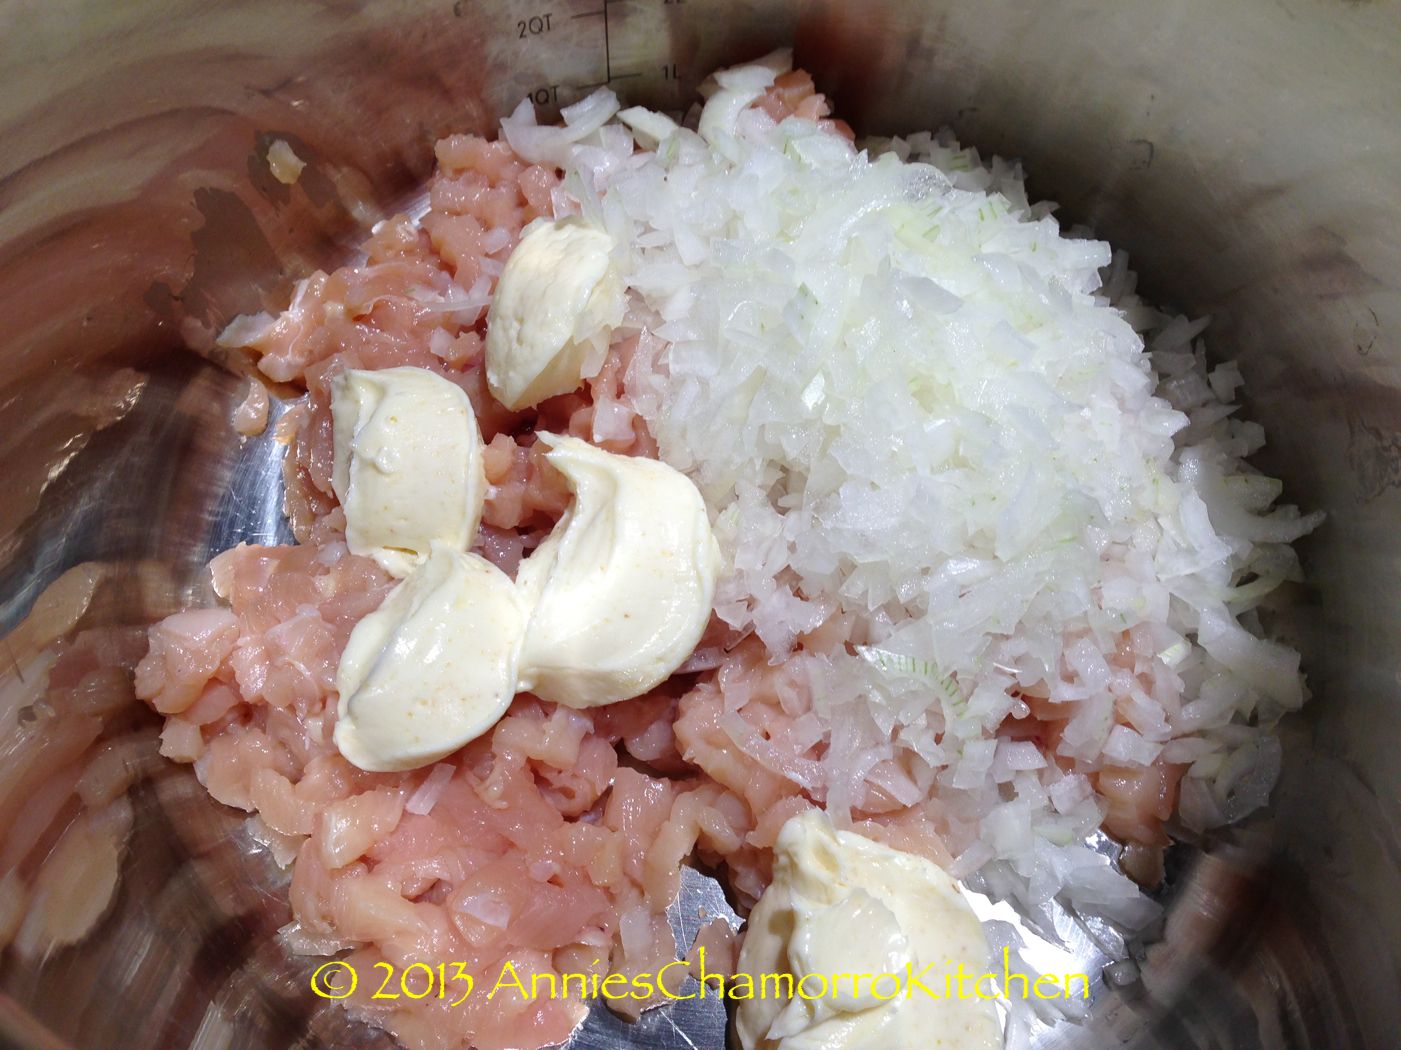
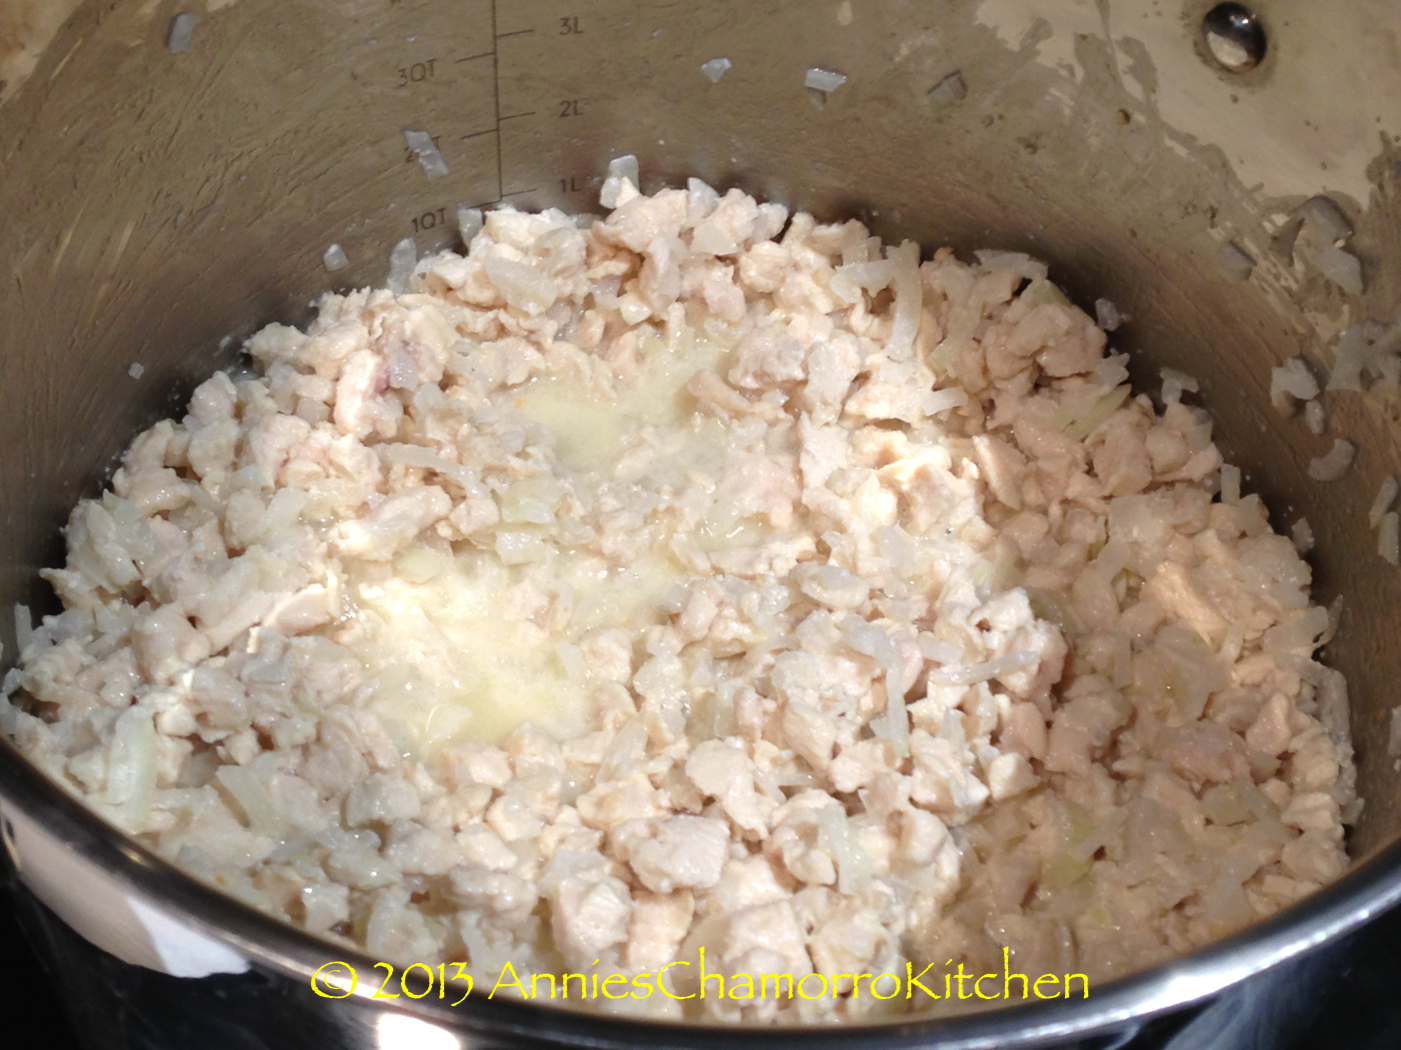
2. Add the butter, garlic and chopped onions to the pot. Cook over medium high heat until the chicken is done. Add in the powdered chicken bouillon. Stir to combine.
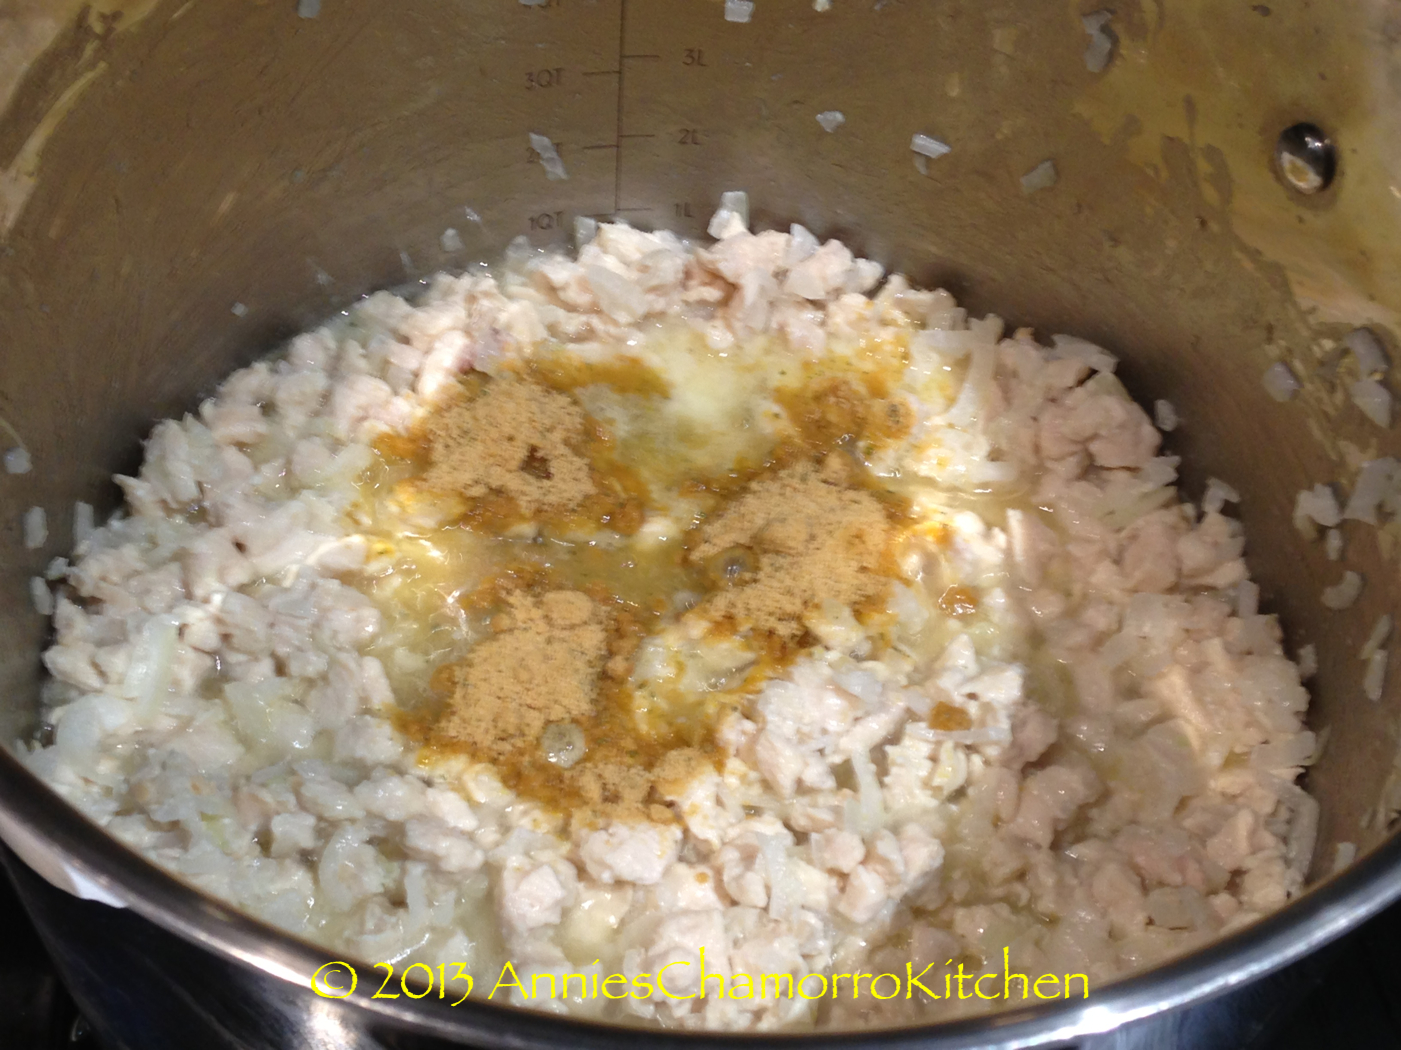
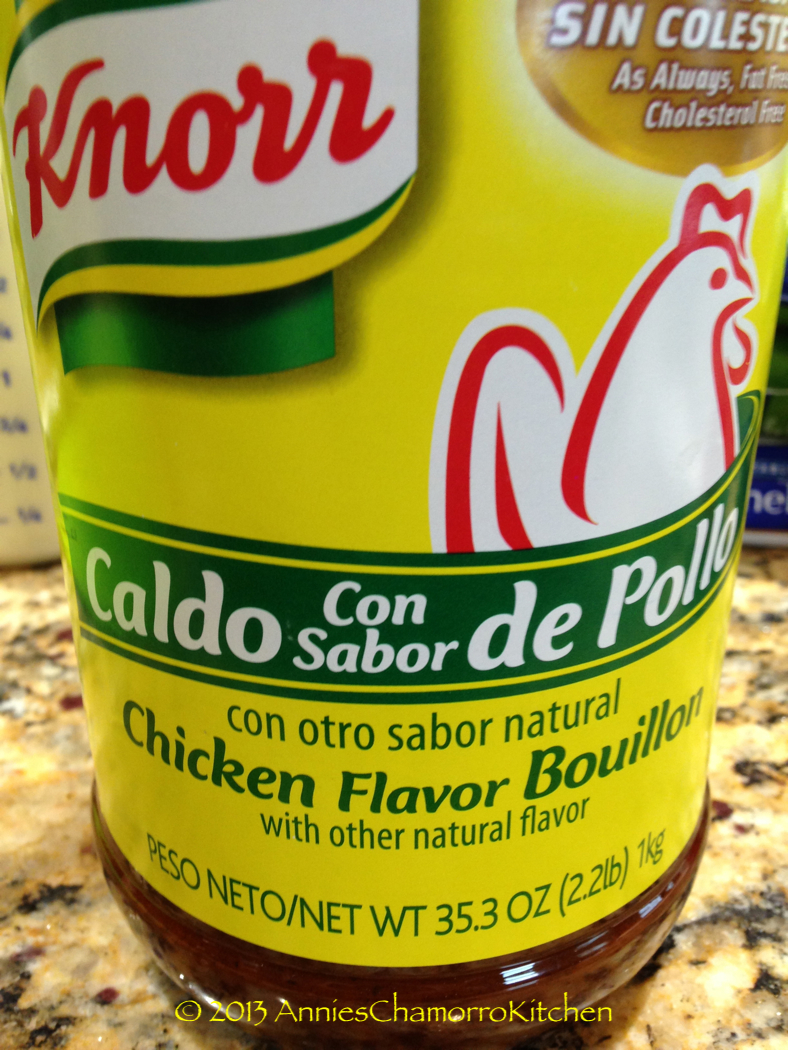
This is the powdered chicken bouillon I use. You can find it in most grocery stores.
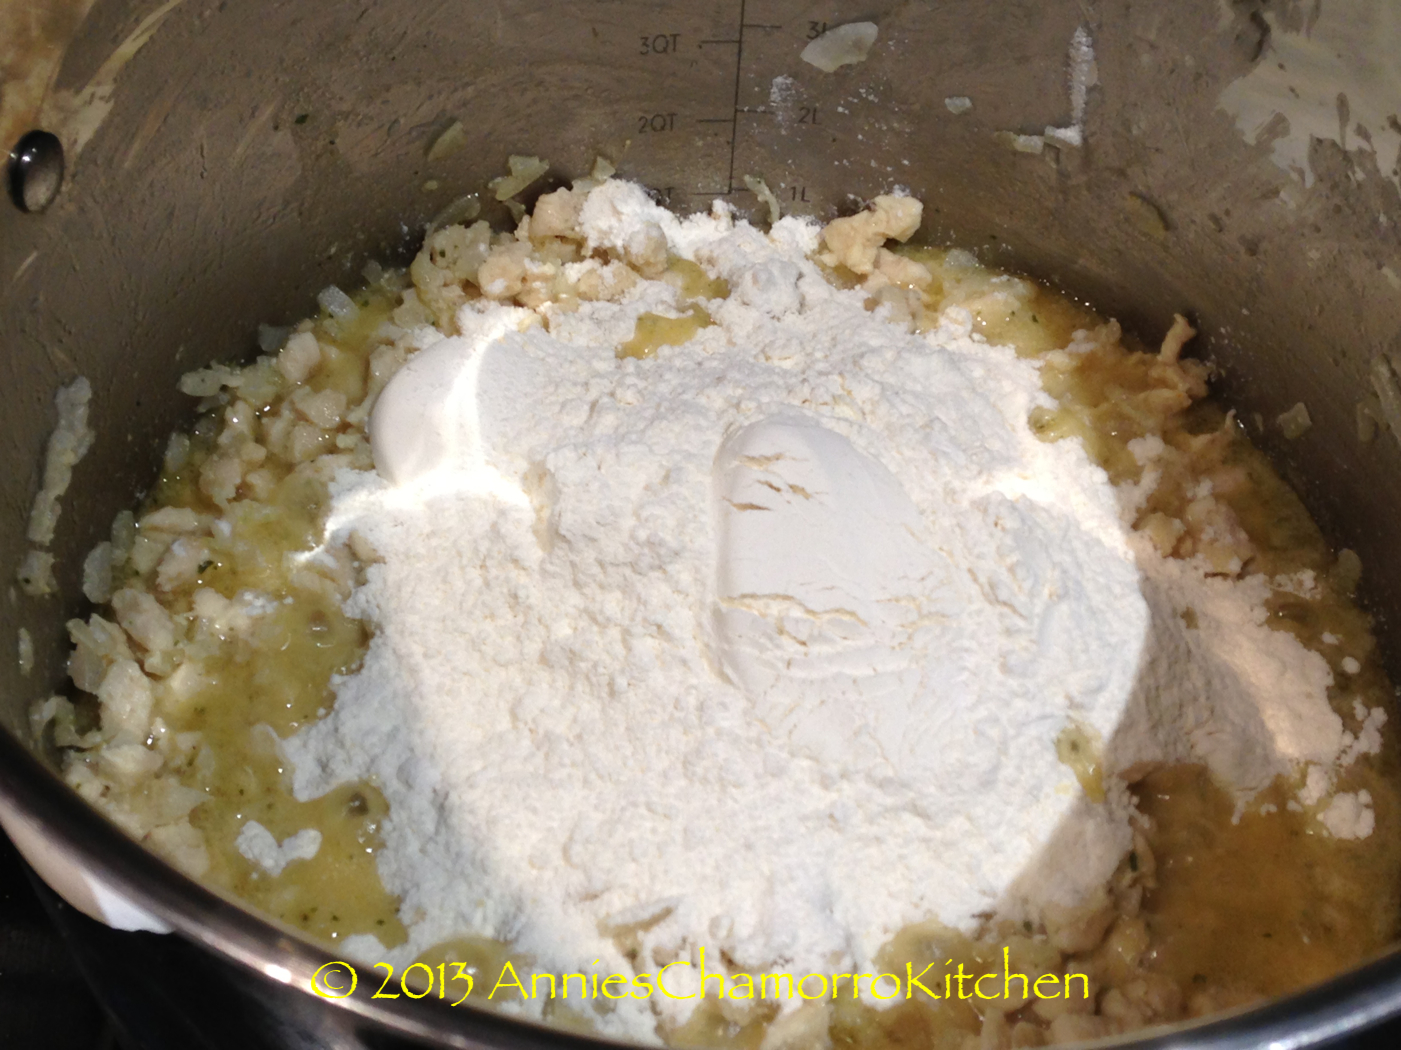
3. Reduce the heat to medium. Add the flour all at once; stir.
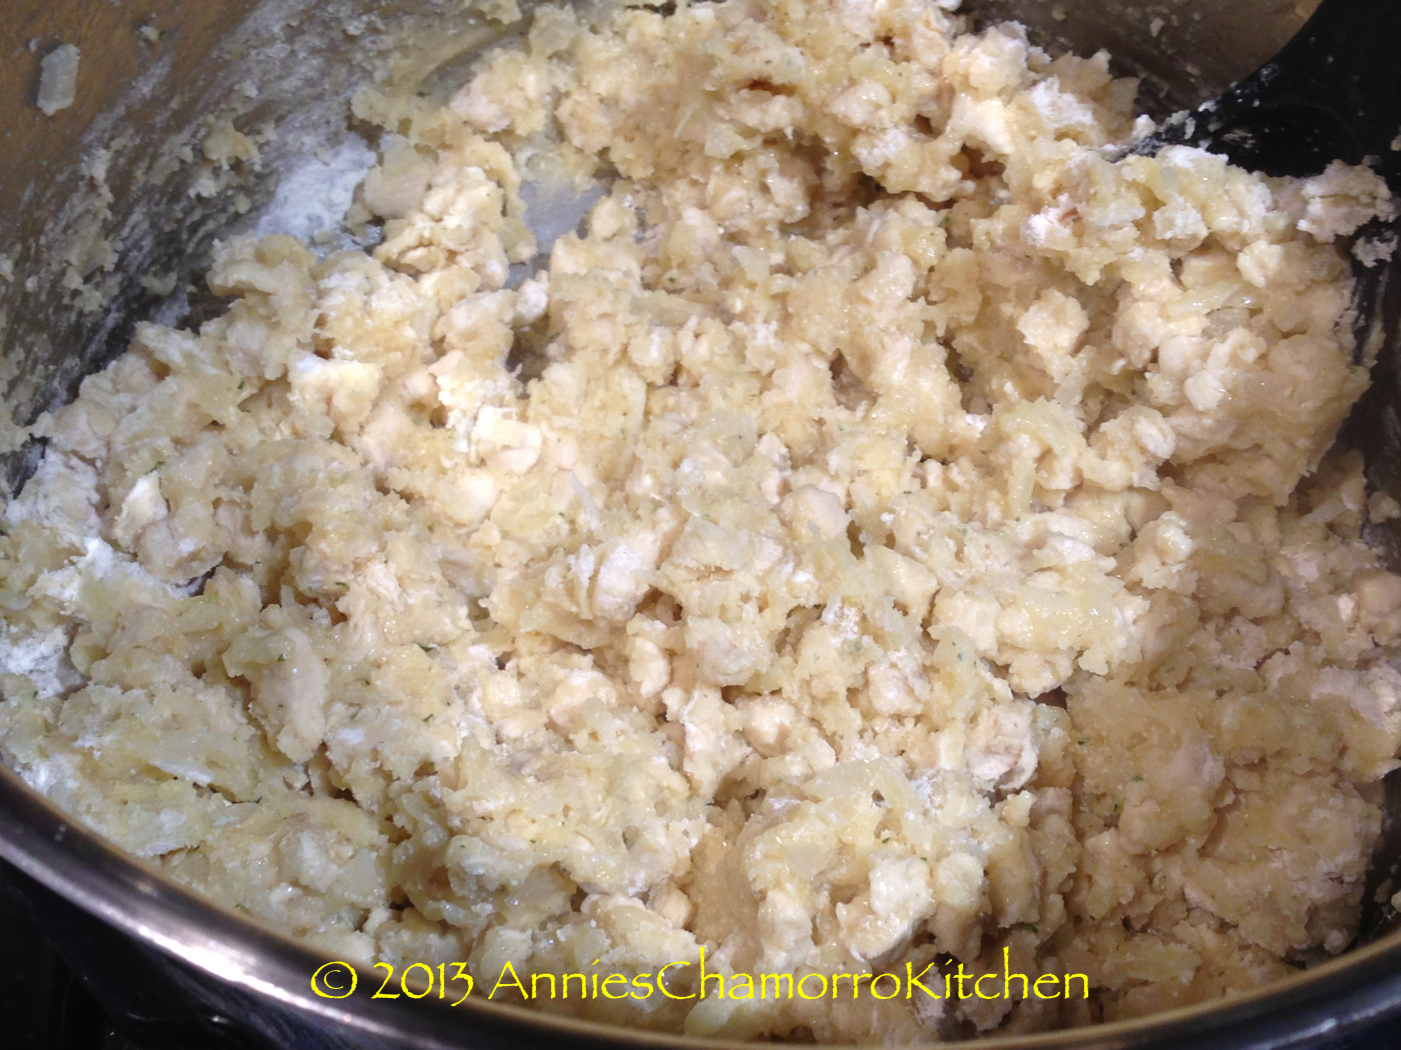
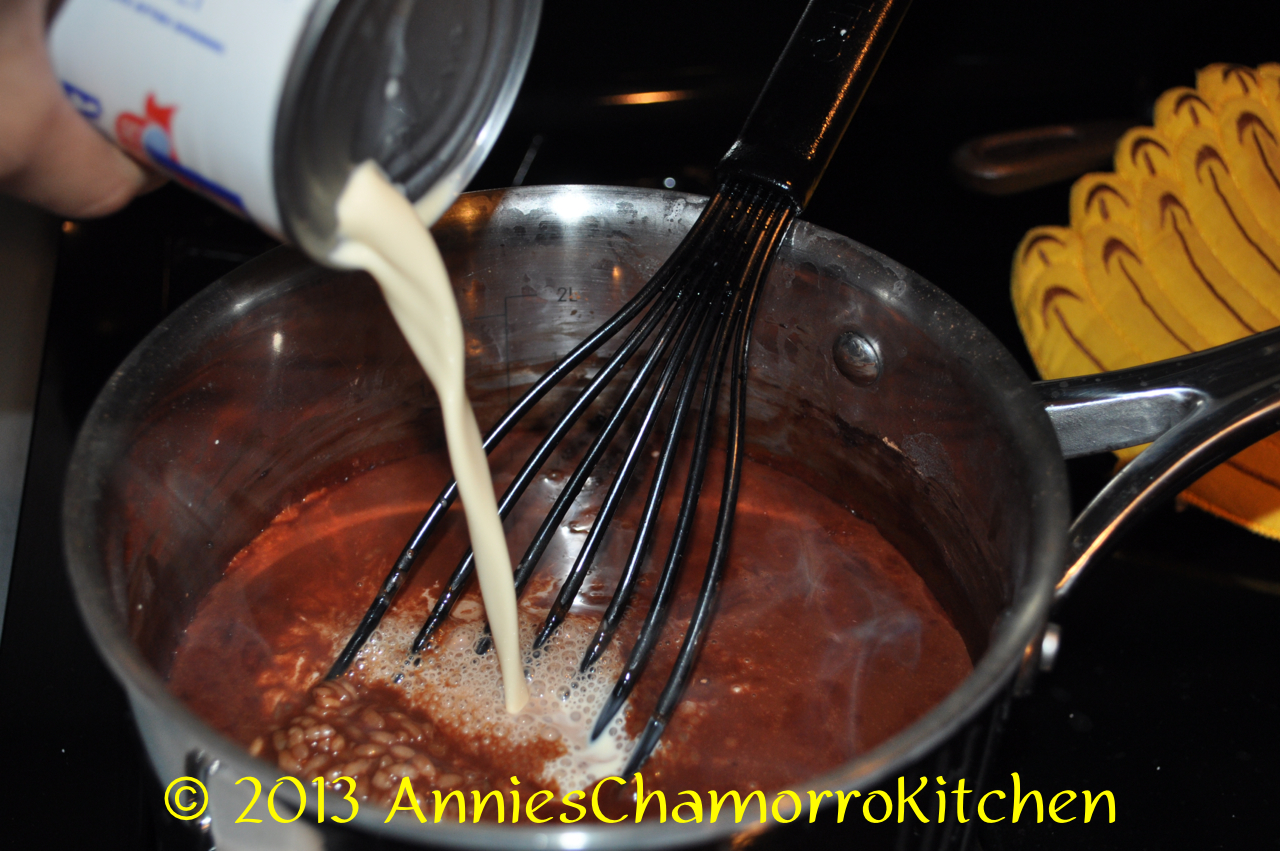
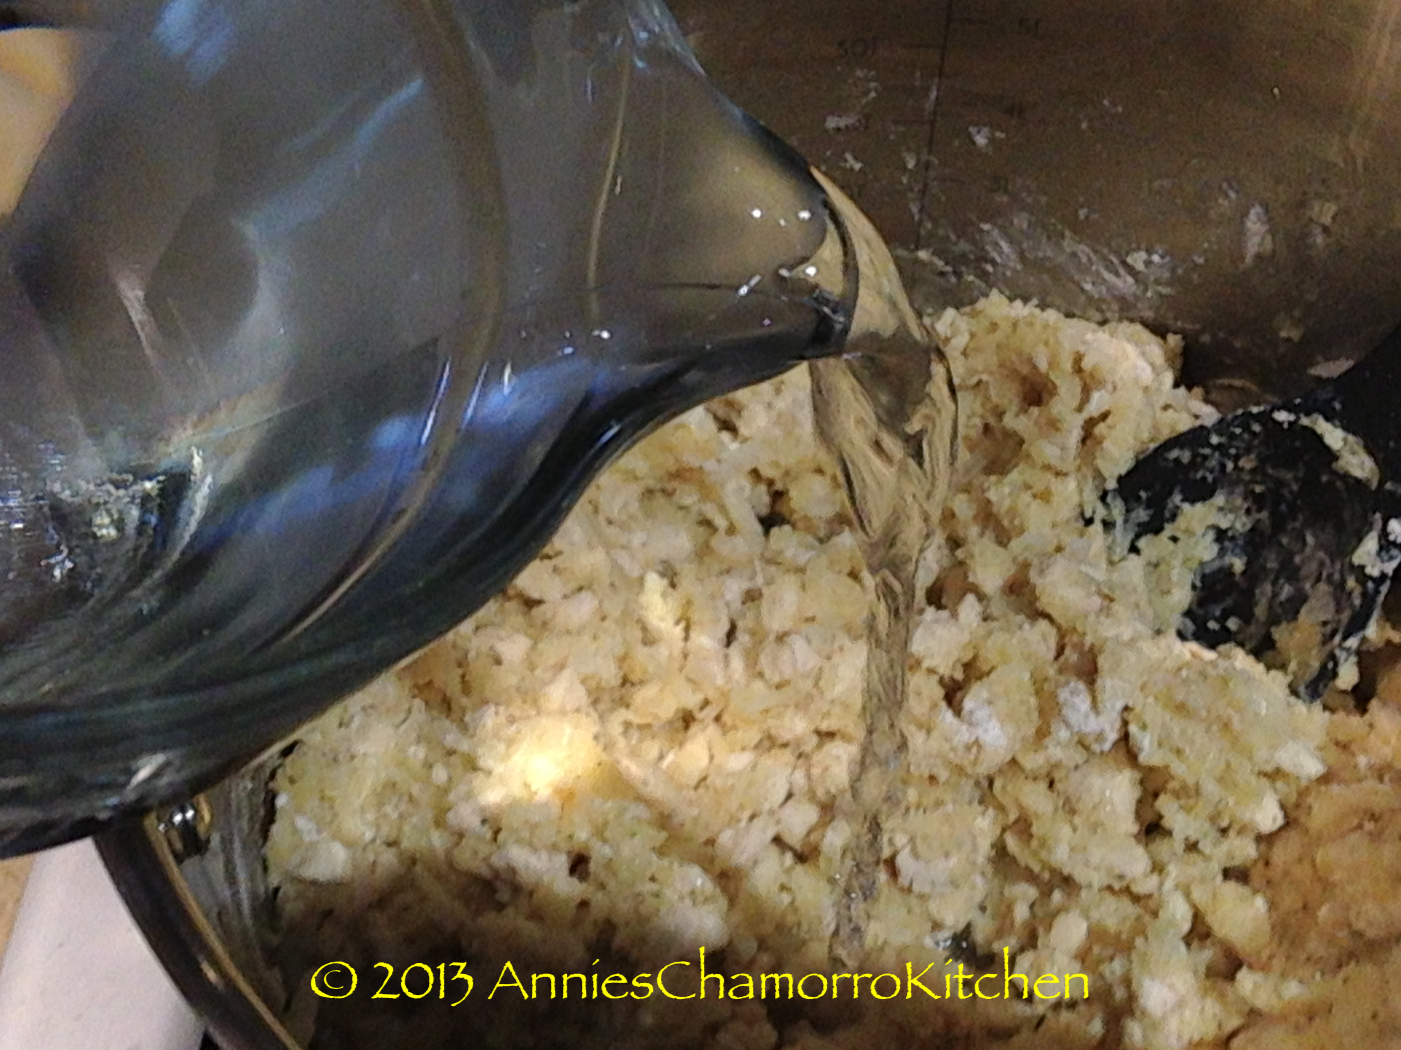
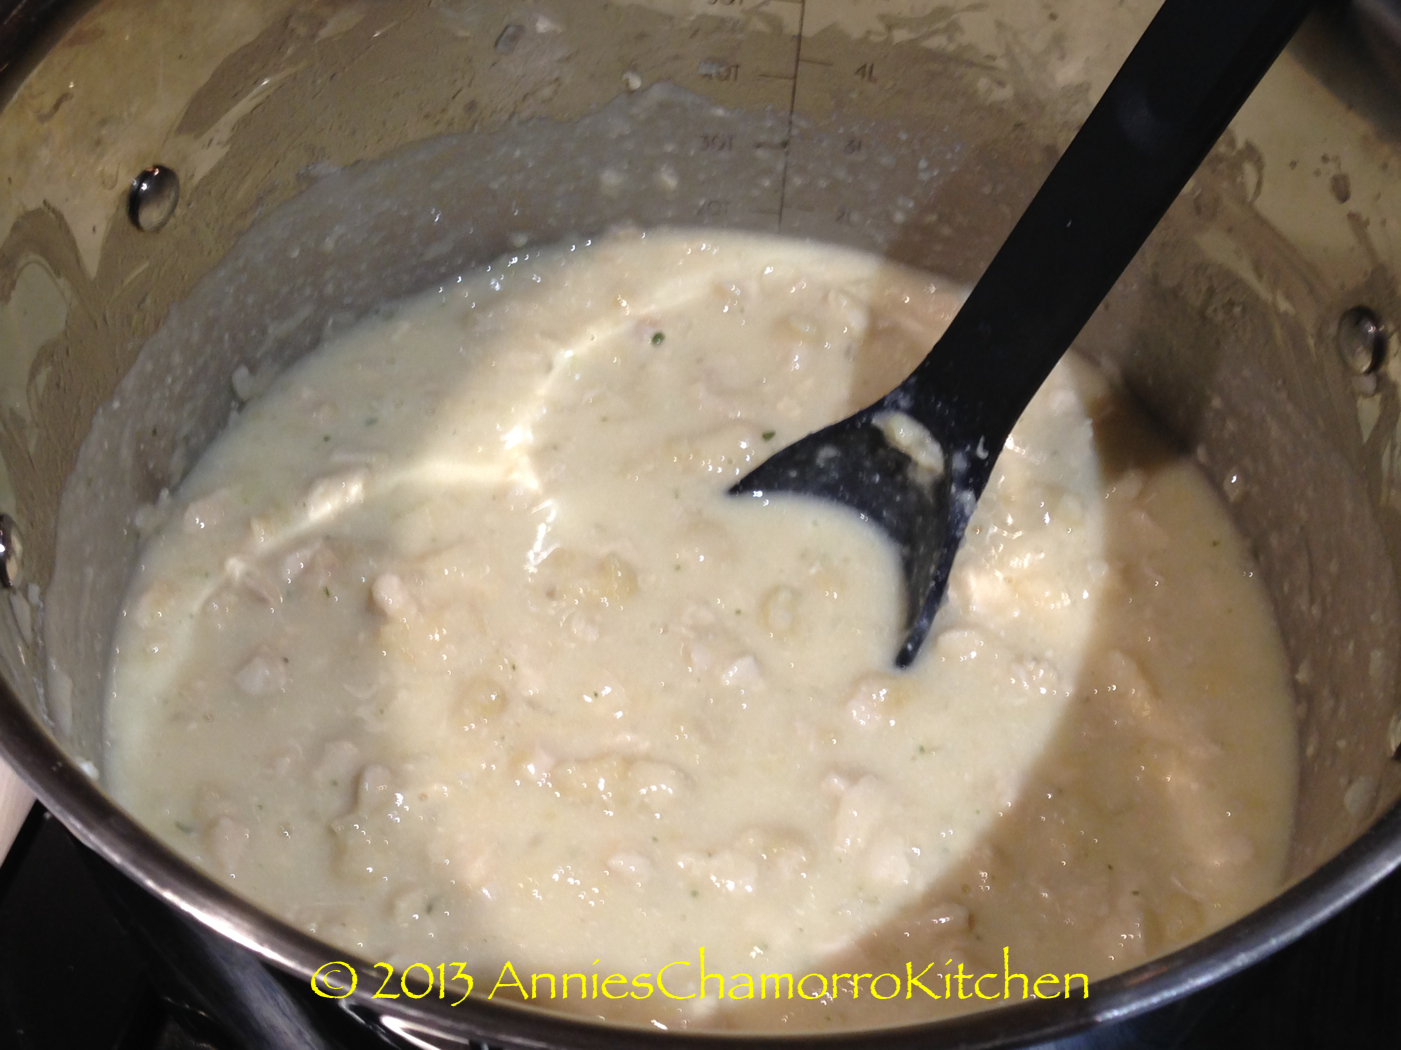
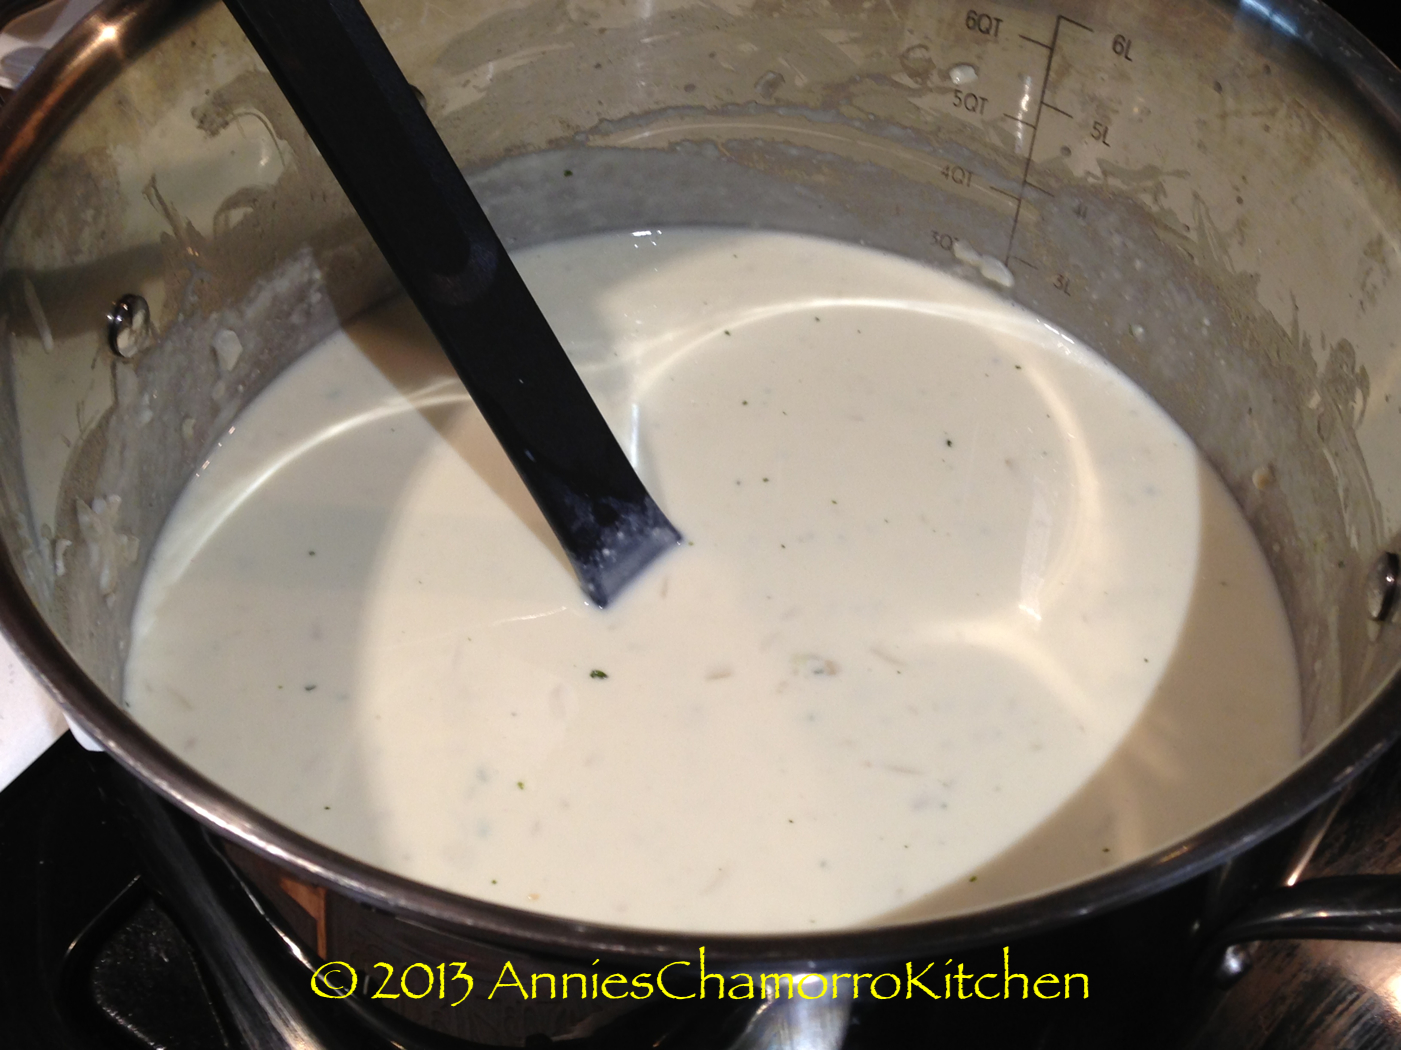
4. Pour in the water, stirring vigorously to prevent lumps from forming — the mixture should be very thick at this point. Mix in the heavy cream and evaporated milk. Keep stirring until there are no more lumps.
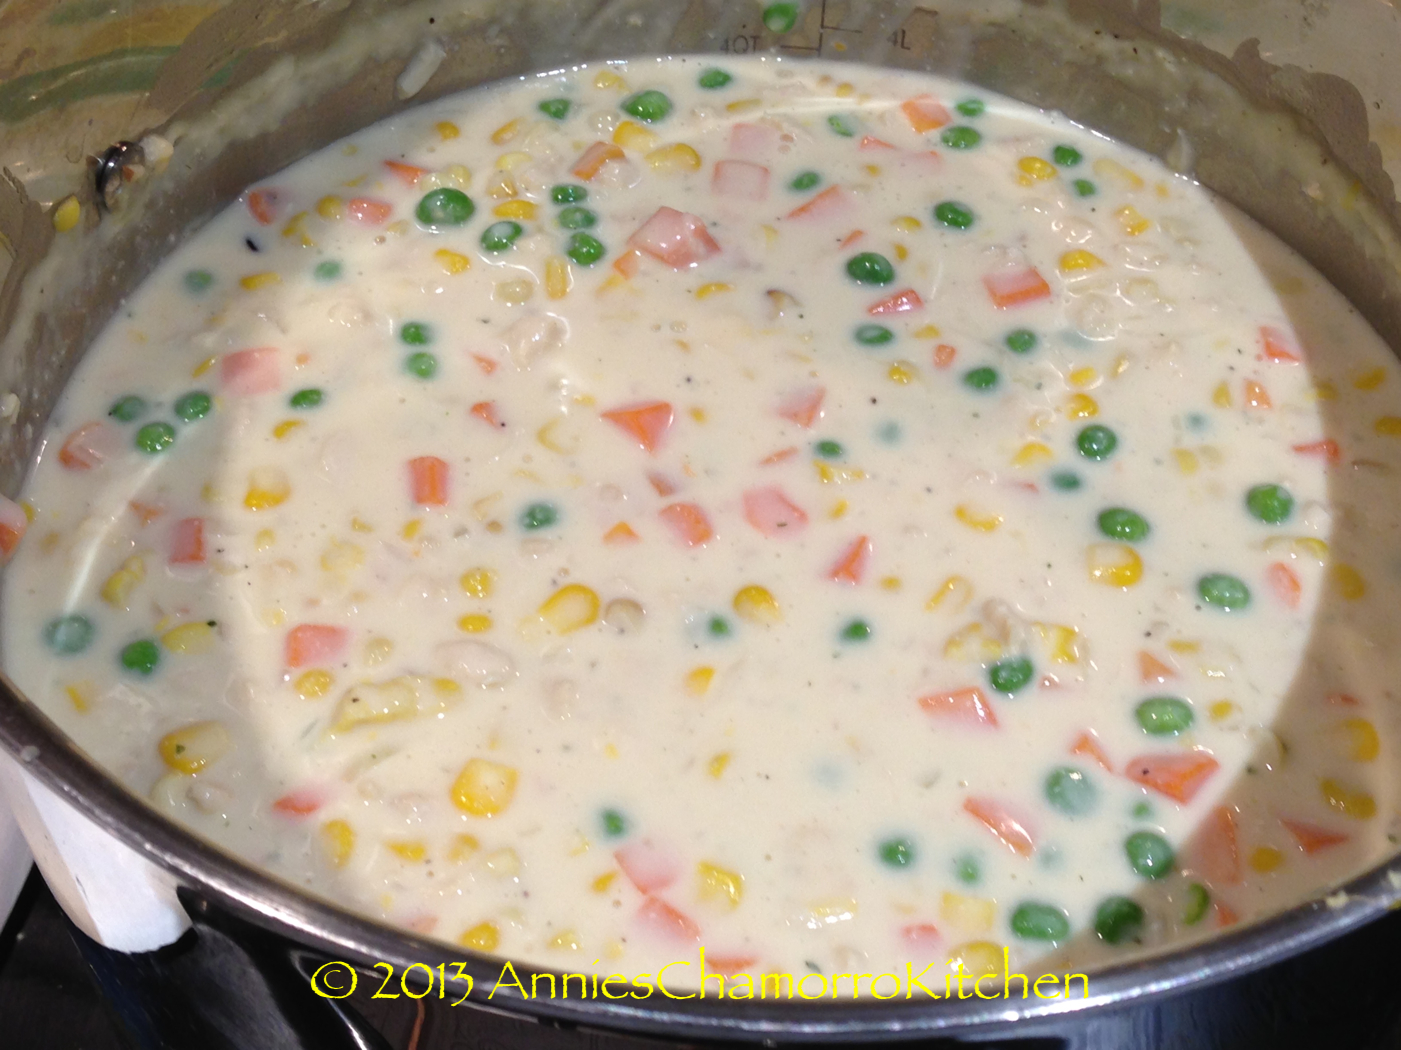
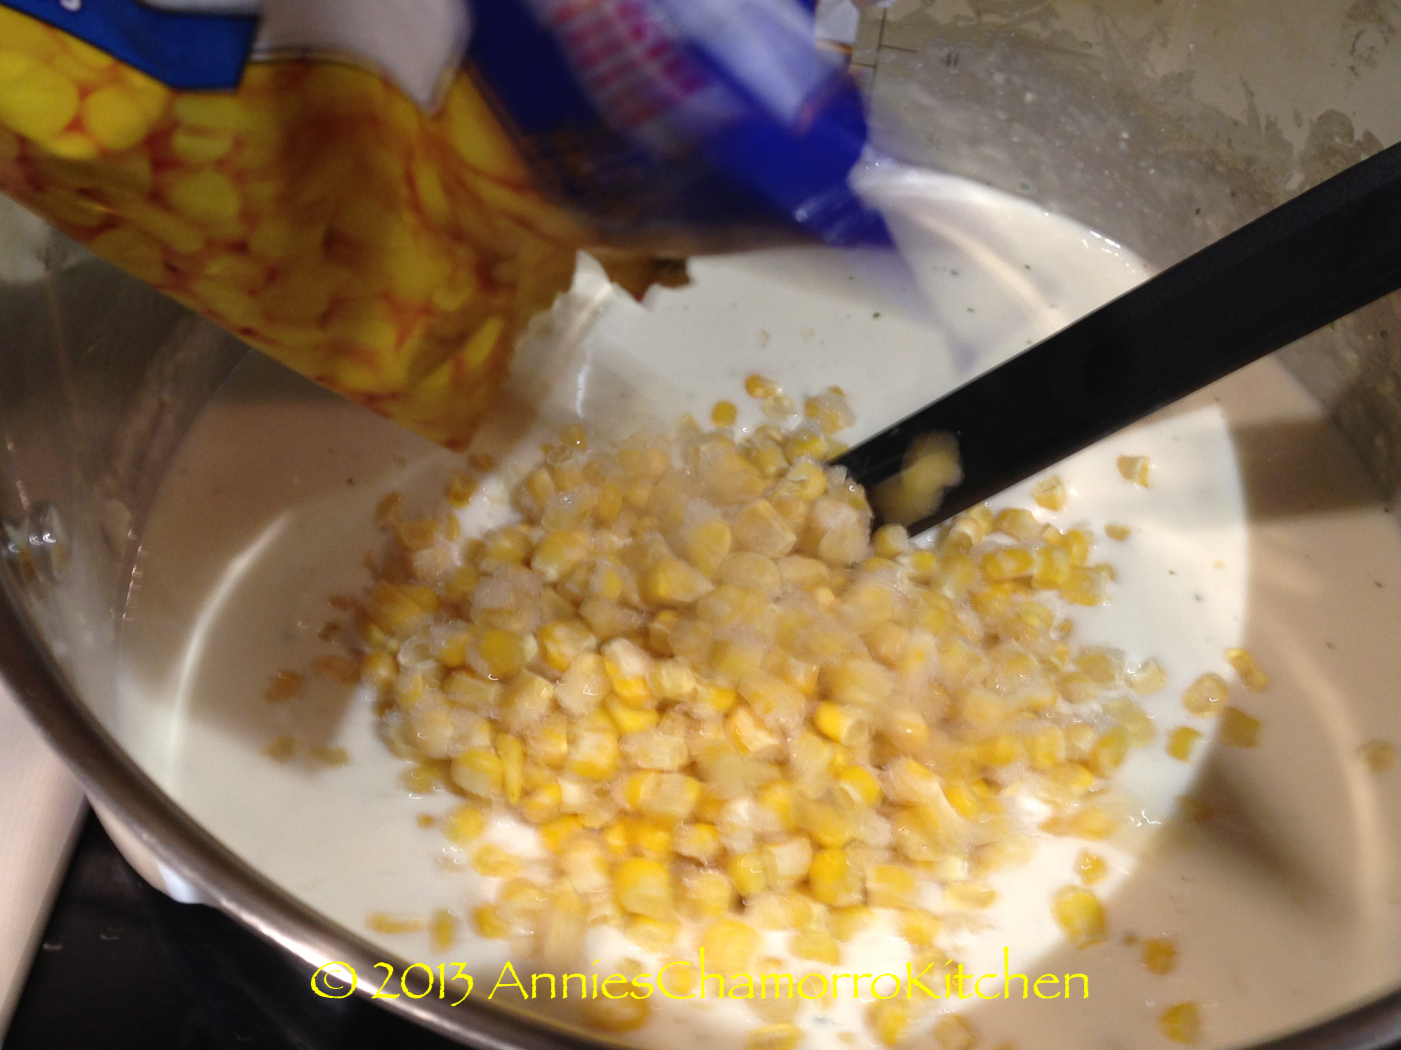
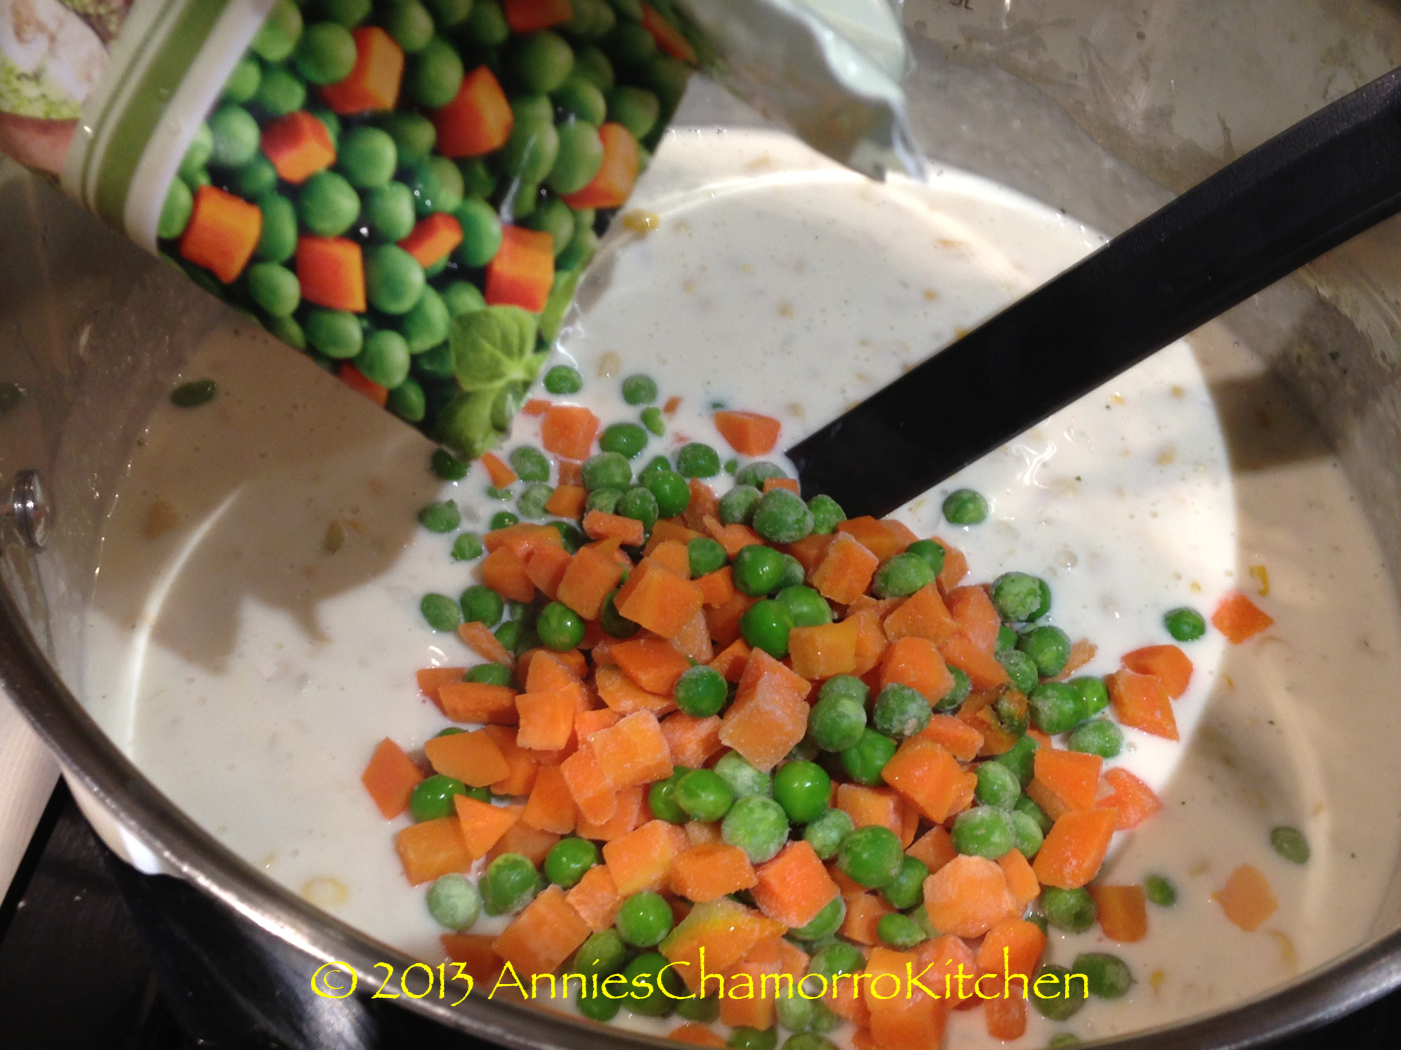
5. Stir in the frozen corn, peas and carrots. Bring the mixture back to a boil, stirring occasionally. Cook over medium high heat until the mixture has thickened once again.
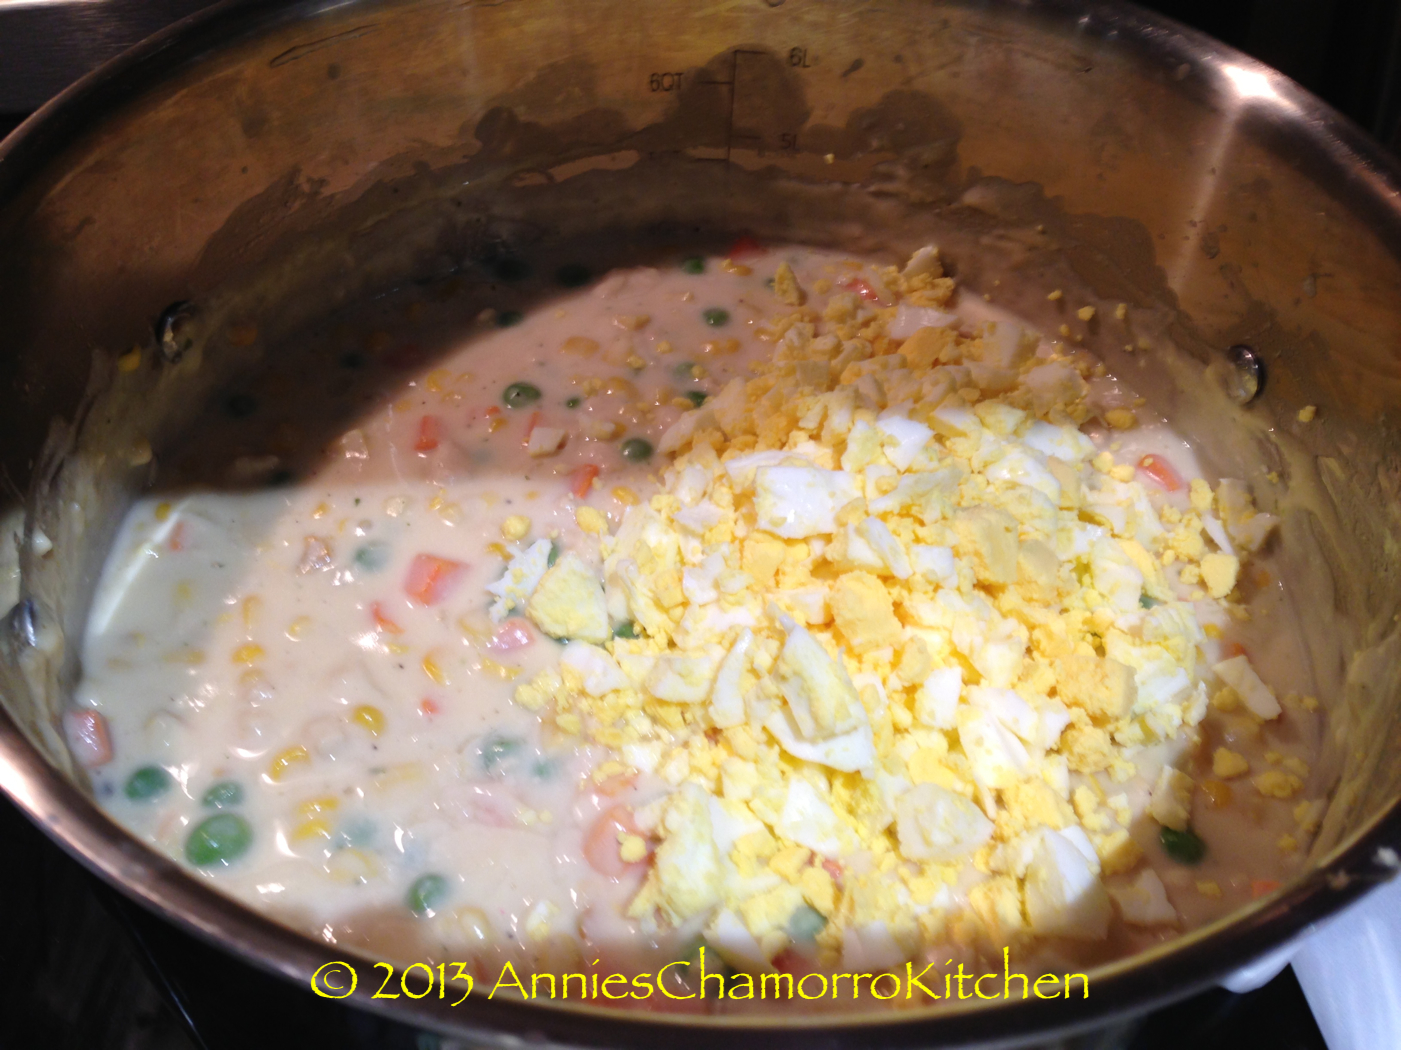
6. After the mixture has thickened, stir in the chopped eggs. Pour the filling into the pastry shells and enjoy!
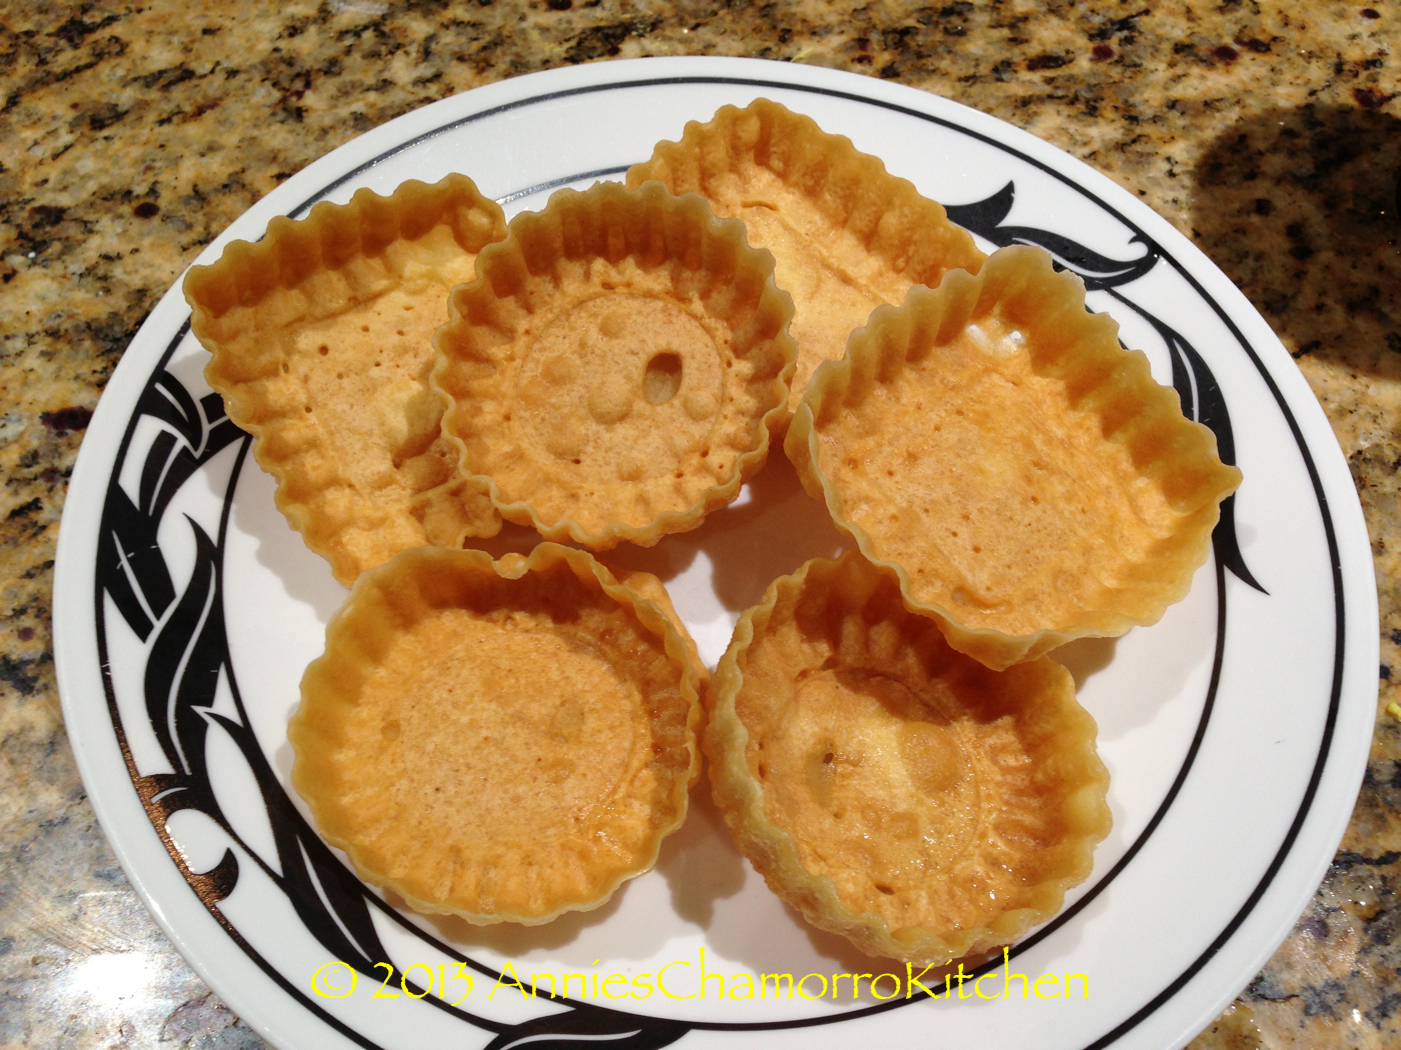
MAKE THE SHELLS:
INGREDIENTS FOR THE SHELLS:
- 2 large eggs
- 1 cup milk
- 1 cup water
- 1 1/2 cups flour
- 1/2 cup corn starch
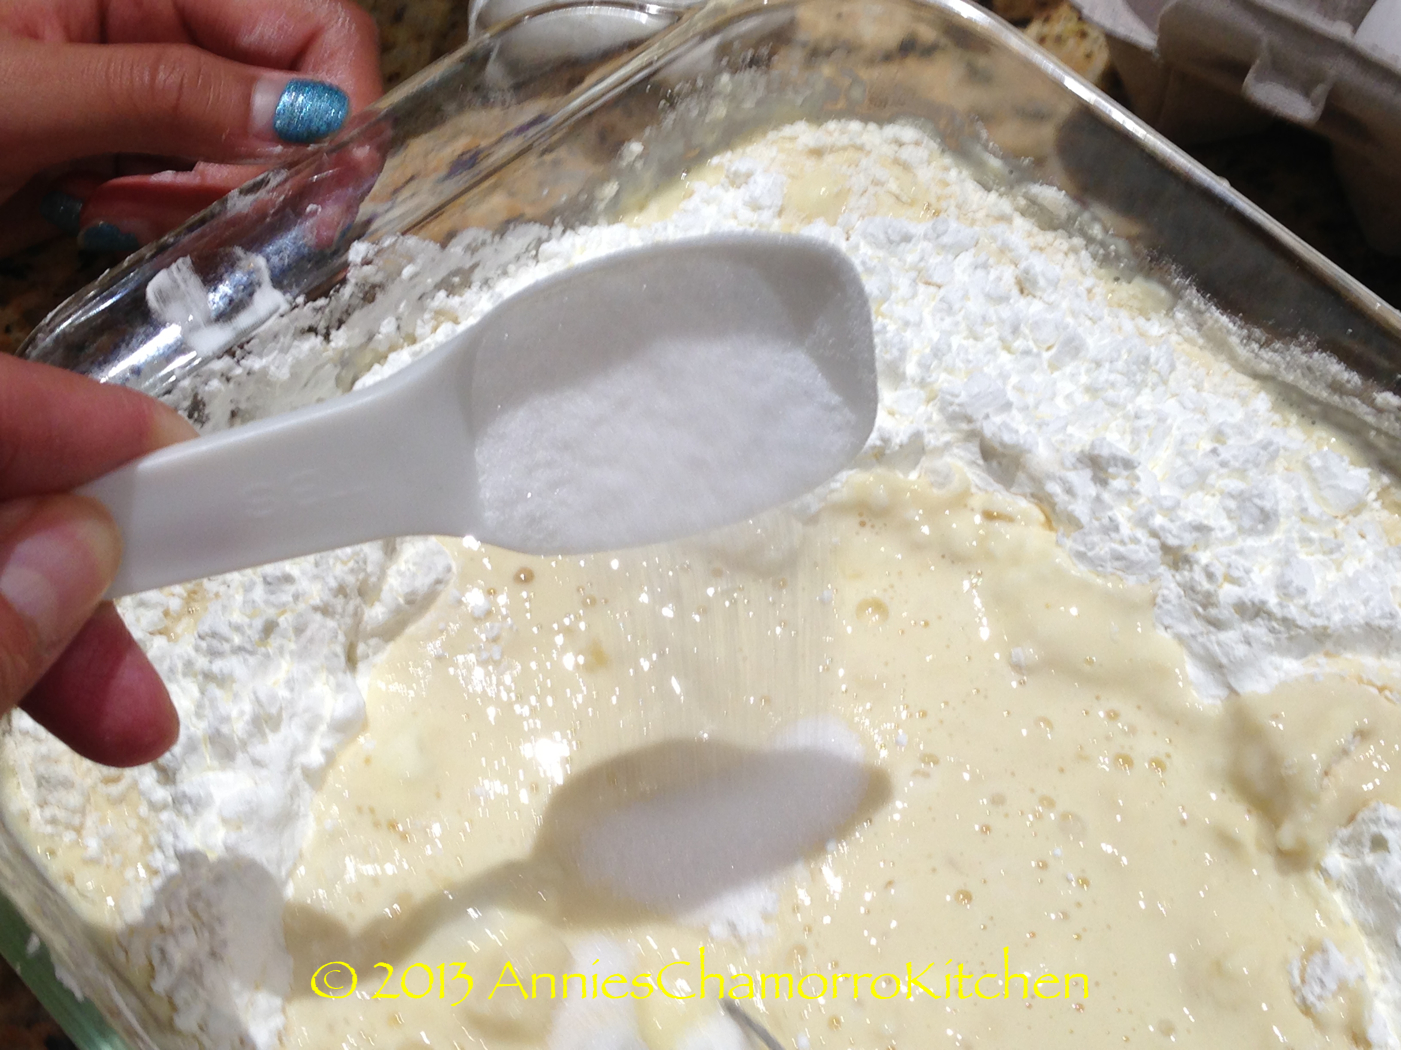
- 1 tablespoon sugar
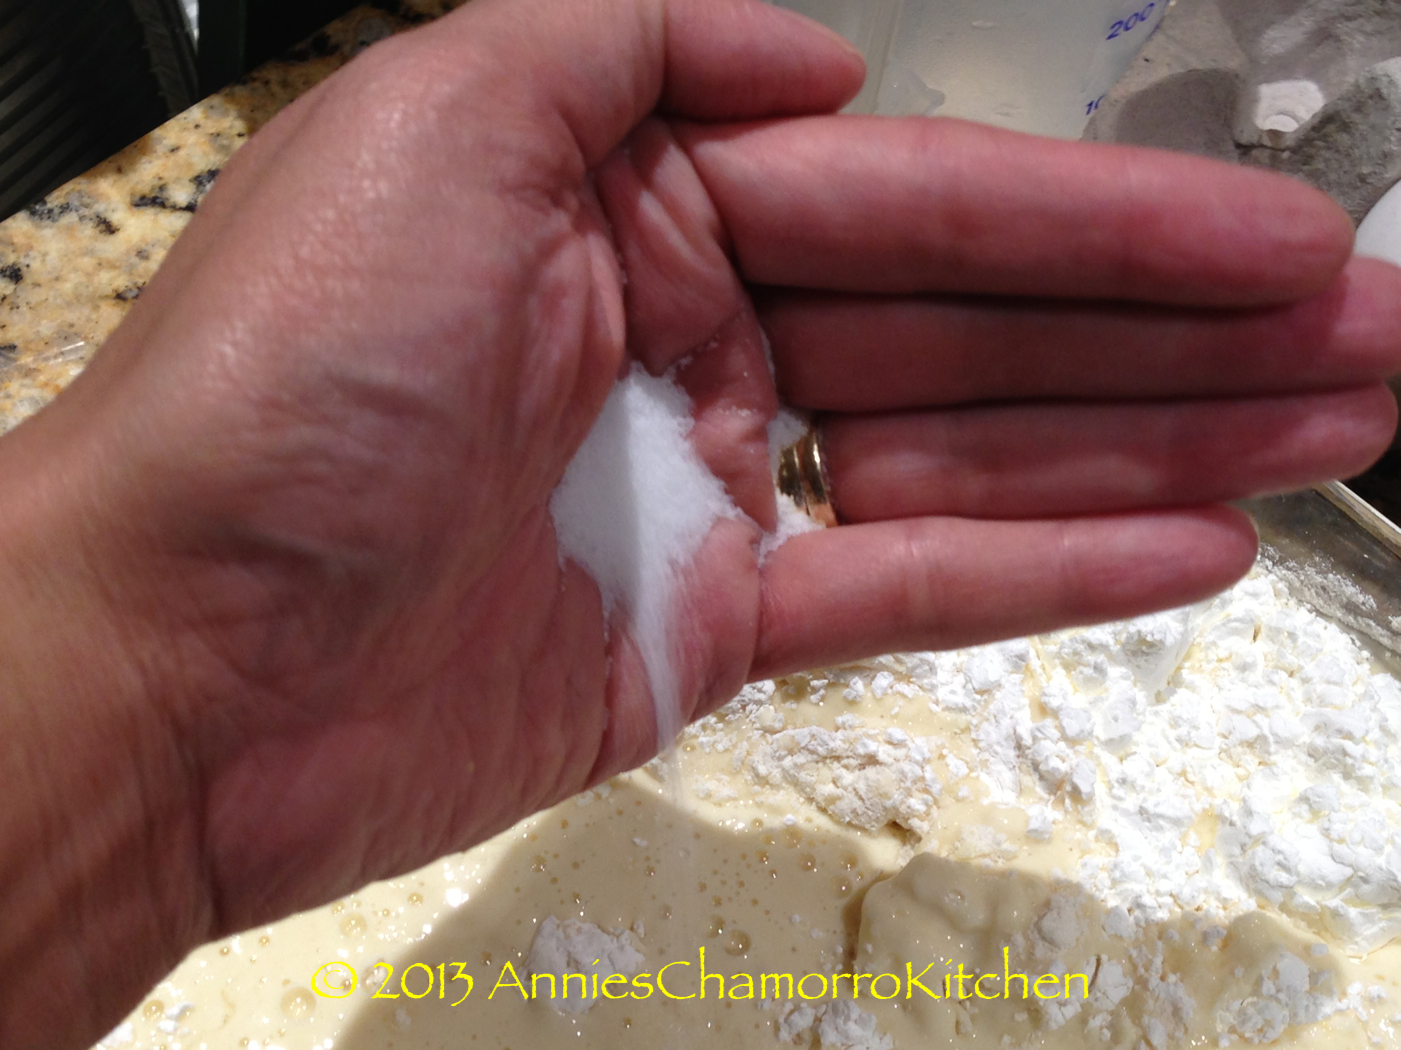
- 1 teaspoon salt
- 1 teaspoon garlic powder
DIRECTIONS:
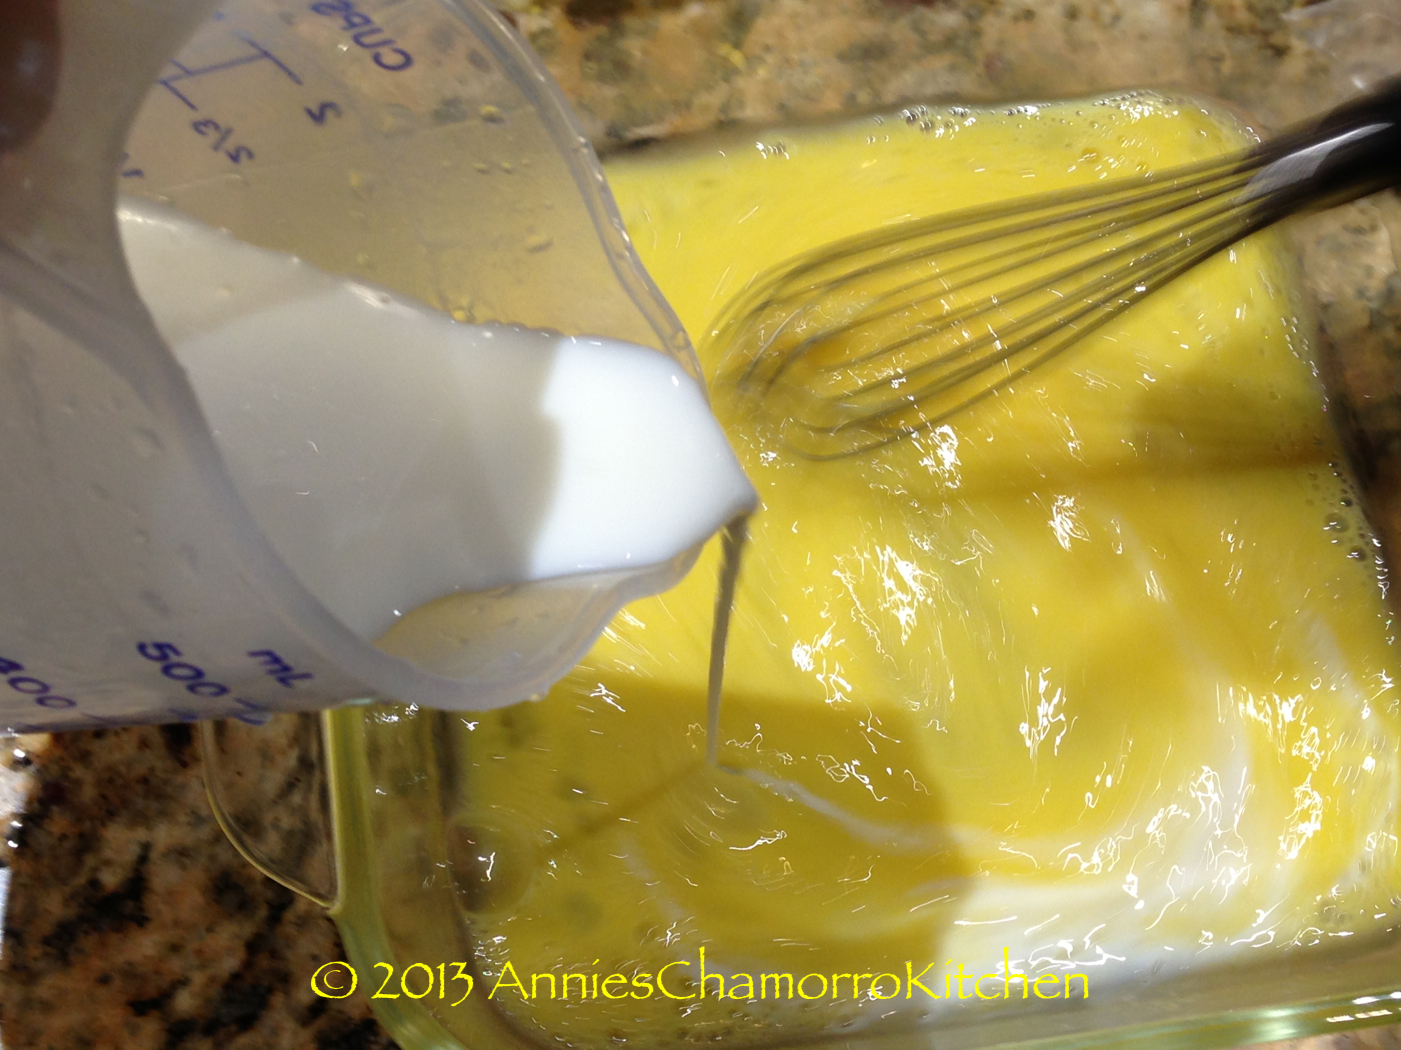
1. In a shallow bowl, beat the two eggs. Mix in the milk and water.
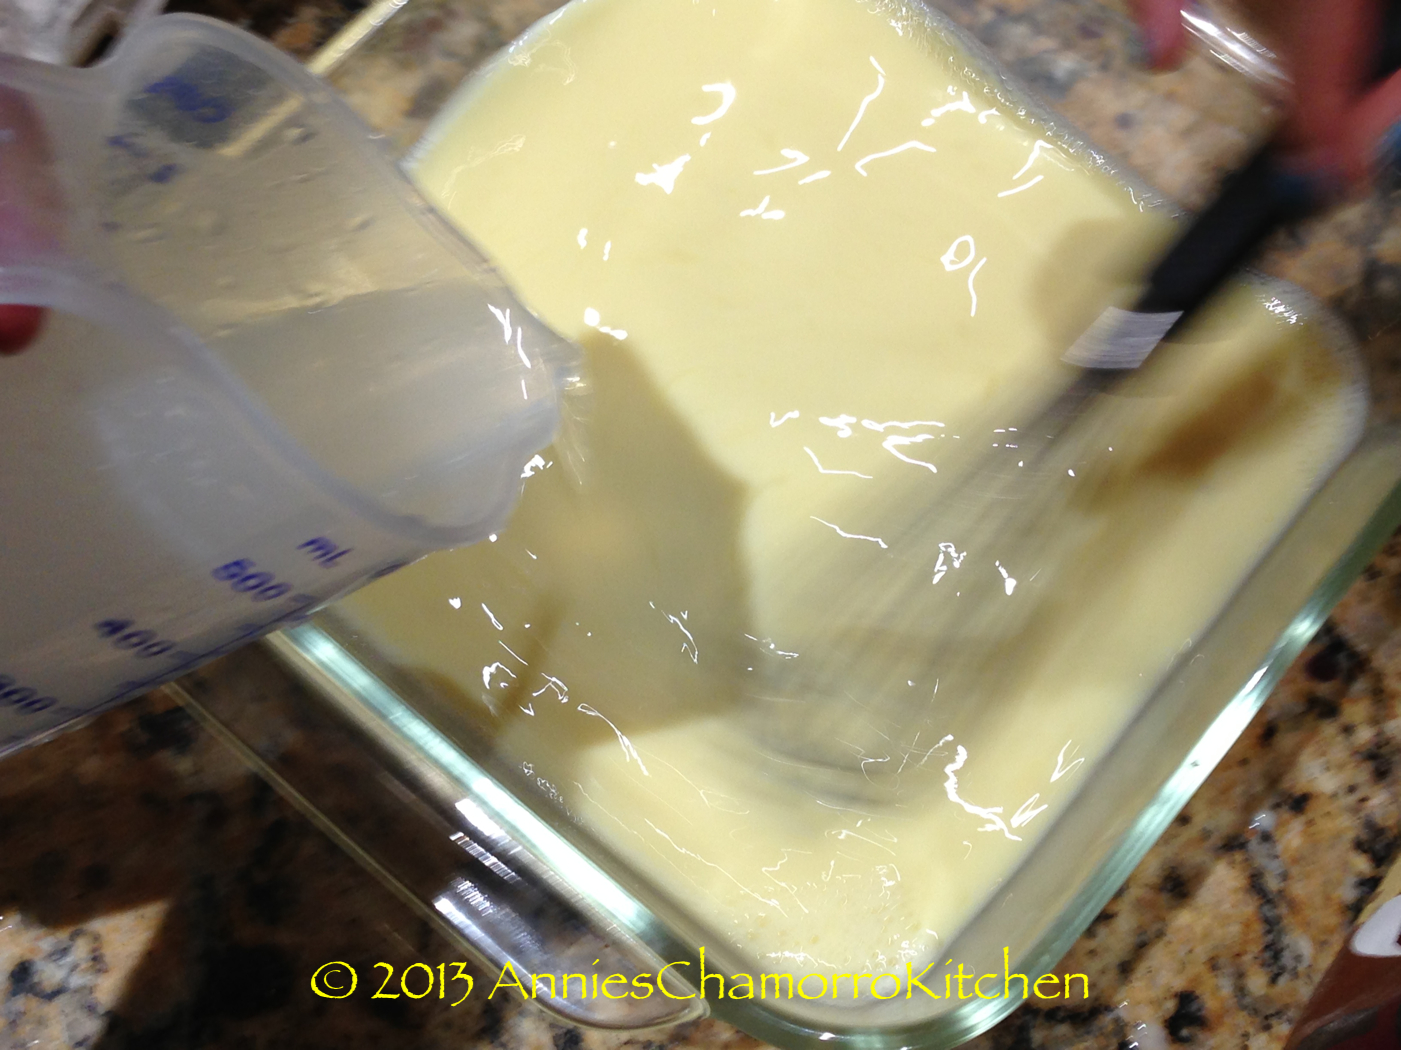
2. Mix in the flour, corn starch, sugar, salt and garlic powder.
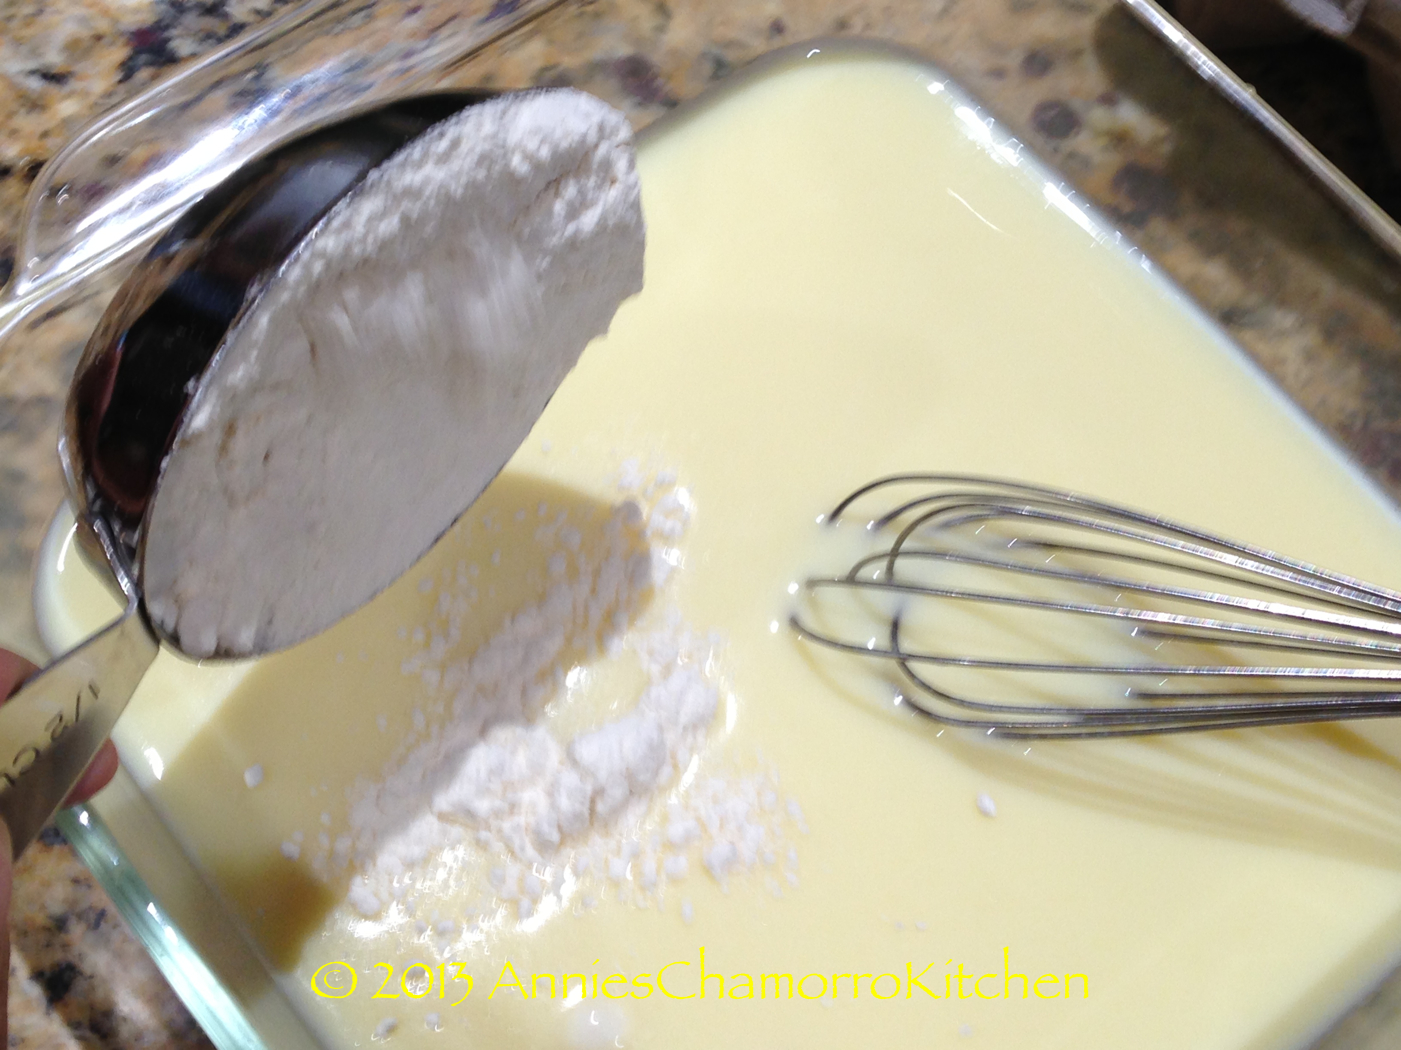
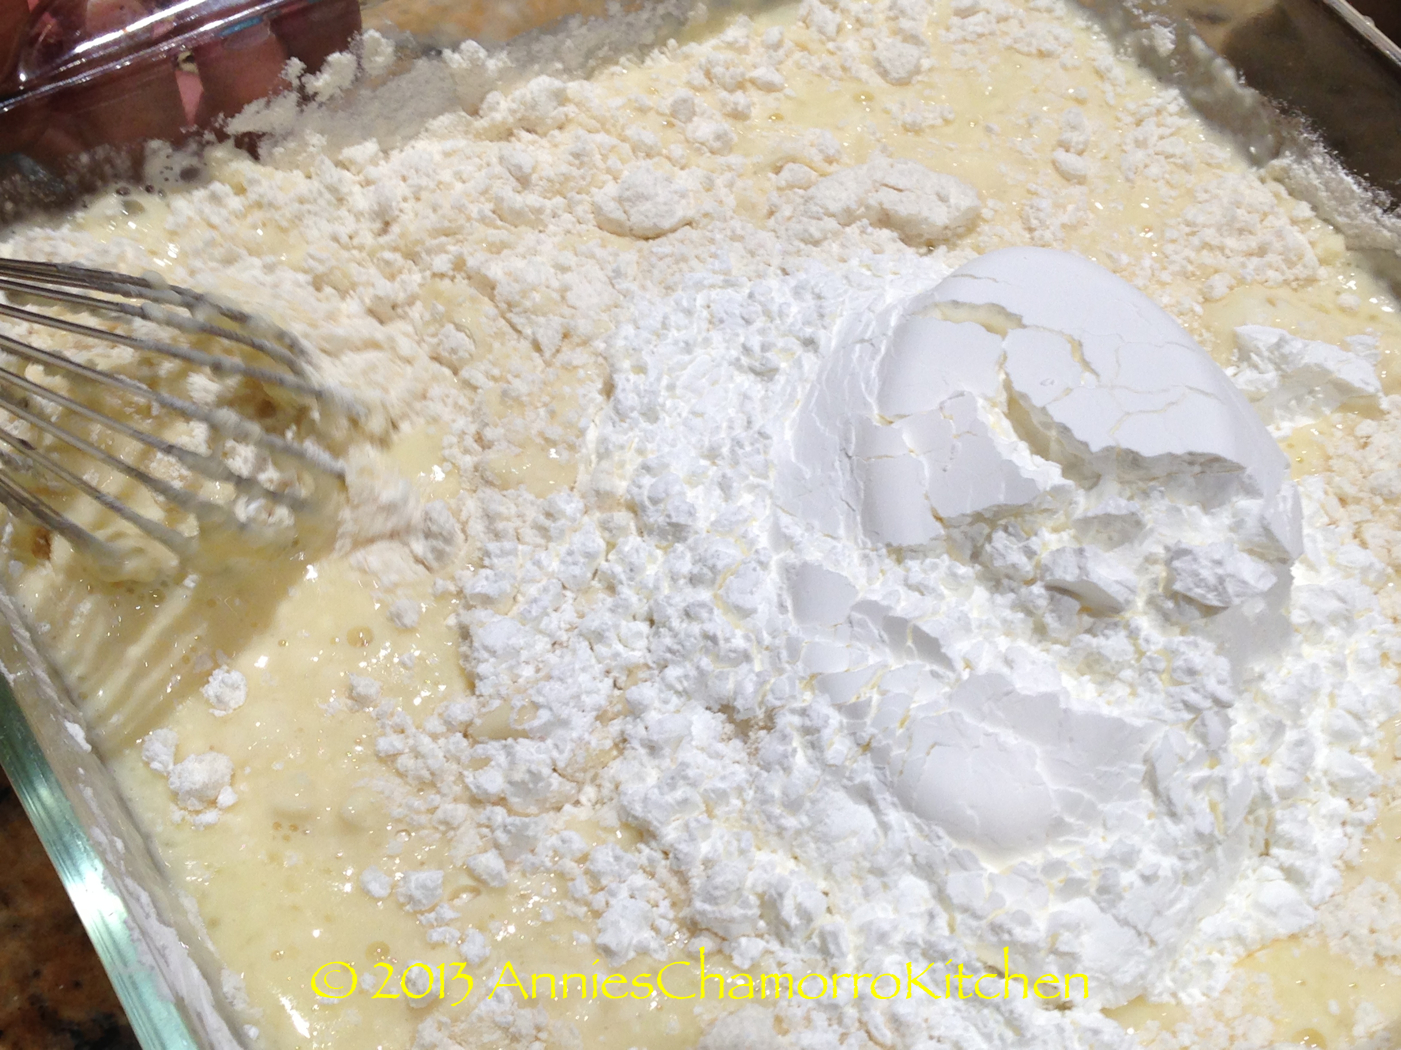
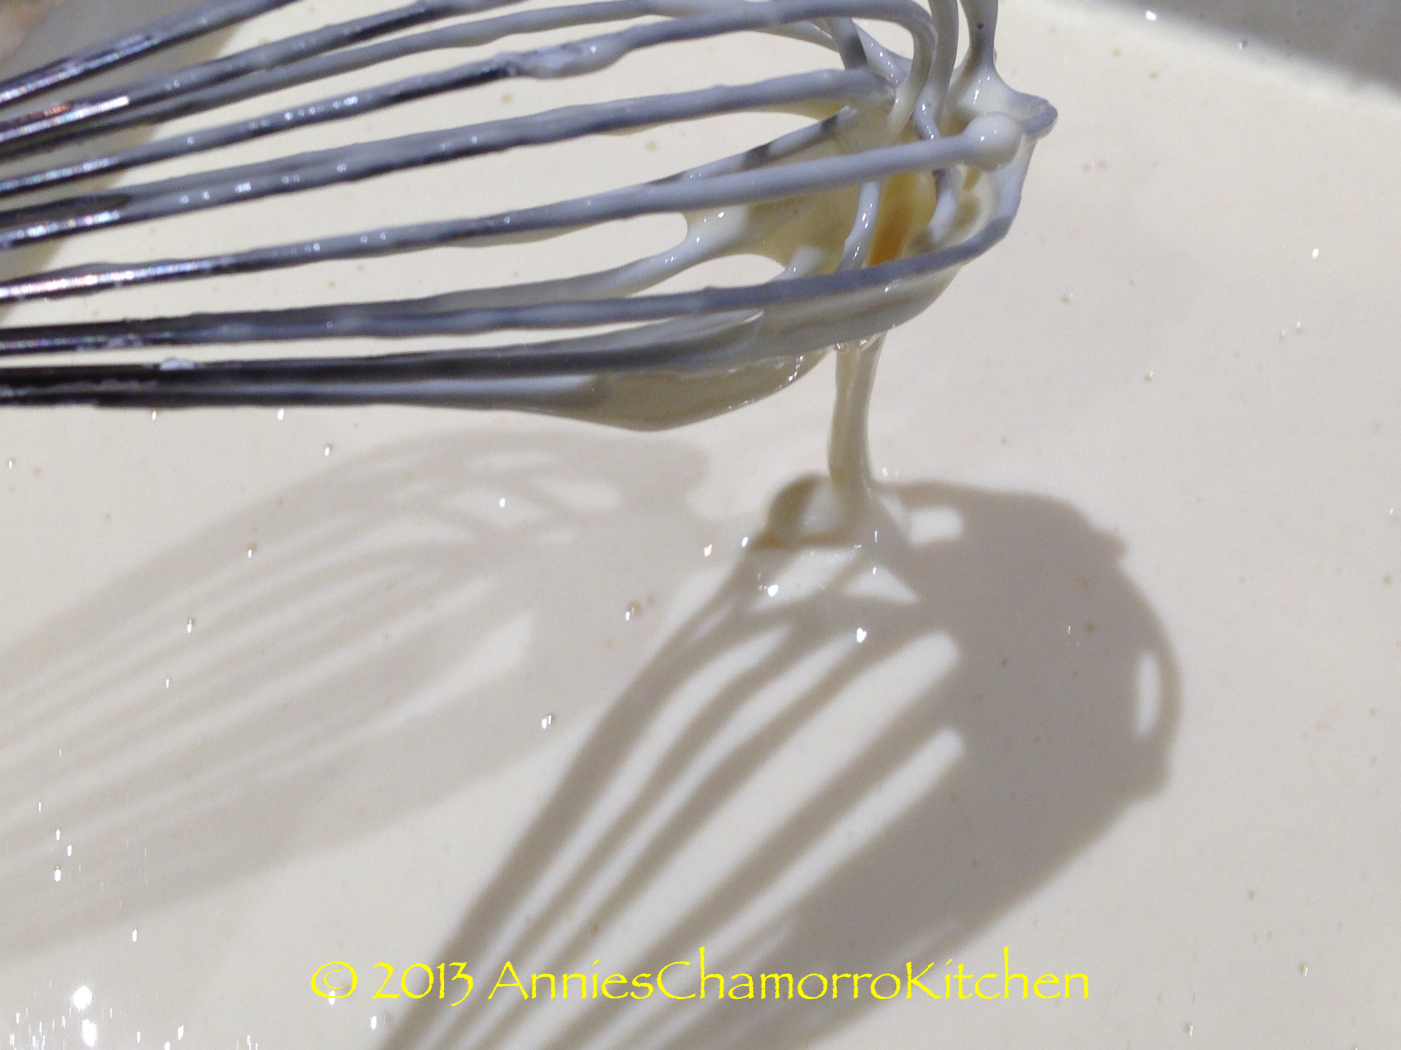
3. Whisk until there are no more lumps. The batter should be the consistency of pancake batter.
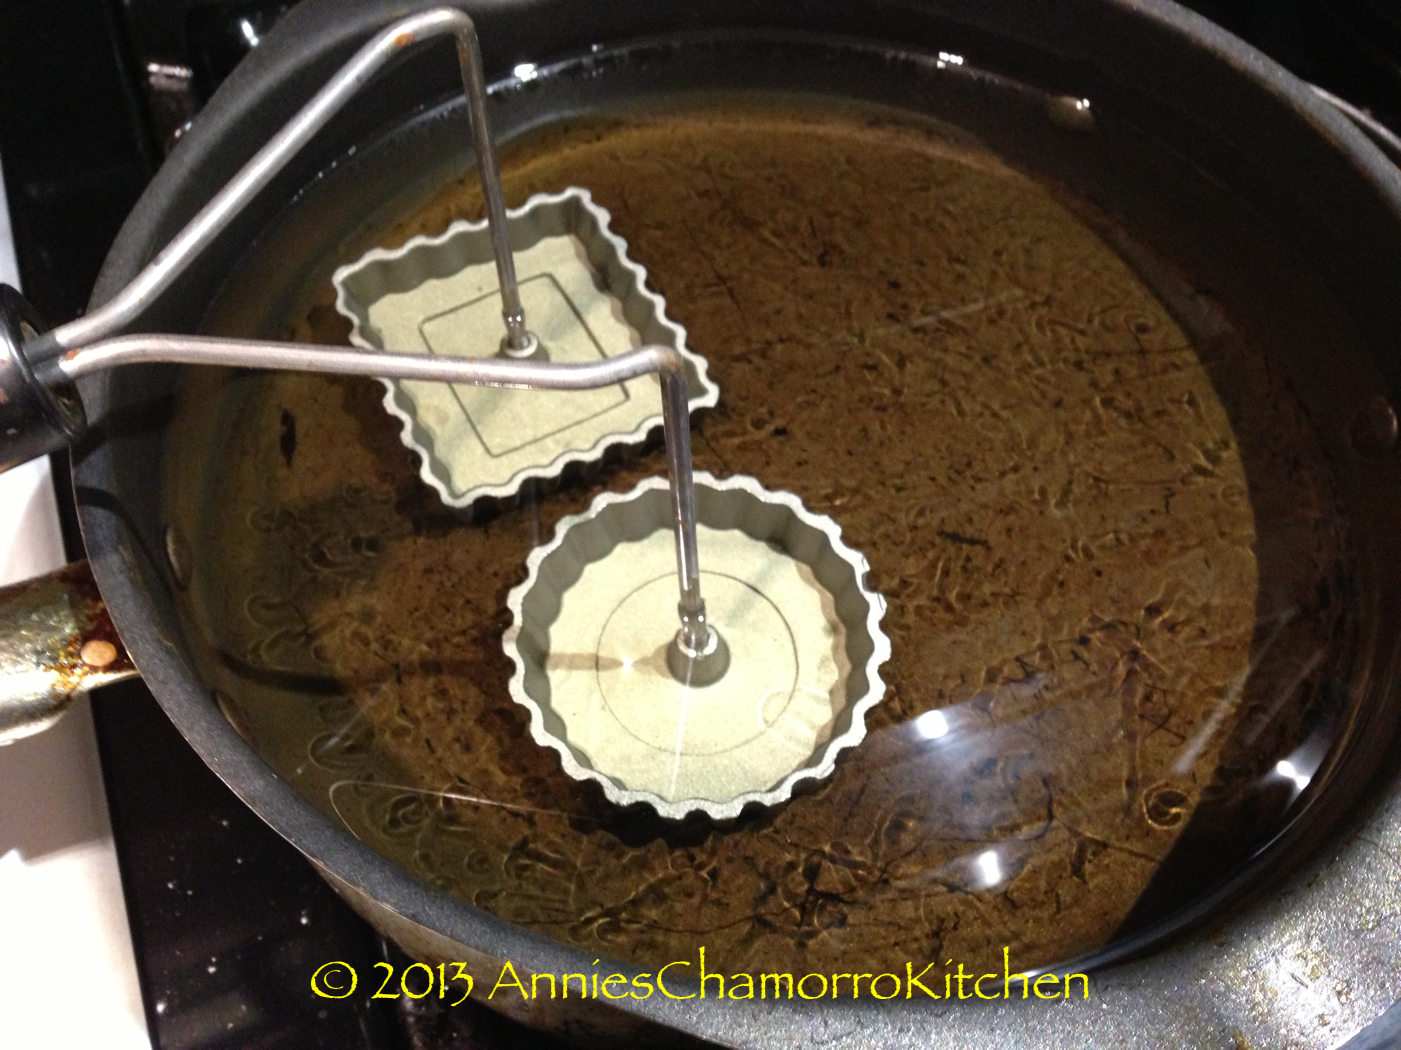
4. Place the molds in the oil while the oil is heating up.
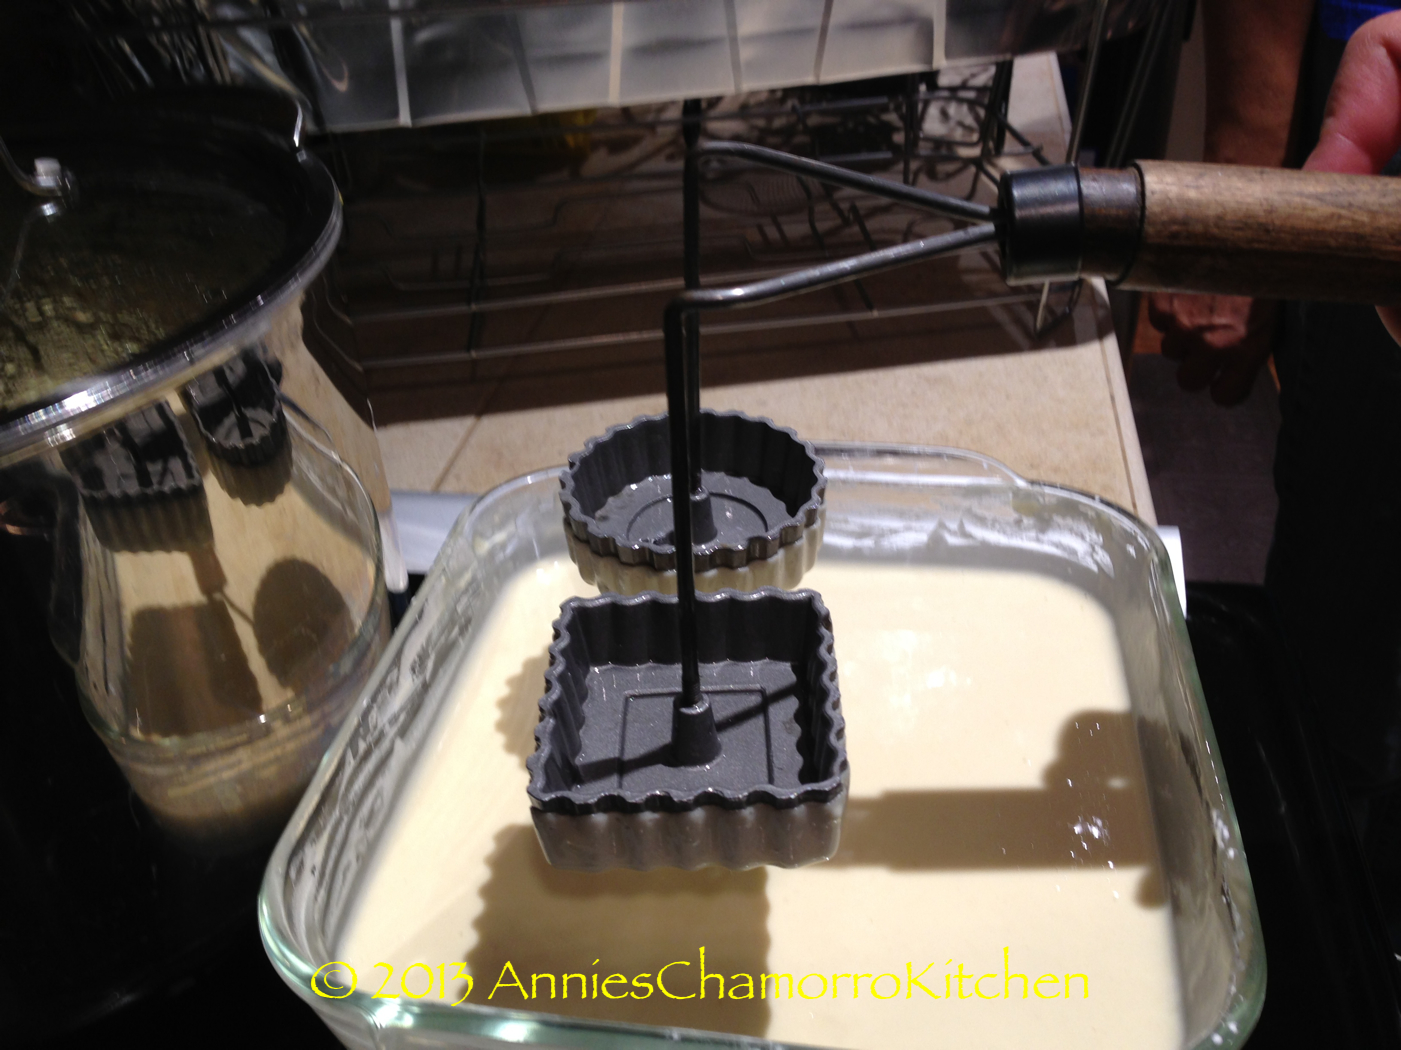
5. When the oil and molds are hot, lift the molds out of the oil. Let as much of the oil drip off as possible (if you still have oil on the molds, the batter won’t stick to it). Dip the molds into the batter, but careful not to submerge the molds. Dip the molds only to just below the rim (if the batter goes over the rim, it won’t release into the hot oil).

6. Lift the molds up out of the batter. Allow any excess batter to drip off.
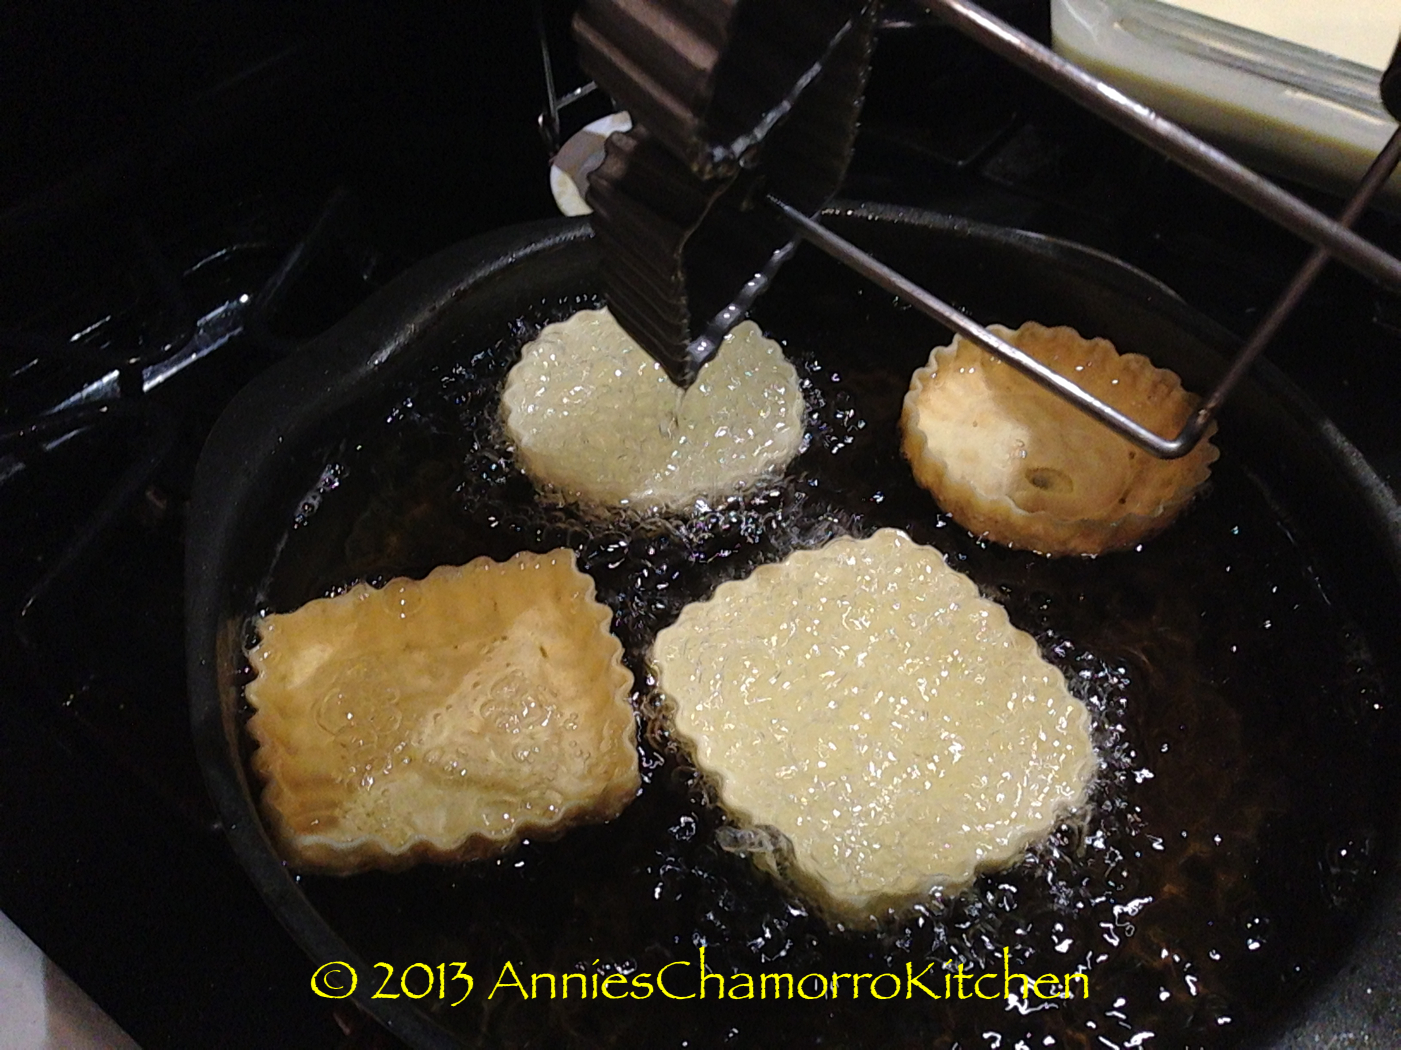
7. Place the batter-covered molds into the hot oil.
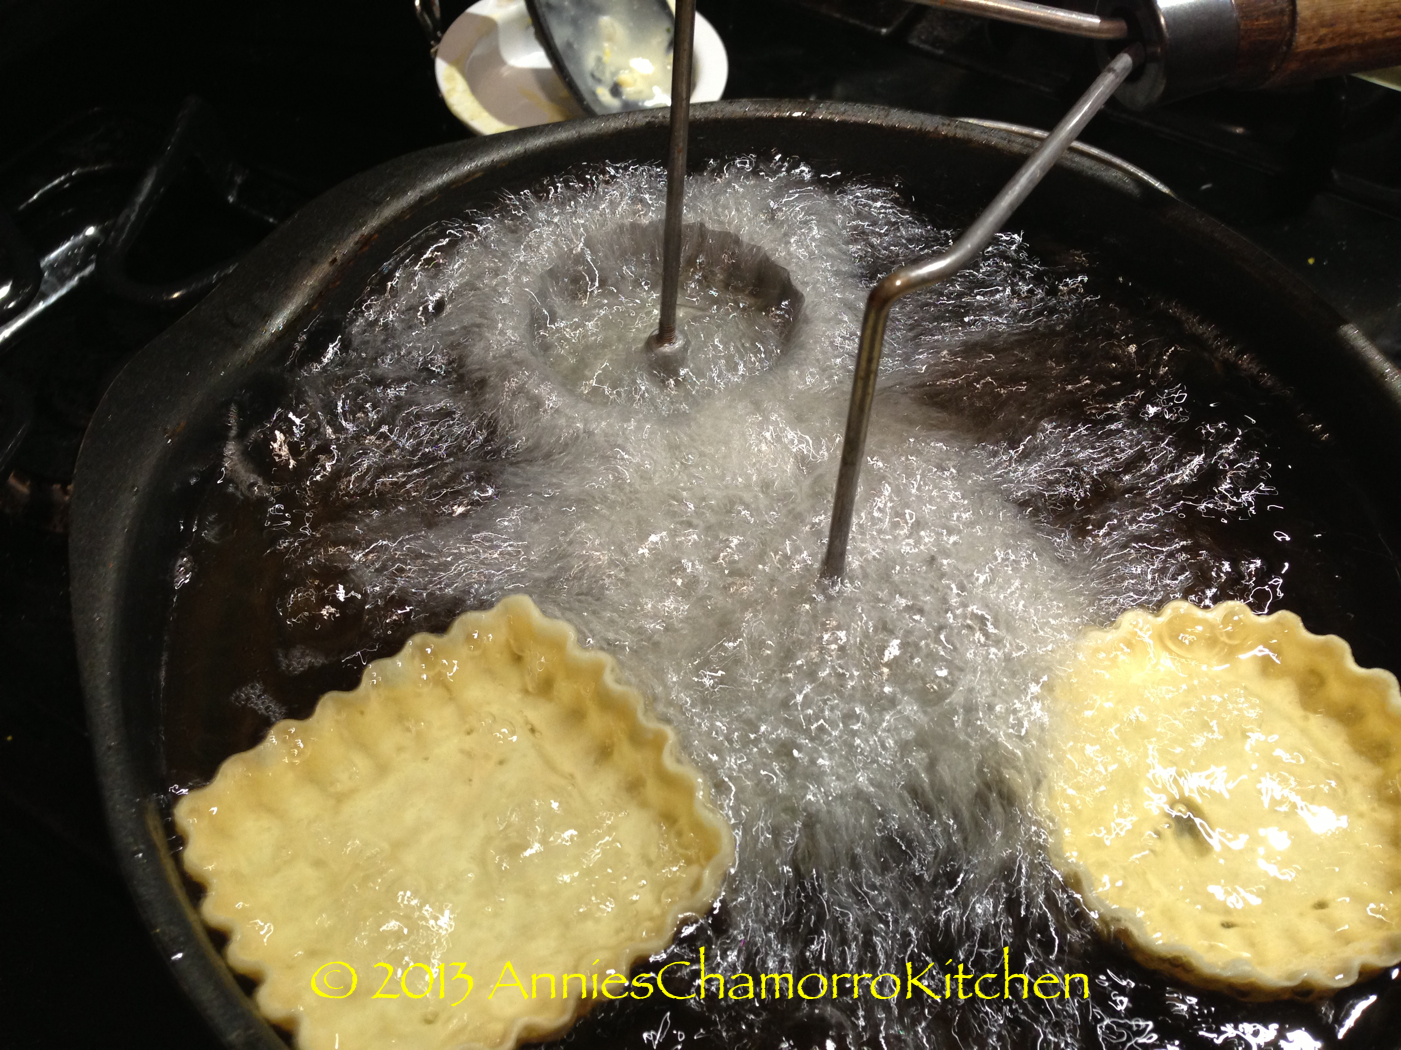
8. Keep the molds submerged in the oil for about a minute or so — the shells/cups should drop right off the molds all by themselves. If they don’t drop off by themselves, use a chopstick or fork to nudge the shell/cup off the mold.

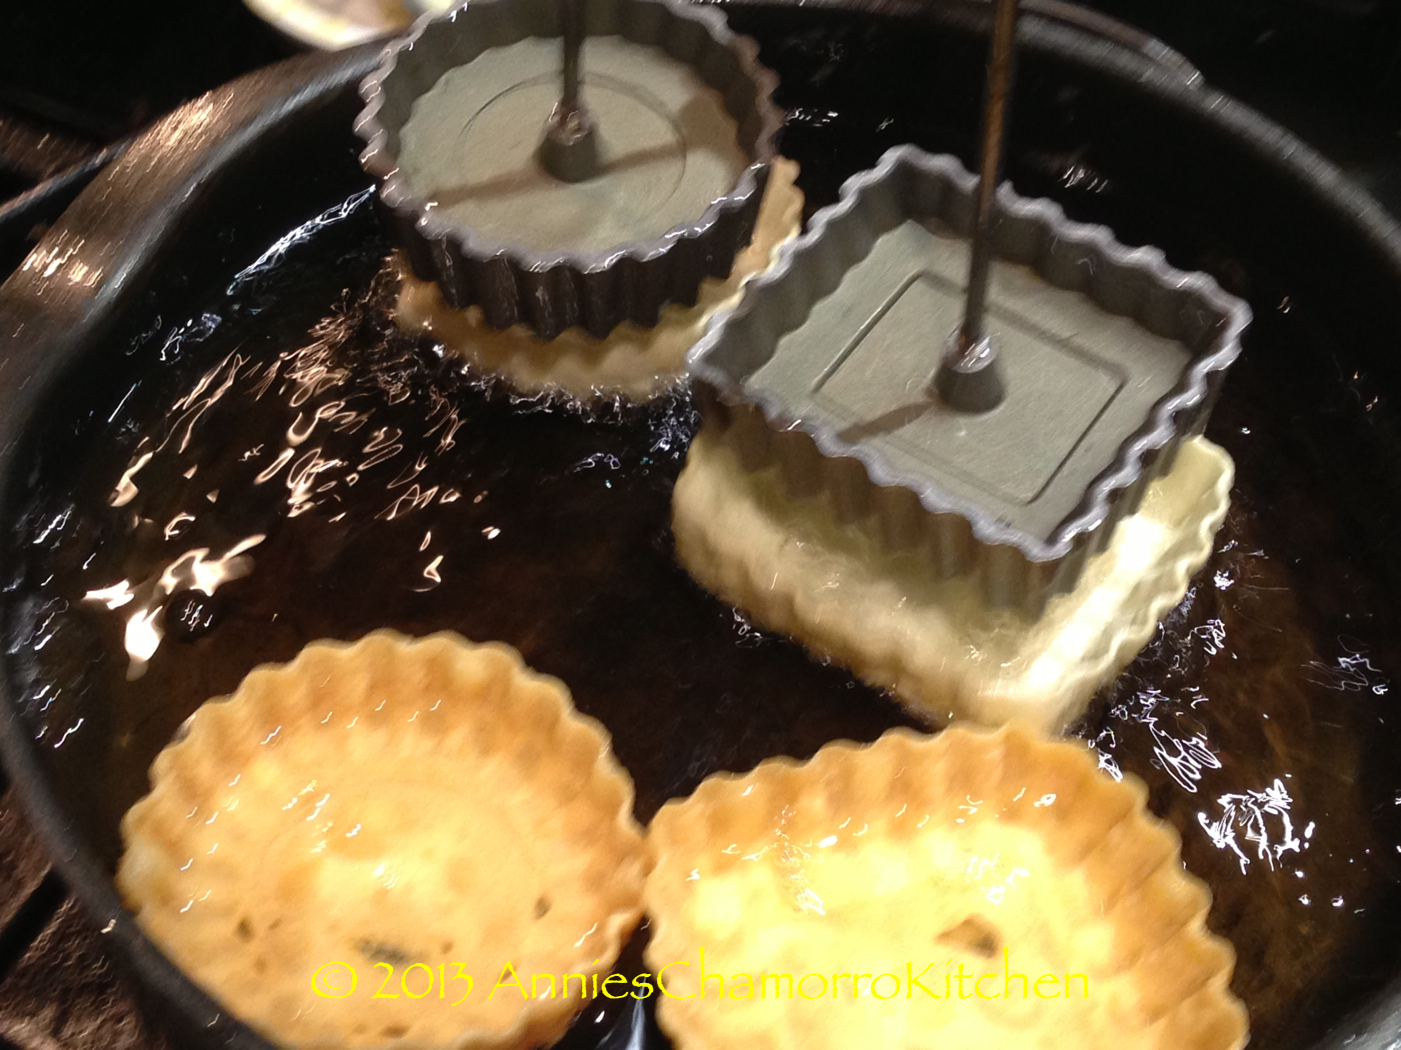
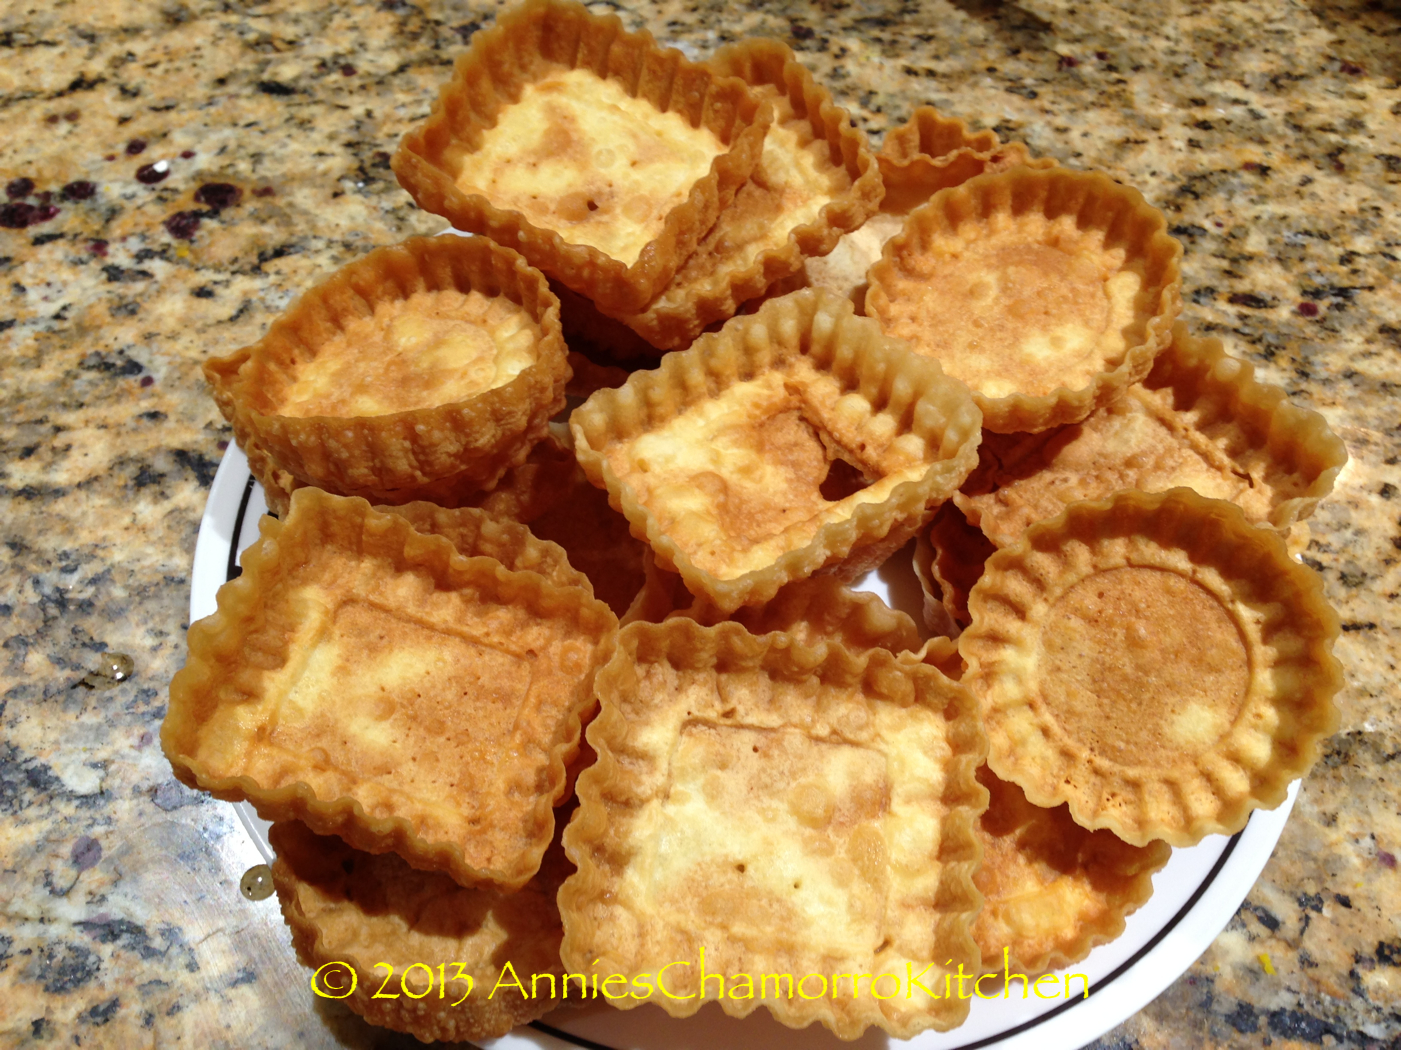
9. Lift the molds out of the oil. Fry the shells/cups until golden brown. Remove from the oil and place in a metal colander to drip off any excess oil.
NOTE: The molds must be hot before dipping them in batter. If the molds have cooled off (while you’re waiting for a batch of cups to fry), dip them back in the hot oil to reheat then repeat the process again.
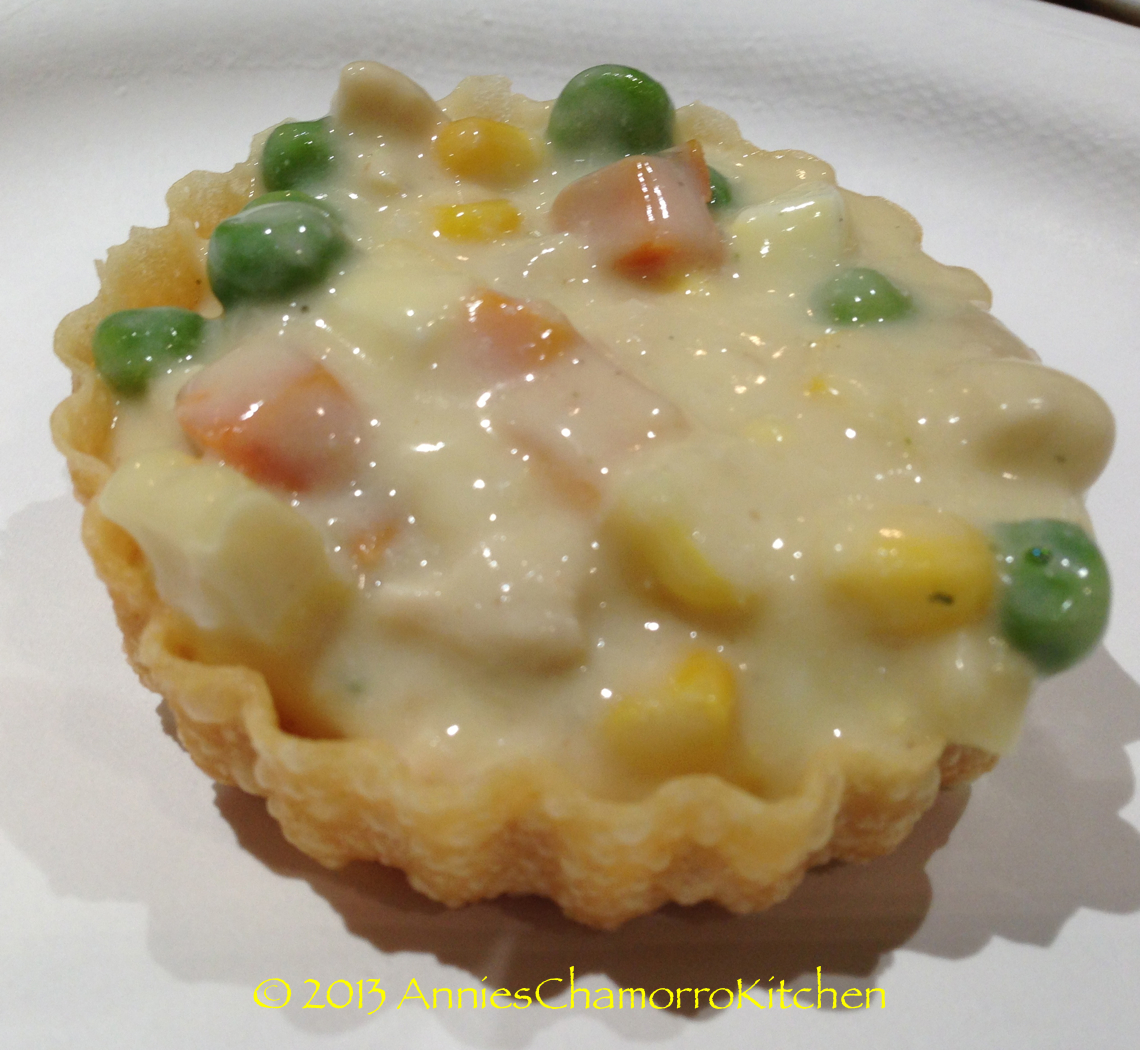
10. Let the shells/cups cool then fill with Chicken ala King and enjoy!