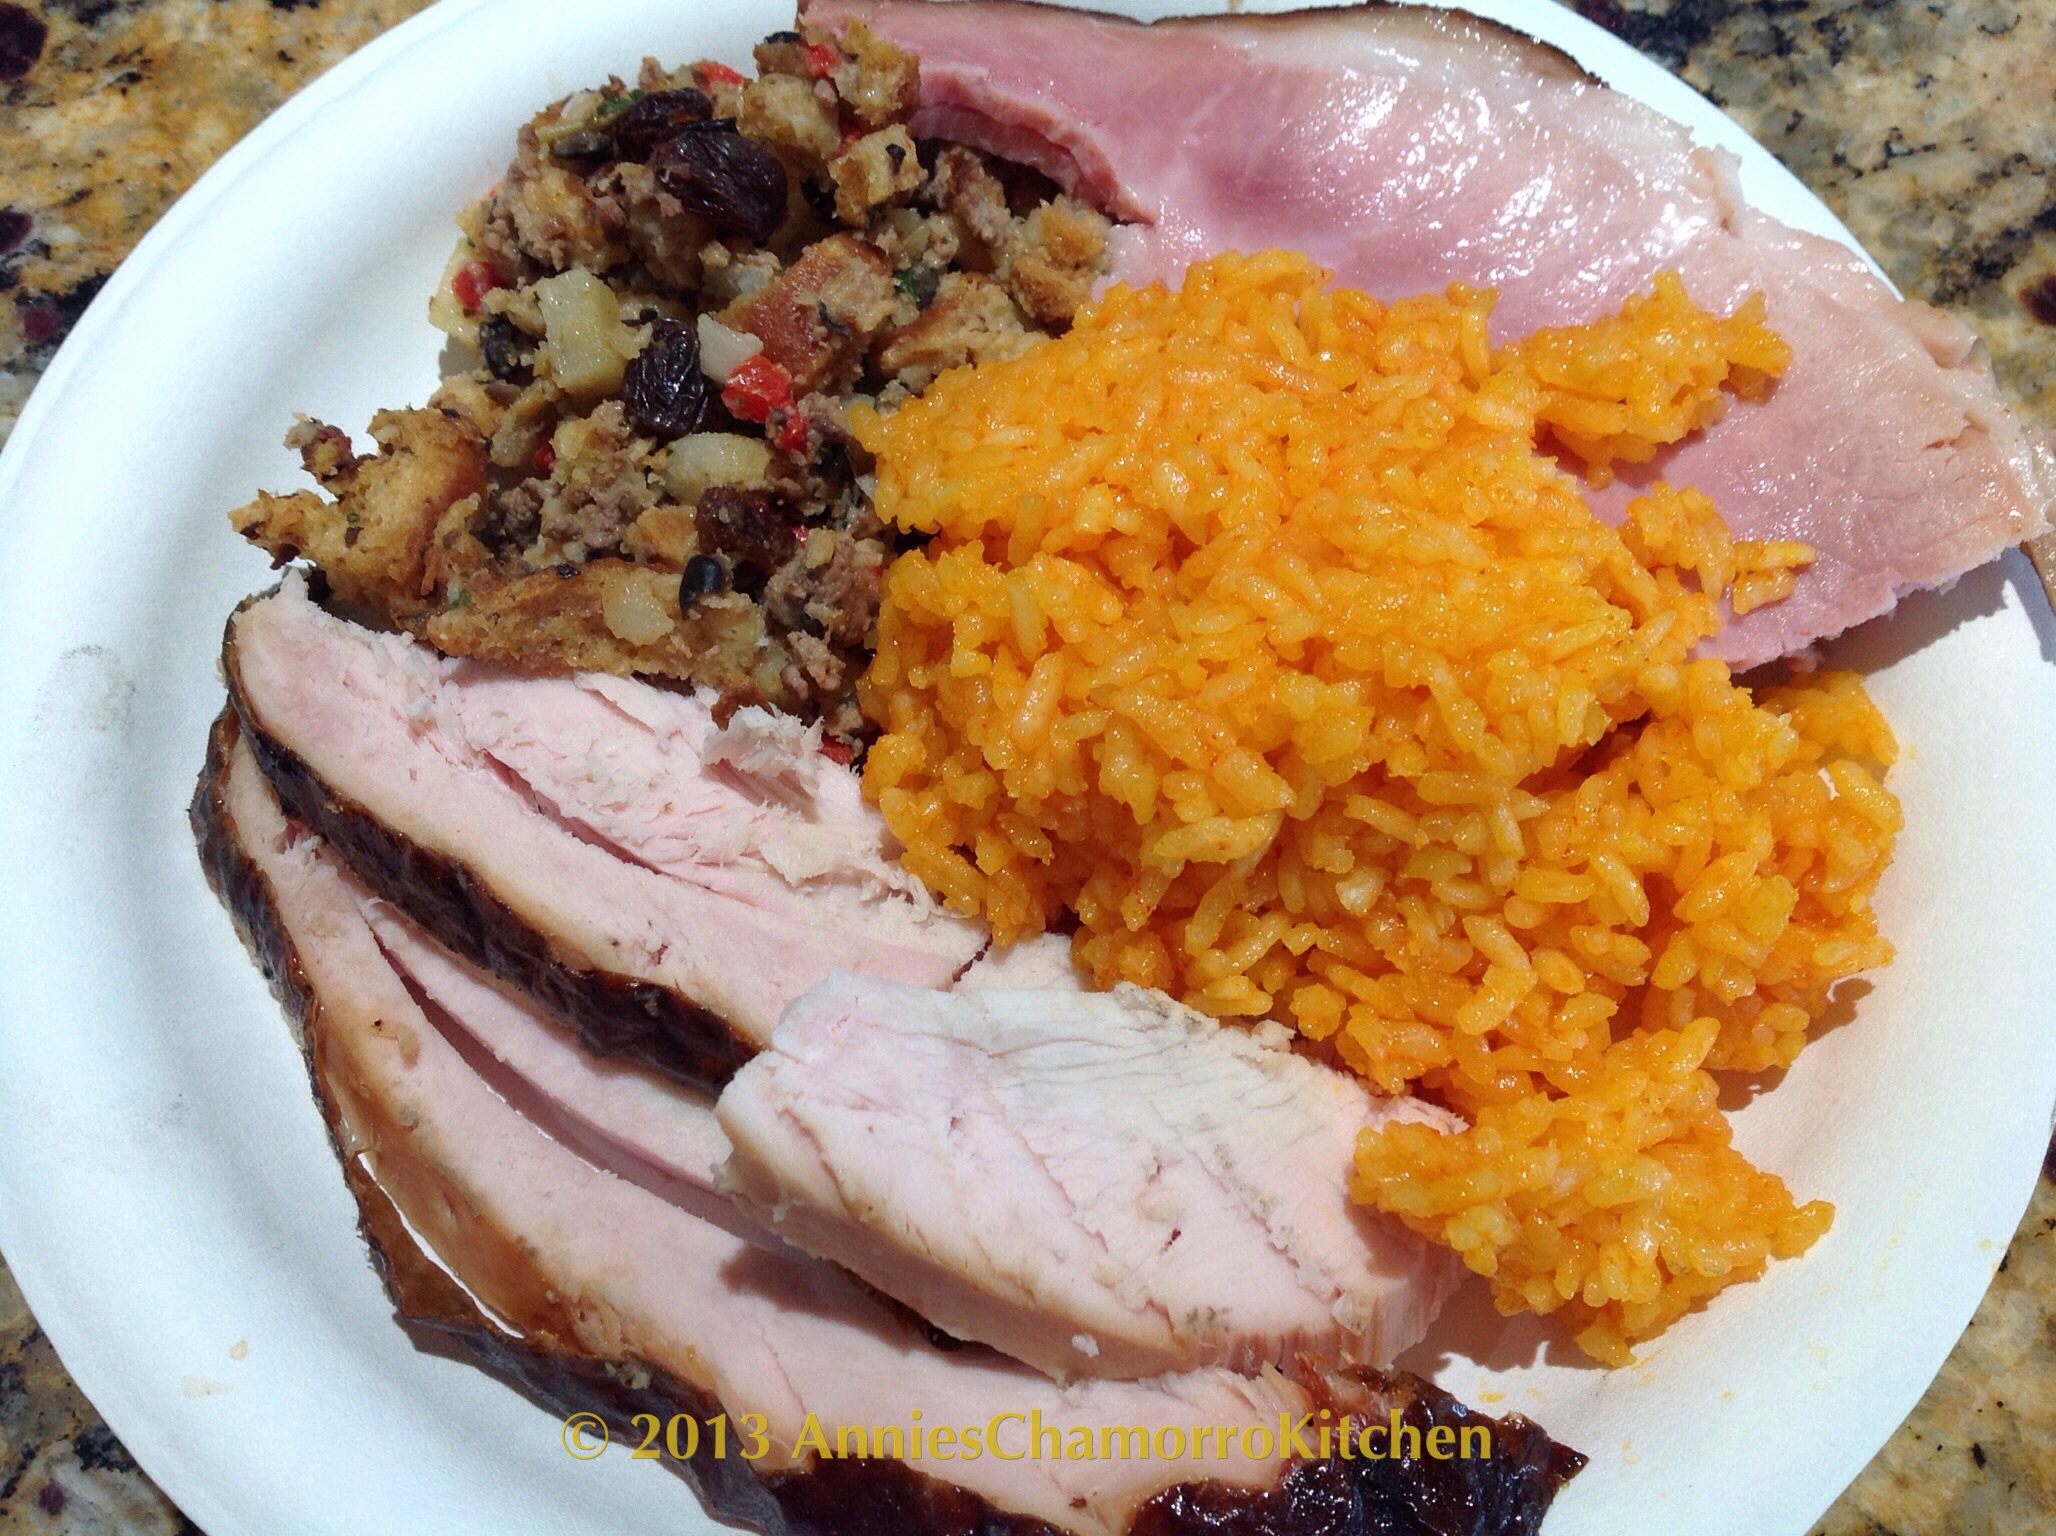
Chamorro stuffing, or Riyenu, is a delicious side dish usually served during special holiday meals, alongside baked turkey, ham, or roast pig.
My mom taught me how to make this a very long time ago, when I was a very young girl. In fact, this recipe is one of the few I added to a recipe book that I made when I was perhaps 8 or 9 years old. I remember stacking small pieces of paper and gluing one side to make a spine, then creating a cover out of stiff cardboard and gluing a piece of scrap fabric with blue polka dots on it to make the cover soft and pretty. Even at that young age, I loved to cook, and I made my very own recipe book, which I still have to this day.
I’ve been asked what makes this a Chamorro stuffing. Well, I guess it’s the addition of potatoes, pimento and olives, kind of like our Chamorro Potato Salad.
A few optional ingredients that my mom sometimes puts in her Riyenu are finely diced celery and a small jar of sweet pickle relish. I prefer my stuffing without those two ingredients, so I leave them out.
You don’t need to wait for a holiday to make this yummy stuffing. Give my recipe a try. I think you’ll like it. 🙂
Riyenu ~ Chamorro Stuffing
Ingredients:
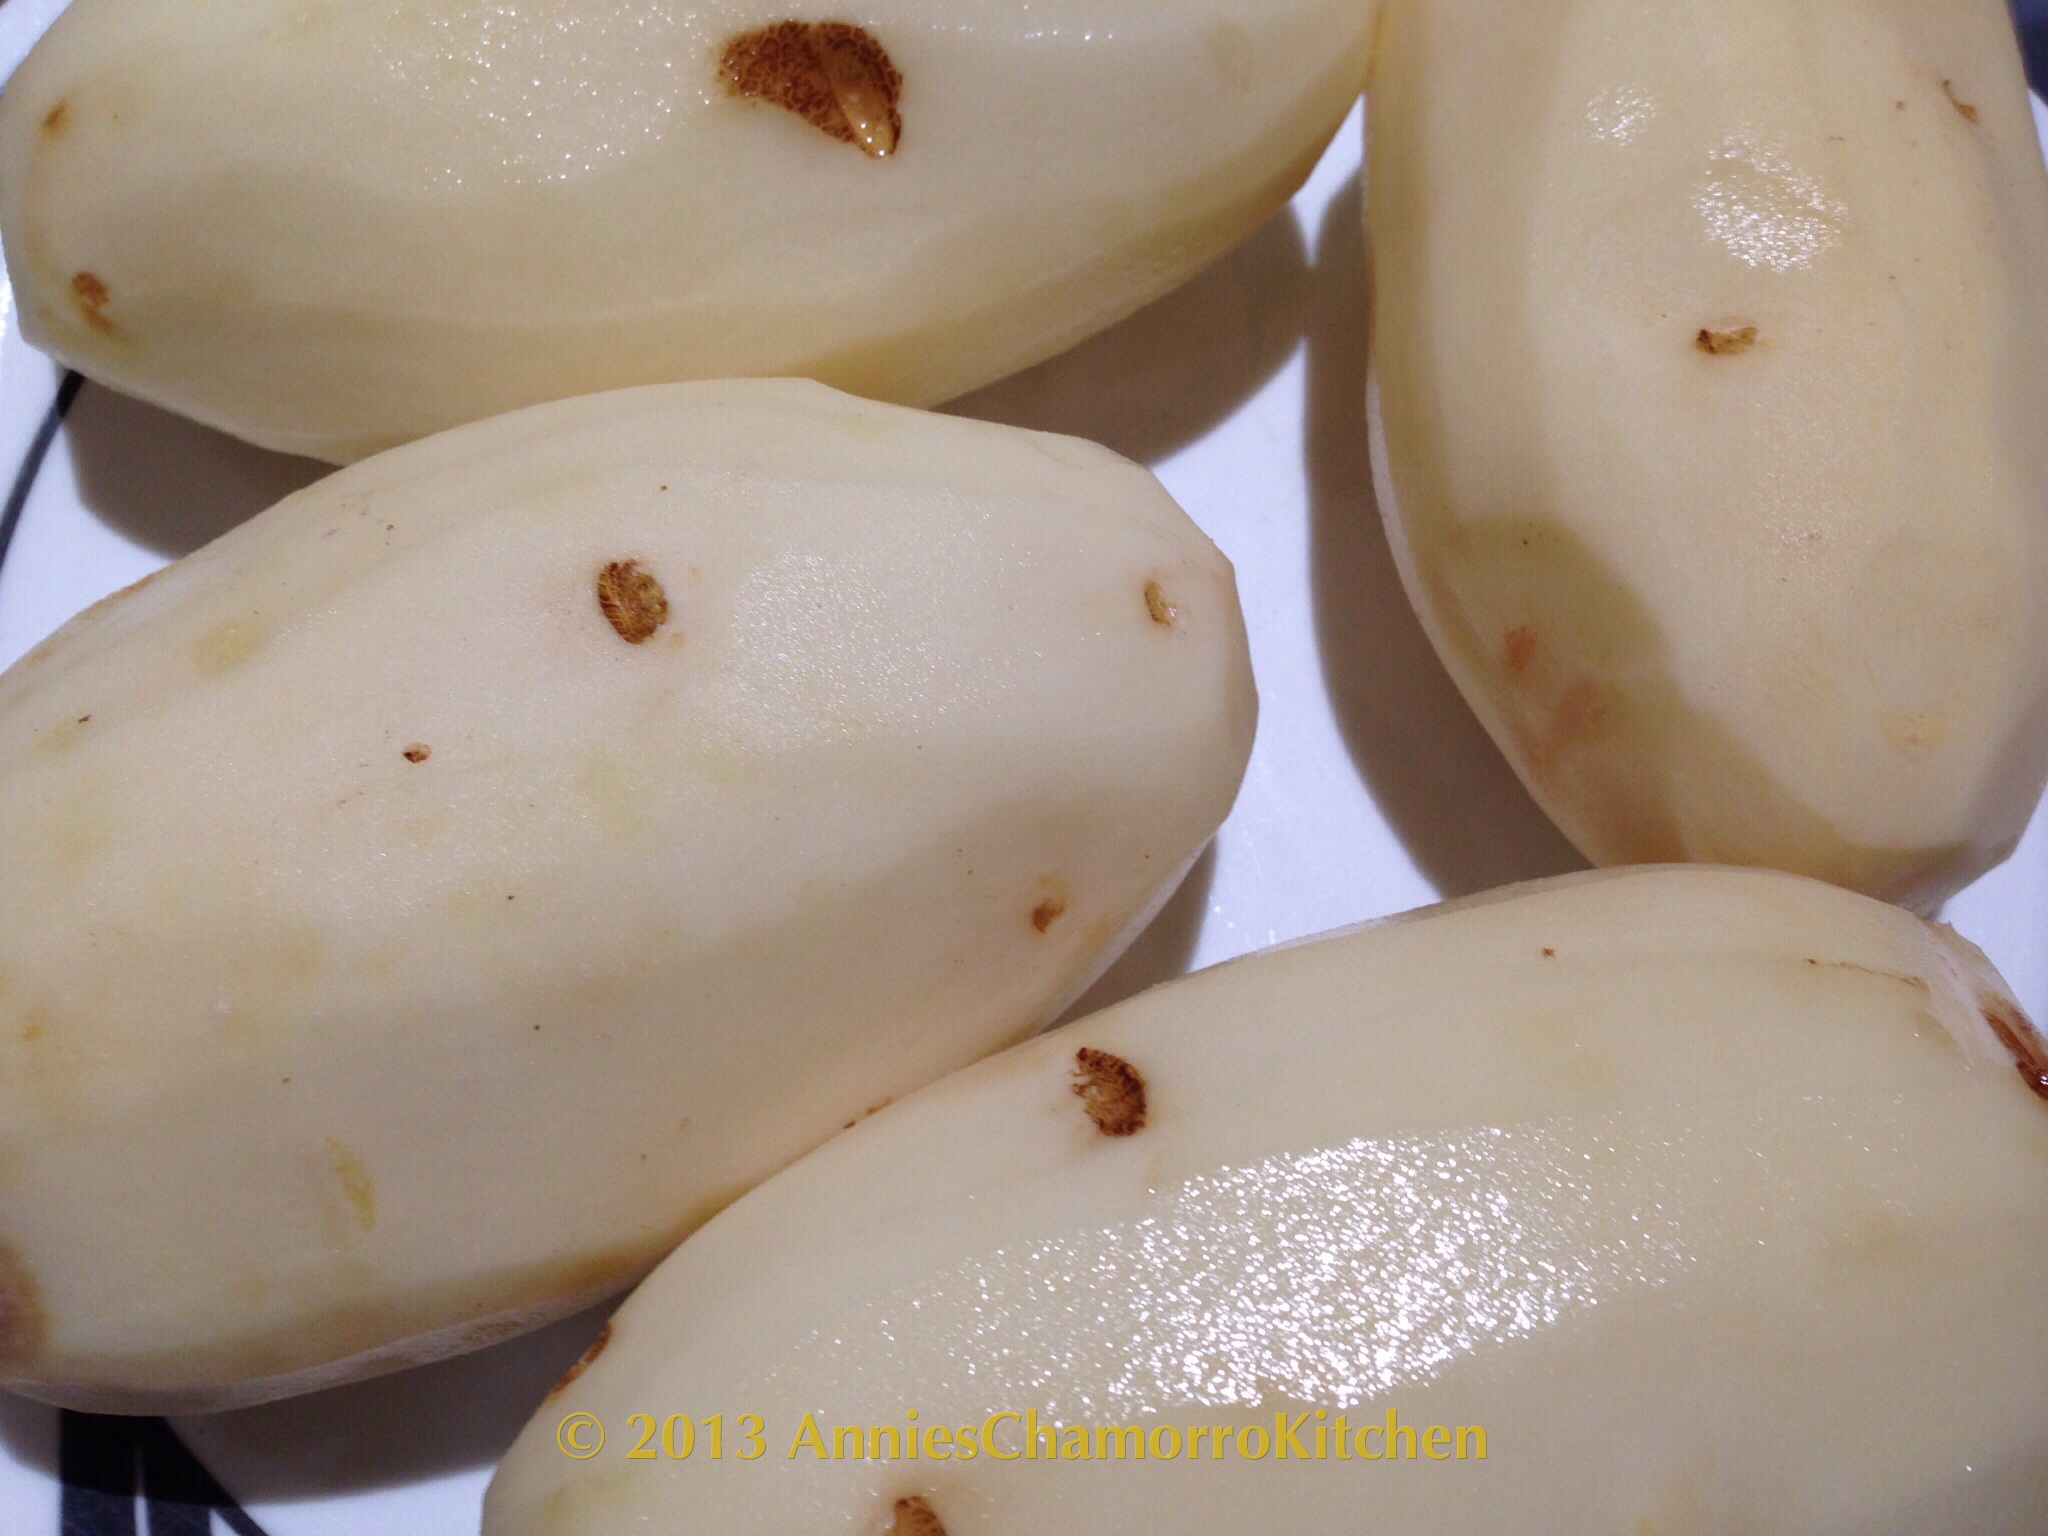
- 2 medium potatoes
- 1 cup vegetable oil, for frying
- 1 pound ground beef
- 1 small onion, diced
- 1 box Stove Top Stuffing Mix for Turkey
- 2 small jars diced pimento, drained
- 1 small can chopped black olives, drained
- 1 cup raisins
- 1 can evaporated milk
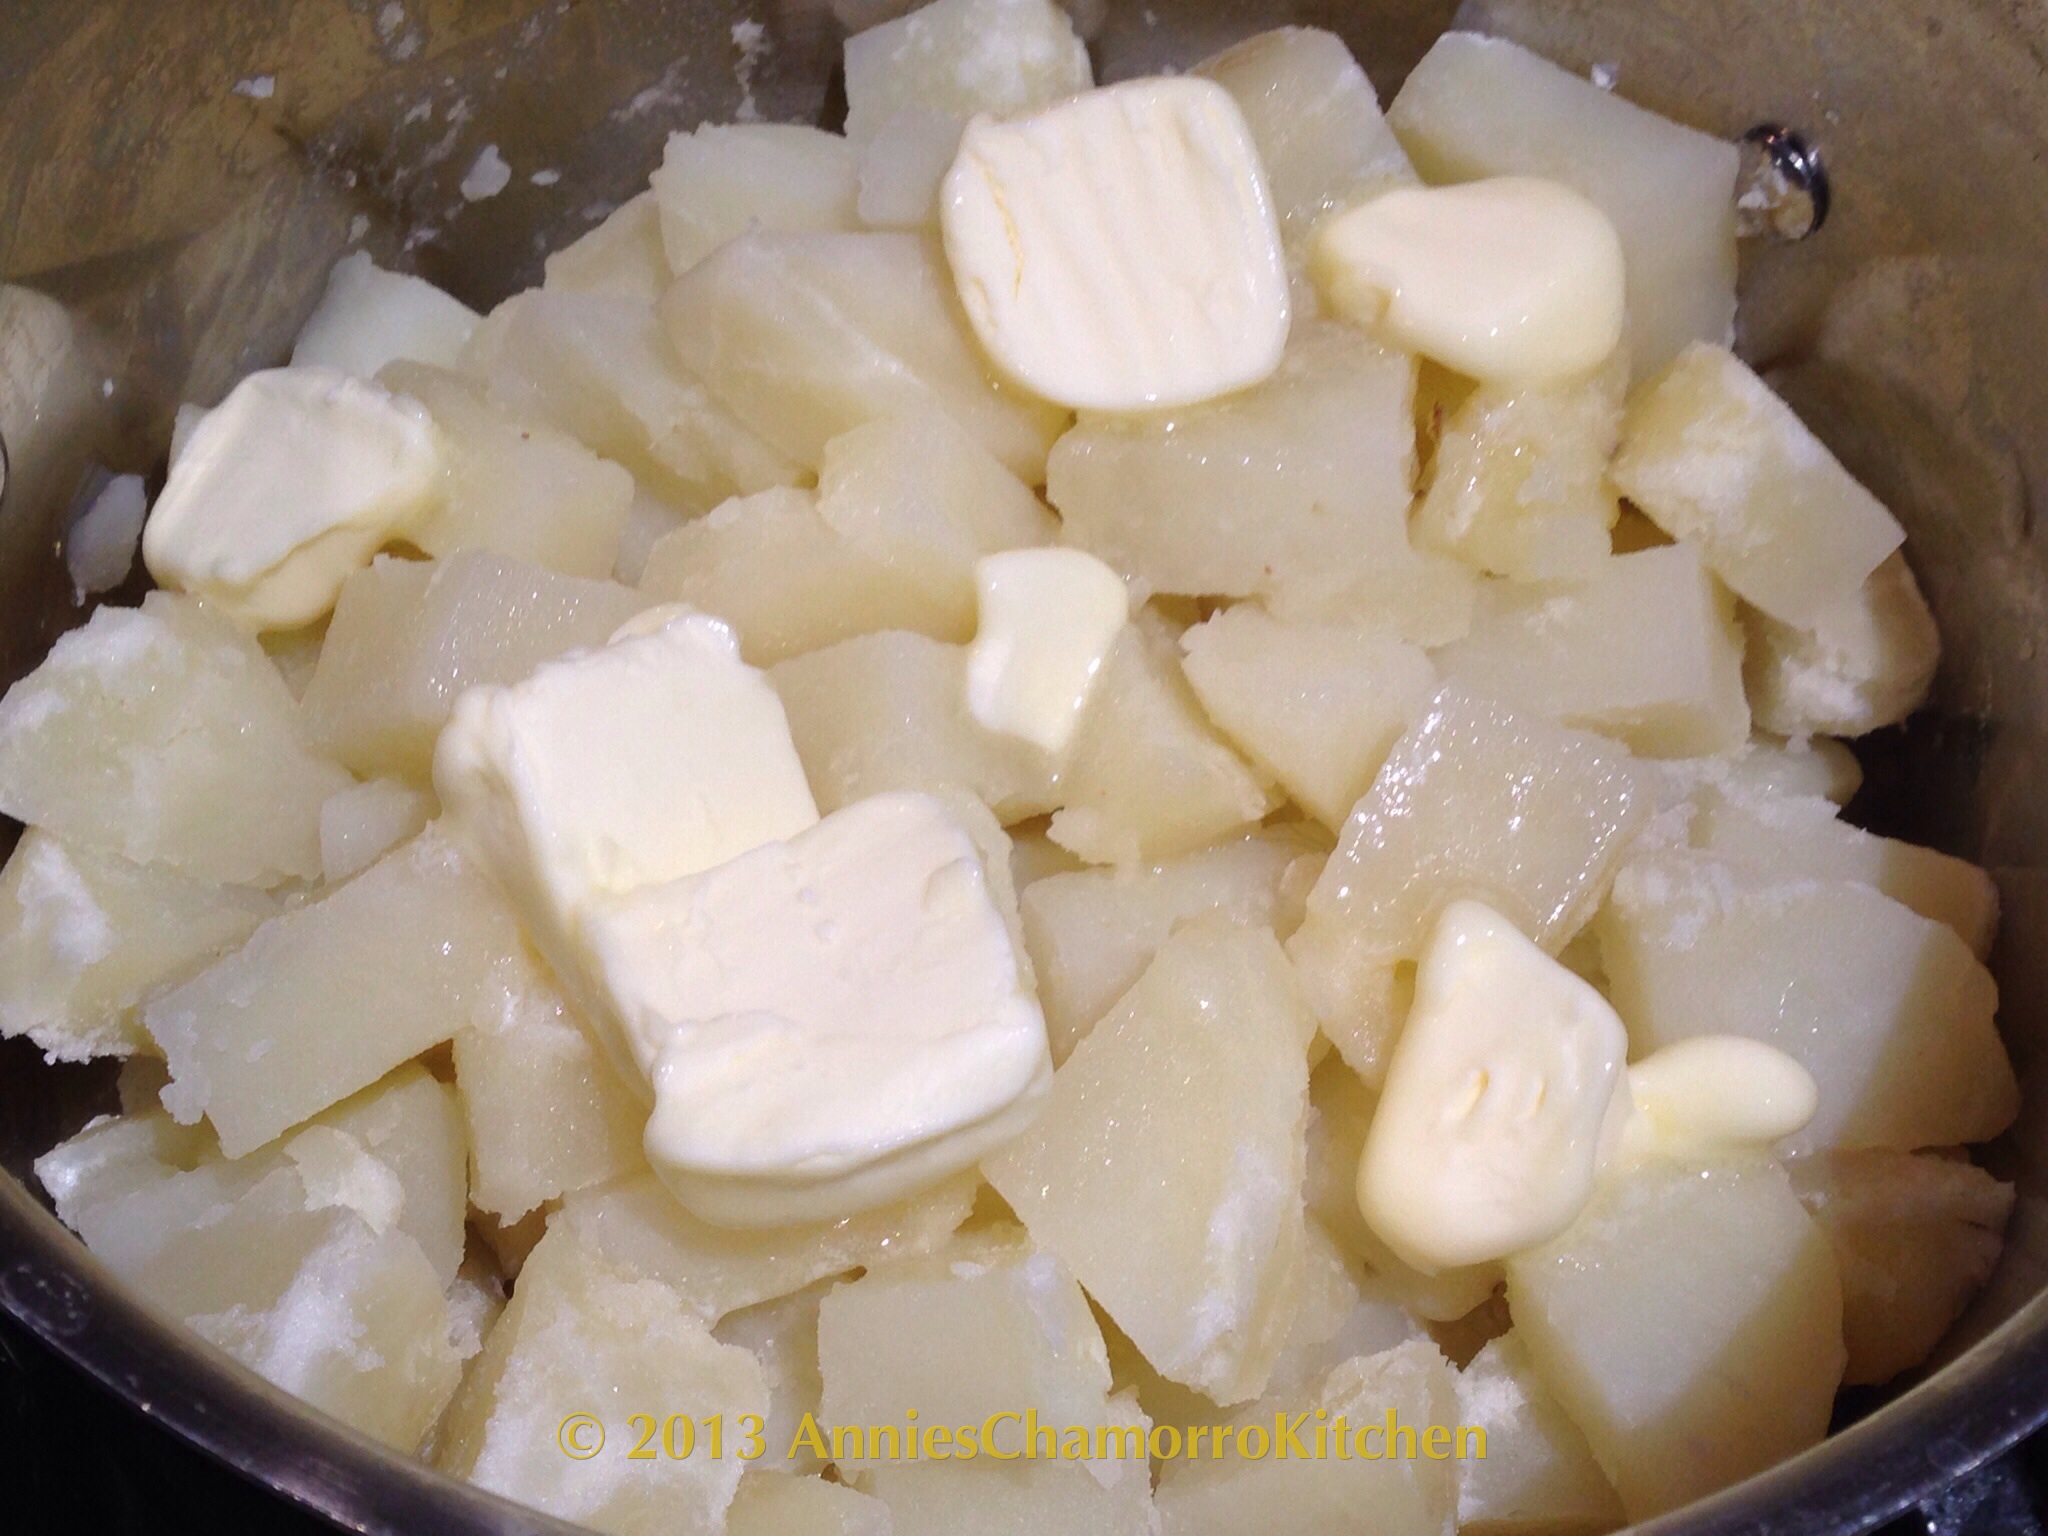
- 1/2 stick unsalted butter, melted
- Salt and pepper, to taste
Directions:
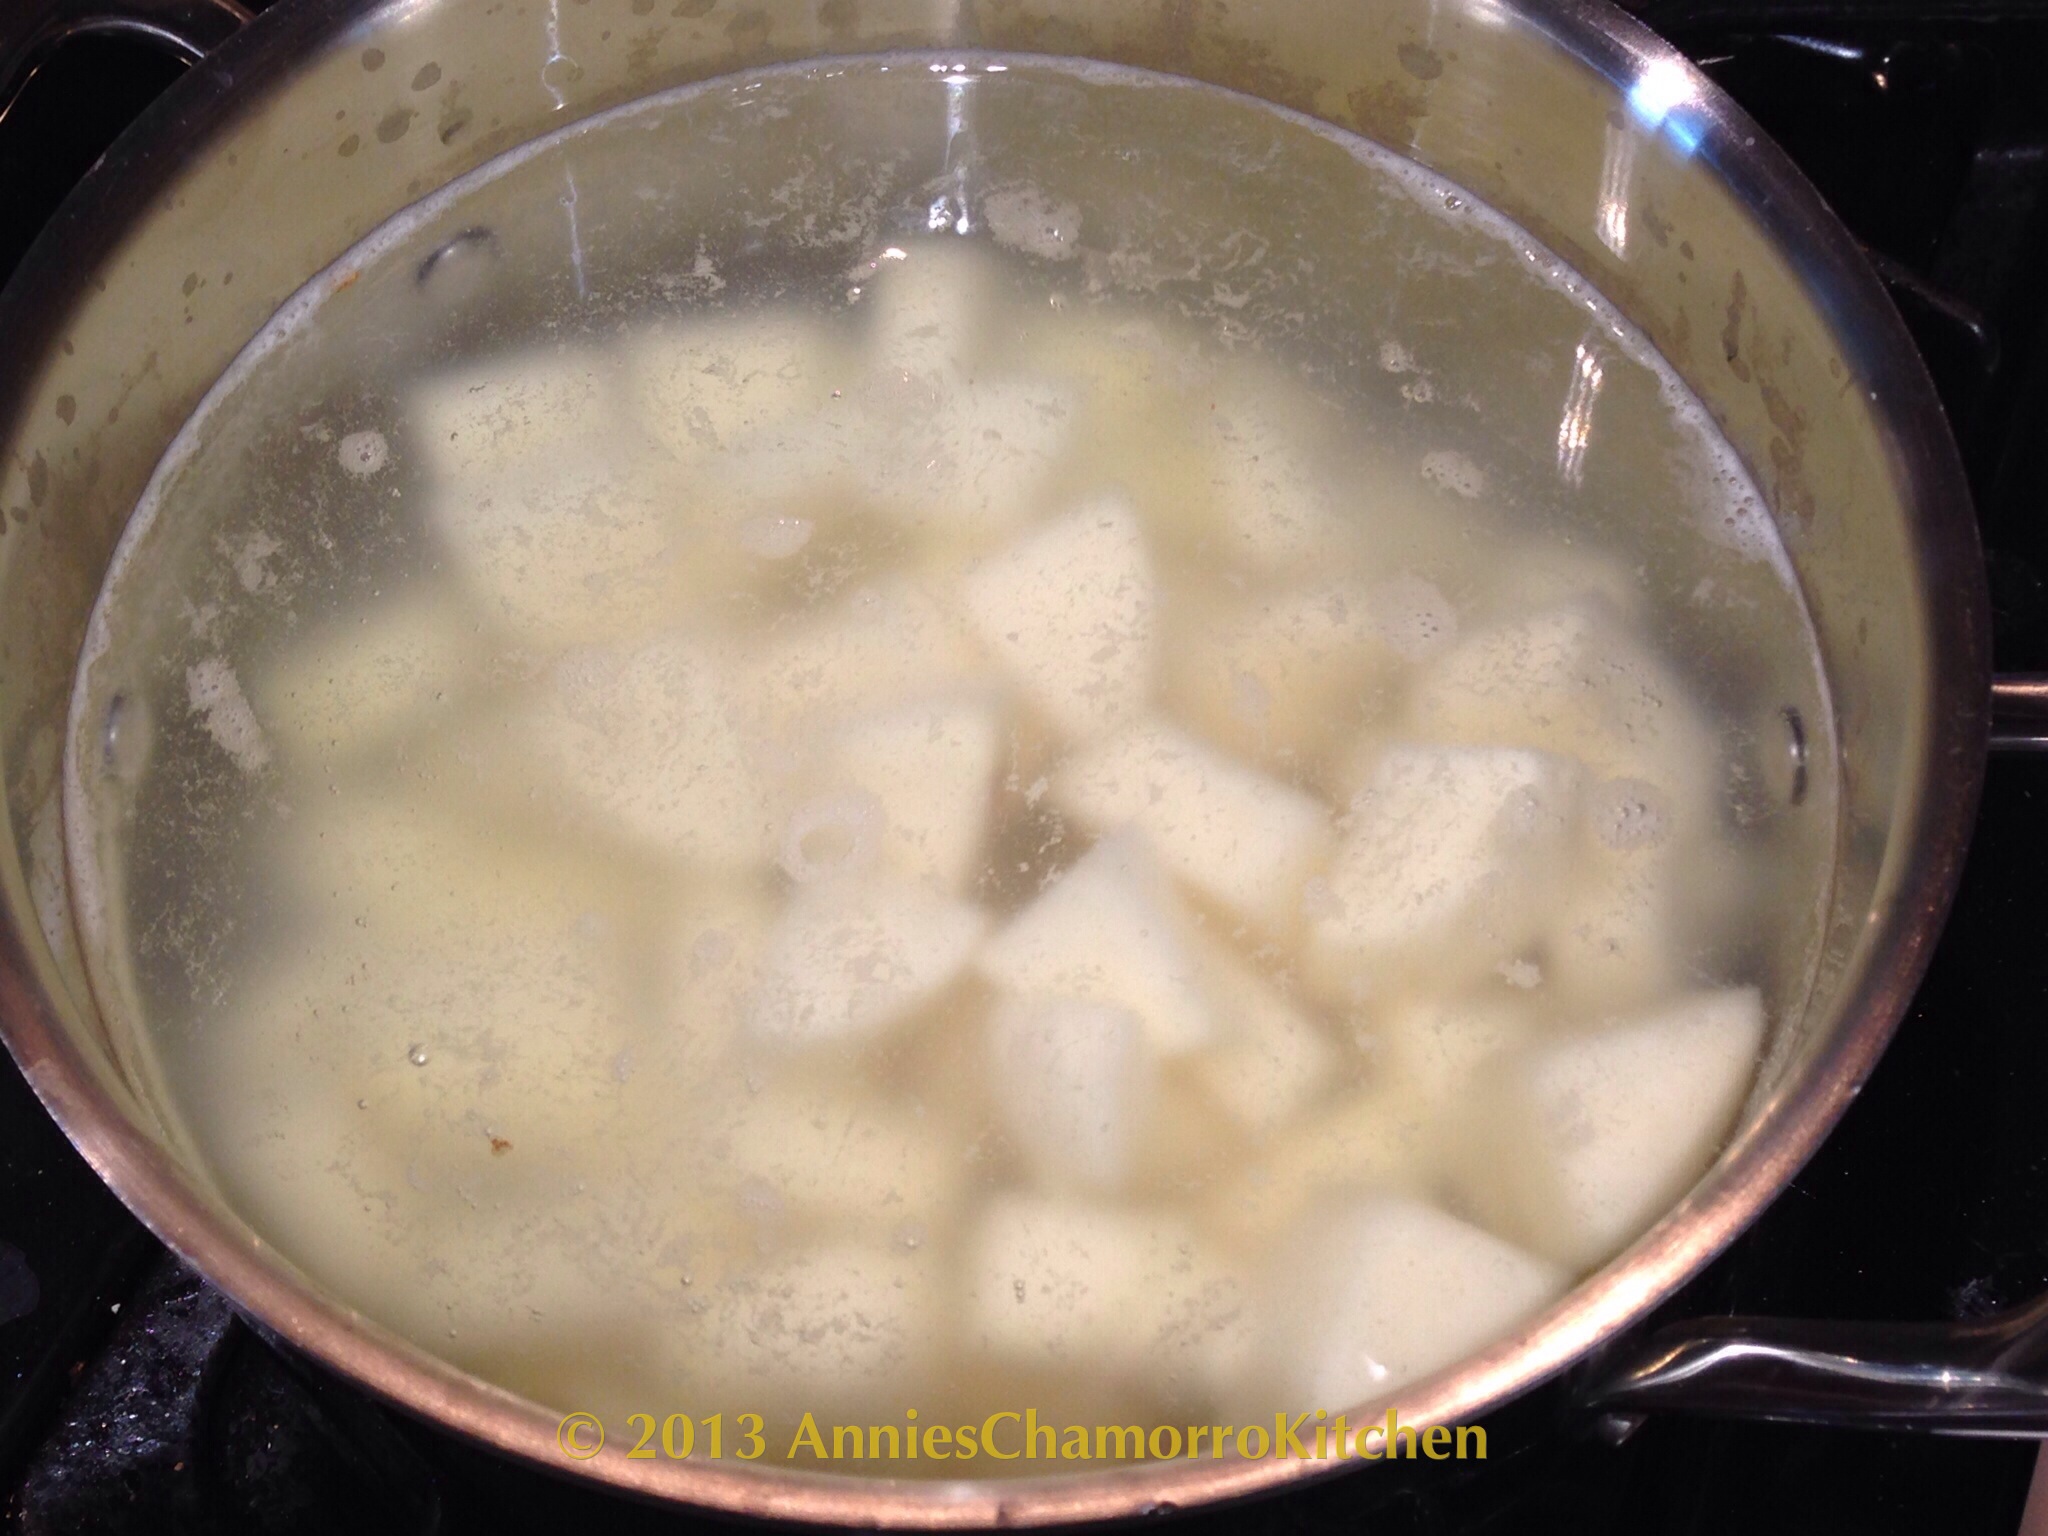
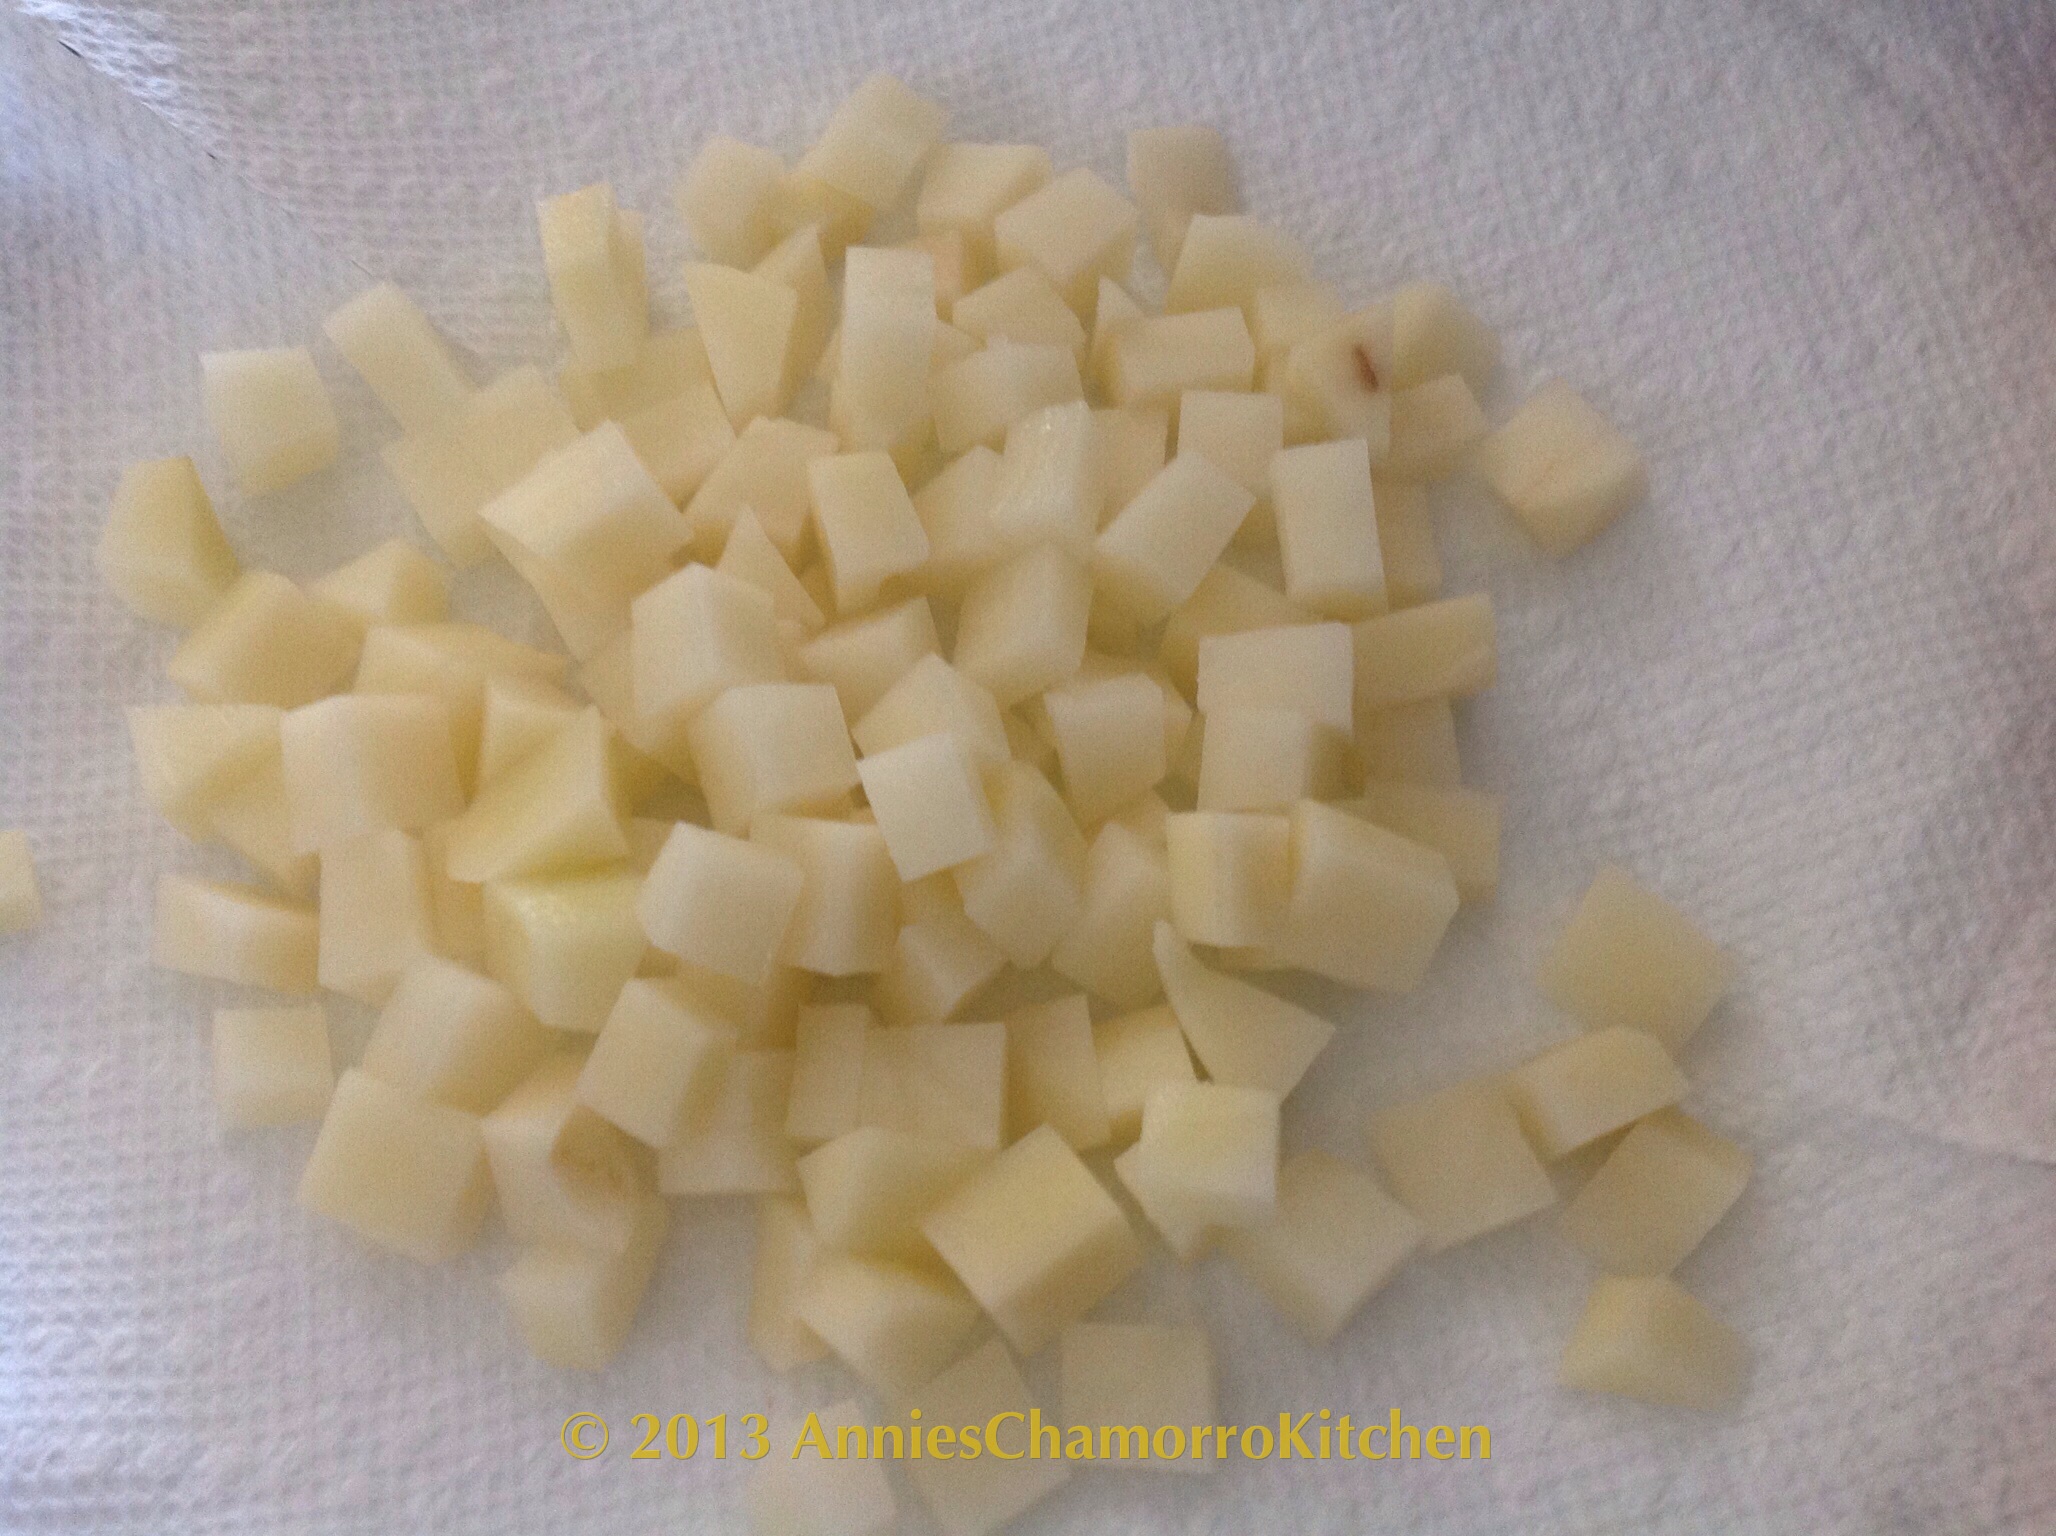
Peel and dice the potatoes into small pieces, about 1/4 inch square.
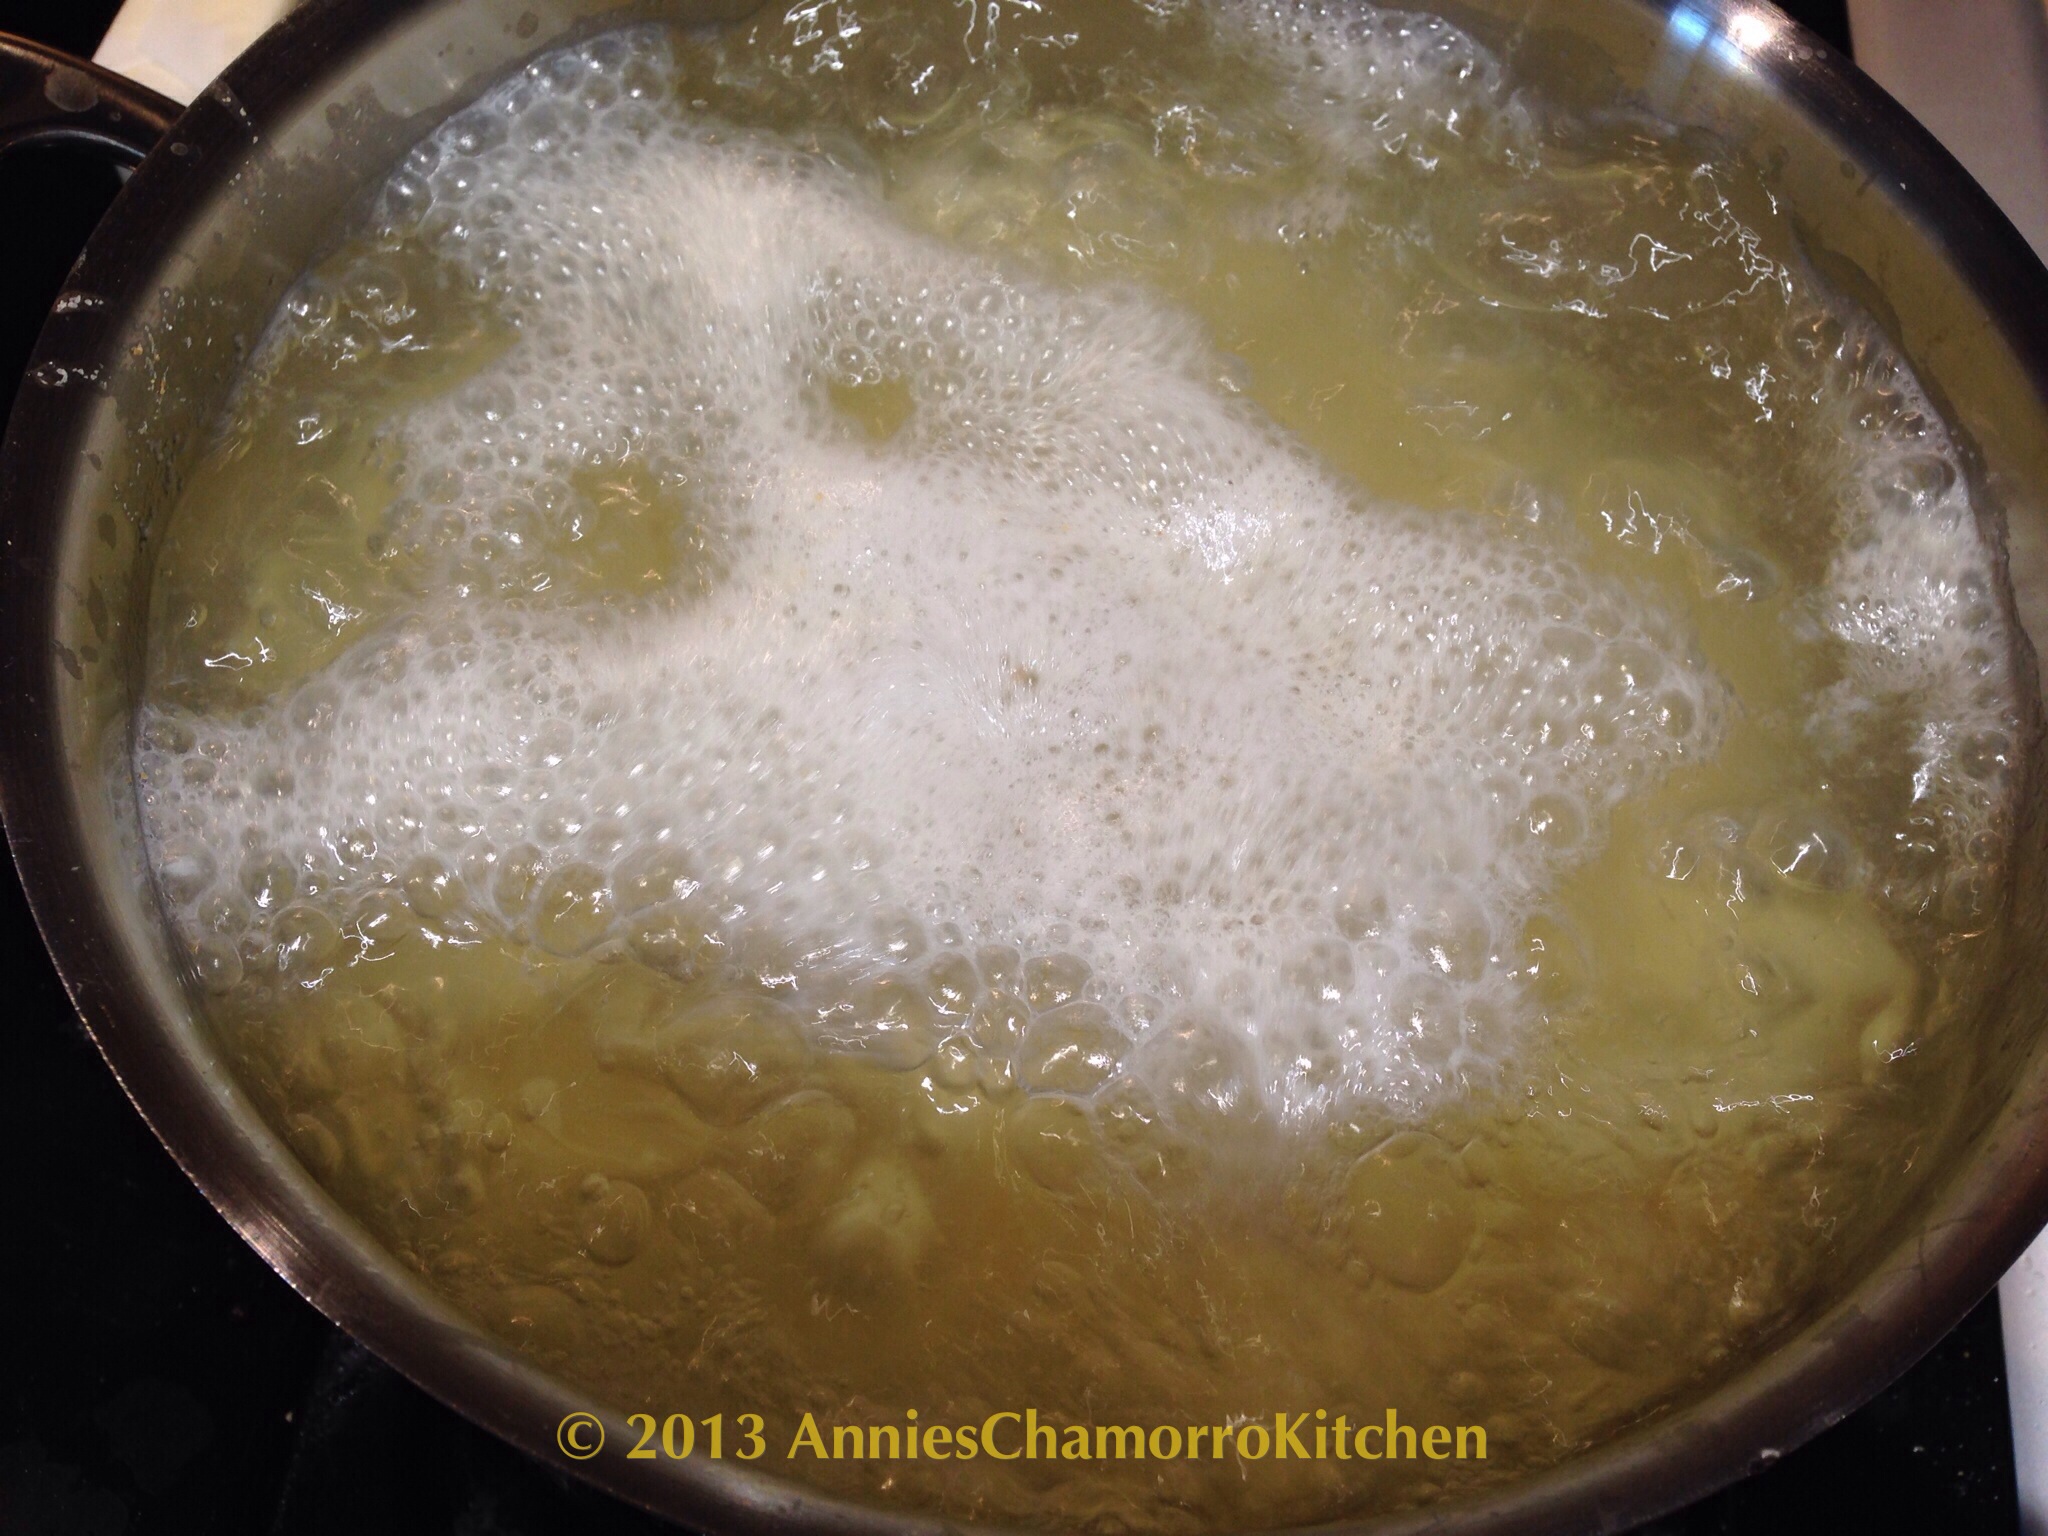
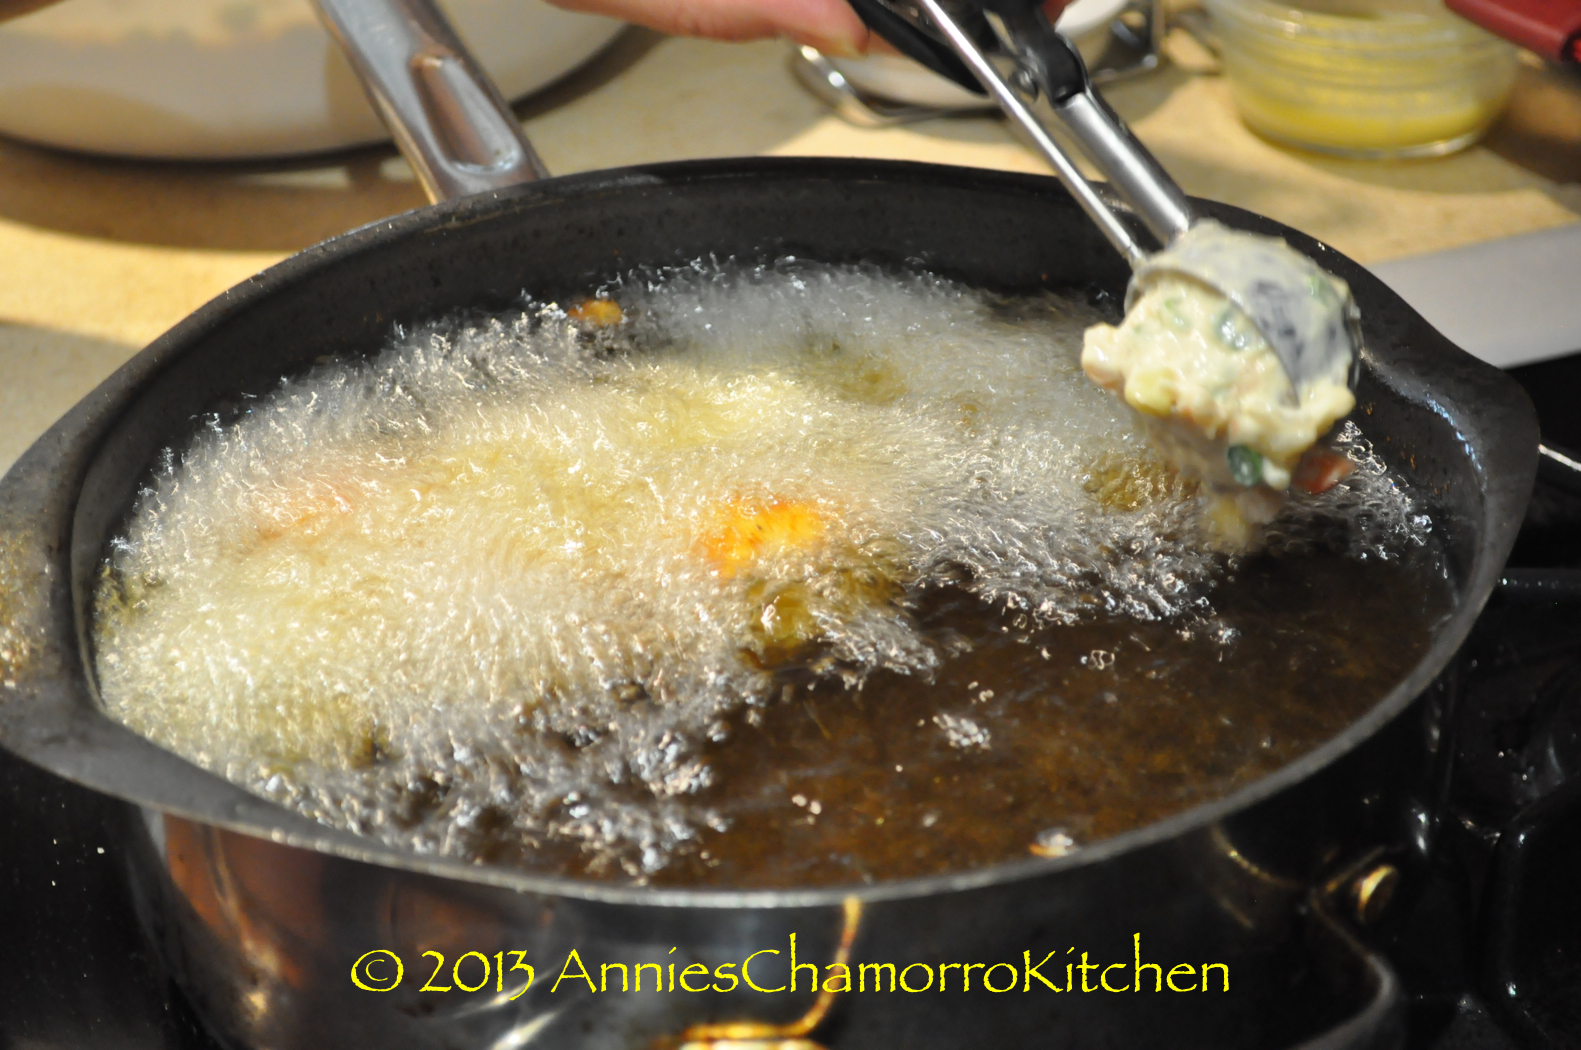
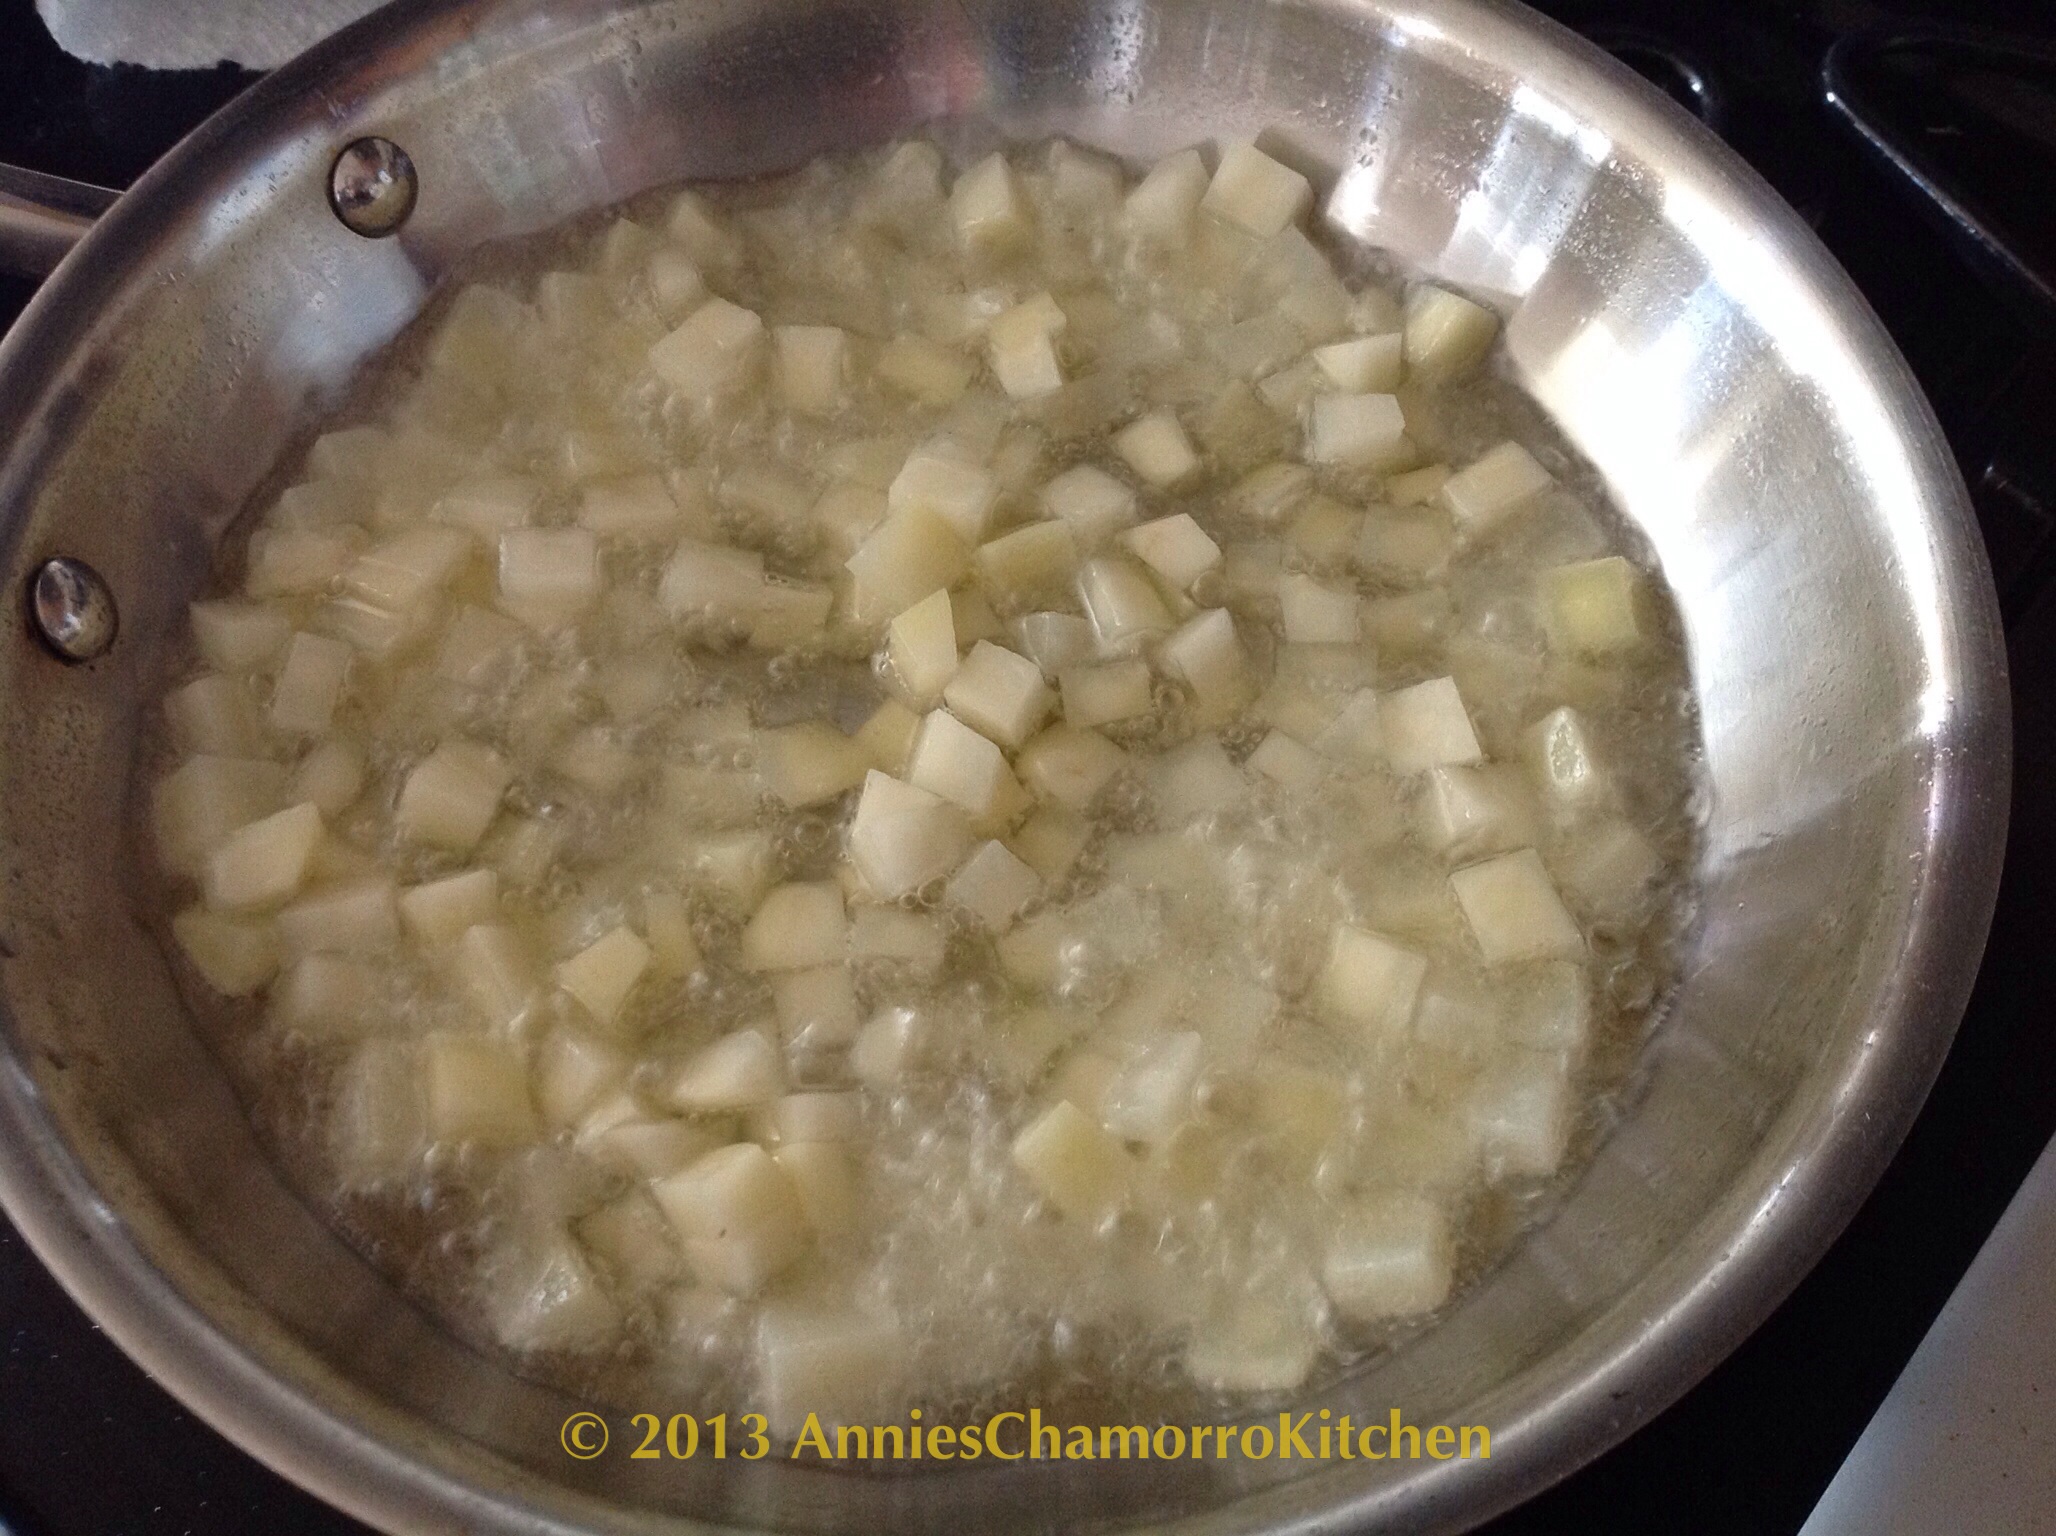
Place the vegetable oil in a shallow frying pan over medium heat.

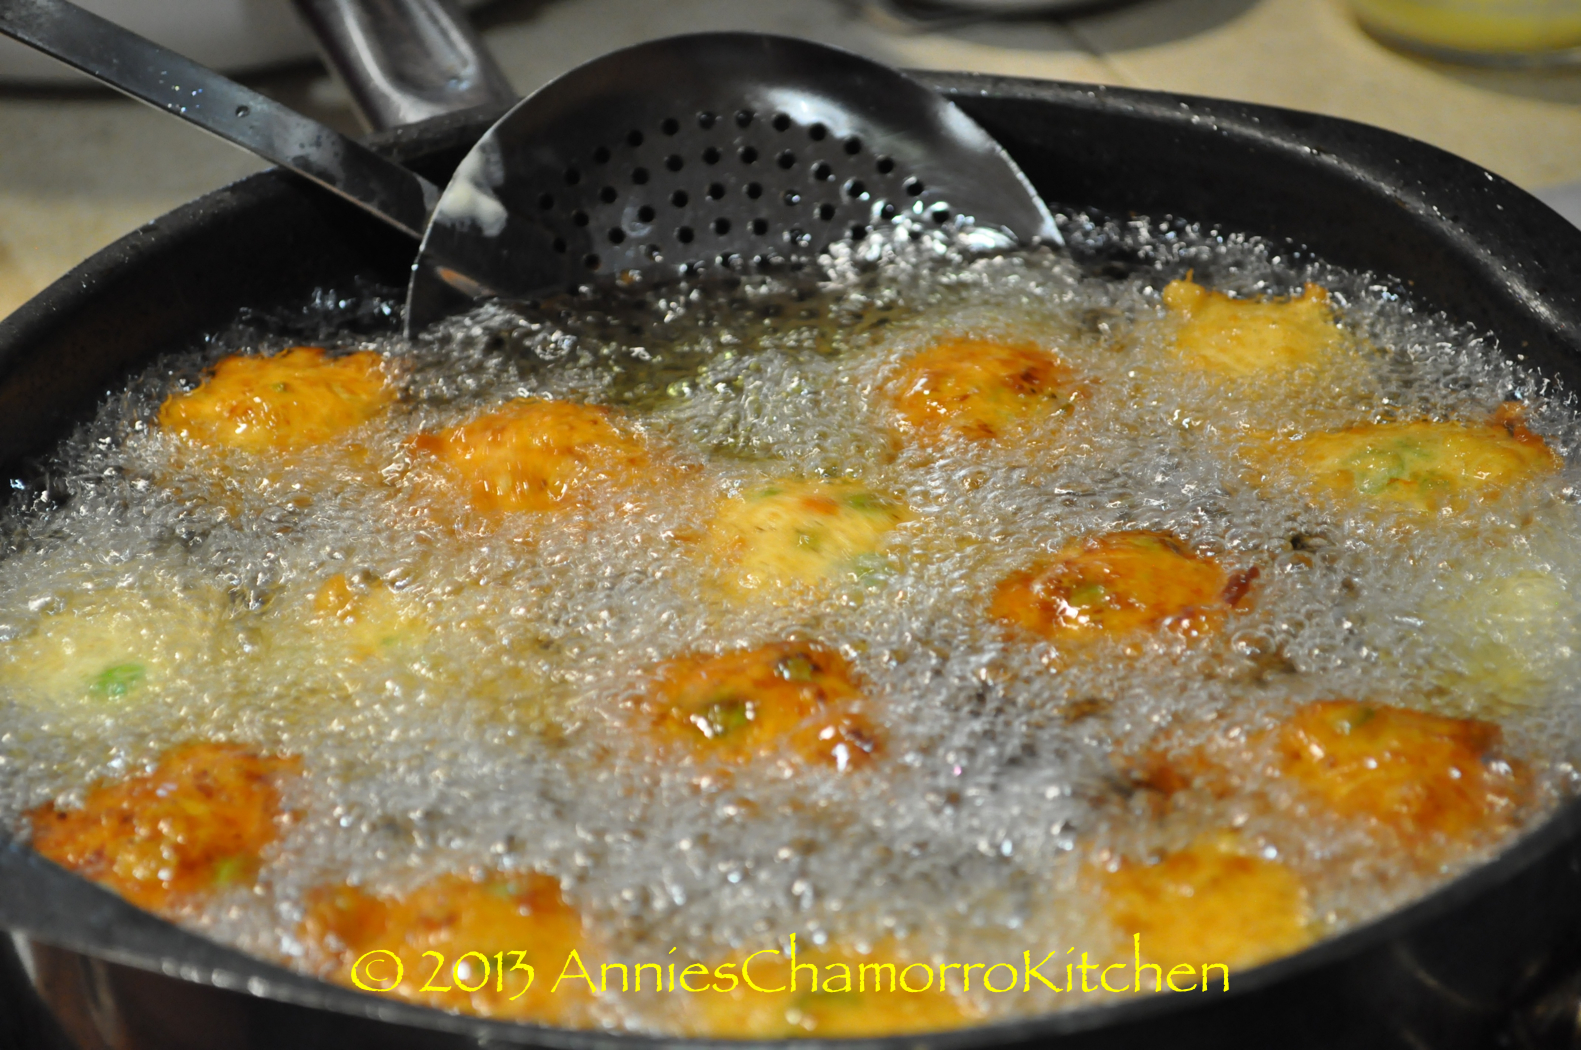
Fry the diced potatoes in batches; cook until the potatoes are a very light golden brown and cooked through (use a fork to test for doneness).
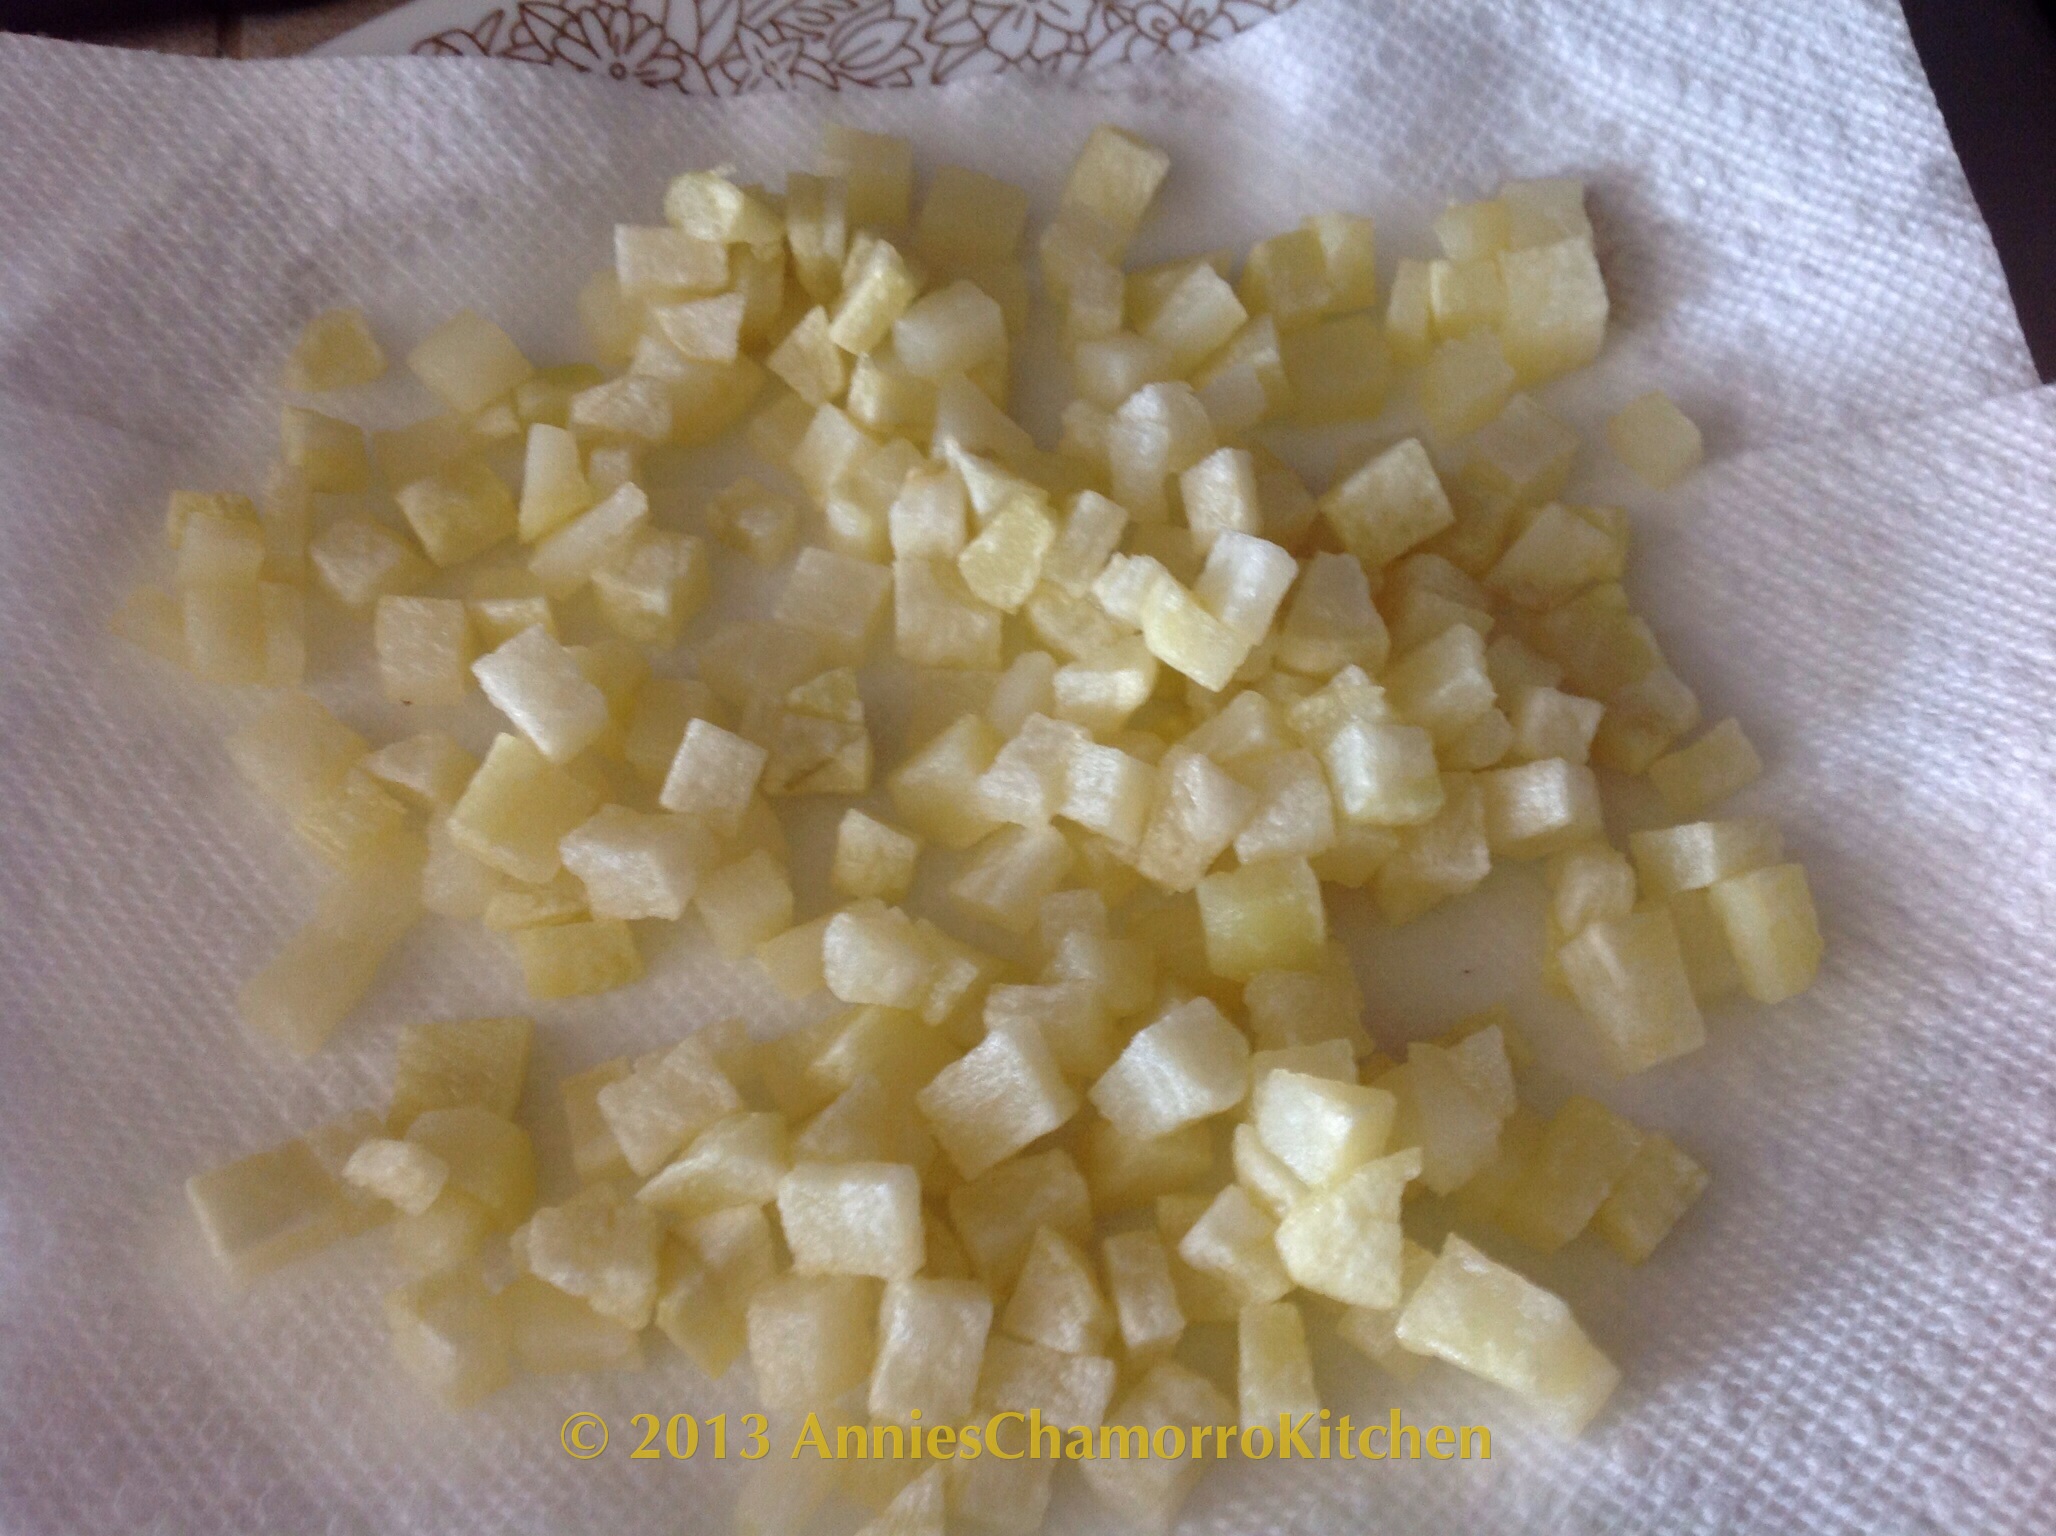
Drain the cooked potatoes on a paper towel-lined plate. Set aside.
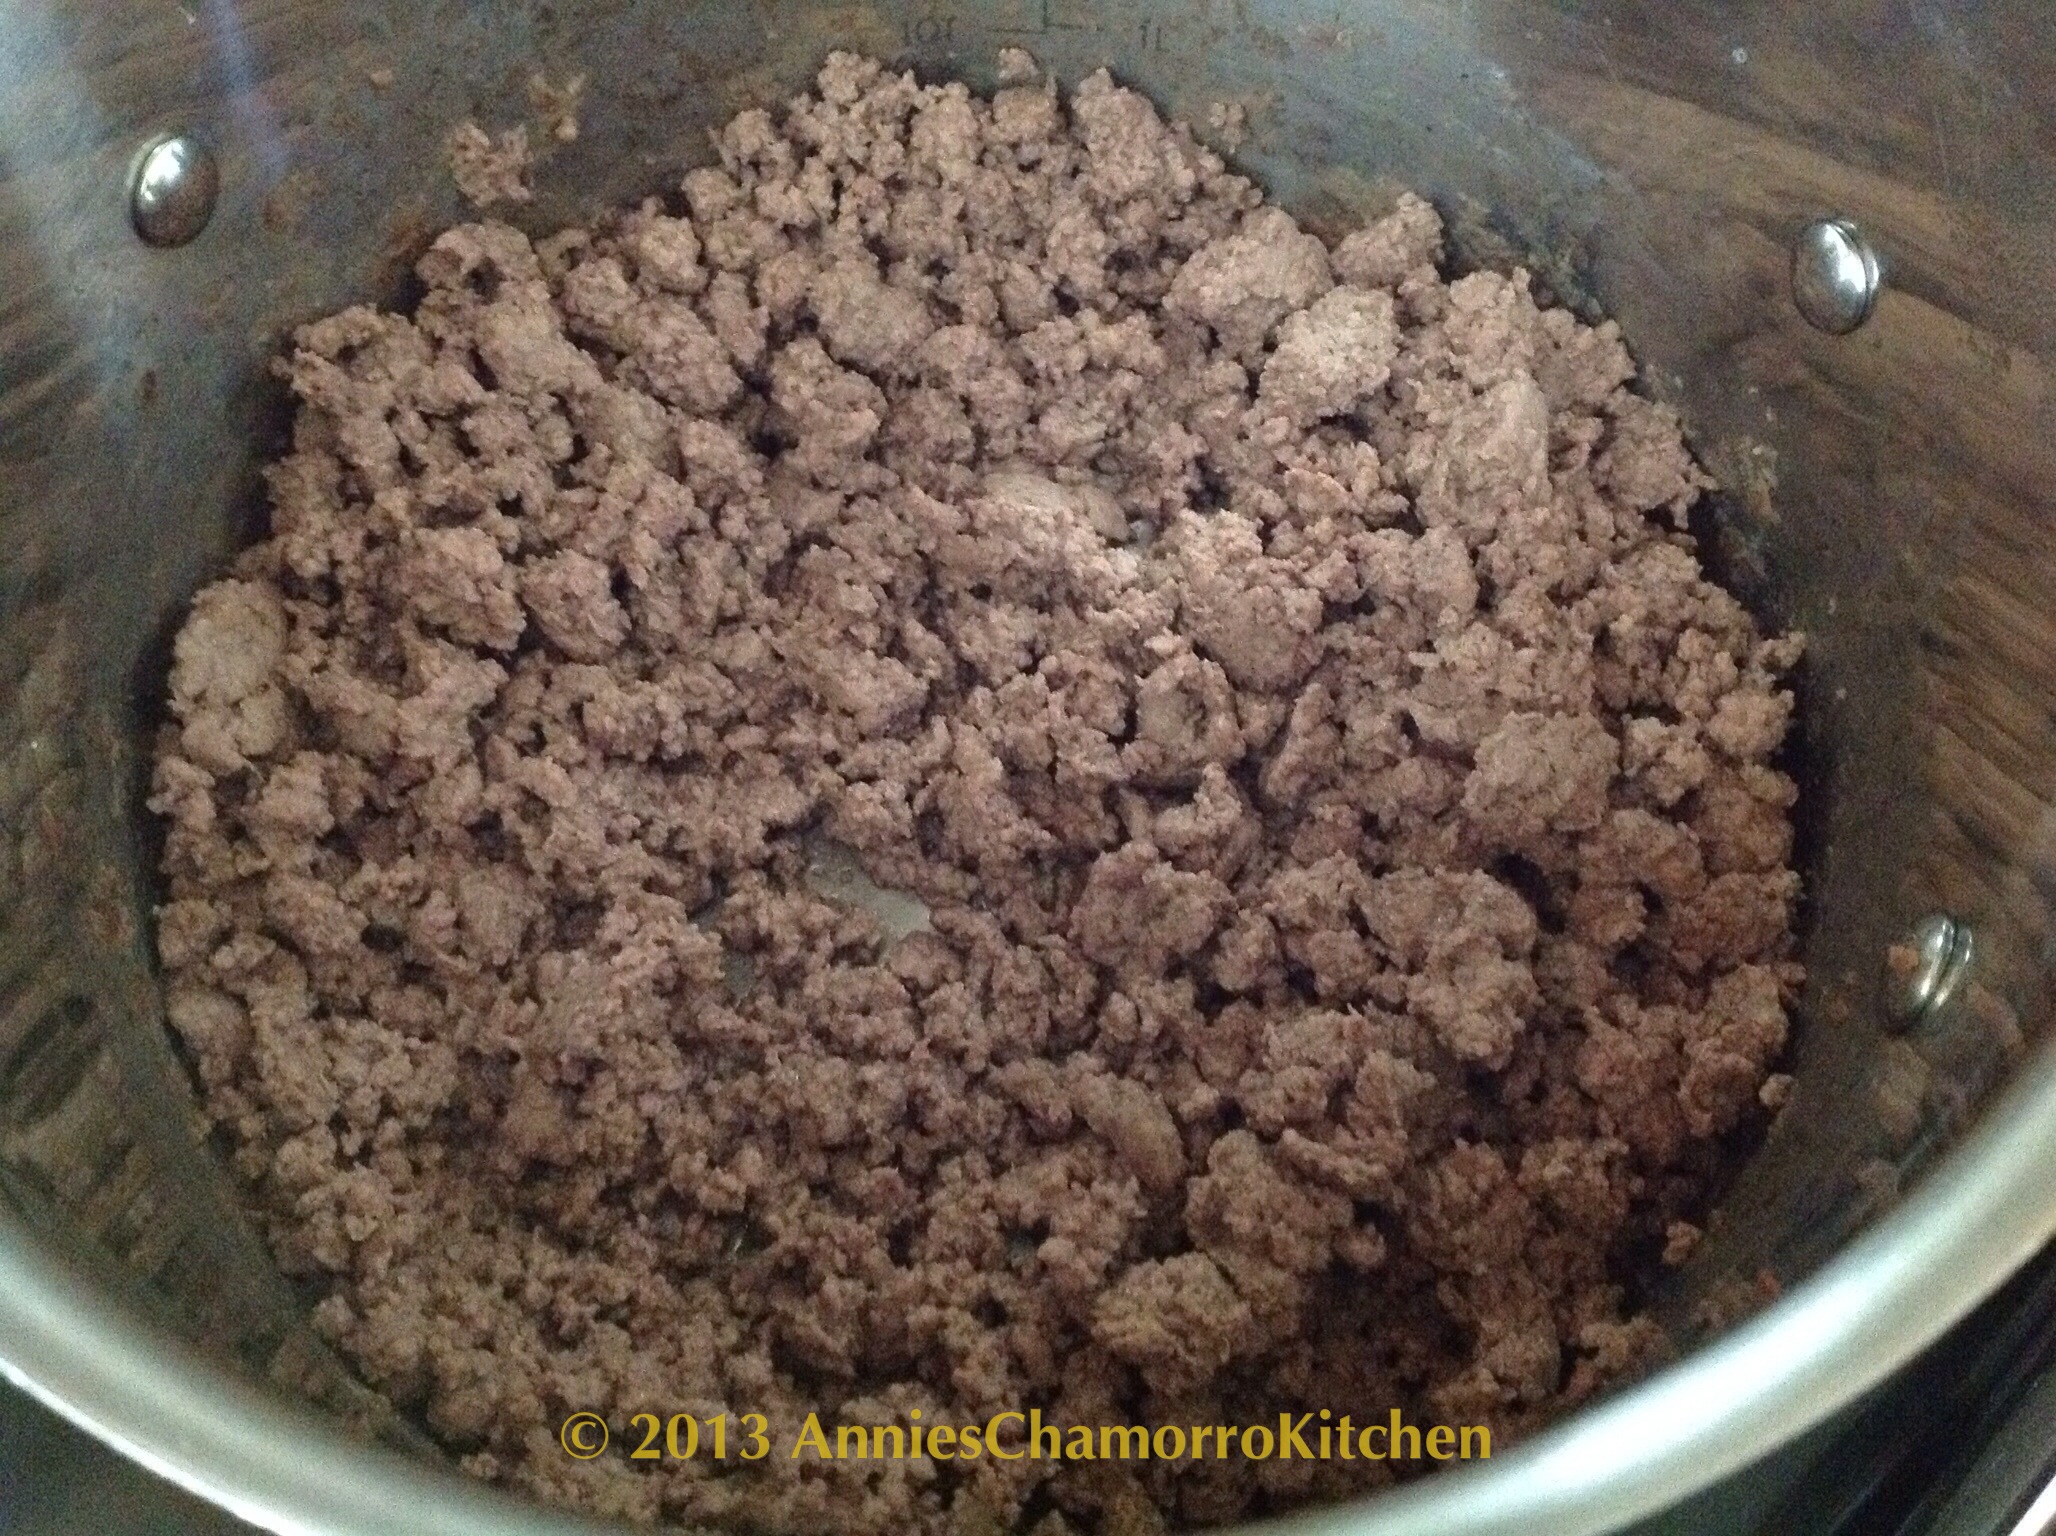
Brown the ground beef in a medium sized pot.
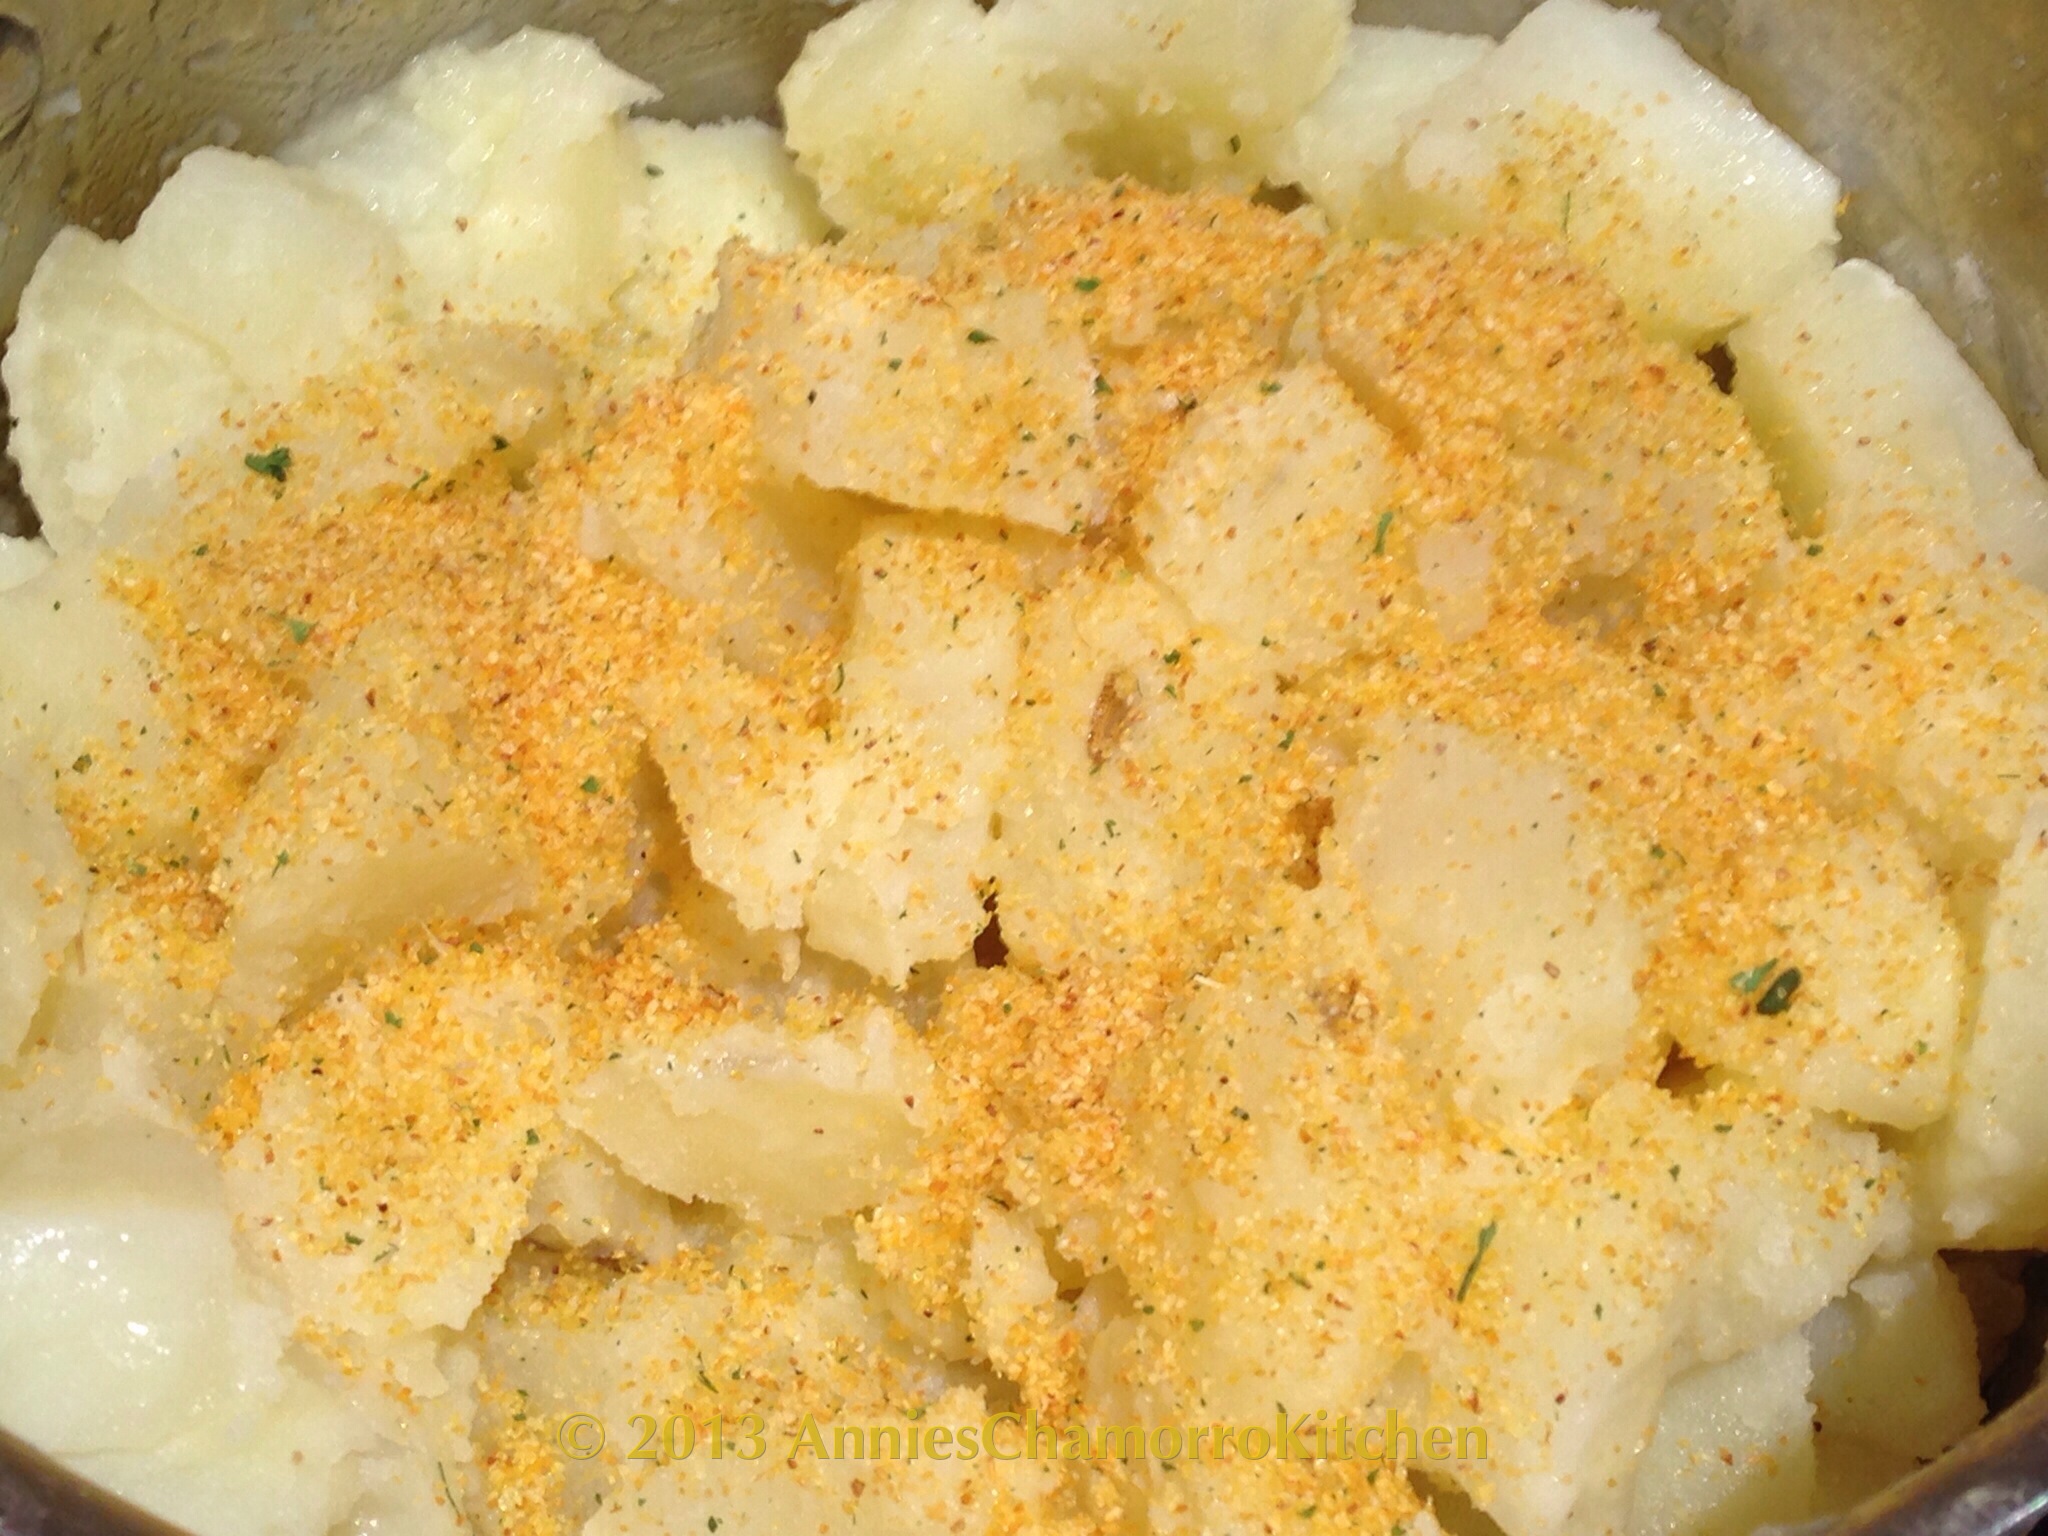
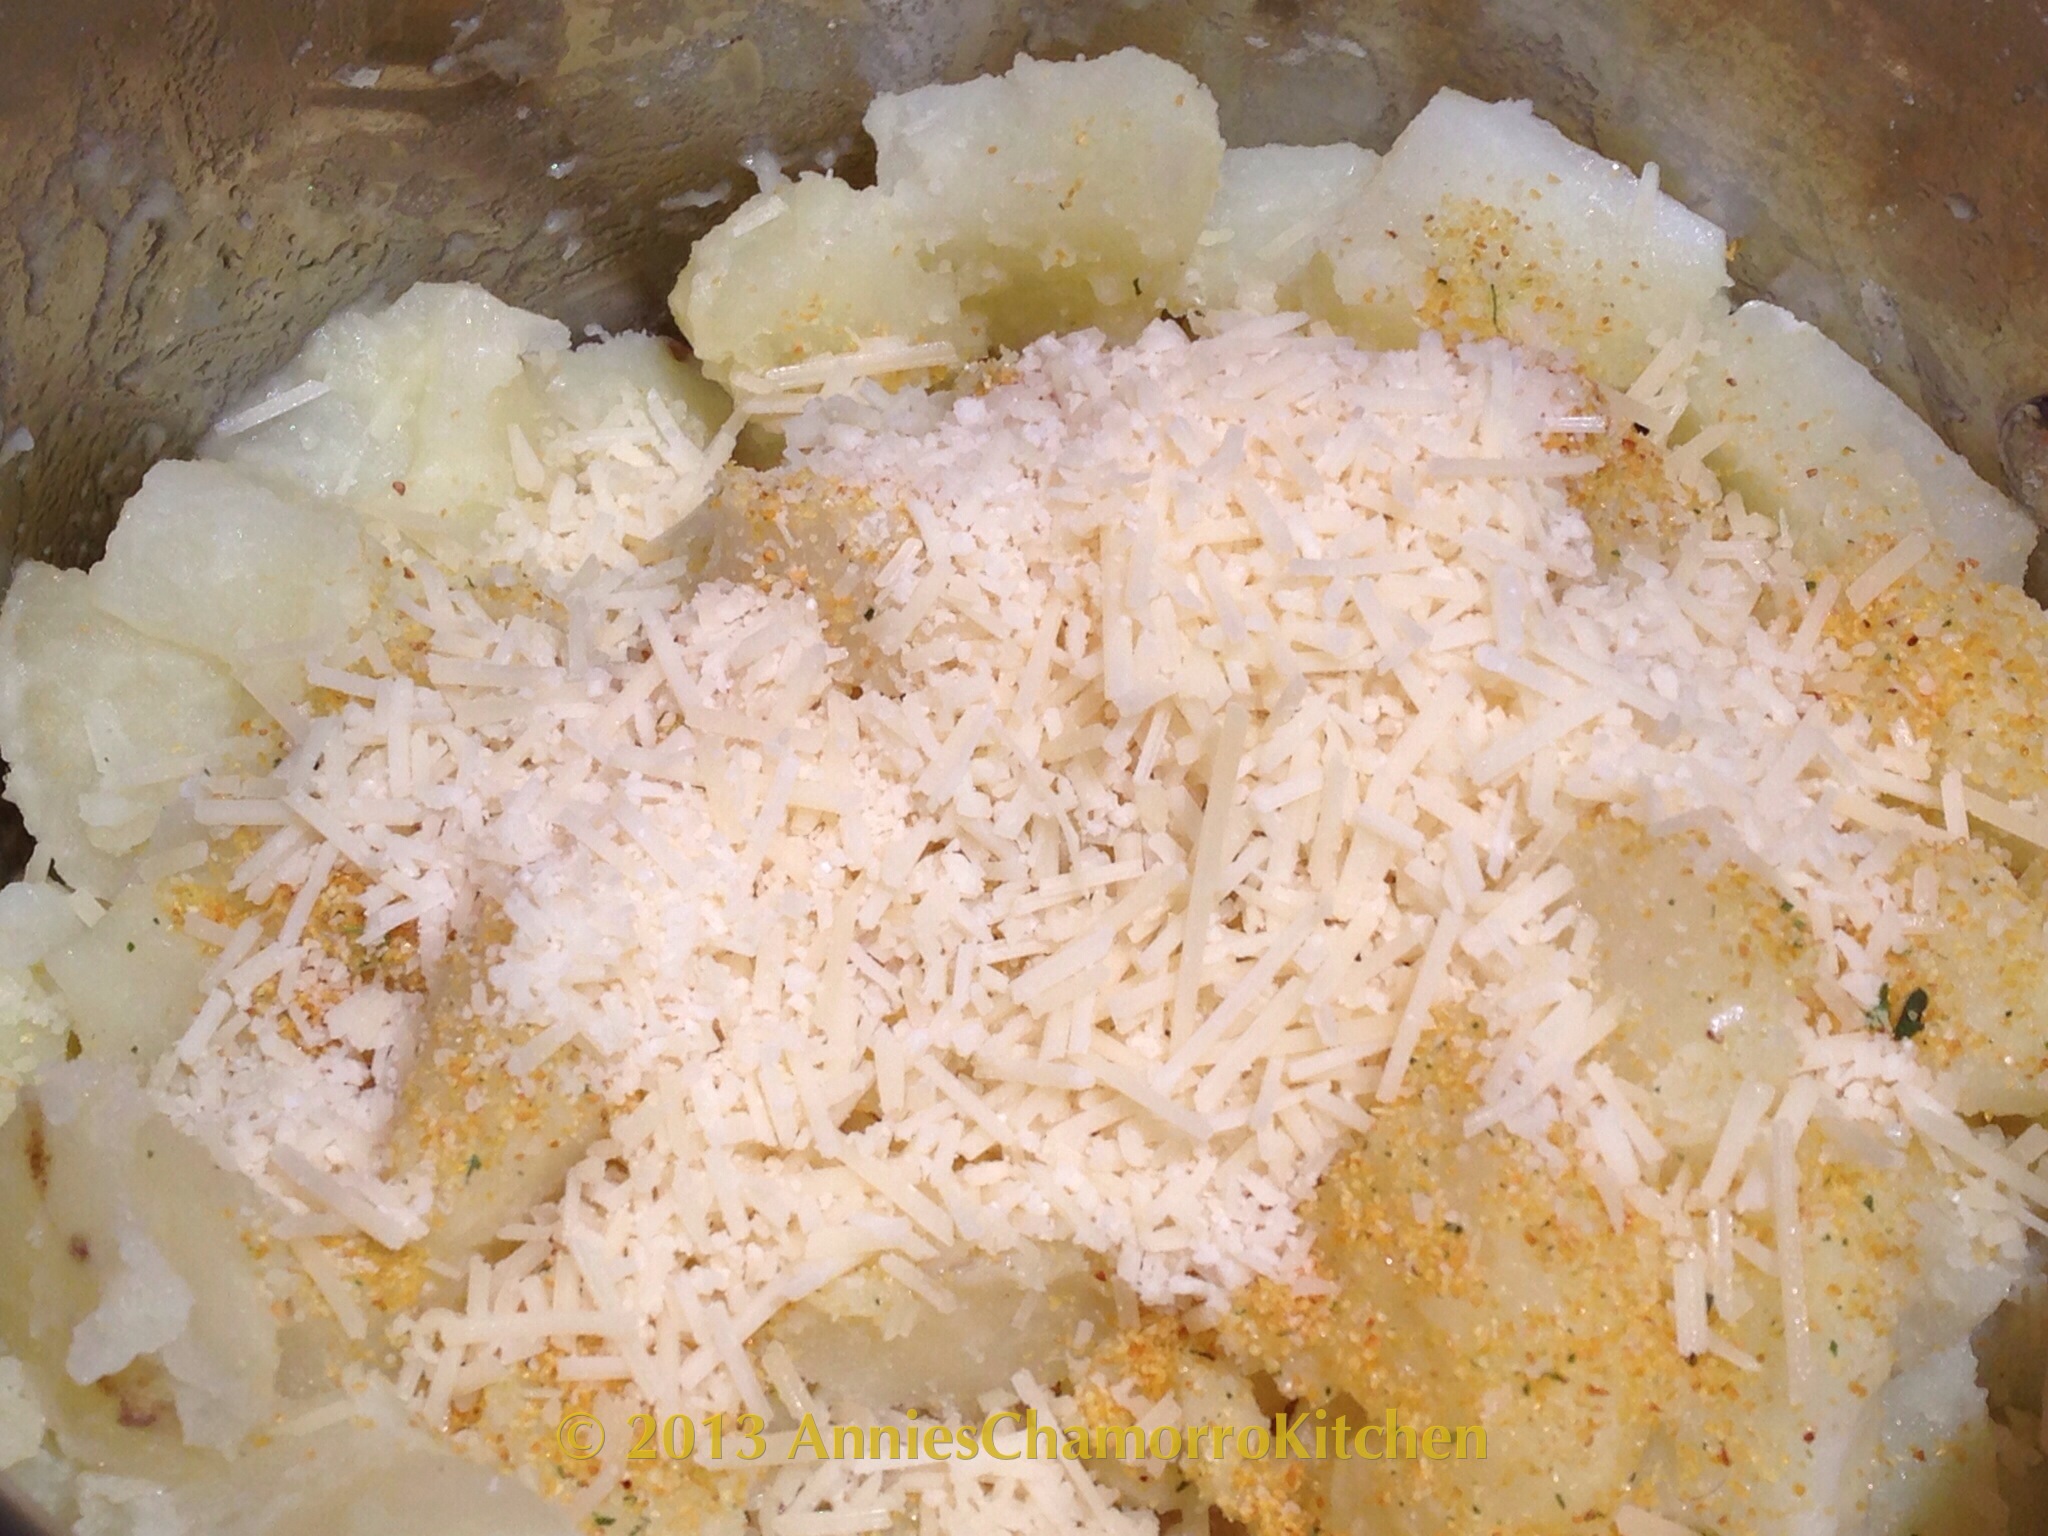
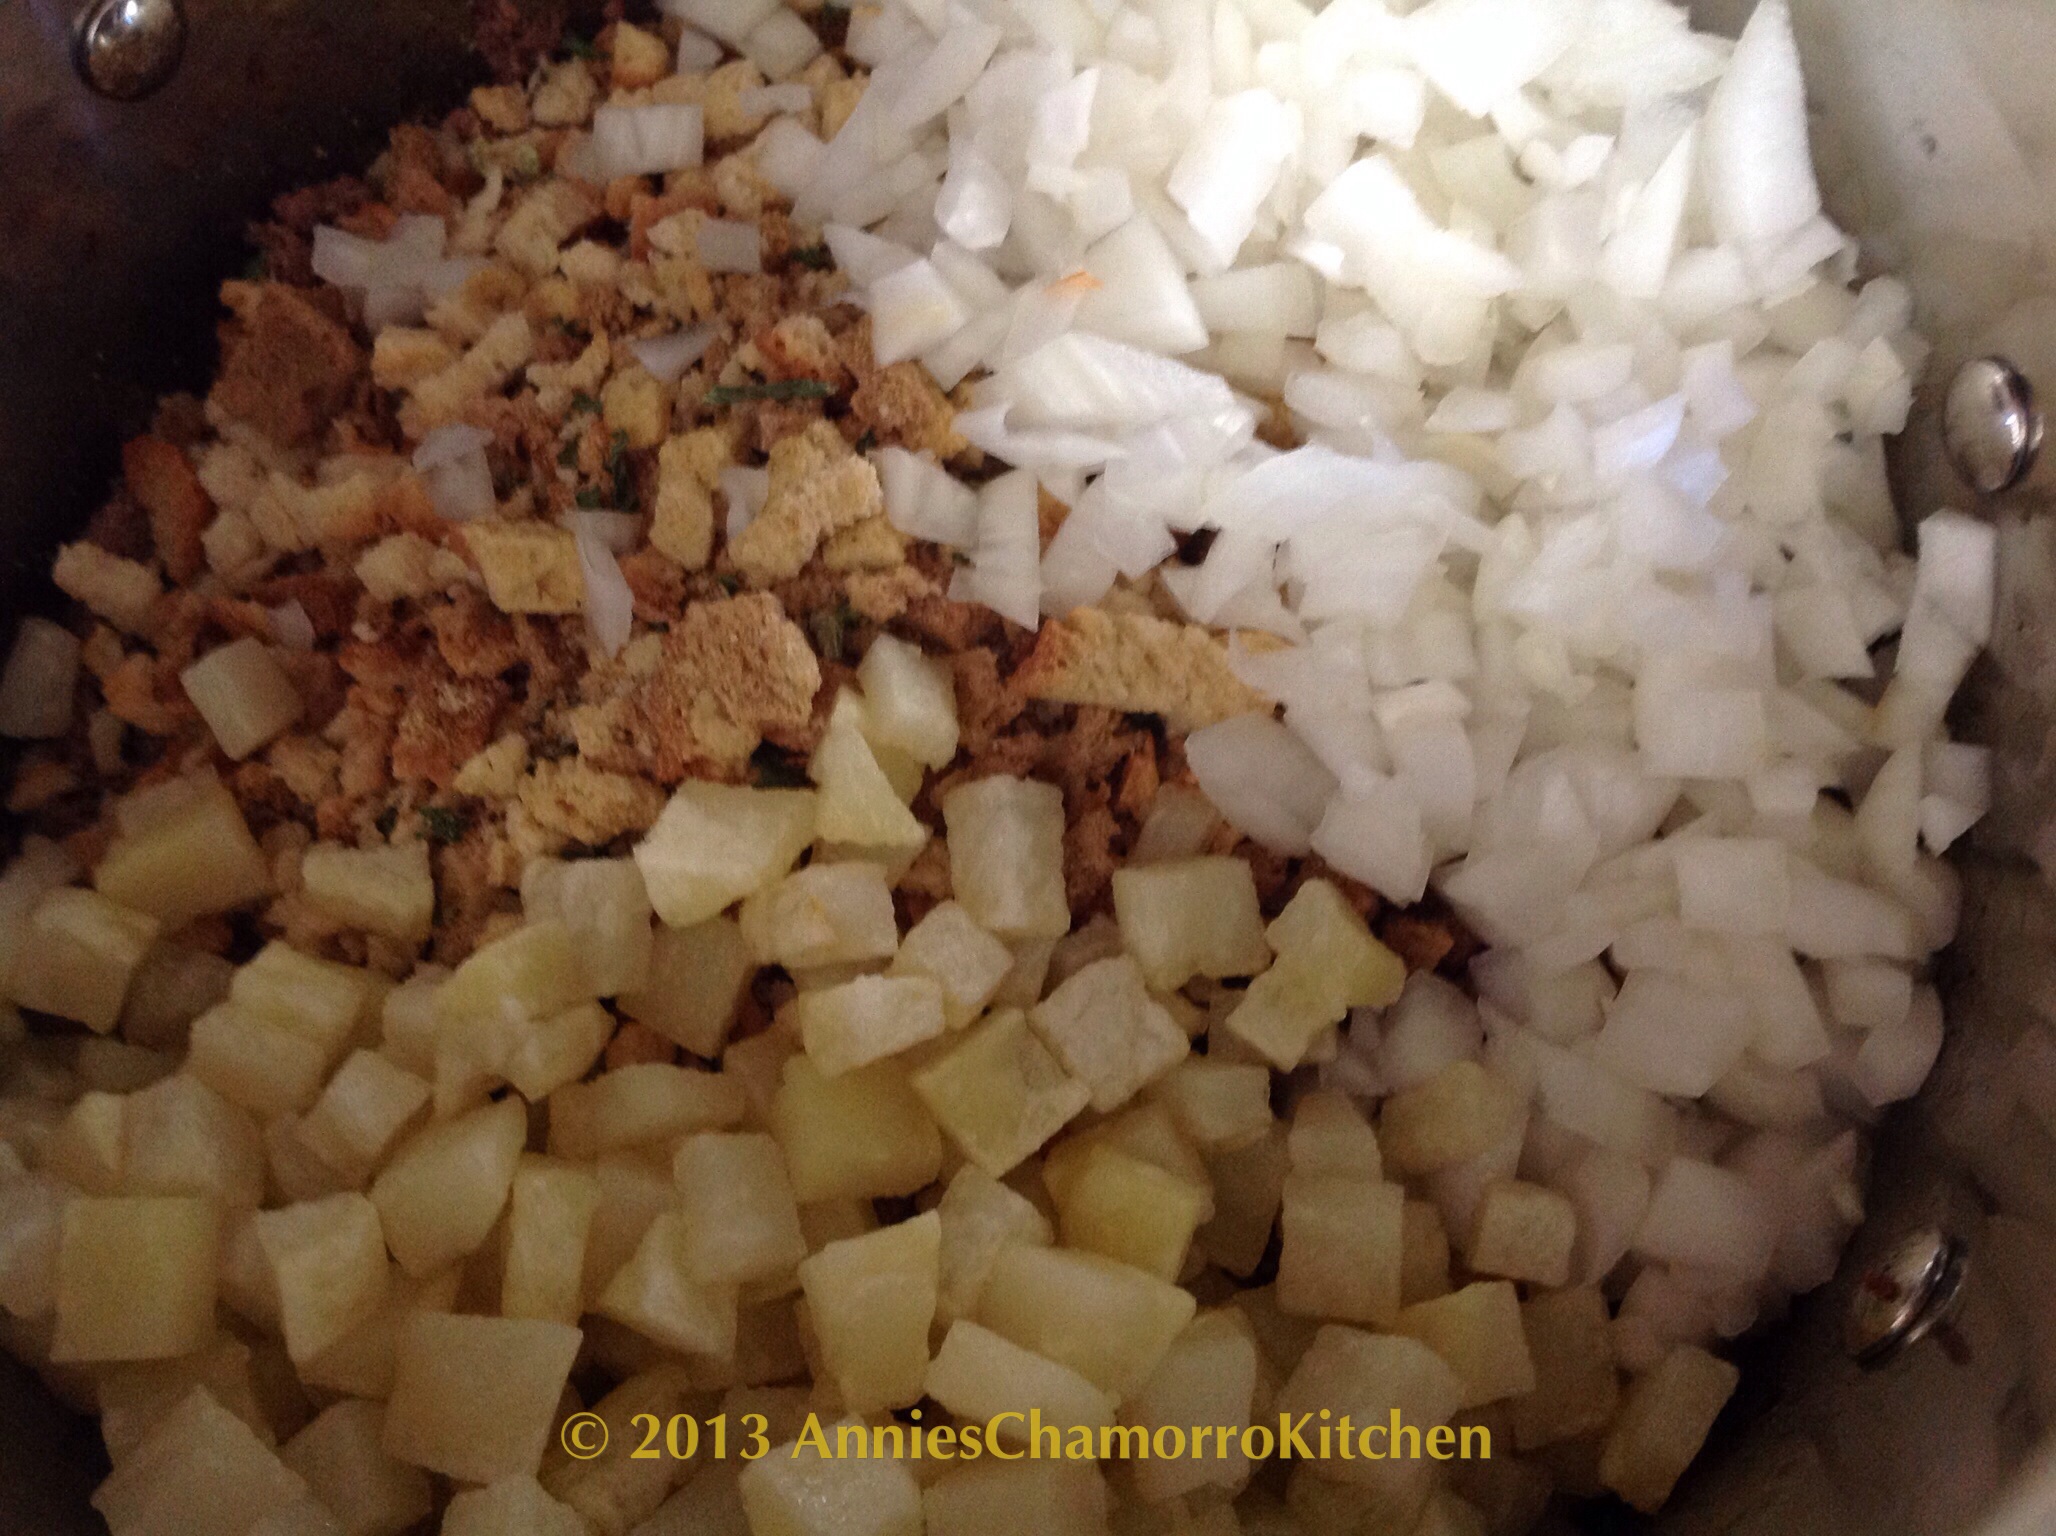
Add the contents of the stuffing mix (dried bread pieces and seasoning), the cooked potatoes and onions to the pot. Stir to combine. Cook over medium heat, stirring occasionally.
Add the pimentos and olives to the pot.
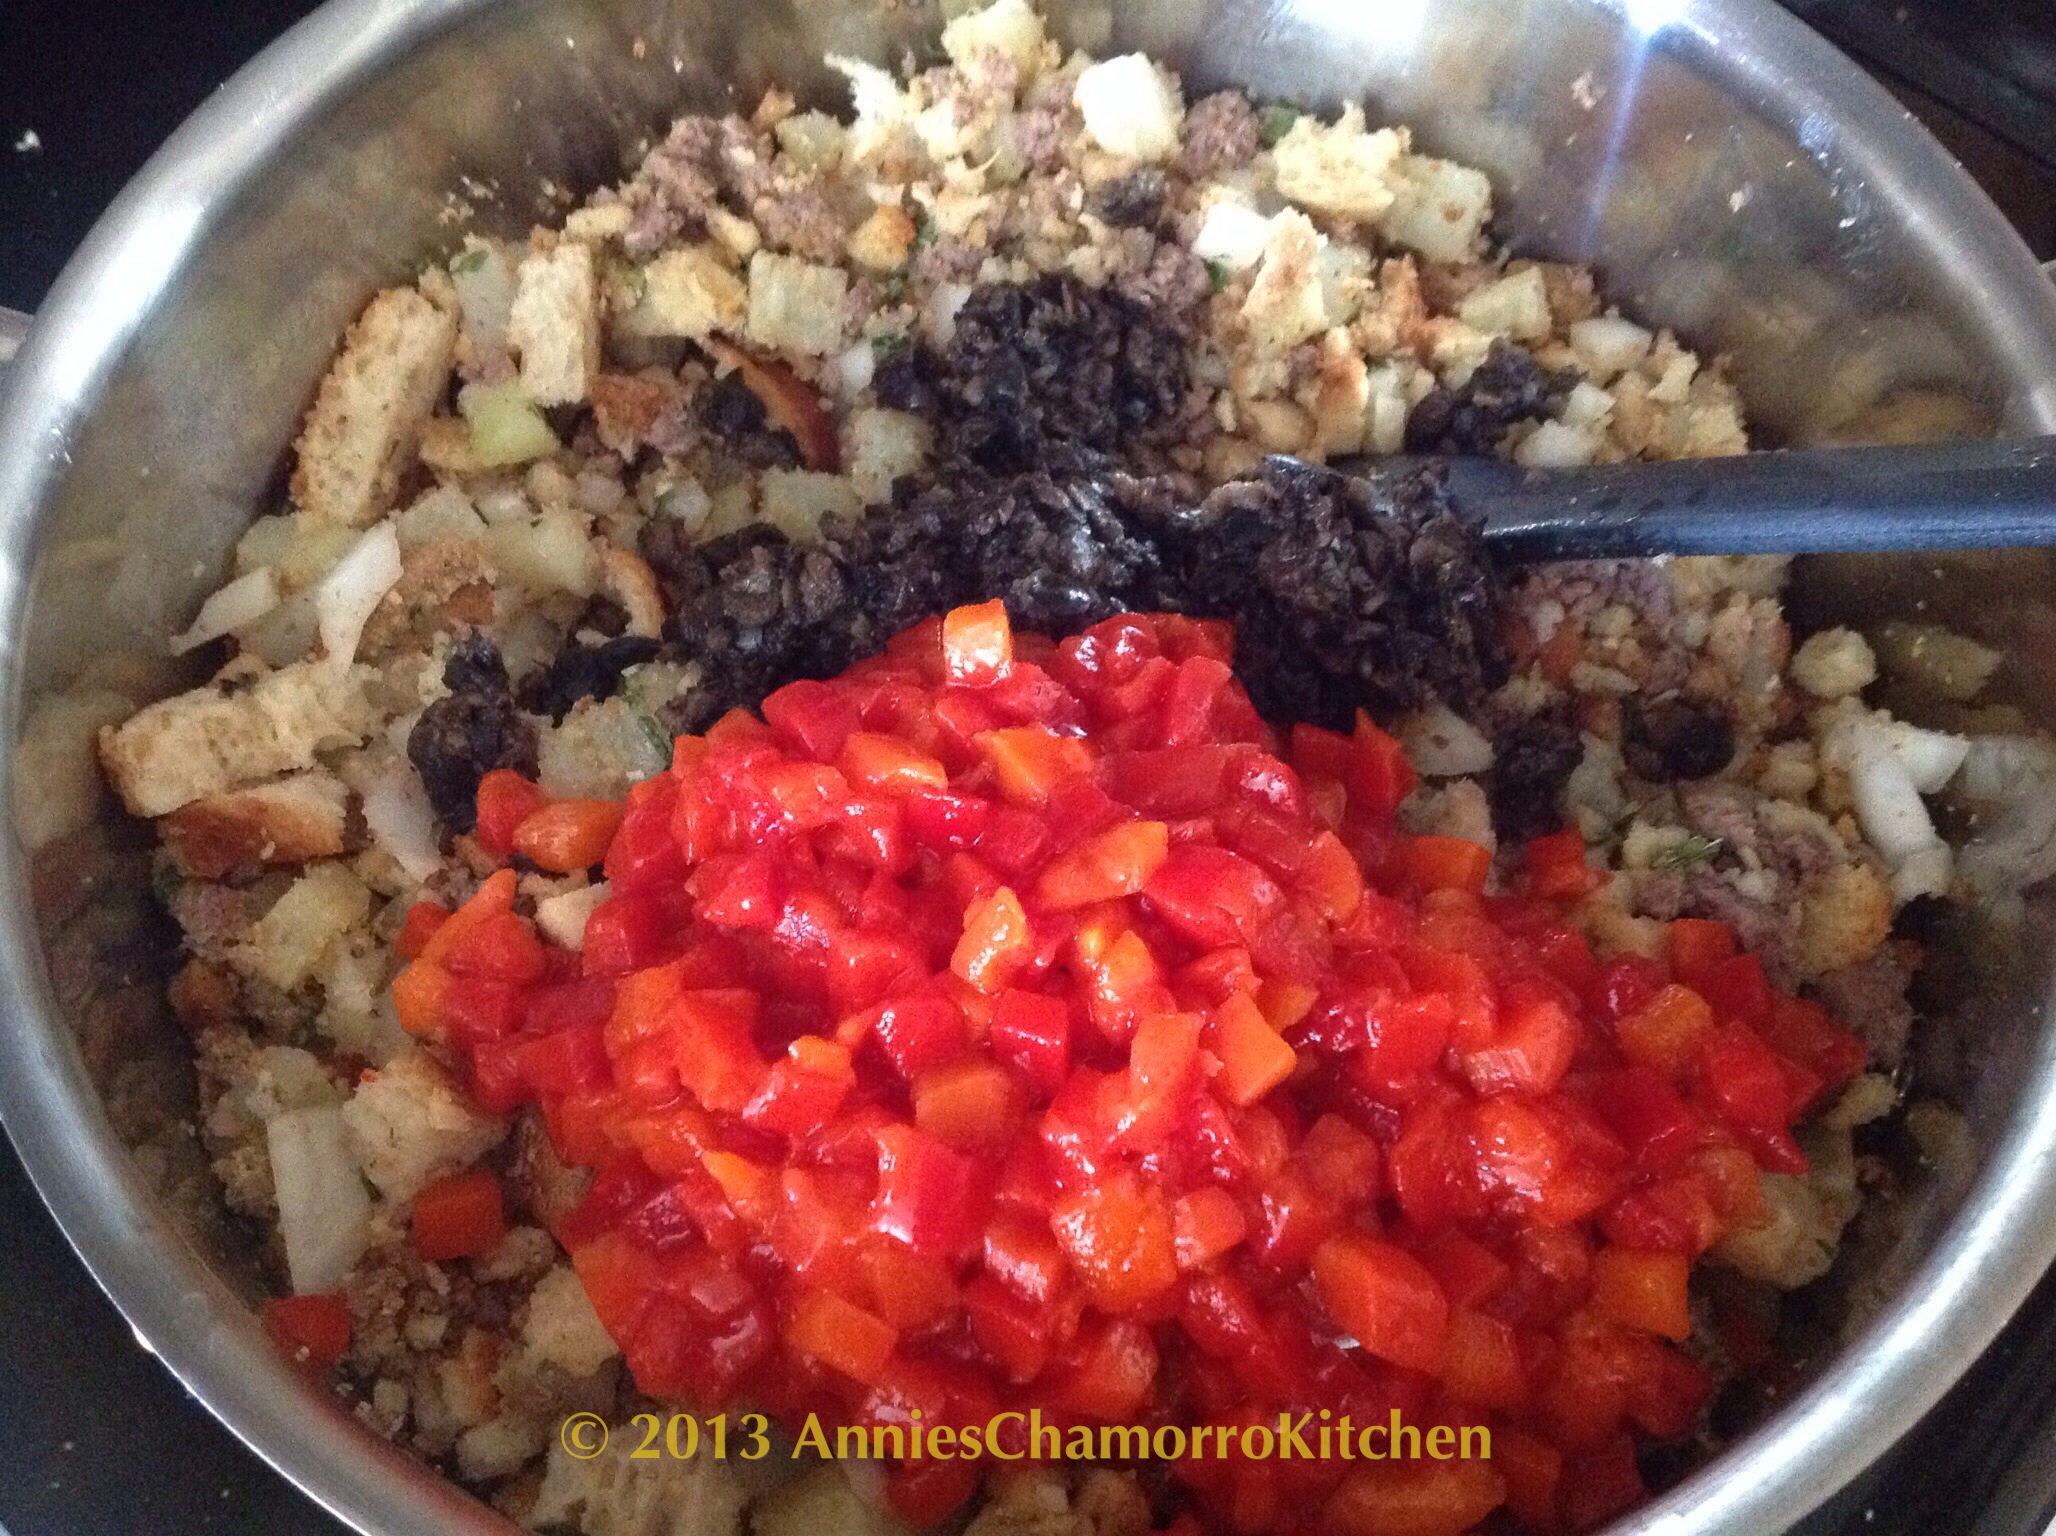
Stir to combine. Continue to cook over medium heat for a minute or so, stirring occasionally.

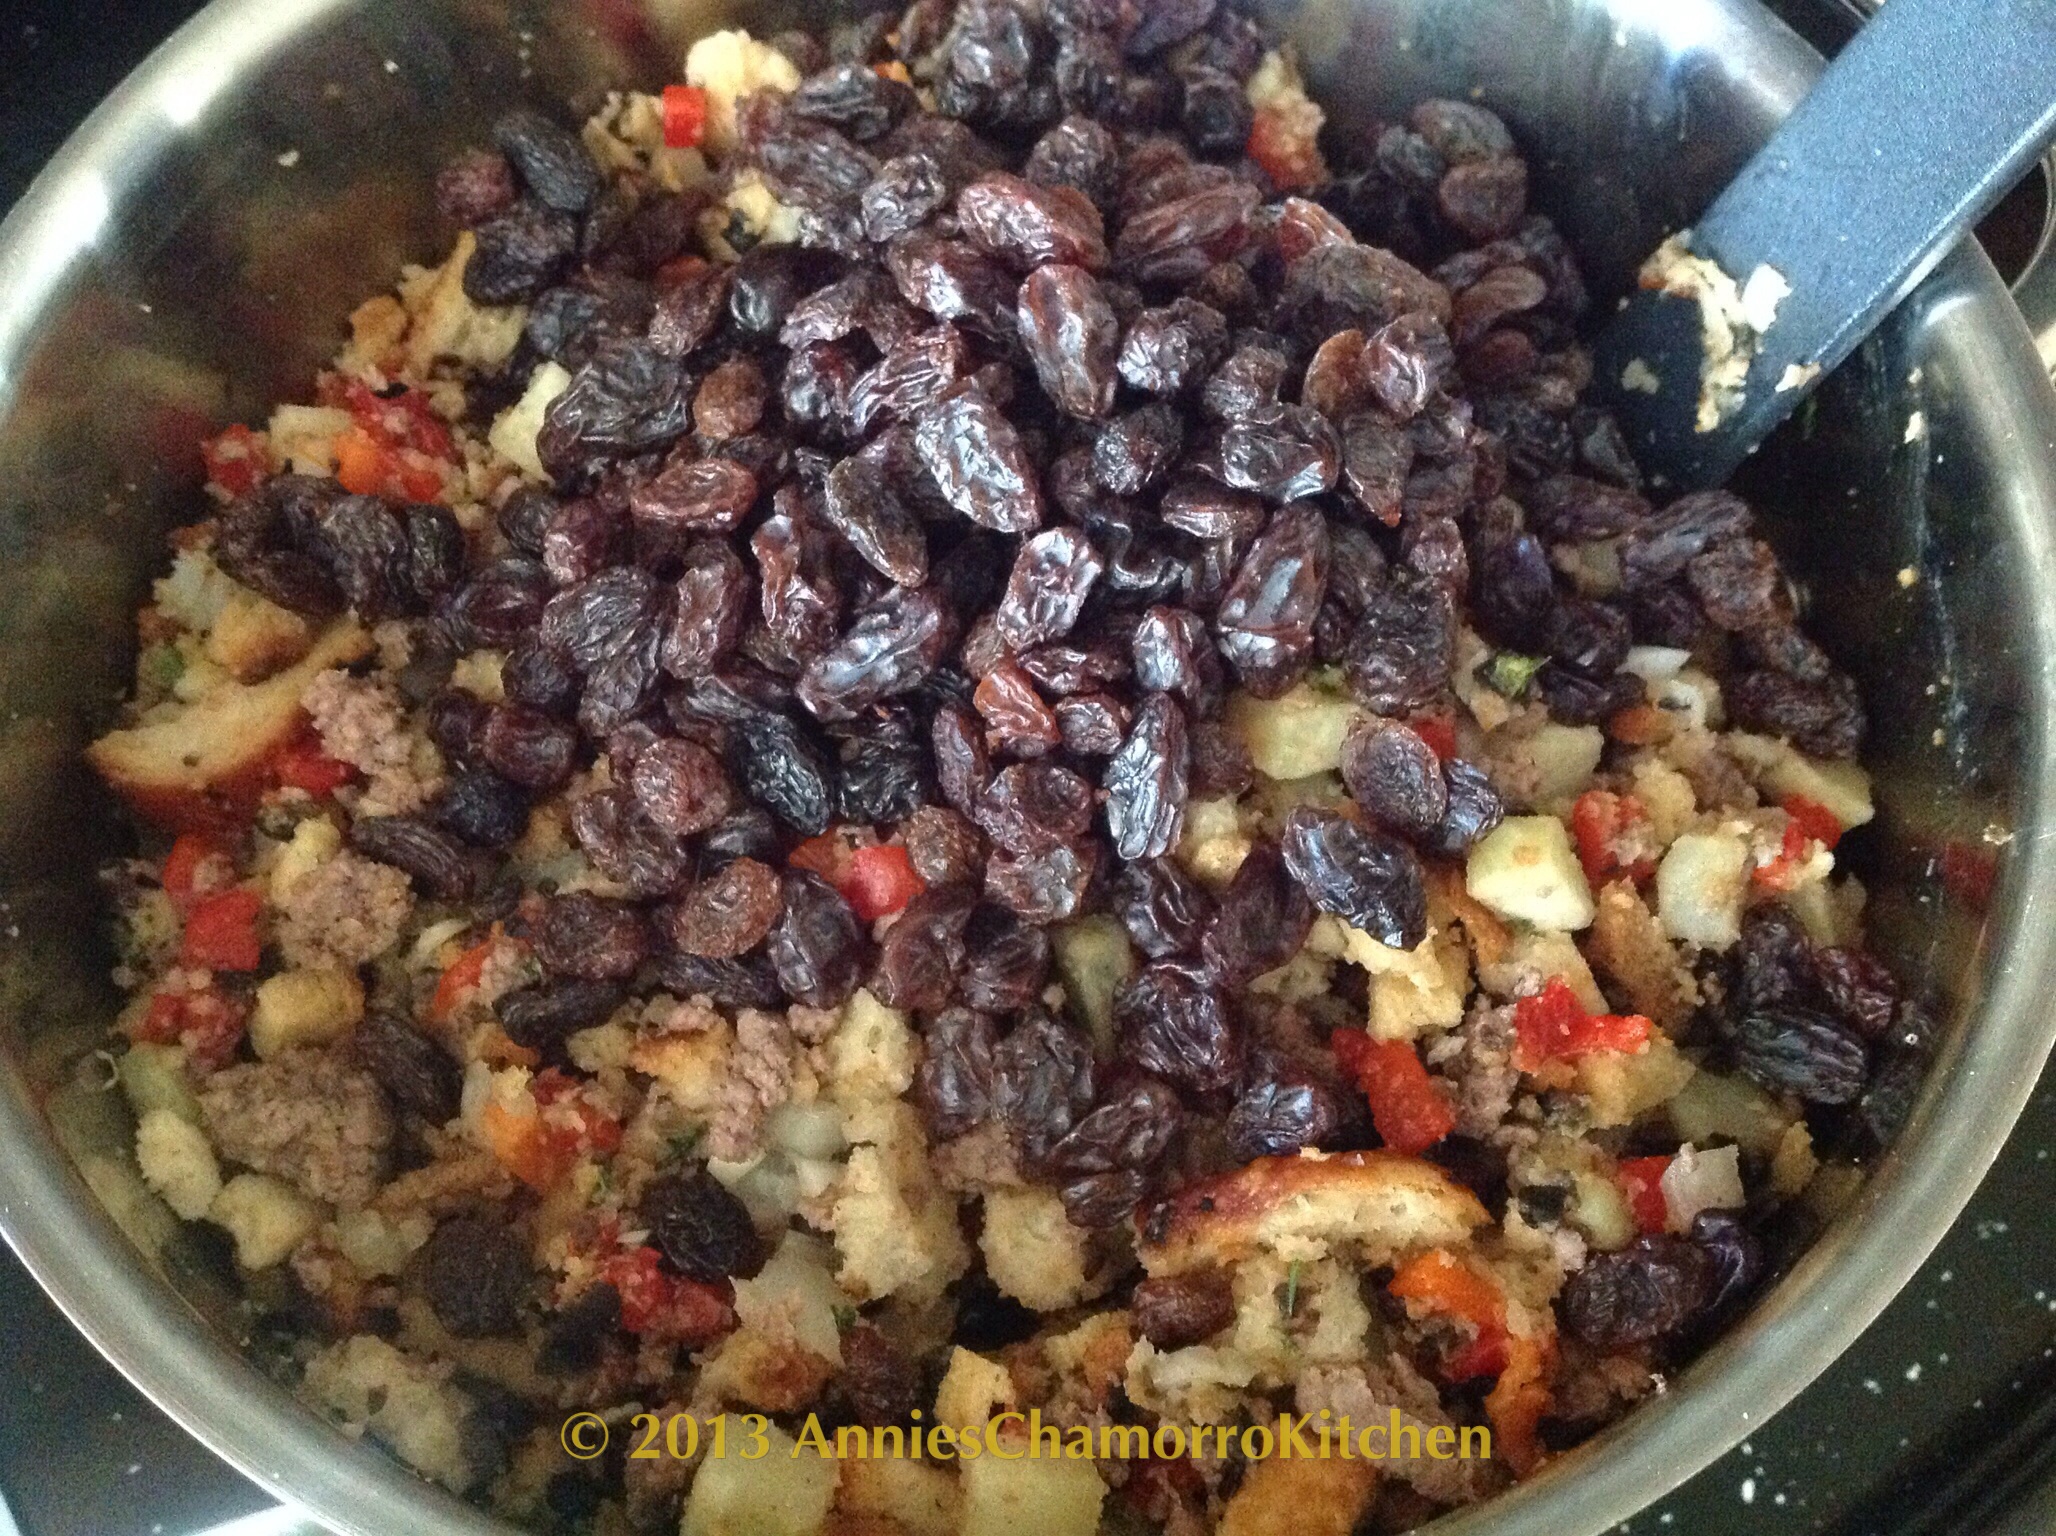
Add the raisins. I actually like lots of raisins in my stuffing so I tend to add more than a cup.
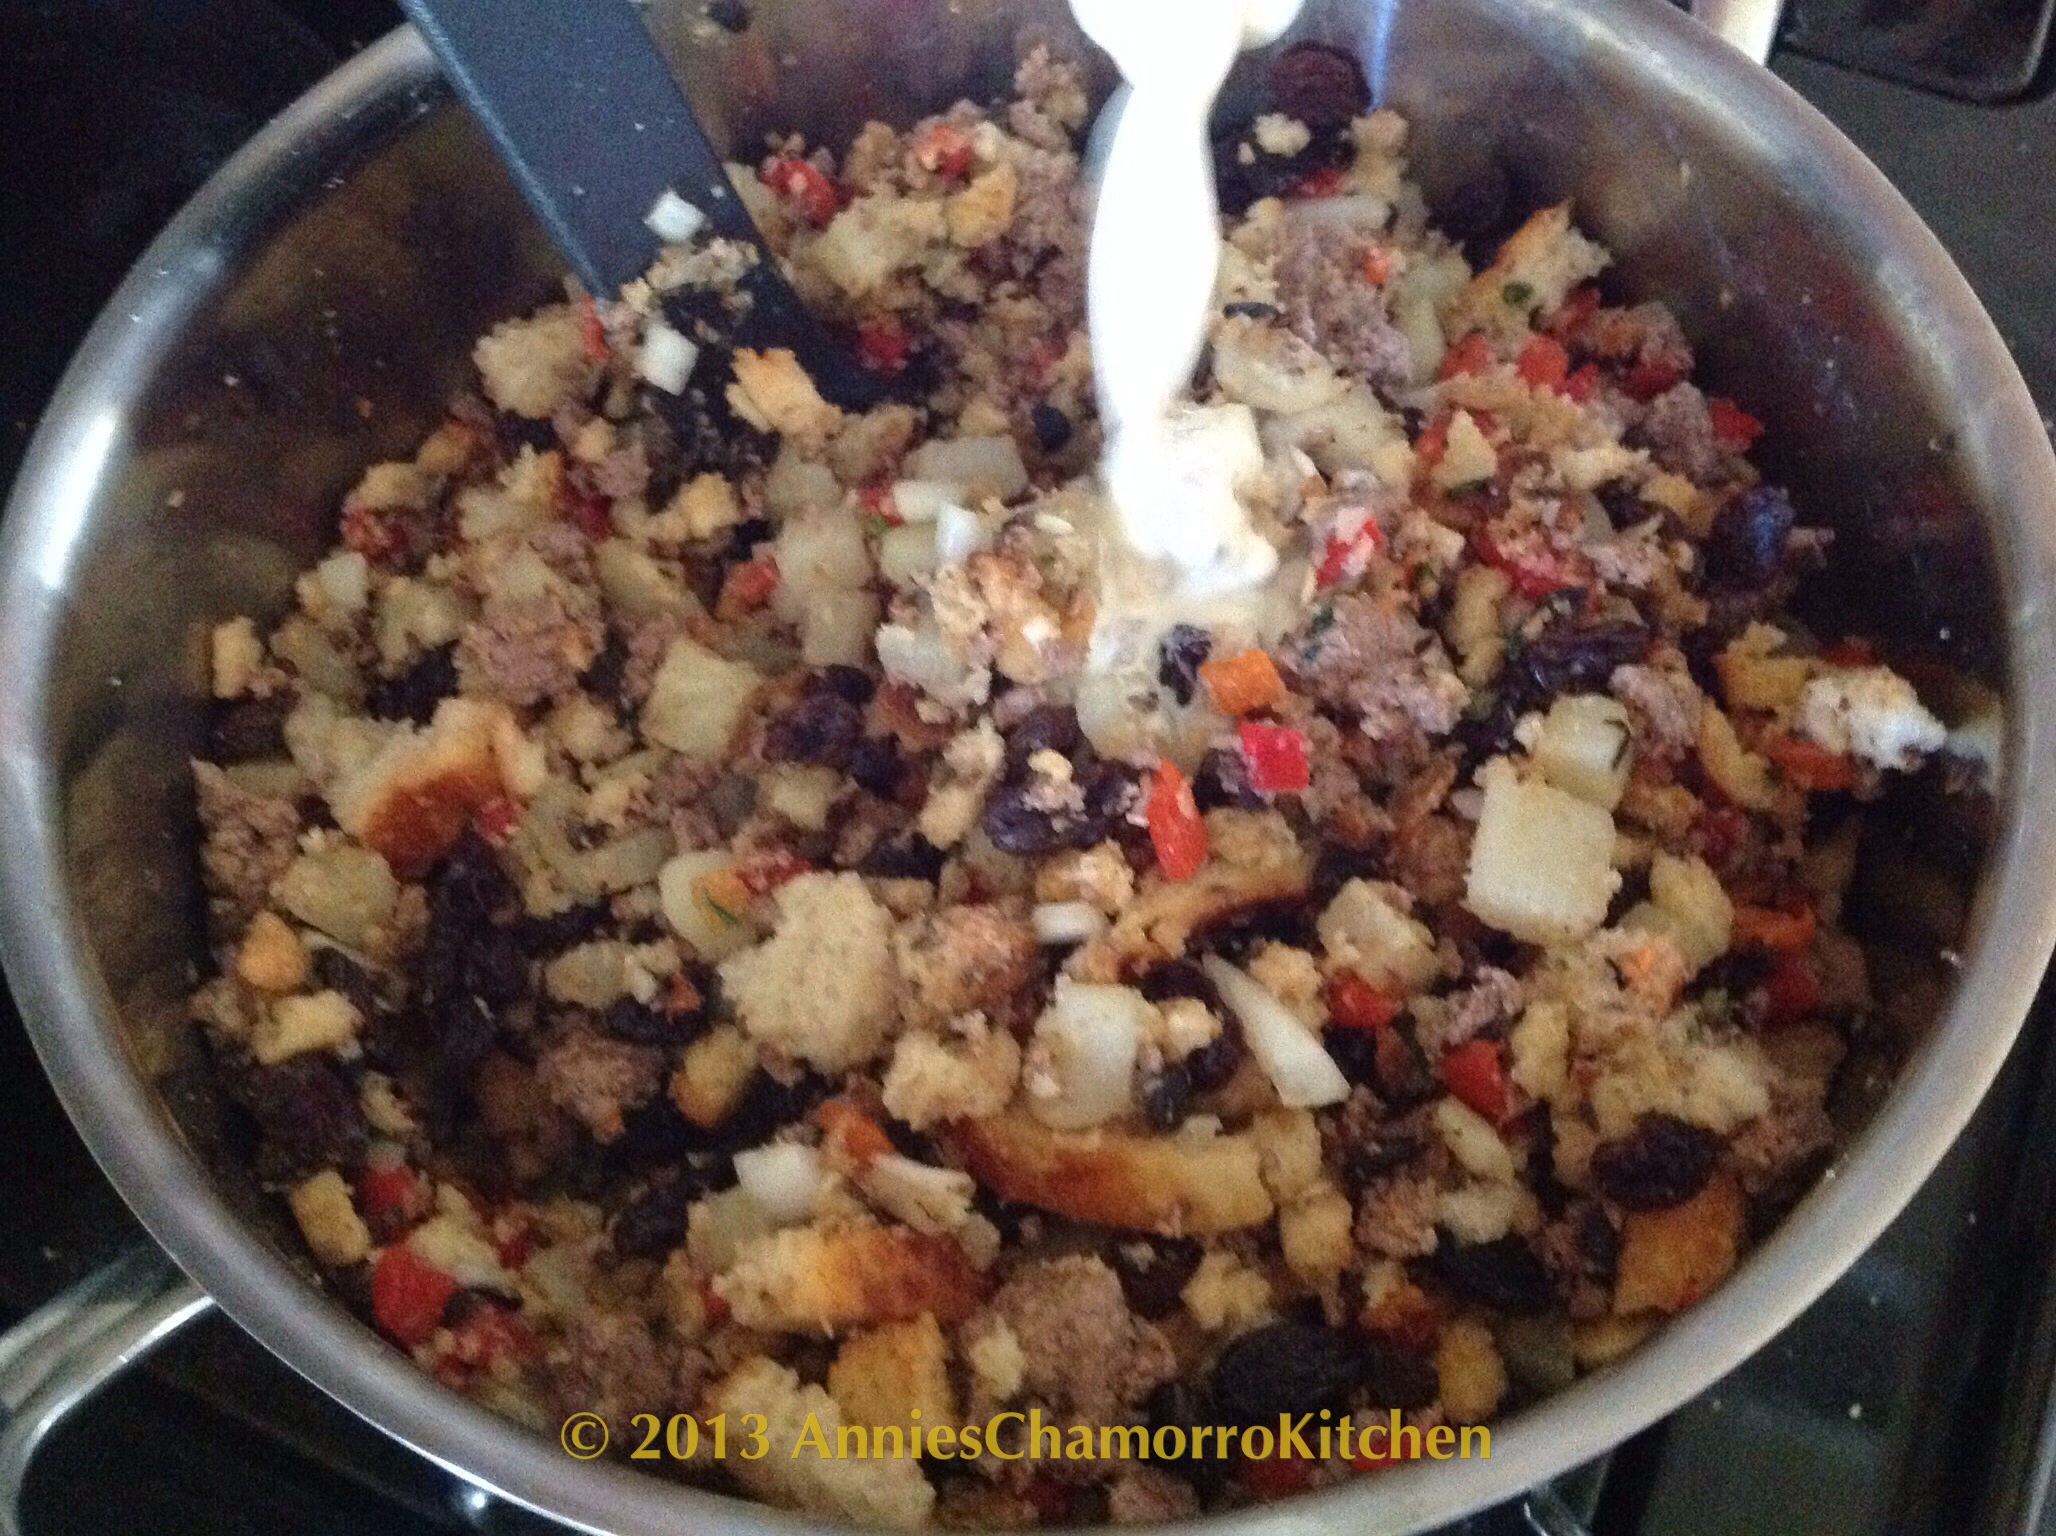
Pour in the evaporated milk. You can also use vegetable or chicken stock instead of milk.
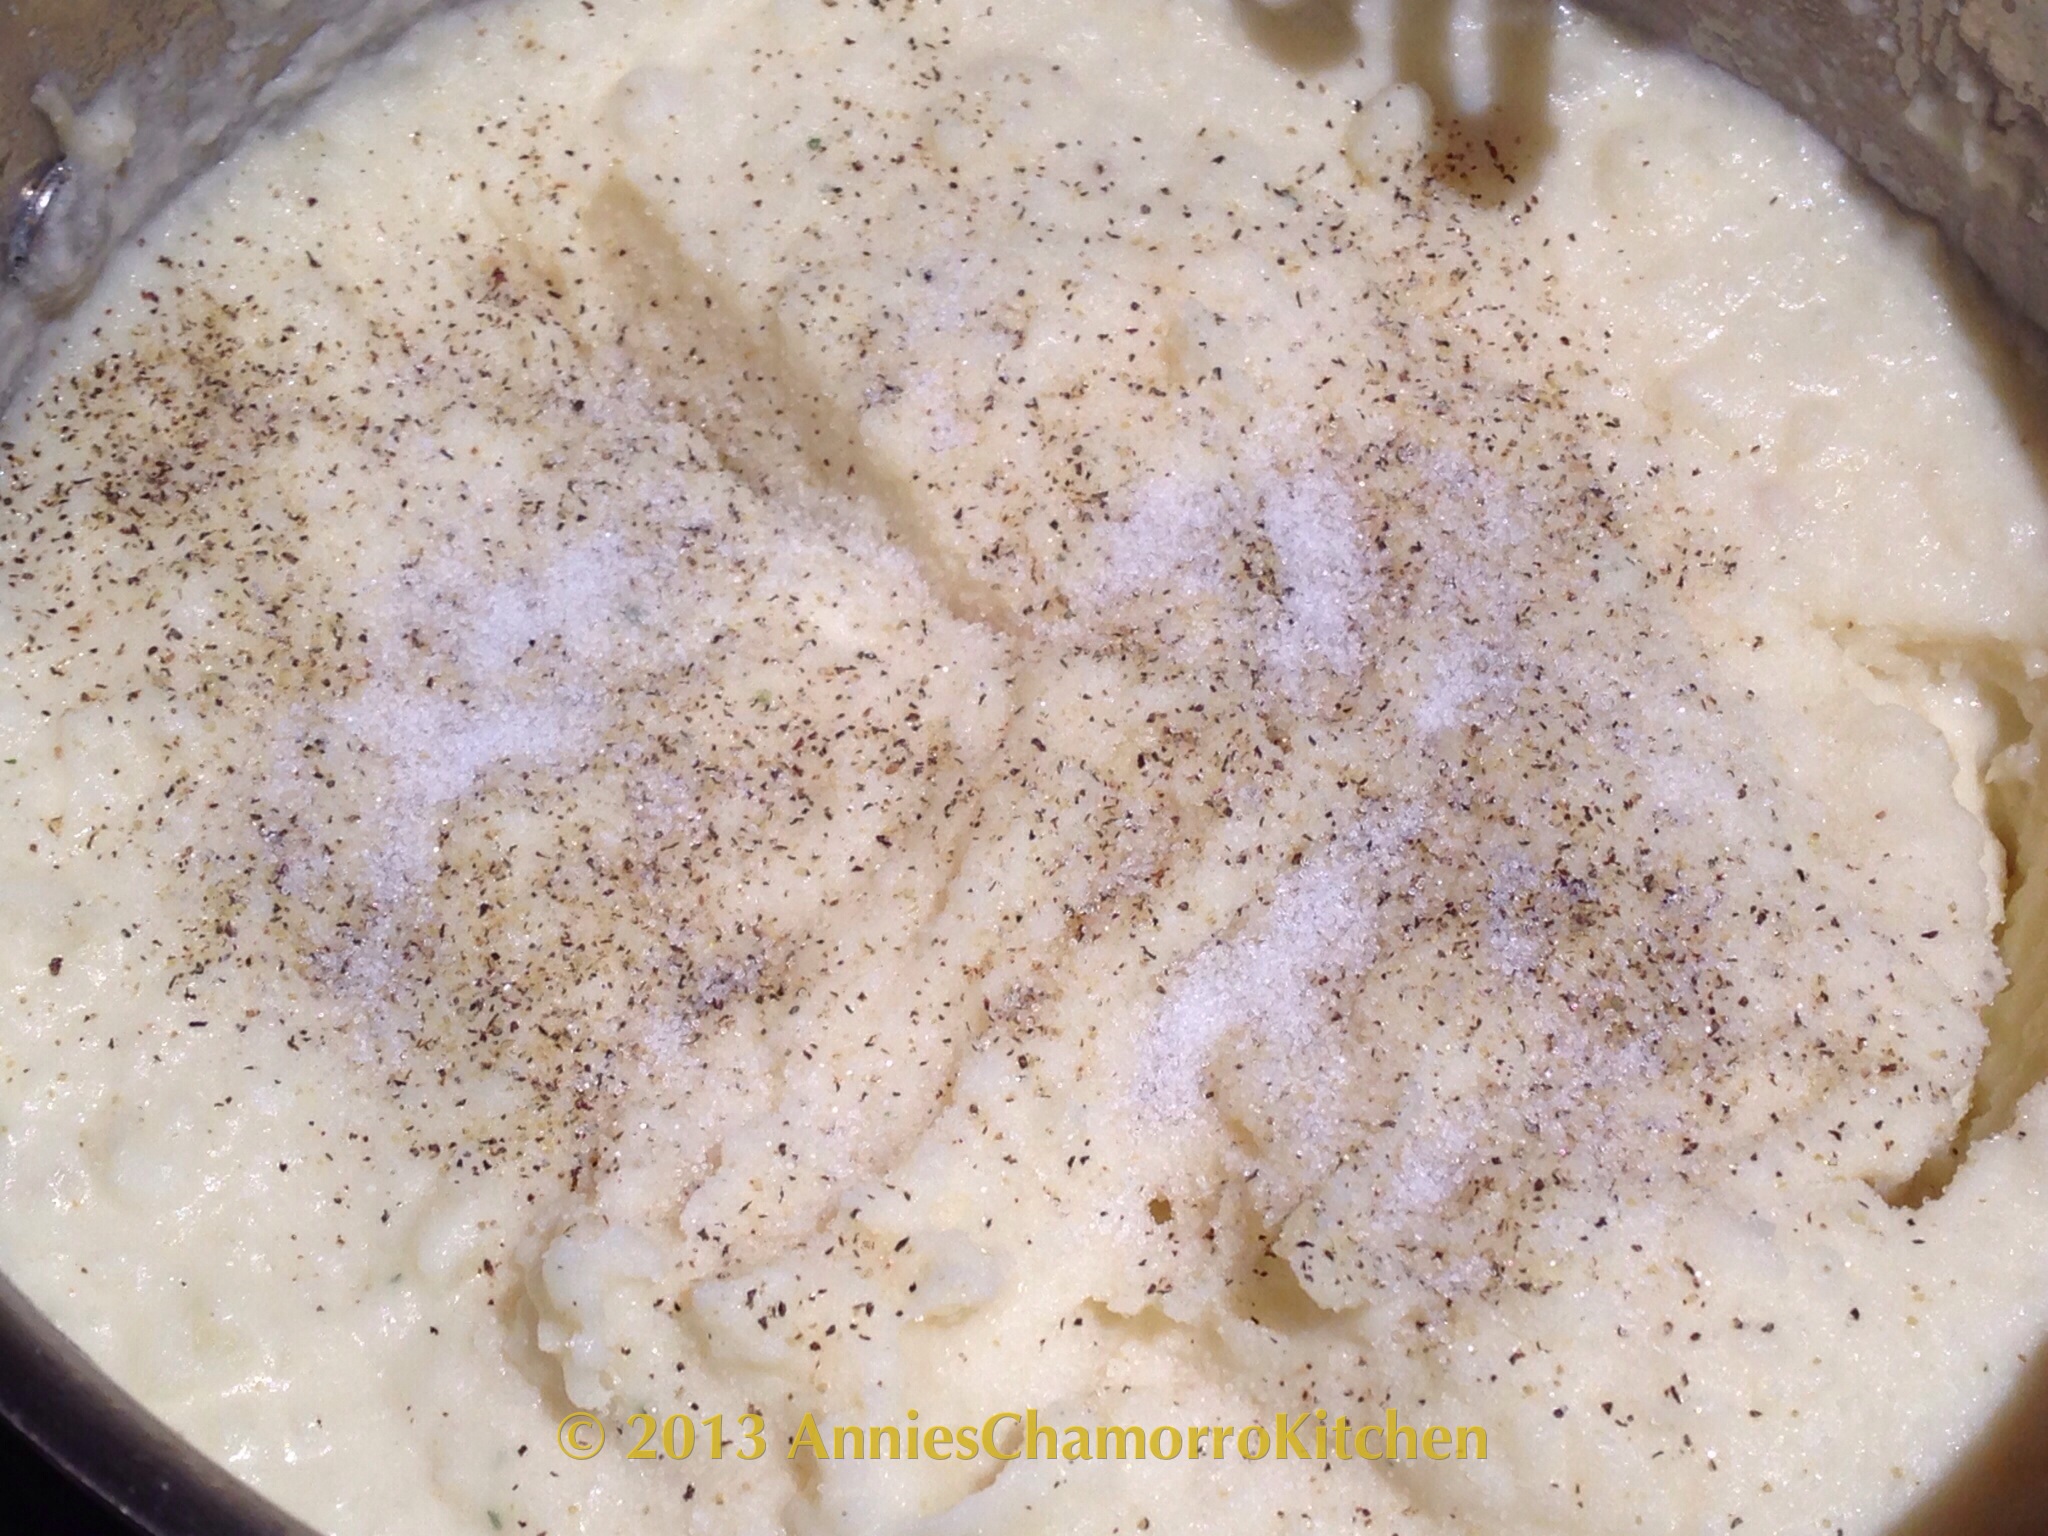
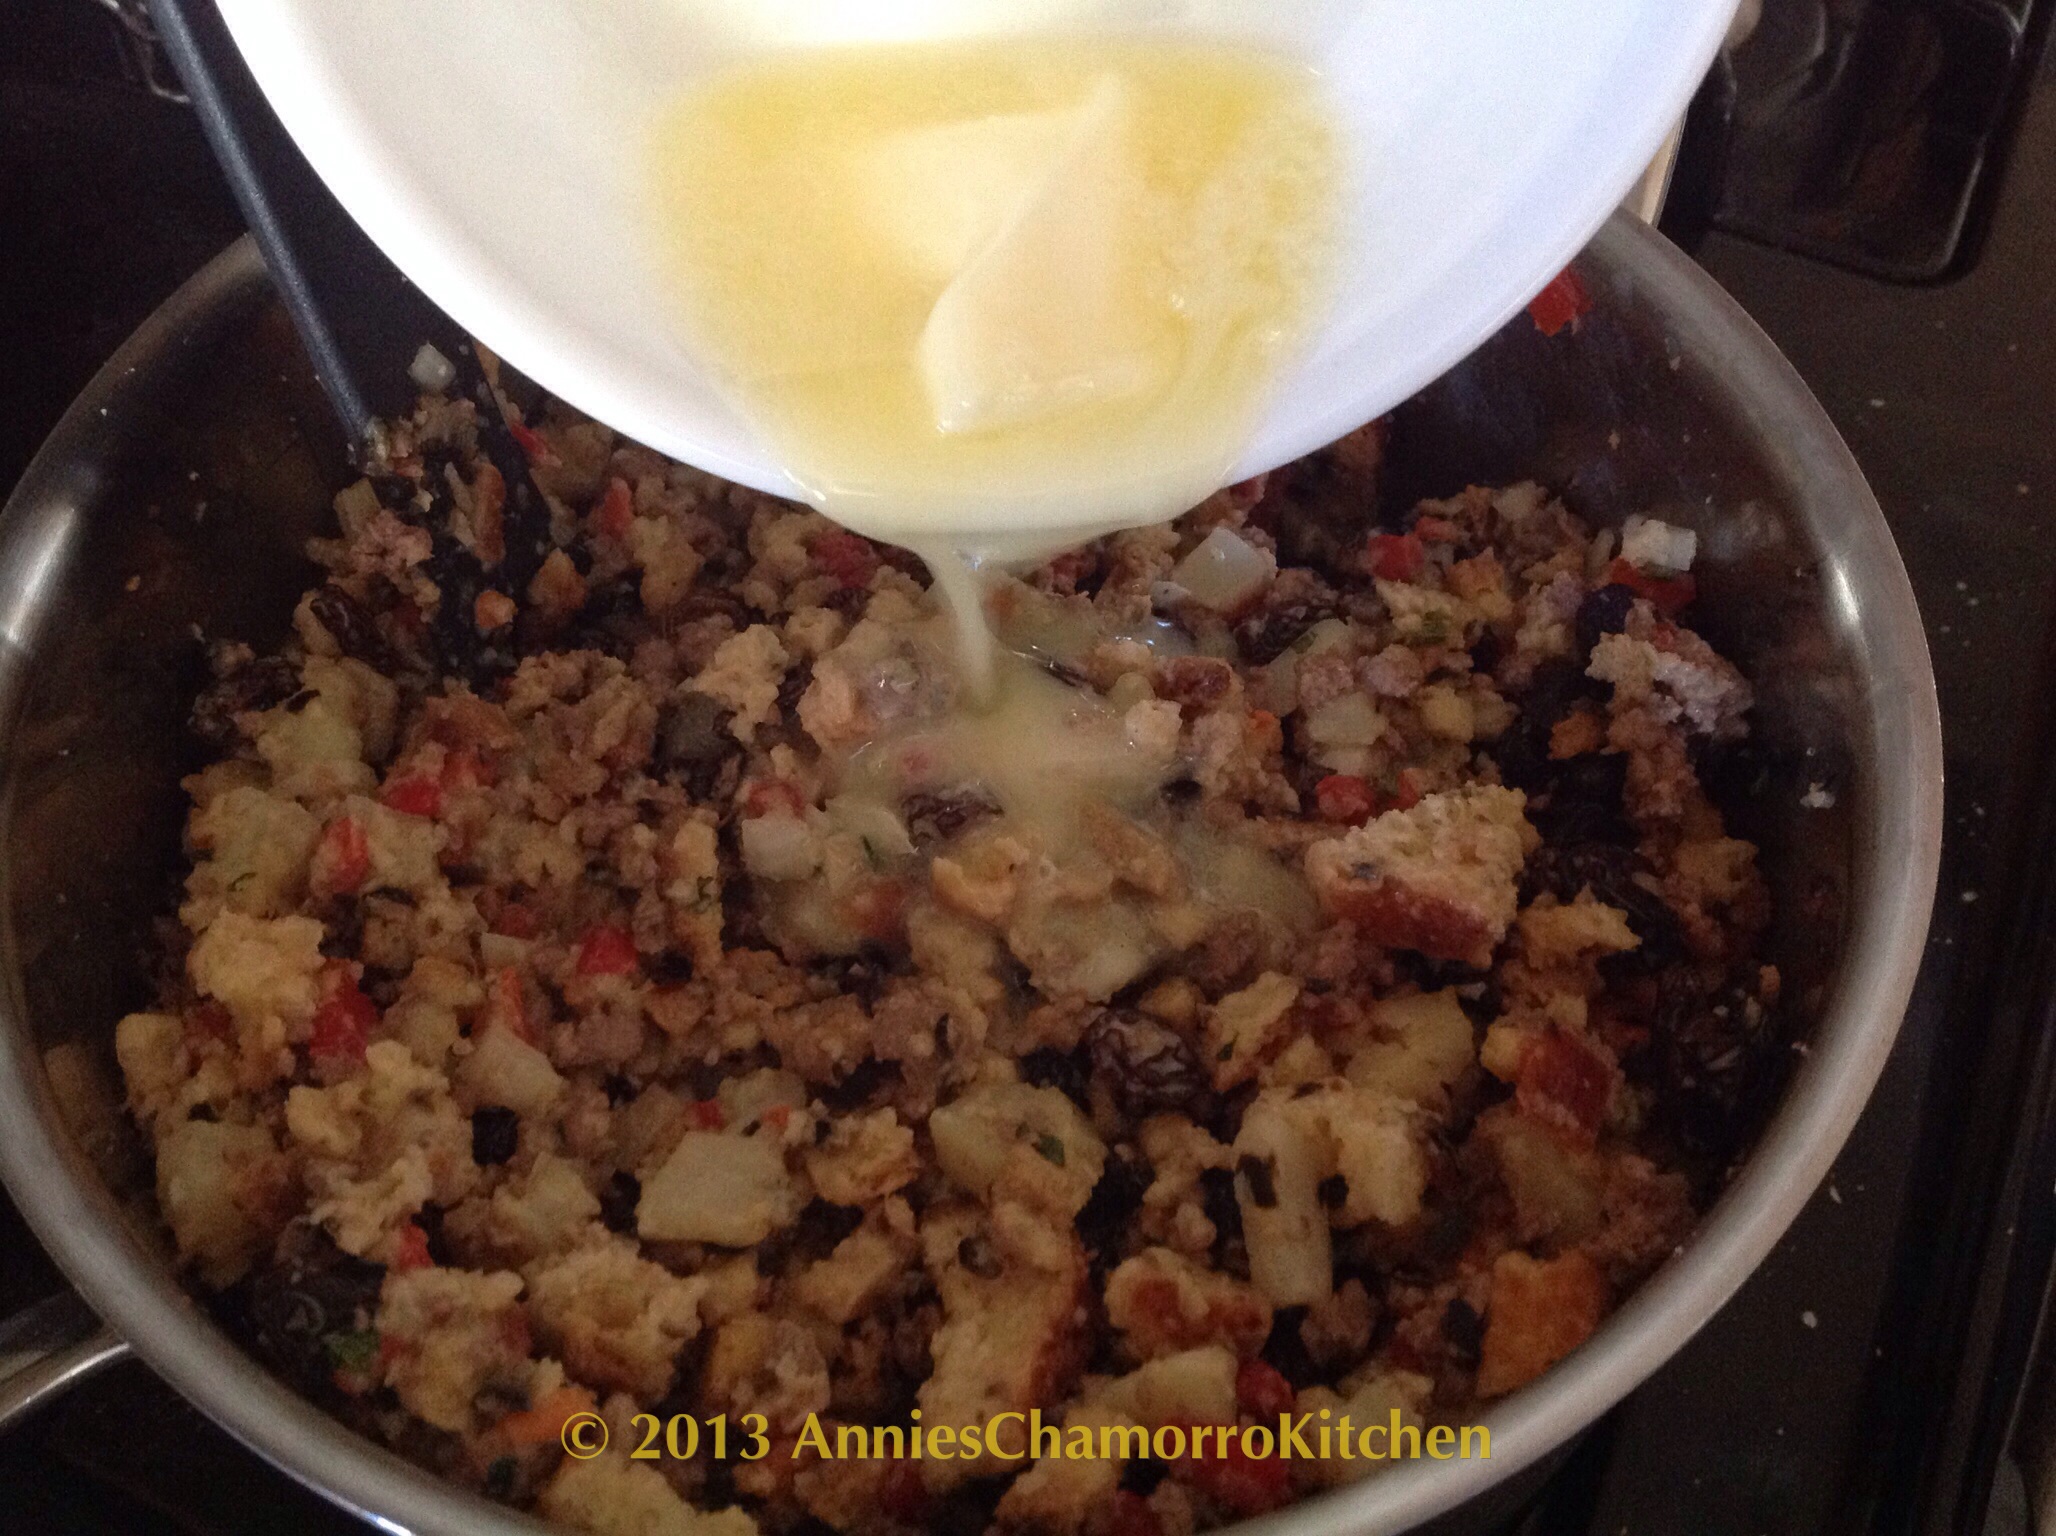
Add the melted butter. Cook for another minute or two. Taste, then add salt and pepper if needed (the seasoning packet from the stuffing is already quite salty, so you might not need to add more salt).
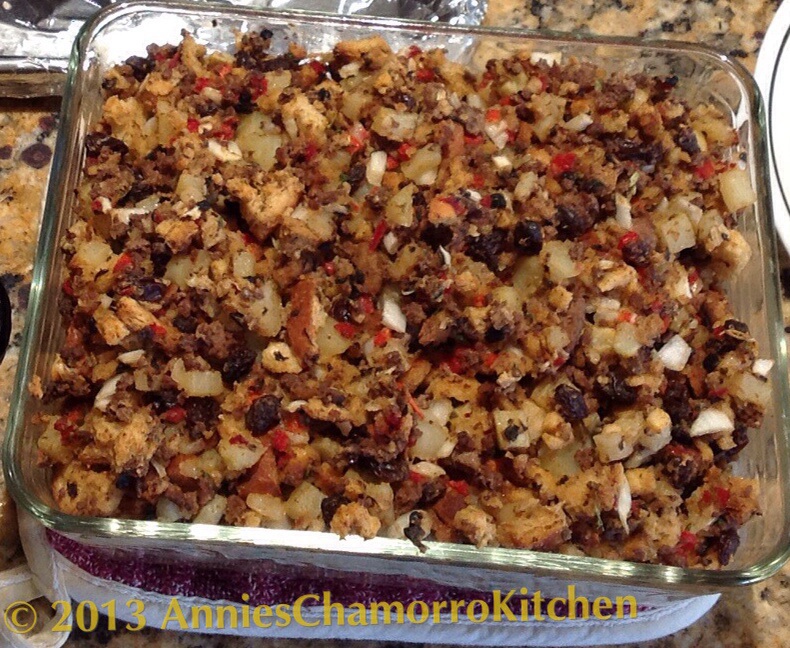
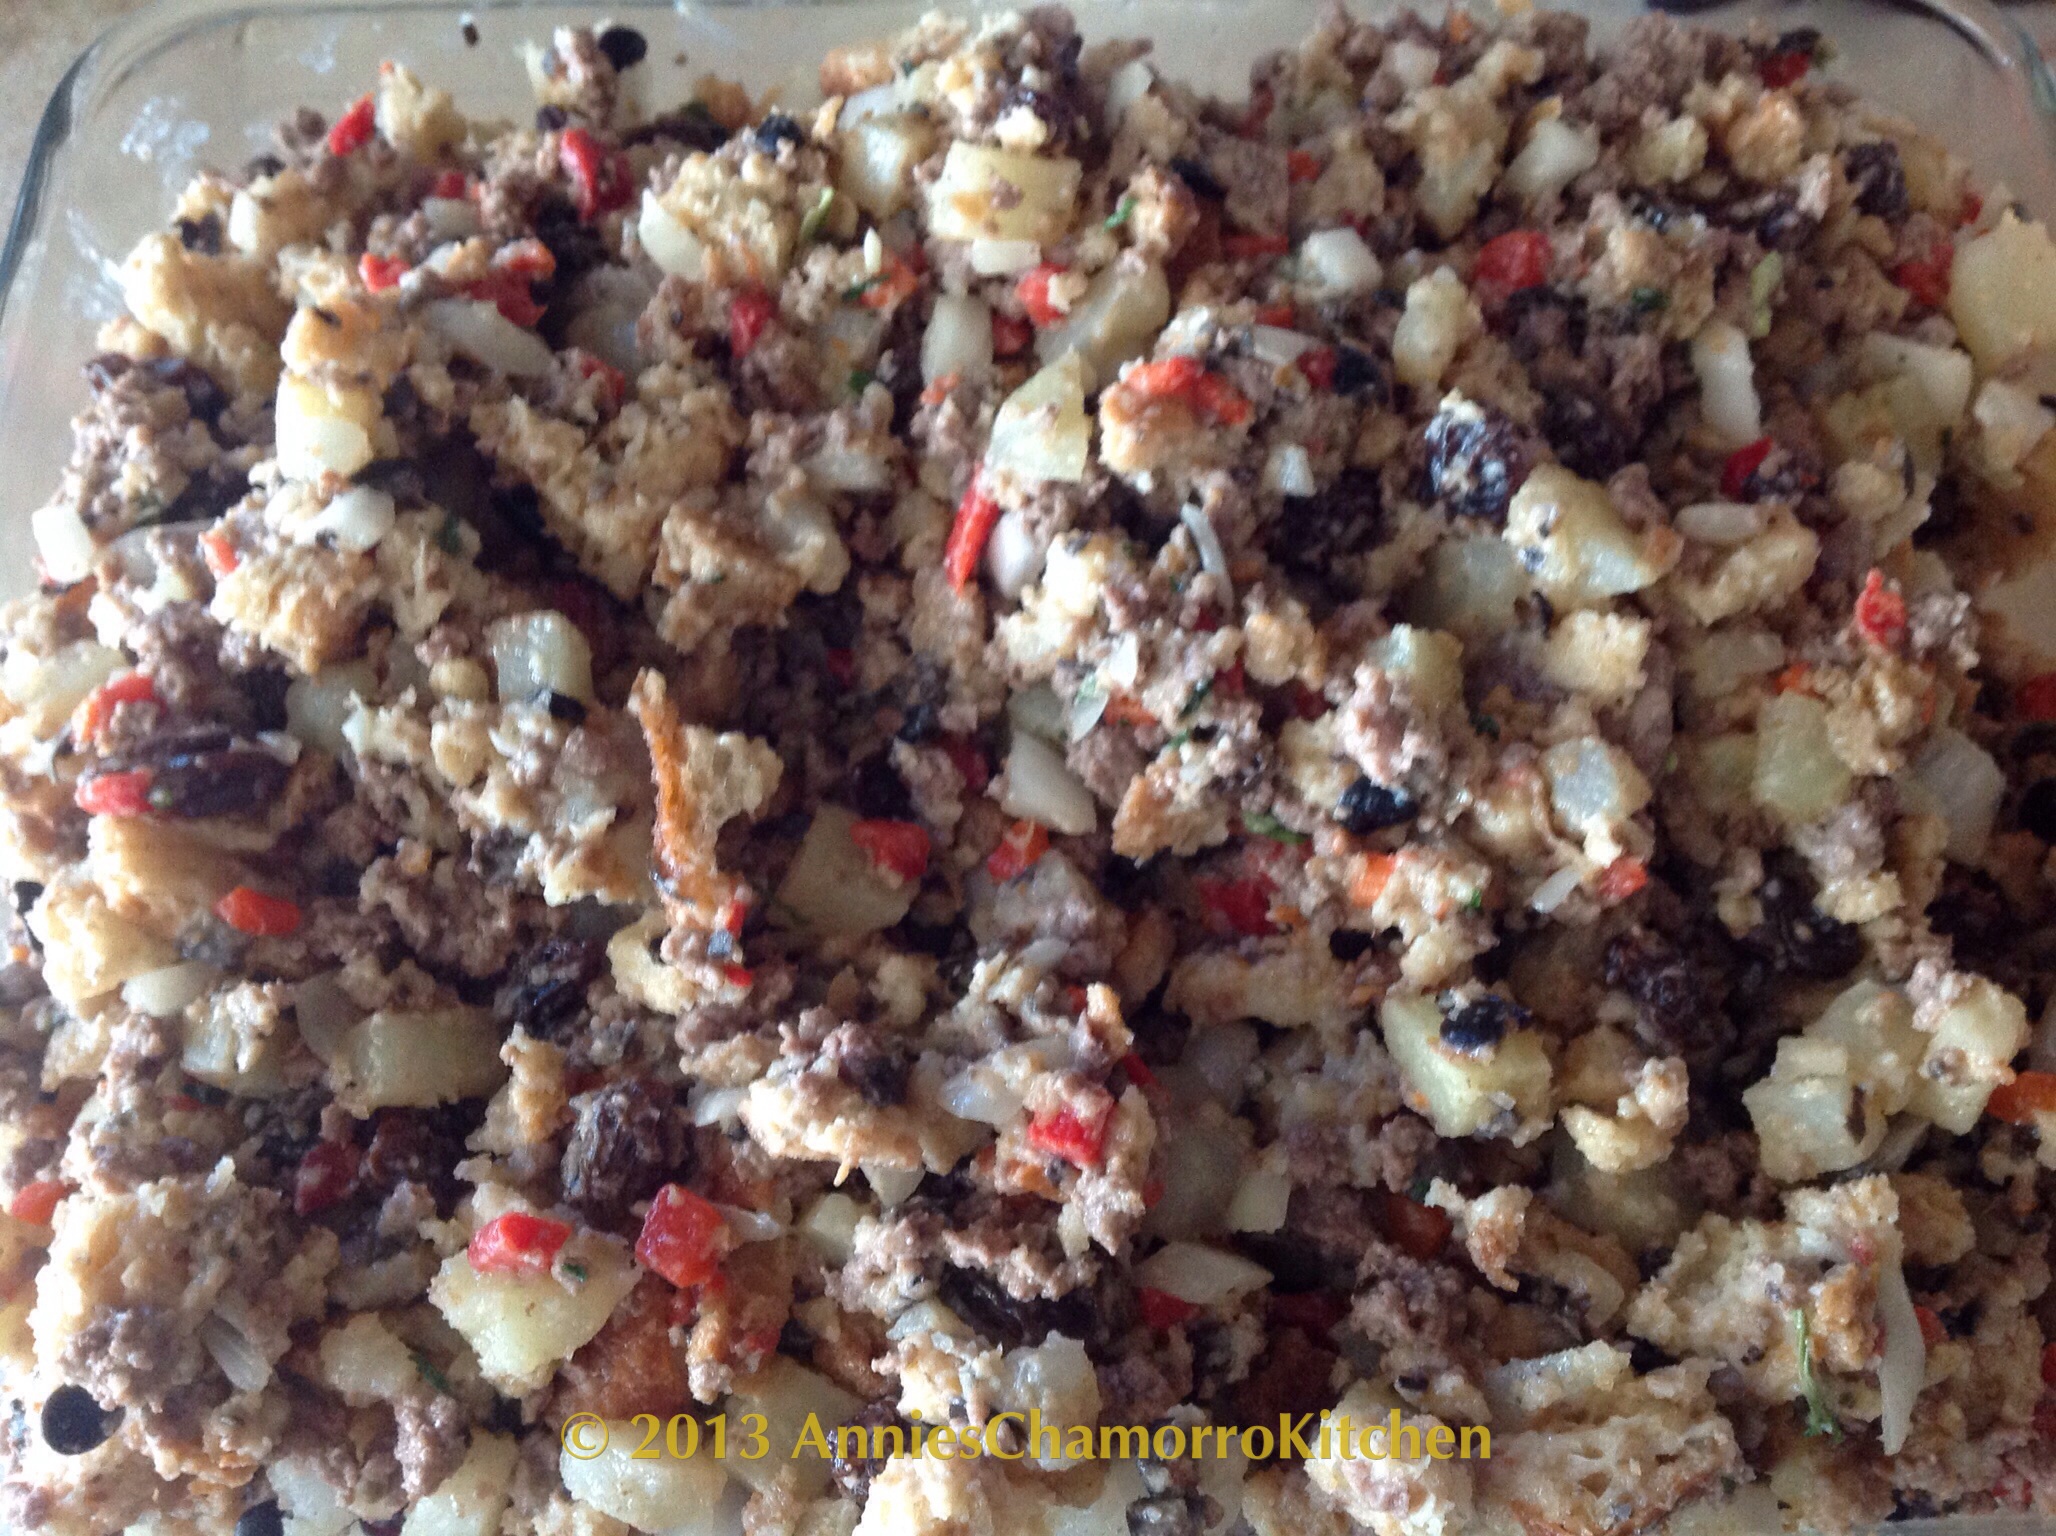
Place the stuffing into an oven-safe baking dish.
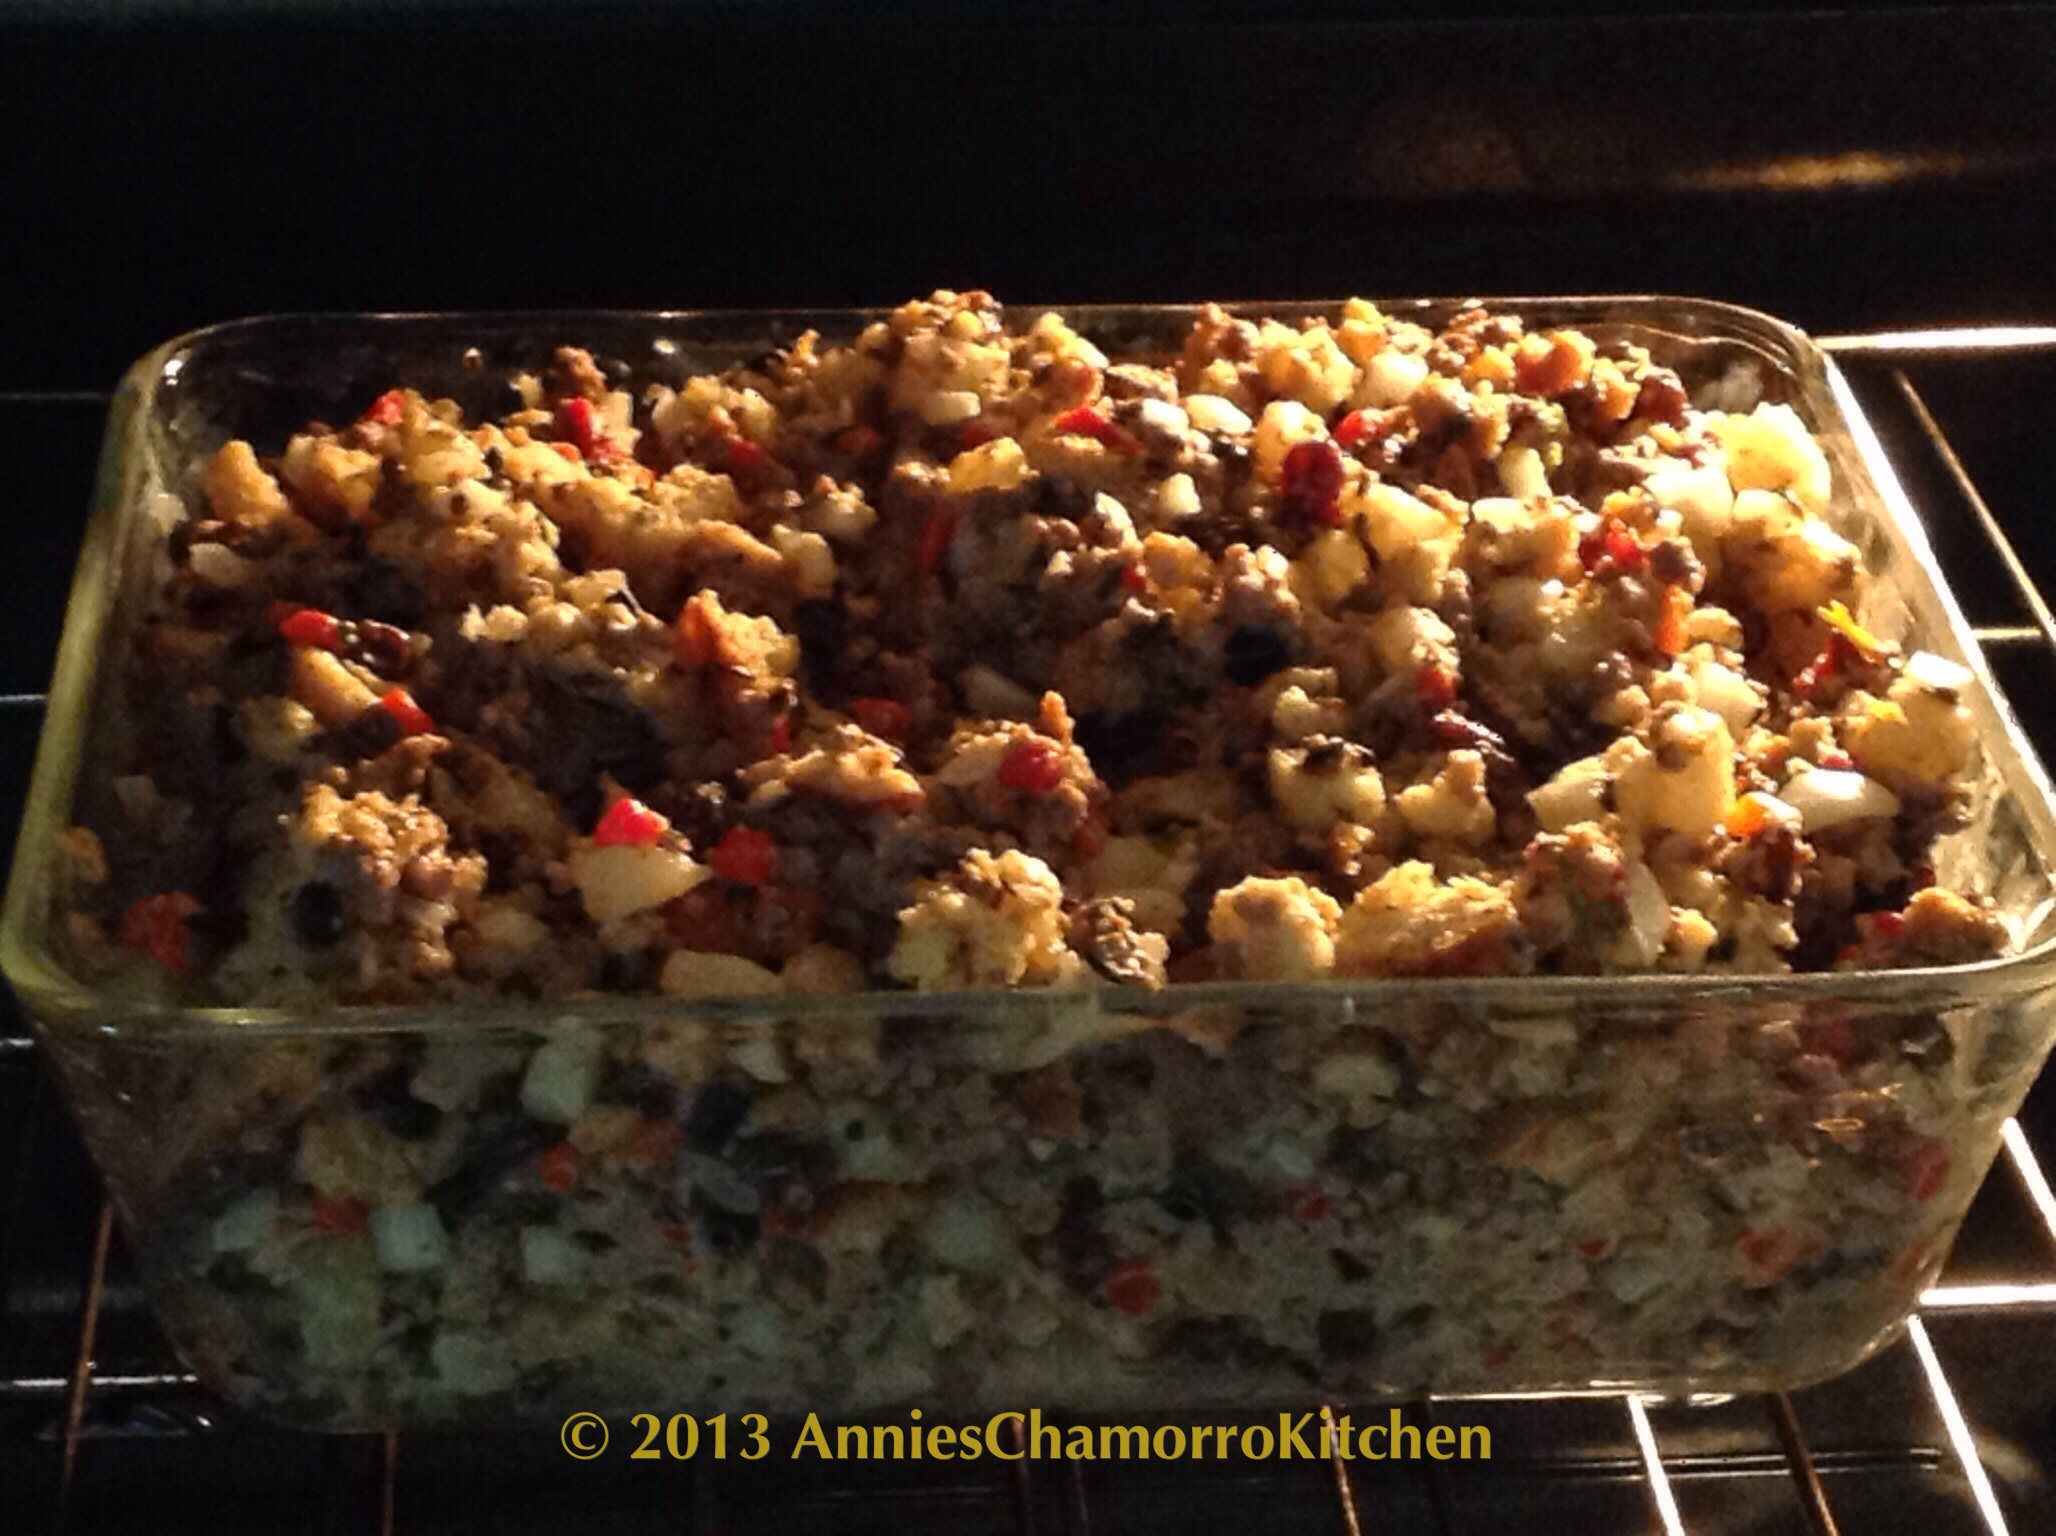
Bake at 350 degrees for 20 minutes.
Serve and ENJOY!
This makes a wonderful side dish, served alongside my smoked/grilled turkey and brown sugar glazed ham.
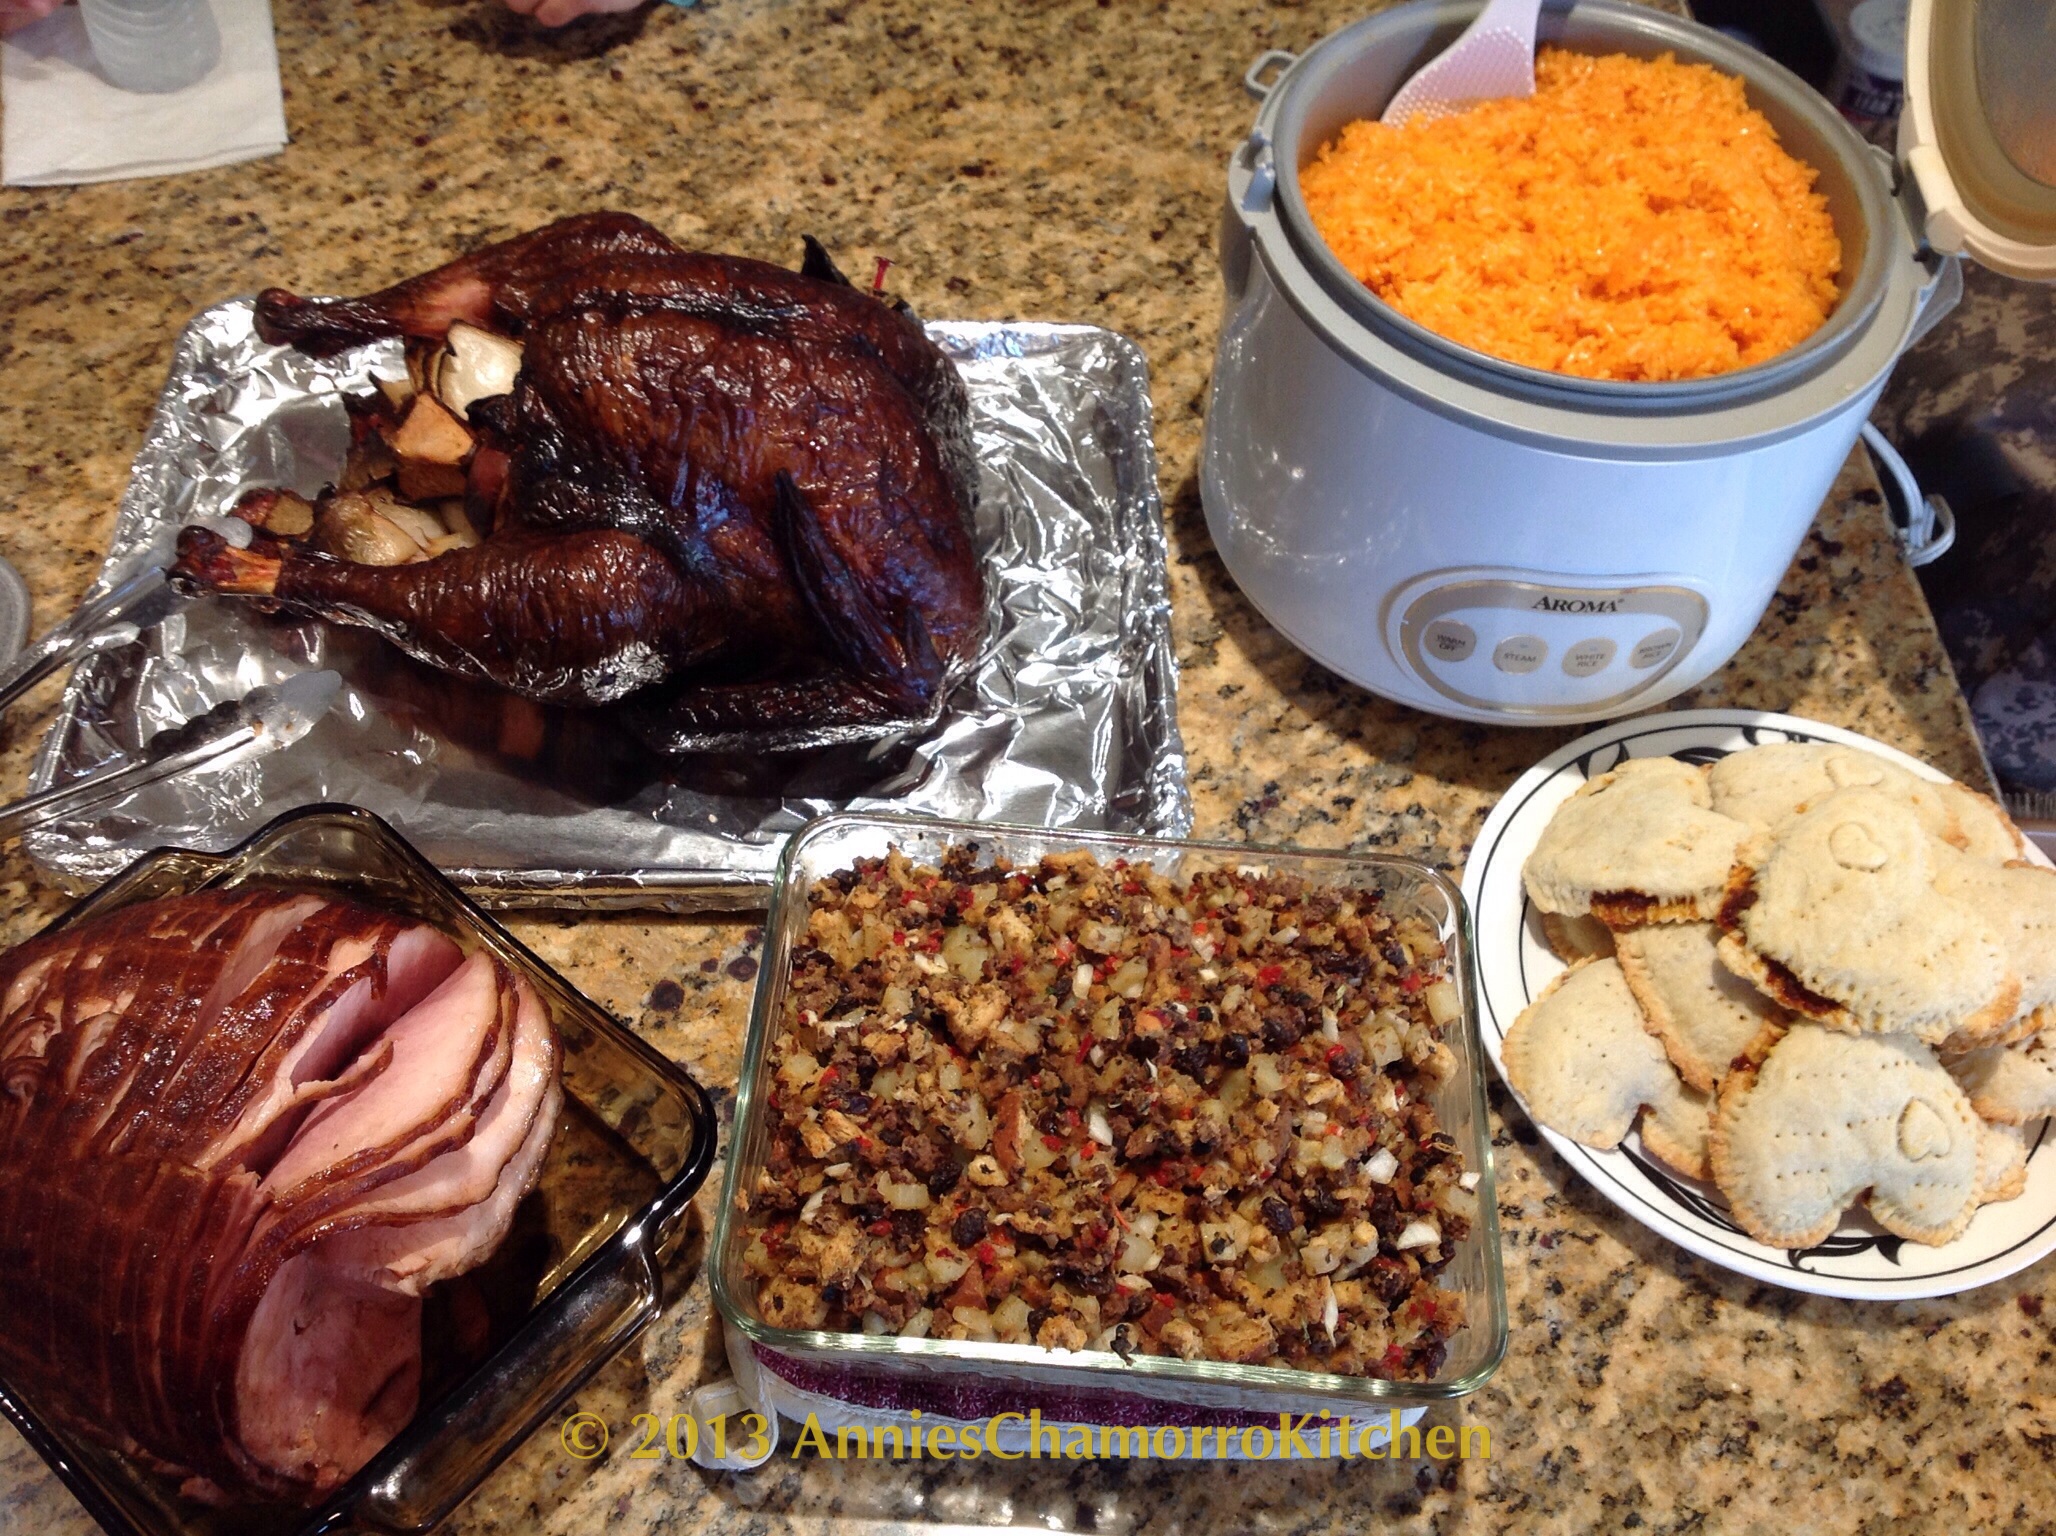
ENJOY!