Archive for SEAFOOD

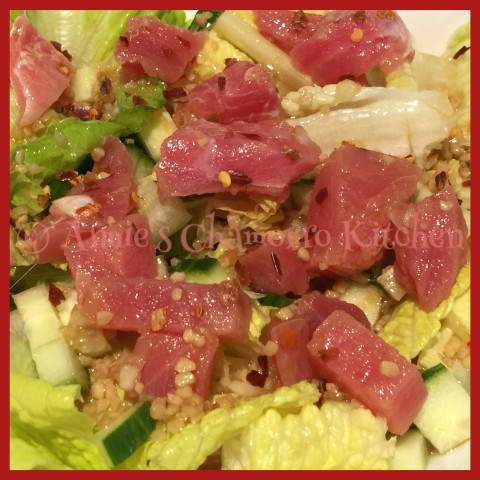
Ahi Tuna Poki Salad

image

This is a new twist on Ahi Tuna Poki. Marinate good quality cubes of ahi tuna in my Japanese Vinaigrette dressing and serve with your favorite salad greens and diced cucumbers.

It’s oh-so-good, trust me.  🙂

You can find my Japanese Vinaigrette recipe here.

Give it a try. I think you’ll like it. 🙂

image


Ahi Tuna Poki Salad
 
A new take on Ahi Tuna Poki that's served in my tangy and slightly sweet dressing with your favorite salad vegetables
Author:
Recipe type: Seafood, Salad
Cuisine: Japanese
Serves: 1 serving
Ingredients
  • Lettuce leaves (I like hearts of Romaine), as much as you like
  • ½ cup diced cucumbers
  • ½ cup diced red onions
  • ½ cup julienned carrots
  • 1 cup diced ahi tuna
  • ½ cup Japanese Vinaigrette
Optional:
  • Red pepper flakes
Instructions
  1. Make my Japanese Vinaigrette as directed in my recipe (see the link above).
  2. Marinate the ahi tuna in the vinaigrette for 10-15 minutes. Pour the tuna and dressing over the salad greens and other vegetables. Sprinkle red pepper flakes over the salad (optional).
Serve and enjoy!


Print Friendly, PDF & Email

Salmon Cakes

Salmon cakes are my take on one of my favorite seafood dishes — crab cakes.  These savory patties are crisp on the outside, thanks to a quick pan-frying, and moist and flavorful on the inside. To finish it off, top with a dollop of lemon-garlic aoili and a sprinkling of green onions. Mmmm mmmm mmmm…these are soooooo good!

Salmon cake

I usually make this for a meal, but you can easily make these into appetizer-sized portions.  This recipe makes between 10-12 salmon cakes, depending on how big you make them.

image

This is a quick and easy version, using canned salmon. I’ve also made this using fresh salmon.  To prepare fresh salmon, bring about 2 cups of broth (seafood or chicken) to a boil in a small saucepan.  Add boneless, skinless salmon pieces to the boiling broth.  Cook until done, about 6-8 minutes, depending on the size of the salmon pieces.  Let the salmon cool then use a fork to break the salmon apart into small chunks.  You’ll need about 1 1/2 pounds of fresh salmon for this recipe.

This is an easy recipe that your kids can help with.  There is something about forming the patties that appeal to kids, or at least it appeals to my kids.  Maybe it’s because they get to “play” with food. 😉

You can find my complete recipe at the bottom of this post.  Give it a try.  I’m sure you’ll like it. 🙂

Start out by making my super-simple lemon-garlic aioli.  Mix all of the aioli ingredients in a small bowl and set aside.

image

Once the aioli is prepared, start making the salmon cakes.  Place all of the ingredients for the salmon cakes into a medium-sized mixing bowl.

Salmon cake

Use a spatula to fold the ingredients together.  Be gentle…the salmon breaks apart easily.  You want to still see small chunks of salmon after mixing.

Salmon cakes

The mixture will be a little “wet.”  This is perfectly okay and is key to creating tender and juicy salmon cakes after frying.

Place the remaining panko bread crumbs into a small bowl.  Form patties out of the mixture then generously coat in bread crumbs. Place the coated salmon cake on a plate or tray; finish forming/coating the rest of the mixture.

Because the mixture is quite moist, I find that refrigerating the coated salmon cakes for about 30 minutes BEFORE frying makes them easier to lift from the plate to the frying pan.

Salmon cakes

When you’re ready to fry the cakes, place a couple of tablespoons of vegetable oil on a heated non-stick skillet.  I actually prefer to use a cast-iron skillet when I make this.

Pan fry over medium-high heat for about 4 minutes on each side, or until golden brown and crisp.

Serve with garlic aioli and ENJOY! 😀

image


Salmon Cakes
 
Prep time
Cook time
Total time
 
Savory salmon patties seasoned with cajun seasoning, topped with a delicious lemon-garlic aoili
Author:
Serves: 10-12 patties
Ingredients
Cajun Garlic Aoli
  • 1 cup mayo
  • 2 tablespoons chopped garlic
  • 1 tablespoon Cajun seasoning
  • 2 tablespoons lemon juice
  • 1 teaspoon salt
Salmon Cakes:
  • 3 cans boneless salmon (6-oz each)
  • ½ cup panko bread crumbs
  • ½ cup mayo
  • 2 teaspoons Dijon mustard
  • 4 stalks green onions, sliced
  • 2 teaspoons Cajun seasoning
  • 1 teaspoon garlic powder
Other:
  • 2 cups panko bread crumbs, for coating
  • Vegetable oil, for frying
Instructions
Make the Aoili:
  1. Mix all of the ingredients together in a small bowl. Set aside.
Make the Salmon Cakes:
  1. Drain the water out of the cans of salmon then place into a mixing bowl.
  2. Add the ingredients for the salmon cakes to the bowl. Fold the ingredients together until combined.
  3. Form the mixture into patties, coating each one with the remaining 2 cups of bread crumbs.
  4. Heat a non- stick or cast-iron pan over medium high heat. Lightly coat the pan with vegetable oil (a couple of tablespoons will do). Pan fry the salmon cakes for 3 to 4 minutes on each side. Add more oil to the pan if needed.
Serve with aioli and enjoy!


Print Friendly, PDF & Email

Baked Sushi Casserole

My family loves, LOVES, LOVES sushi.  We love both the sushi with cooked ingredients (especially those with tempura shrimp — YUM!) as well as the ones with raw fish (spicy tuna is a fave).

We especially love the sushi that is either baked or fried and is served piping hot with the saucy filling practically oozing out of the wrapper.  OMG — I’m drooling as I type this.

image

Rather than make one sushi roll then bake sliced pieces, this recipe is made casserole style in a 9×13 baking dish.  Serve the baked casserole with sushi wrappers and you have a quick and easy — not to mention inexpensive (or at least not as expensive as buying sushi at a restaurant) — and delicious dish.  This is also great for potlucks too.

While you can use the large sushi wrappers with this dish, my family prefers serving it with the “snack sized” seasoned seaweed wrappers (pictured below).  You can find the smaller wrappers in the Asian aisle of most grocery stores.

image

Very little preparation is needed to make this yummy casserole.  Step-by-step instructions and photos follow.  See my complete recipe at the bottom of this post.

First, chop up some imitation crab meat.

image

Pre-cooked salad shrimp also cuts on the preparation time.  I prefer to chop these up as well, but you can certainly use them whole since they are rather tiny.

image

Place the chopped imitation crab and shrimp into a large mixing bowl.

image

Add sour cream, mayo, and furikake to the bowl.

image

Furikake is a seasoning consisting of chopped seaweed, sesame seeds, sugar, and a few other spices.  It comes in different flavors; I use the “regular” furikake pictured below.  You can find this in the Asian aisle of your grocery store as well.
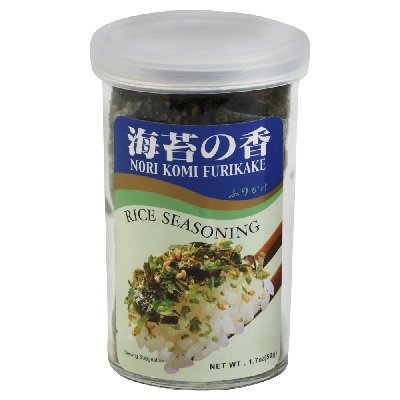
furikake

Stir to combine the ingredients for the shrimp and imitation crab mixture.  This is good just as it is, but sometimes I mix in a little squeeze of Sriracha sauce, or if you have it, some Kimchee Base as well to kick it up a notch.

image

I love a lot of “meat” in this dish, so into the bowl goes real lump crab meat.  Sometimes the can of crab meat has a few crab shells in it, so if you see any, be sure to pick them out and discard them.

Fold the crab meat into the shrimp and imitation crab mixture.

image

As I mentioned above, I love a lot of filling in this dish.  I don’t like using too much rice as I think it detracts from the deliciousness of the filling.

I cooked just two cups of rice for this recipe then spread it in the bottom of a 9×13 pan.  The rice layer is pretty thin — just how my family likes it.  If you like having more rice, by all means, cook more, and create a thicker layer.

image

The entire bowl of the shrimp and crab mixture gets spread on top of the rice.  It may seem like too much, but trust me, it’s the PERFECT amount.

image

Add more real crab meat to the top of the shrimp and crab mixture.  Hey, I did say I loved a lot of “meat” in this dish. 😉

If you prefer, you can add more salad shrimp instead of crab meat, or splurge and use both! 😀

image

More furikake goes on top of everything.  Because I didn’t season the rice or shrimp-crab mixture, the seasoned furikake is where most of the flavor and seasoning comes from.  Do not skimp on this or your casserole will taste quite bland.

Bake for 20 minutes in a 375-degree oven.

image

After baking, add as much or as little roe as you like.  We use capelin roe, or masago.  One of my children LOVES extra roe on hers.  She loves it so much that her serving looks completely orange with all the roe she adds.

image

This is the brand of Capelin roe or Masago that I buy.  It’s sold frozen in our local Asian supermarket.
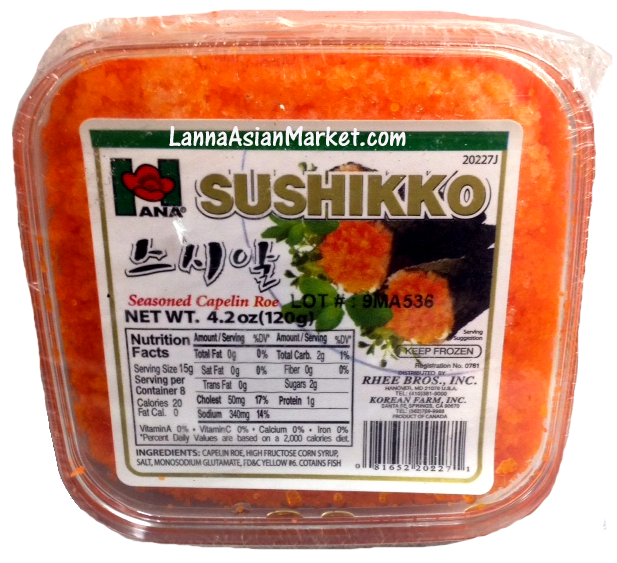
Masago

Serve the piping hot casserole with seasoned seaweed and ENJOY!

image


Baked Sushi Casserole
 
Cook time
Total time
 
Author:
Serves: 8
Ingredients
Crab Mixture:
  • 12 oz imitation crab meat, finely chopped
  • 12 oz cooked salad shrimp, chopped
  • 1 cup mayo
  • 1 cup sour cream
  • ¼ cup furikake
  • 1 cup real lump crab meat (I use lump claw meat)
Other Ingredients:
  • 2 cups medium grain rice, cooked
  • ½ cup real crab meat (I use lump claw meat)
  • ¼ cup furikake
  • ¼ cup seasoned capelin roe
  • Packages of seasoned seaweed wrappers, for serving with the casserole
Instructions
Make the Crab Mixture:
  1. Place the chopped imitation crab meat and chopped shrimp into a large mixing bowl. Add the mayo, sour cream, and furikake to the bowl. Stir the ingredients together.
  2. Fold the lump crab meat into the shrimp mixture. Set aside.
Layer the Sushi Casserole:
  1. Spread the cooked rice in the bottom of a 9x13 pan.
  2. Spread the crab and shrimp mixture on top of the rice.
  3. Spread the remaining lump crab meat on top of the crab-shrimp mixture.
  4. Sprinkle more furikake on top of the lump crab meat.
Finish it up:
  1. Bake the casserole for 20 minutes in a 375 degree oven.
  2. Top with roe.
  3. Serve with seasoned seaweed wrappers.
ENJOY!


Print Friendly, PDF & Email

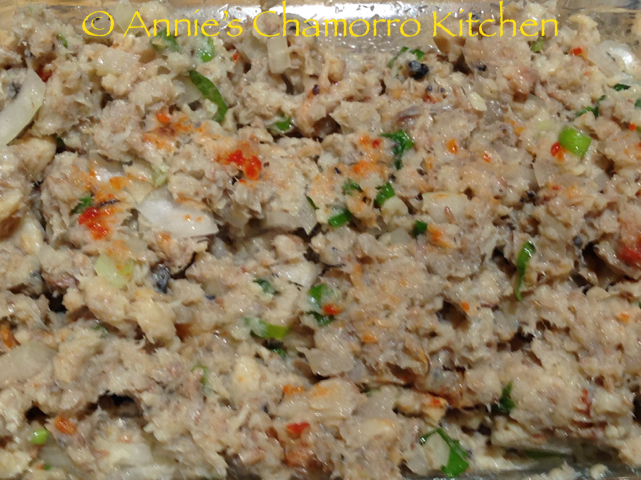
Sardine Kelaguen

Yes…kelaguen…with sardines.  Don’t knock it ’till you try it. 🙂

Events - 1311

This is one of my favorite foods.  If you know what kelaguen is and you’ve never tried sardine kelaguen, you’ve got to try it now.  If kelaguen is new to you, the basic recipe for this island favorite is quite simple.  Chop up your favorite meat or seafood, then season ti with lemon or lime juice, salt, onions, and hot chili peppers.  Optional ingredients are freshly grated (or store-bought unsweetened) coconut.  All ingredients (except for the meat and/or seafood) is added to taste, meaning if you like your kelaguen more on the tangy side, add more lemon or lime juice.  Like it salty?  Add more salt.  Like it mouth-on-fire-hot?  Add lots of hot chili peppers.  See, it’s simple.

Click here to view my recipes for different types of kelaguen.

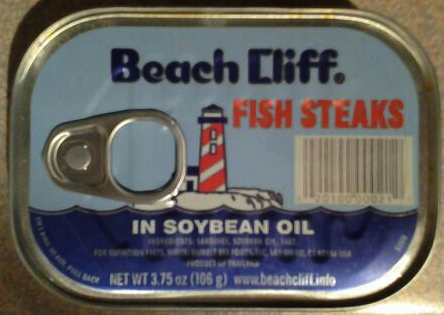
As for sardine kelaguen, you use canned sardines.  The photo below show “fish steaks” — this is fine too; the “steaks” are small, bite-sized herring that works just fine in this recipe. While you most certainly can use sardines packed in water, I really prefer sardines packed in soybean oil, and it’s what I recommend for this recipe.

sardines in oil

I have a family of four, but only three of us like this (my extremely picky daughter won’t get near this with a 10-foot pole).  That’s okay, though — that just leaves more for the rest of us. 😉

10857795_10205567269329385_6147451900526166530_n

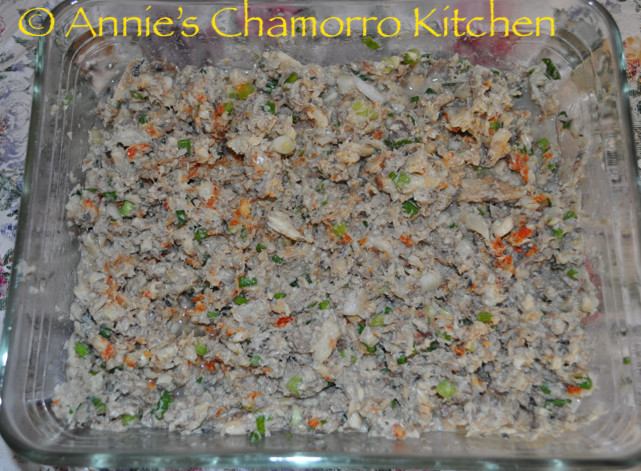
Remove the sardines from the can, pouring off the excess oil.  Split the sardines in half, lengthwise, then remove and discard the bones (I also remove the stomach but leave it in if you like that kind of stuff).  Place the cleaned sardines into a bowl.

IMG_1499

I like lots of onions — sliced green onions or diced white or yellow onions — it doesn’t matter; add your favorite kind.  I added both. 🙂

IMG_1502  IMG_1504

Add lemon juice, salt, and hot pepper, to taste. IMG_1508

Mix well, serve and enjoy! IMG_1510

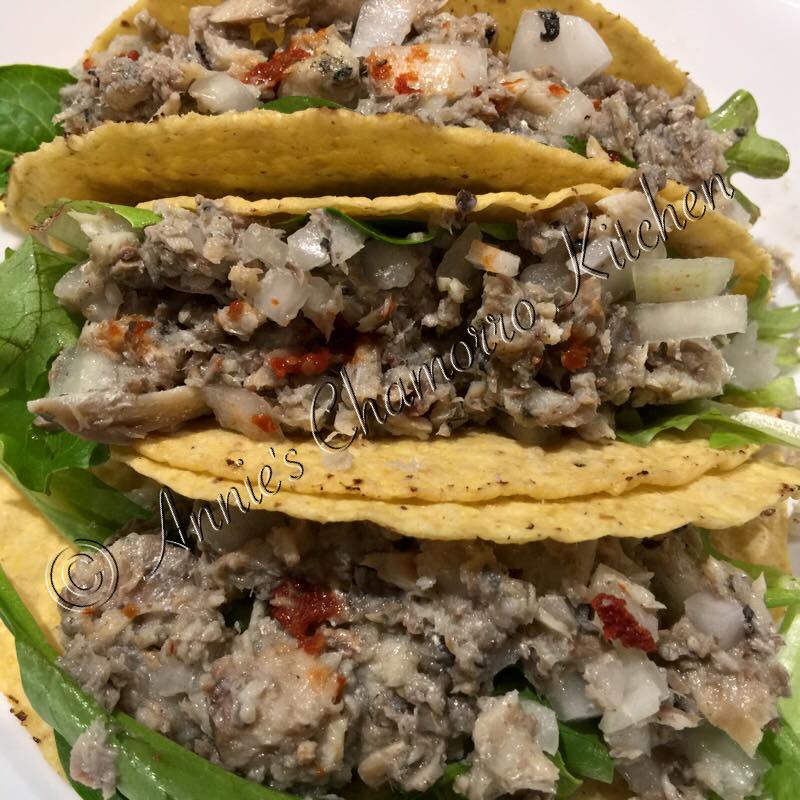
I love this with hot, steamed white rice, or served as a dip with tortilla chips.  You can also make tortilla wraps (I recommend soft corn tortillas) or one of my favorites, stuffed in taco shells with lettuce leaves or mix salad greens.

10857795_10205567269329385_6147451900526166530_n

Give my recipe a try.  I think you’ll like it. 🙂


Sardine Kelaguen
 
Sardines with lemon juice, salt, onions, and hot chili peppers. Serve as an appetizer with tortilla chips. These make incredible fish tacos!
Author:
Cuisine: Chamorro
Ingredients
  • 6 cans sardines packed in oil
  • The juice of 2 lemons (more or less, to taste)
  • Salt, to taste
  • 1 small onion, finely diced
  • *You can also use sliced green onions; add as much as you like
Optional:
  • Crushed or sliced hot chili peppers, to taste
  • Grated coconut, as much as you like
Instructions
  1. Remove the sardines from the cans; remove and discard the bones. Place in a bowl.
  2. Add the remaining ingredients; stir to combine.
Serve and ENJOY!


Print Friendly, PDF & Email

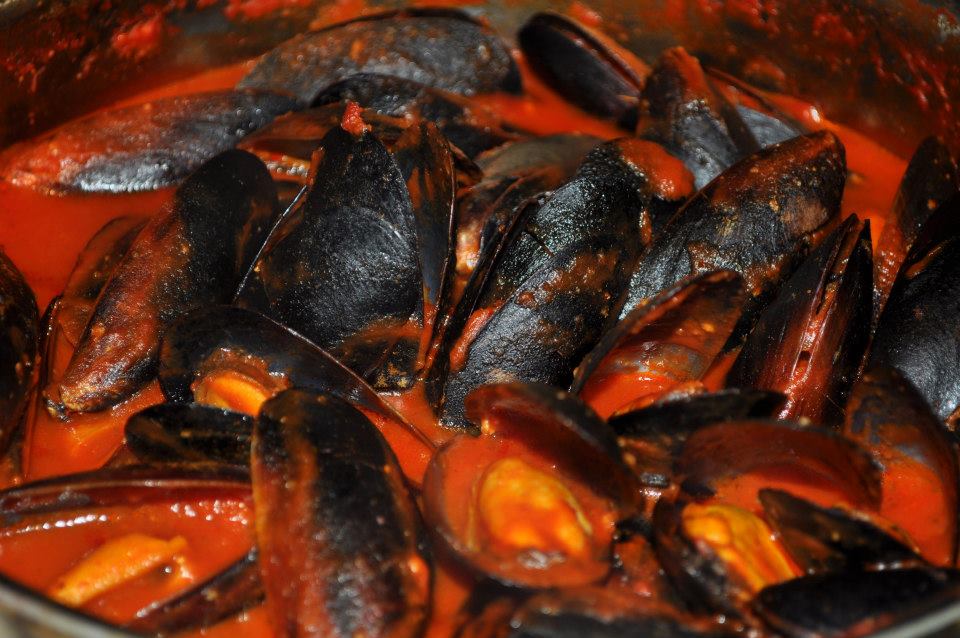
Mussels with Garlic Tomato Sauce

This is a very simple recipe that my daughter, Hannah, created for dinner one evening. (Have I mentioned that she’s a natural in the kitchen? Proud mama moment.) 😀

Hannah did not measure her ingredients as she just threw everything together.  Luckily, you can “taste your way through this one.” 🙂

You’ll need a box of frozen mussels (thawed out), two large cans of tomato sauce, garlic (as much as you like), and some Dashida seasoning (or use salt), to taste.

Place the tomato sauce and garlic in a large pot over medium heat.  Season the sauce with Dashida (or salt).  Once the sauce is seasoned to your liking, add the thawed mussels.  Cook for a few minutes until the mussels are no longer raw.

Serve as-is or over a bed of cooked spaghetti noodles.

ENJOY!

tomato mussels

Print Friendly, PDF & Email
« Older Entries Recent Entries »