Archive for Beef

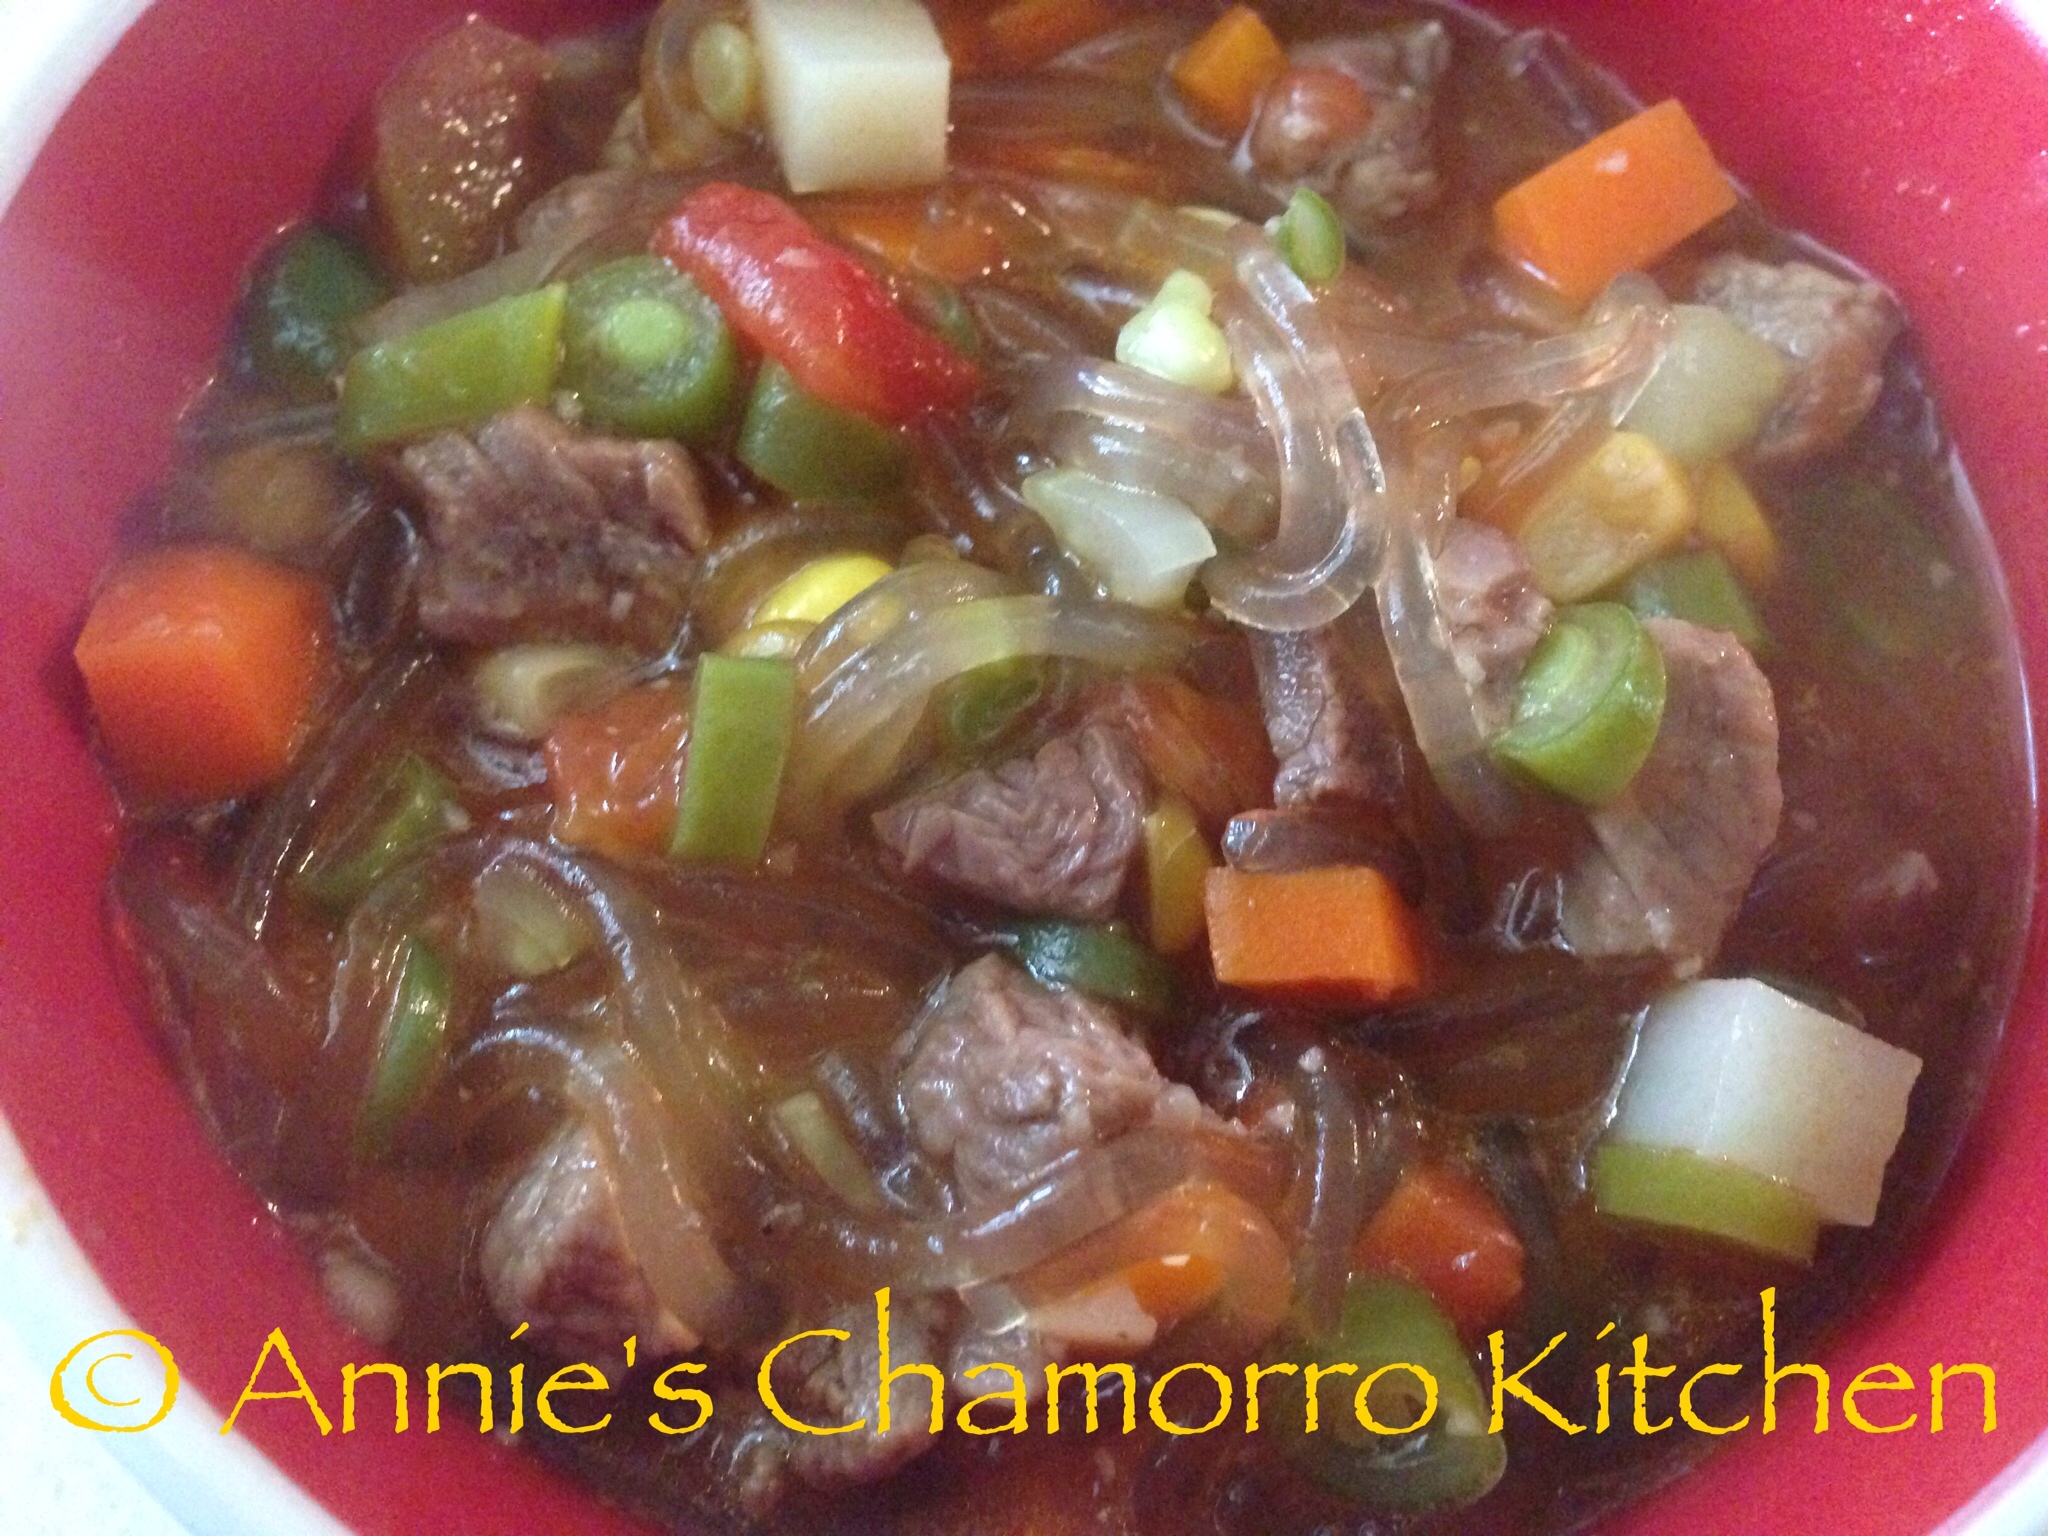
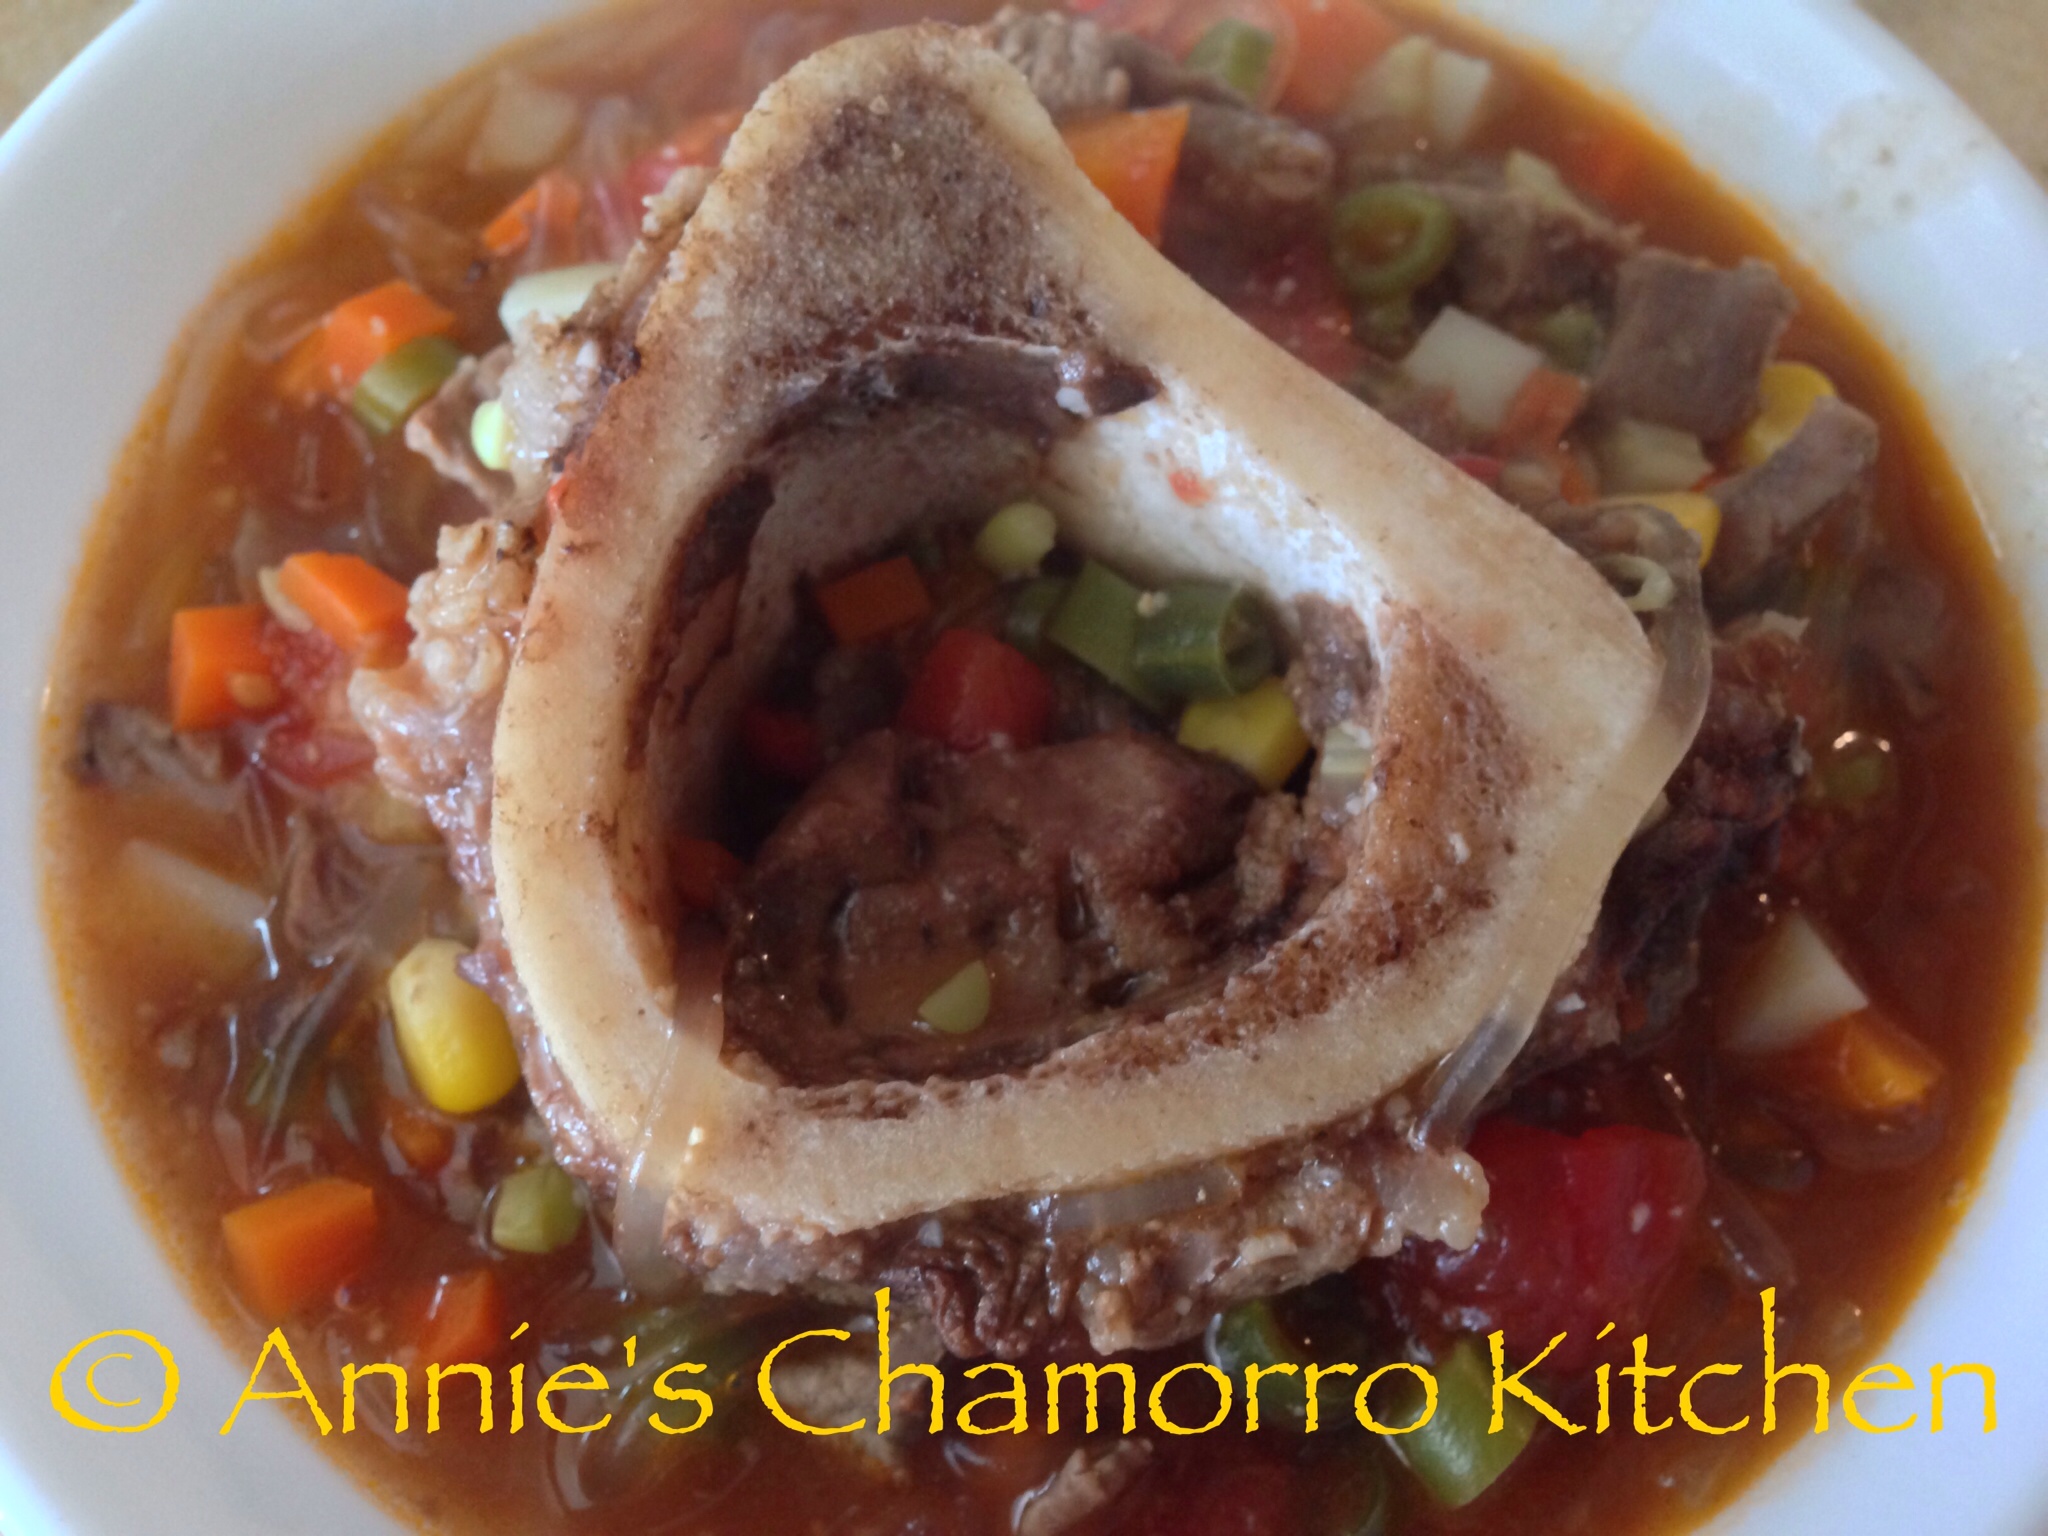
Beef Shank Kådu with Fresh Vegetables and Vermicelli Noodles

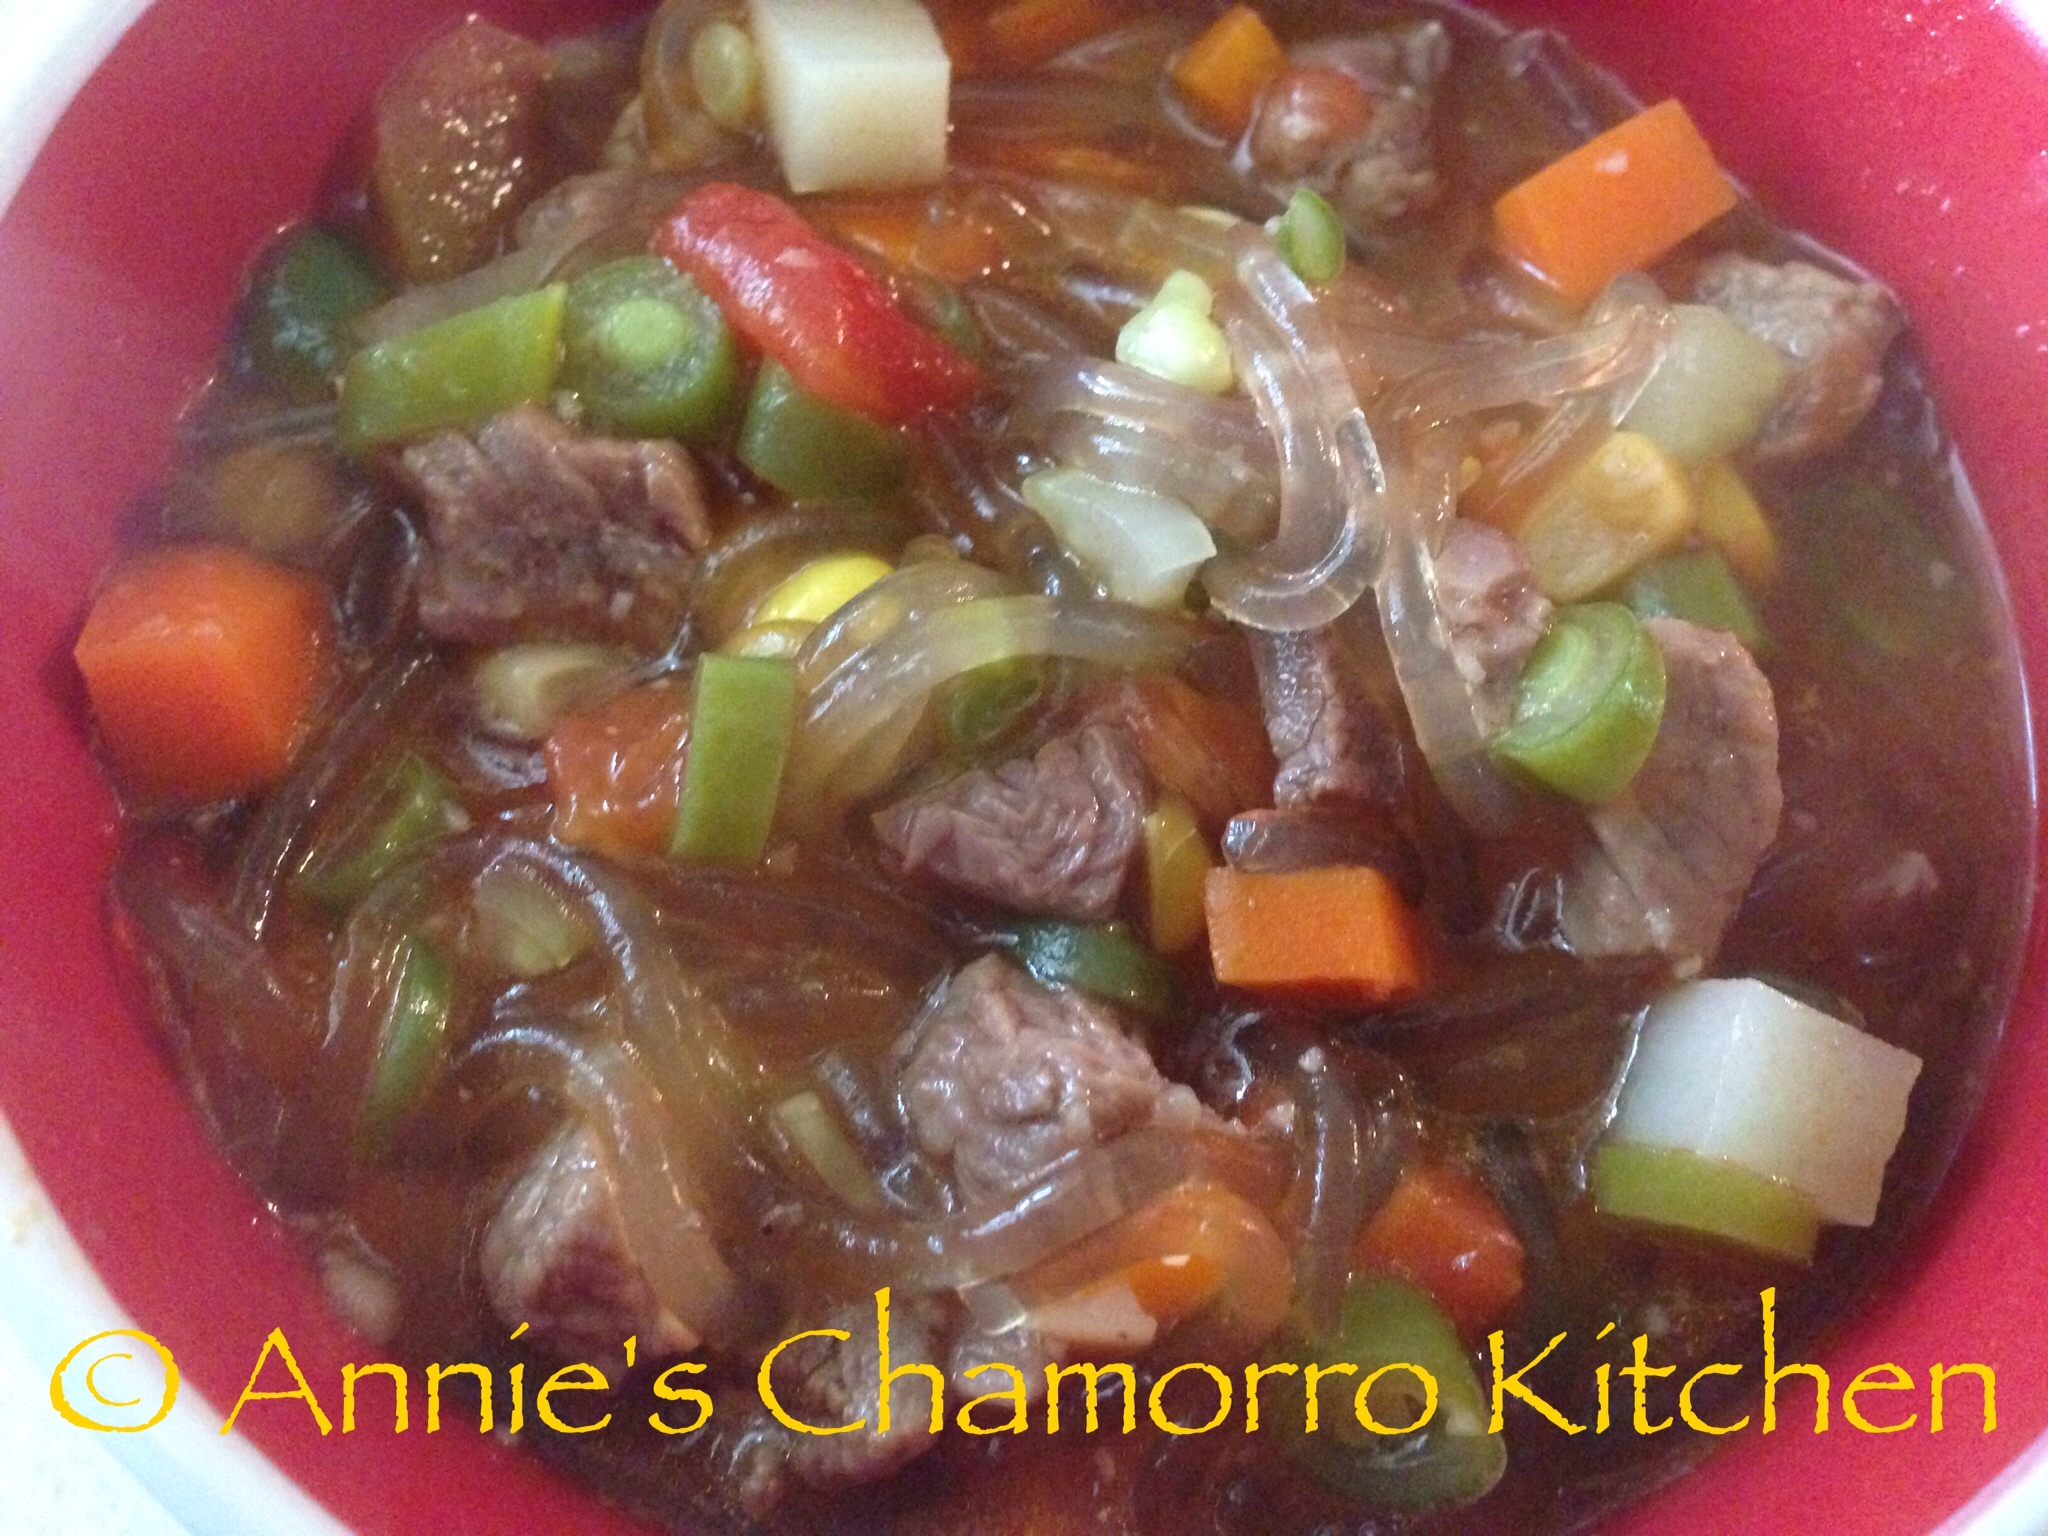
It’s currently 9 degrees outside, with a windchill of -11 degrees — it’s the perfect time for a pot of my delicious Beef Shank Kådu (which means soup, in Chamorro) with fresh vegetables and vermicelli noodles. Come to think of it, this soup is good at ANY time, not just when it’s cold and blustery outside. After all, we make kådu on Guam, where the temperature is in the 80’s year-round! 😉

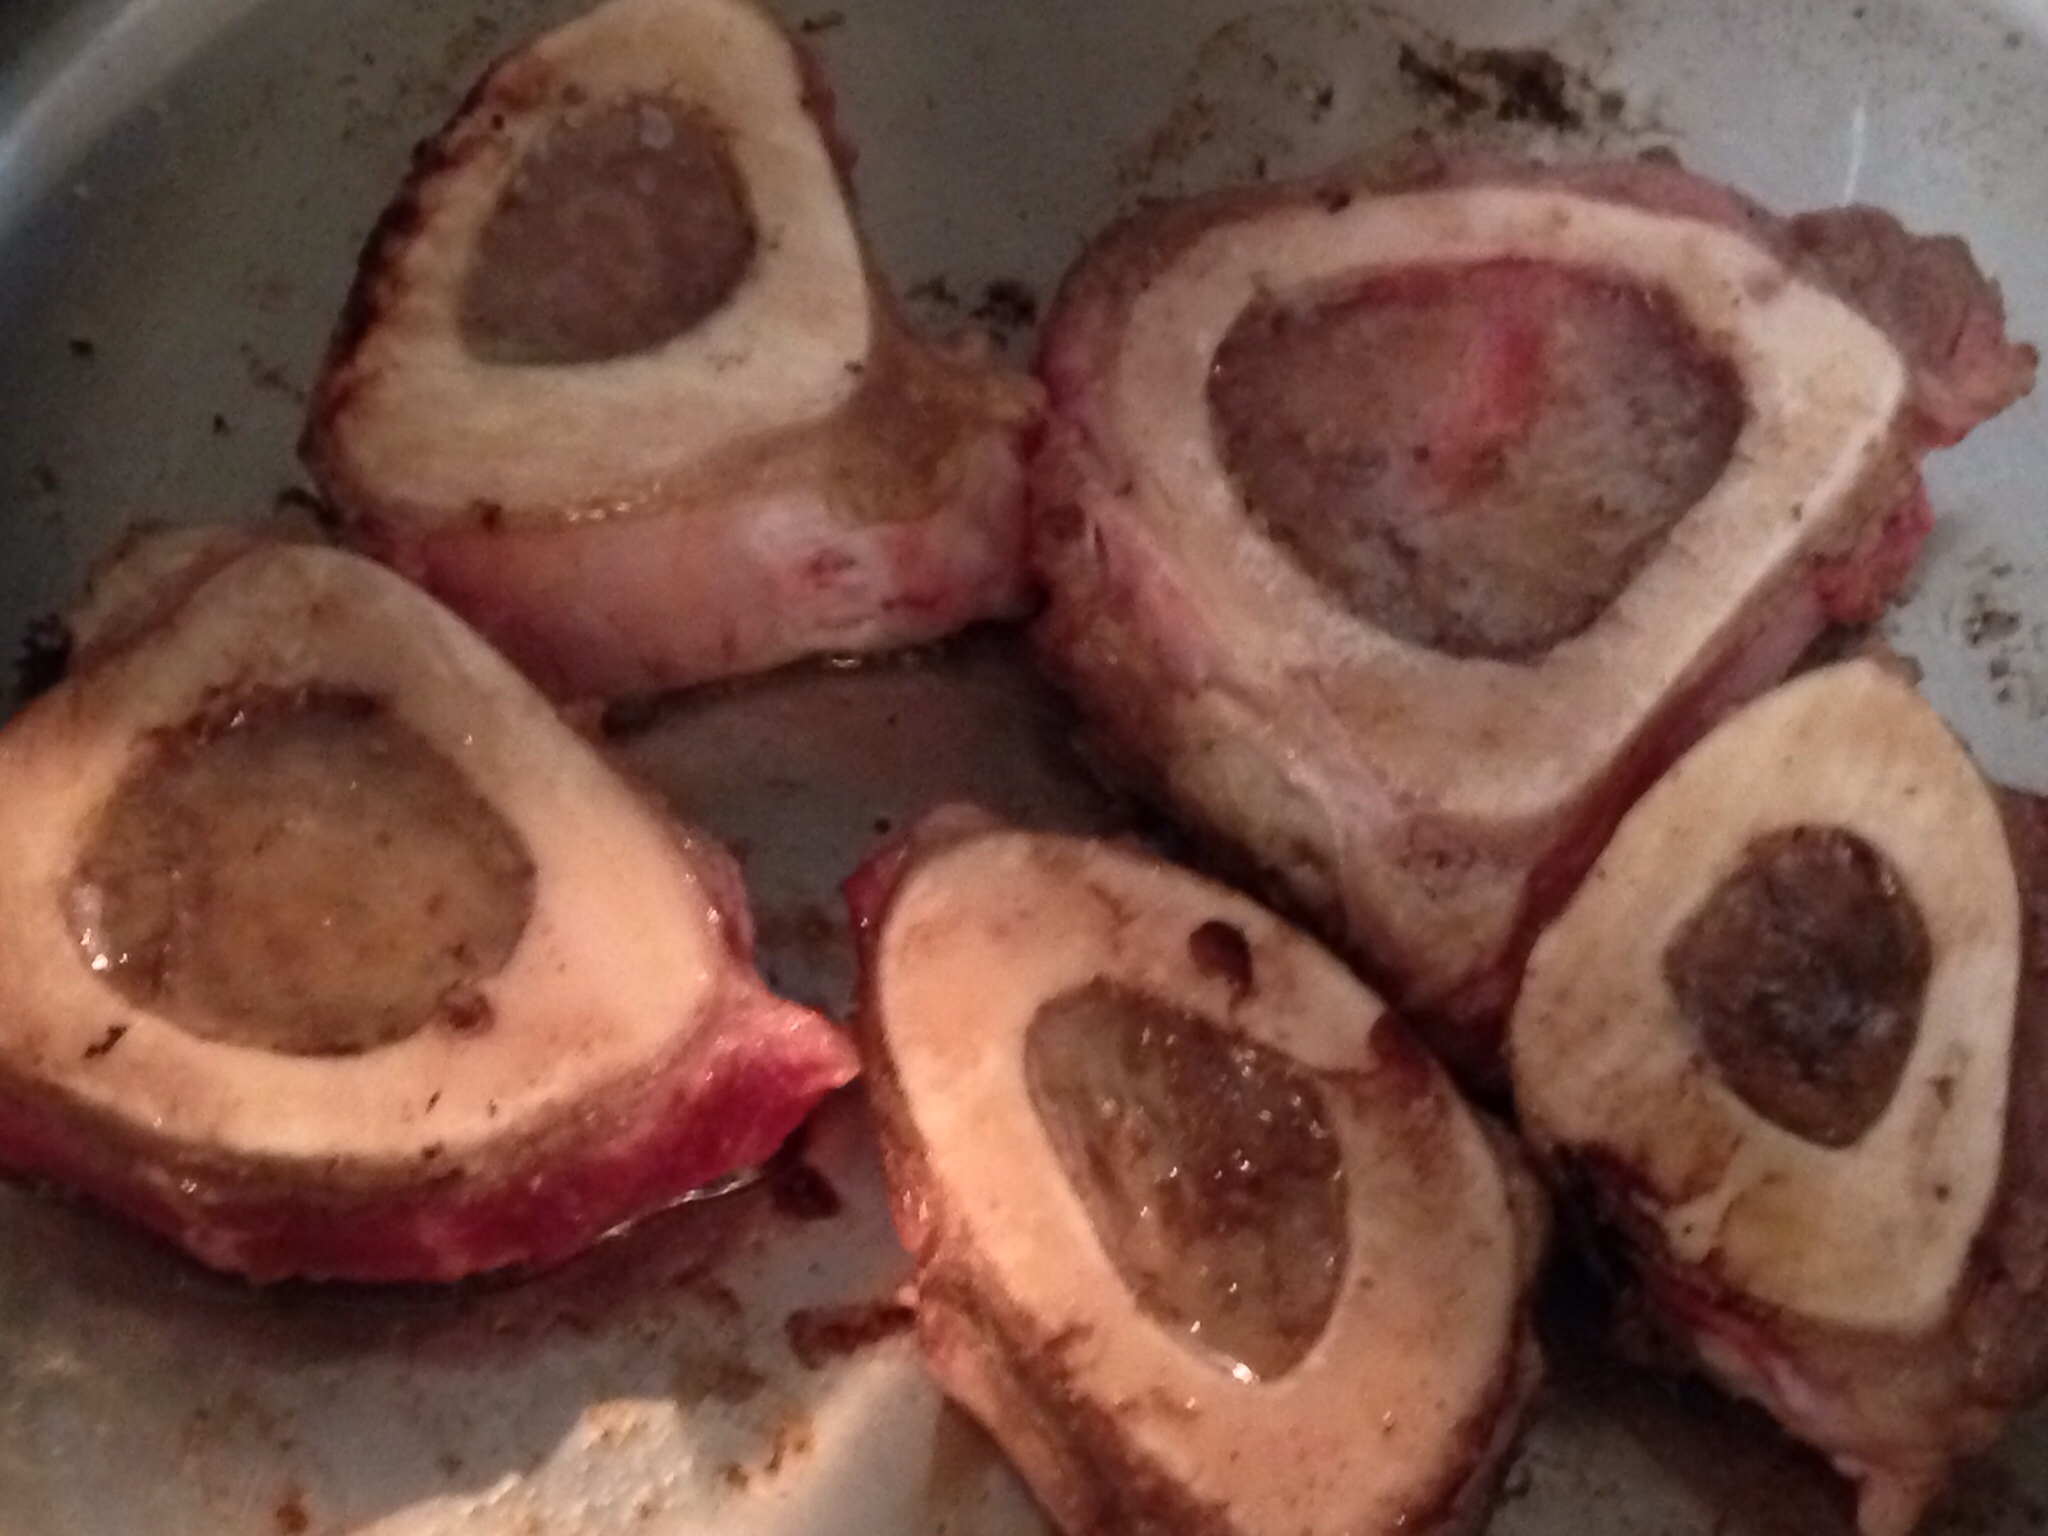
I used beef shanks (with bones) for this recipe, but you can use any lean cuts of beef you like. I like shanks because the bone marrow in the bones give the broth an extra rich and concentrated beef flavor. Most shanks are marbled with sinew. If I’m pressed for time, I’ll cook the meat in a pressure cooker, along with some onions, garlic and water, just long enough to break down the sinew and tenderize the meat. I started this soup around 8 am, cooked the meat low and slow for a couple of hours, then added the vegetables the last half hour before eating. If you don’t braise the meat long enough, the sinew in the meat won’t break down enough and you’ll end up with tough, dry meat in your soup.

I prefer using fresh vegetables when I make soup (with the exception of canned tomatoes and corn). I know, you can cut your prep and cooking time by more than half if you use frozen vegetables, but I don’t particularly like that the frozen vegetables are cut so large (I end up cutting each one smaller–that’s very time consuming), nor do I like that it’s overcooked by the time my soup is done. Nope — it’s fresh vegetables for this soup or I don’t make it.

I know what you’re thinking by now…you’re probably thinking, “gosh, she sure is picky.” Well, for this soup, I am. I think it’s because this is how my mom made it, using vegetables picked fresh from my dad’s ranch. Sometimes we’d have wing beans and green beans in our soup, along with squash and onions. Other times we’d have fresh corn and tomatoes picked fresh off the vines.

If you thought I was picky with my choice of fresh over frozen vegetables, let me tell you about my choice of noodles. I’ve tried making this soup with rice noodles, but it’s just not the same as using vermicelli or glass noodles. There are many brands of vermicelli noodles (not the kind used for Italian pasta dishes, mind you). I like using Korean vermicelli noodles, namely the kind used for Jap Chae (or Chap Chae). If you don’t know what type to buy, go to your local Korean or Asian market and ask a clerk for Korean Jap Chae noodles.

Give my recipe a try. I think you’ll like it. 🙂

Beef Shank Kadu with Fresh Vegetables and Vermicelli Noodles

Ingredients:

  • 5 medium sized beef shanks, with bone
  • 1/2 teaspoon black pepper
  • 2 tablespoons garlic powder (or 6 cloves fresh garlic, minced)
  • 1 tablespoon onion powder (or 1 small onion, diced)
  • 6-8 tablespoons Dashida (Korean beef flavored powdered seasoning)
  • 10 cups water
  • 2 large carrots
  • 2 stalks celery
  • 1 (2-inch) piece of ginger root
  • 1 medium potato
  • 1 handful of green beans
  • 1 can (28 oz.) petite diced tomatoes, drained
  • 1 can (15.25 oz.) corn kernels
  • 1 bag Korean vermicelli noodles (plus enough hot water to submerge the noodles in)

Directions:

1. Rinse each piece of meat. Trim off and discard any excess fat around the meat. Cut around the bones to separate them from the meat. Place the bones in a large stock pot over medium low heat.

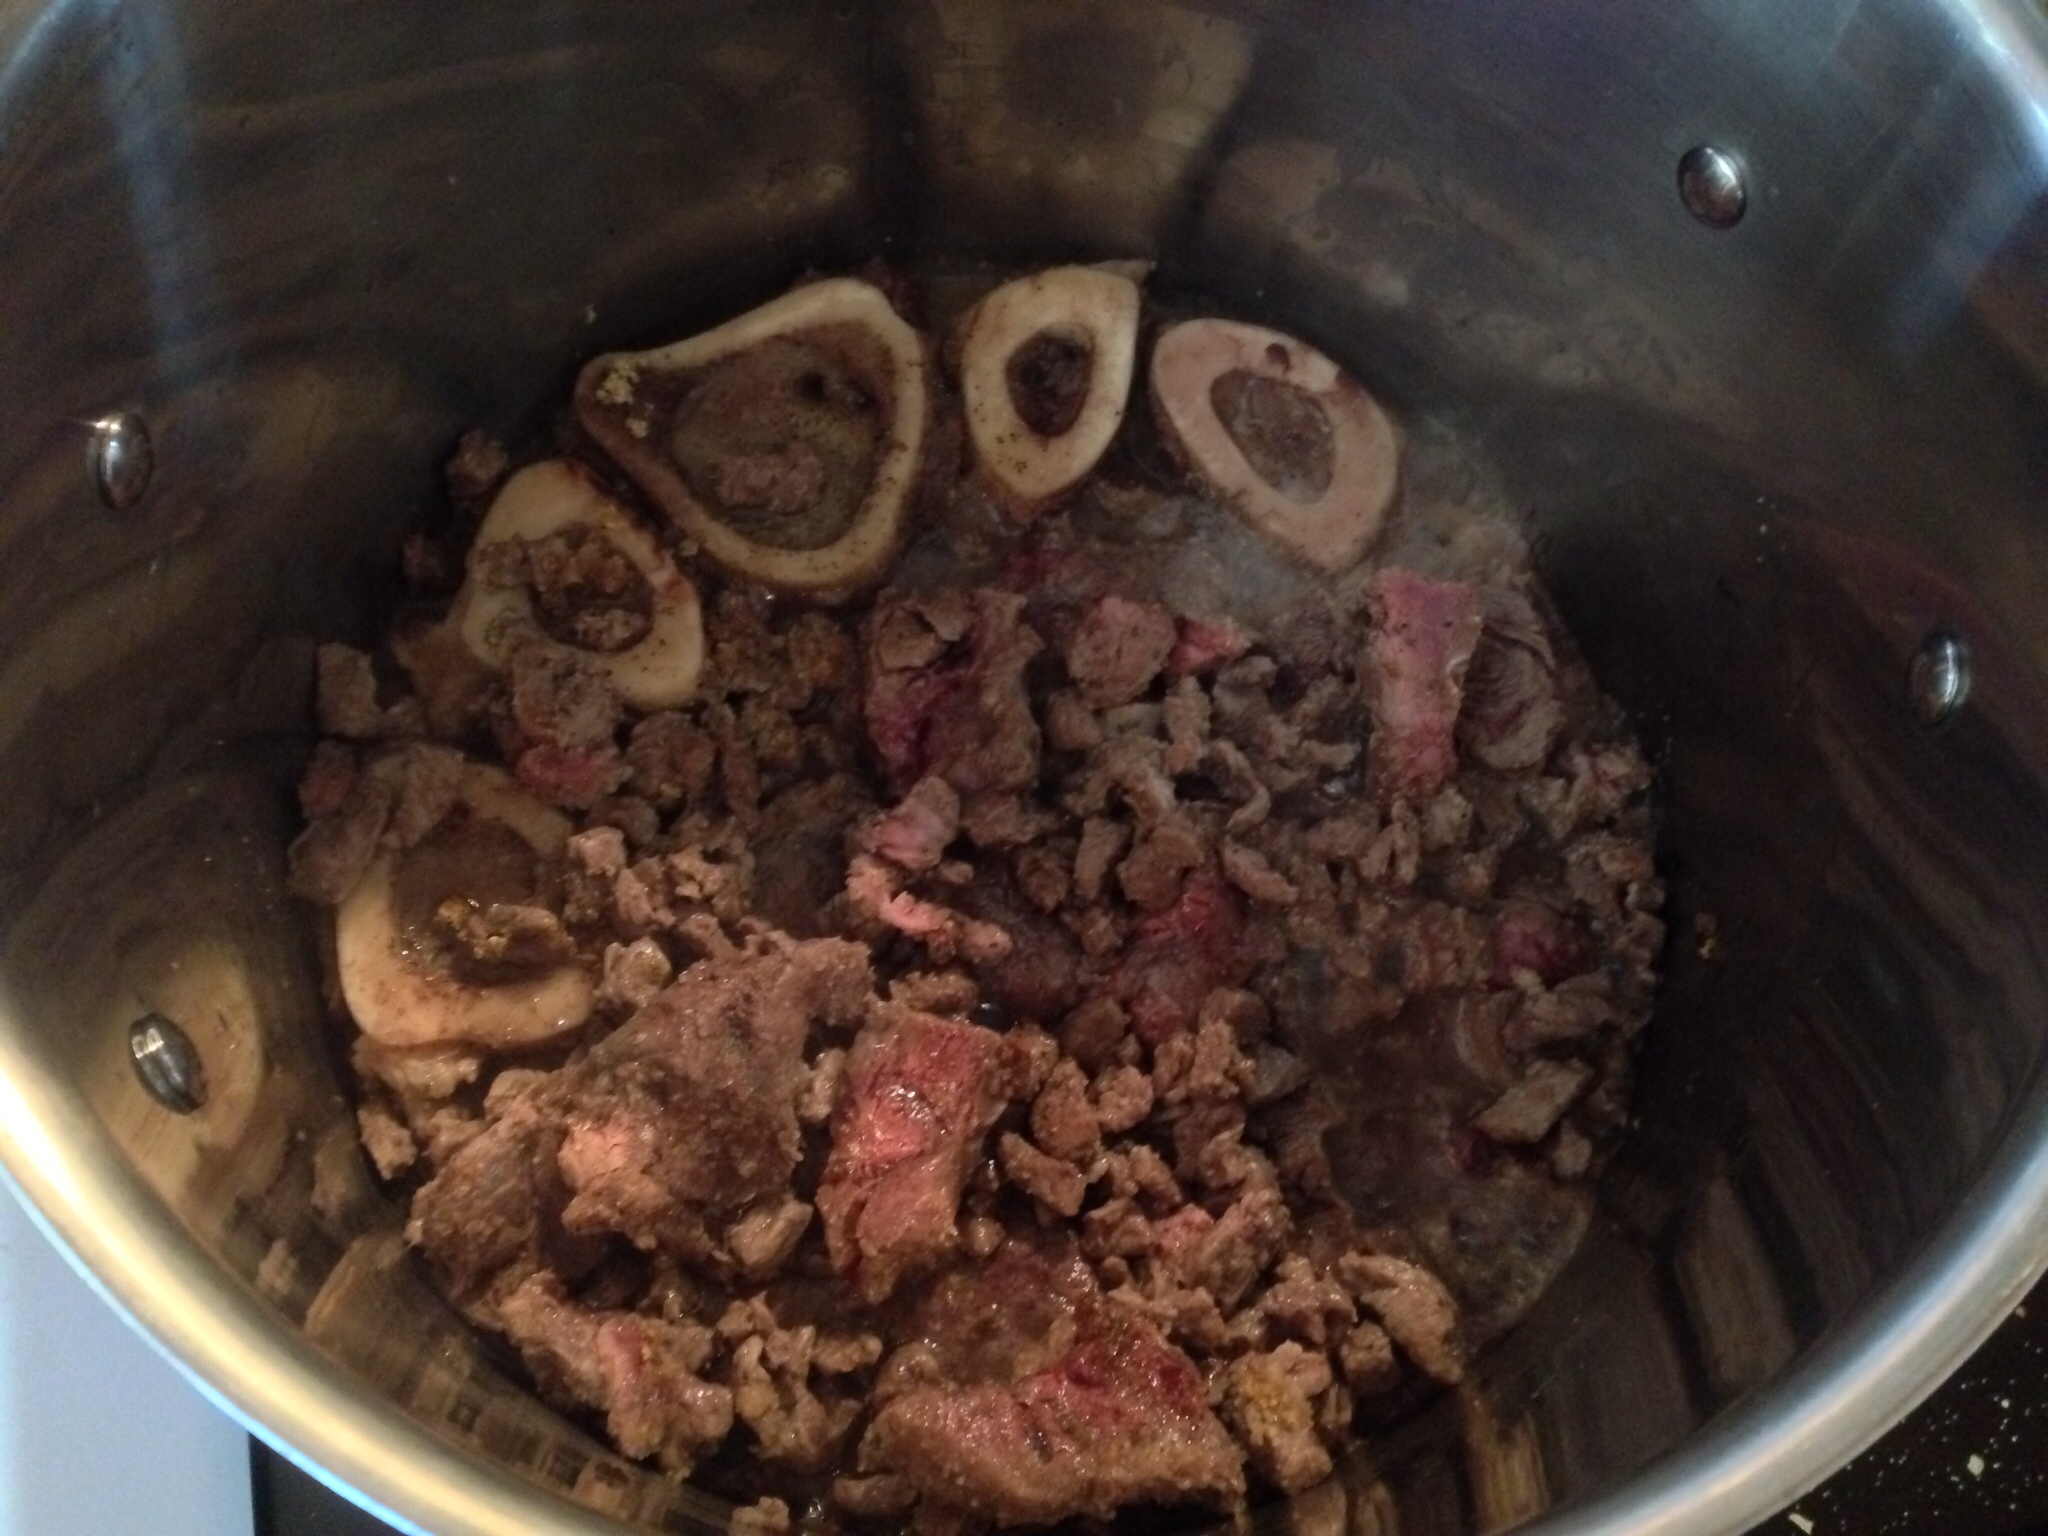
2. Cut the meat into small pieces; I cut the shank meat that had a lot of sinew marbled through it into large chunks.  Place the meat into the pot. Cook over medium low heat until the meat starts to brown. After most of the meat has browned, add the black pepper, garlic and onion powders (or fresh garlic and onions), and Dashida. Stir to combine, then add the 10 cups of water. Keep the heat at medium low. With the pot covered, simmer for about 2 hours. Every now and then, skim off any fat and sediment from the surface of the broth and discard.

Tip: After cooking, let the meat and broth cool to room temperature then place in the refrigerator. After several hours, remove the solidified fat off the surface of the broth and discard. Continue with the remaining steps below.

3. While the meat is simmering away, prepare the vegetables.

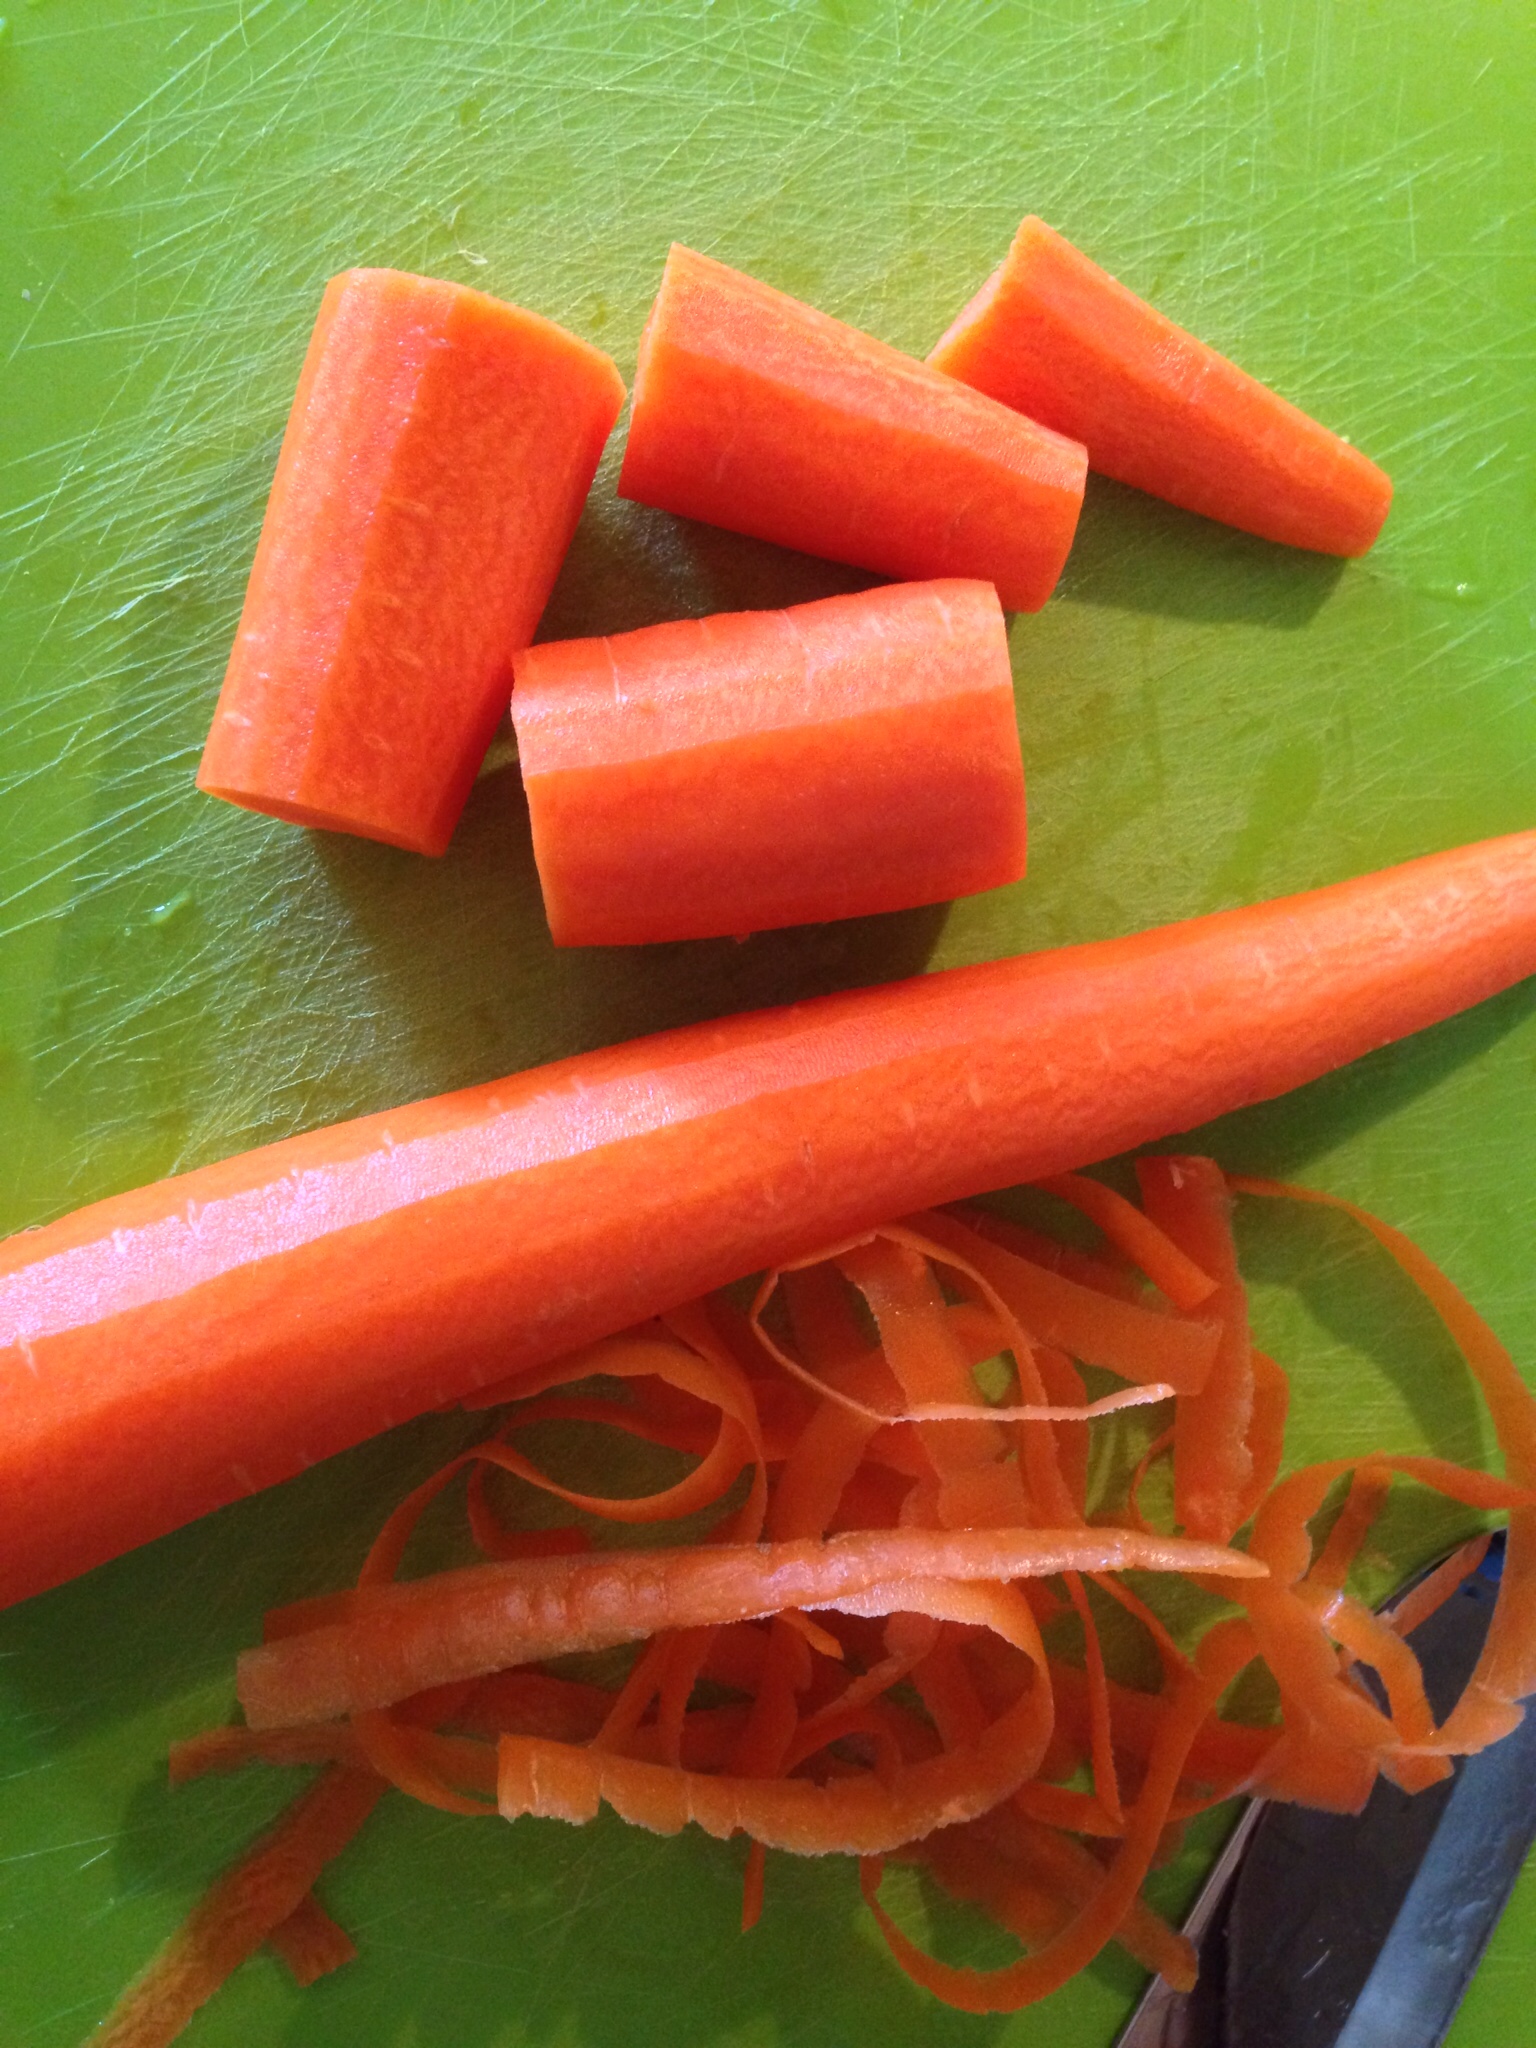
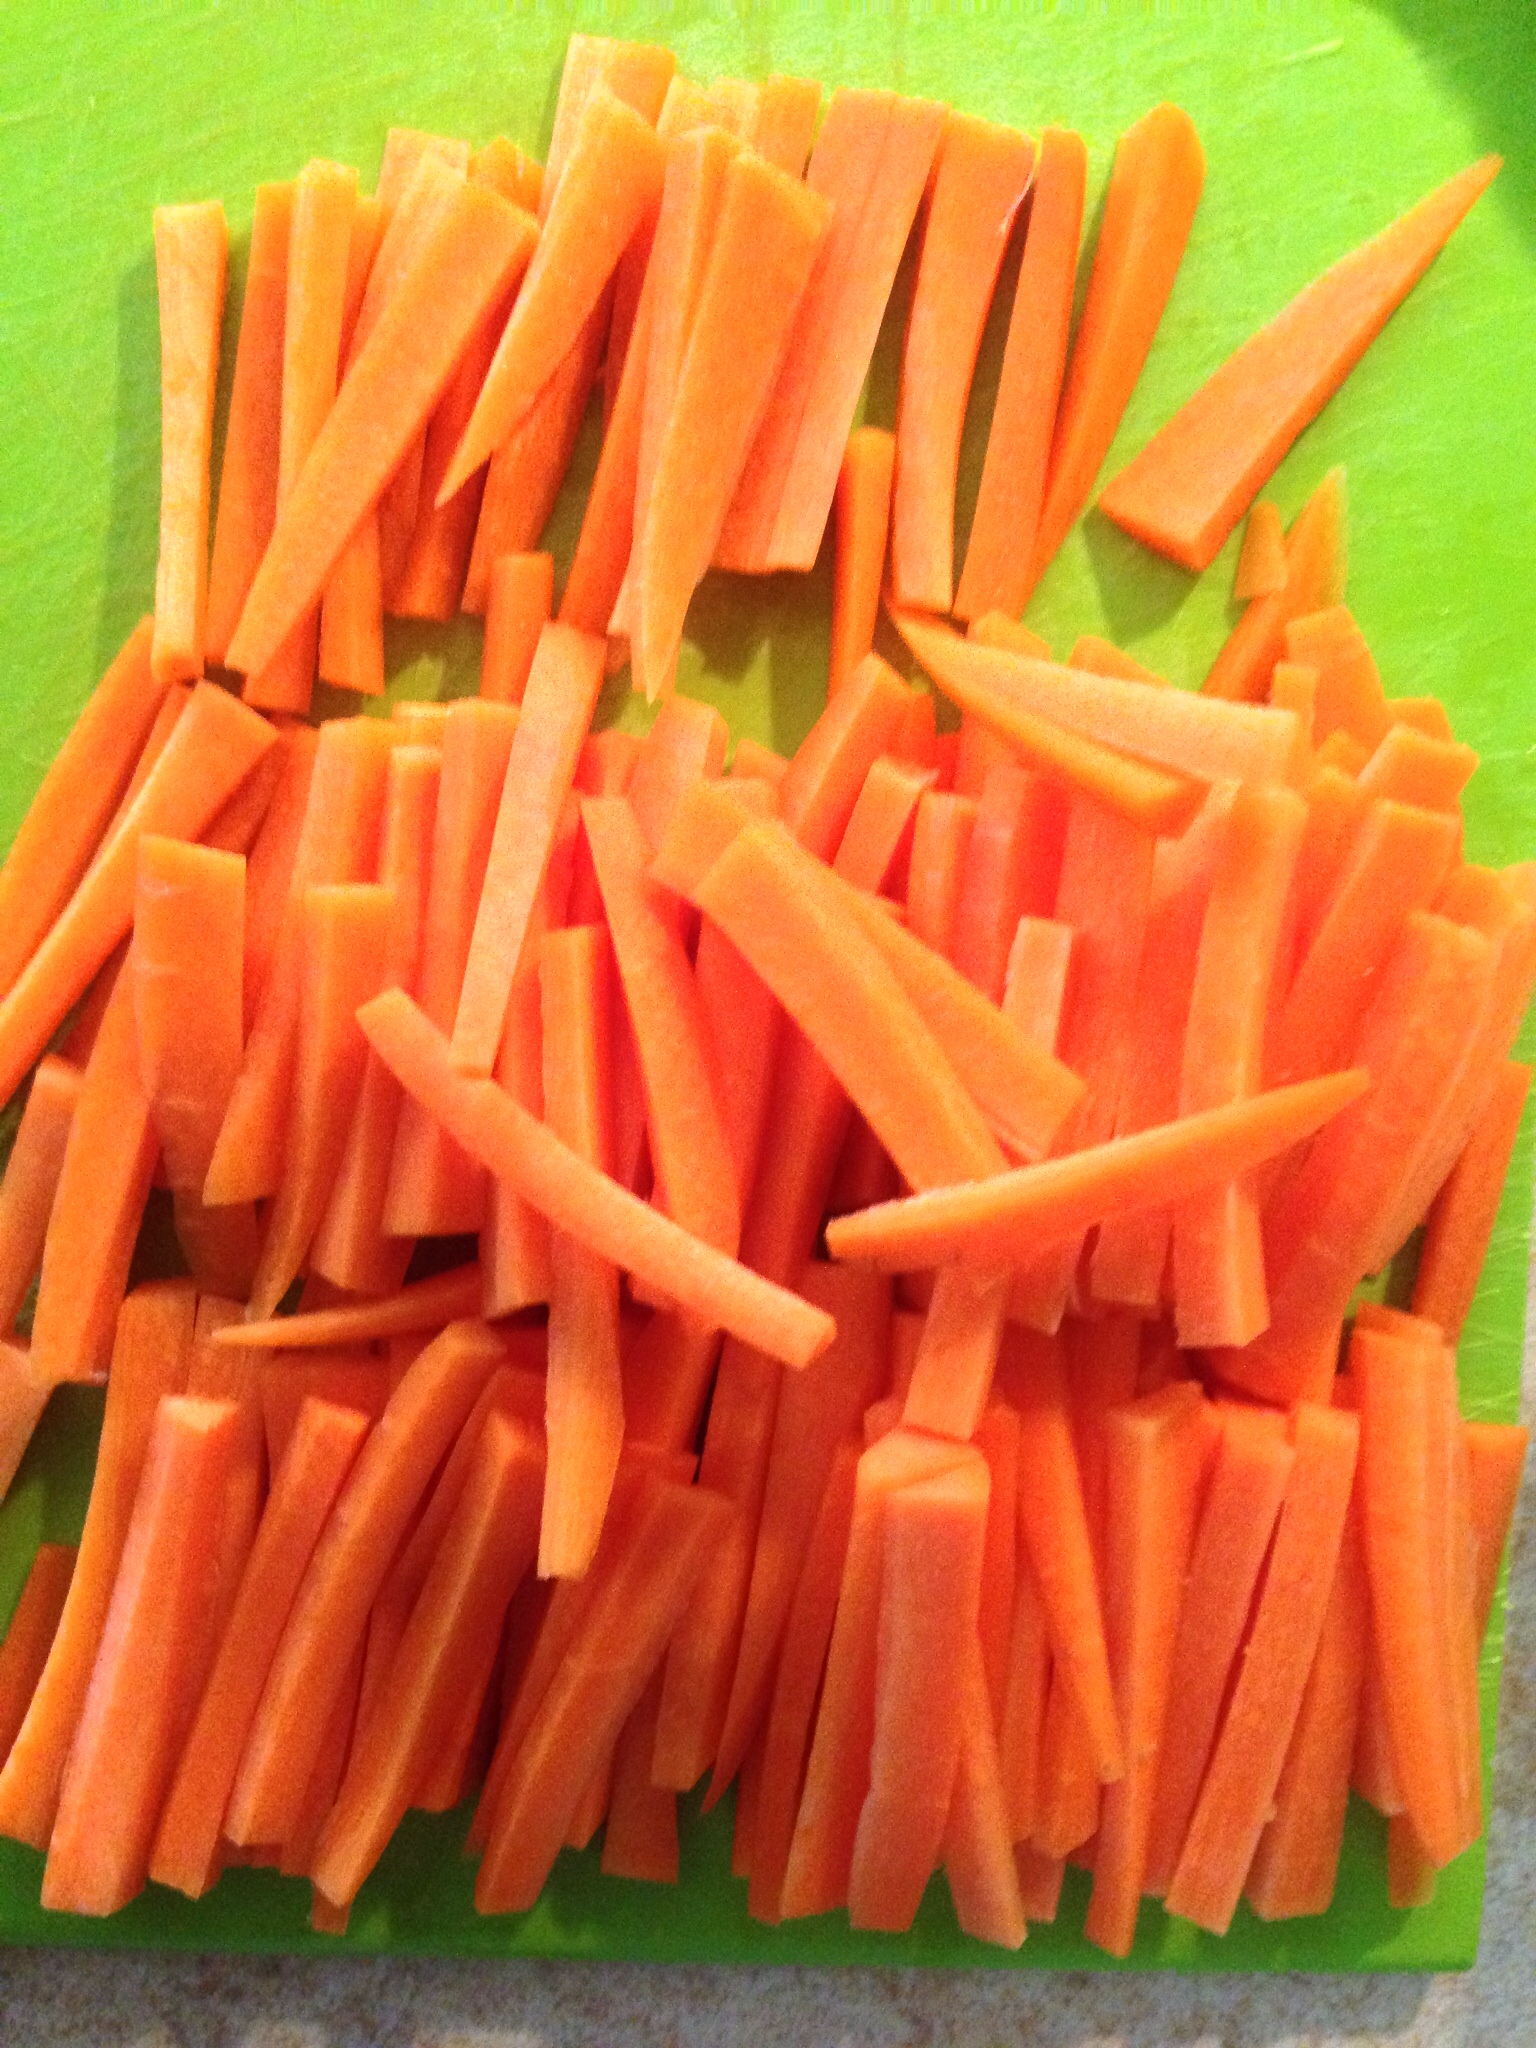
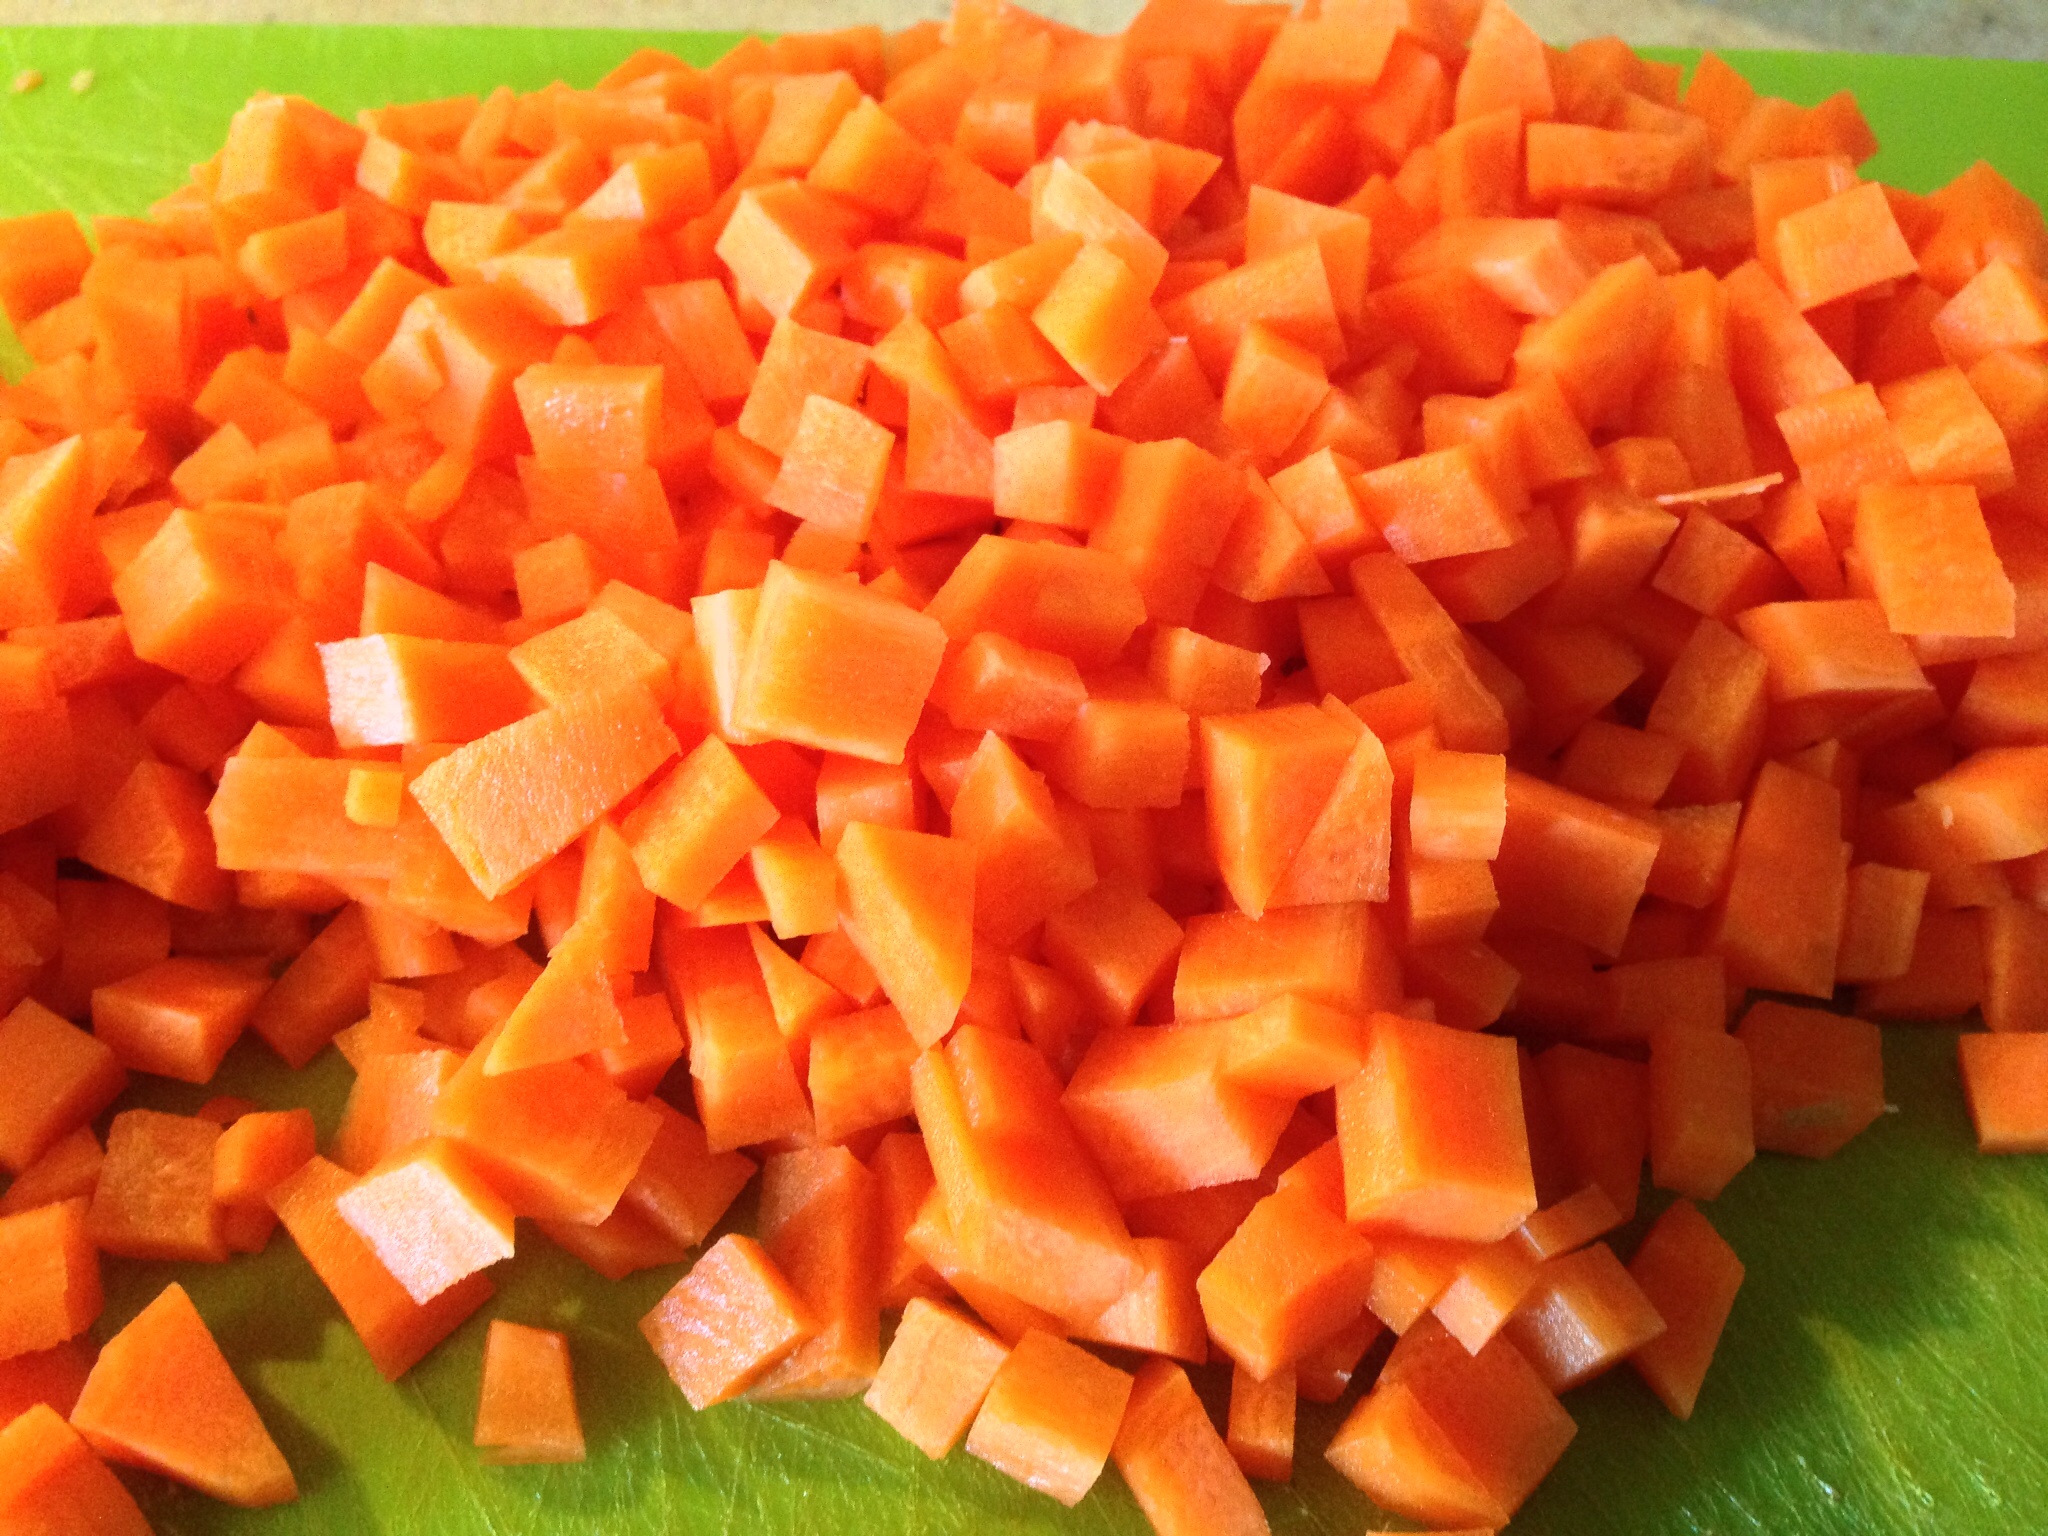
Prep the carrots: Peel the carrots. Slice into sticks, then dice.

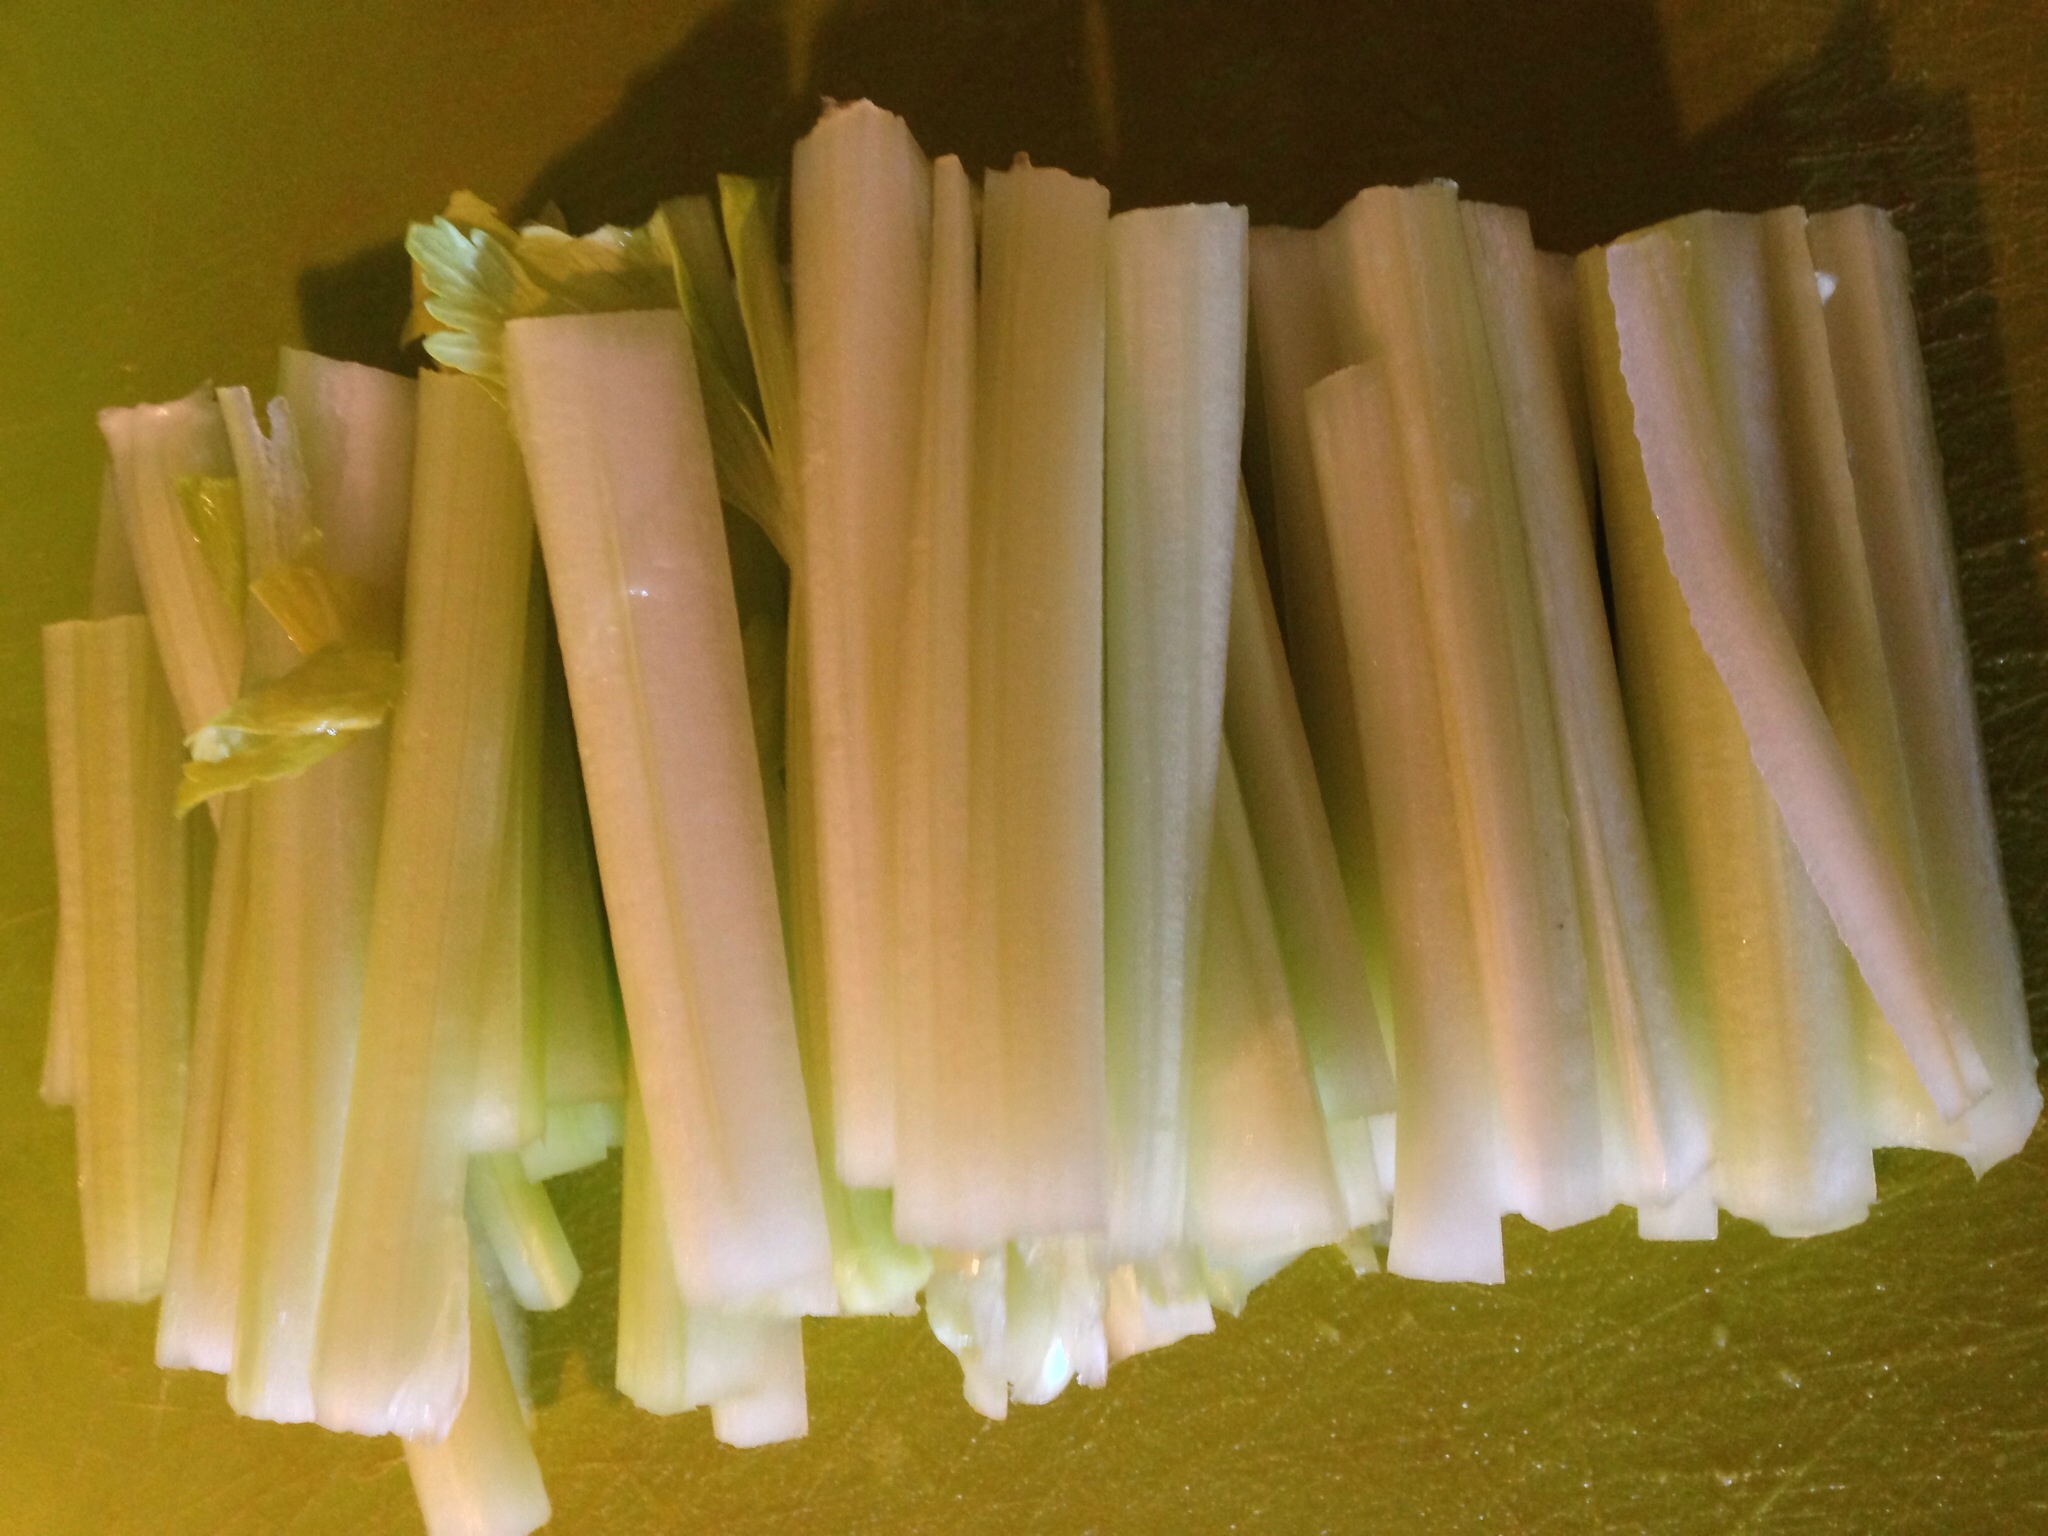
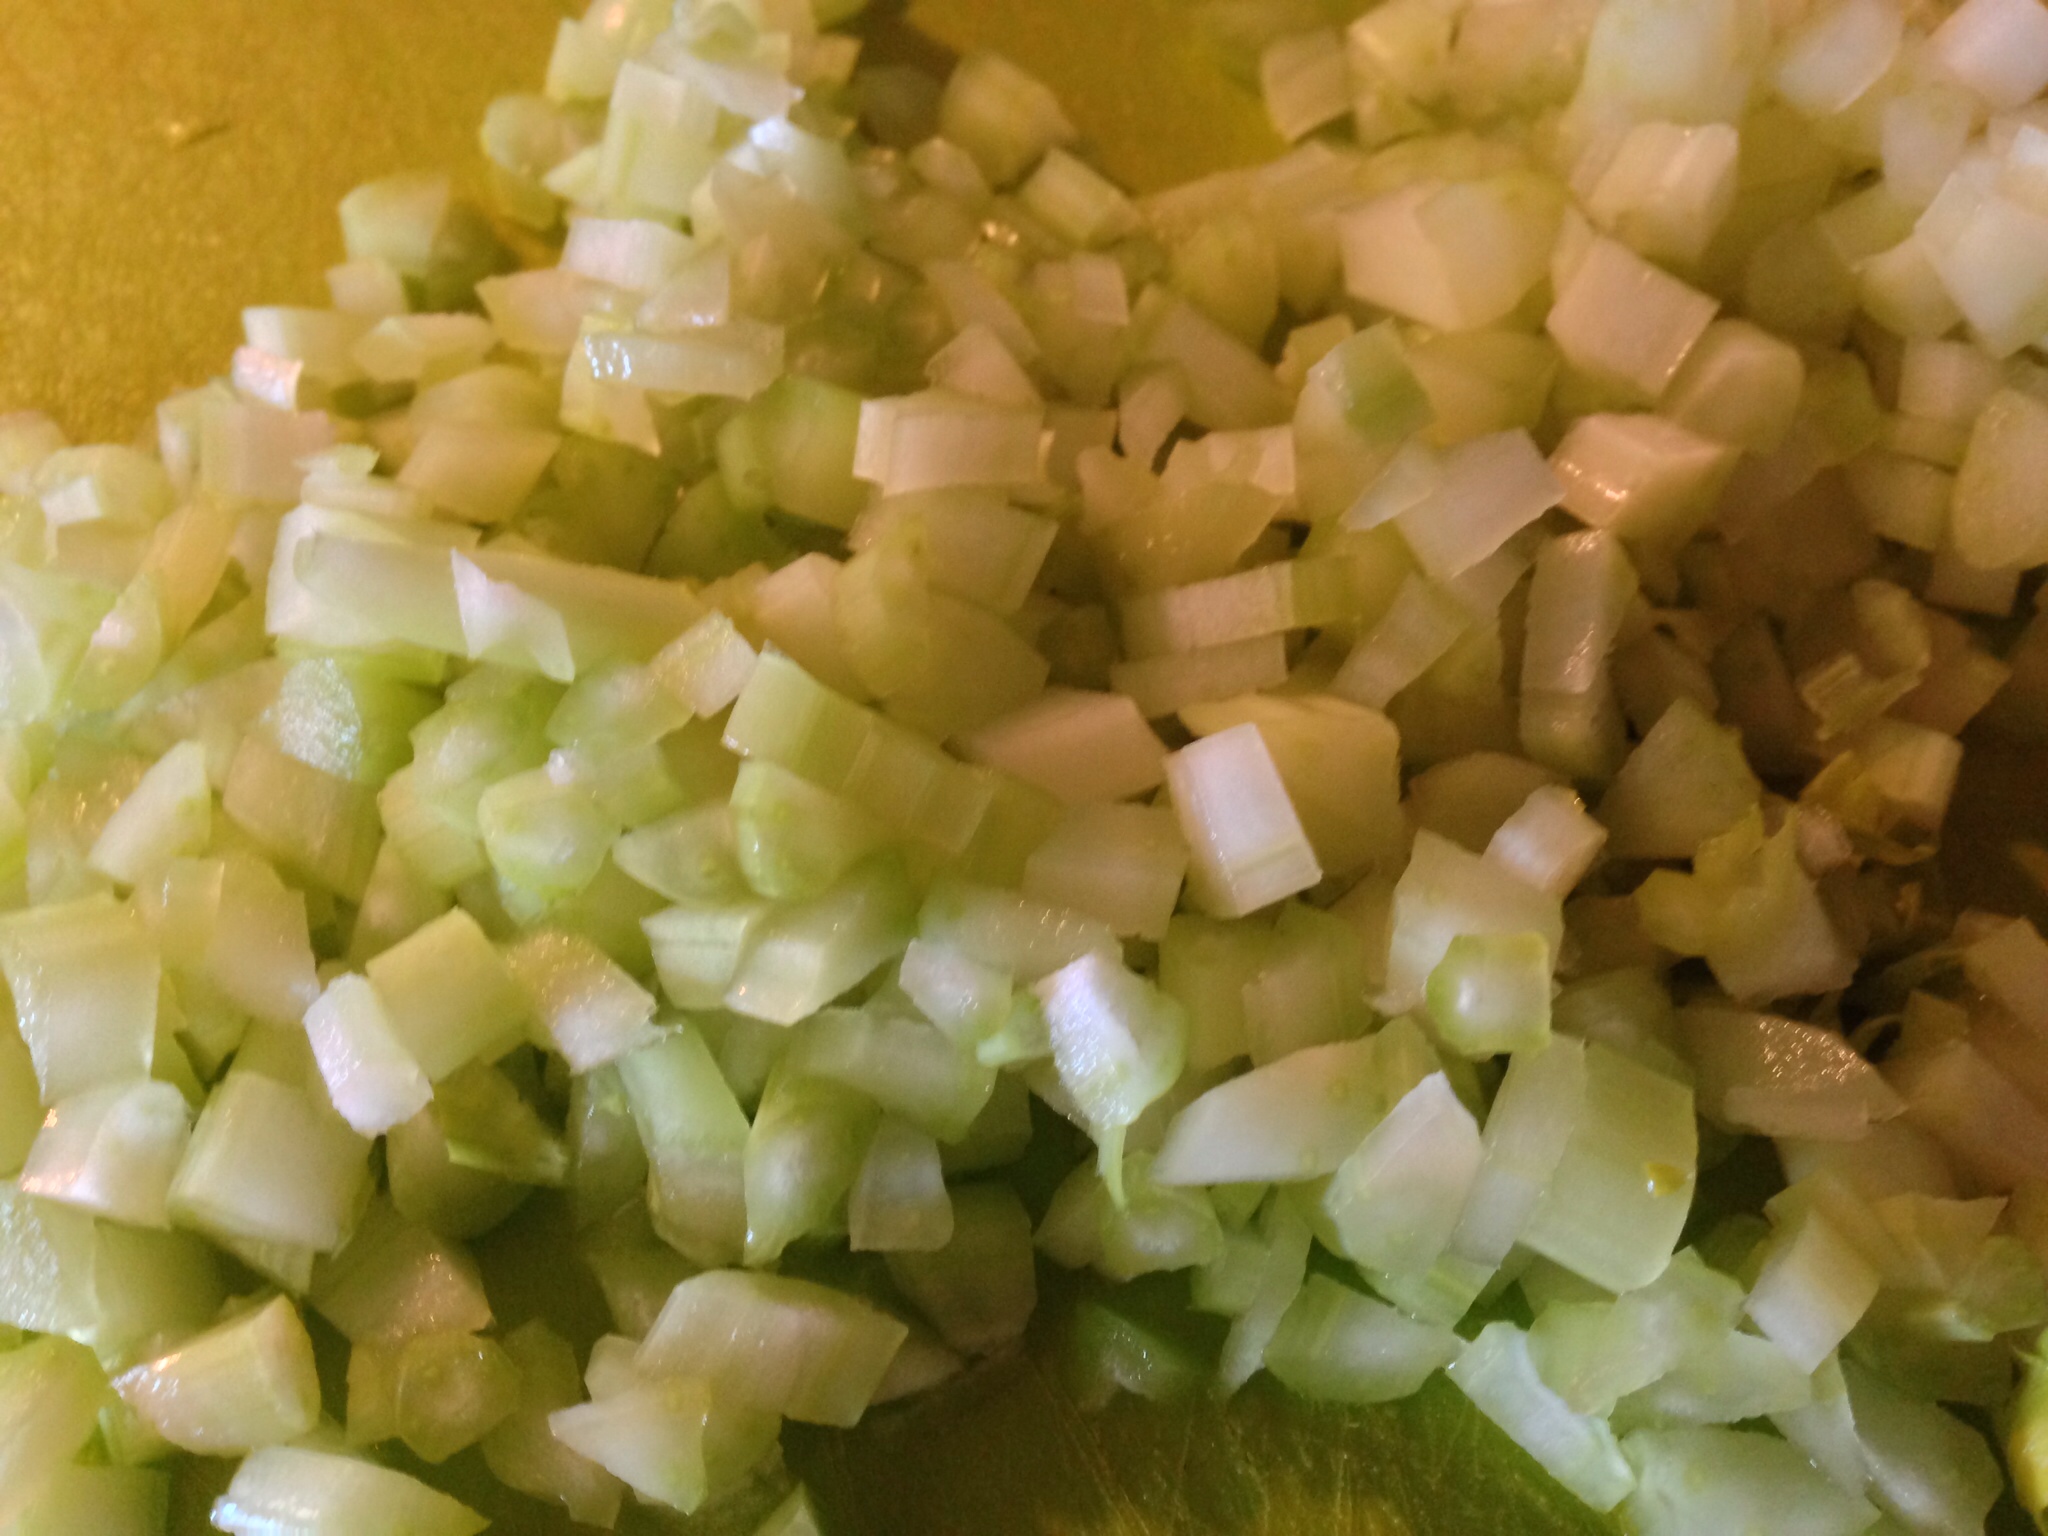
Prep the celery. Cut into sticks then dice.

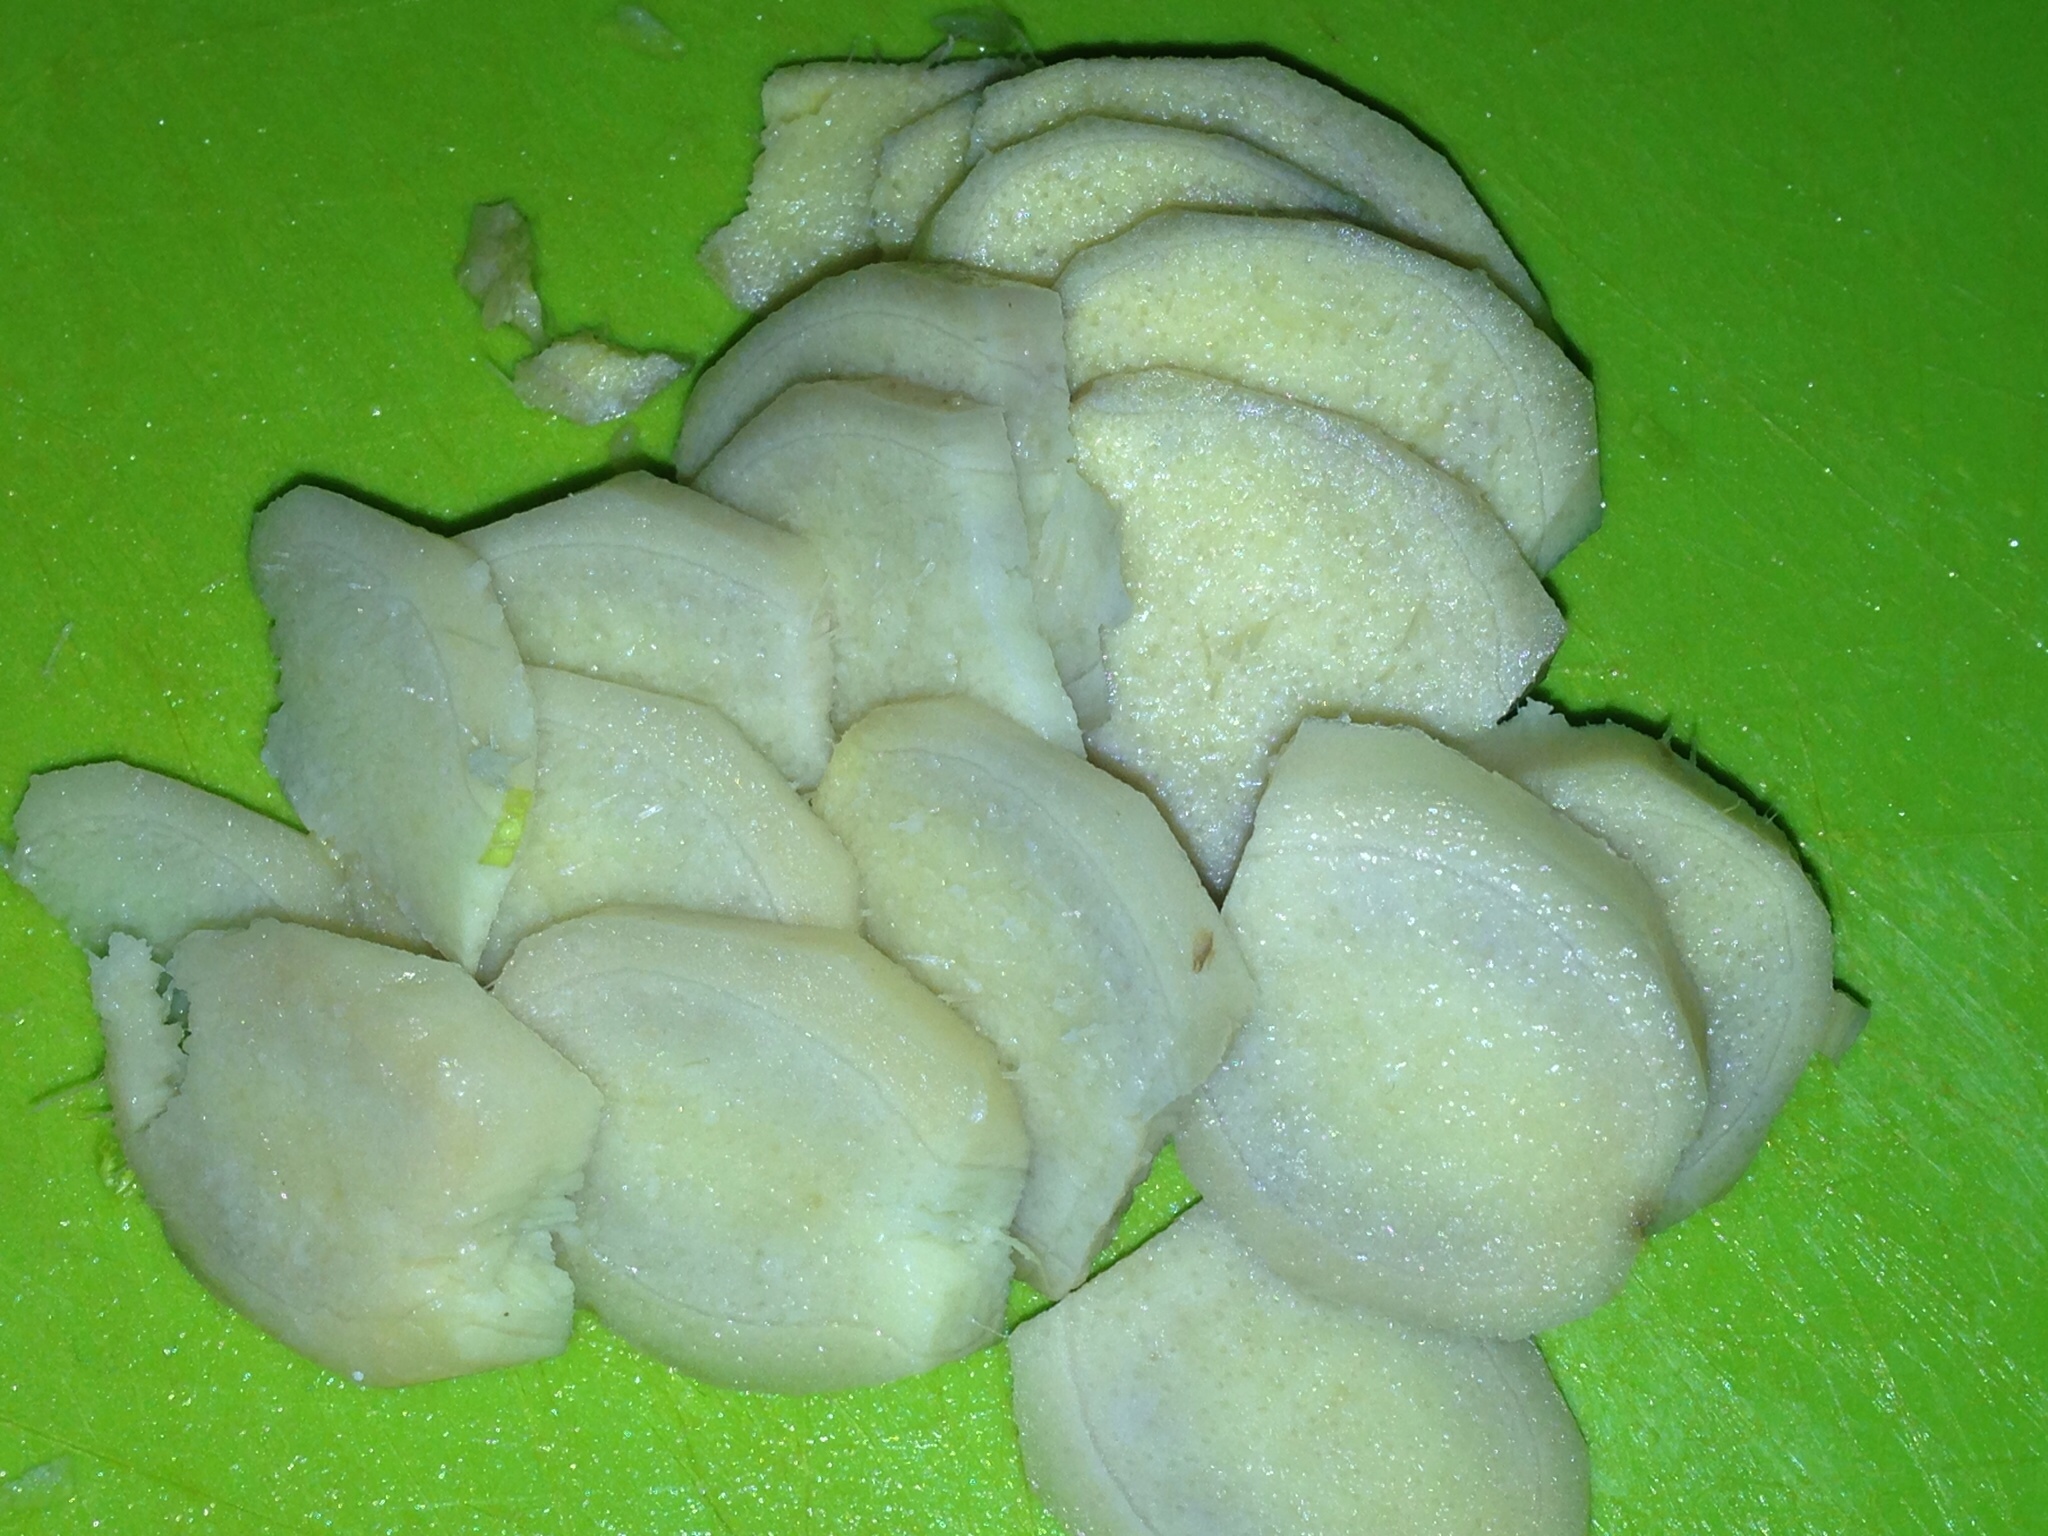
Prep the ginger. Peel (scrape the skin with a spoon) then thinly slice the ginger.

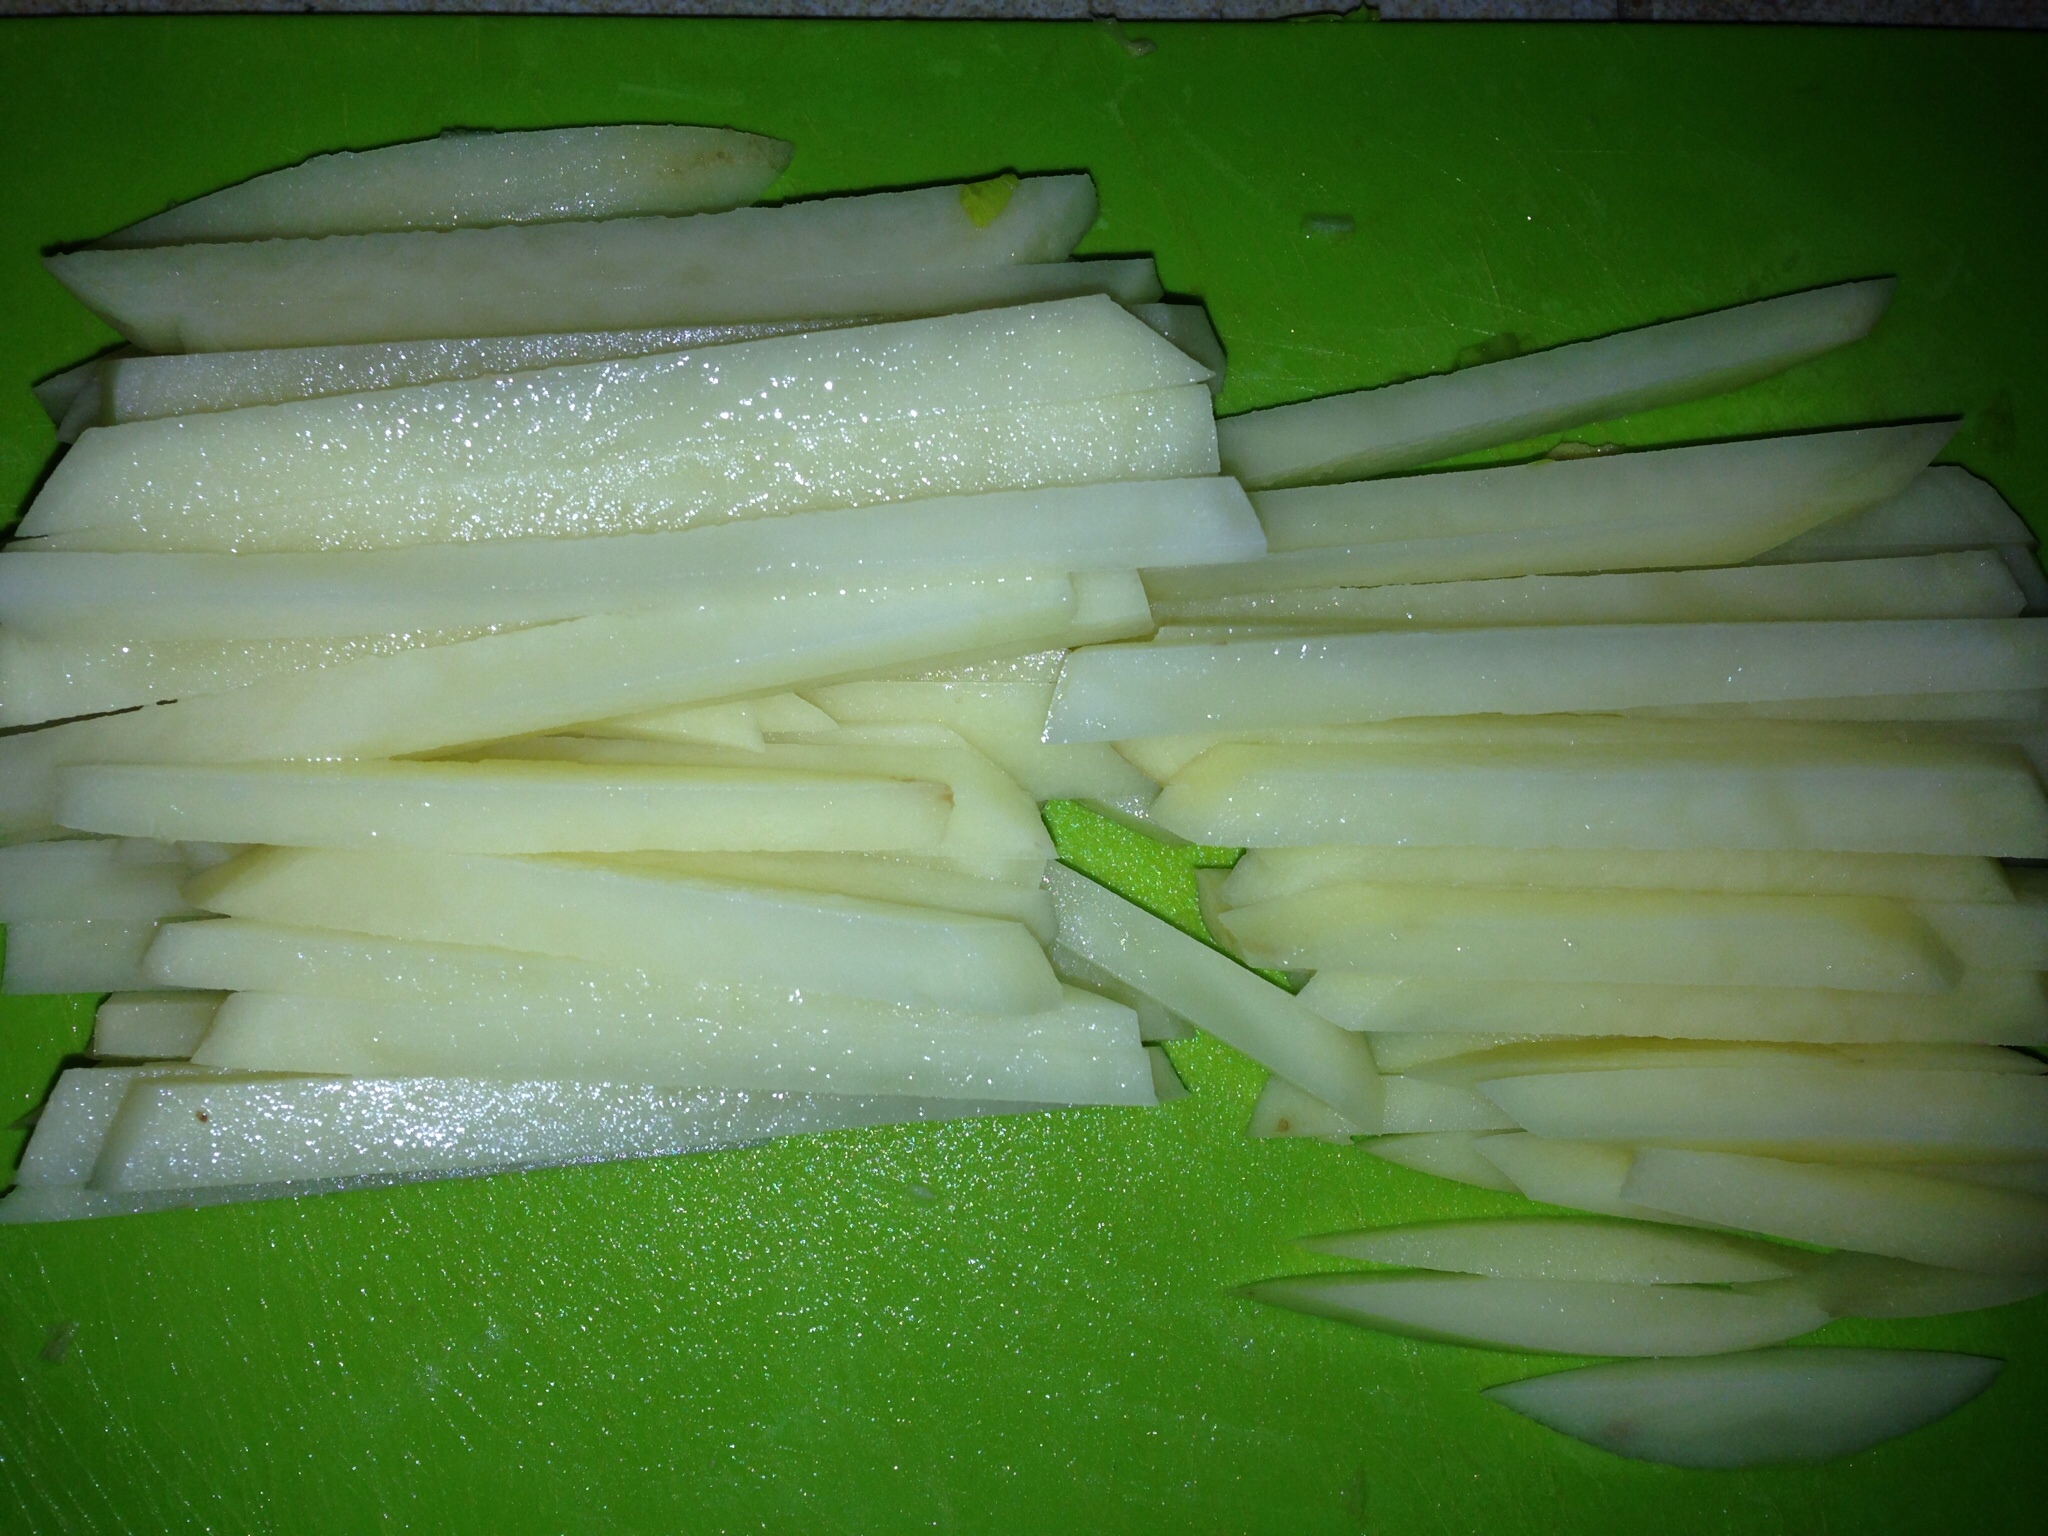
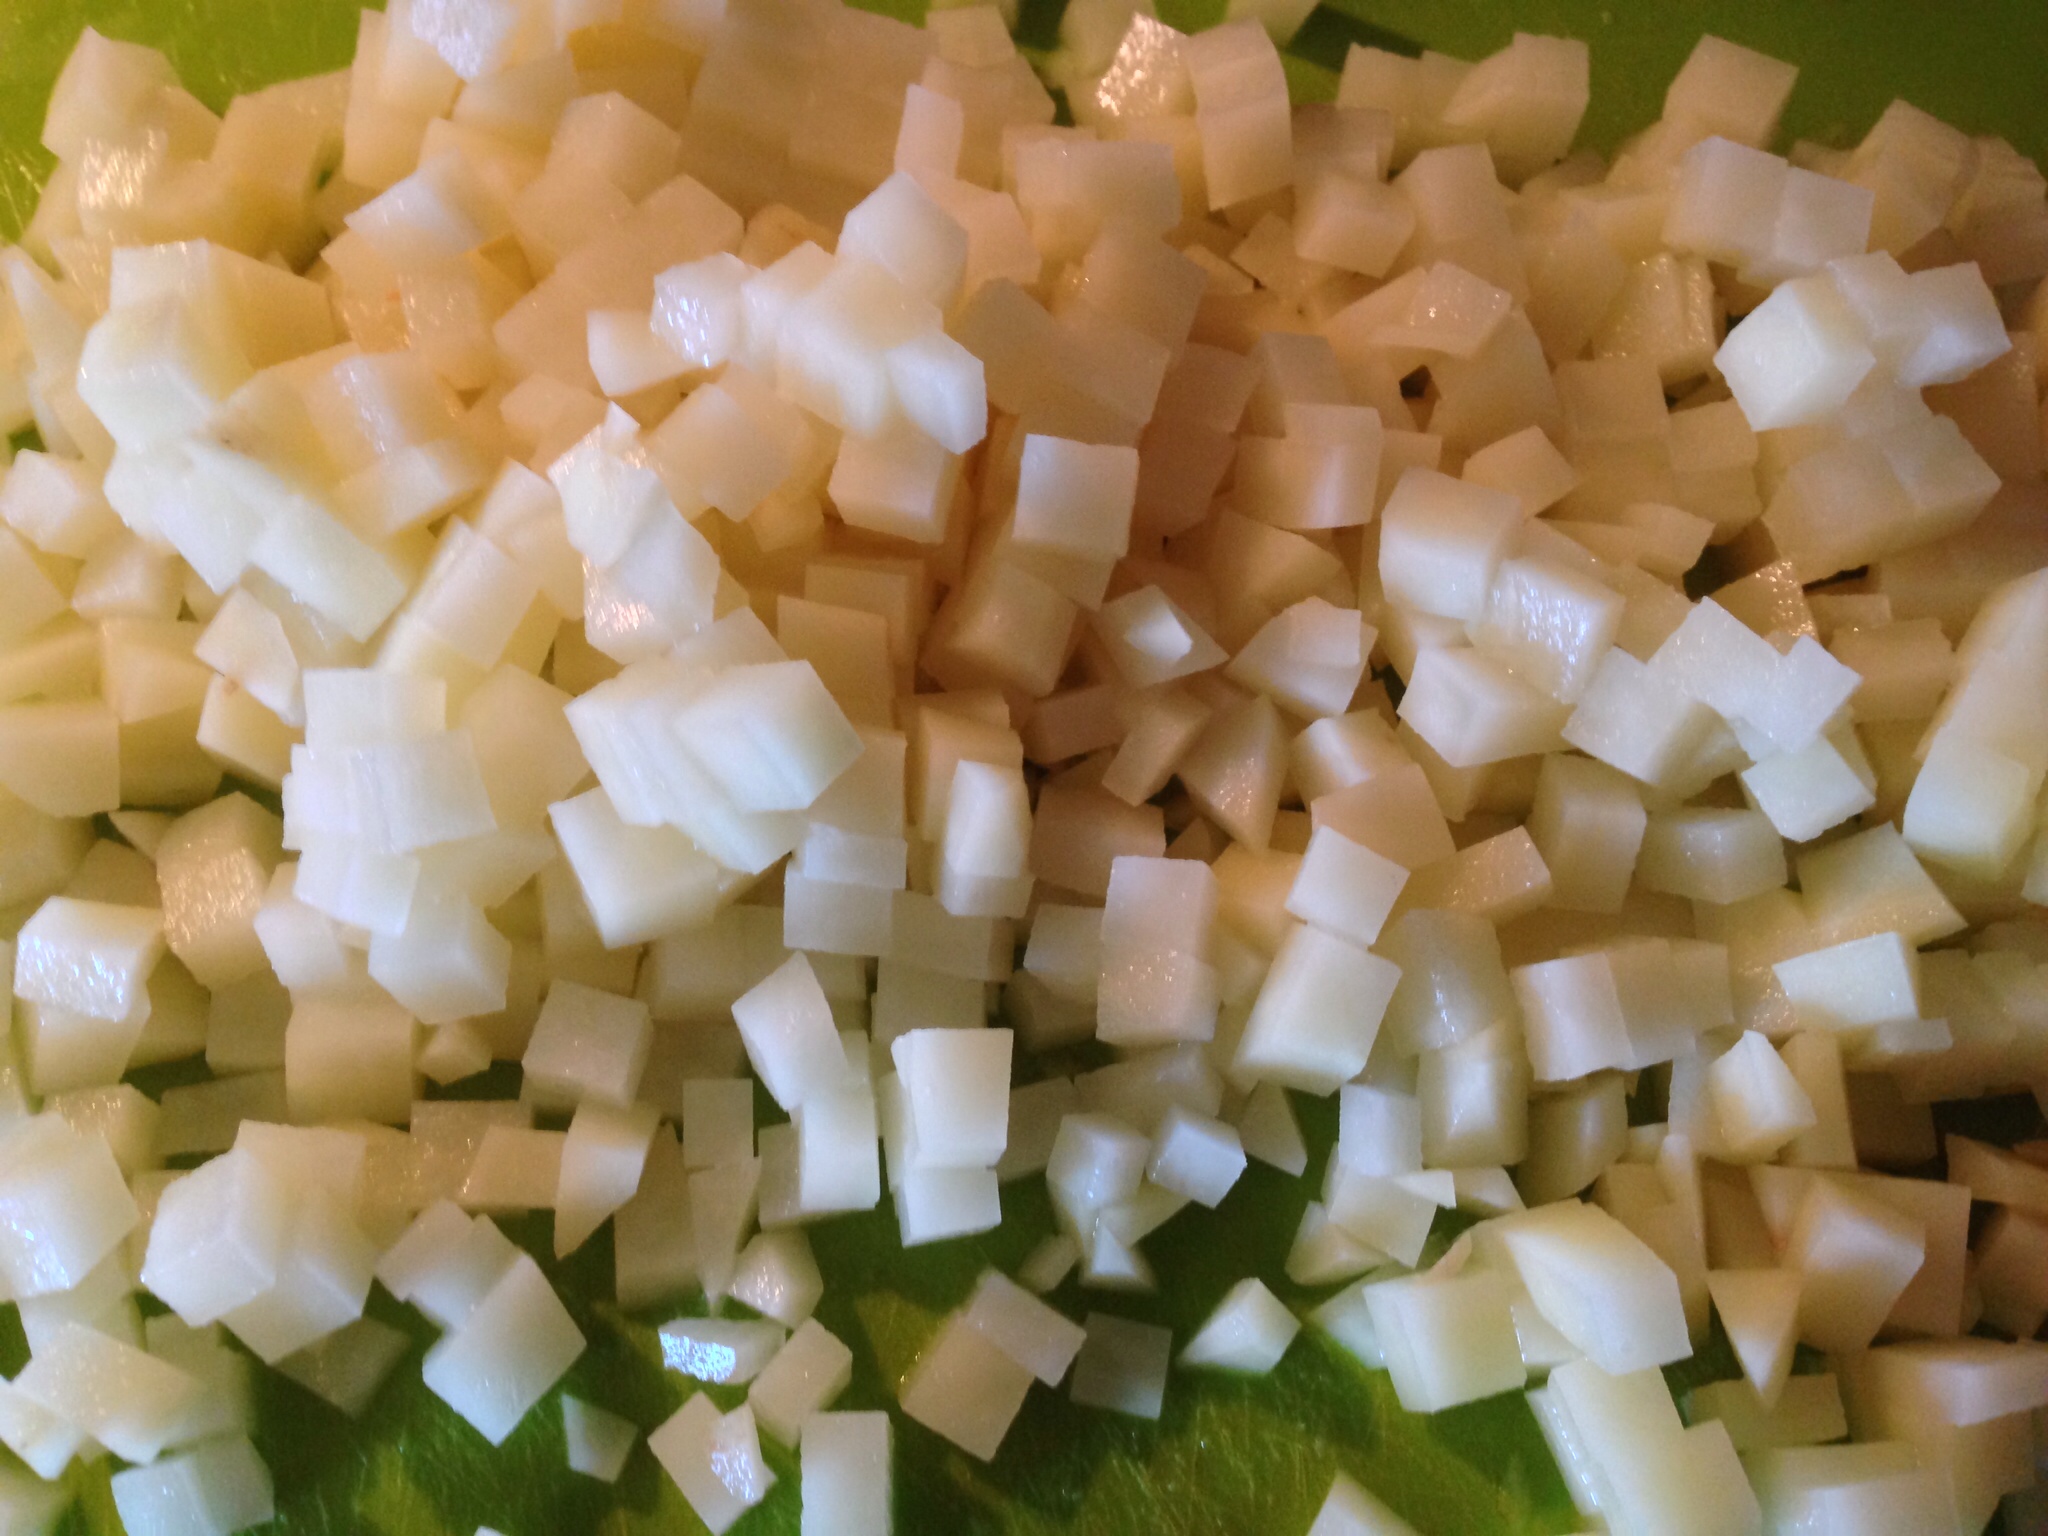
Prep the potato. Peel the potato. Cut into sticks (like french fries) then dice.

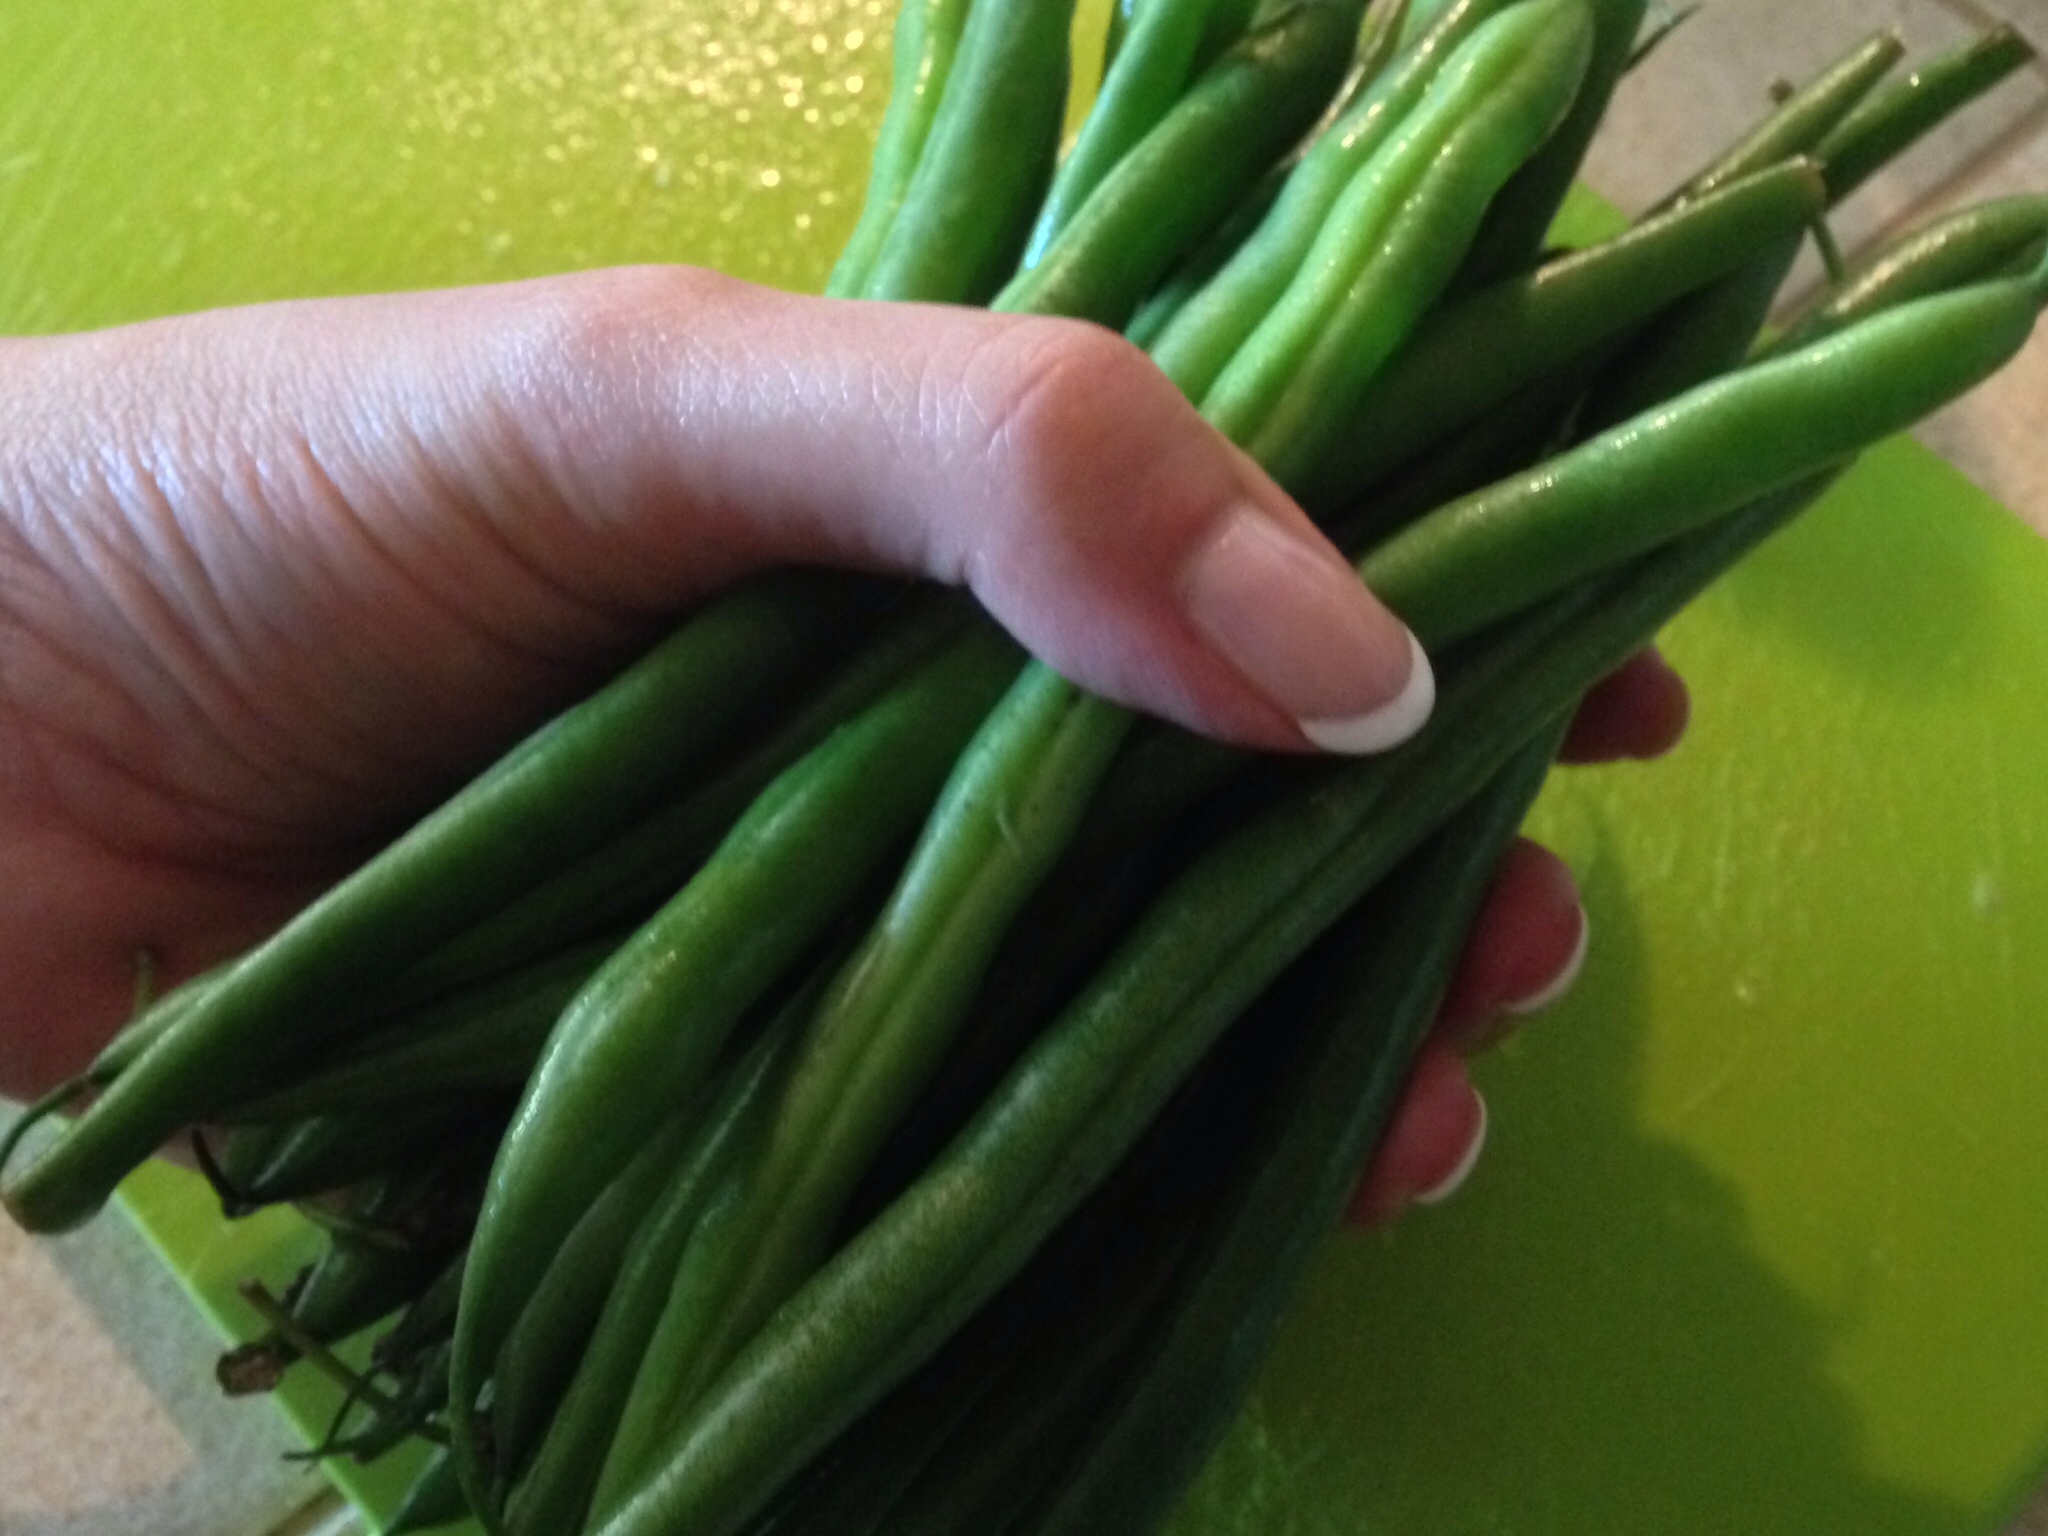
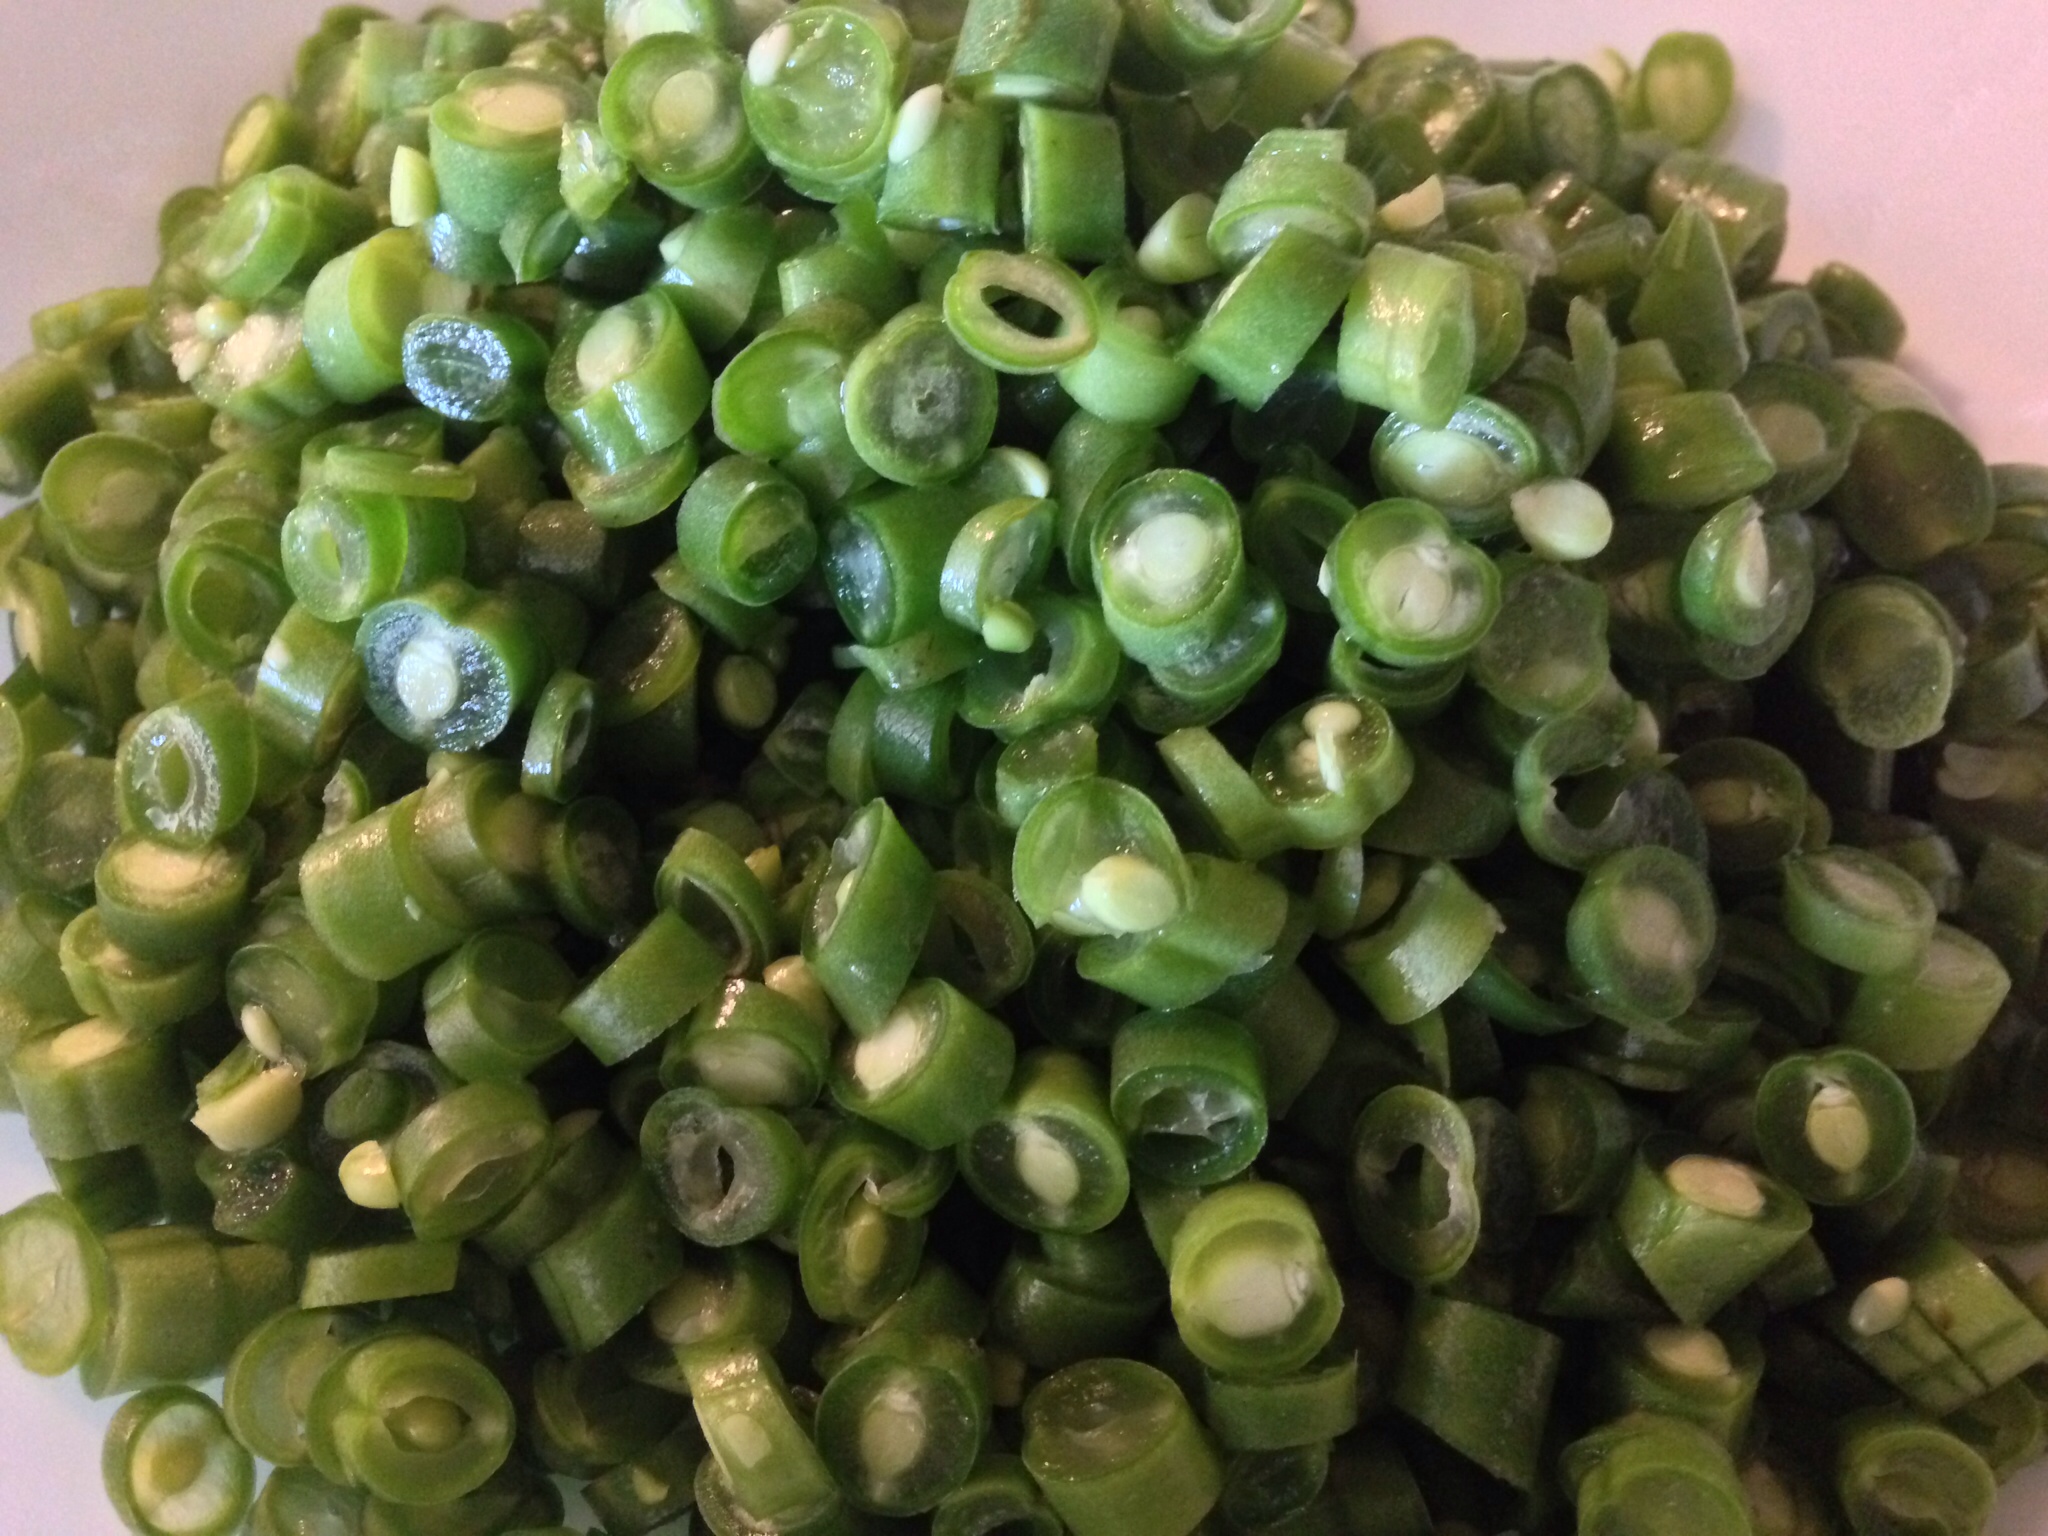
Prep the beans. In my list of ingredients, I stated “a handful” of beans was enough. This is what I mean by “a handful.”

Cut the tips off the ends of the beans, then thinly slice them.

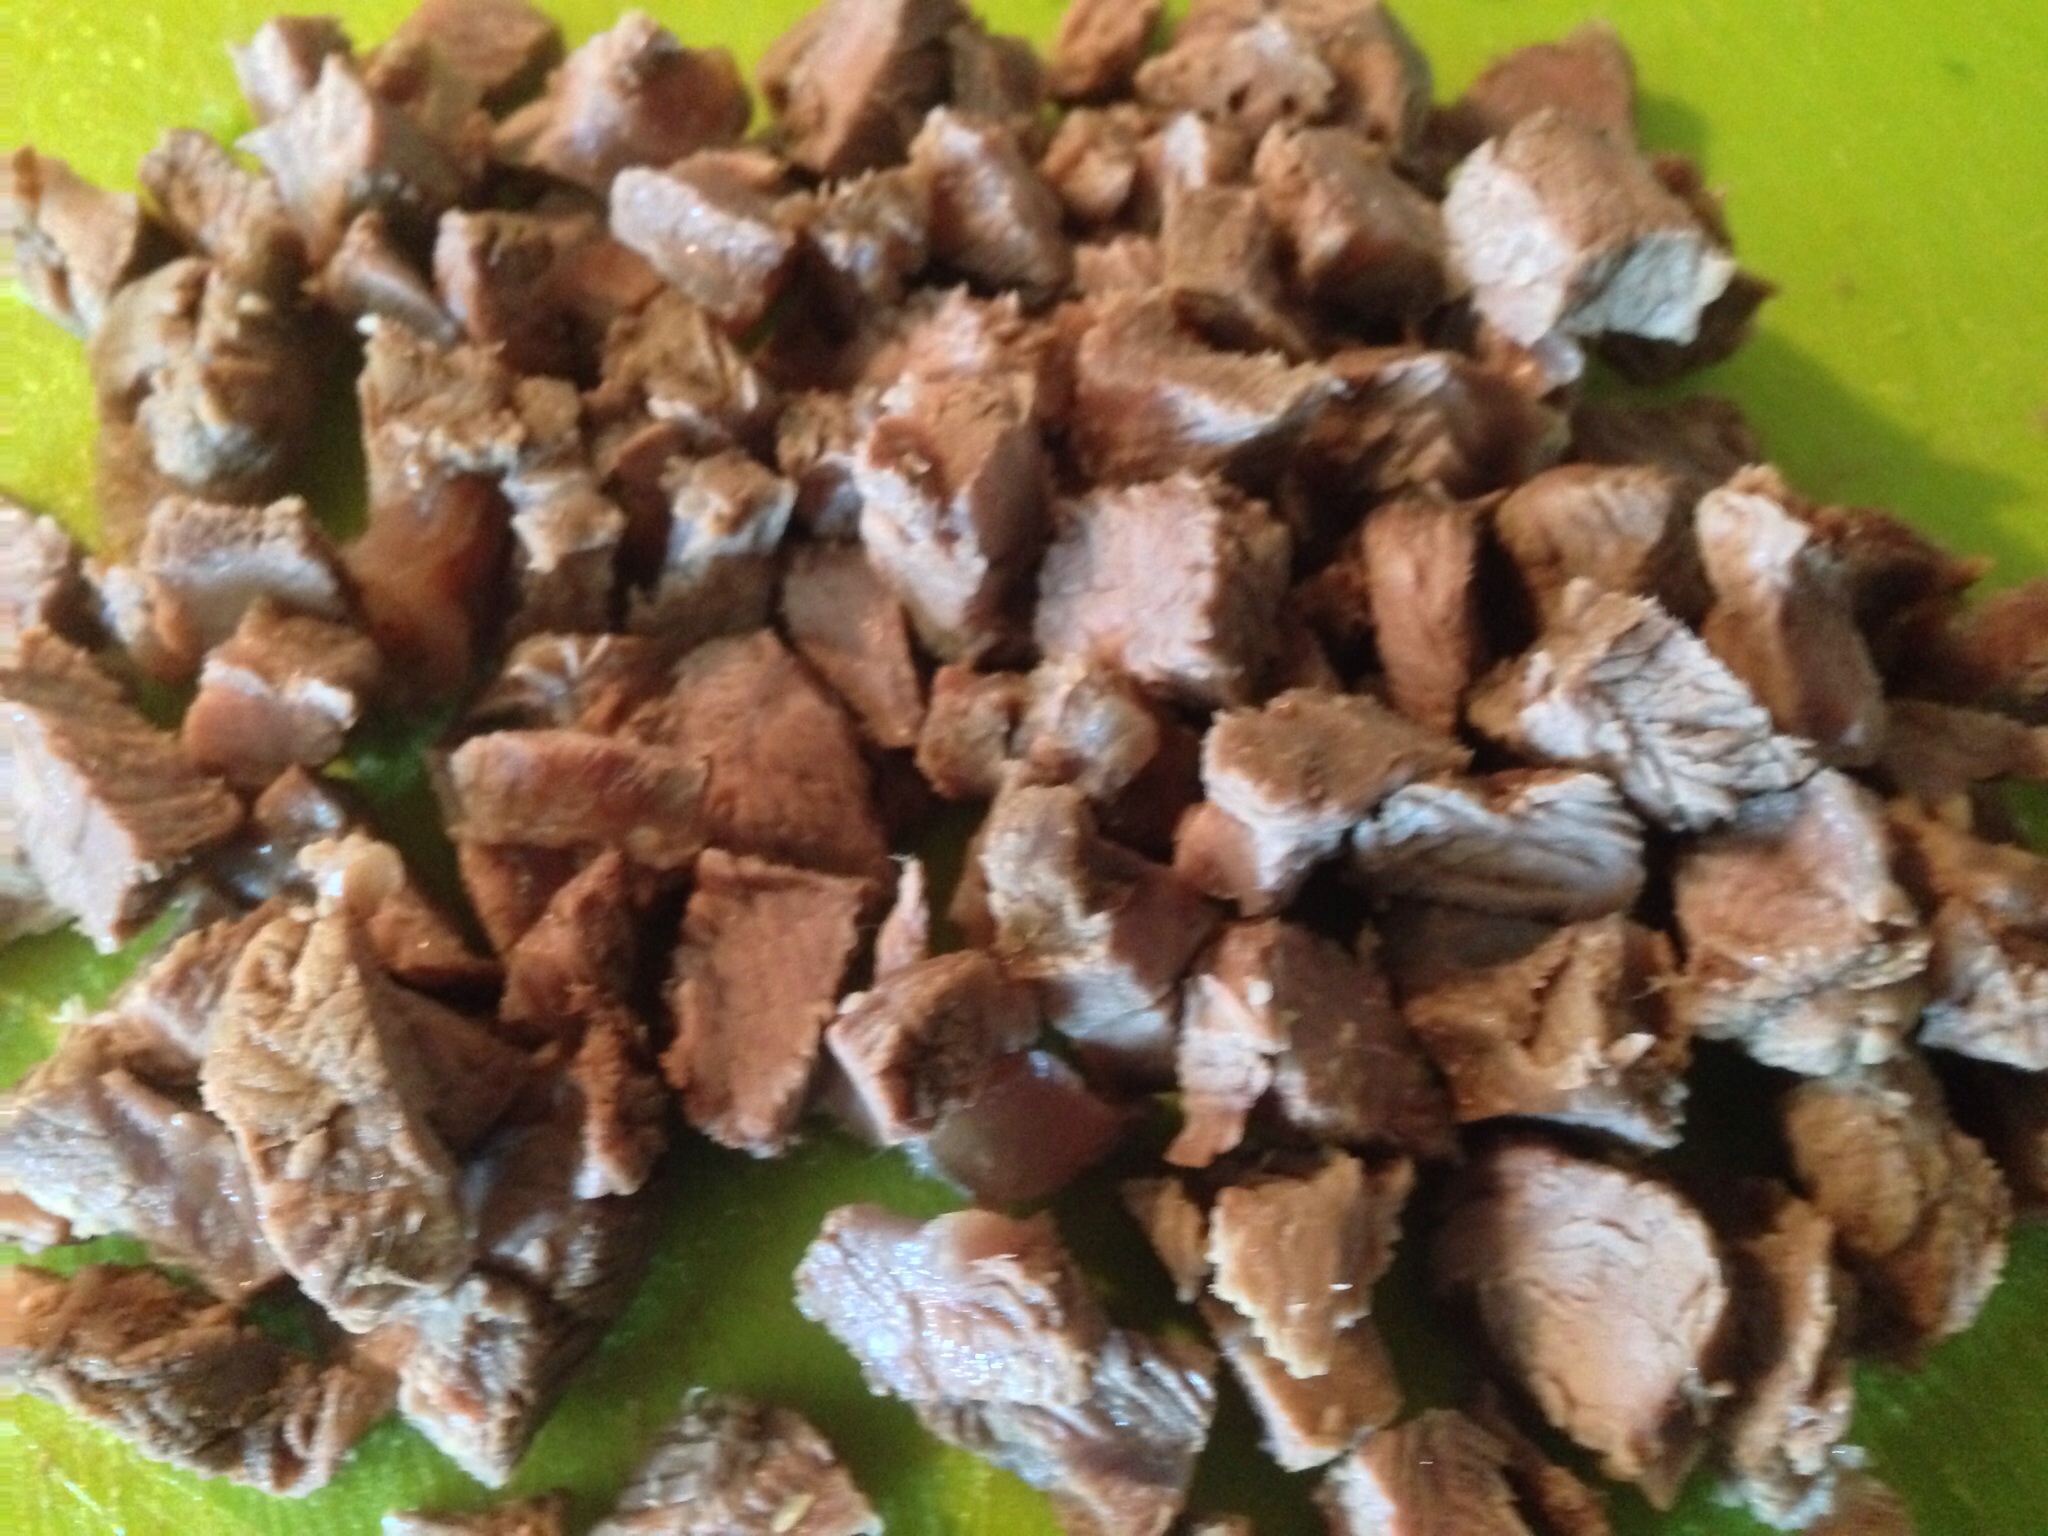
4. After a couple of hours of simmering, the sinew in the large chunks of shank meat should have broken down and softened. Remove the large chunks of meat from the pot. Let it cool then cut the meat into small pieces then return the meat to the pot.

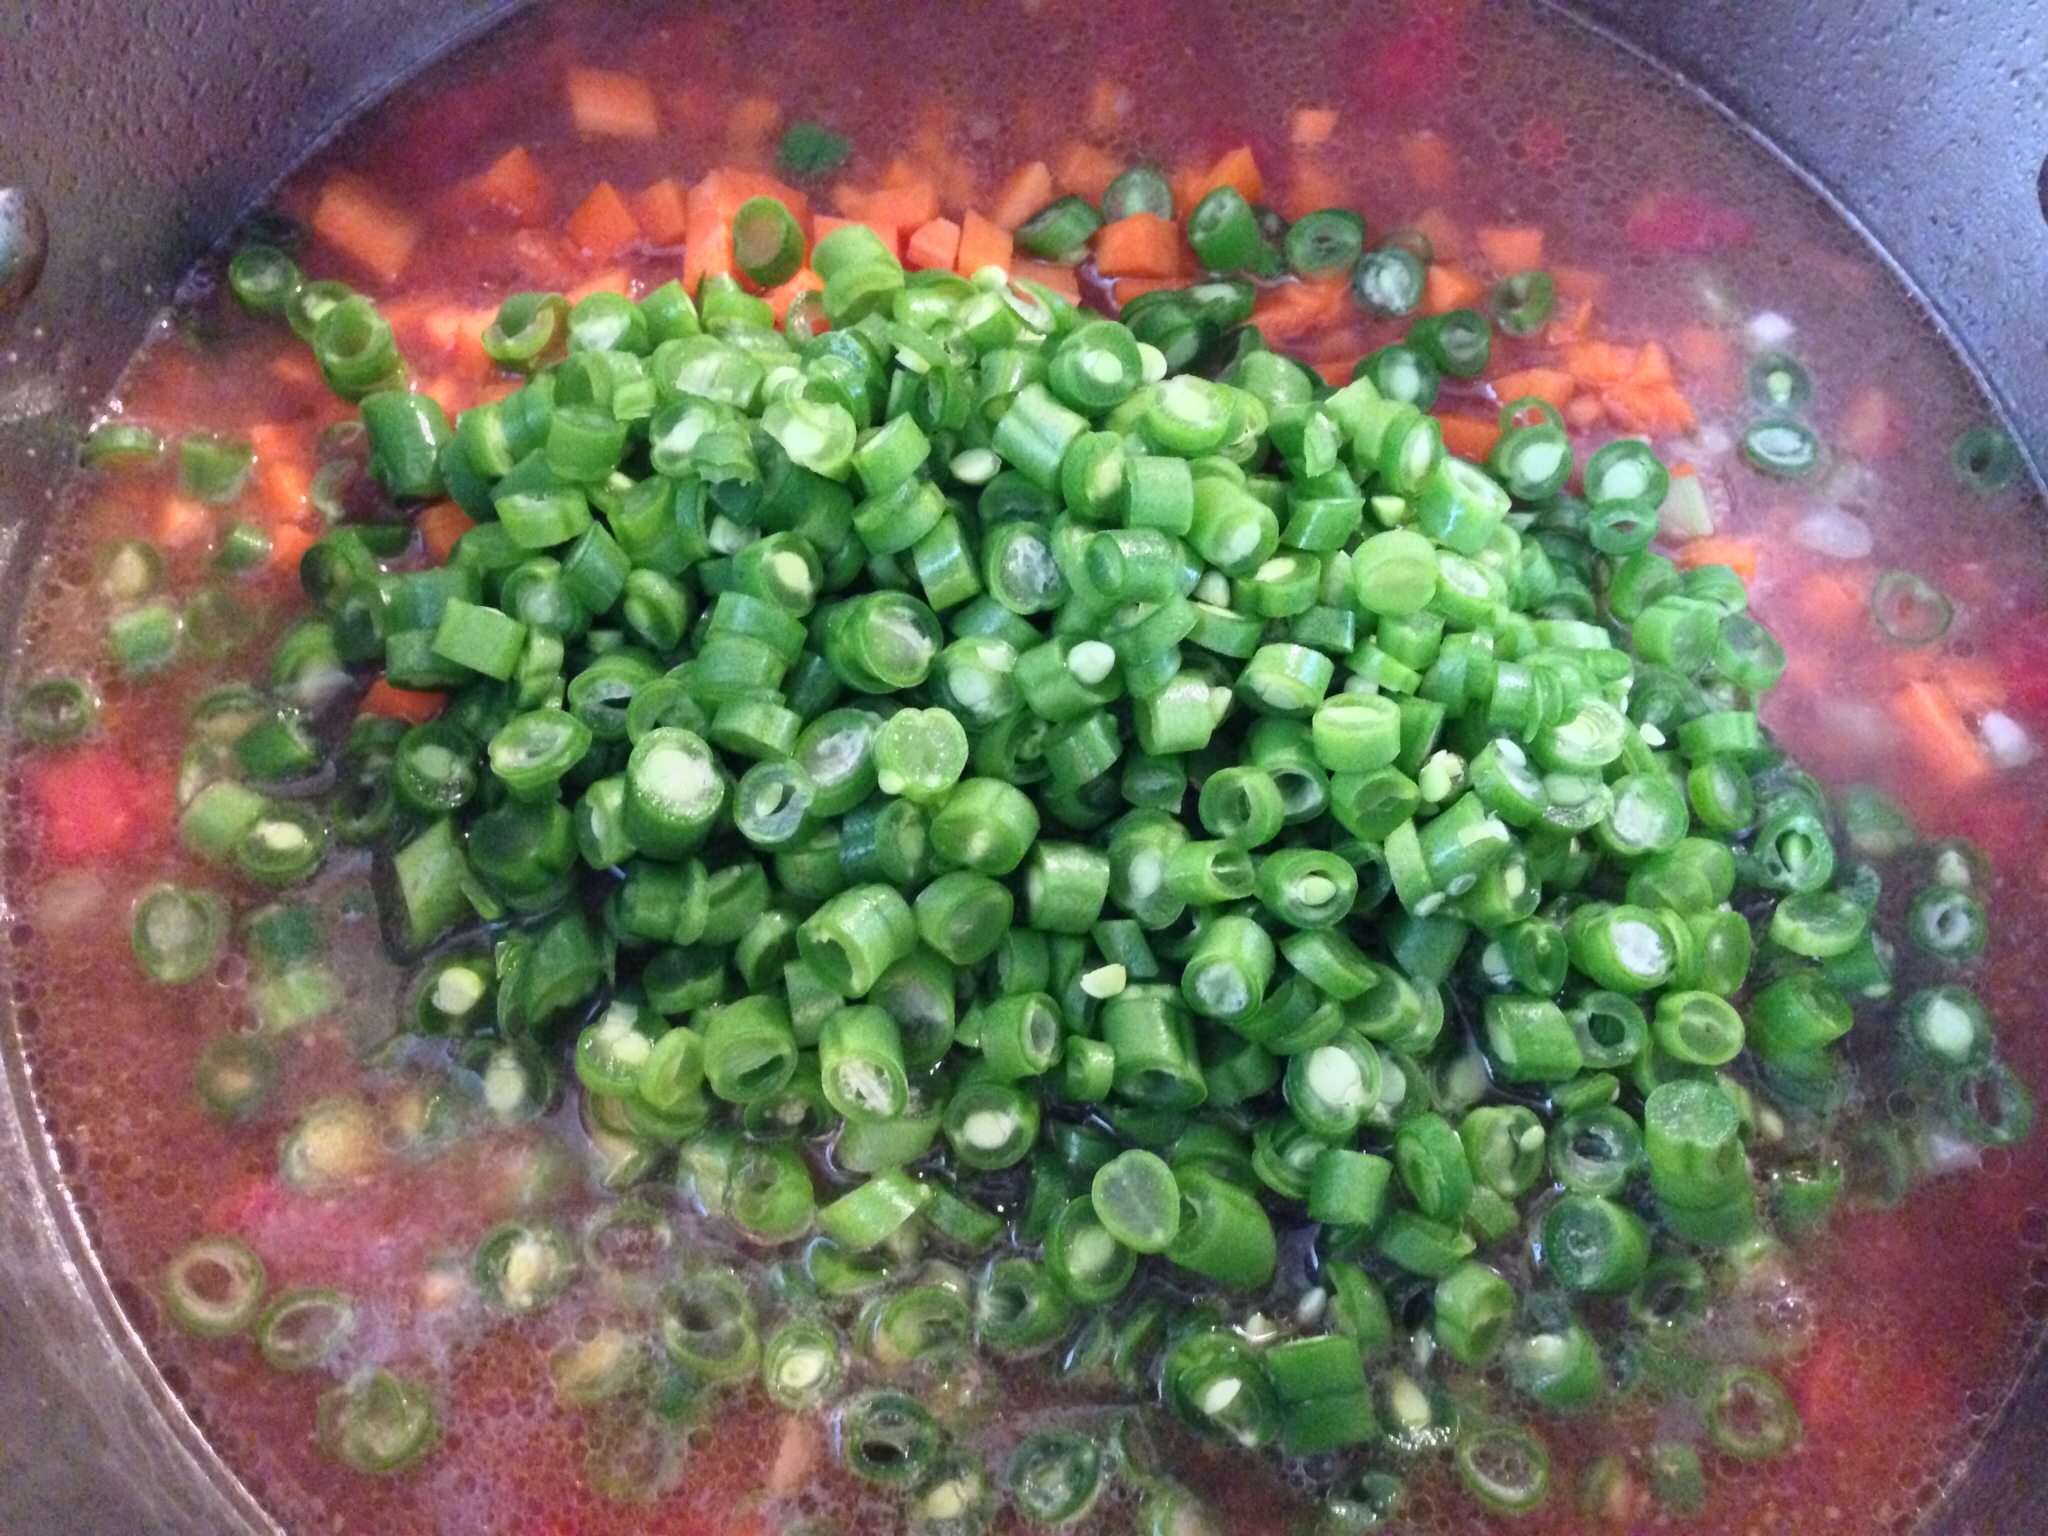
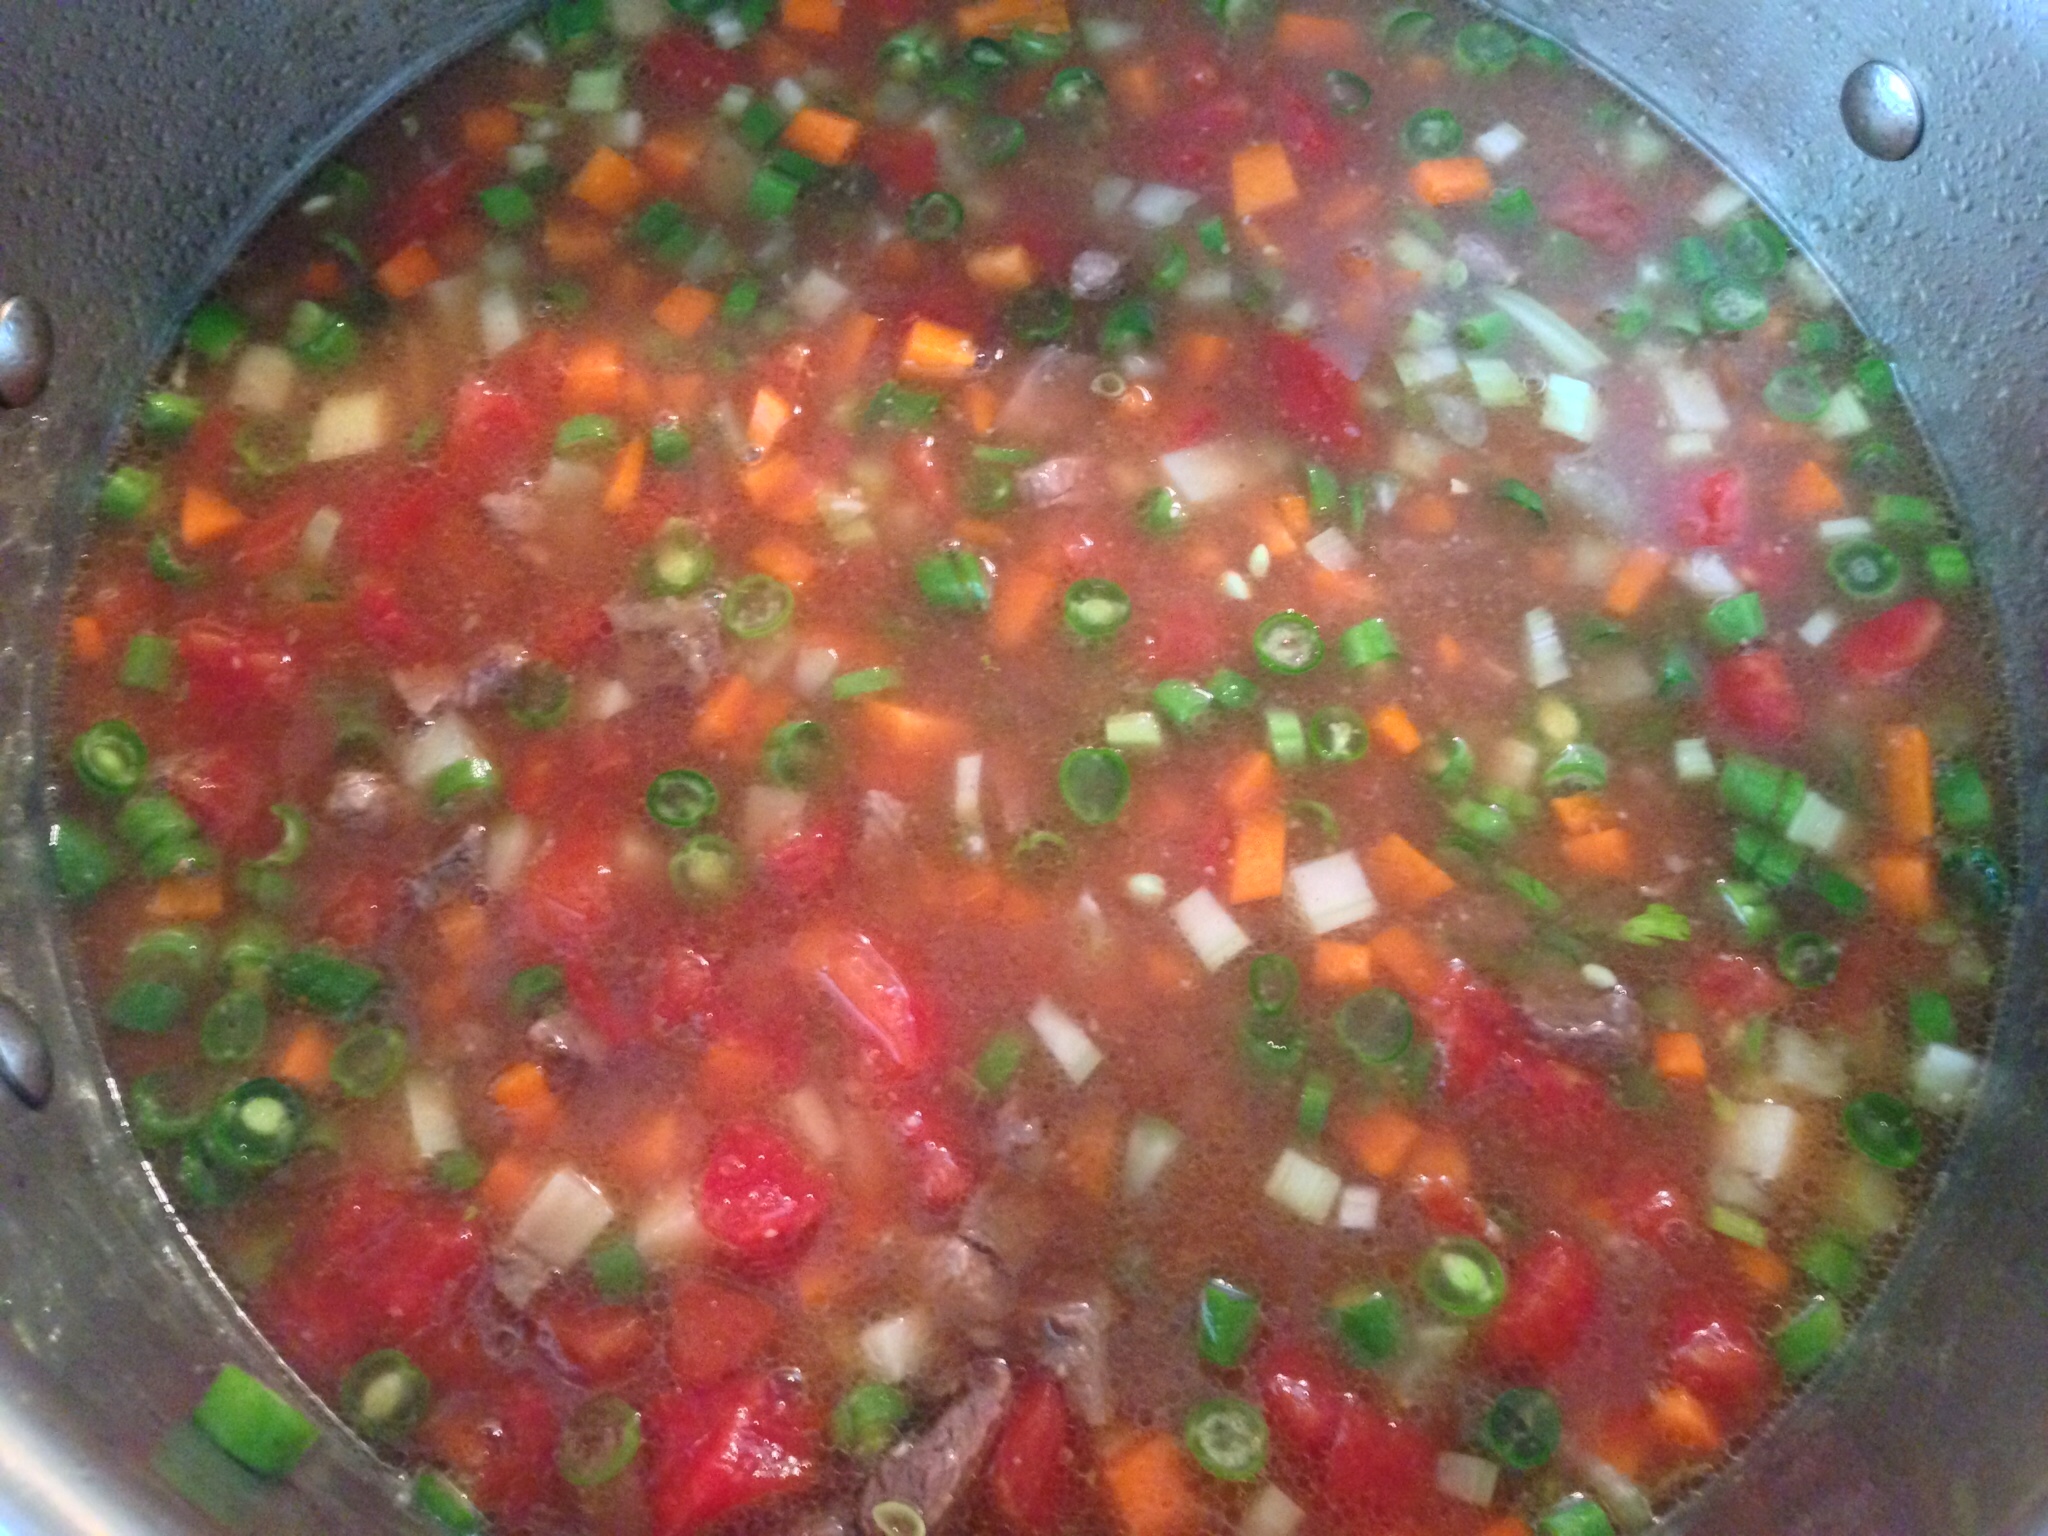
5. Add the tomatoes (don’t forget to drain the liquid!) and cut vegetables to the pot. Stir to combine.

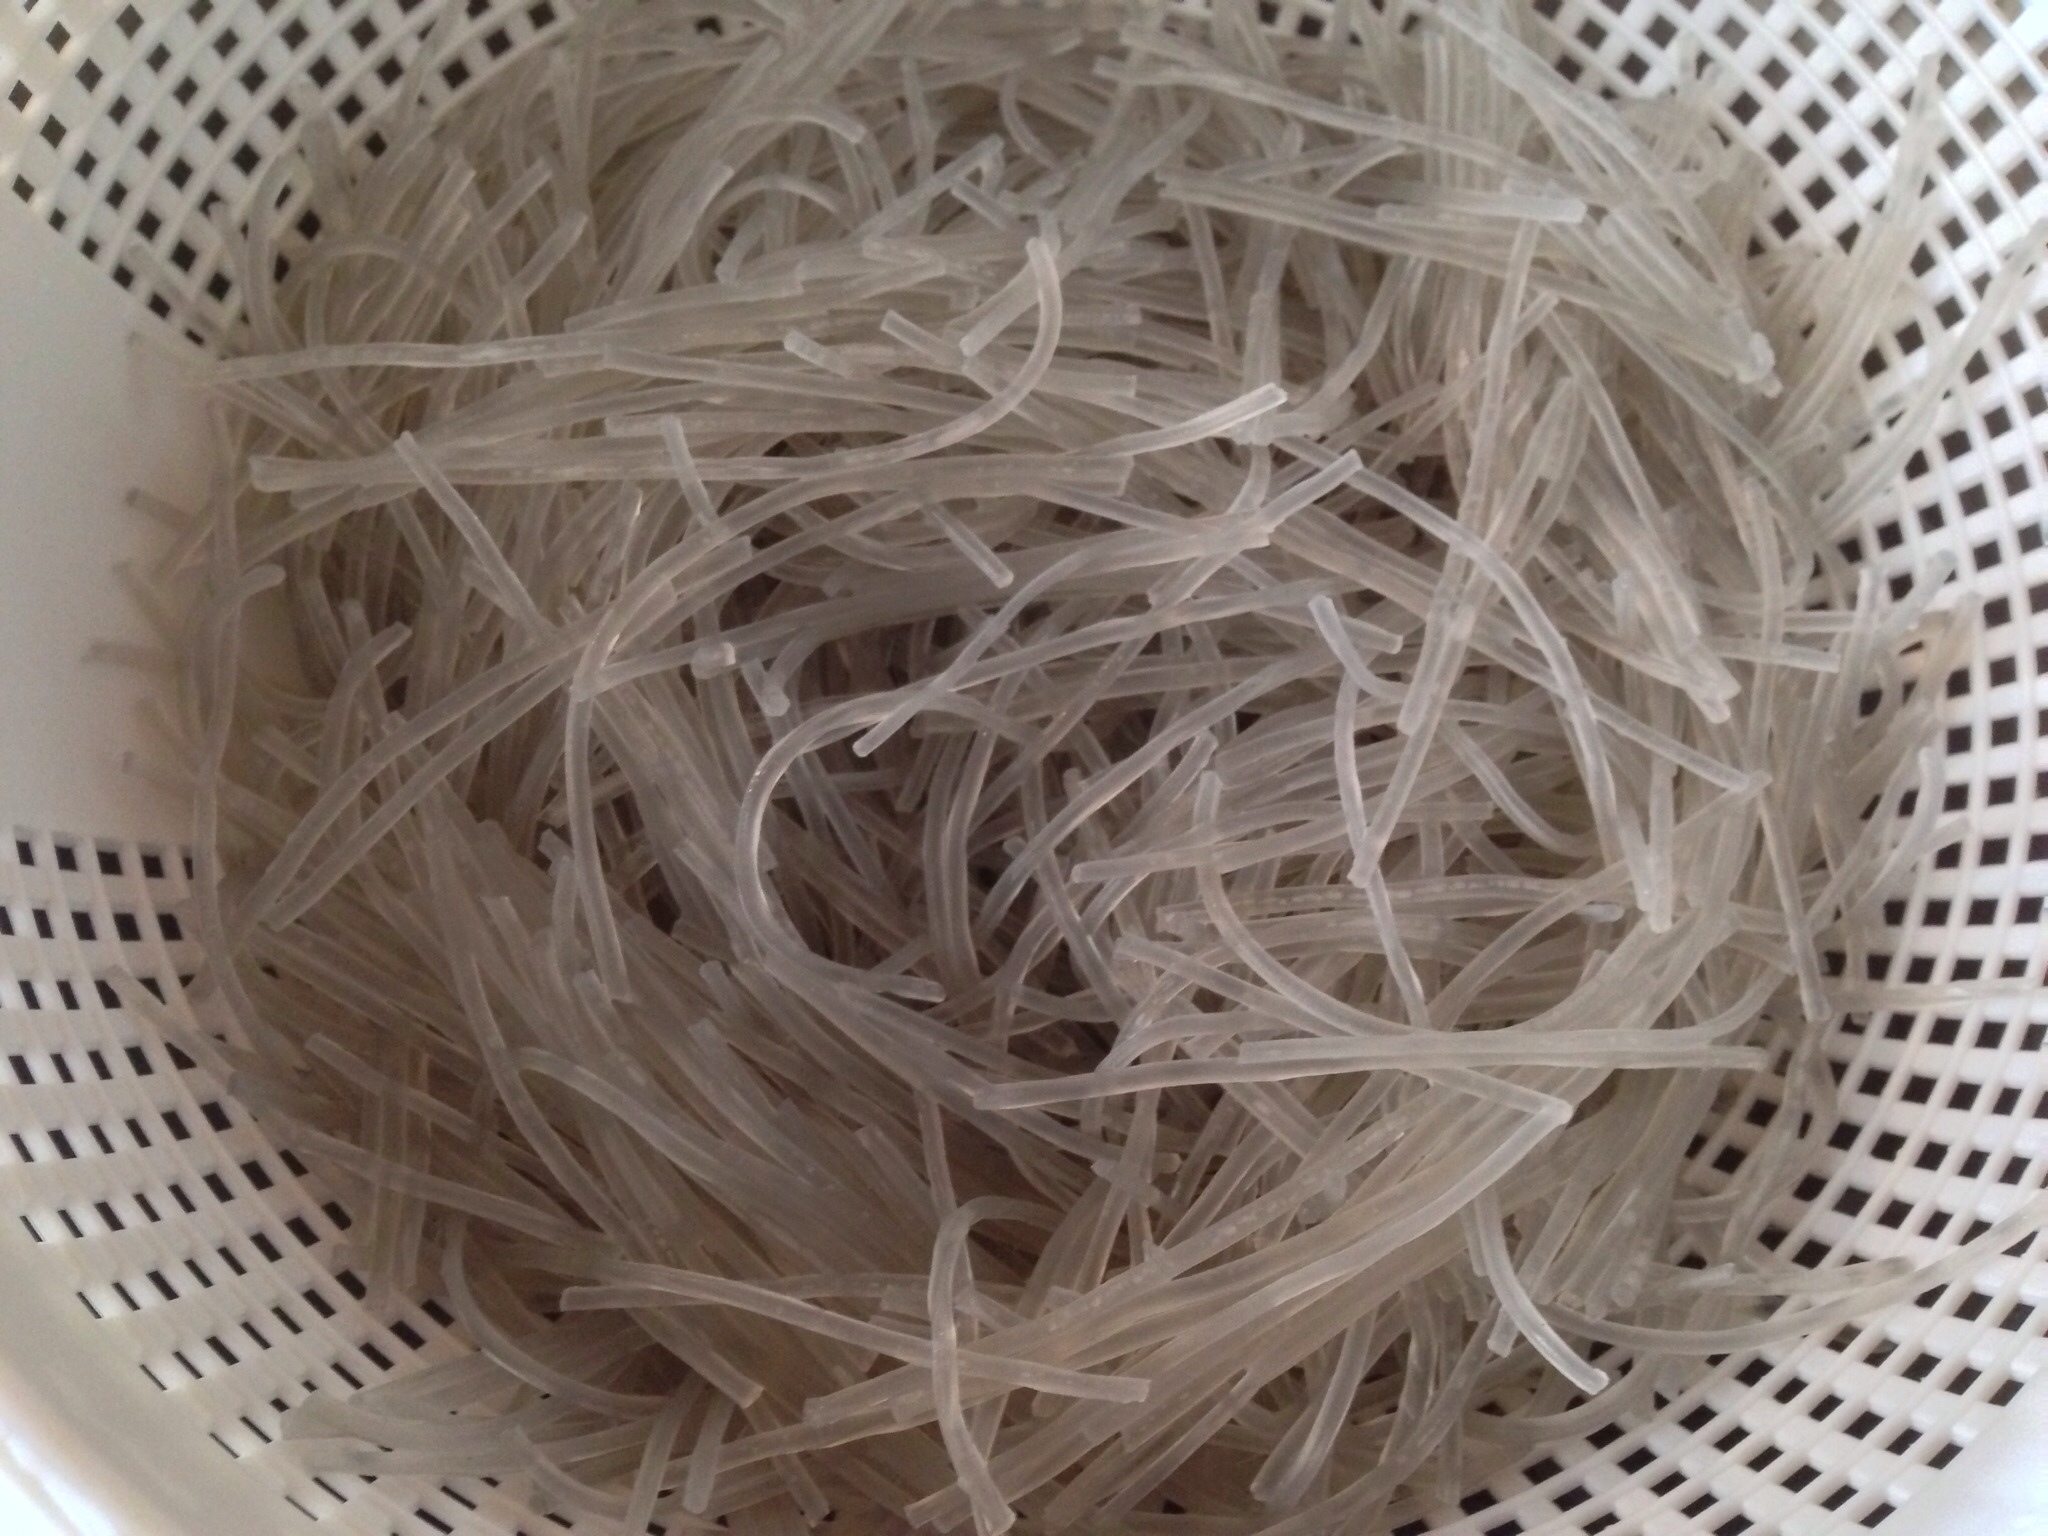
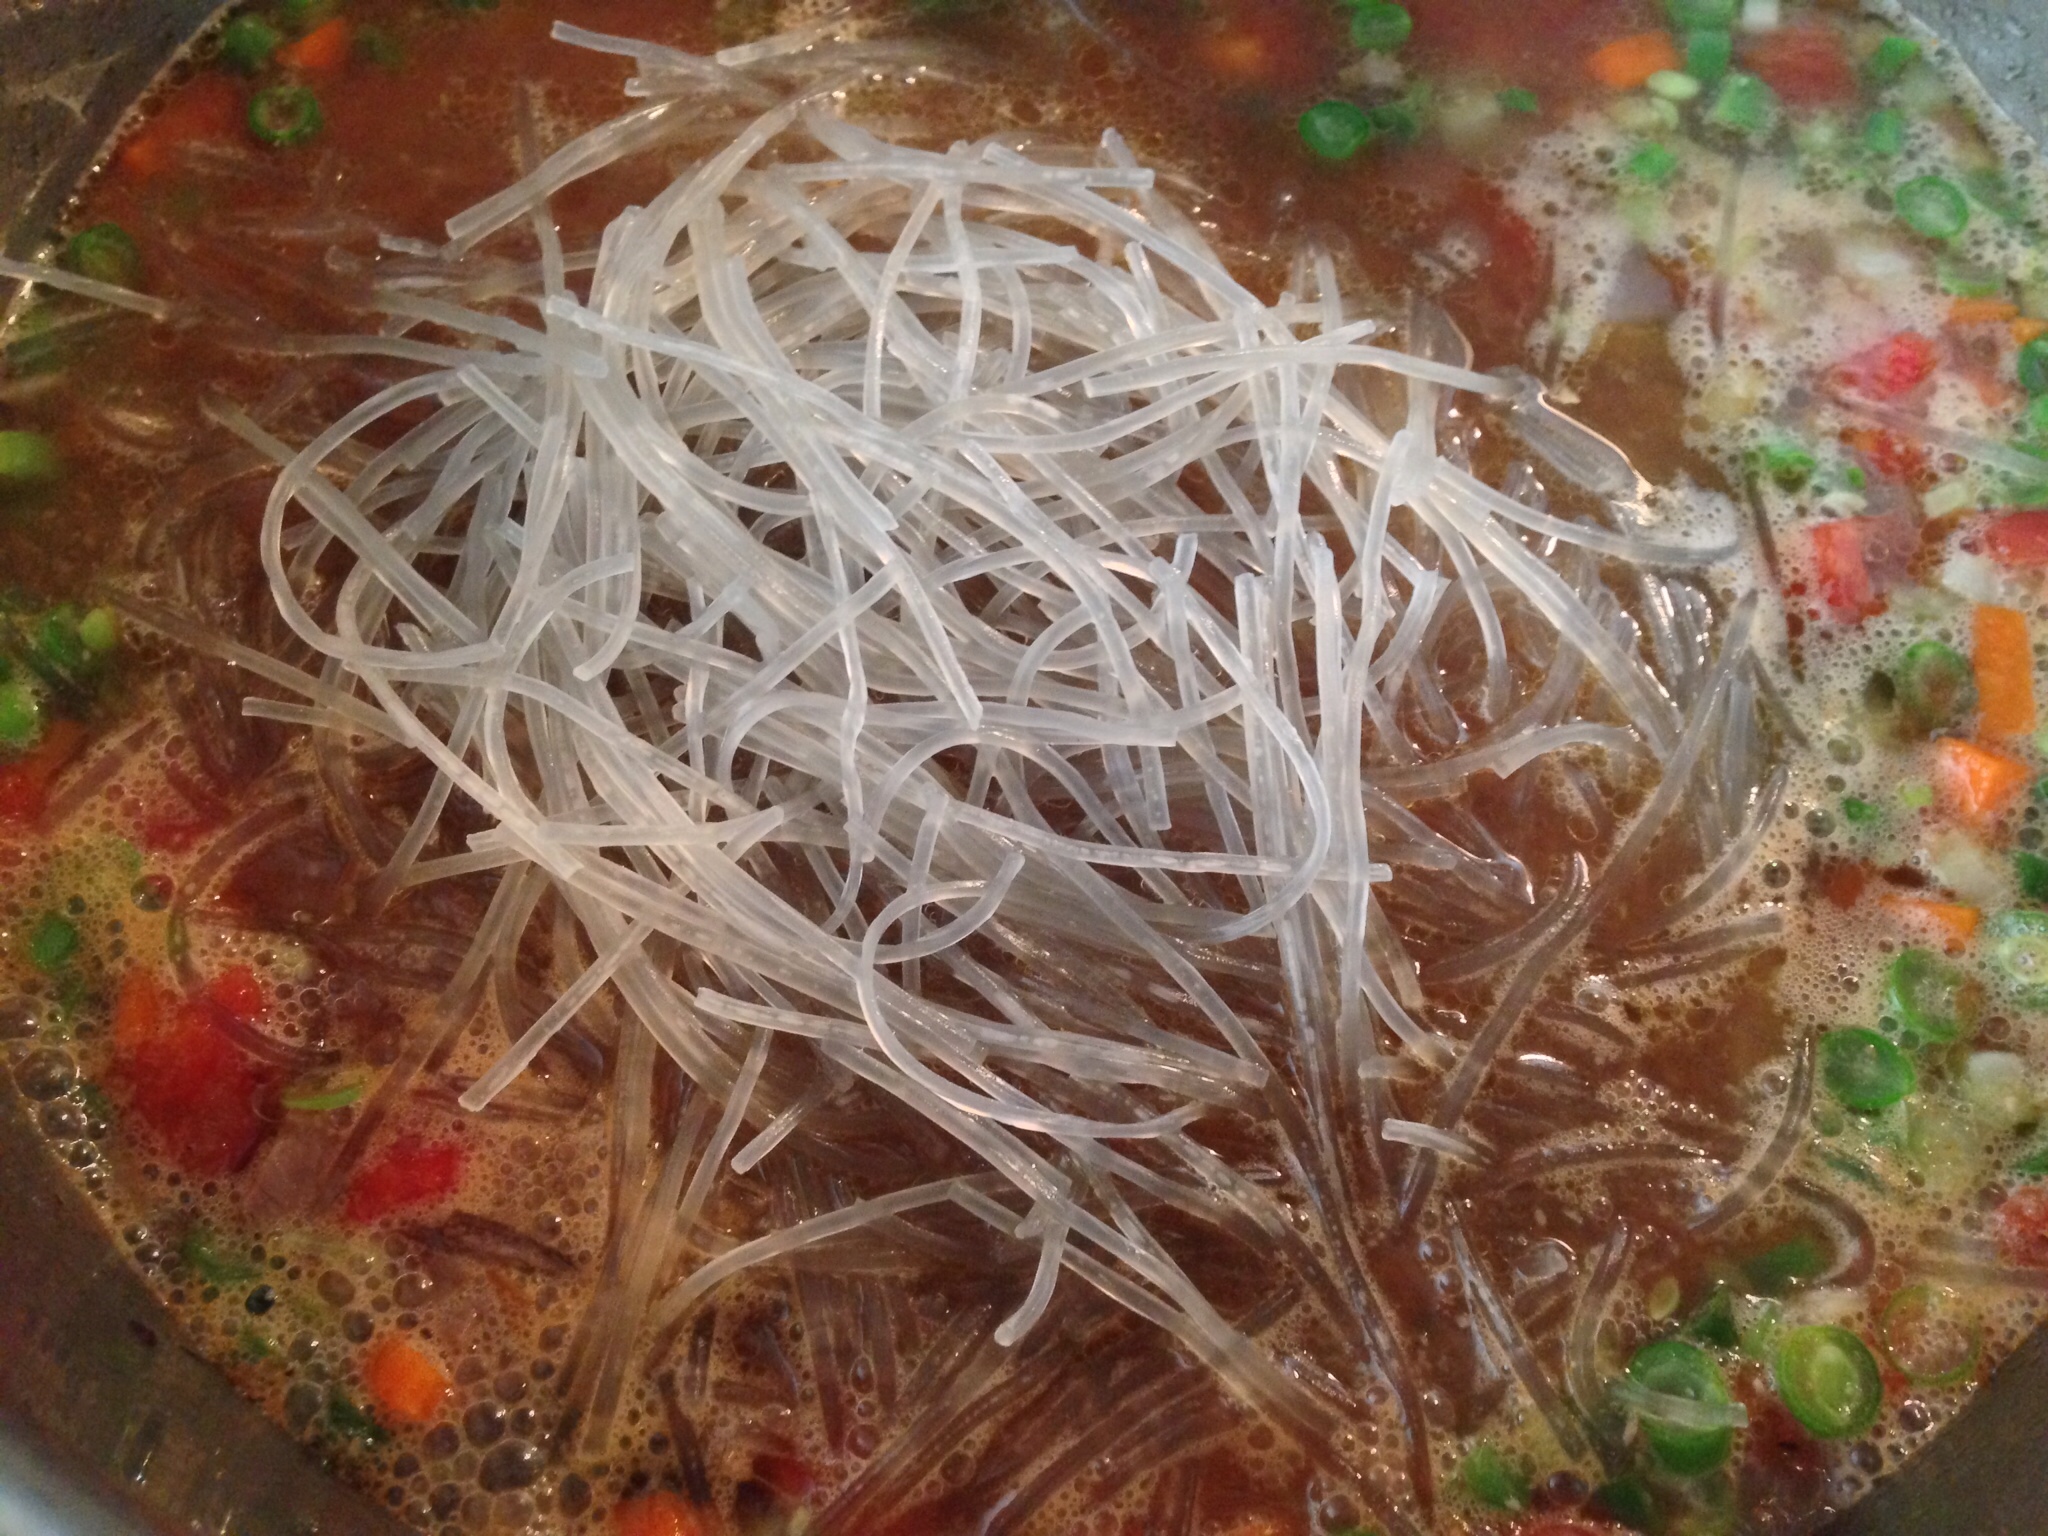
6. Simmer the vegetables over medium high heat for 10 minutes. Meanwhile, prepare the noodles. Place the noodles into a large bowl. Pour hot water (I used hot water from the tap) over the noodles; use enough water to completely submerge the noodles. Let the noodles sit in the hot water for 5 minutes to soften slightly. After the noodles have softened, use a pair of kitchen scissors to cut the noodles into small pieces, about 3 inches in length. Drain the noodles in a colander then add them to the pot, stirring to combine.

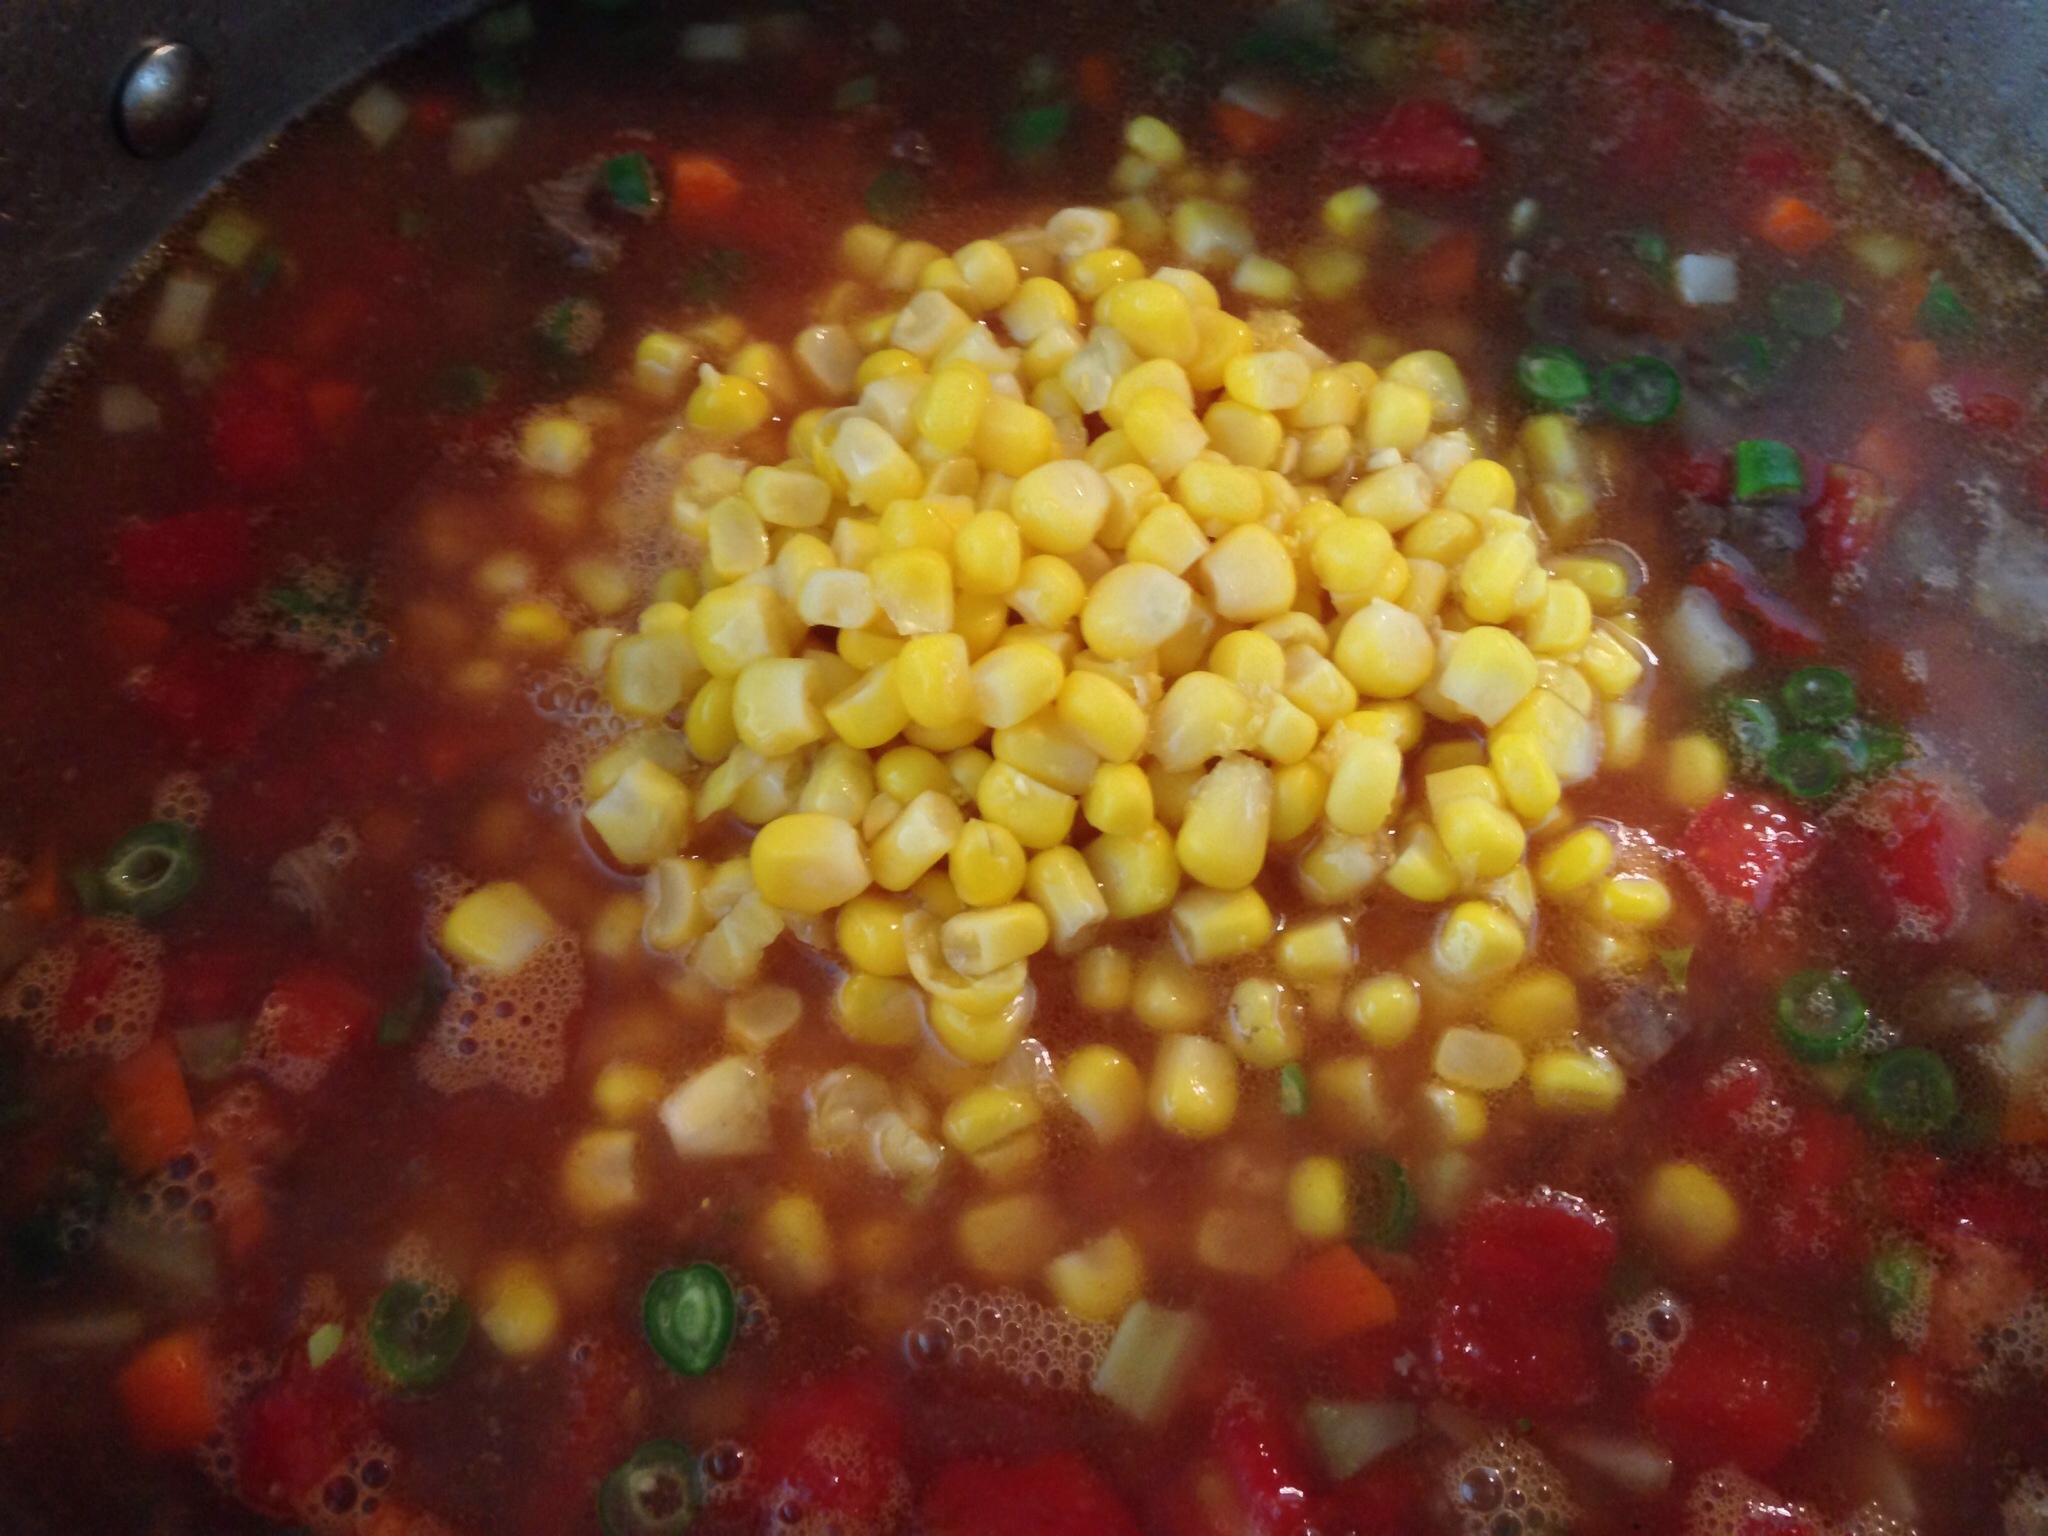
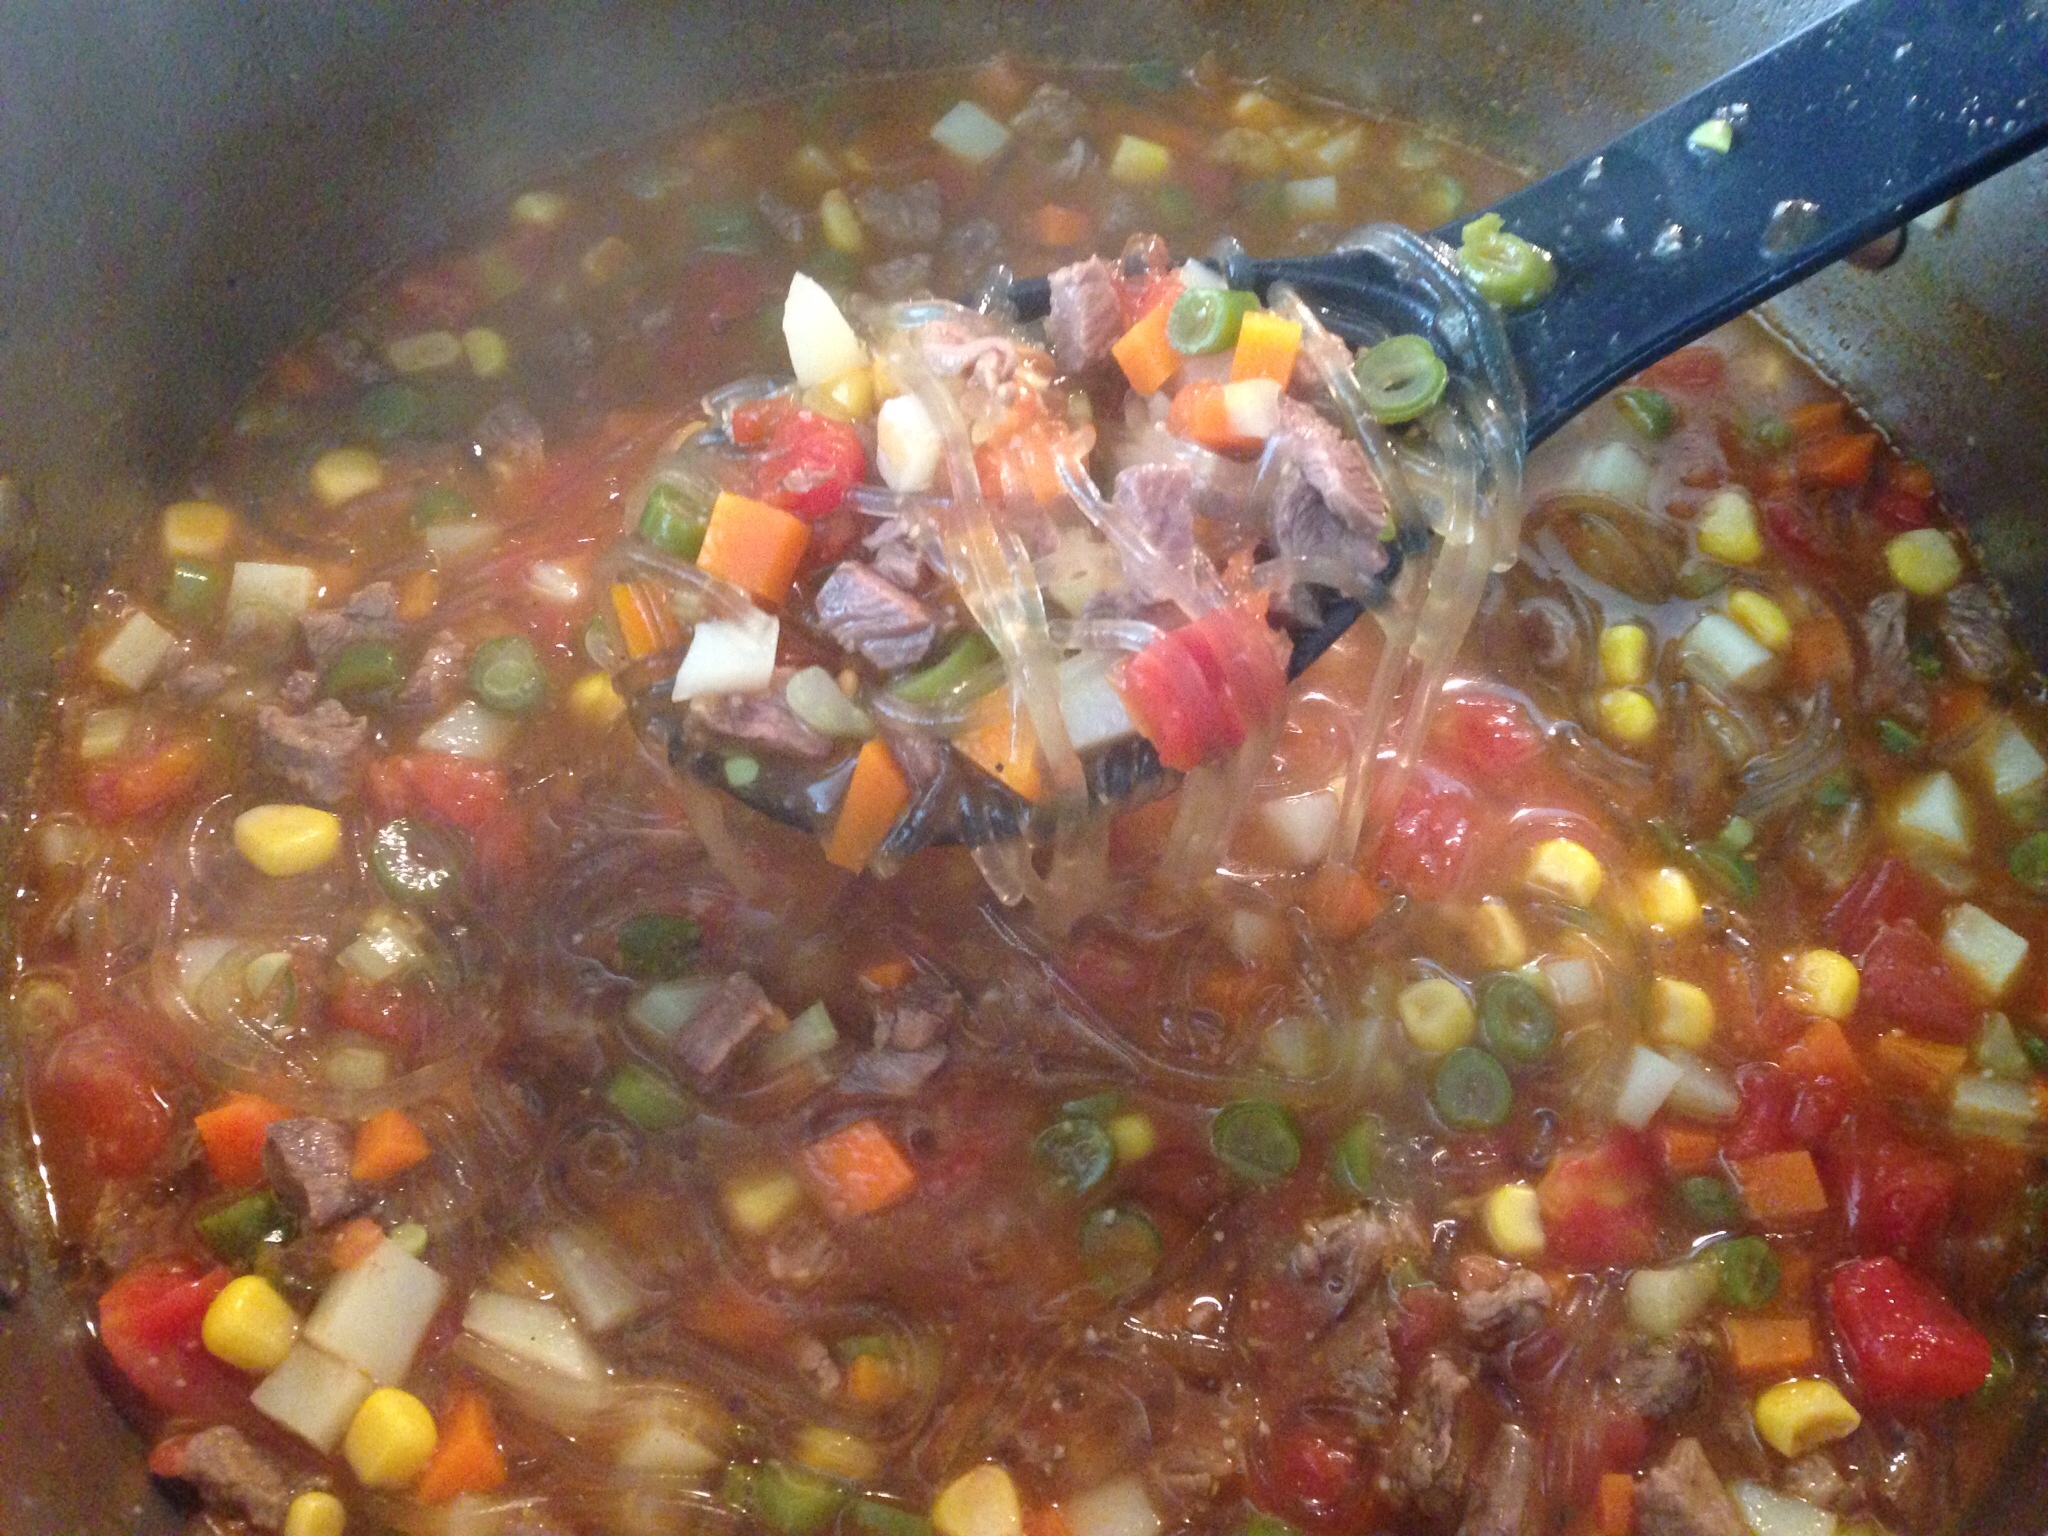
7. Add the drained corn to the pot. Stir to combine. Cook for another 10 minutes or so, or just until the potatoes and carrots are cooked through (don’t over cook them).

8. Remove from the heat and serve while hot. ENJOY!

Save the bone marrow for me, please! 🙂


Print Friendly, PDF & Email

Hannah’s Teriyaki Burgers

My daughter is quite the budding chef.  She whipped these burgers up from some ingredients she found in the fridge and pantry.  She calls them “Hannah’s Teriyaki Burgers” — I must say, they are yummy! Pair it with a side salad and hot rice and you’ve got yourself a fantastic meal!

HANNAH’S TERIYAKI BURGERS

Teriyaki Burgers

Mix together:

  • 2 pounds lean ground beef
  • 3/4 cup teriyaki sauce (I used Yoshida brand sauce)
  • 1 small bell pepper, diced small
  • 1 medium onion, chopped
  • 1 large egg
  • 2 tablespoons Dashida seasoning
  • 1 teaspoon black pepper
  • 4 large cloves garlic, minced

Directions:

Form into patties and pan-fry over medium-high heat, about 5 minutes on each side (for medium well burgers). These also taste great served on toasted hamburger buns. Makes 14 small or 7 large burgers.

Print Friendly, PDF & Email

Corned Beef with Corn and Tomato Sauce

Chamorros love canned corned beef!  It’s called Latan Kåtne (canned meat) in Chamorro. Corned beef can be prepared many different ways, depending on the ingredients you have on hand.

I love to gisa (in Chamorro, this means to stir fry) corned beef with onions, garlic, and eggplant.  For another variation, try adding cabbage or fresh green beans.  My dad used to grow winged beans–this is delicious with corned beef too.  The options are virtually endless!

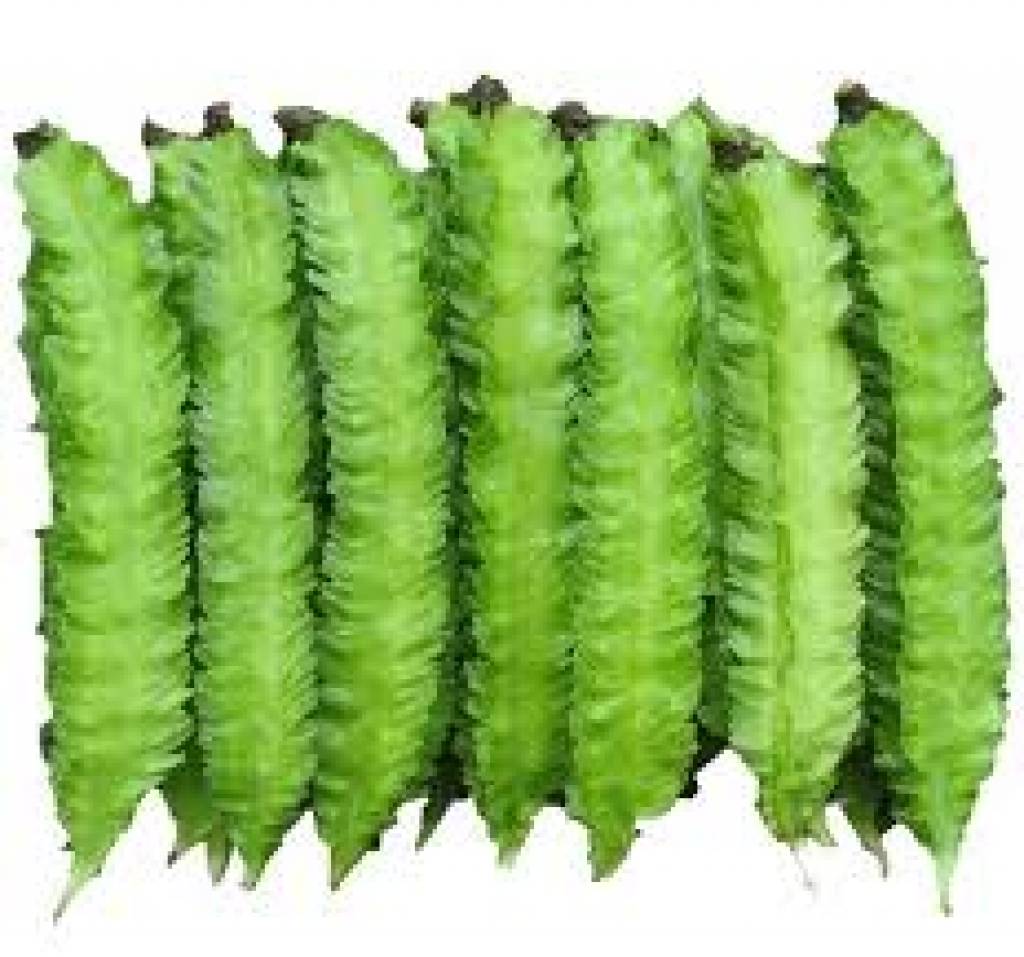
This is a photo of winged beans, in case you’ve never heard of them before.  Just slice them into small pieces and saute them with a can or two of corned beef; add some onions and garlic and you’ve got yourself a yummy meal.  Serve with hot white rice, of course. 🙂

winged beans

My recipe below calls for canned corn with tomato sauce.  A slight variation to this is to omit the tomato sauce entirely (follow the directions below, and omit the part where you pour in the tomato sauce).  My husband actually prefers it this way, without the tomato sauce.

Either way you make it–with or without tomato sauce–it’s delicious.

Give my recipe a try.  I think you’ll like it. 🙂

Corned Beef with Corn and Tomato Sauce

image

Ingredients:

  • 2 cans corned beef
  • 1 medium onion, thinly sliced
  • 1 teaspoon garlic powder
  • 1/2 teaspoon black pepper
  • 2 cans whole kernel corn (15.25 oz. each), drained
  • 2 small cans tomato sauce (8 oz. each)

image

Directions:

To make it easier to open, pierce the top of the corned beef can.  *Make sure to rinse the top of the can first — there can be lots of dirt or dust on it from sitting on the grocery store shelf.

image

Place the corned beef into a medium sized skillet; sauté over medium high heat.

image

Add the onions to the skillet.

image

Add the garlic powder and black pepper.  Cook for about 5 minutes, or until the onions are translucent.

image

Add the corn.  Stir to combine.

image

Pour in the tomato sauce.

image

Stir to combine, then cook for a couple of minutes, just to heat the sauce and corn.

image

Serve with hot white rice.  ENJOY!

image

Print Friendly, PDF & Email

Beef Stir Fry with Mushrooms, Tomatoes, Bell Peppers and Onions

I posted a recipe a while back for another version of Beef Stir Fry (with mushrooms, onions, broccoli, eggplant and bean sprouts).  Here is another version — this time I added mushrooms (we LOVE mushrooms in our house), bell peppers, onions and diced grape tomatoes.

I didn’t make this version spicy because one of my daughters doesn’t like to eat spicy food.  However, if you like pika (hot) foods, by all means, add your favorite hot pepper to this–even dried pepper flakes are good in this.

Give my recipe a try.  I think you’ll like it.   🙂

Beef Stir Fry

image

Ingredients:

  • 2 pounds thinly sliced beef
  • 1 cup diced cherry or grape tomatoes
  • 1 medium onion, sliced
  • 1 package fresh mushrooms, sliced
  • 1 green bell pepper, sliced
  • 2 tablespoons minced garlic
  • 2 tablespoons Dashida beef flavored seasoning
  • 1/2 teaspoon black pepper
  • 1 cup water
  • 2 tablespoons corn starch
  • 1/4 cup soy sauce
  • Hot pepper flakes, optional

Directions:

1.  In a large frying pan, place the beef, tomatoes, onions, mushrooms, bell pepper, garlic, and seasonings.  Cook over high heat until the beef is cooked.

image

2.  Mix together the water, cornstarch and soy sauce.

image

image

3.  Pour the cornstarch mixture into the frying pan; bring to a boil.  It is only when the liquid comes to a boil that the cornstarch will start to thicken.  Stir frequently, cooking until the sauce thickens.

image

4.  Remove from the heat and serve over hot white rice.  ENJOY!

image


Print Friendly, PDF & Email

Pot Roast, Chamorro Style

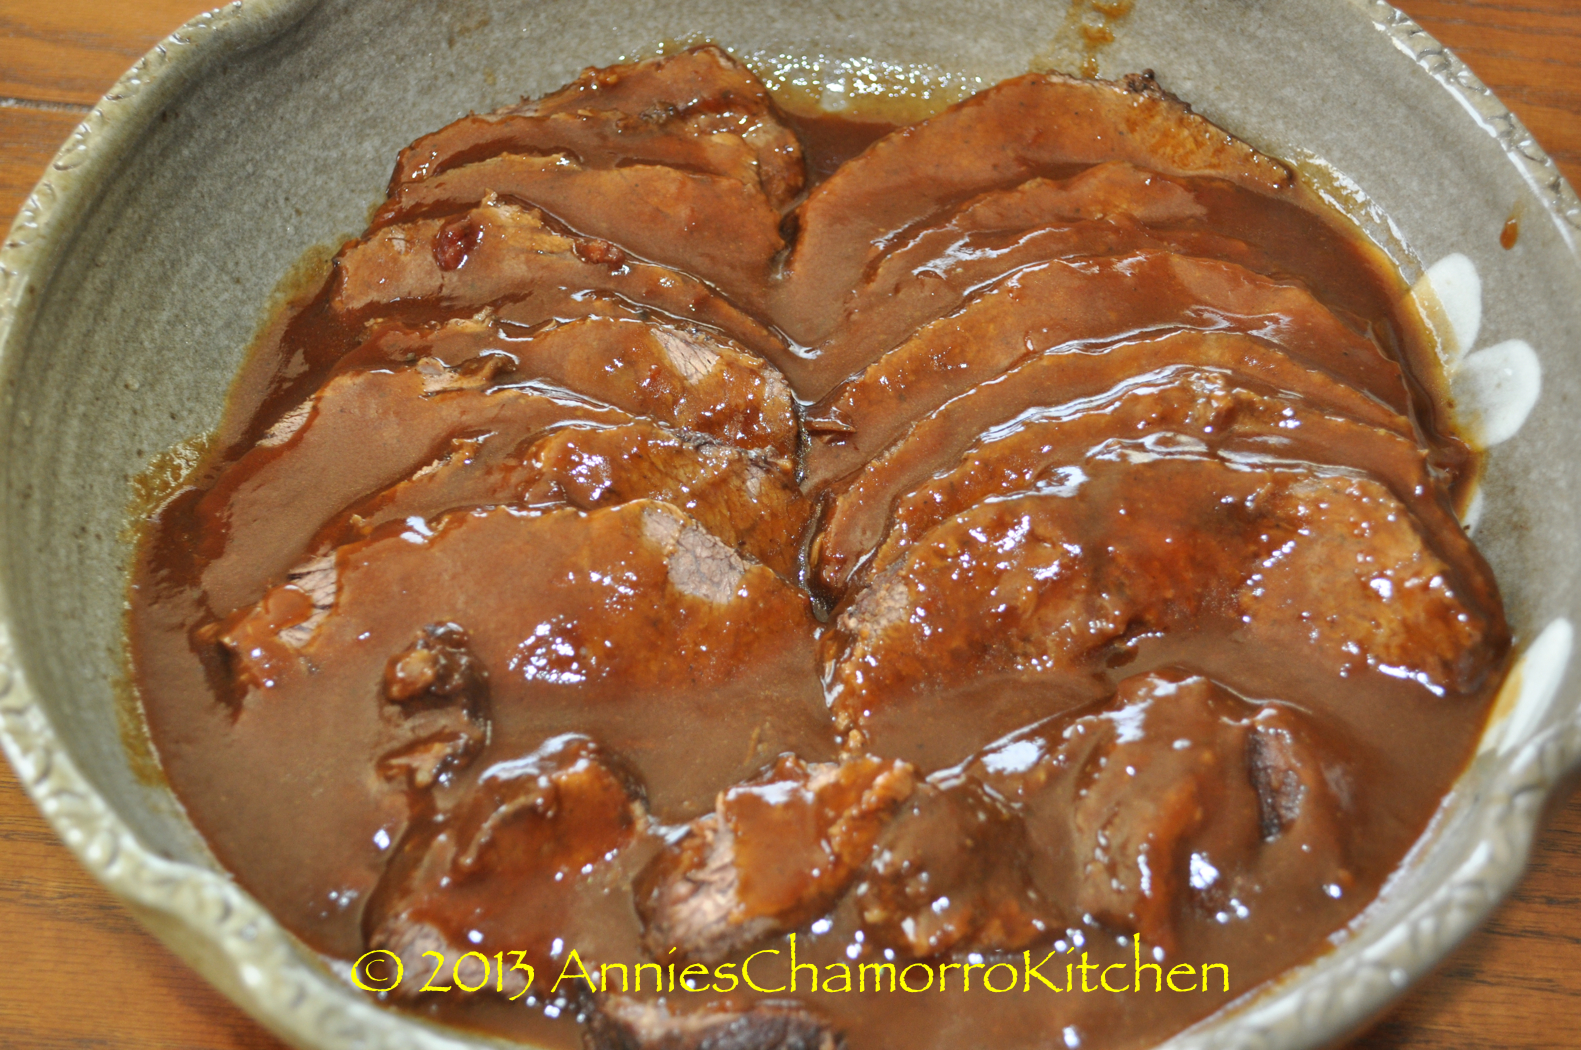
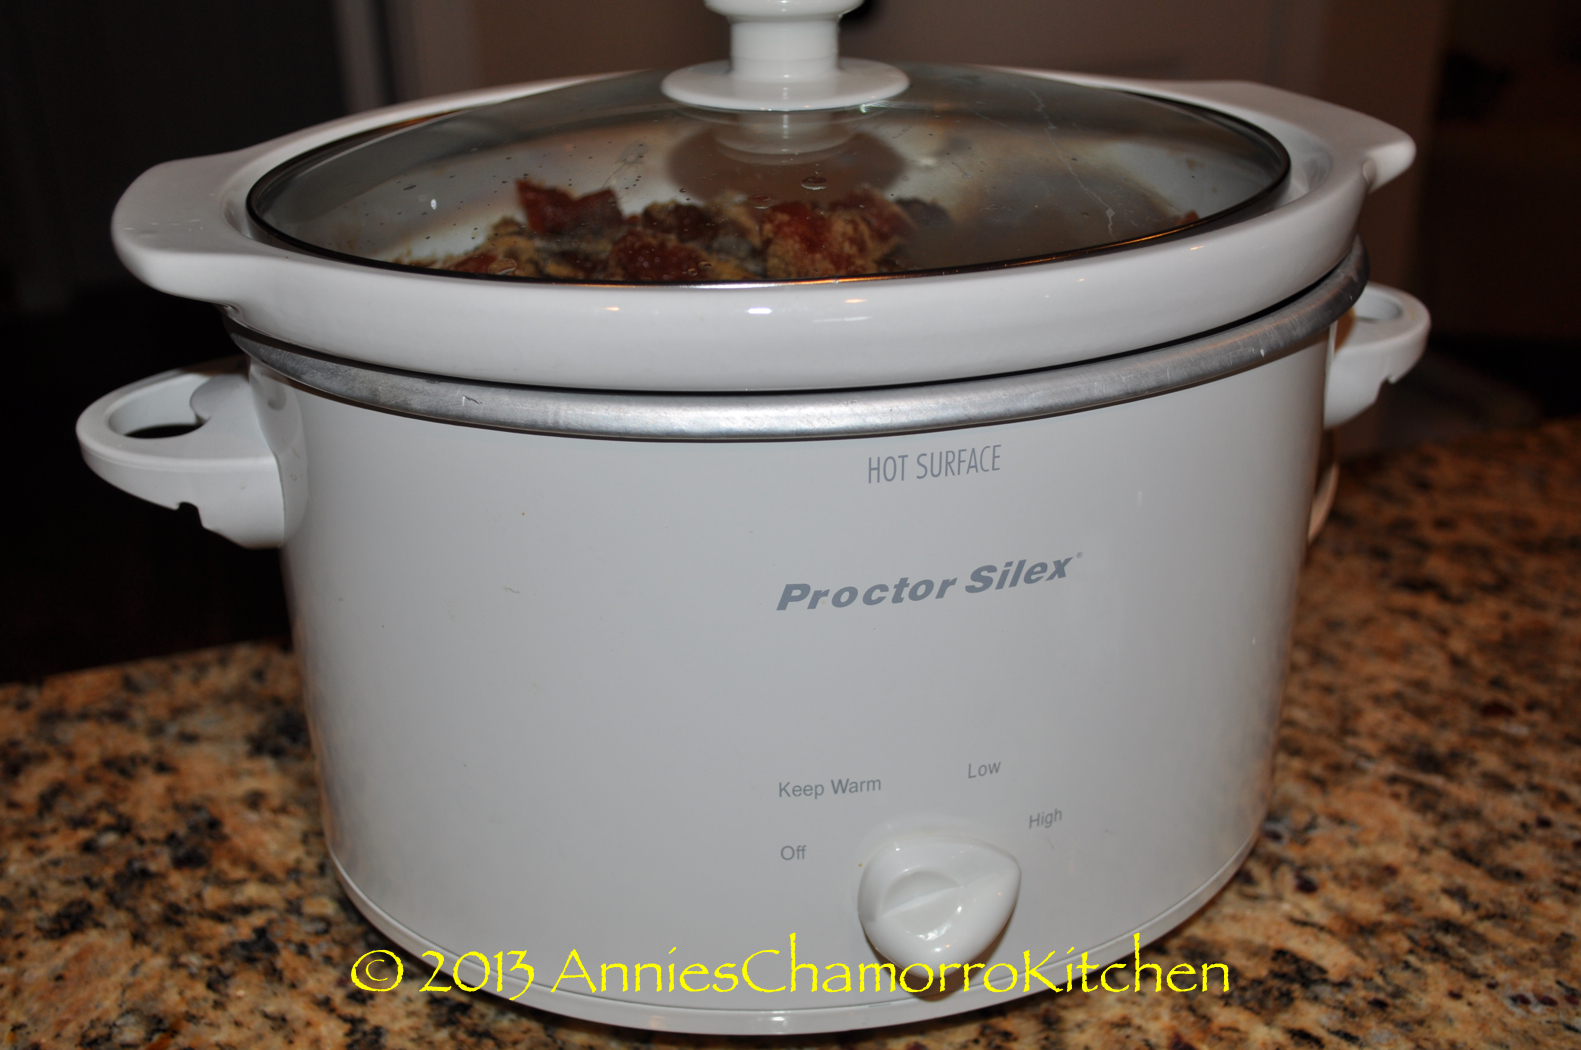
Whenever I find myself feeling a bit homesick, I think of something to cook that soothes my longing for my island home. Chamorro Pot Roast is one of those dishes. This is a dish that was usually on the menu for Chamorro gatherings. I remember going to parties when I was younger, and before the table was opened, I’d check to see if there was any pot roast. If there was, the ONLY things I’d have on my plate were rice (red or white), pot roast (with as much gravy as I could scoop up), and lots of fina’denne’. These days, I use a crock pot to cook my pot roast. Set it and forget it…what could be easier?

Give my recipe a try.  I think you’ll like it.  🙂  

Chamorro Pot Roast

image

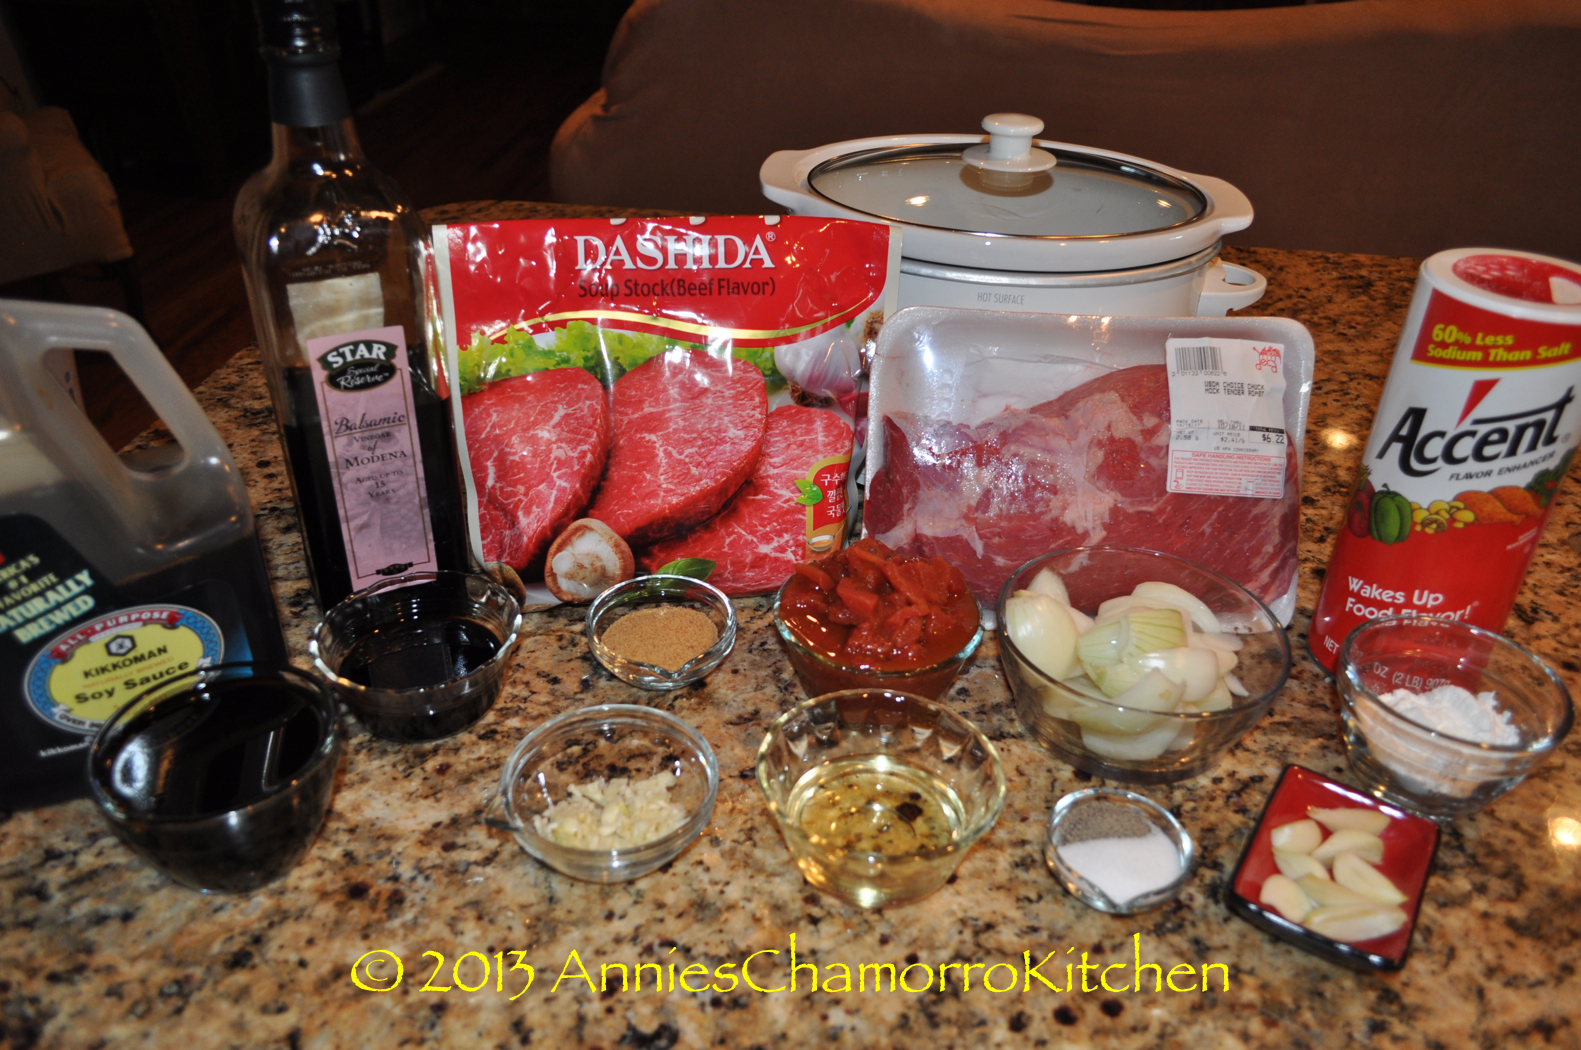
Ingredients:

  • 1 2-lb chuck roast (look for one that is nicely marbled with fat)
  • 2 teaspoons salt
  • 1 teaspoon black pepper
  • 8 whole garlic cloves
  • 1/4 cup vegetable oil
  • 1 medium onion, chopped into large chunks
  • 5-6 garlic cloves, minced
  • 1 cup soy sauce
  • 1 14.5-oz can diced tomatoes with juice
  • 1/3 cup balsamic vinegar (you can use white vinegar instead)
  • 2 tablespoons Dashida seasoning (Korean beef soup stock)
  • 1 teaspoon Accent or Ajinomoto
  • 1 cup water (if cooking this on the stovetop, use 2 cups water)
  • 4 tablespoons corn starch plus one cup water

Chamorro Pot Roast - 02

Directions:

1.  Place a large skillet or dutch oven over high heat.

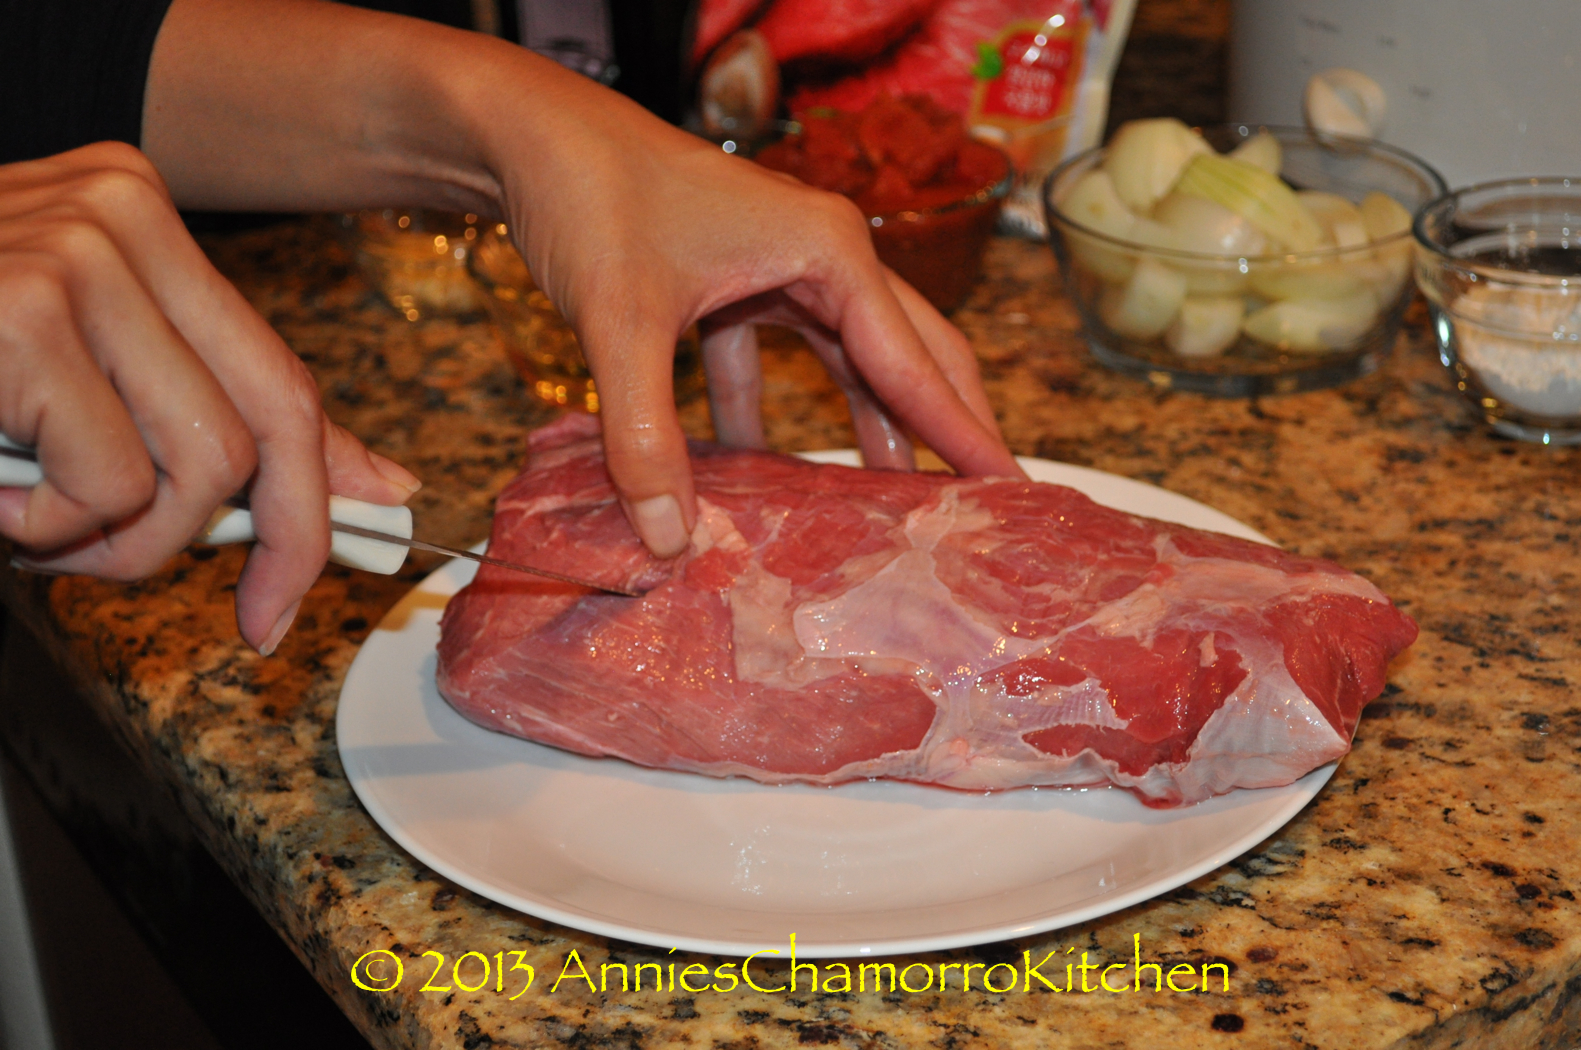
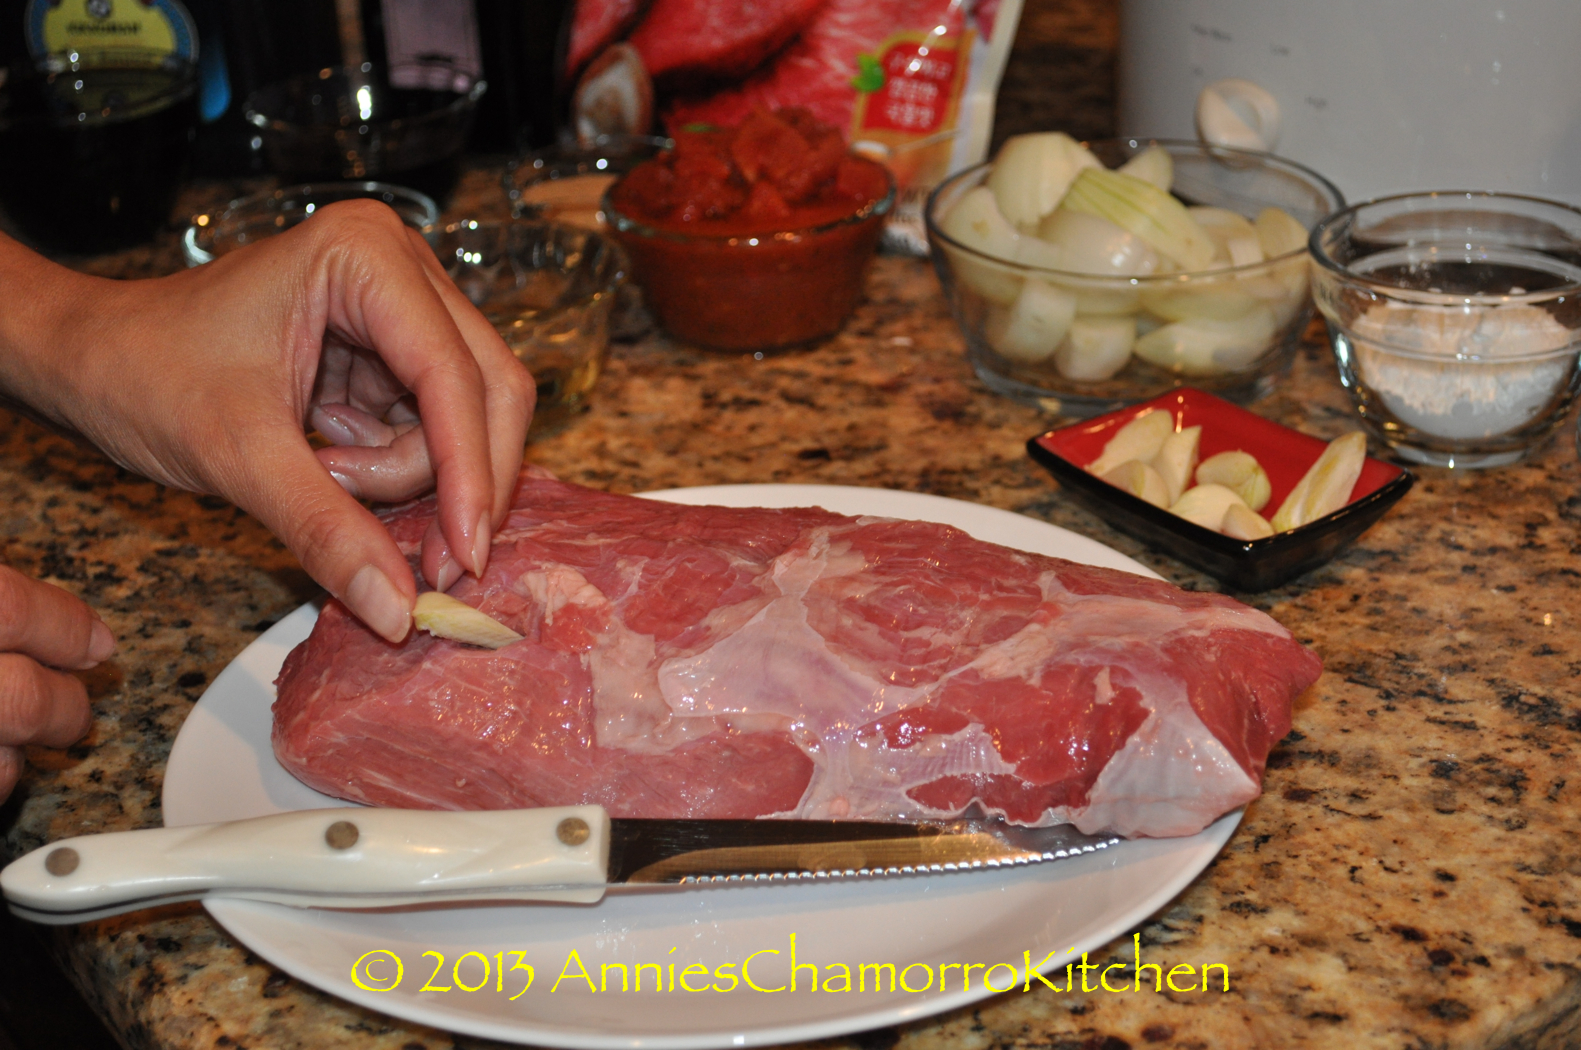
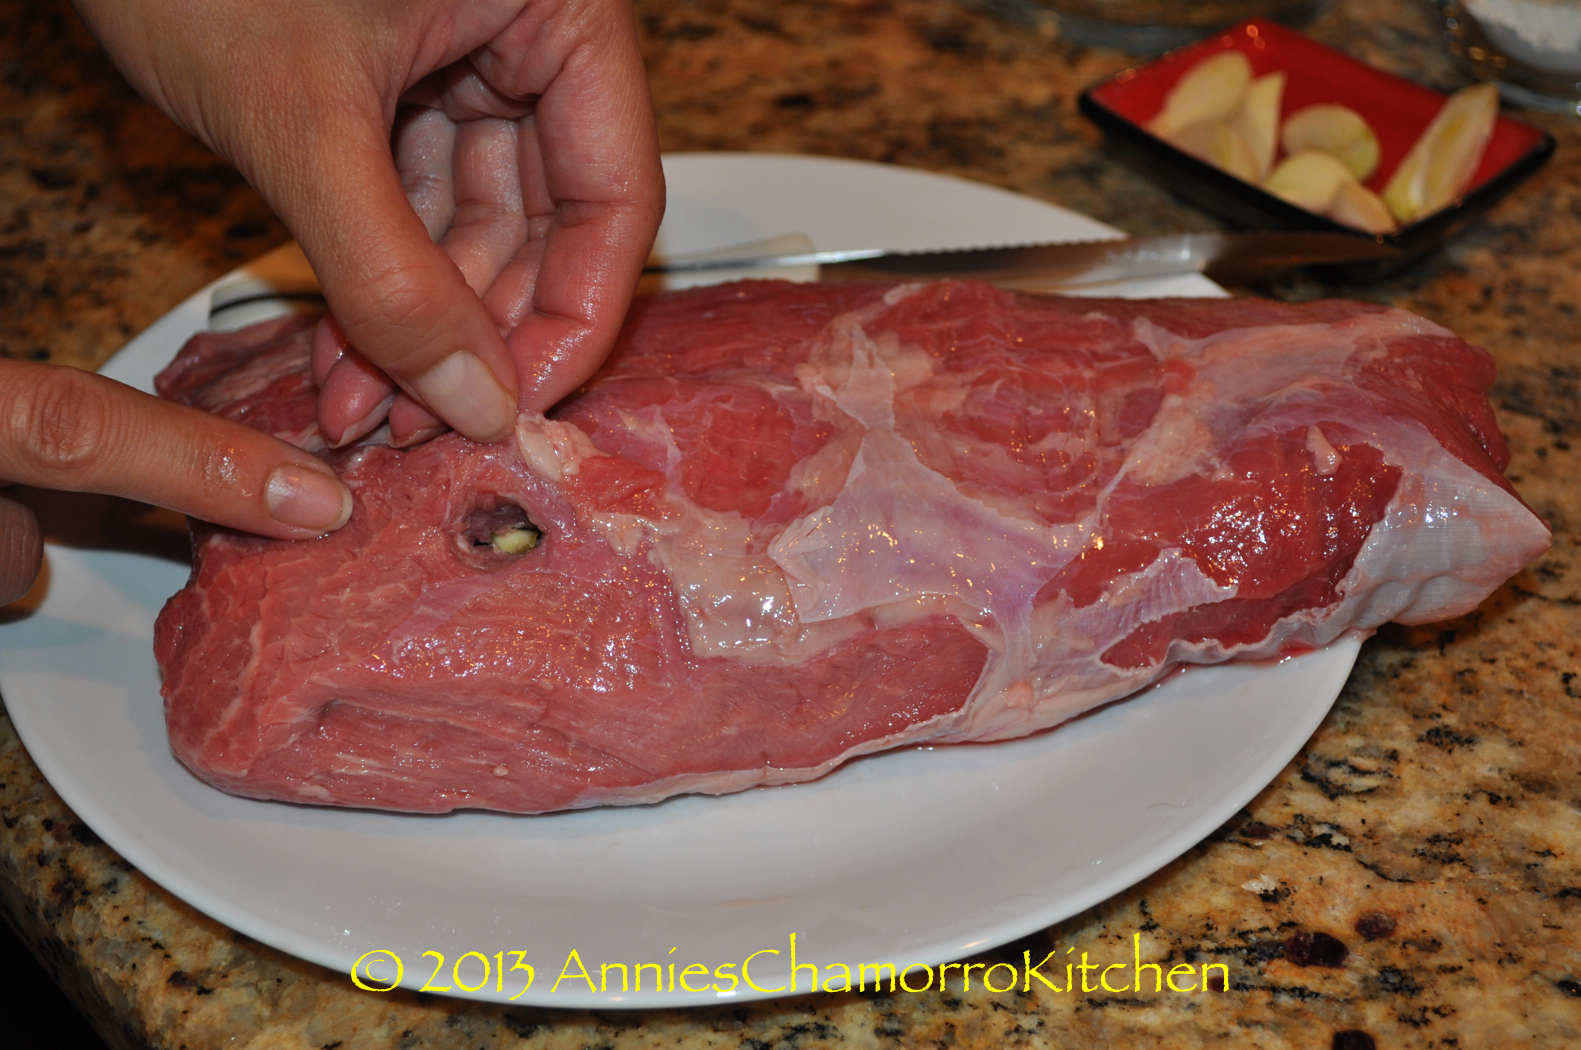
2.  Using a long, sharp knife, CAREFULLY cut 8 deep slits into the sides of the roast. Push a whole clove of garlic into each slit.

Chamorro Pot Roast - 03

Chamorro Pot Roast - 04

Chamorro Pot Roast - 07

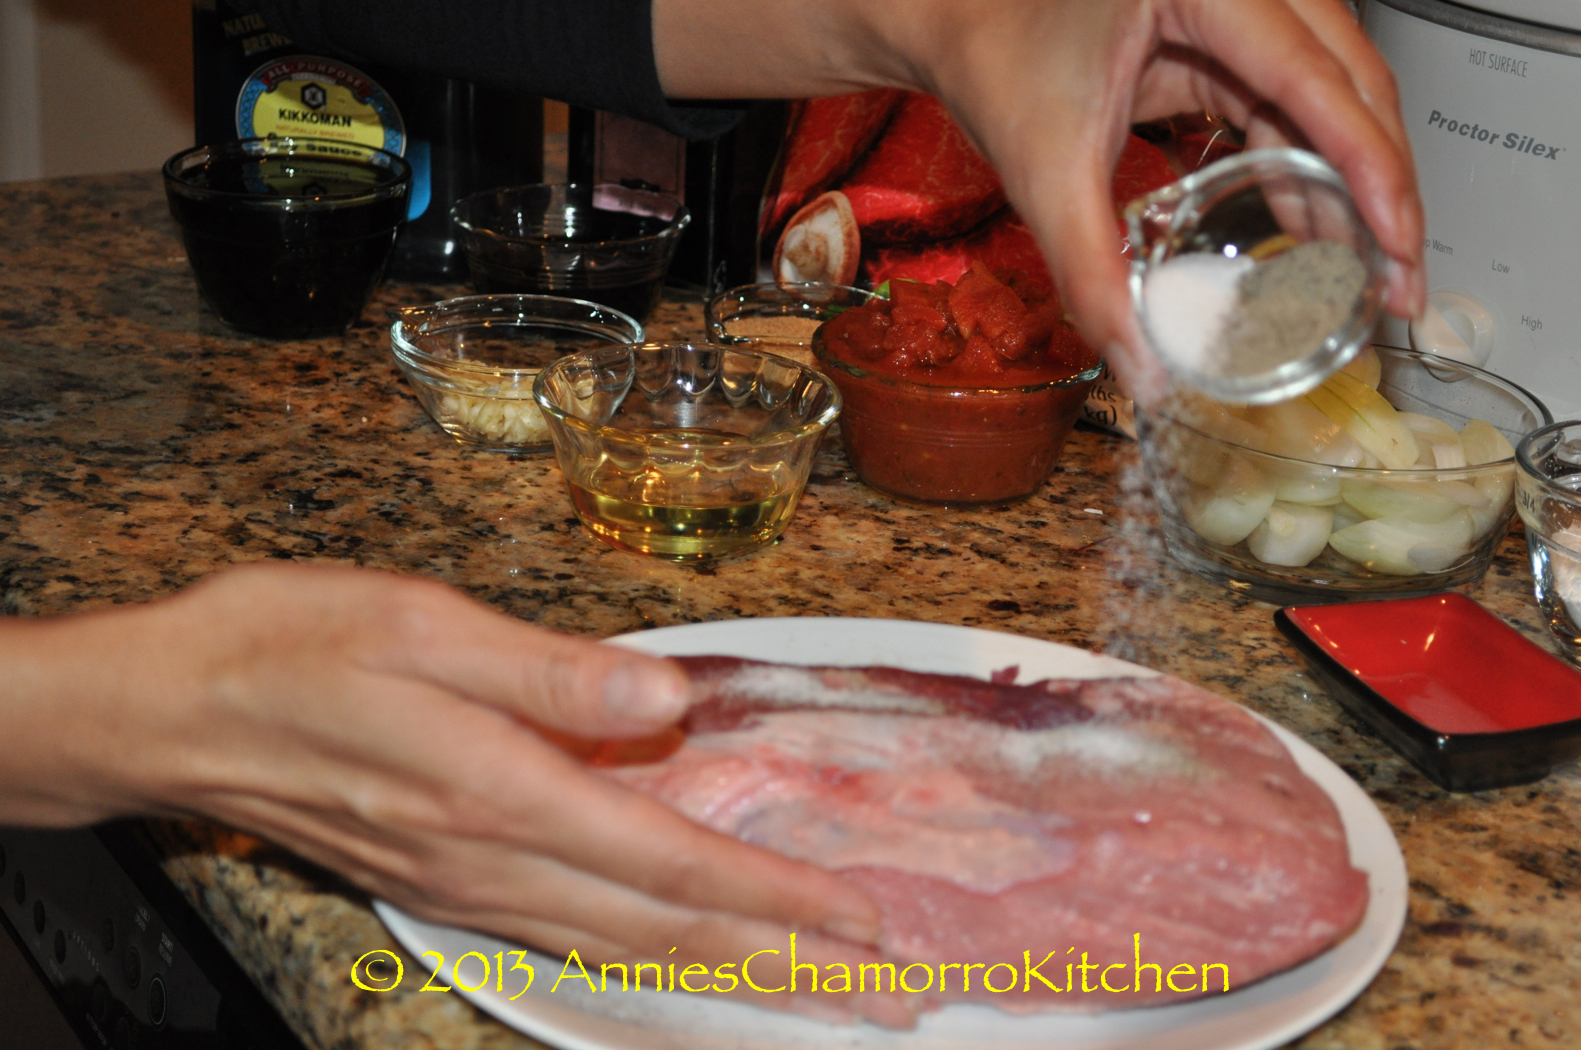
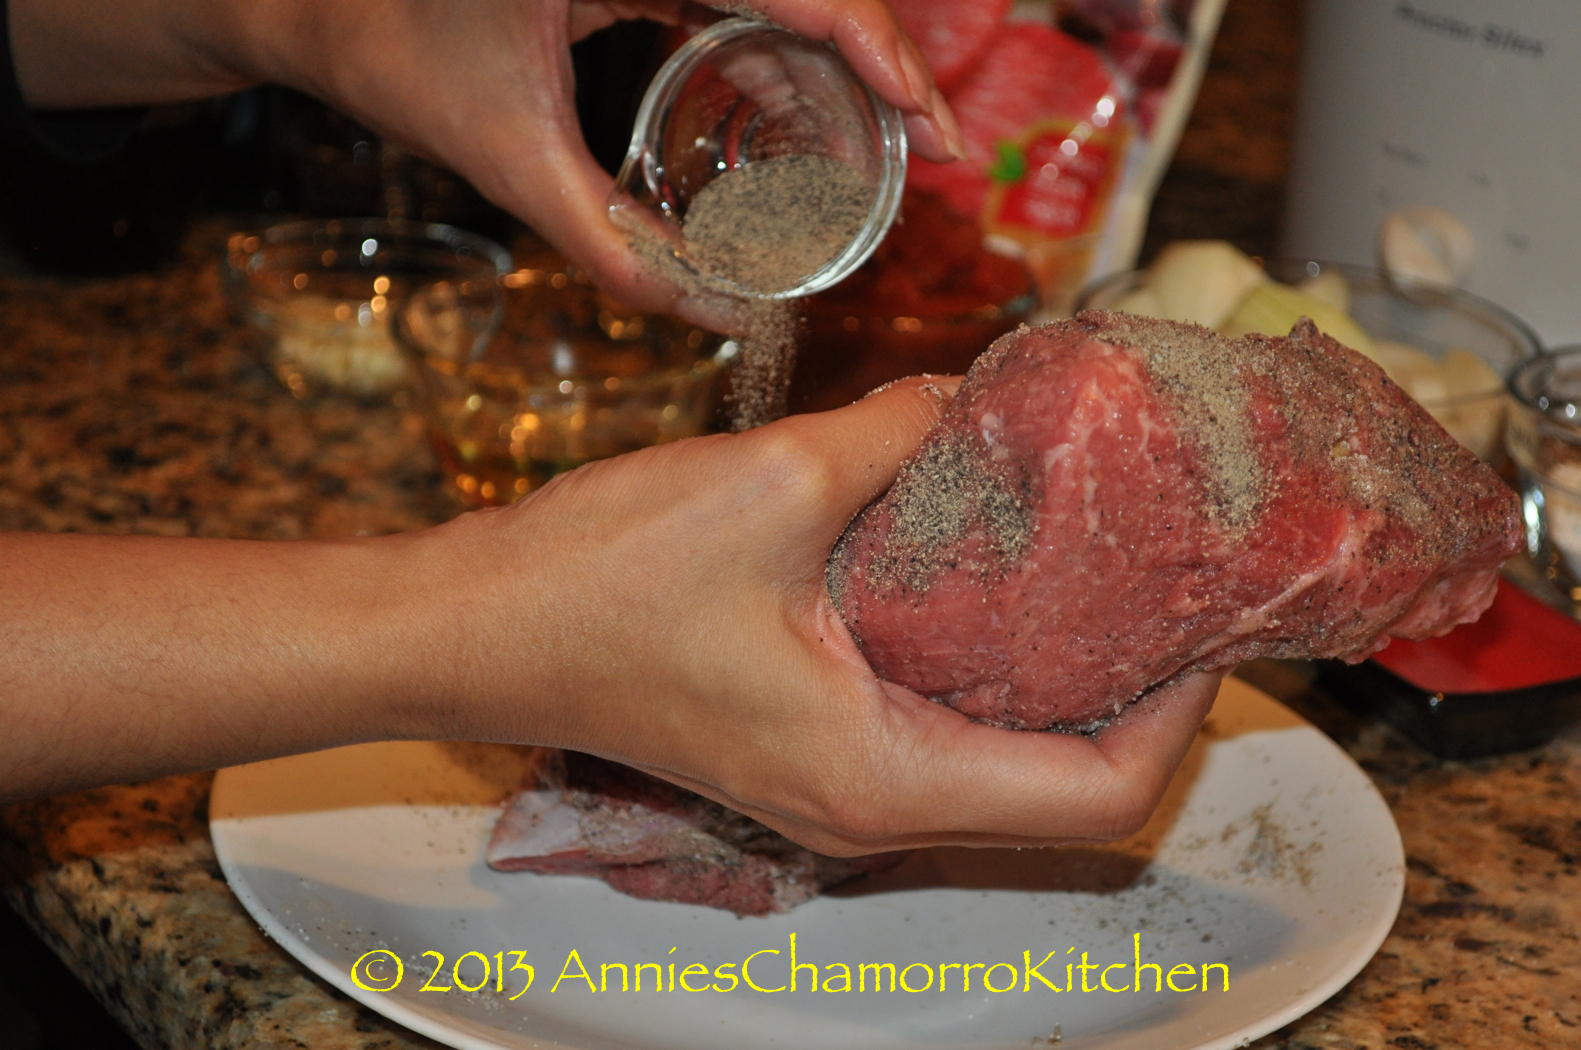
3.  Rub the sides of the roast with salt and pepper.

Chamorro Pot Roast - 11

Chamorro Pot Roast - 18

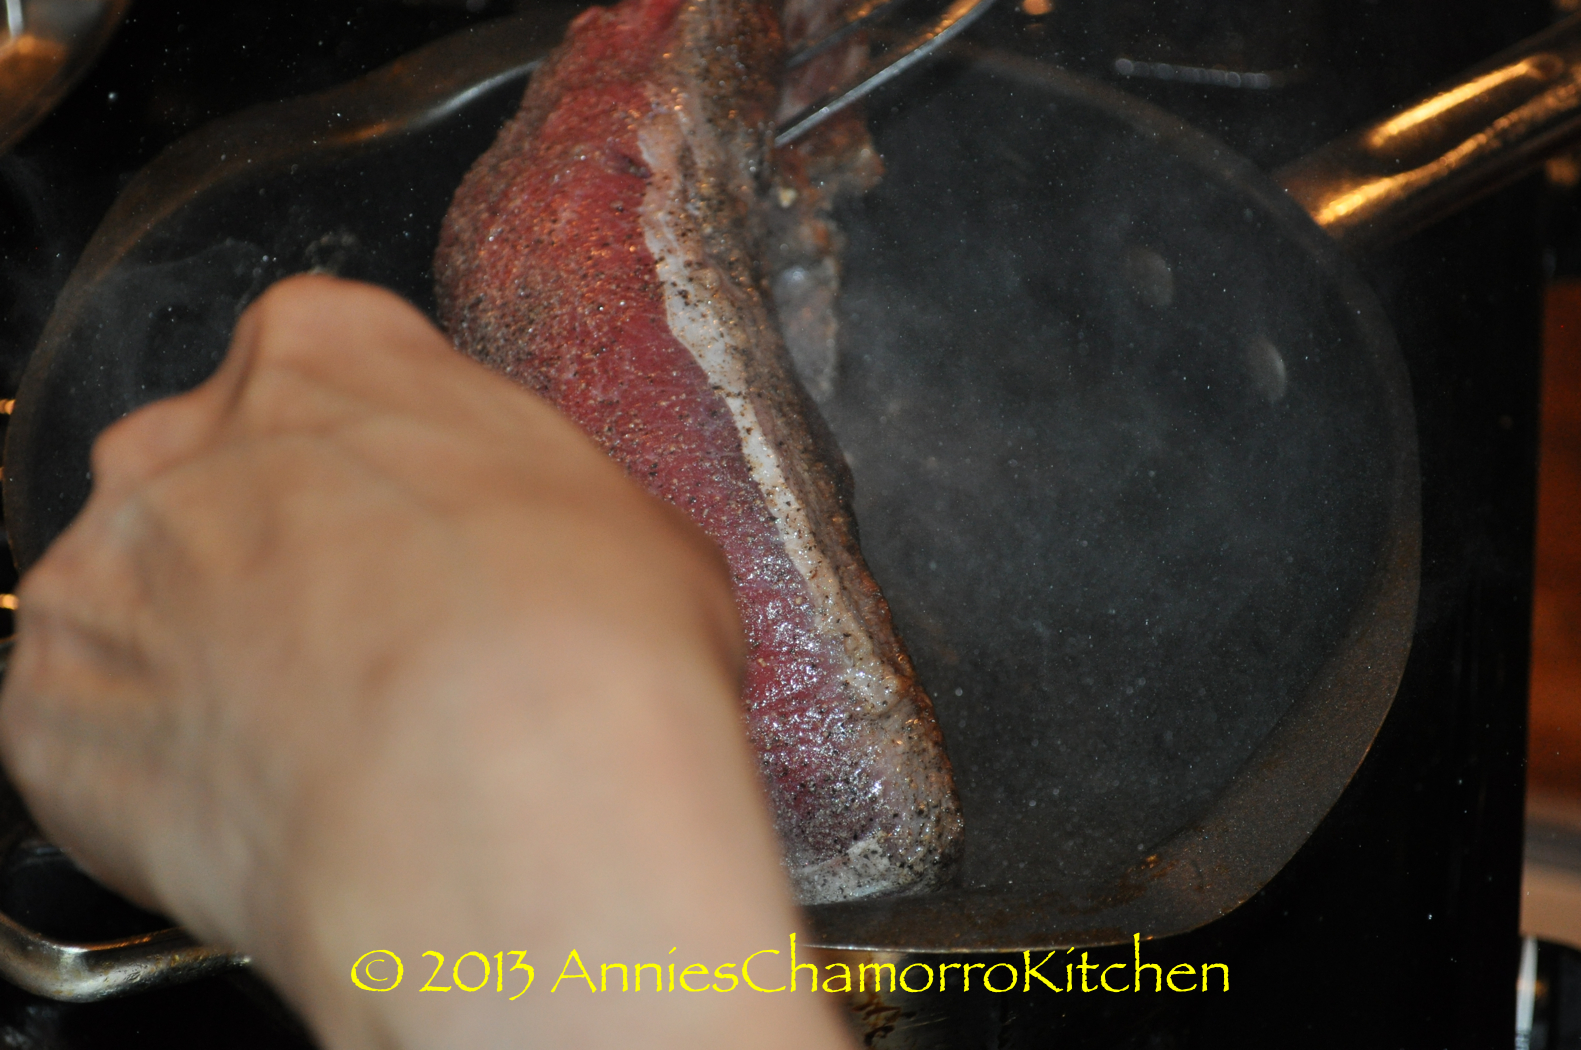
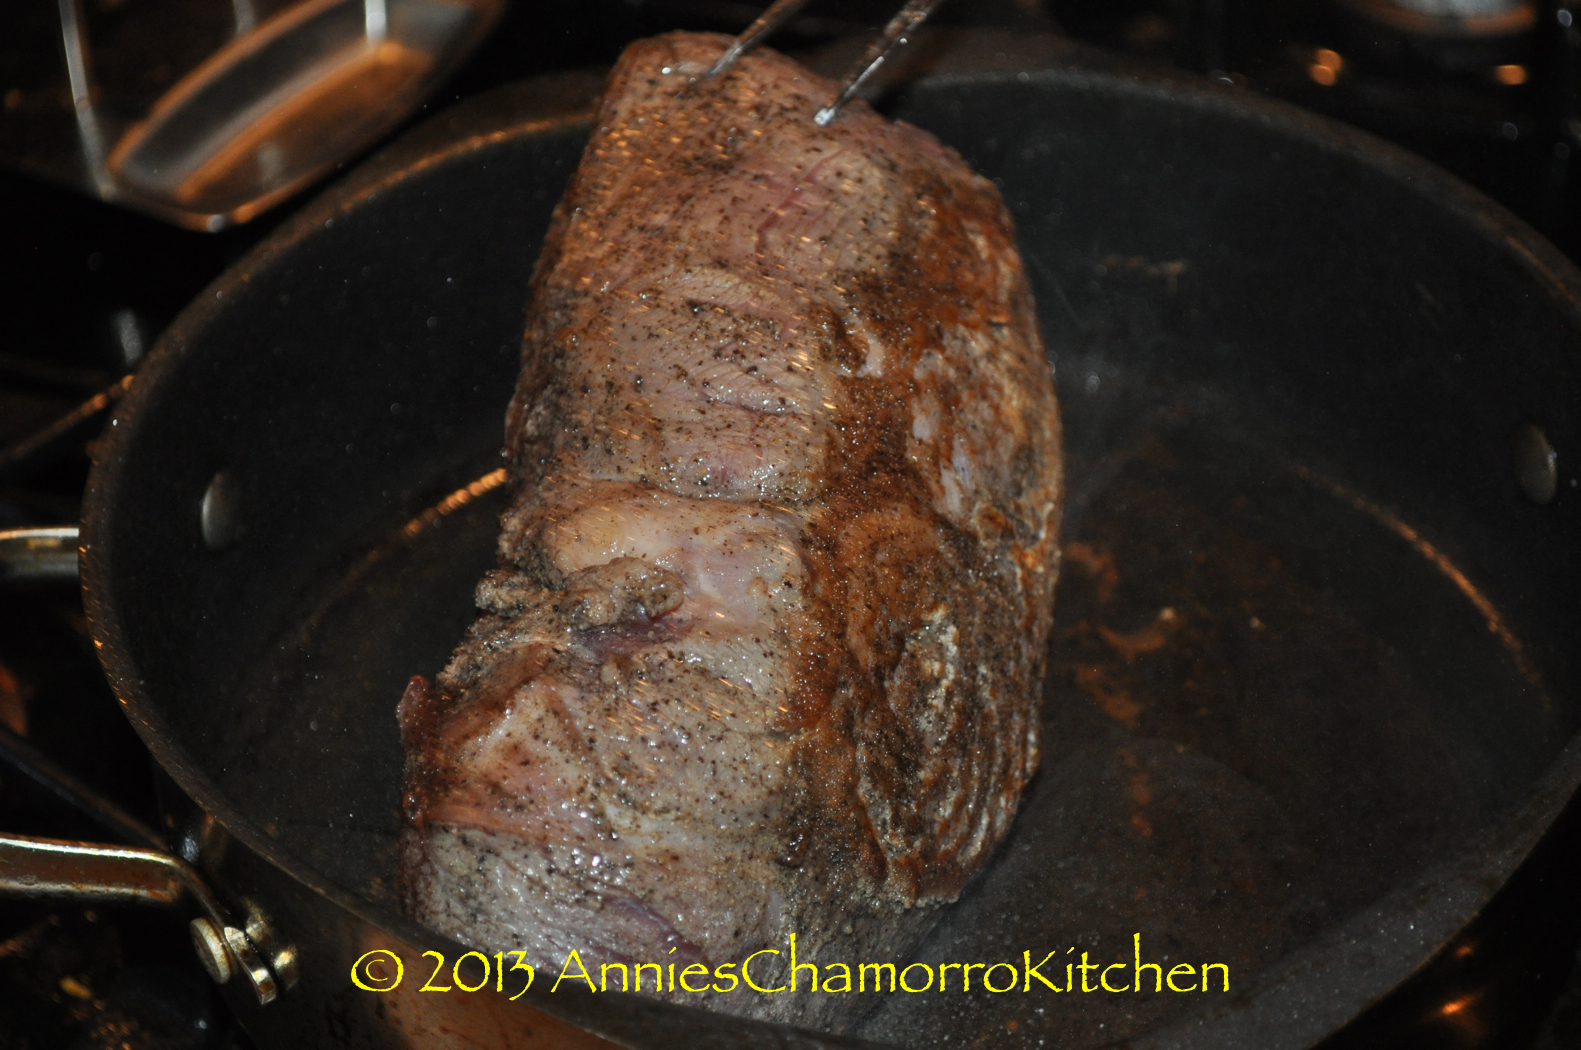
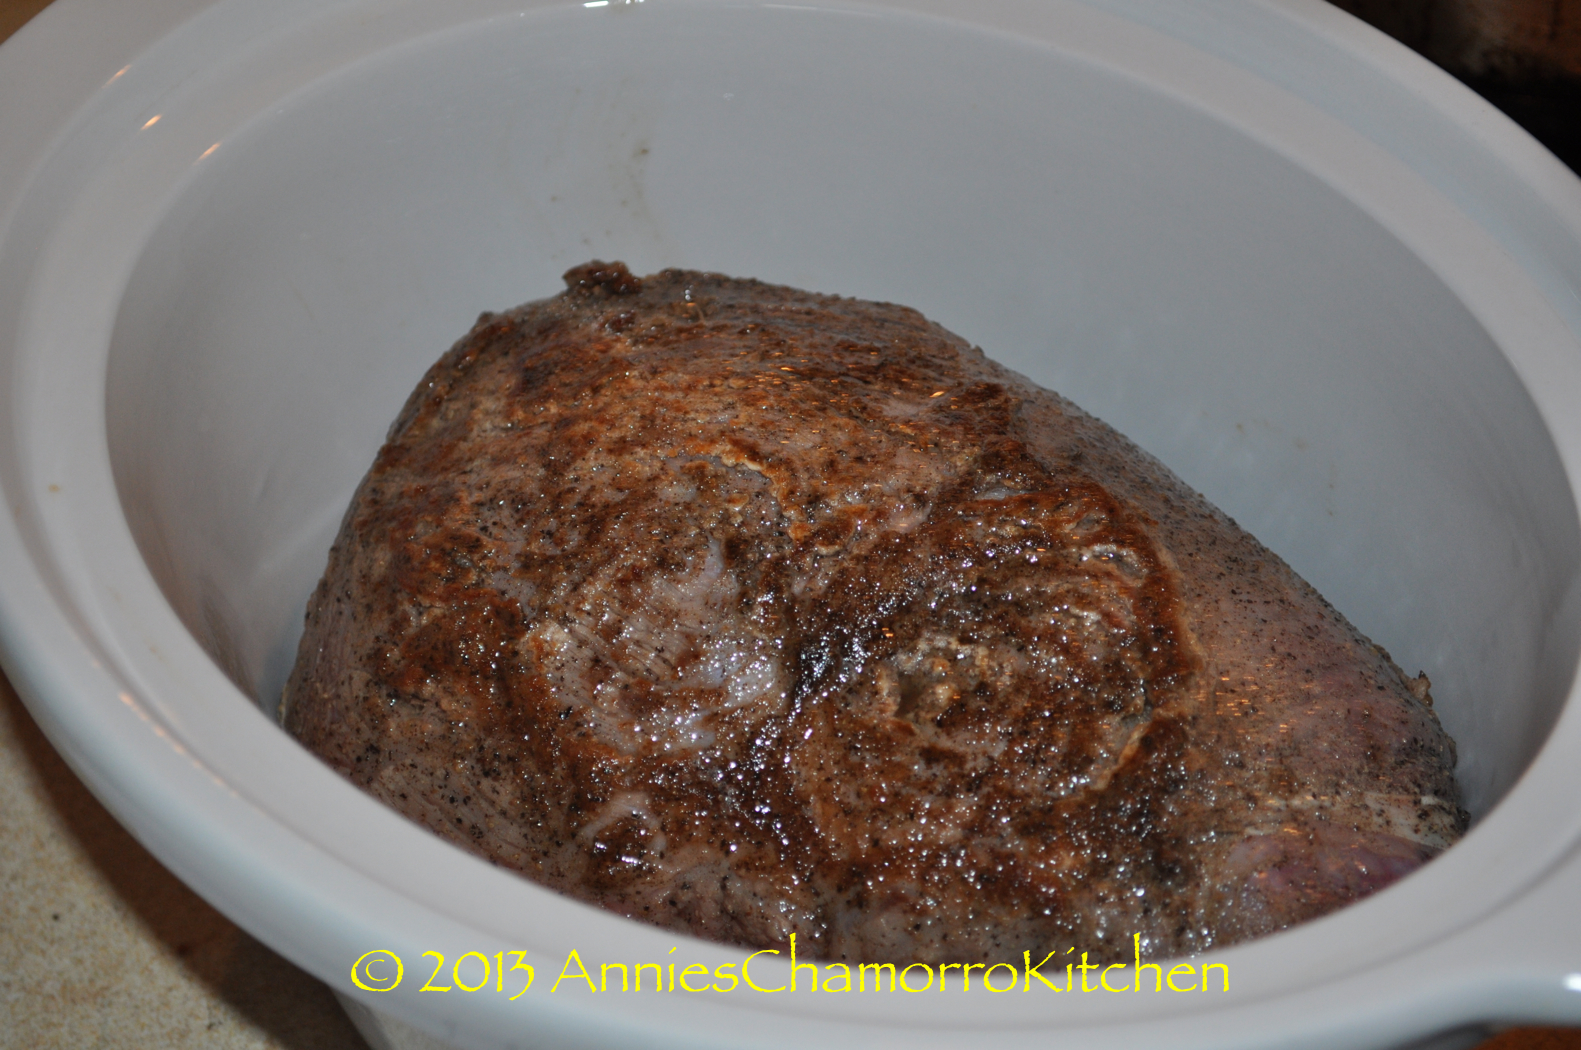
4.  When the pan is hot, add half of the oil into the pan. Brown the roast on all sides then remove it from the pan and place it into a slow cooker or crock pot set to HIGH.

Chamorro Pot Roast - 21

Chamorro Pot Roast - 24

Chamorro Pot Roast - 27

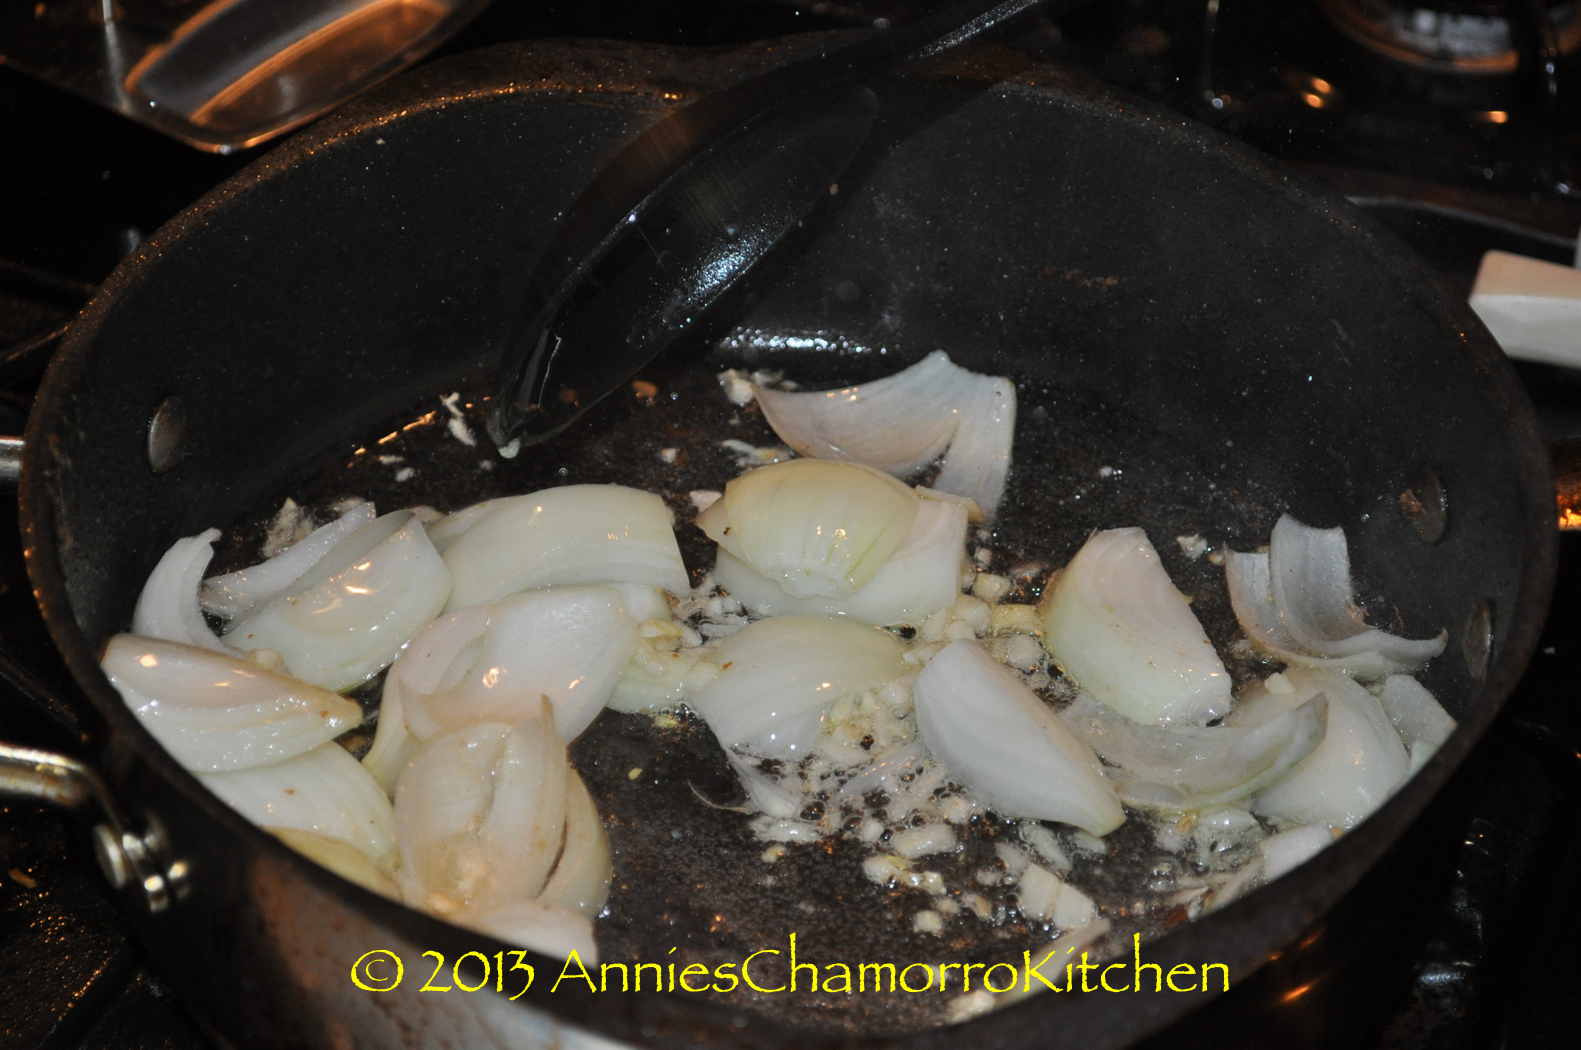
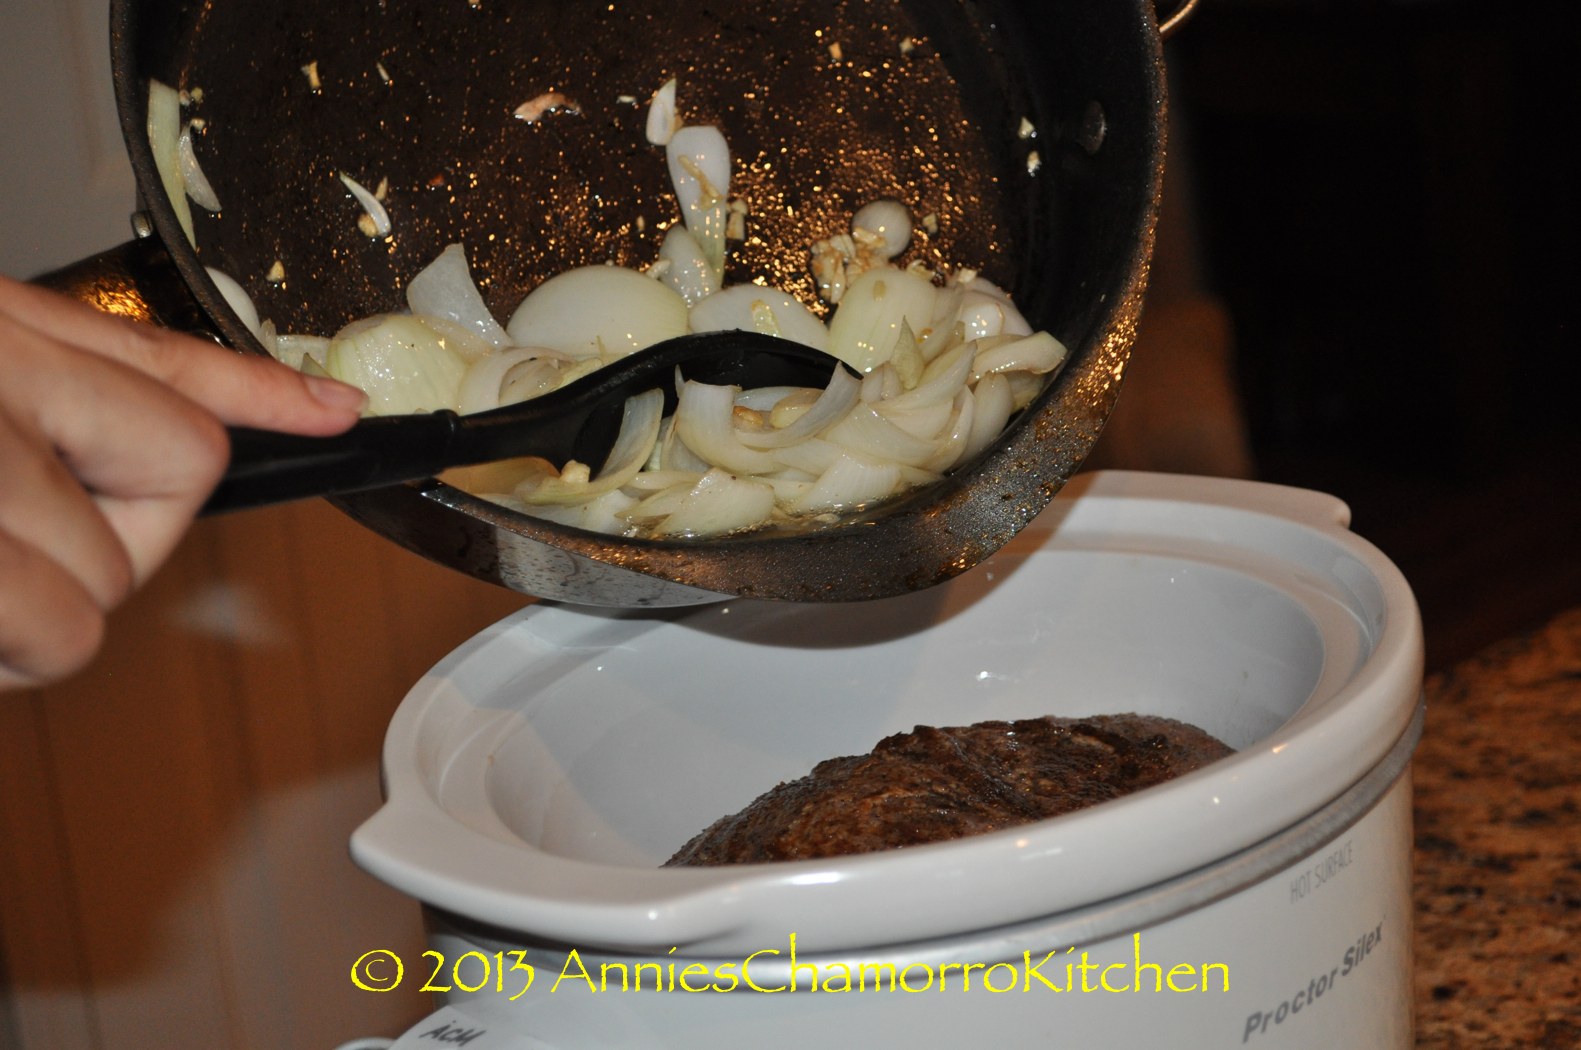
5.  Add the remaining oil to the pan used to brown the roast. Add the onions and garlic and sauté until the onions are translucent.  Add the sautéed onions and garlic to the slow cooker.

Chamorro Pot Roast - 28

Chamorro Pot Roast - 31

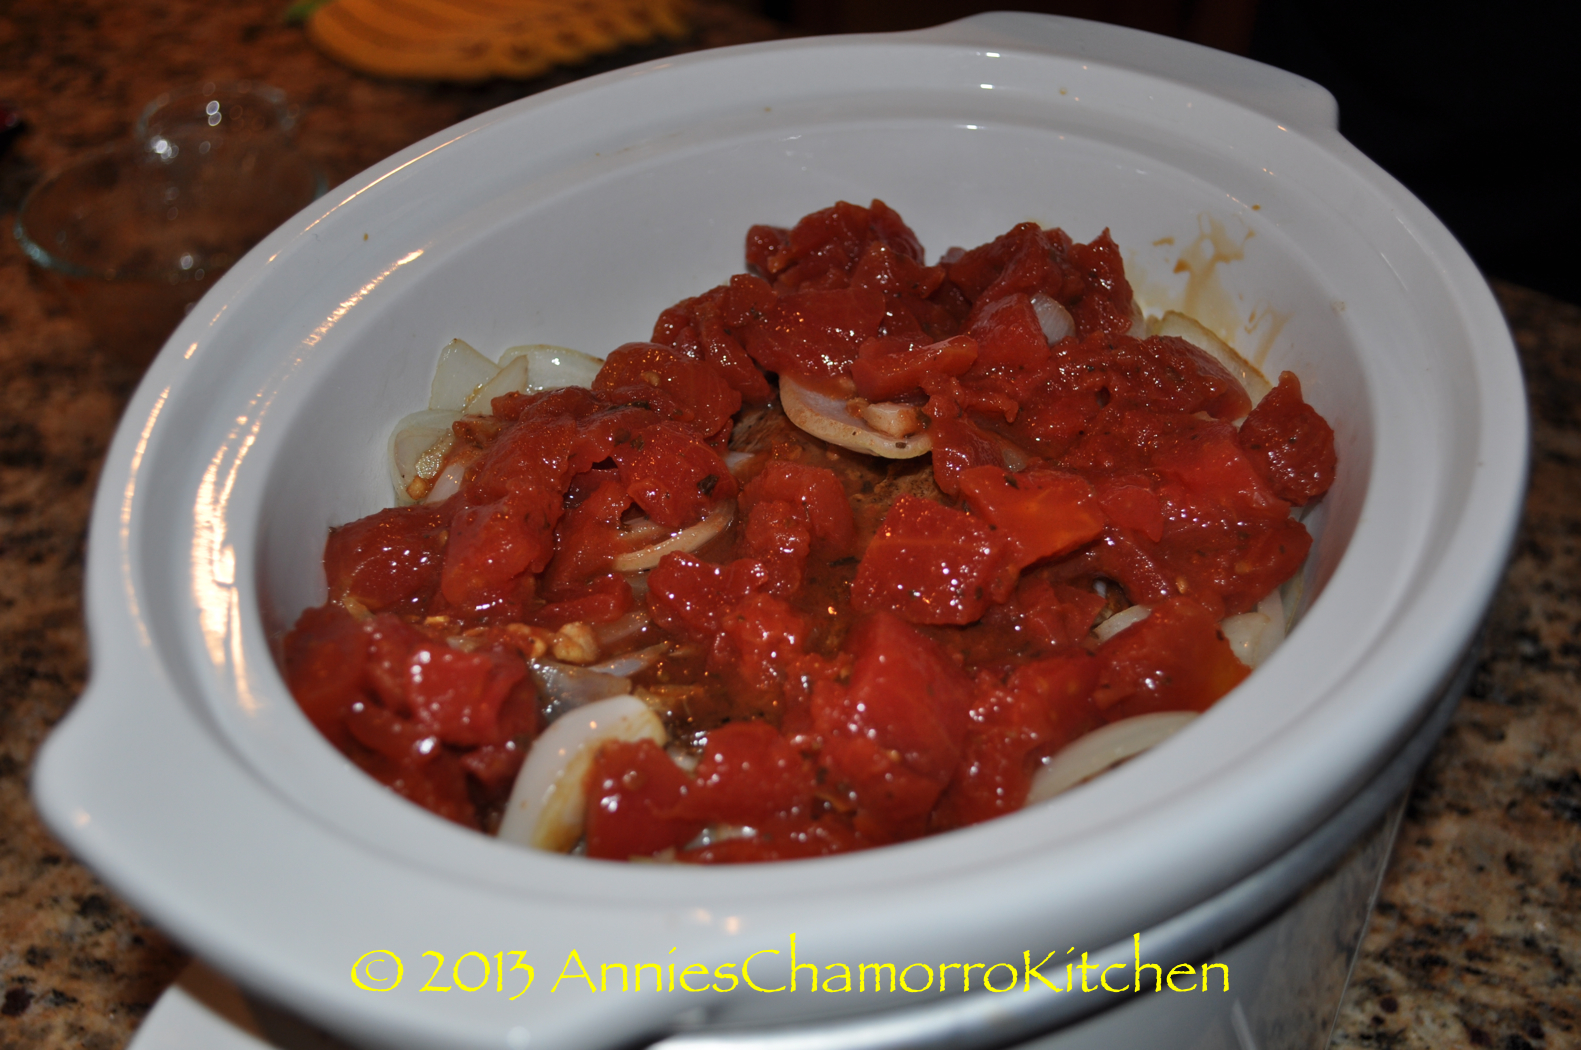
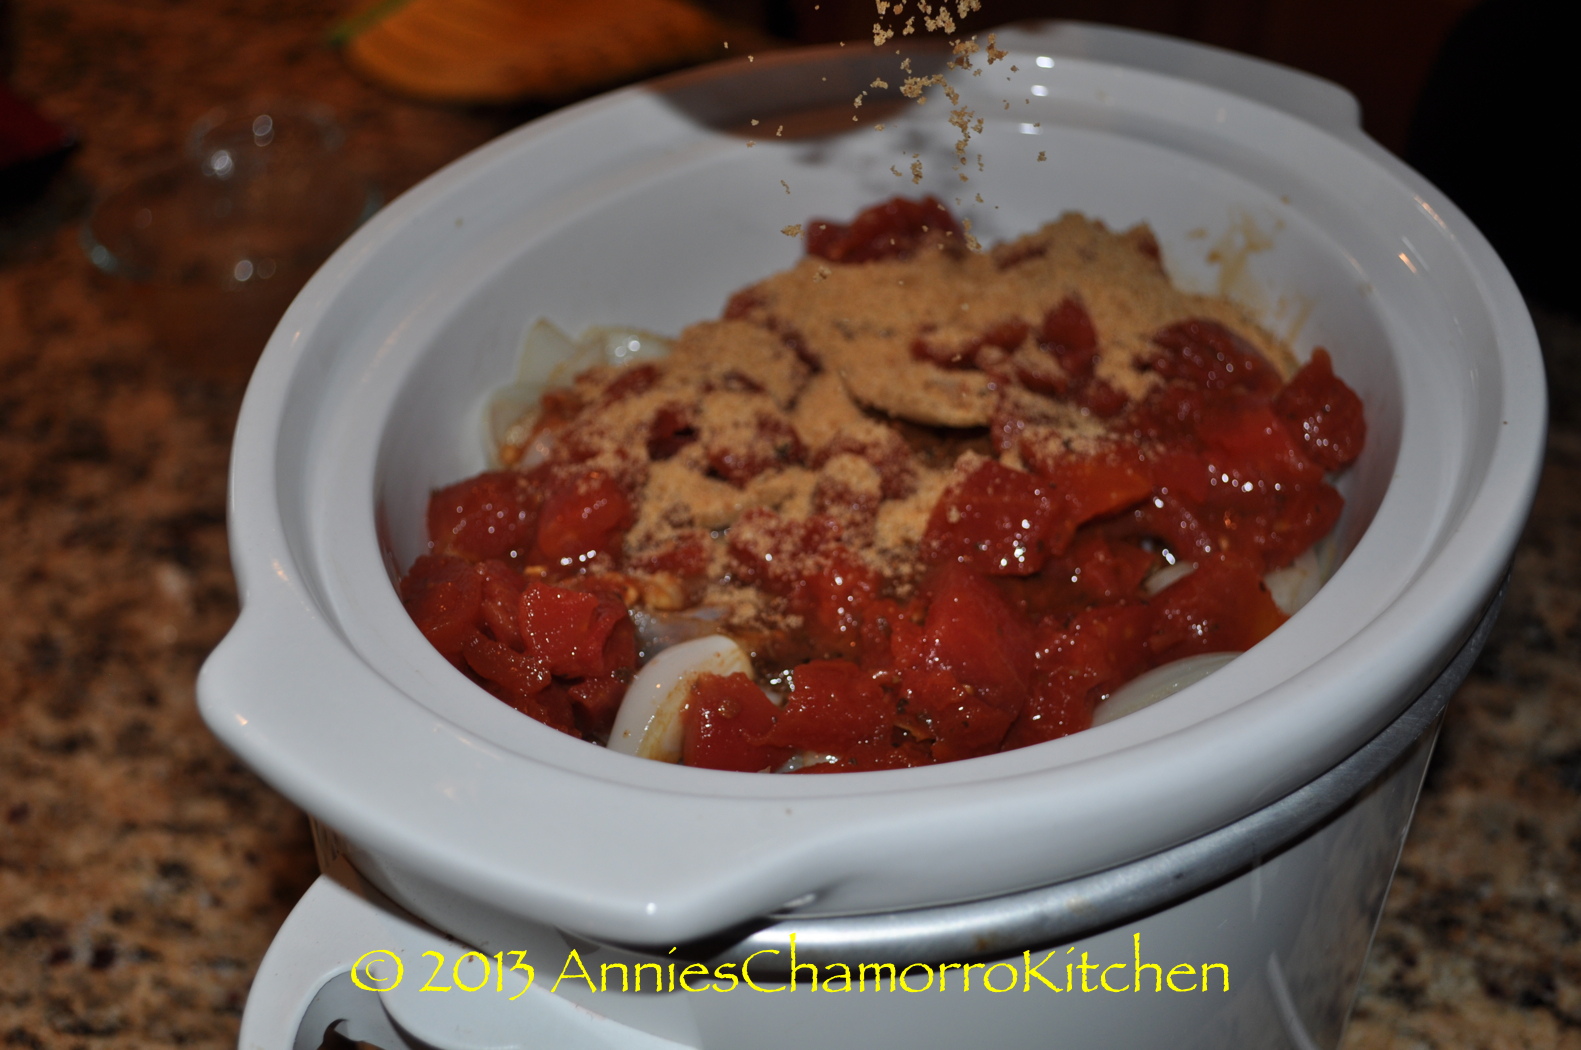
6.  Into the crock pot, add:

the tomatoes with juice…

Chamorro Pot Roast - 37

the Dashida seasoning…

Chamorro Pot Roast - 38

the accent or aji…

Chamorro Pot Roast - 39

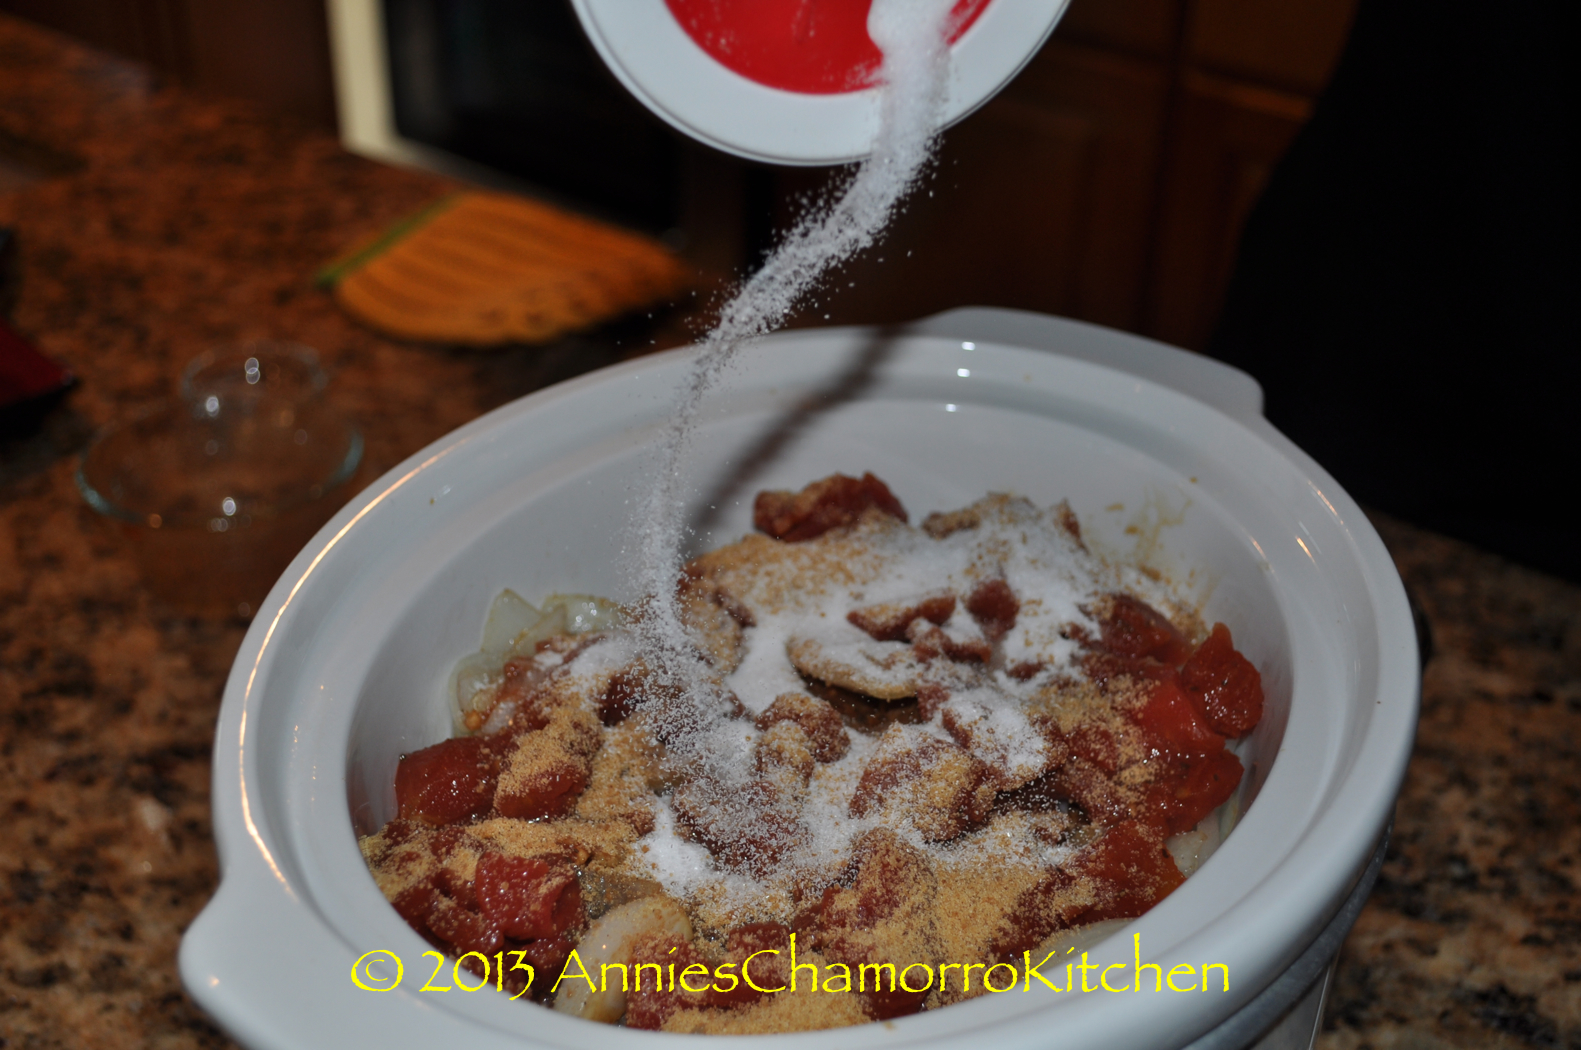
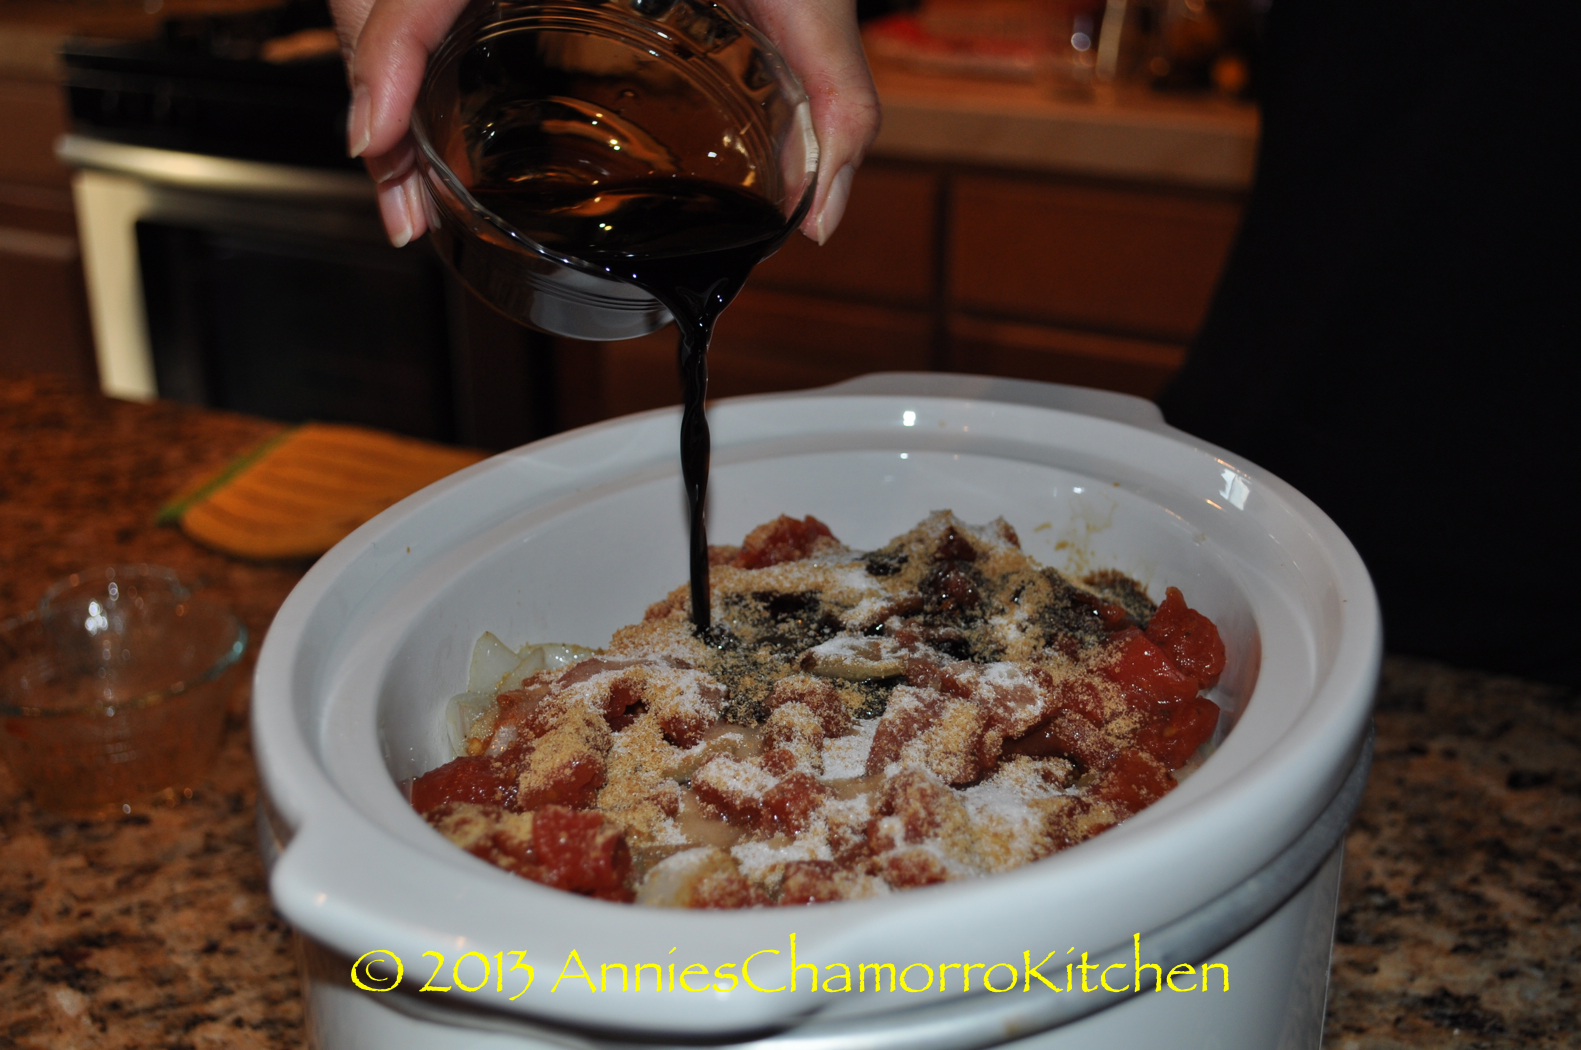
the balsamic vinegar…

Chamorro Pot Roast - 40

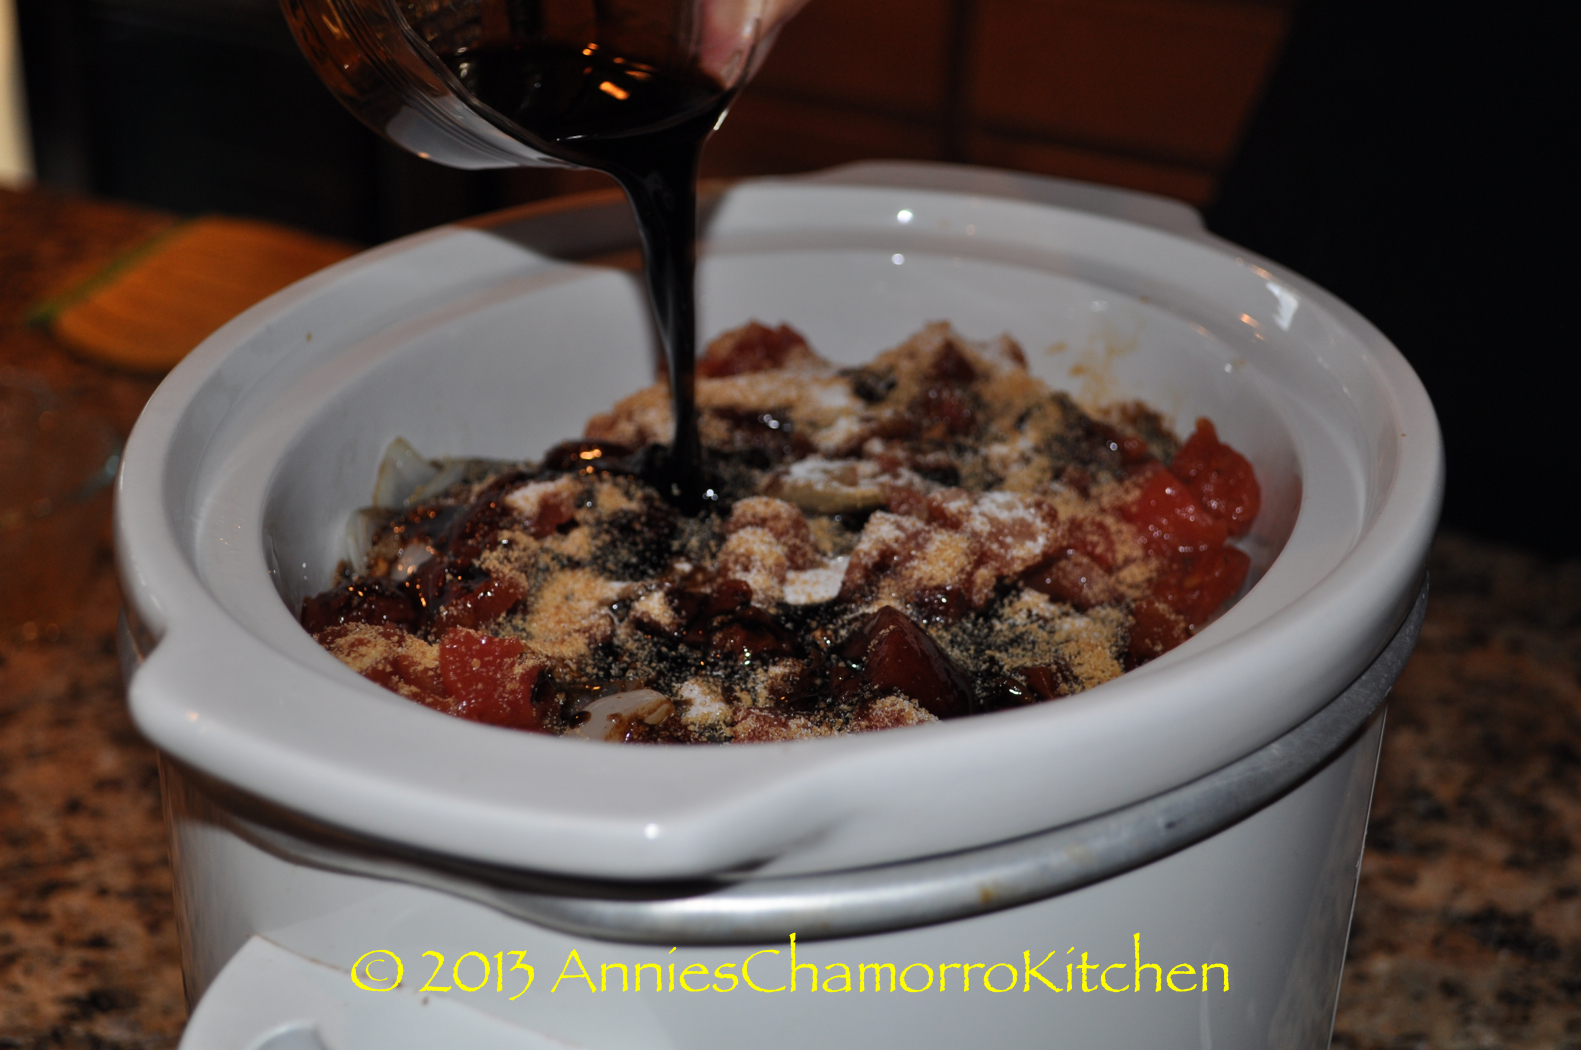
the soy sauce…

Chamorro Pot Roast - 41

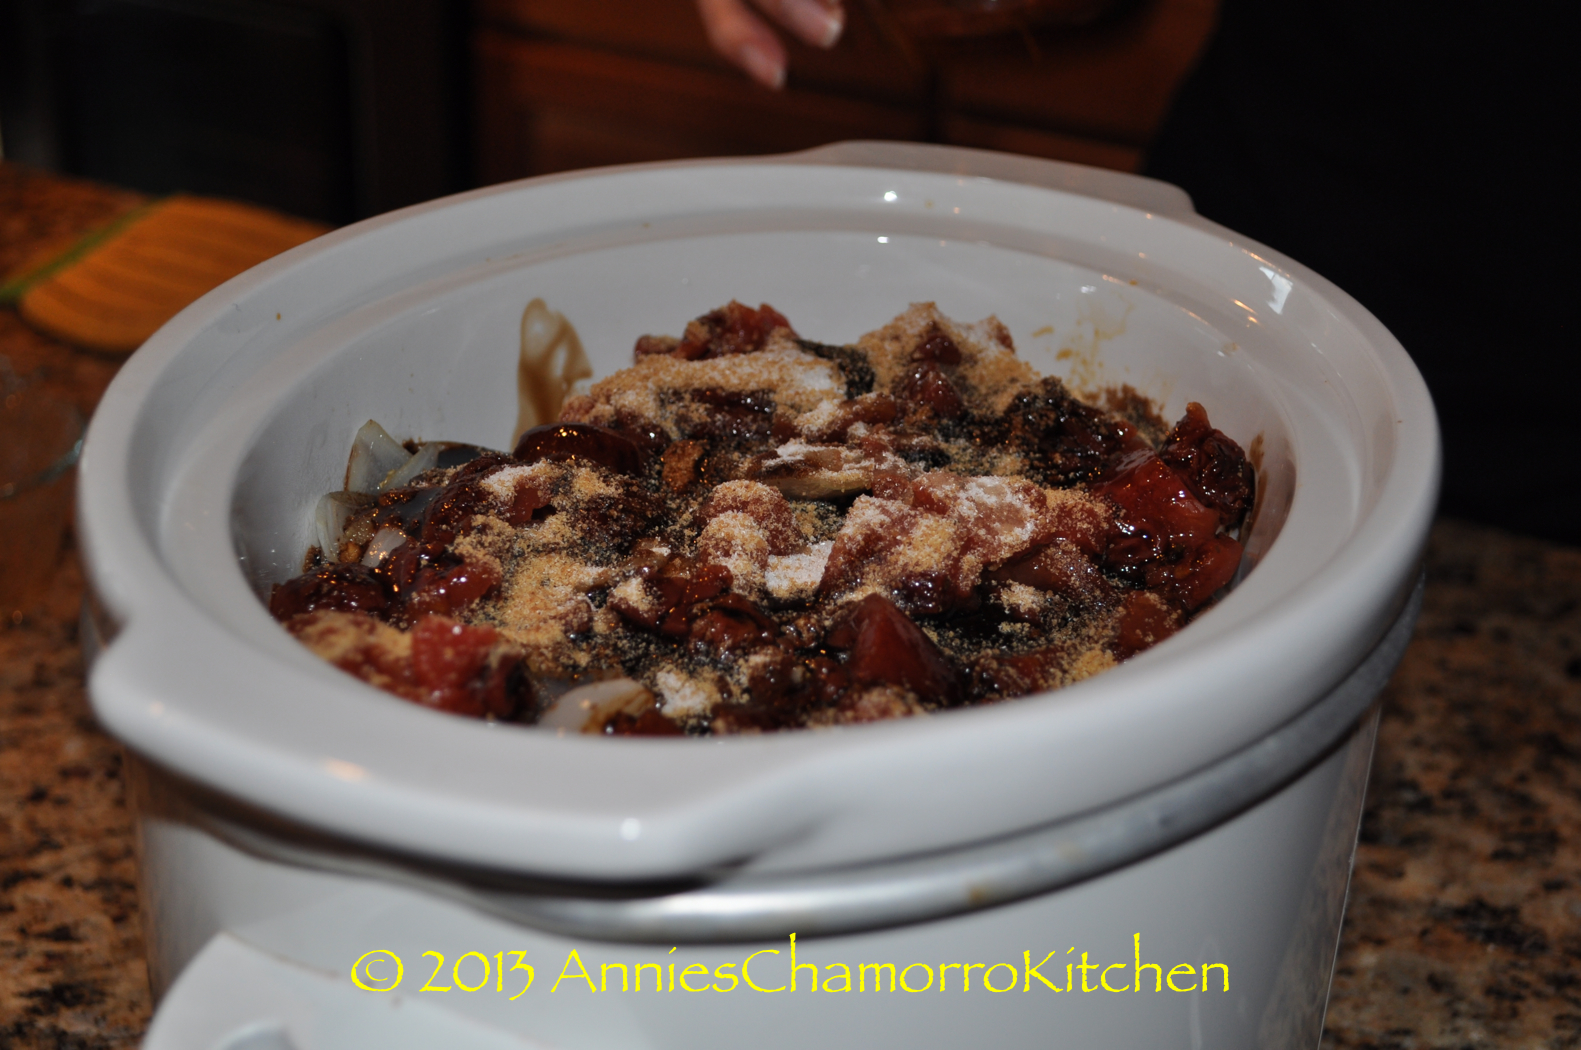
and 1 cup of water (see note below) plus any remaining salt and pepper.

NOTE:  If making this on the stovetop, add 2 cups of water instead (a lot of water will evaporate as the roast cooks).

Chamorro Pot Roast - 42

7.  Place the lid on the slow cooker. Cook on HIGH setting for 2 hours then lower the heat to LOW and cook for an additional 2 hours then turn off the slow cooker.  If cooking this on the stovetop, cover the pot and cook over medium-low heat for 2 hours.

Chamorro Pot Roast - 46

8.  When the roast is done, remove the roast to a plate or cutting board and allow to rest for at least 10 minutes before slicing (don’t cut it sooner that this or all the juices will flow out and leave your roast dry).

image

9.  In the meantime, while the roast is resting, prepare the gravy. Using an immersion blender, purée the chunks of vegetables in the gravy until it is completely smooth. If you don’t have an immersion blender, transfer all of the gravy (the liquid and all vegetables) from the slow cooker to a blender and blend until smooth.

image

image

10.  Pour the puréed mixture into a small pot; bring the mixture to a boil.

image

11.  Mix the cornstarch with the remaining 1 cup of water.

image

Whisk the cornstarch mixture into the gravy and return to a boil, stirring constantly until the mixture thickens.  Turn off the heat once the gravy has thickened.

image

12.  After the roast has rested, use a serrated knife or very sharp carving knife to slice the roast into 1/4 to 1/2 inch slices.

image

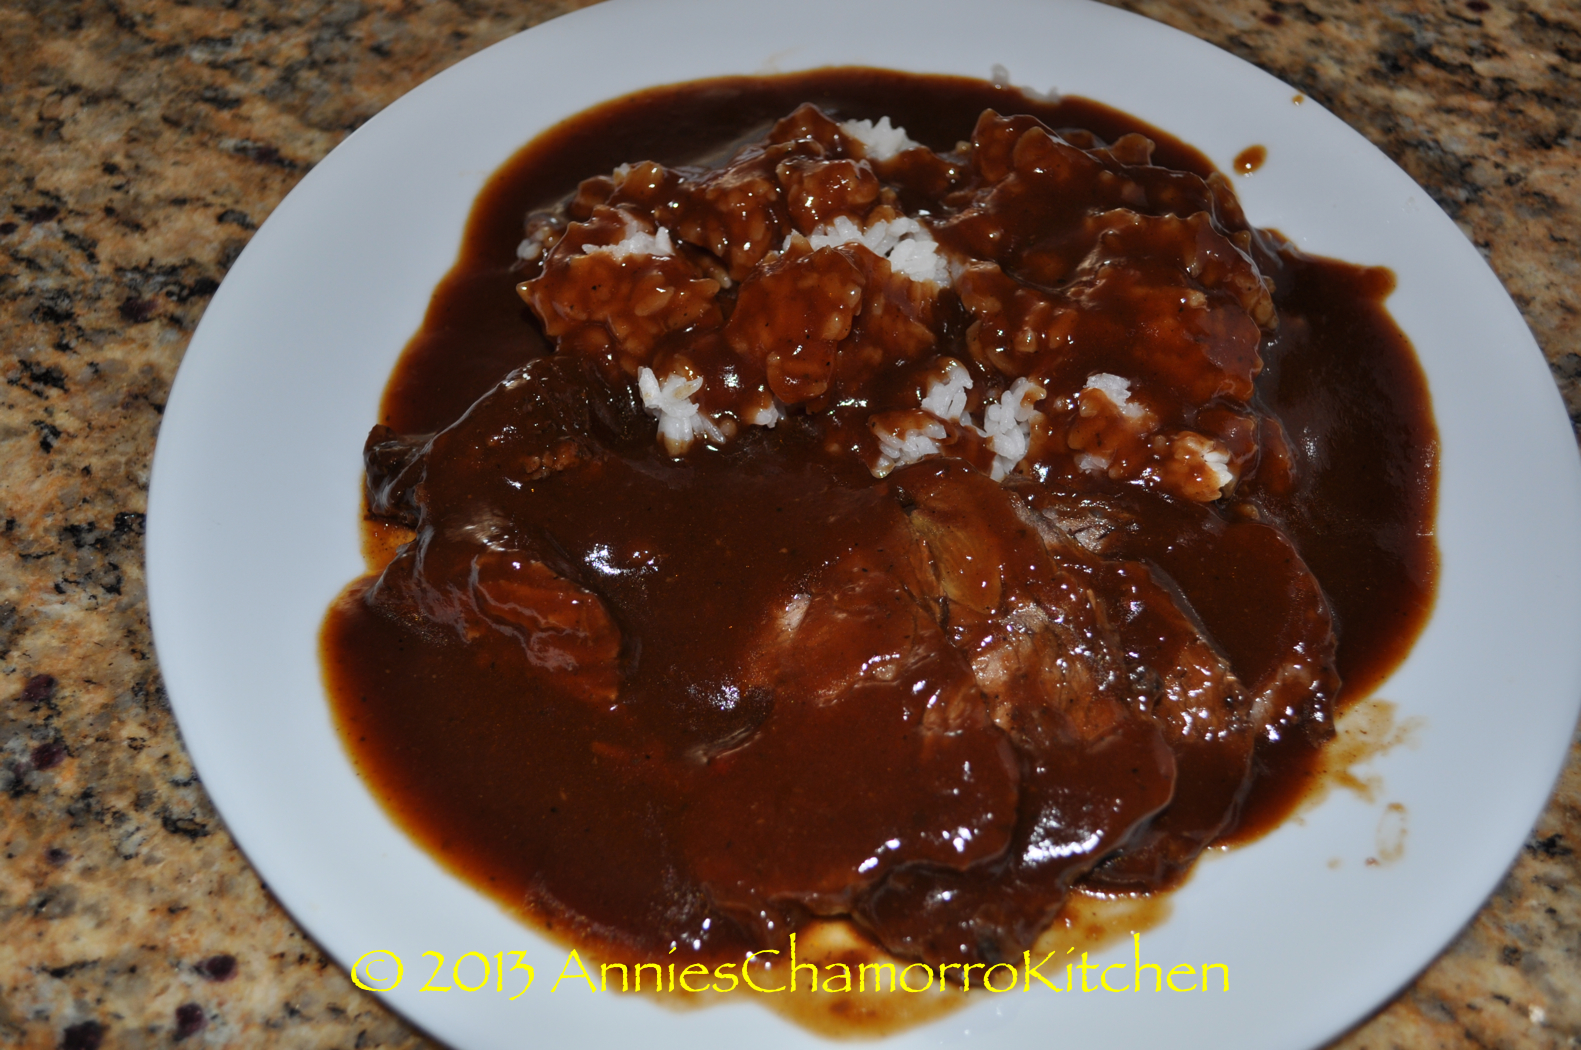
Pour gravy over the sliced roast beef.

Chamorro Pot Roast - 50


Serve with hot white rice and Enjoy!  I love to “drown” my pot roast and rice in lots and lots of gravy!  🙂

Chamorro Pot Roast - 51

Print Friendly, PDF & Email
« Older Entries Recent Entries »