My entire family loves, loves, loves cookies! Soft, chewy, crispy, crumbly, chocolate, butter, coconut, sugar, stuffed, double-stuffed, you name it, we’ll probably love it.
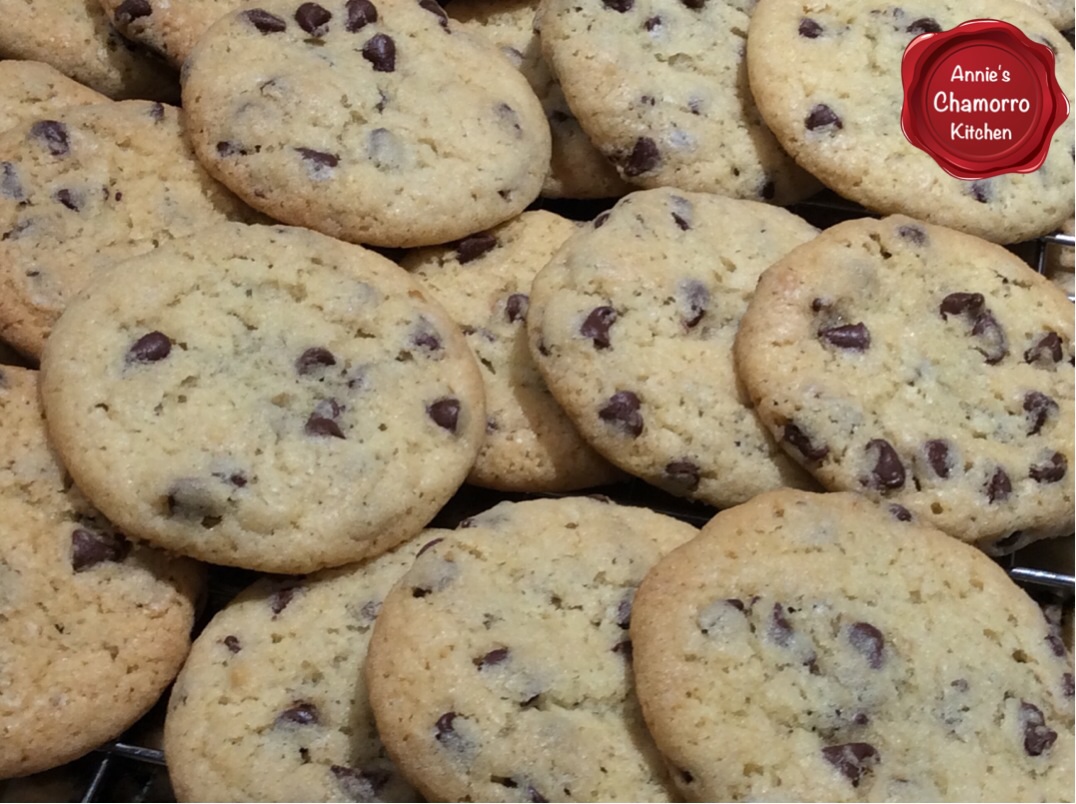
One of our favorites are a crispy cookie from Guam called Chamorro Chip Cookies. They are crispy bite-sized cookies that are perfectly sweet and chocolaty. I still remember requesting bags of cookies be sent to me in care packages. I was absolutely over the moon one trip home when the airline served small packages of the delicious morsels in lieu of peanuts! 🙂
Well, gone are the days of free snacks on the airlines, but you don’t have to wait until you get to Guam or for someone to send you a care package to enjoy these delicious, sweet and crispy cookies. It takes just a few ingredients to mix up a batch, ingredients you’re likely to have on hand already.
My complete recipe is at the bottom of this post. Give my recipe a try. I’m sure you’ll like it. 🙂
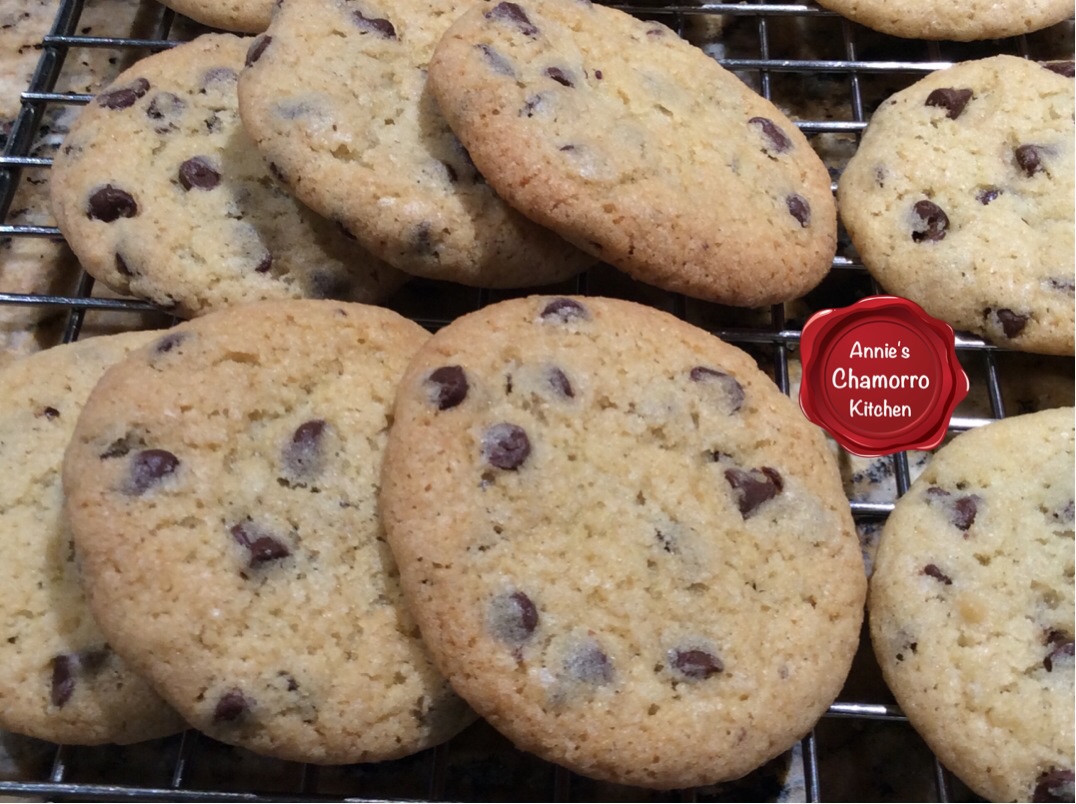
Crispy Chocolate Chip Cookies
~ My version of the beloved “Chamorro Chip Cookie”
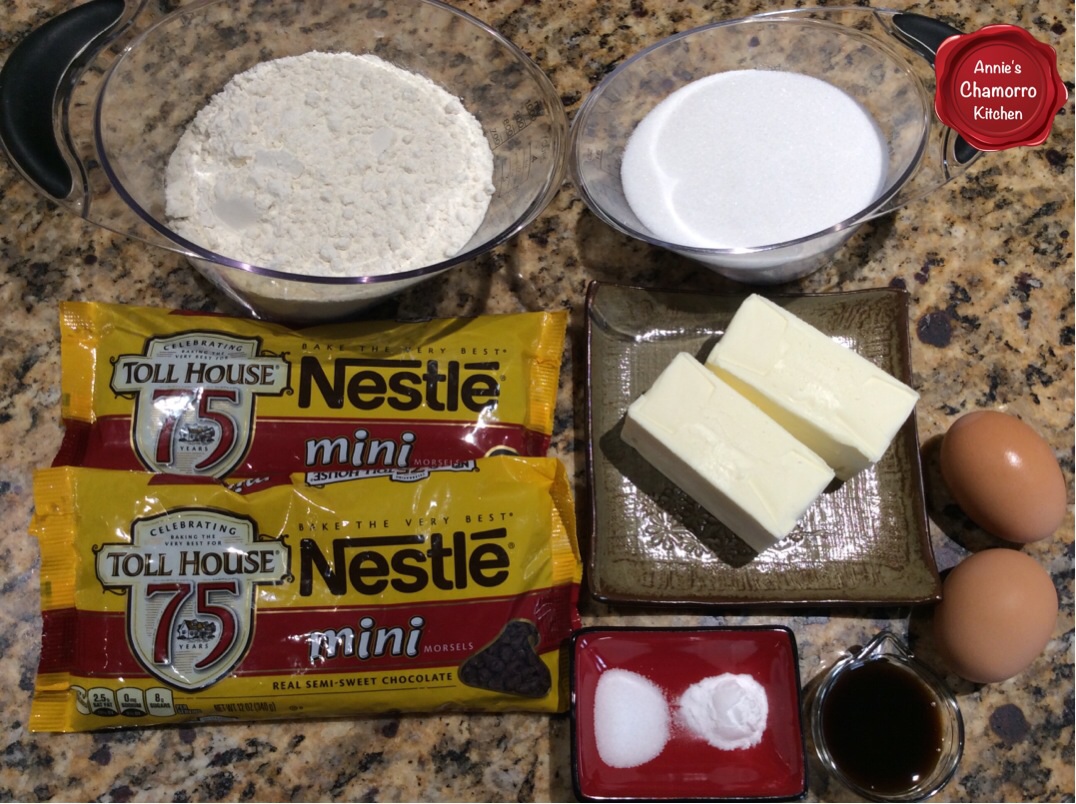
These are all of the ingredients you need. You probably have all of these on hand already. As I mentioned above, my family loves cookies and baked goods, so I make sure I always have flour, sugar, butter, eggs, baking soda (and powder), salt, vanilla extract and chocolate chips in my pantry.
I made a double batch of cookies, which is why you see two bags of chocolate chips. Otherwise, one batch uses only one bag of mini chocolate chip morsels.
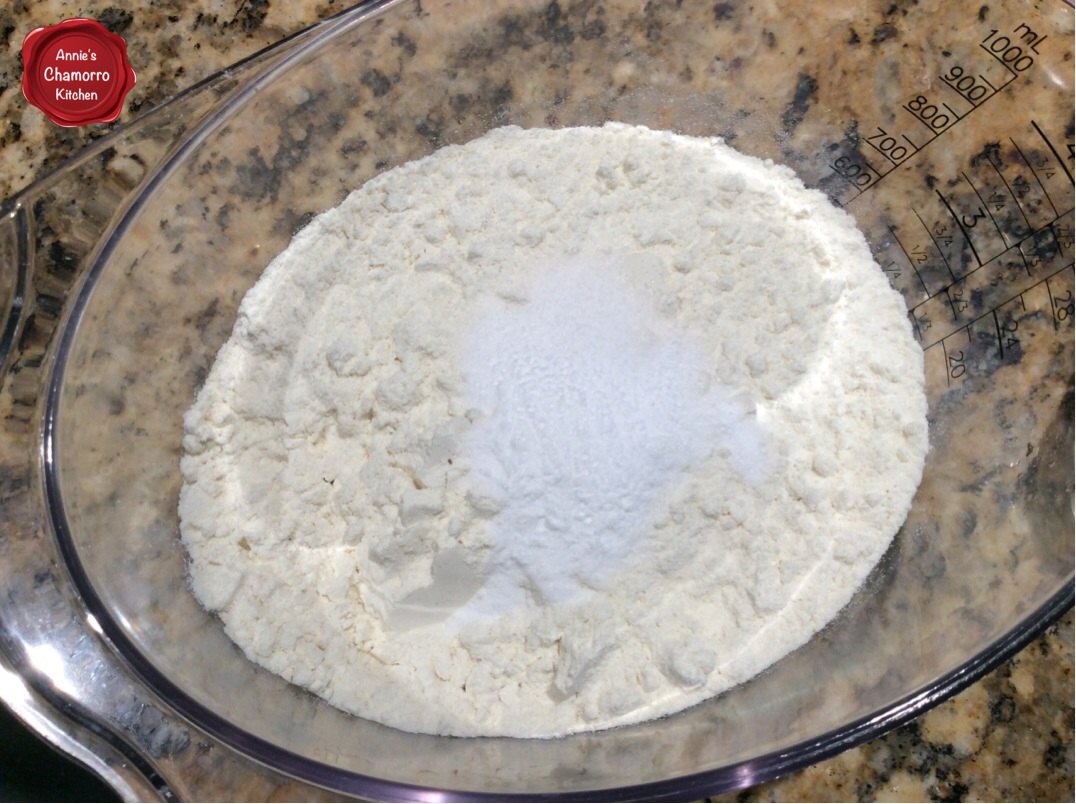
Mix the flour, salt and baking soda together.
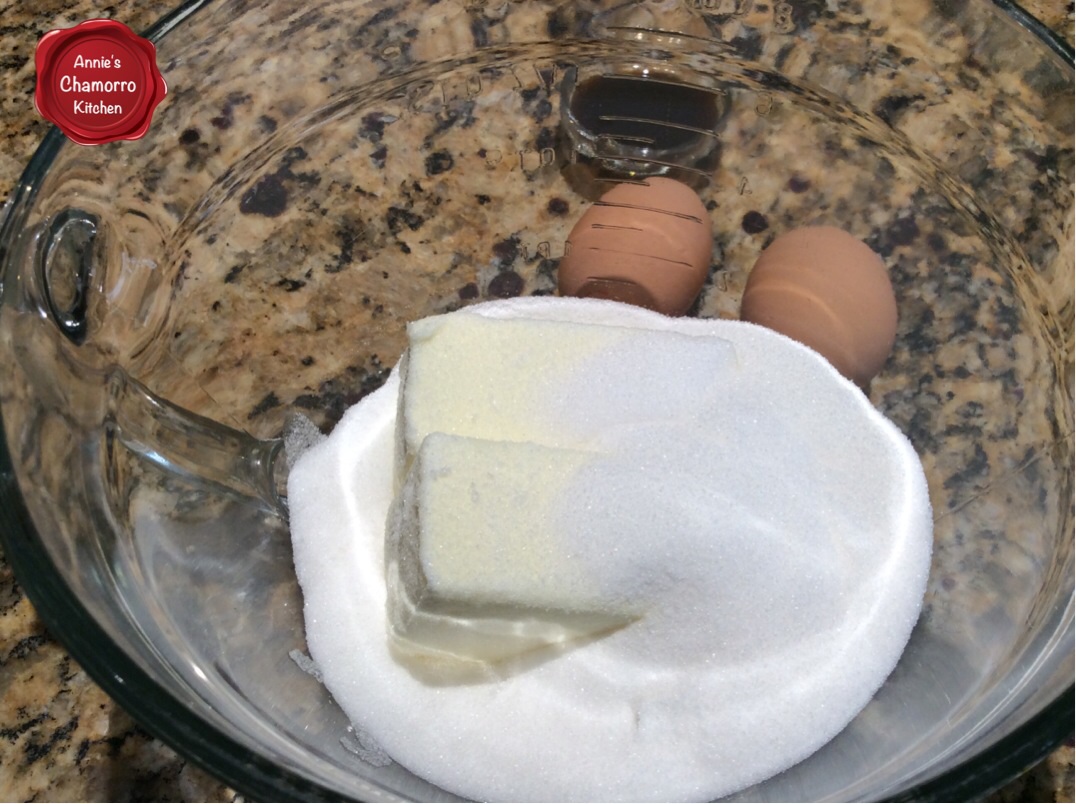
Place the butter and suar in a medium sized mixing bowl.
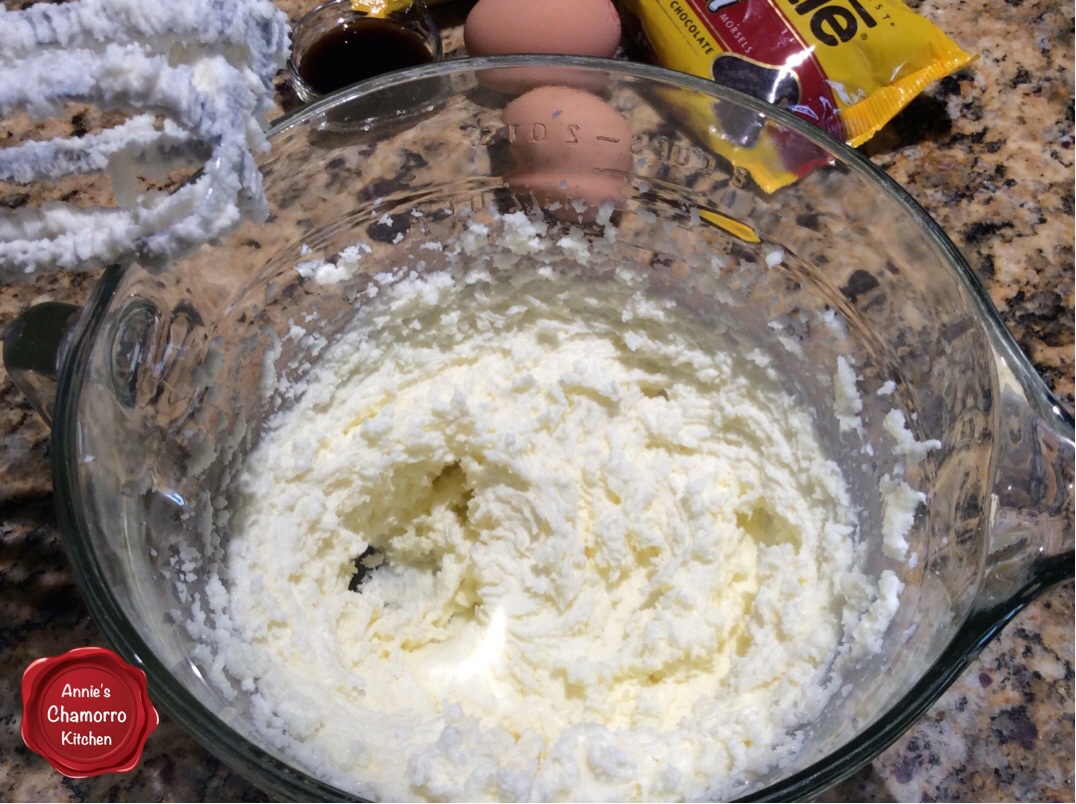
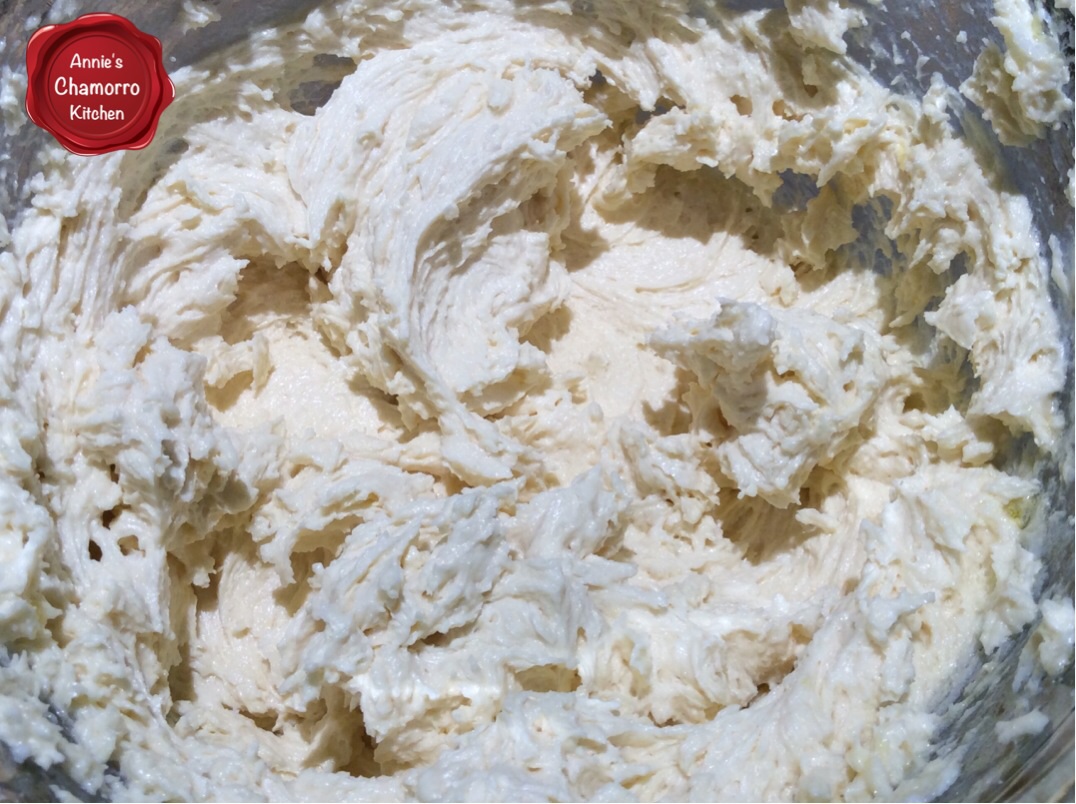
Use a hand-held mixer to cream the butter and sugar together.
Add the eggs and vanilla extract to the mixing bowl.
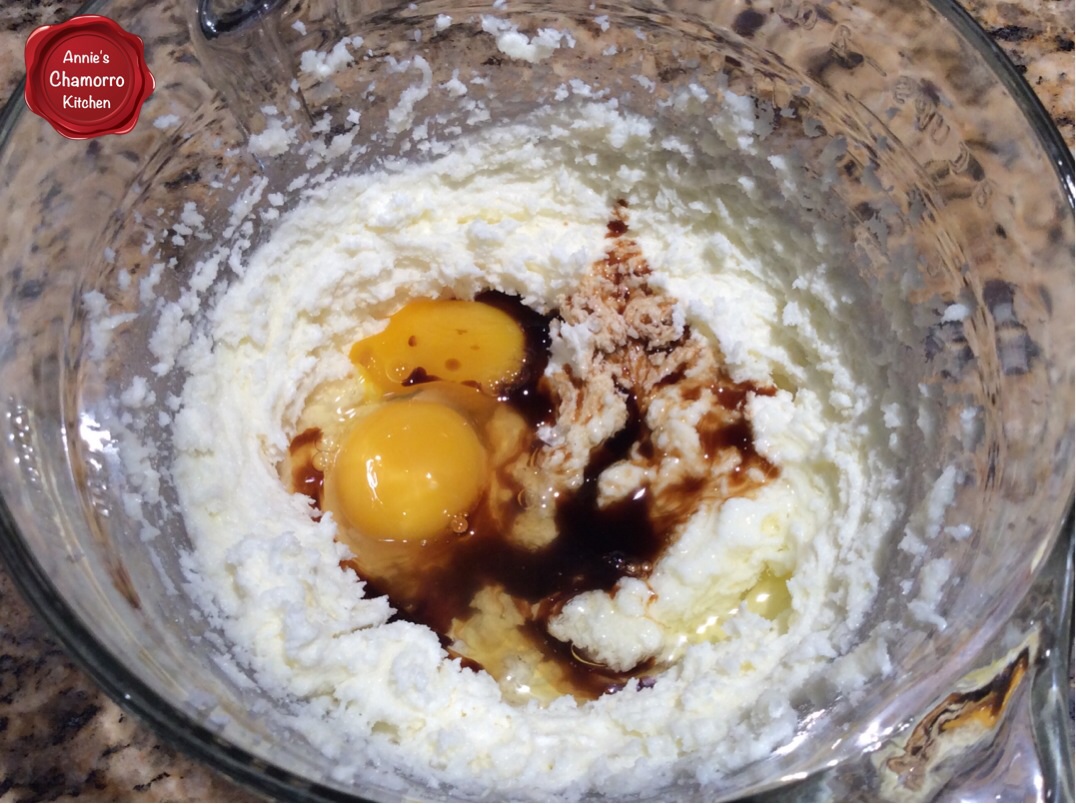
Mix until creamy.
Add one third of the flour mixture to the bowl. Mix for a minute or until the dry ingredients are well-incorporated with the butter mixture.
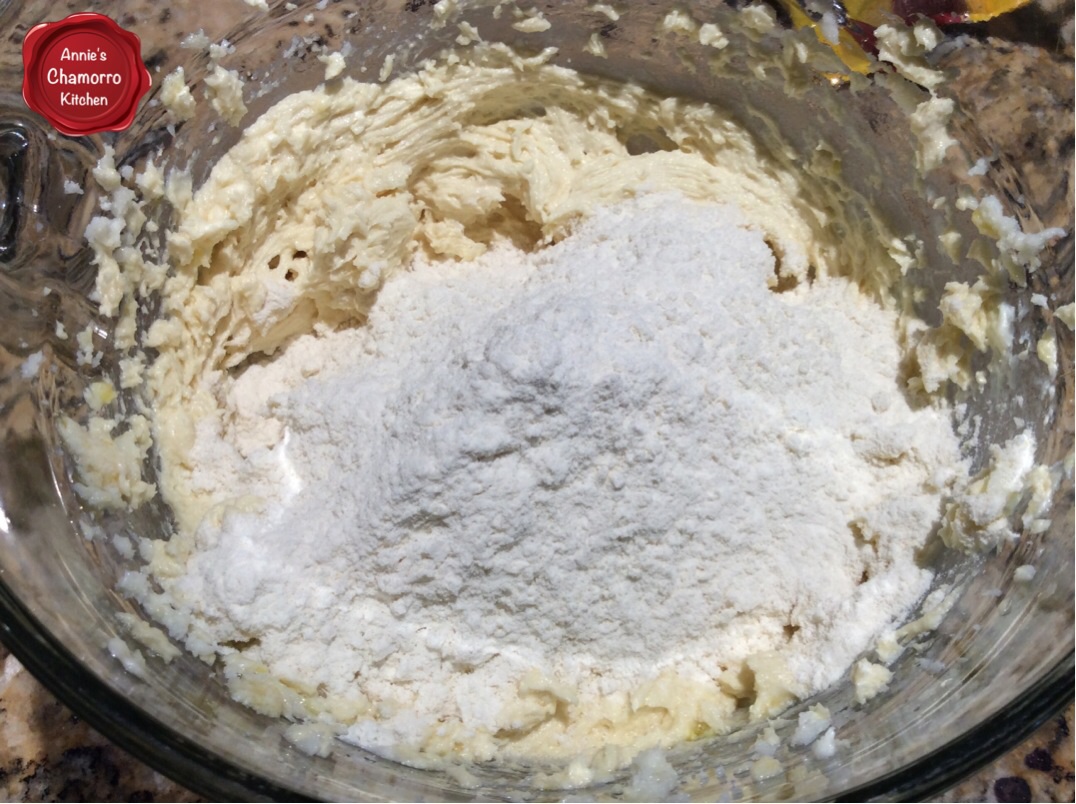
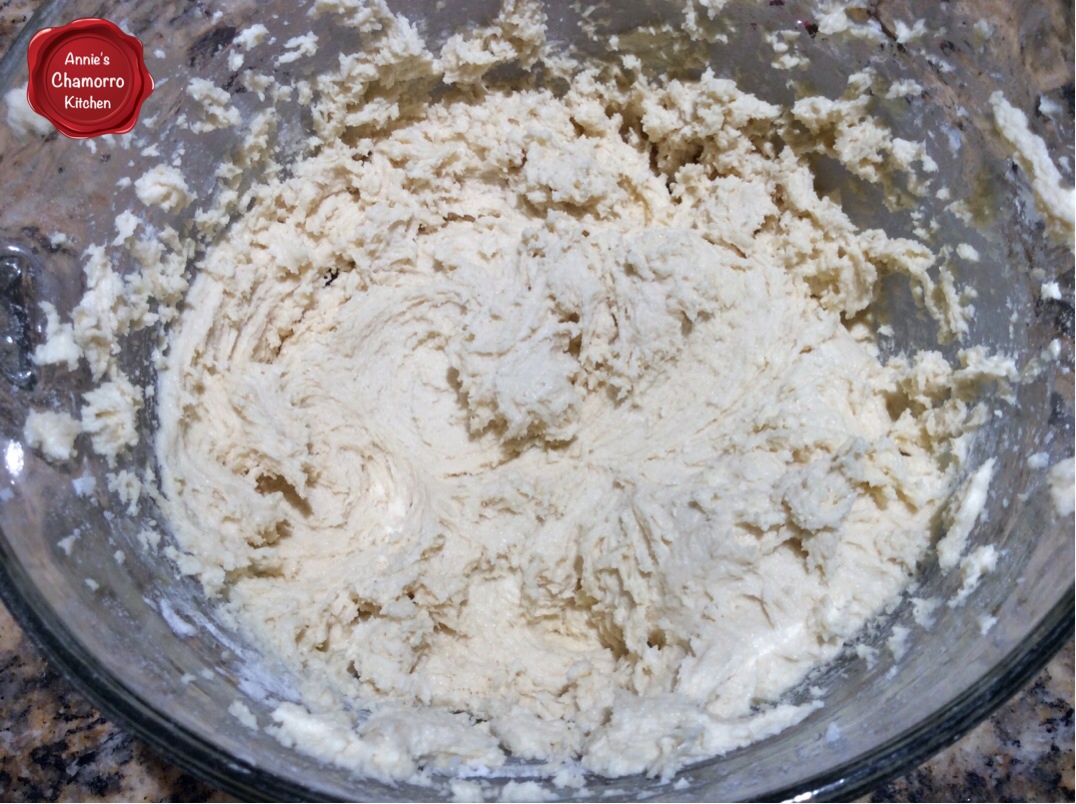
Add another third of the flour mixture; mix another minute then add the remaining flour mixture. Mix until all of the flour is well-incorporated and a thick, creamy cookie dough forms.
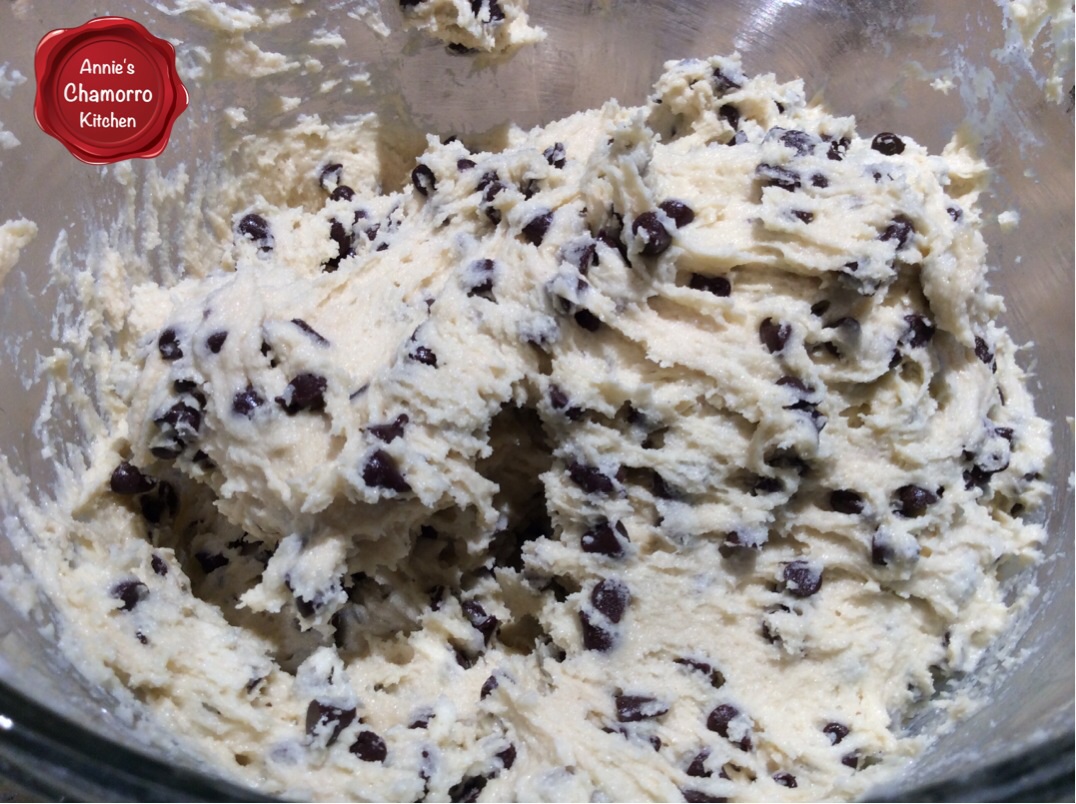
Add the entire bag of mini chocolate chips to the bowl.
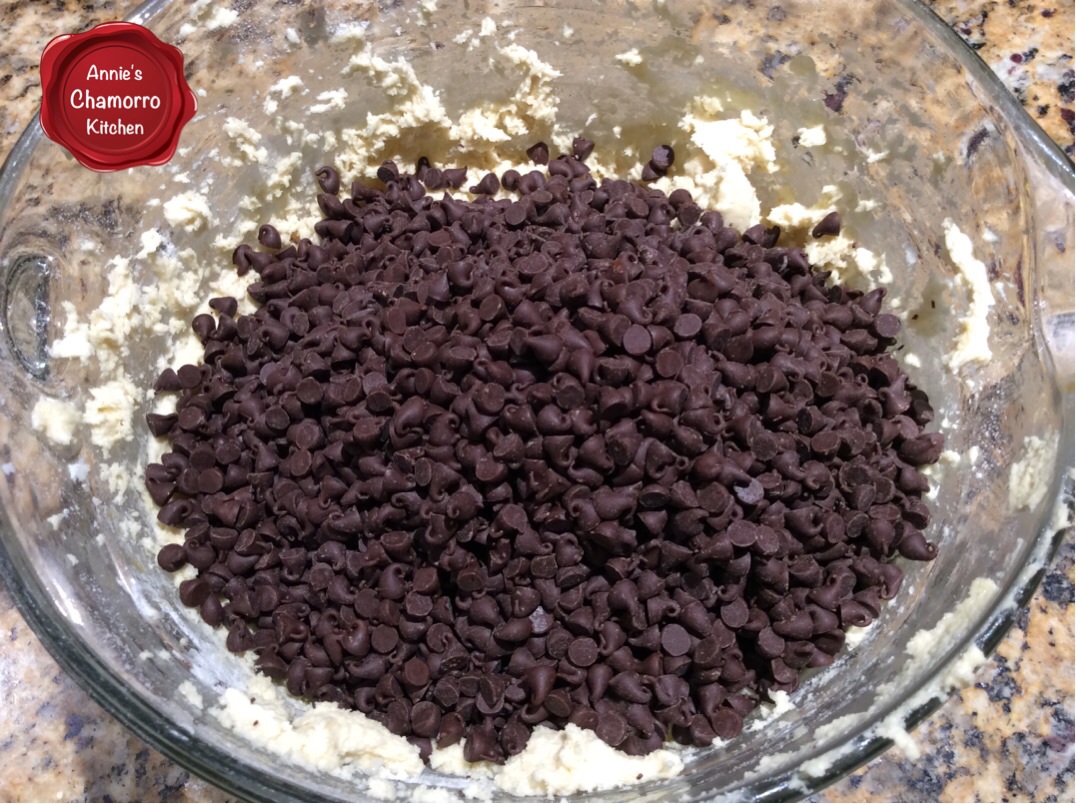
Use a spatula to fold the chocolate chips into the cookie dough.
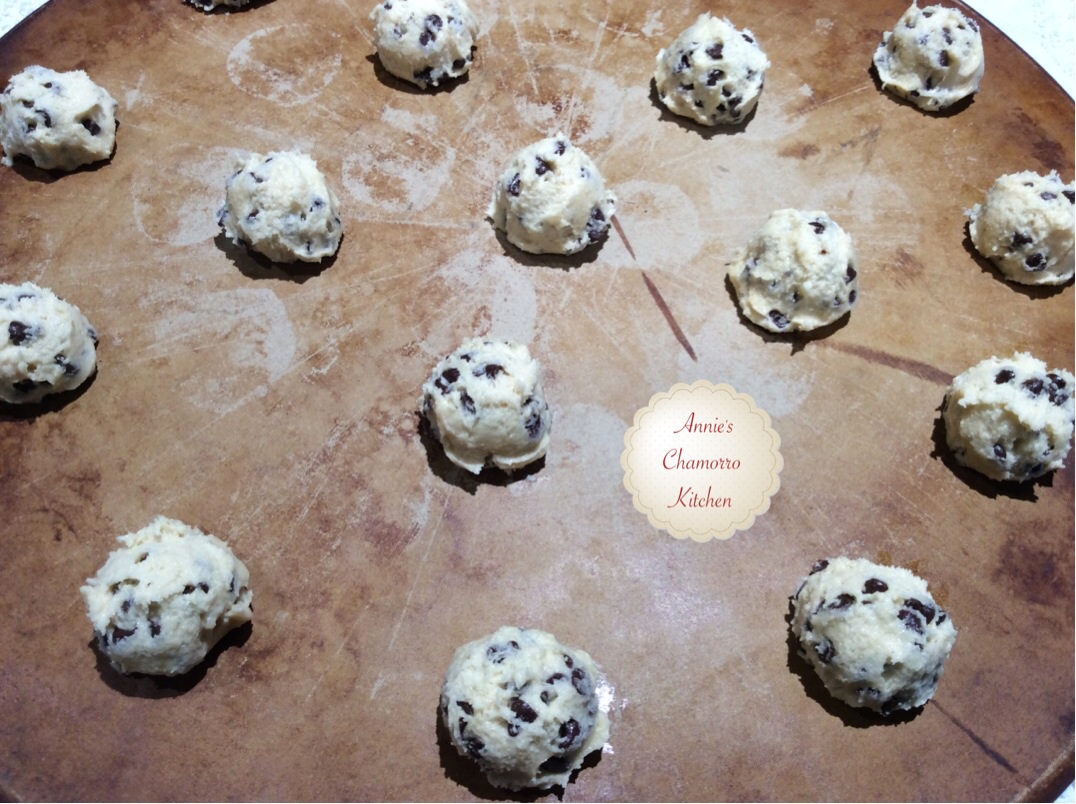
Place 1 tablespoon of cookie dough about 2 inches apart on a baking sheet. I use a small cookie scoop to get nicely rounded scoops of dough. These cookies will spread while baking so make sure you don’t place them too close together.
I used a Pampered Chef large round stoneware pan in the photo below. I fit about 18 balls of dough on this pan — don’t try to fit much more than that on this size pan or your cookies will spread and touch during baking (my daughter calls those “butt cookies” when they spread and touch during baking).
I also used the rectangular stoneware pan (also Pampered Chef), fitting 20 balls of dough on it.
Bake the cookies in a pre-heated 400-degree oven for 12 minutes. The cookies will be slightly brown around the edges.
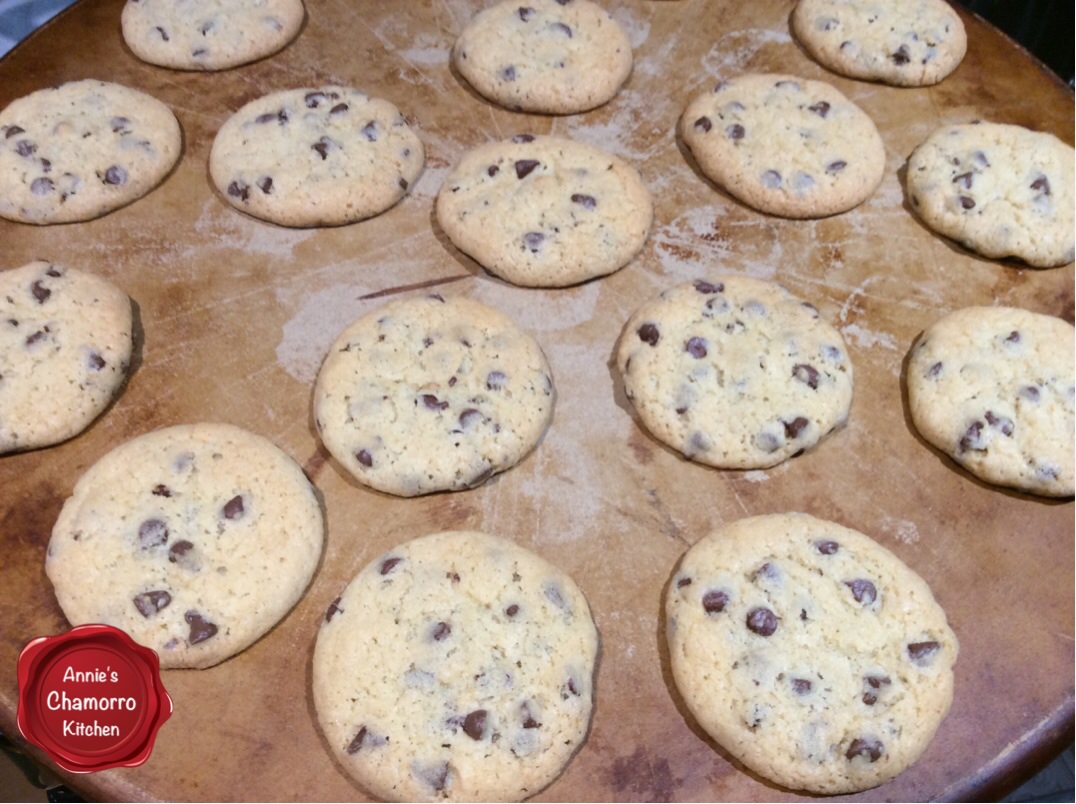
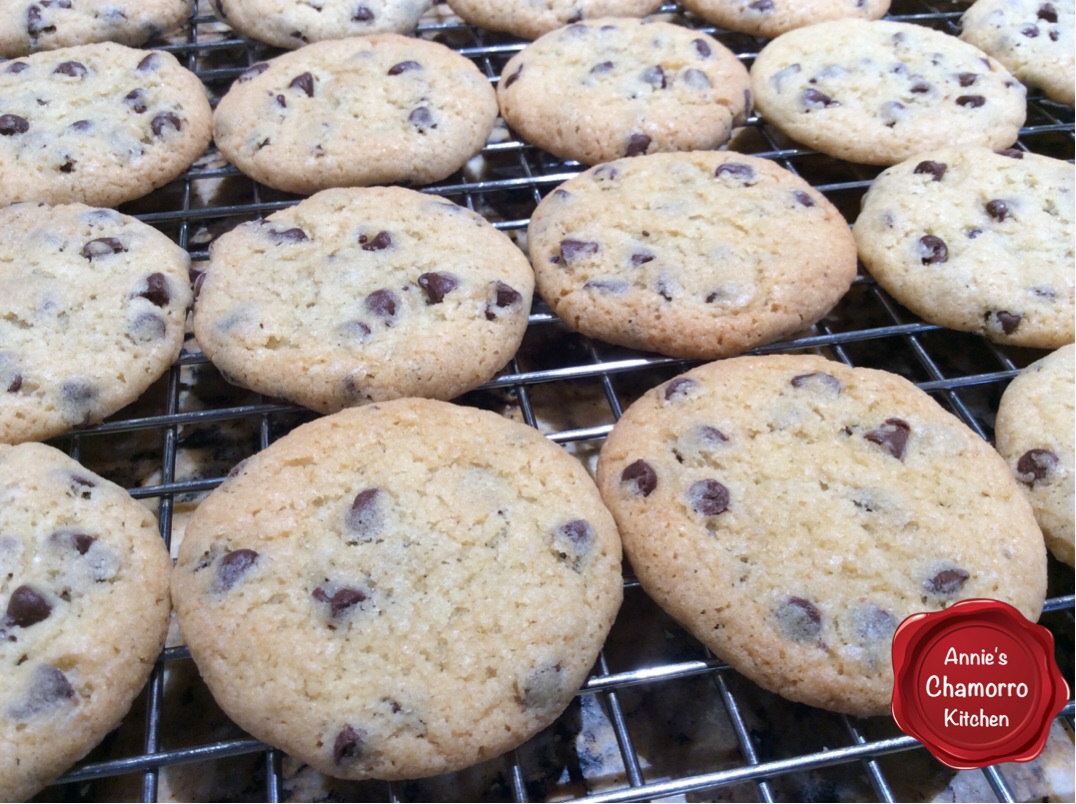
Leave the cookies on the baking sheet for 5 minutes then place on a cooling rack to finish cooling.
Serve with a tall glass of milk and ENJOY!

- 2⅔ cups all-purpose flour
- 1 teaspoon salt
- ½ teaspoon baking soda
- 2 sticks unsalted butter, softened
- 1½ cups white granulated sugar
- 2 large eggs
- 2 teaspoons pure vanilla extract
- 1 bag (12-oz.) miniature semisweet chocolate chips
- Preheat your oven to 400 degrees.
- Place the flour, salt, and baking soda in a medium bowl; mix together.
- Place the butter and sugar in a medium-sized mixing bowl. Use a handheld mixer to mix together until creamy.
- Mix in the the eggs and vanilla extract.
- Add the flour mixture to the butter mixture, one third at a time, mixing until you get a thick creamy dough.
- Fold in the chocolate chips.
- Scoop tablespoonfuls of dough onto the baking sheet, spacing them about 2-inches apart.
- Bake for 12 minutes or until the cookies are light brown around the edges.
- Leave the cookies on the baking sheet for 5 minutes then transfer to a wire rack to cool completely.