Soft and Fluffy Cinnamon Rolls with sweet, creamy Cream Cheese Frosting…need I say more? 😉
These cinnamon rolls are so easy to make that you’ll never have to buy those rolls popular in shopping malls.
If you’re not too sure about making yeast breads, read my step-by-step instructions (complete with photos for each step) then take a leap of faith in yourself and give yeast-baking a try. In fact, my two daughters (one is a teen, the other is 11) made the batch you see pictured below. If they can do it, YOU CAN TOO! :
I promise you this: these are one of the best cinnamon rolls you’re ever going to eat. Well, that’s what I think of them, anyway.
Give my recipe a try. I know you’ll love it! 😀
Incredibly Soft and Fluffy Cinnamon Rolls with Cream Cheese Frosting

Dough Ingredients:
- 4 1/4 cups all purpose flour
- 1/3 cup white granulated sugar
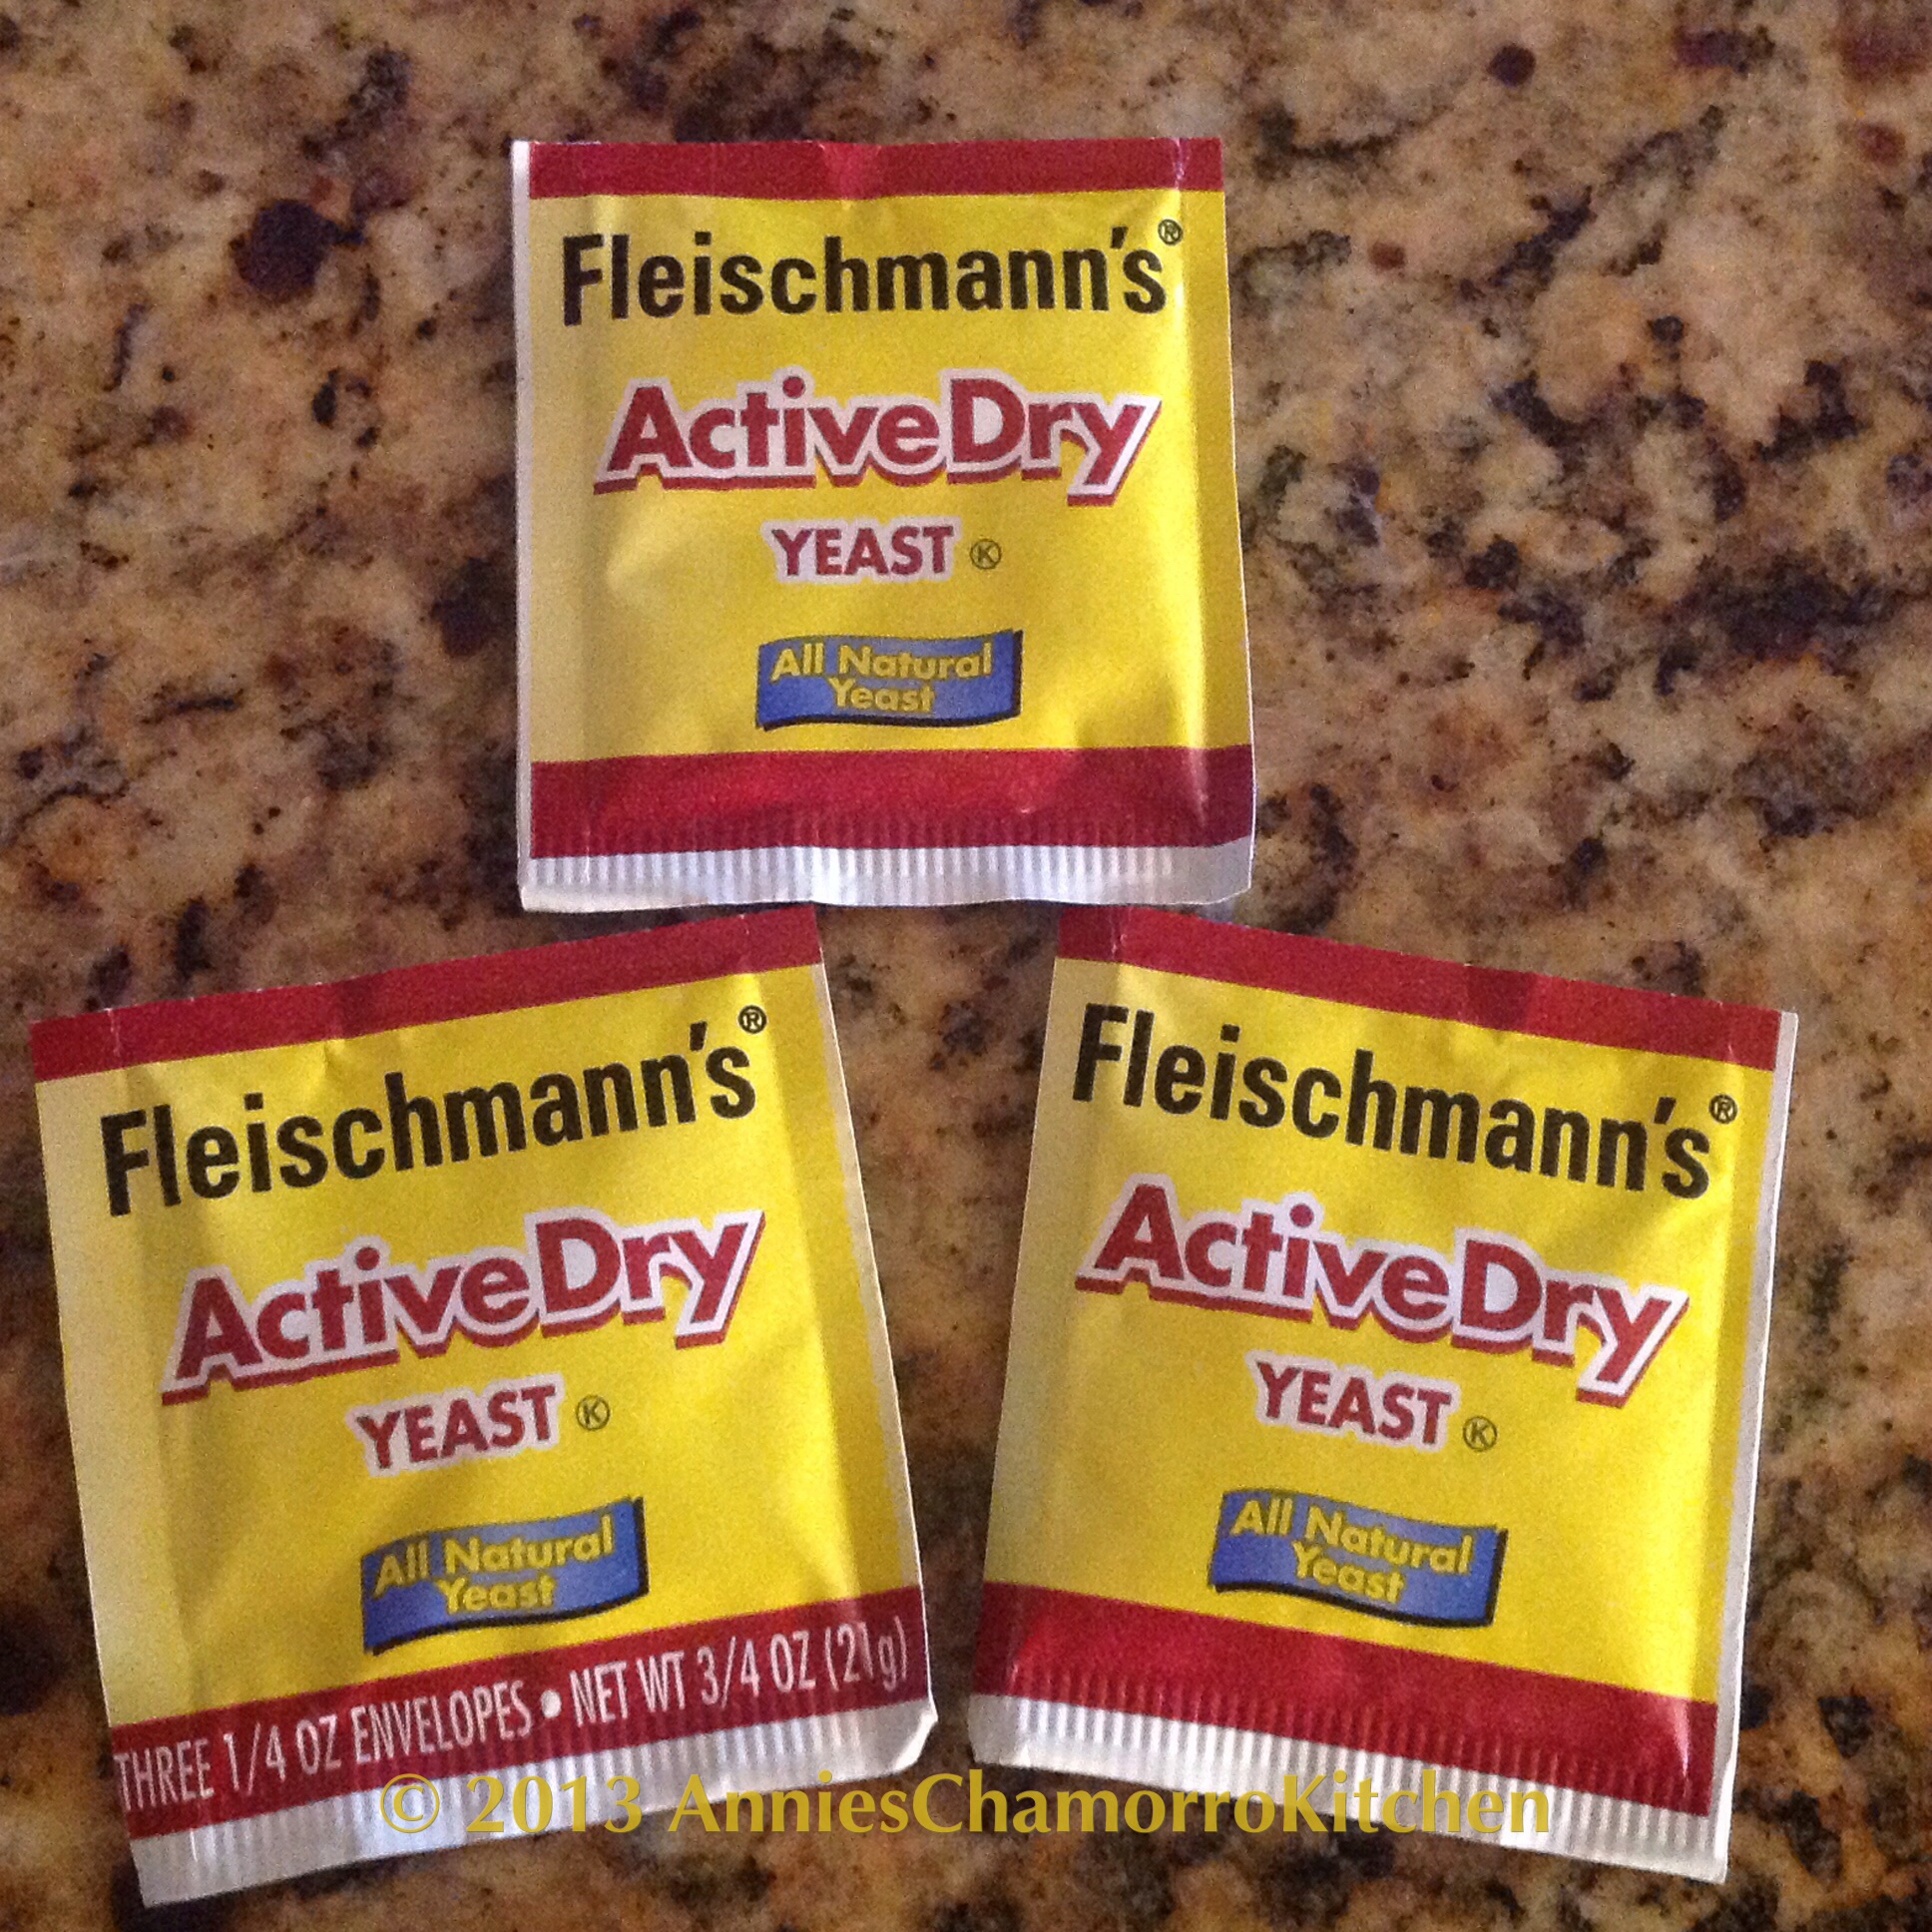
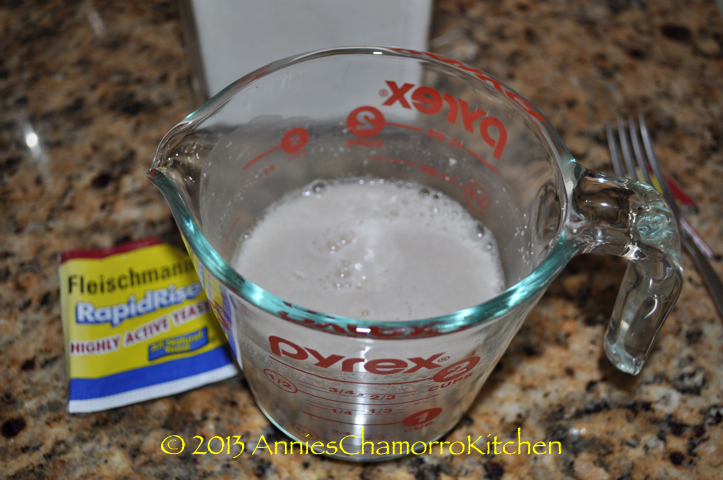
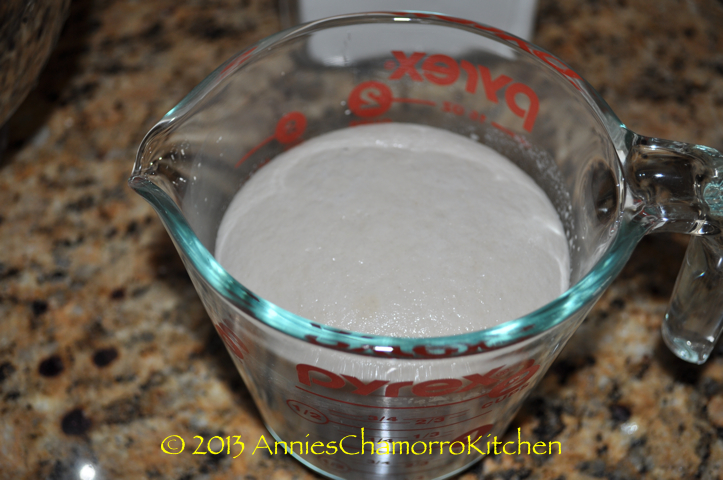
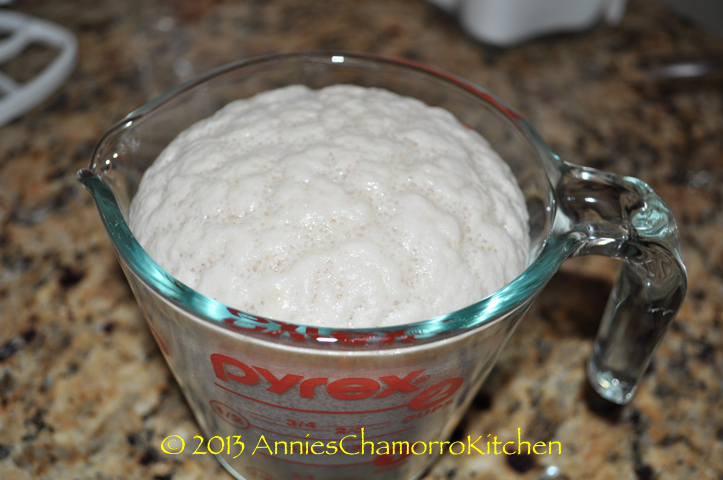
- 2 1/4 teaspoons (or one packet) rapid rise yeast
- Pinch of salt
- 3 tablespoons buttermilk powder
- 6 tablespoons unsalted butter, melted
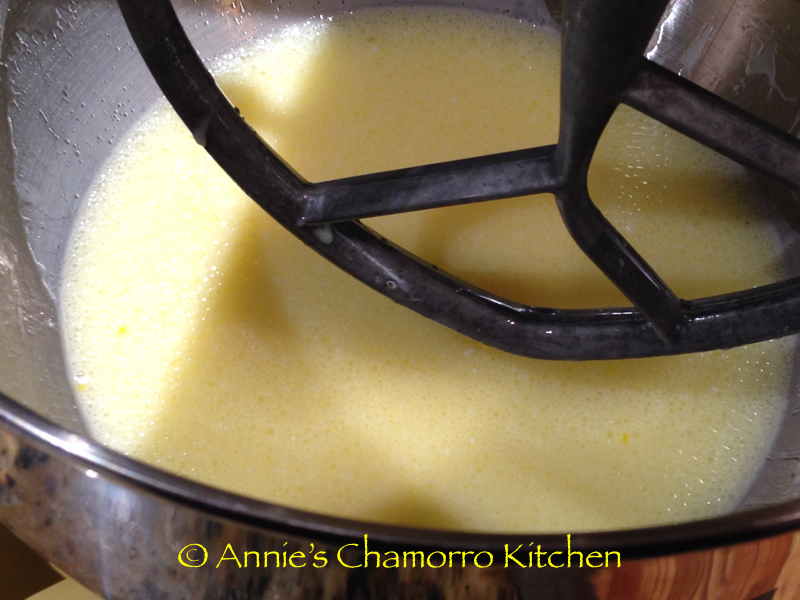
- 3 large eggs, beaten lightly
- 3/4 cup warm water (heated to 105 degrees)
Dough Directions:
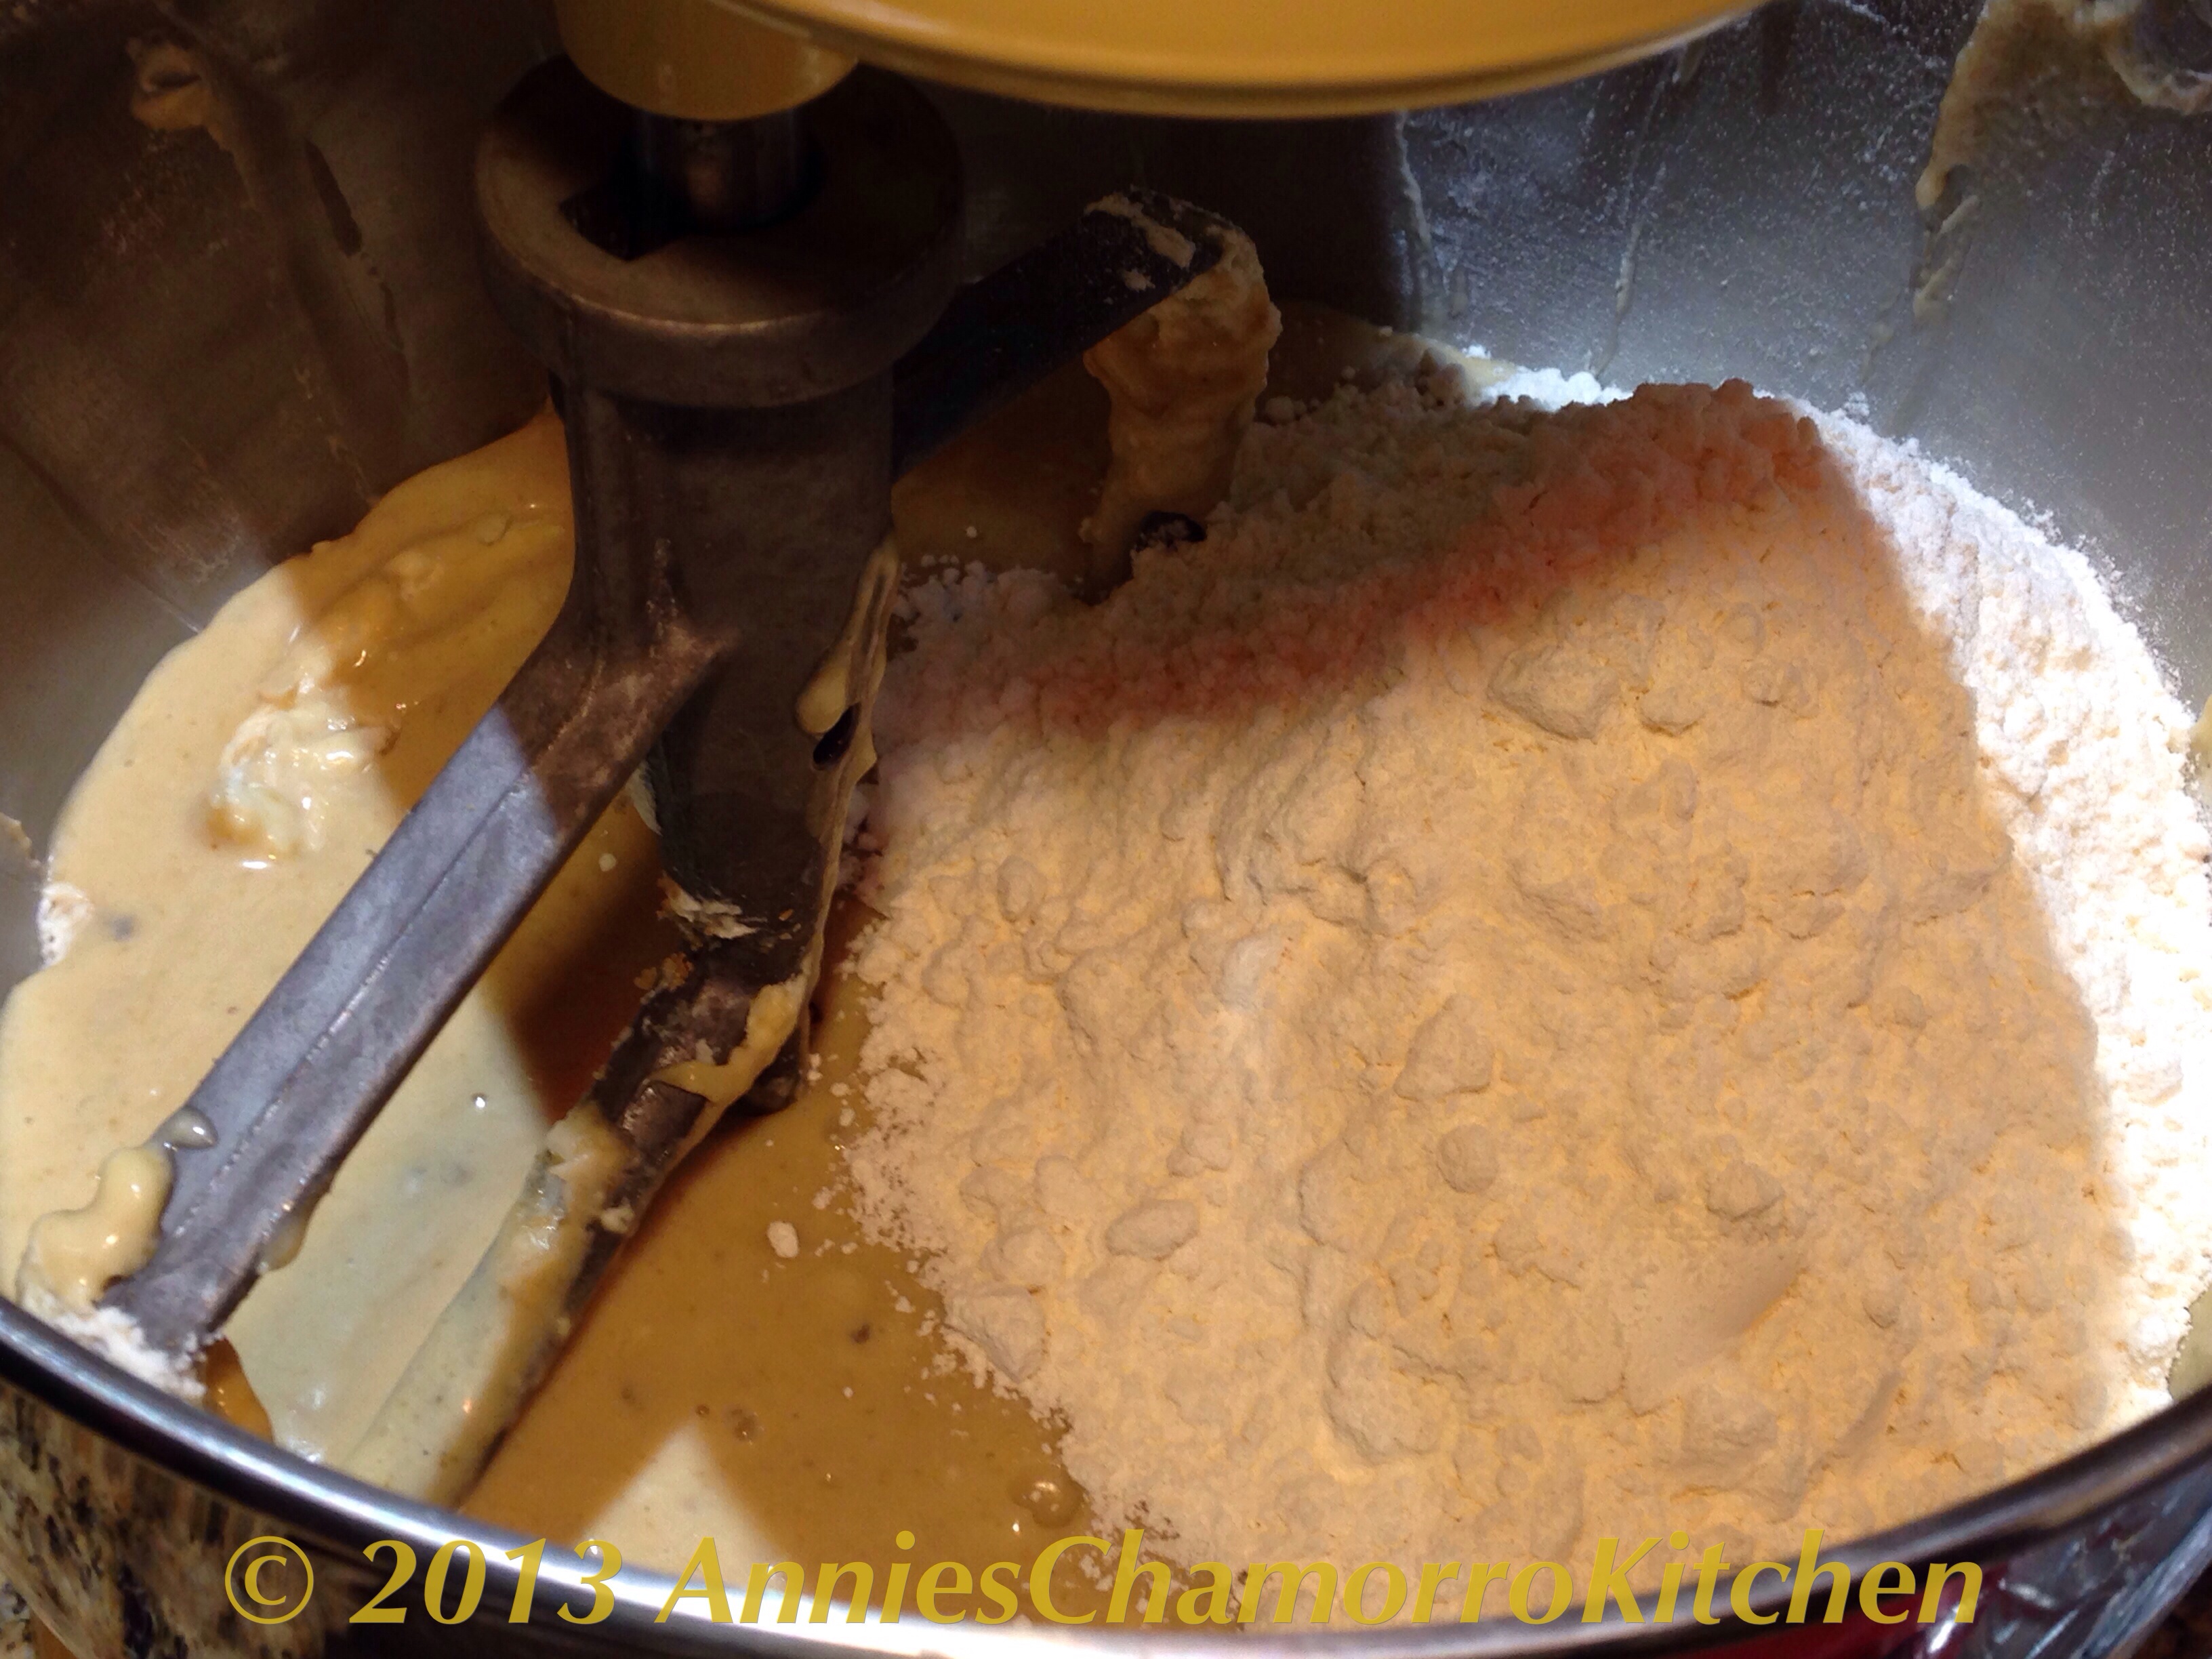
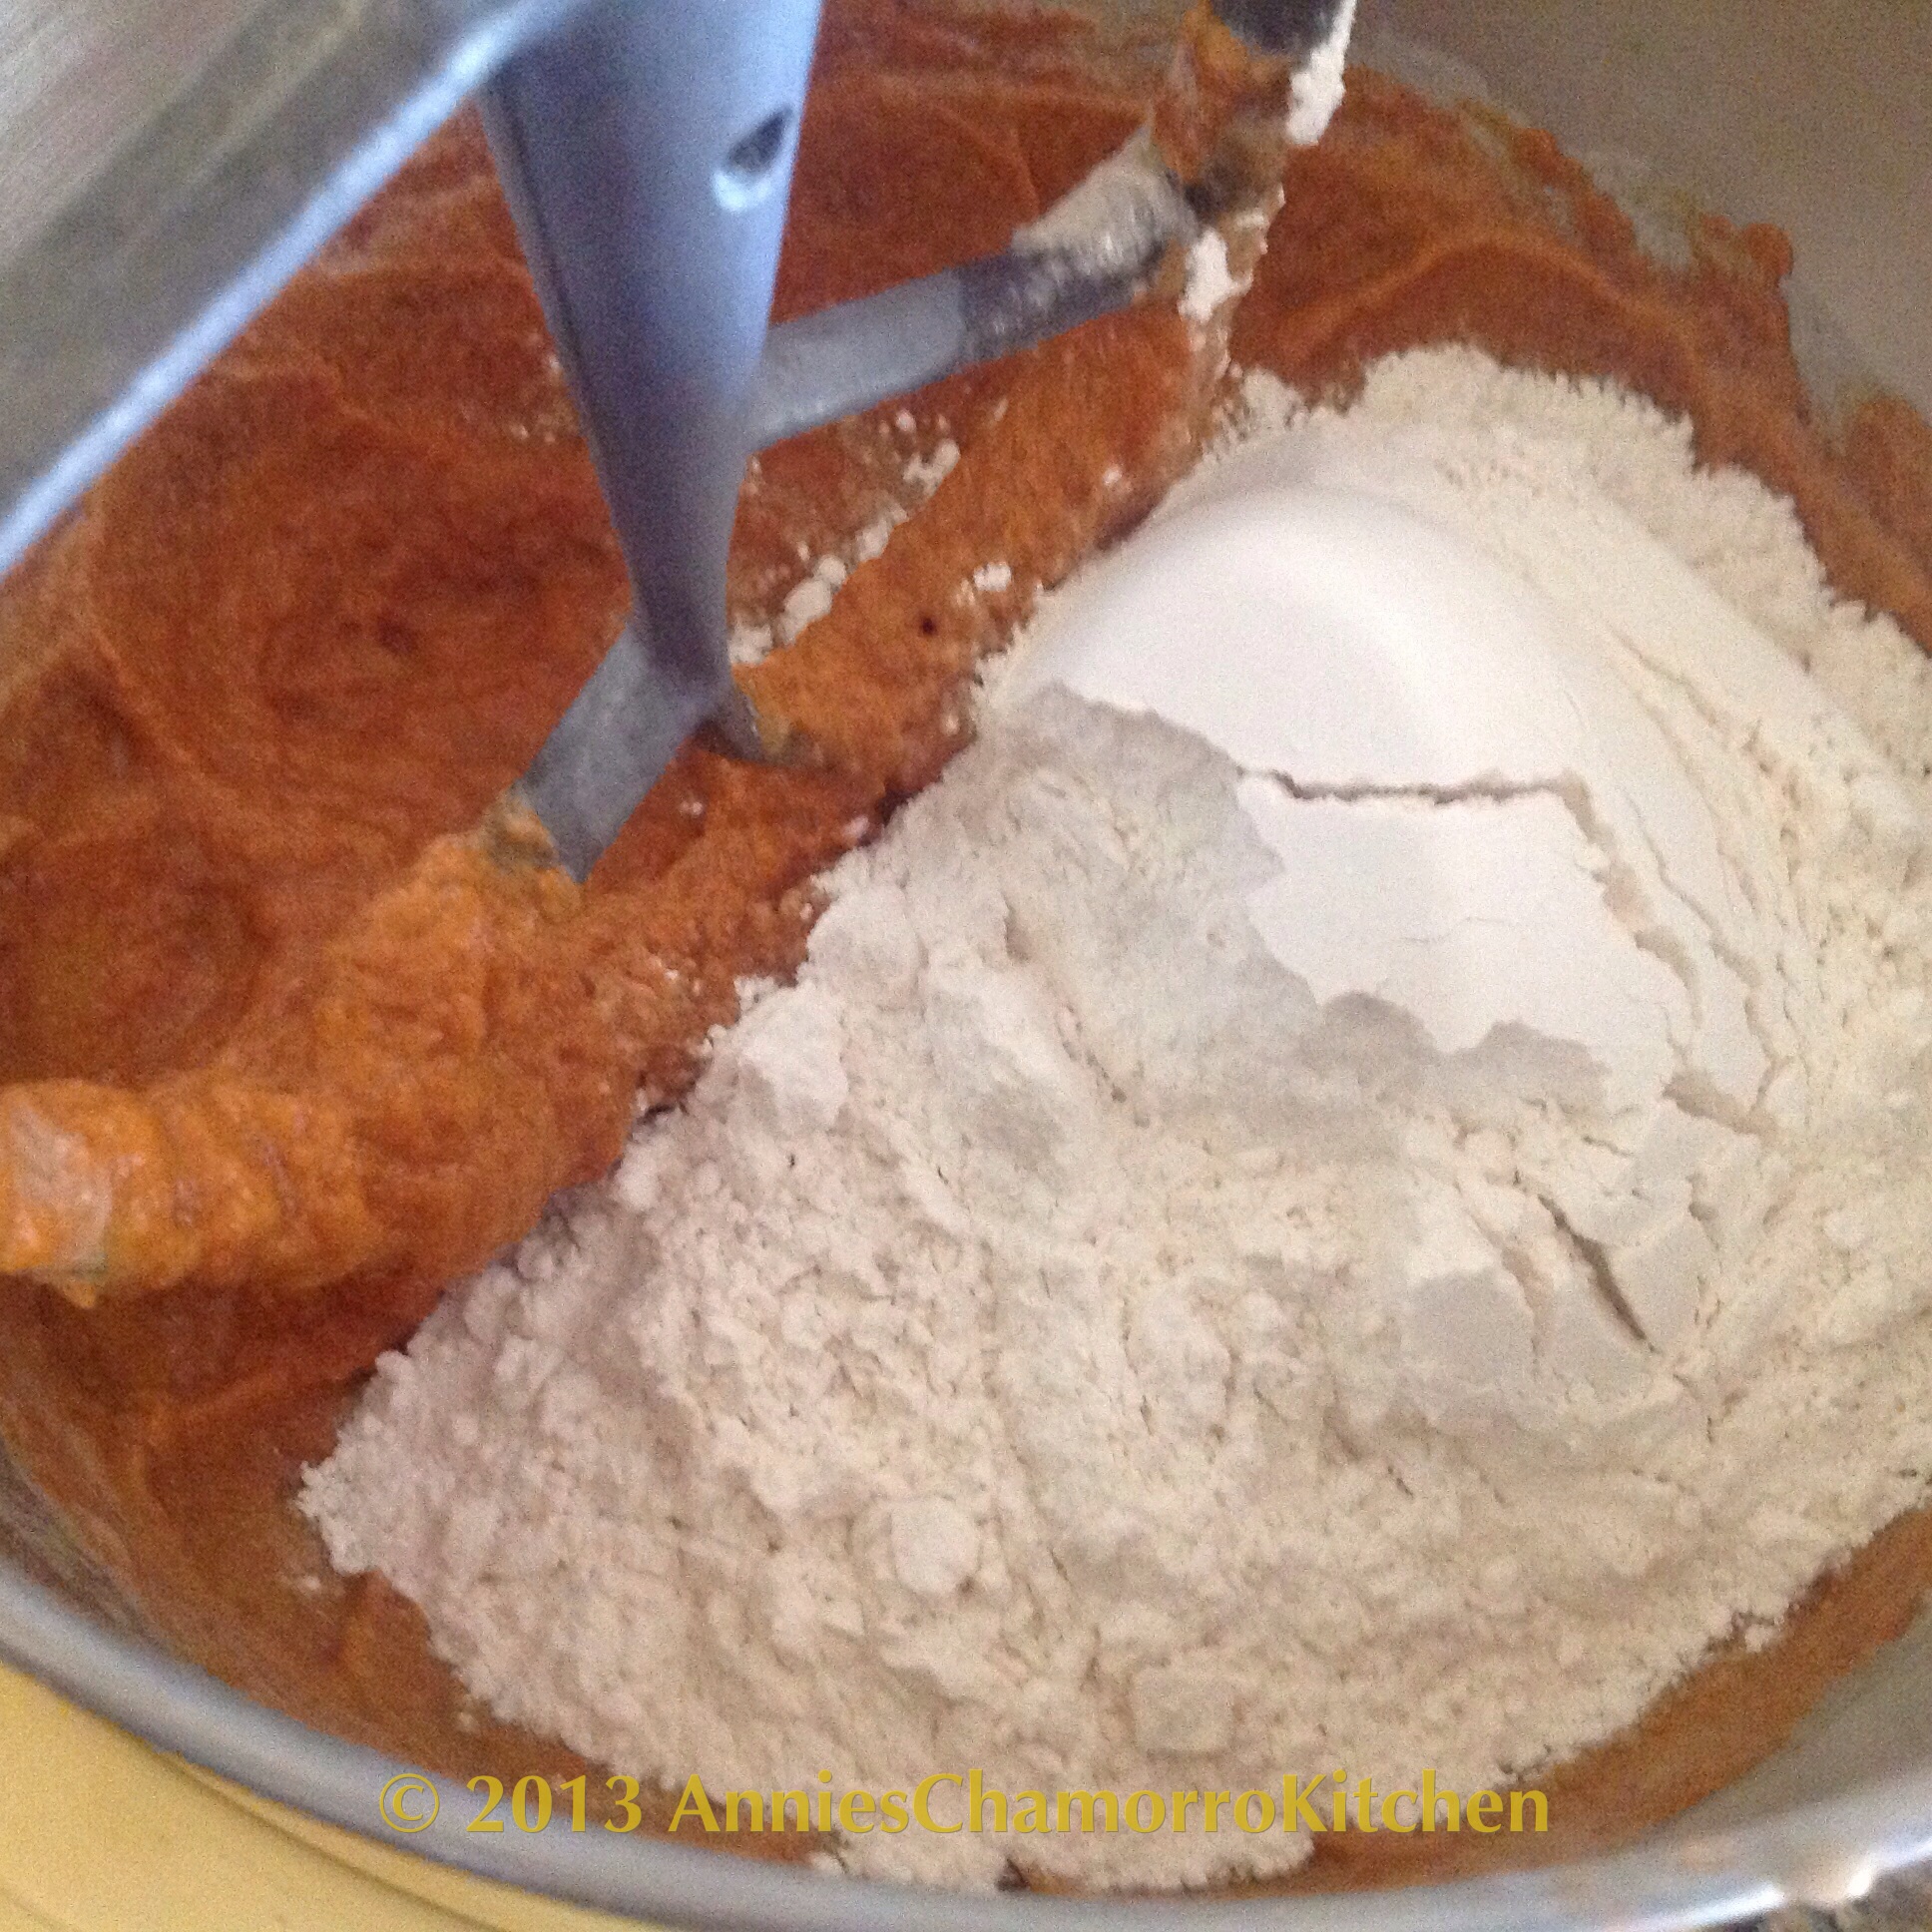
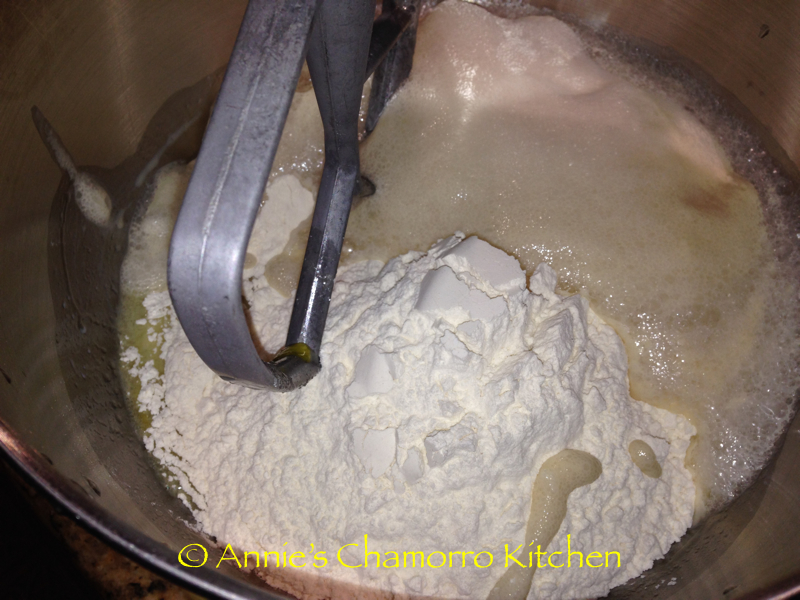
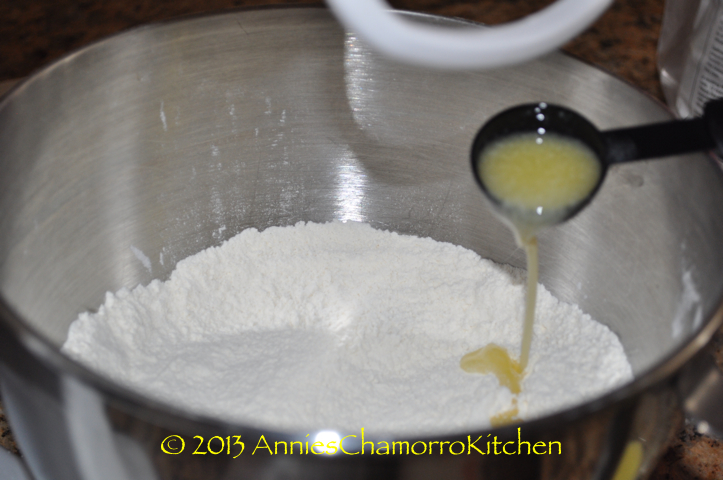
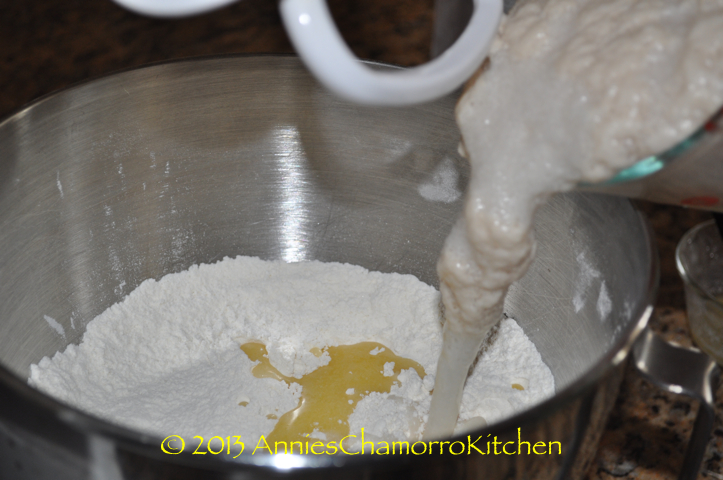
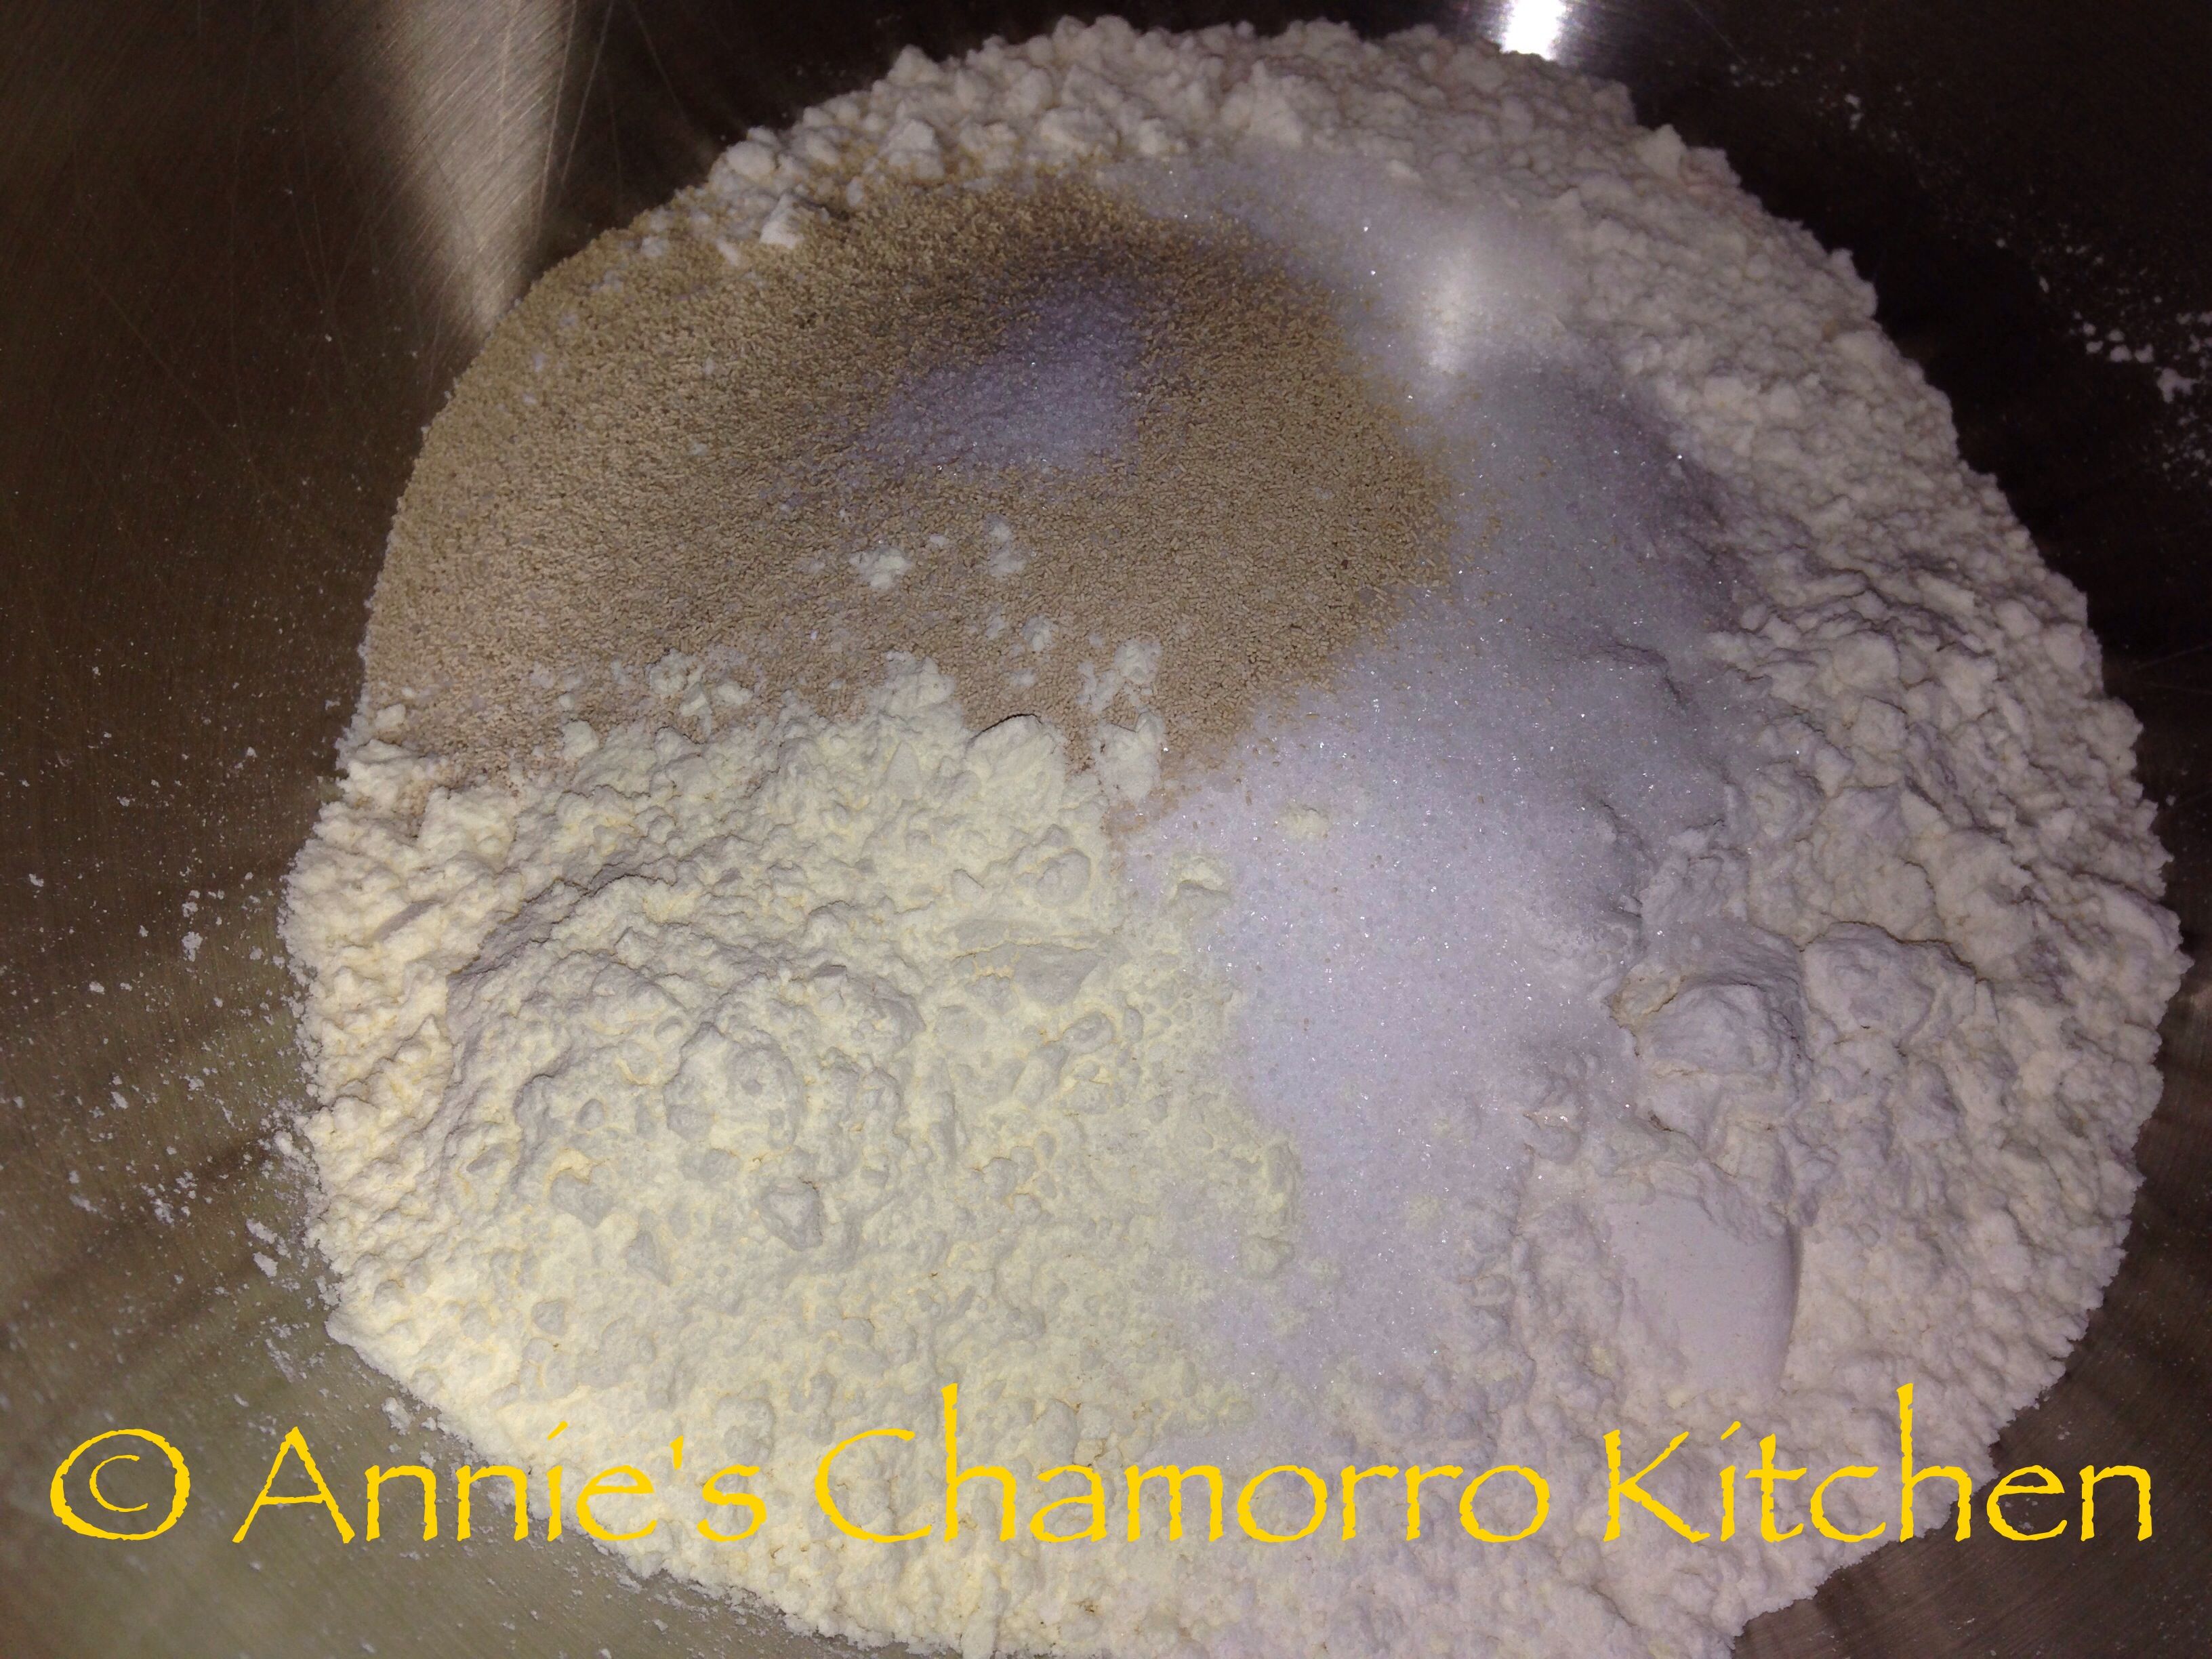
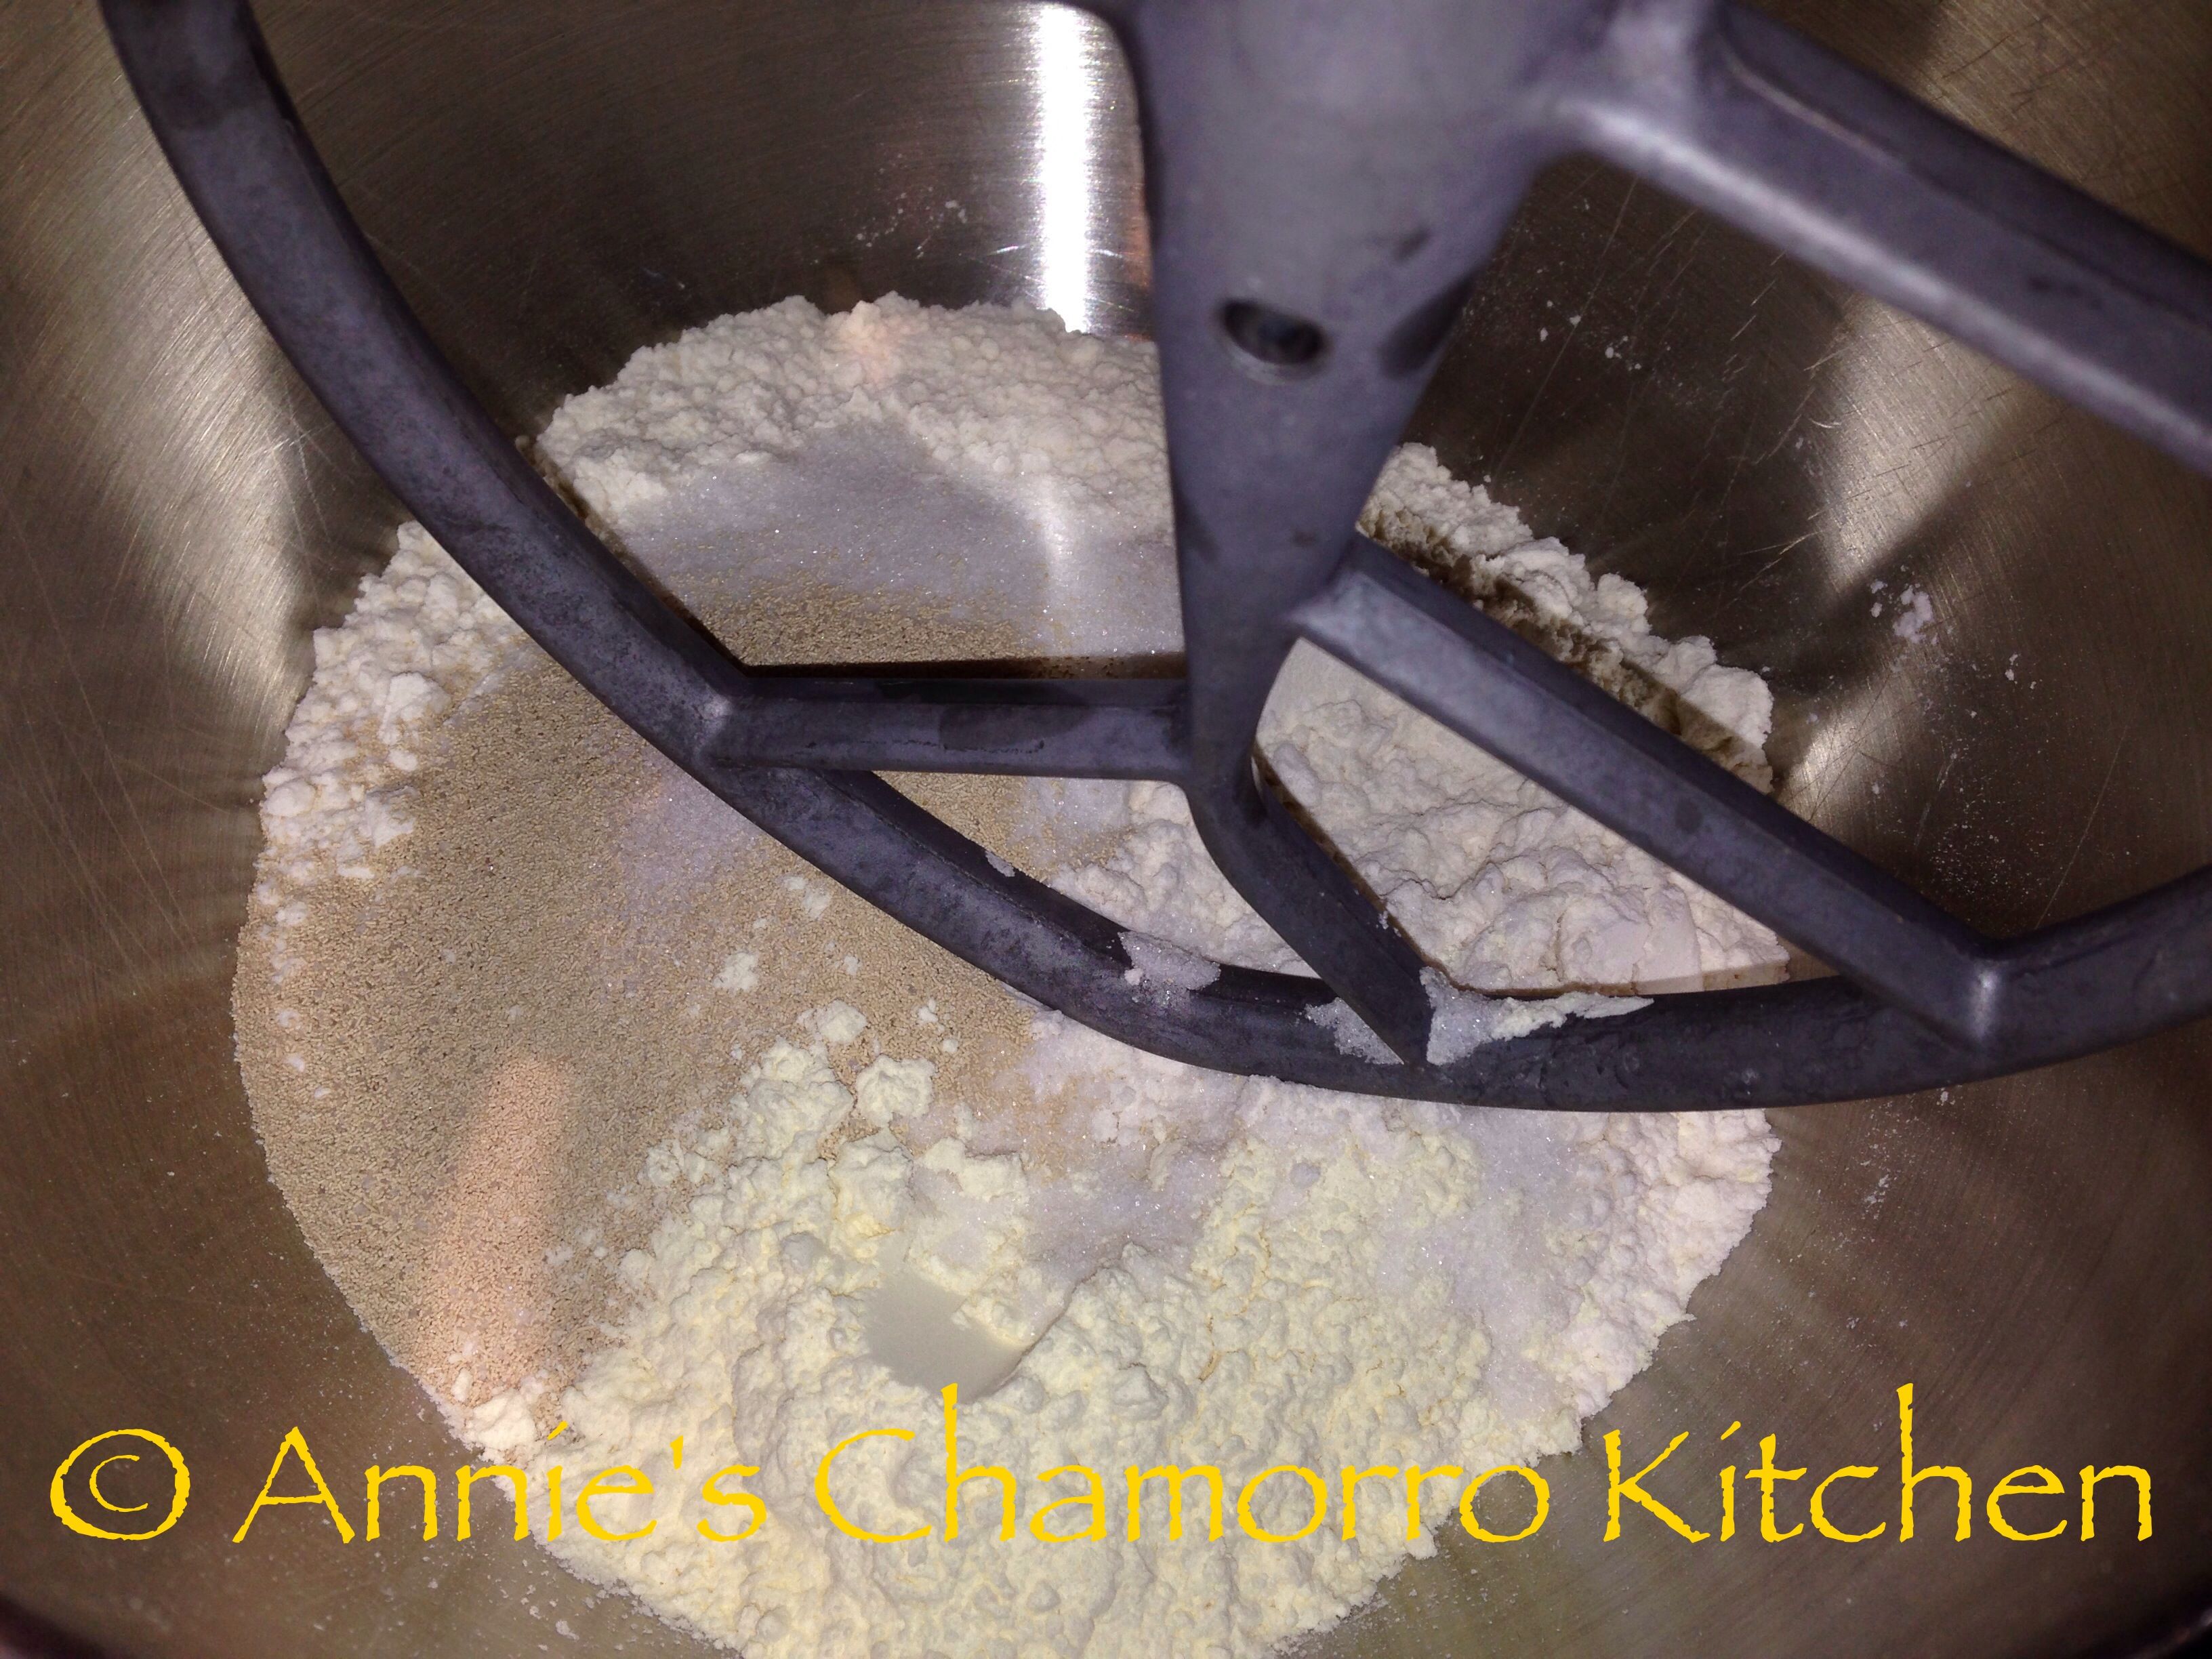
Place all but 1/4 cup of flour into the bowl of your stand mixer fitted with the paddle attachment. Save the extra flour for use later.
Add the sugar to the mixing bowl.
Add the rapid rise yeast.
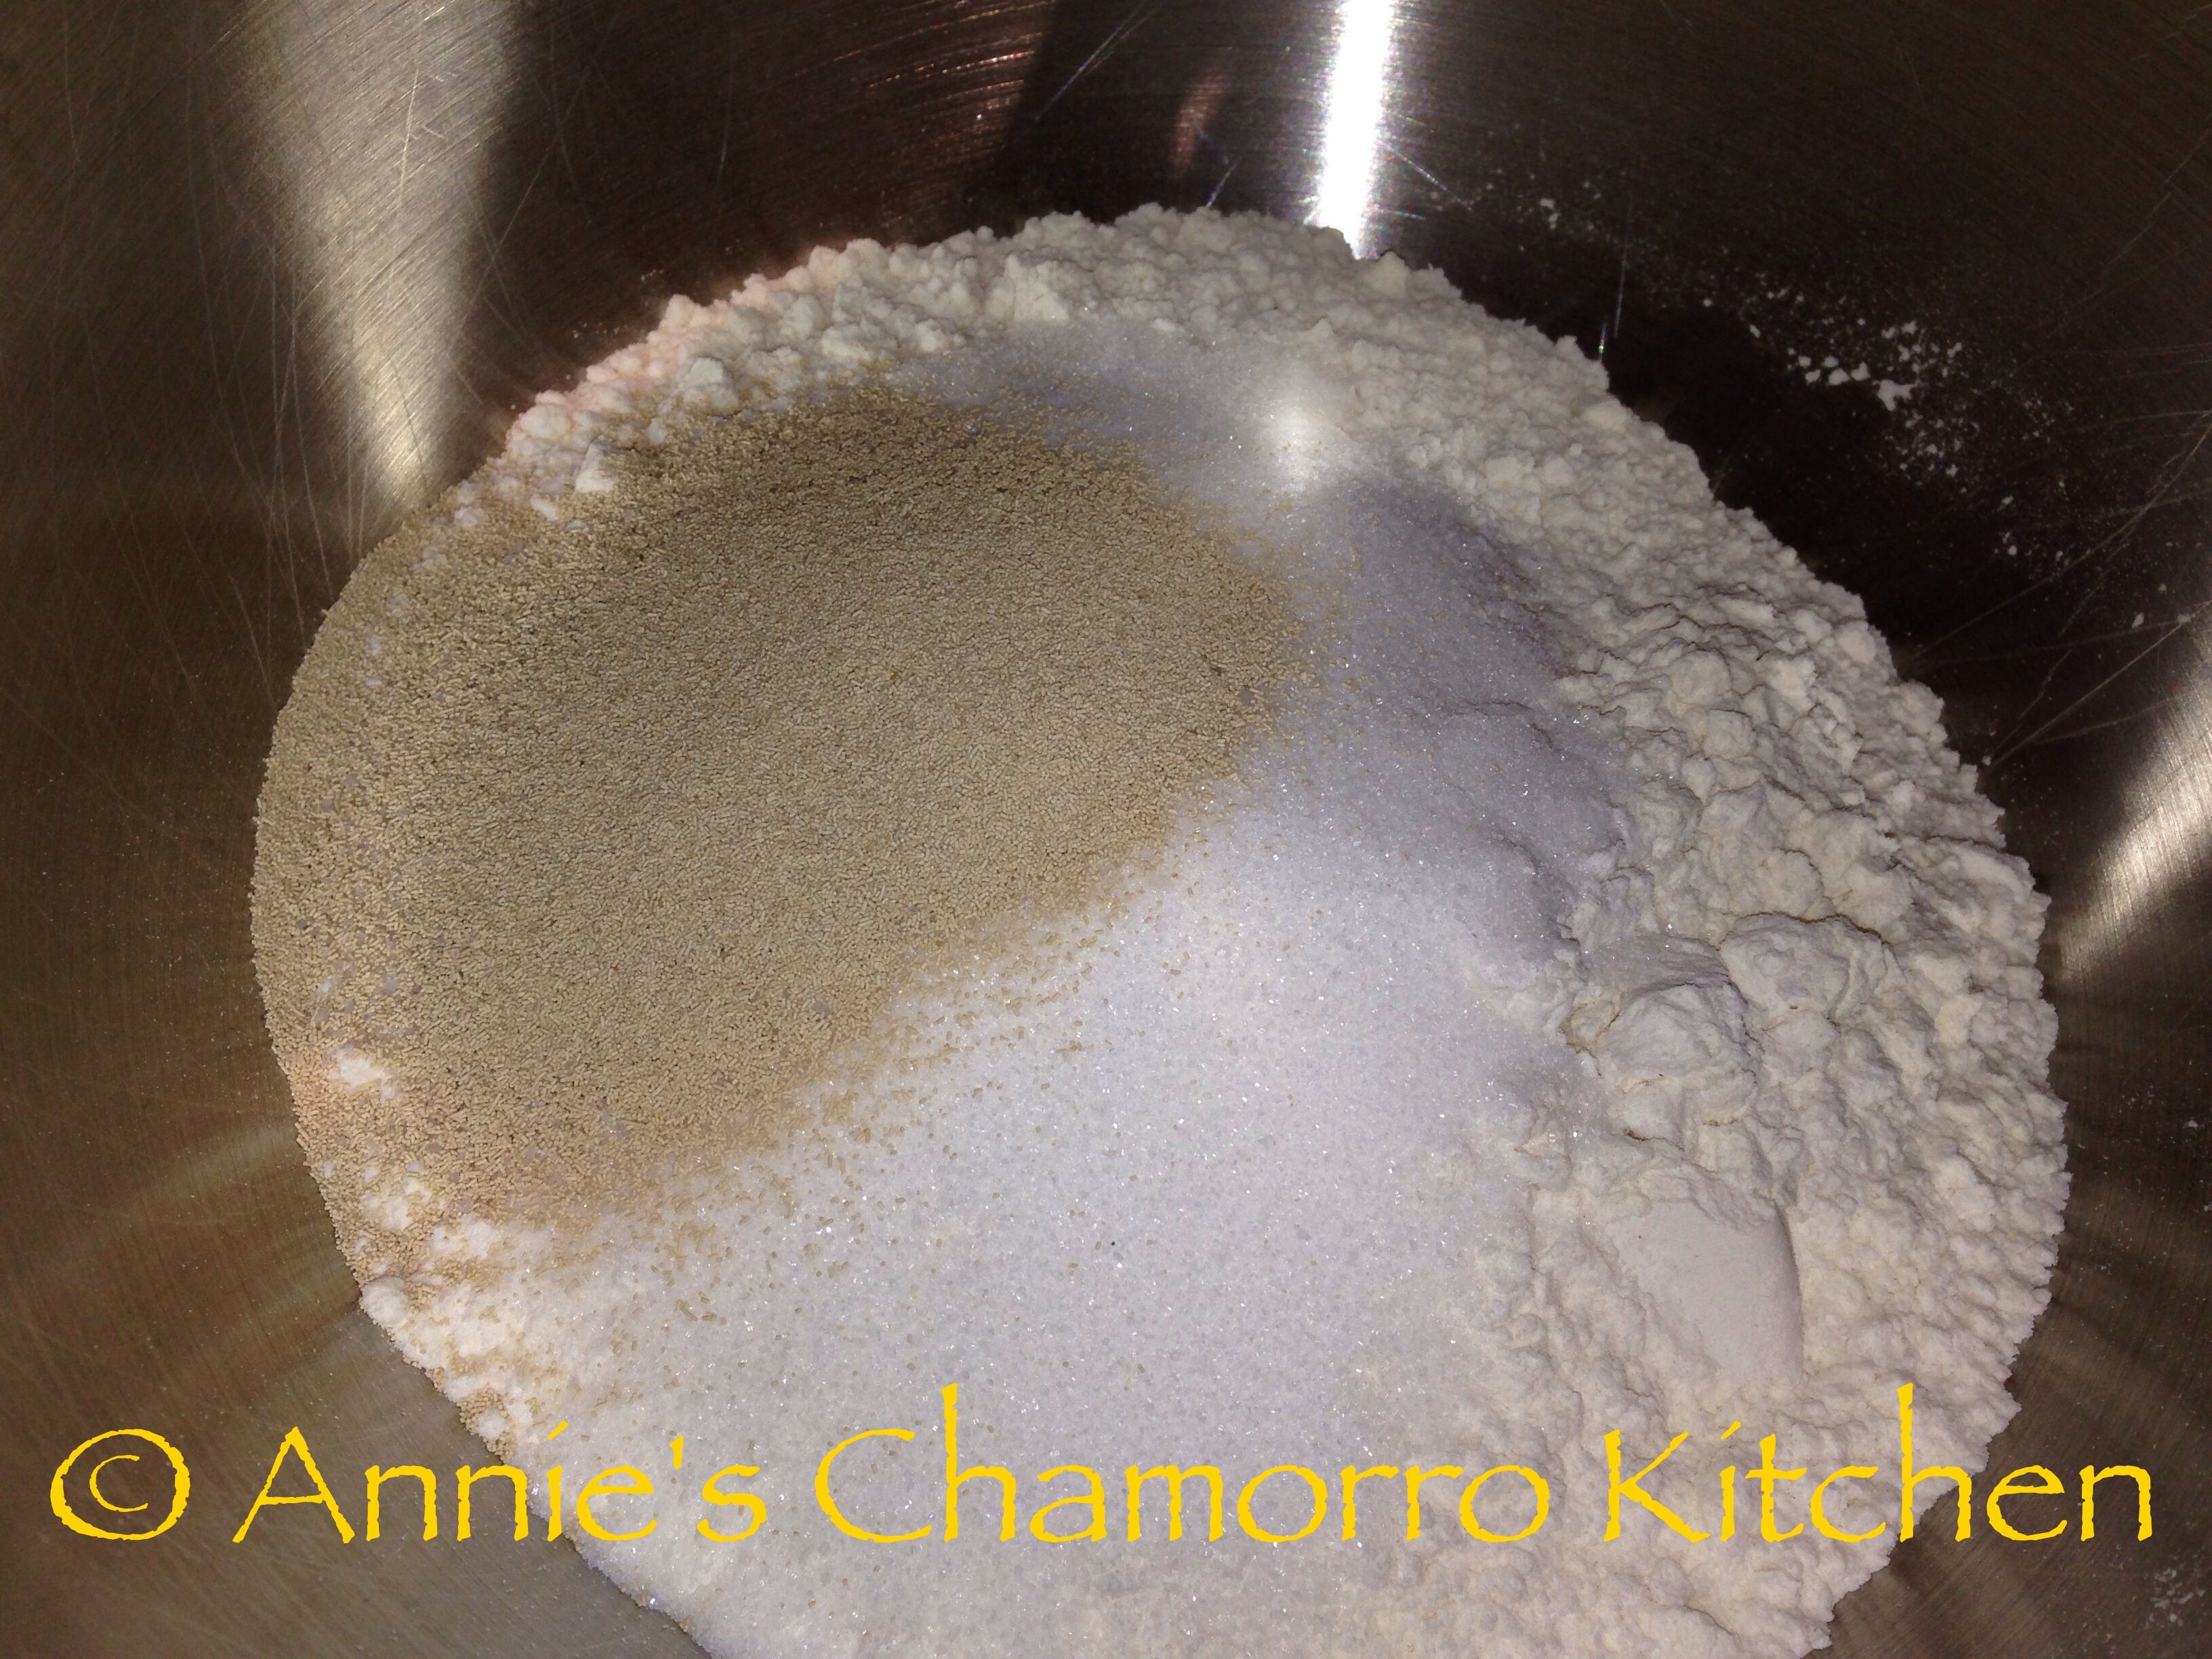
Add a pinch of salt.
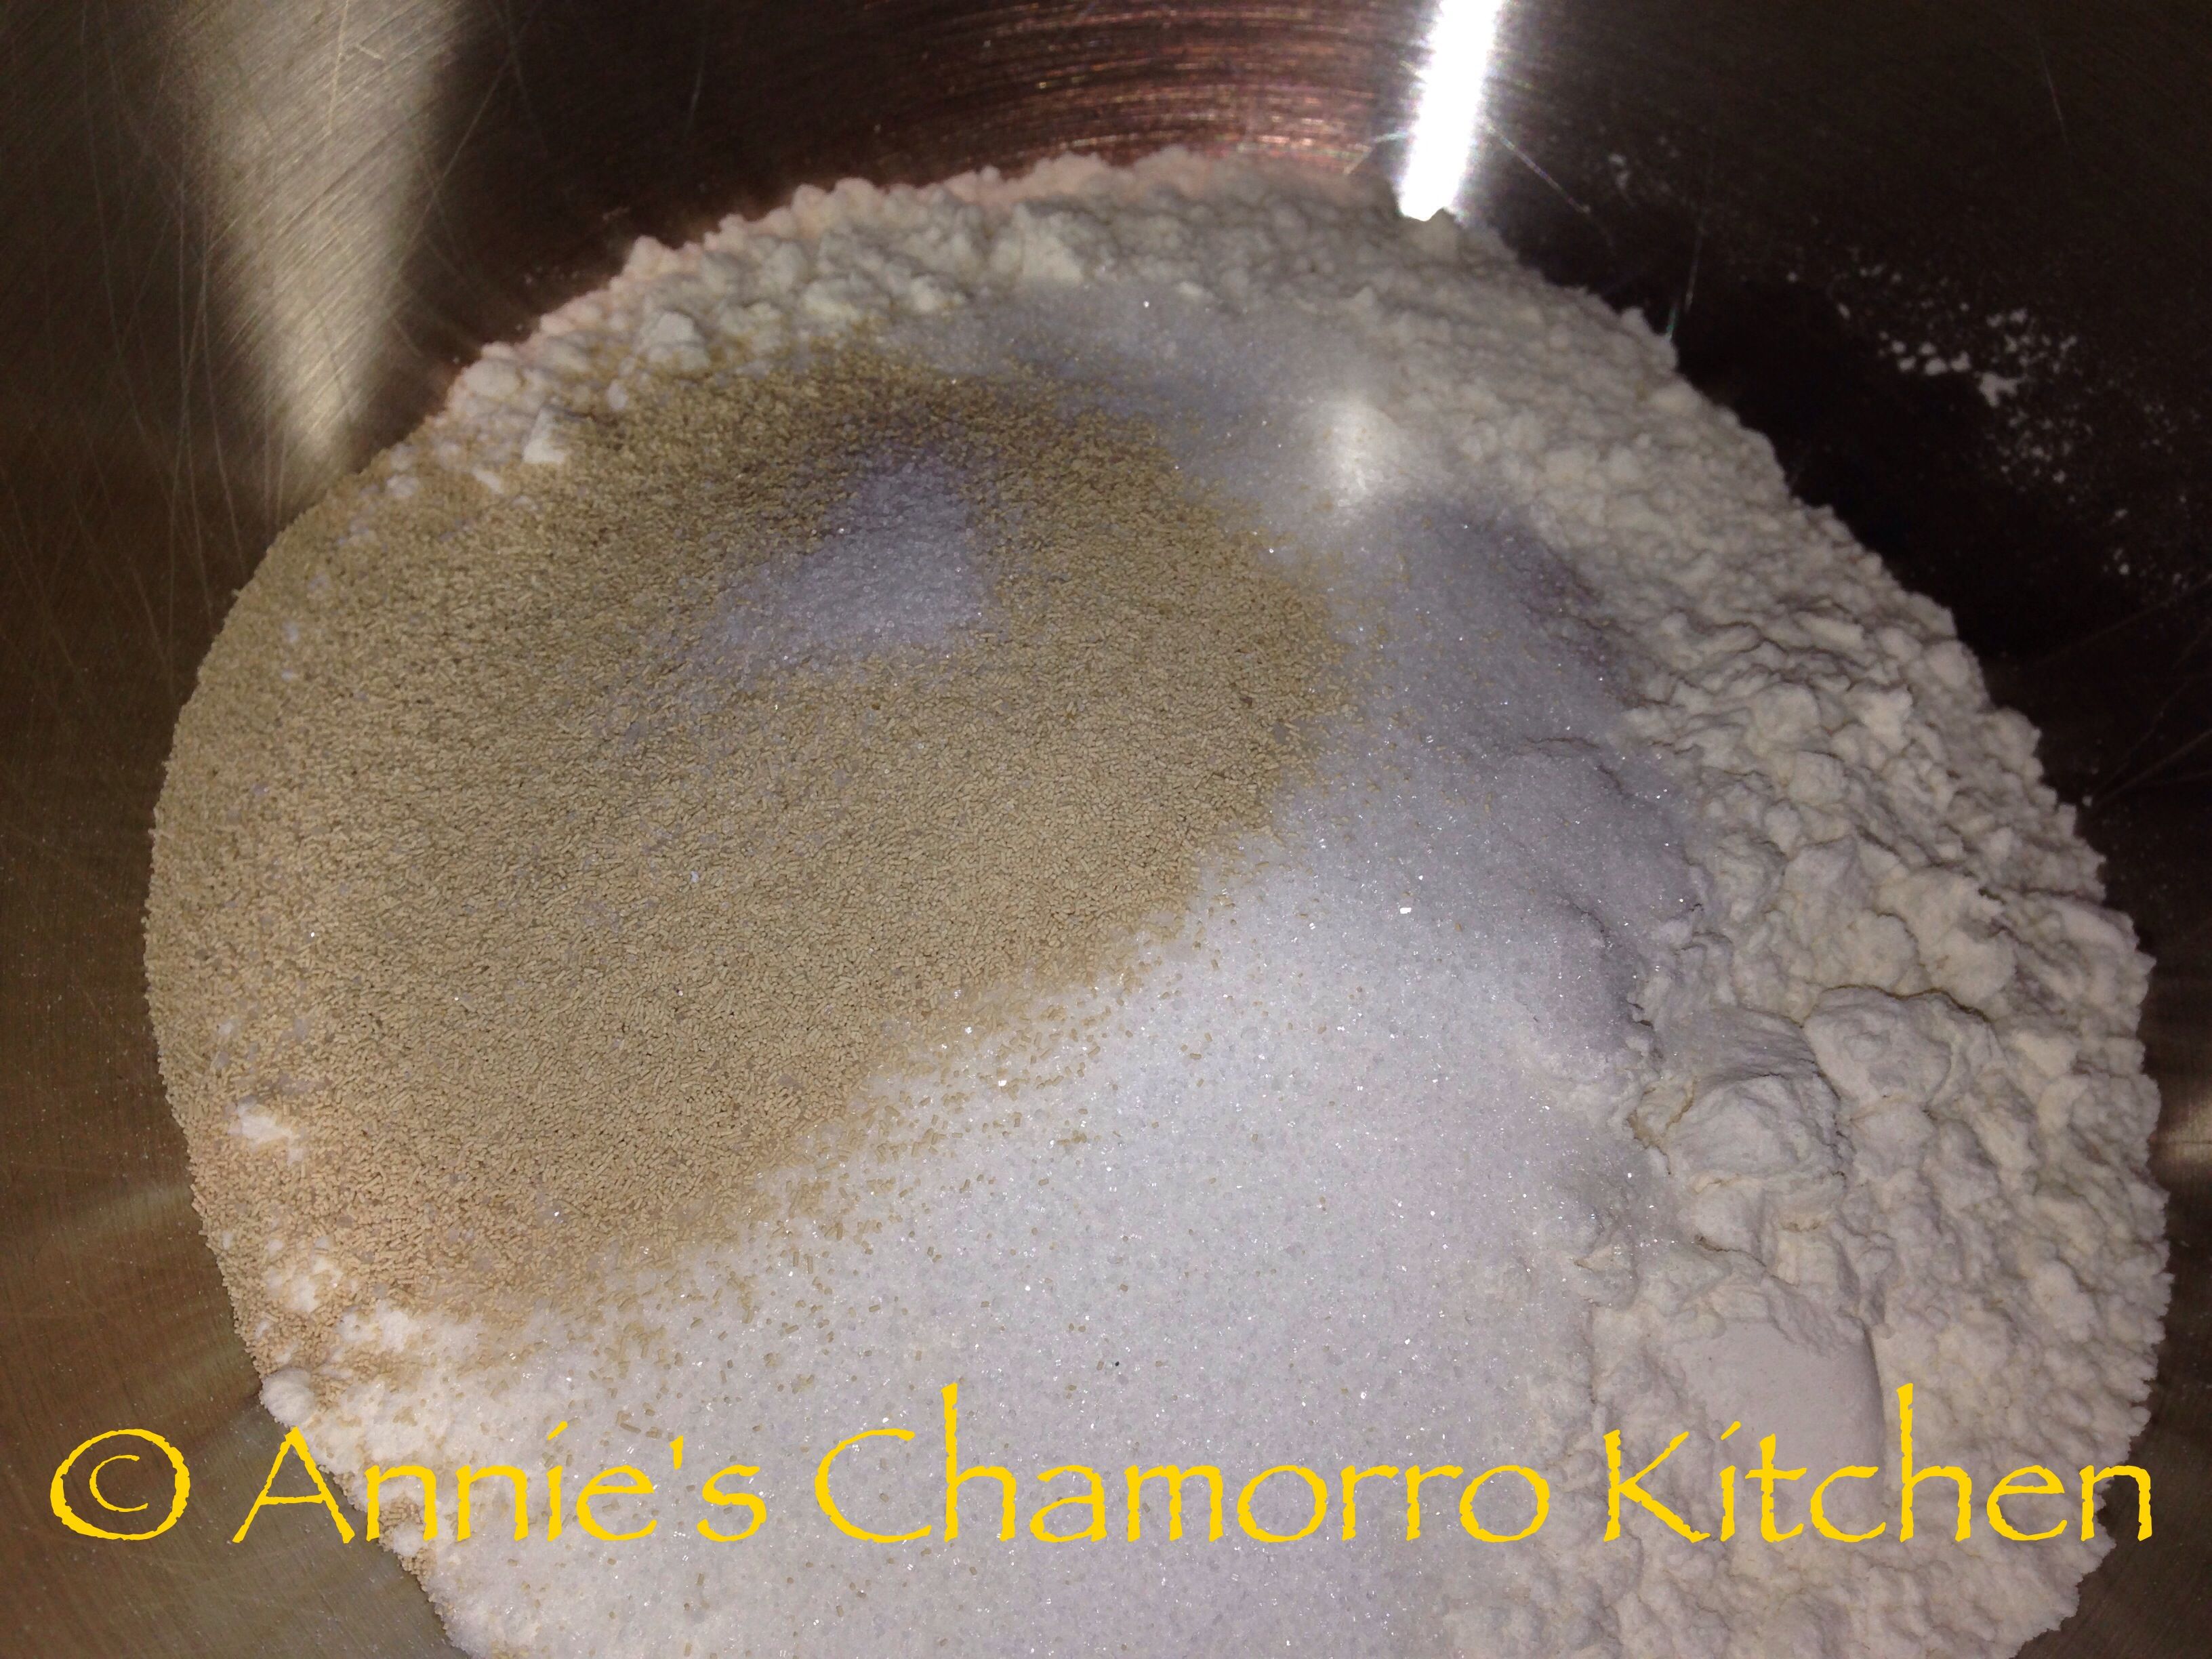
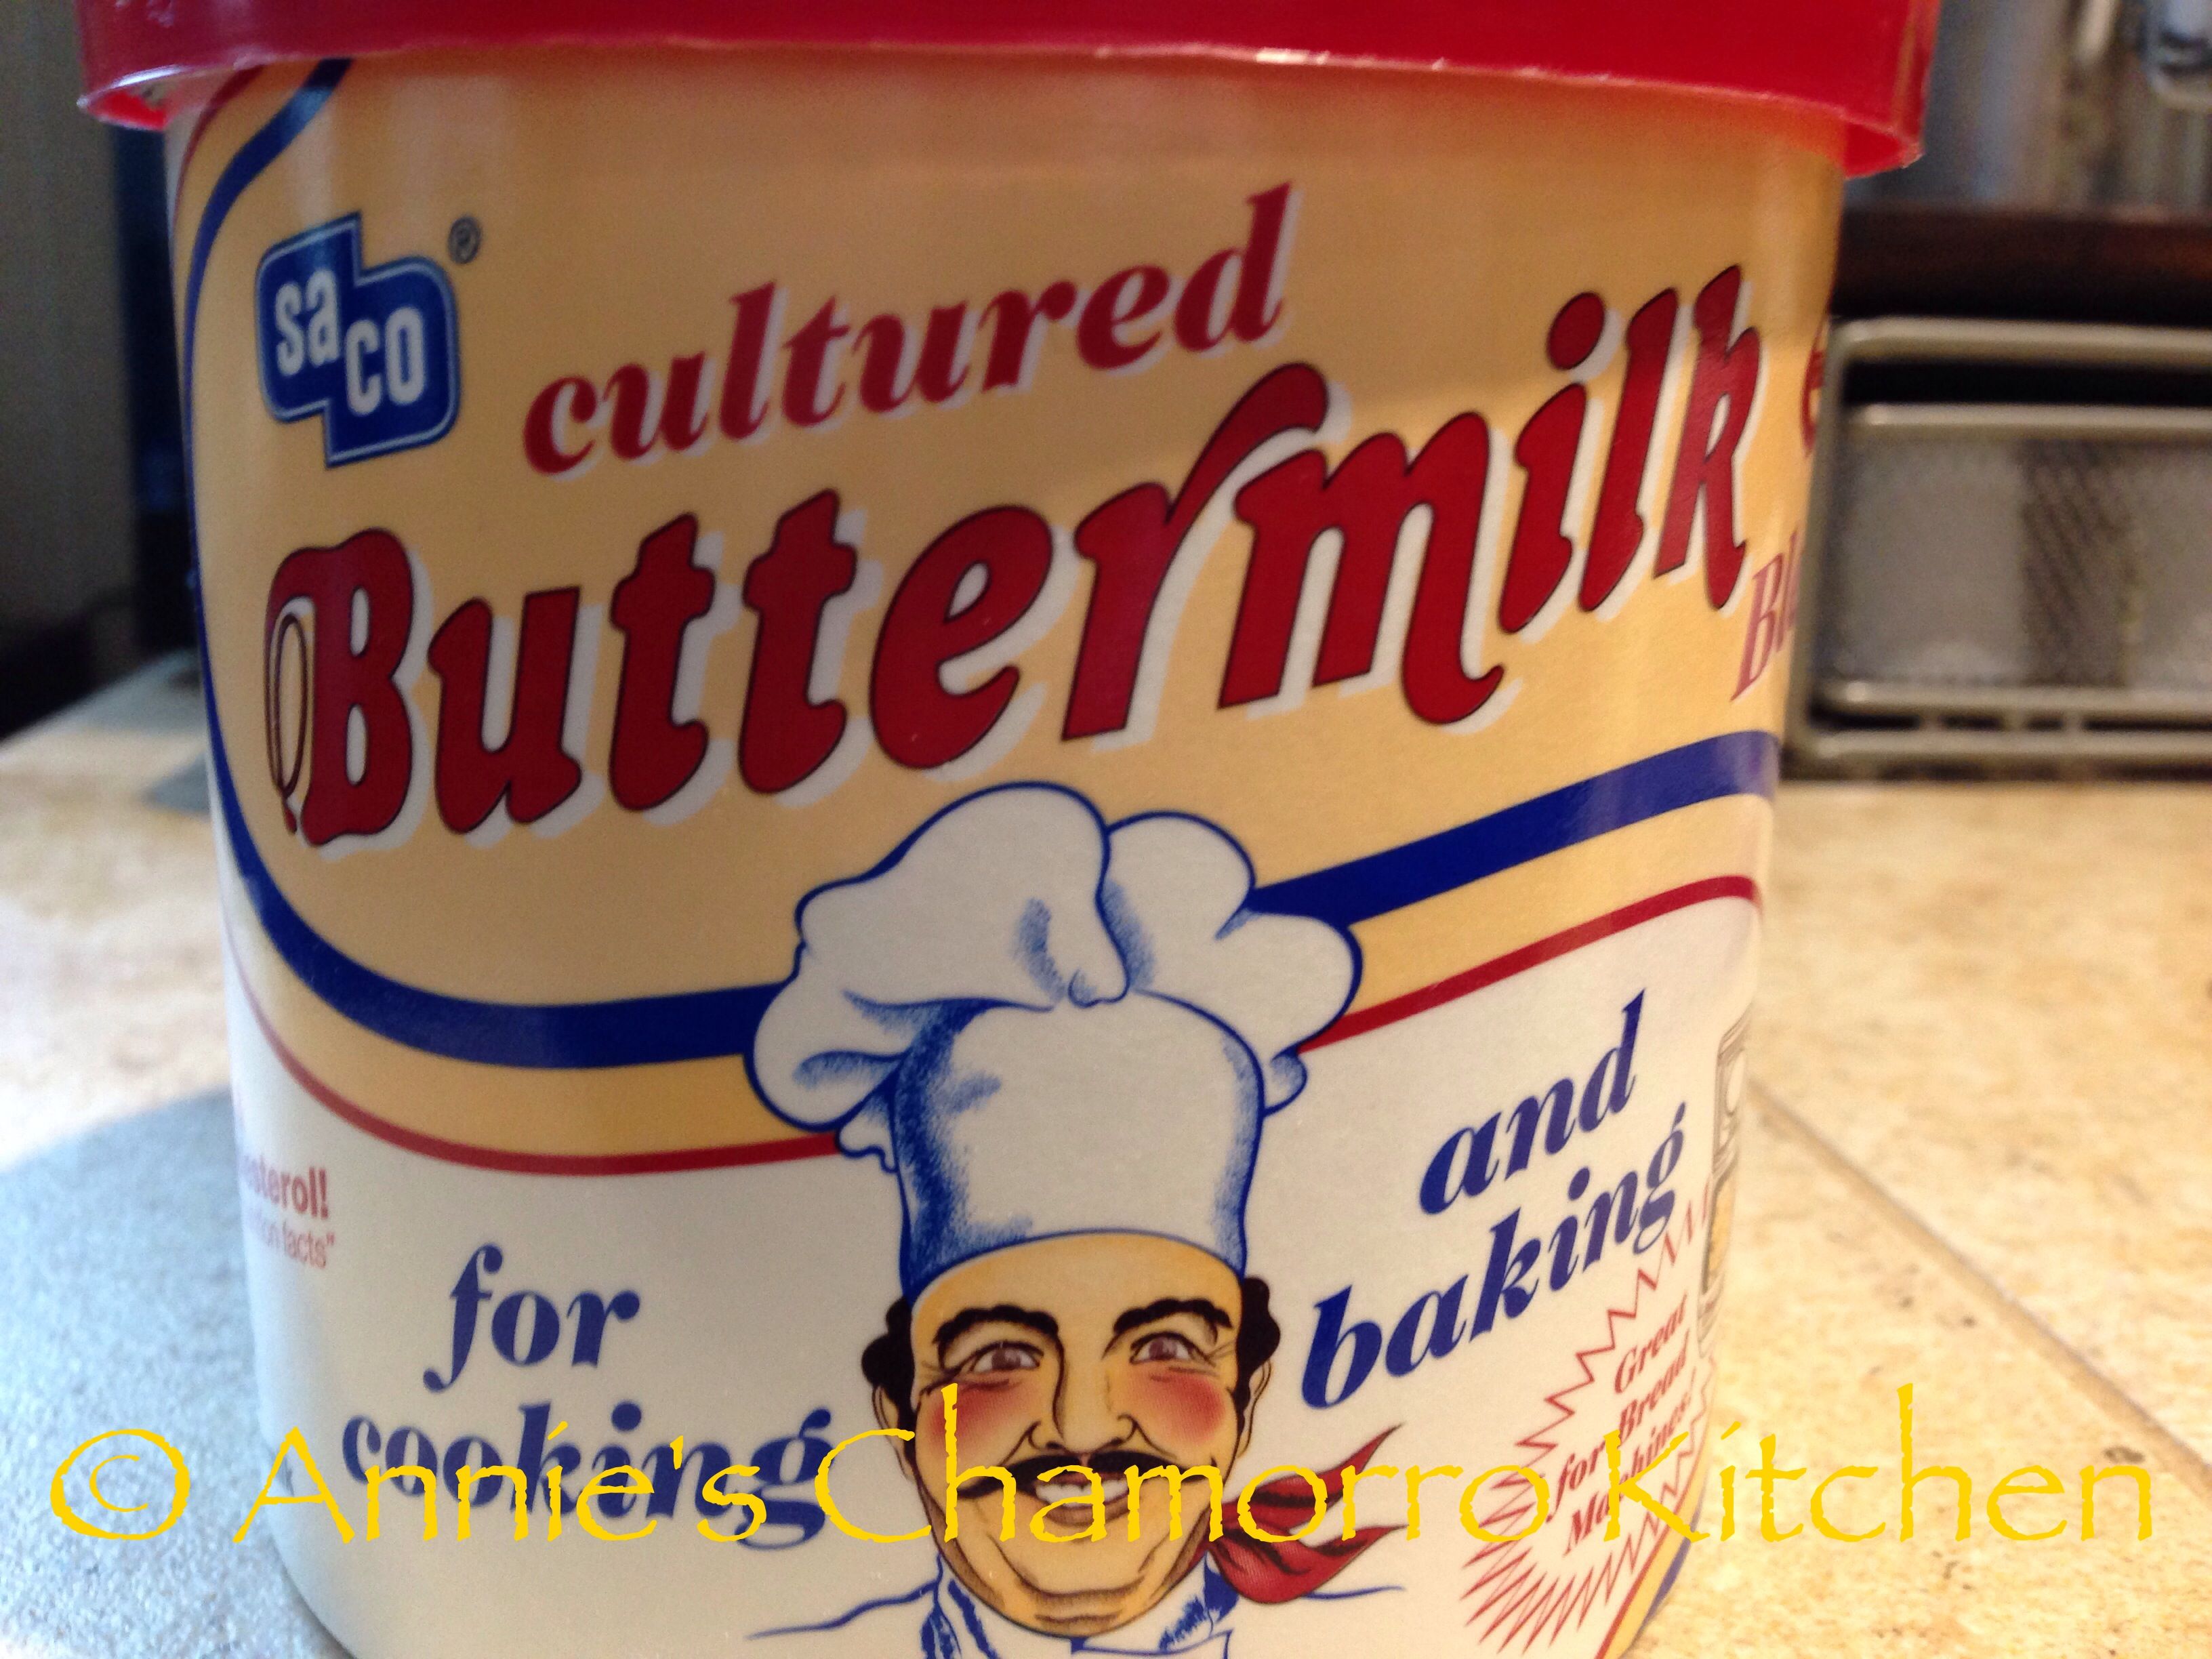
Add the buttermilk powder.
This is what the container of buttermillk powder looks like. You can find it in the baking aisle of your grocery store. If you can’t find buttermilk powder, substitute the powder and warm water with regular (liquid) buttermilk (found in the dairy section). Heat the buttermilk as you would the water, adding the warmed buttermilk at the same time you add the melted butter and eggs (see below).
Using the paddle attachment of your stand mixer, mix on low speed to combine.
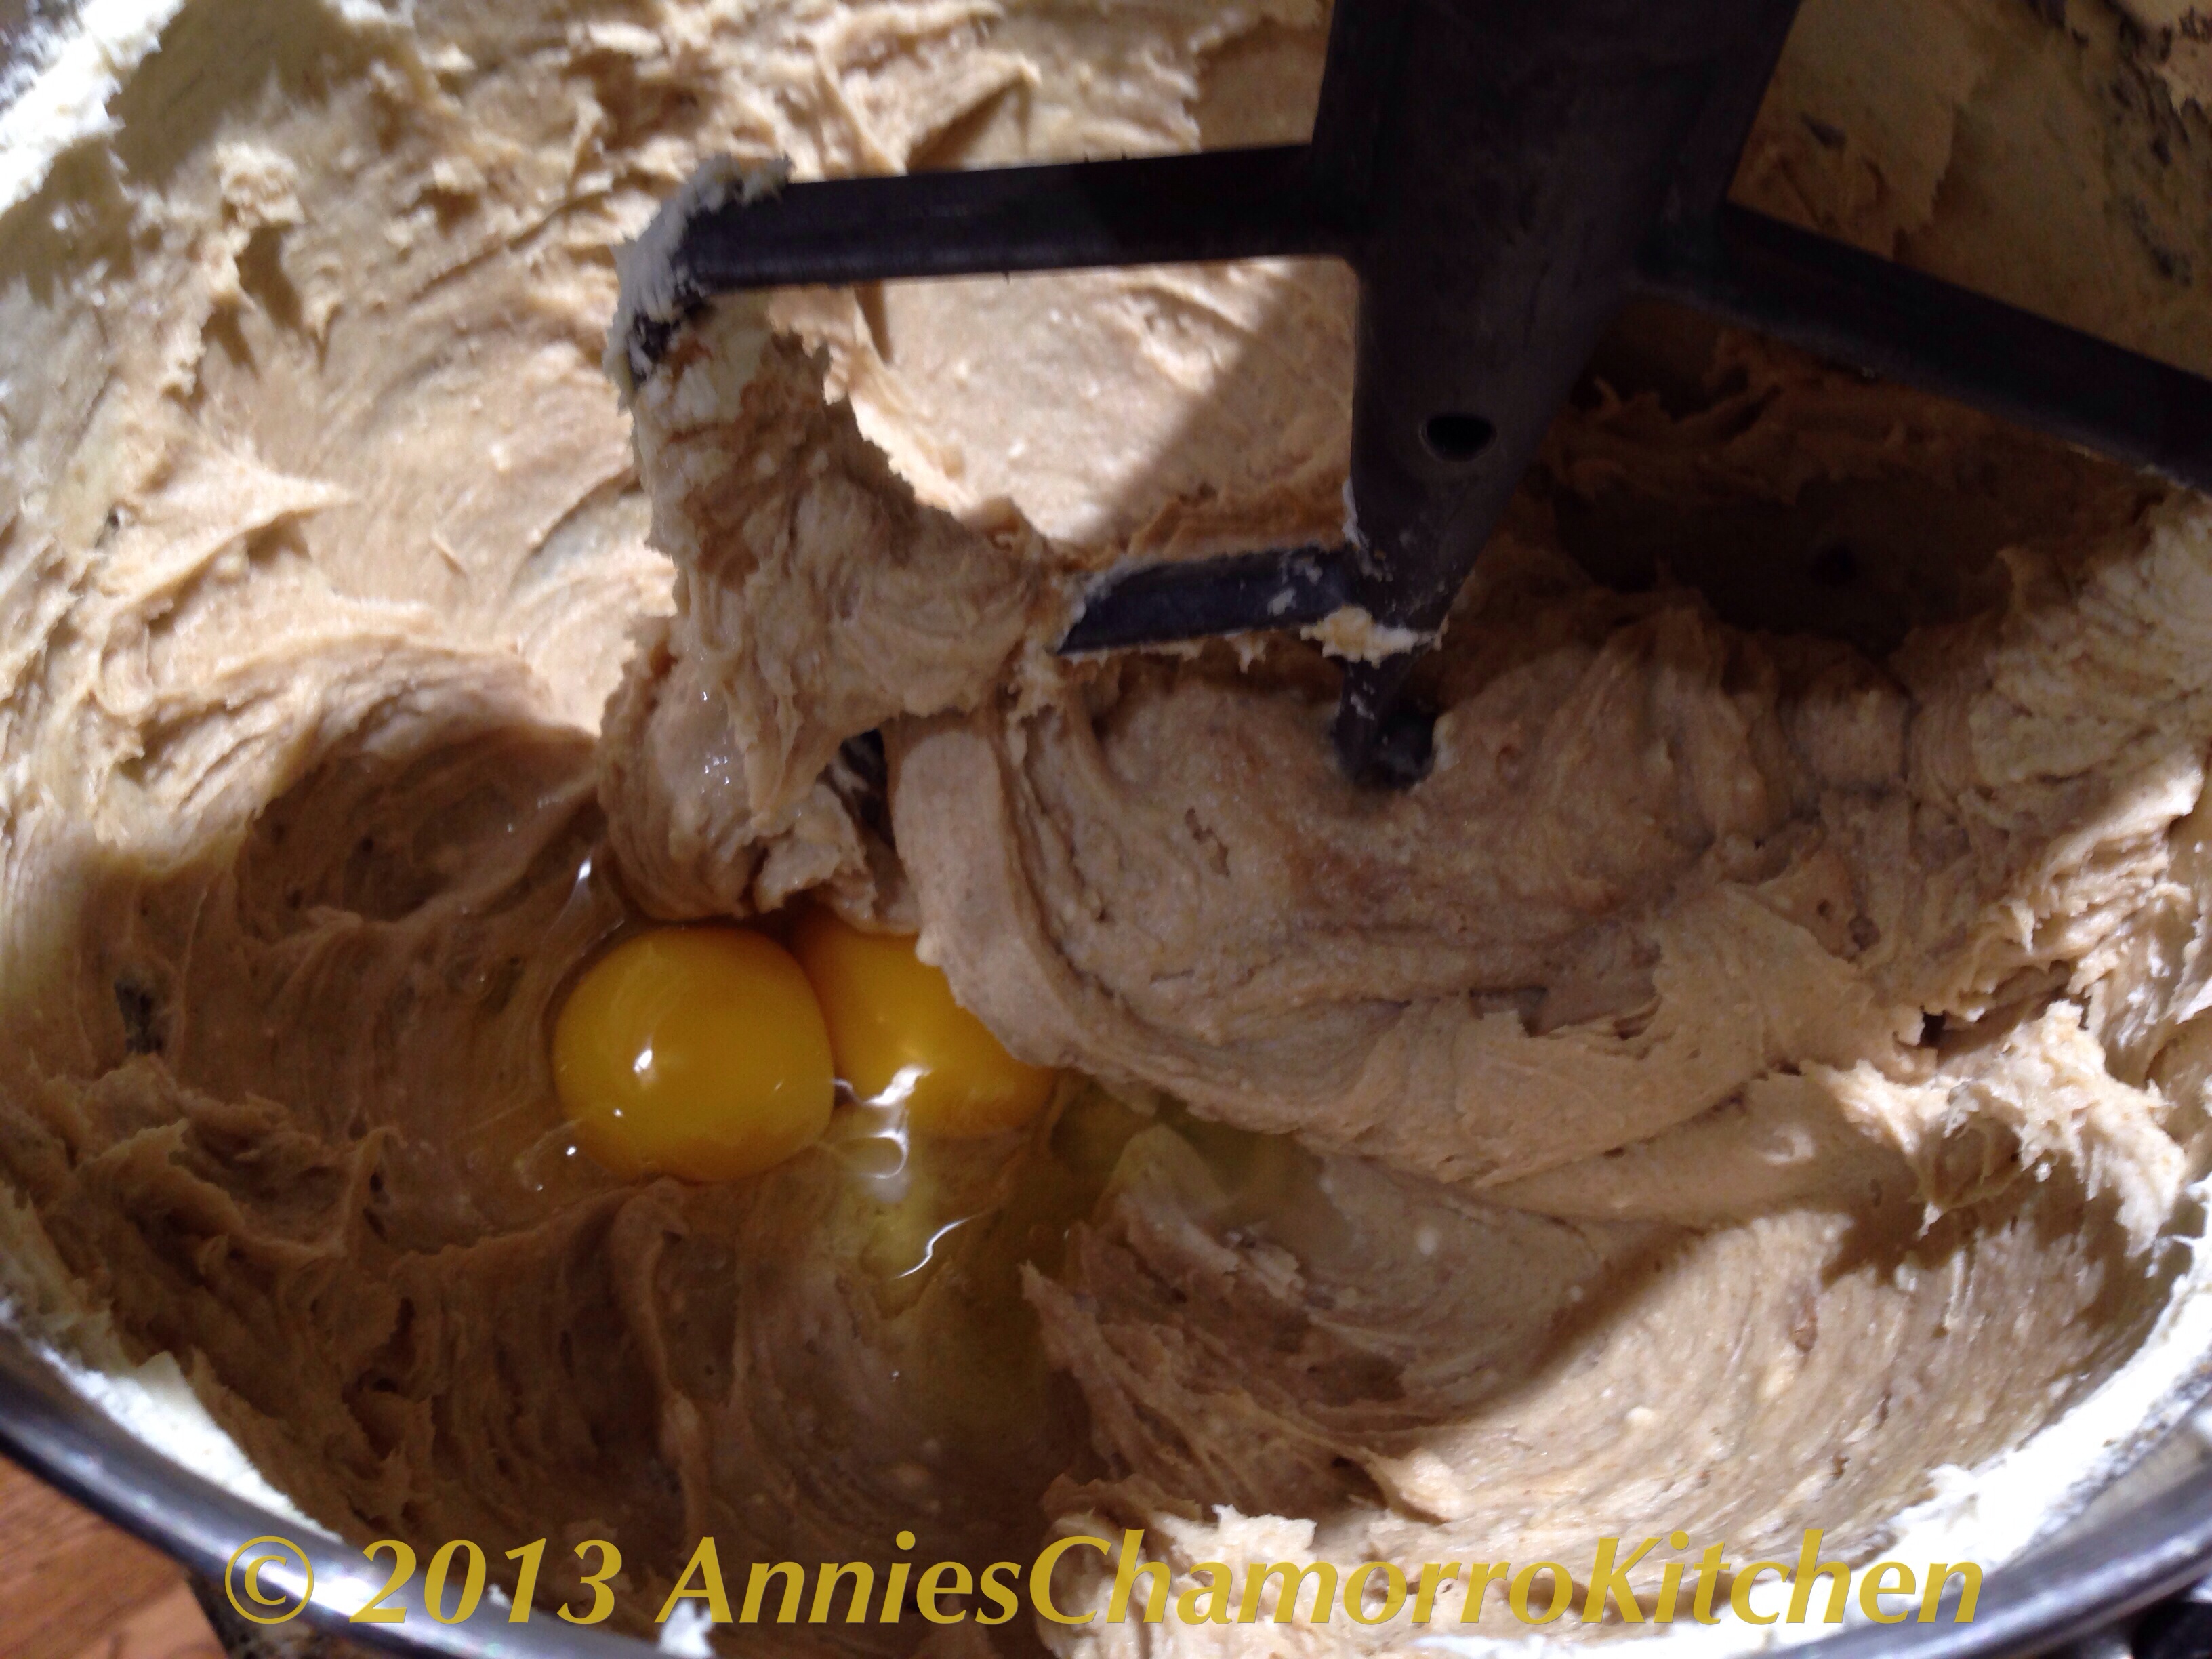
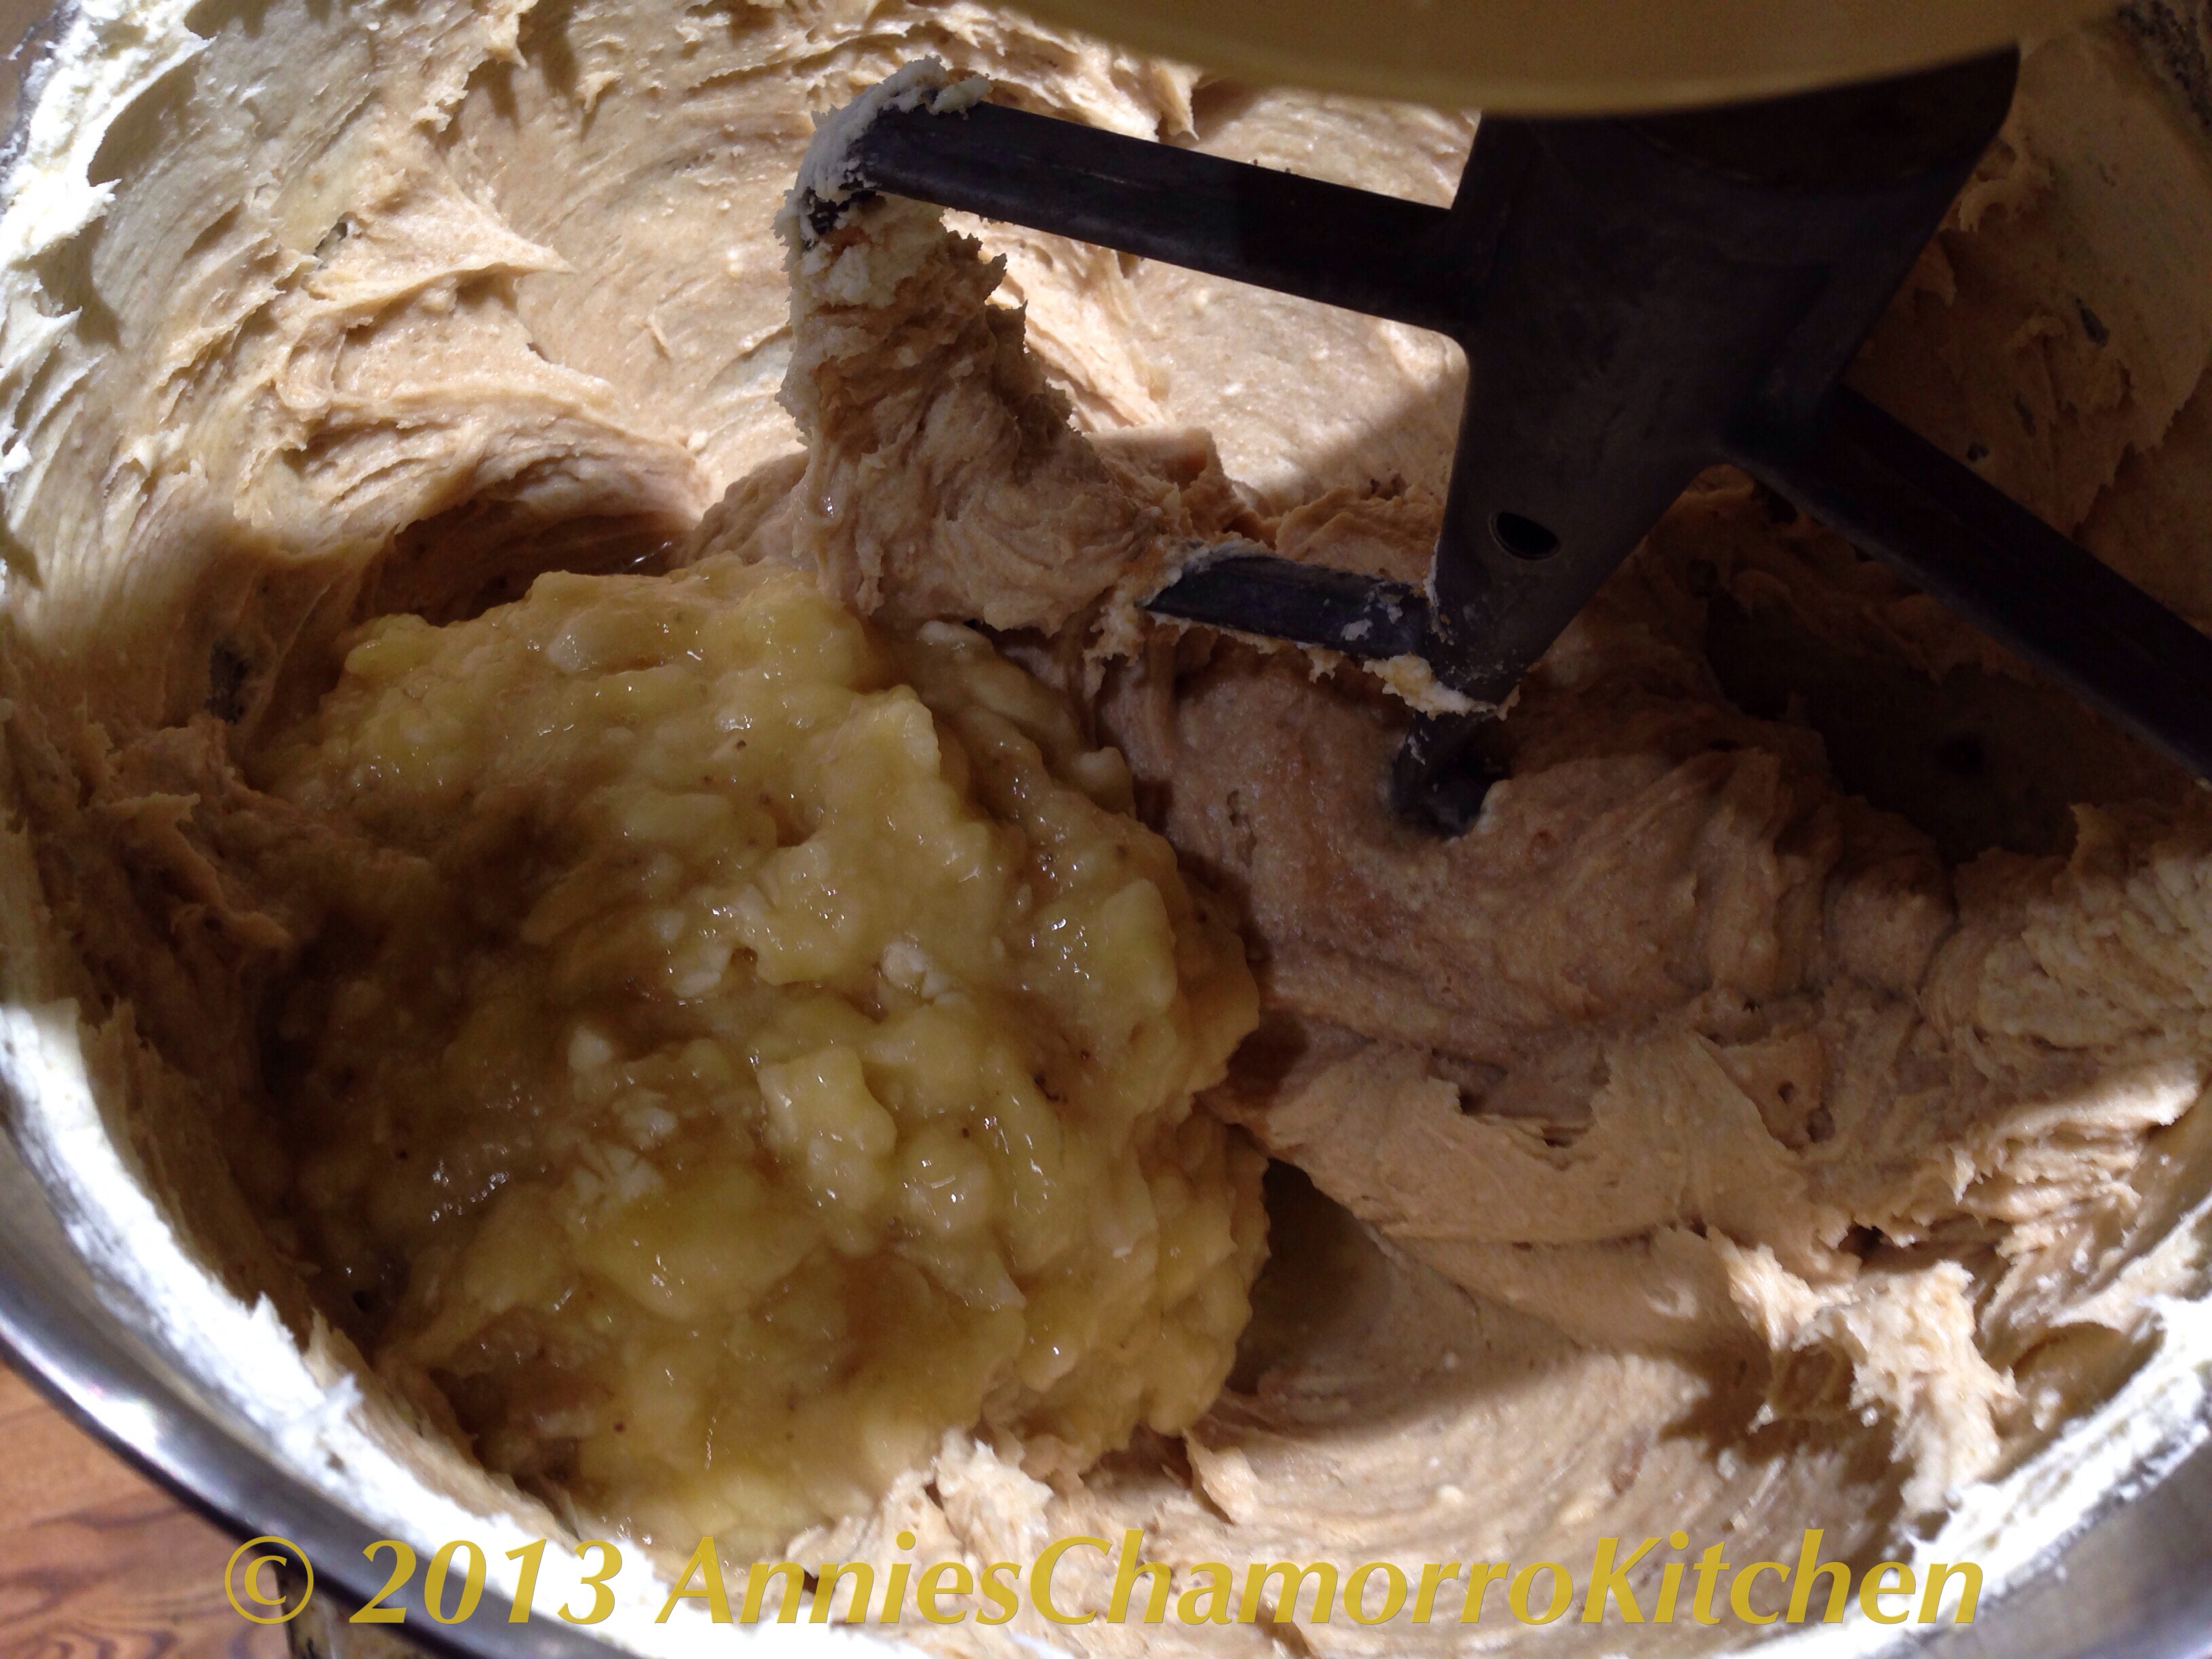
Add the melted butter to the mixing bowl.
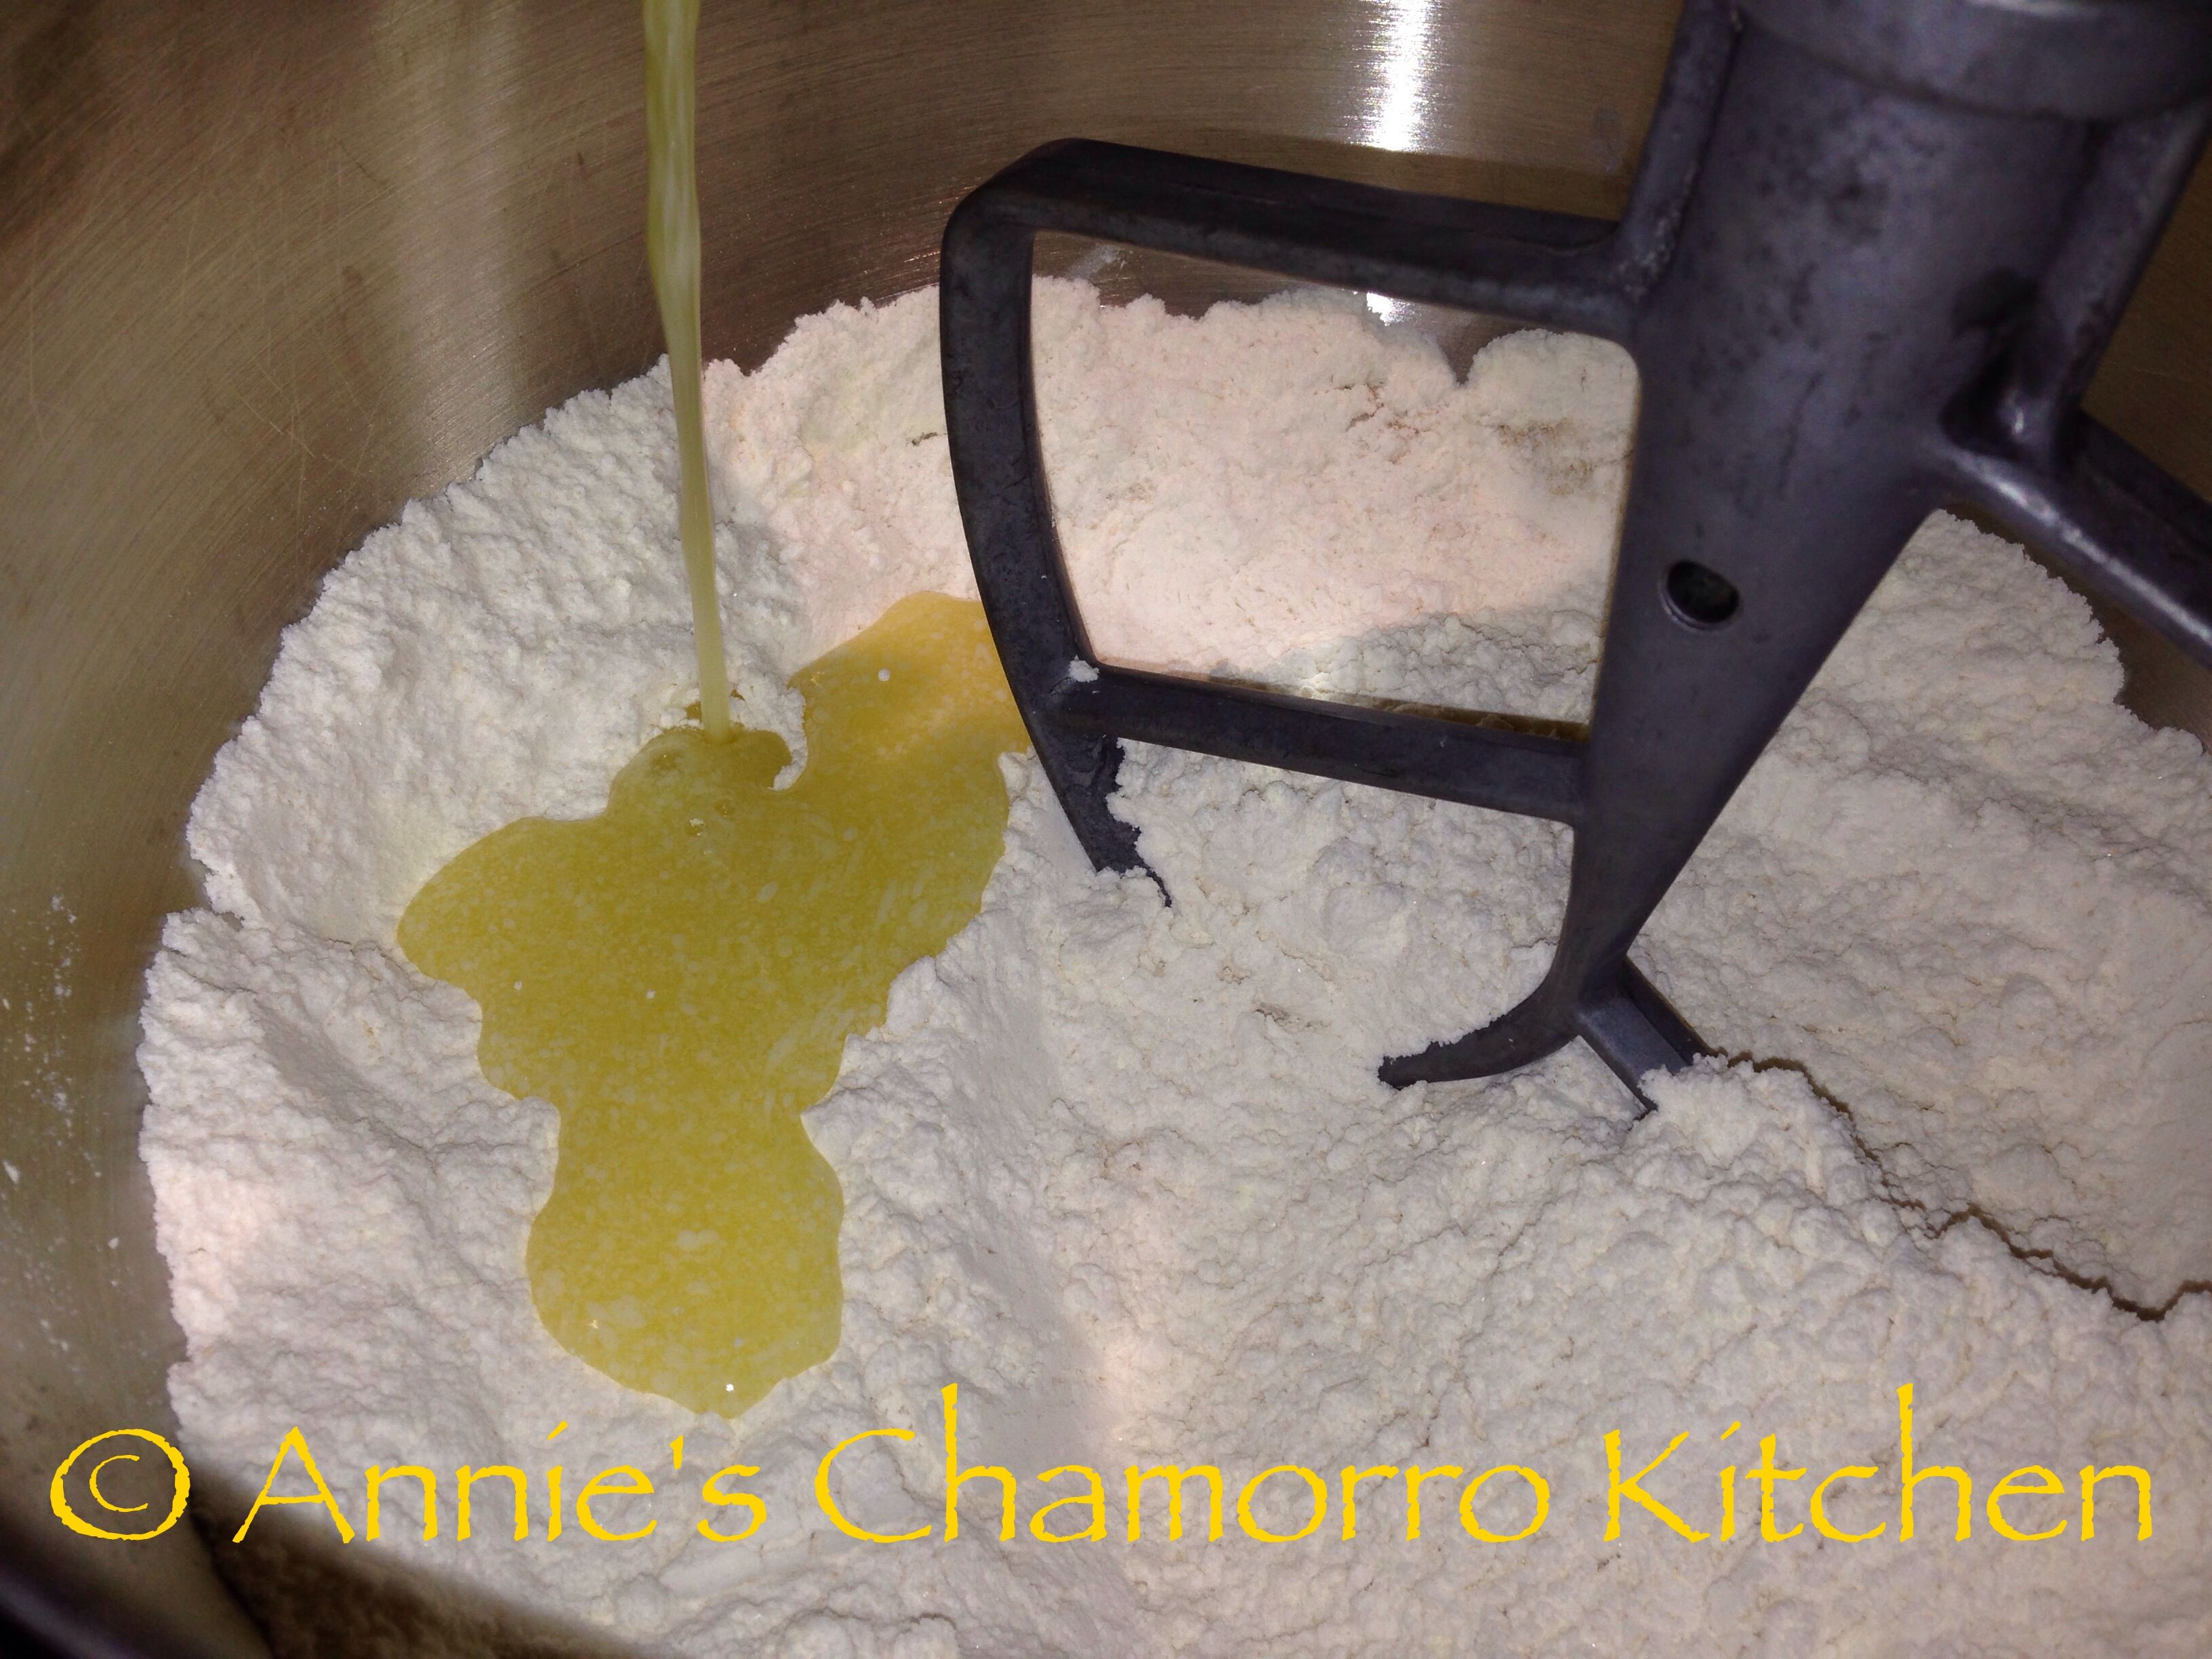
Add the beaten eggs.

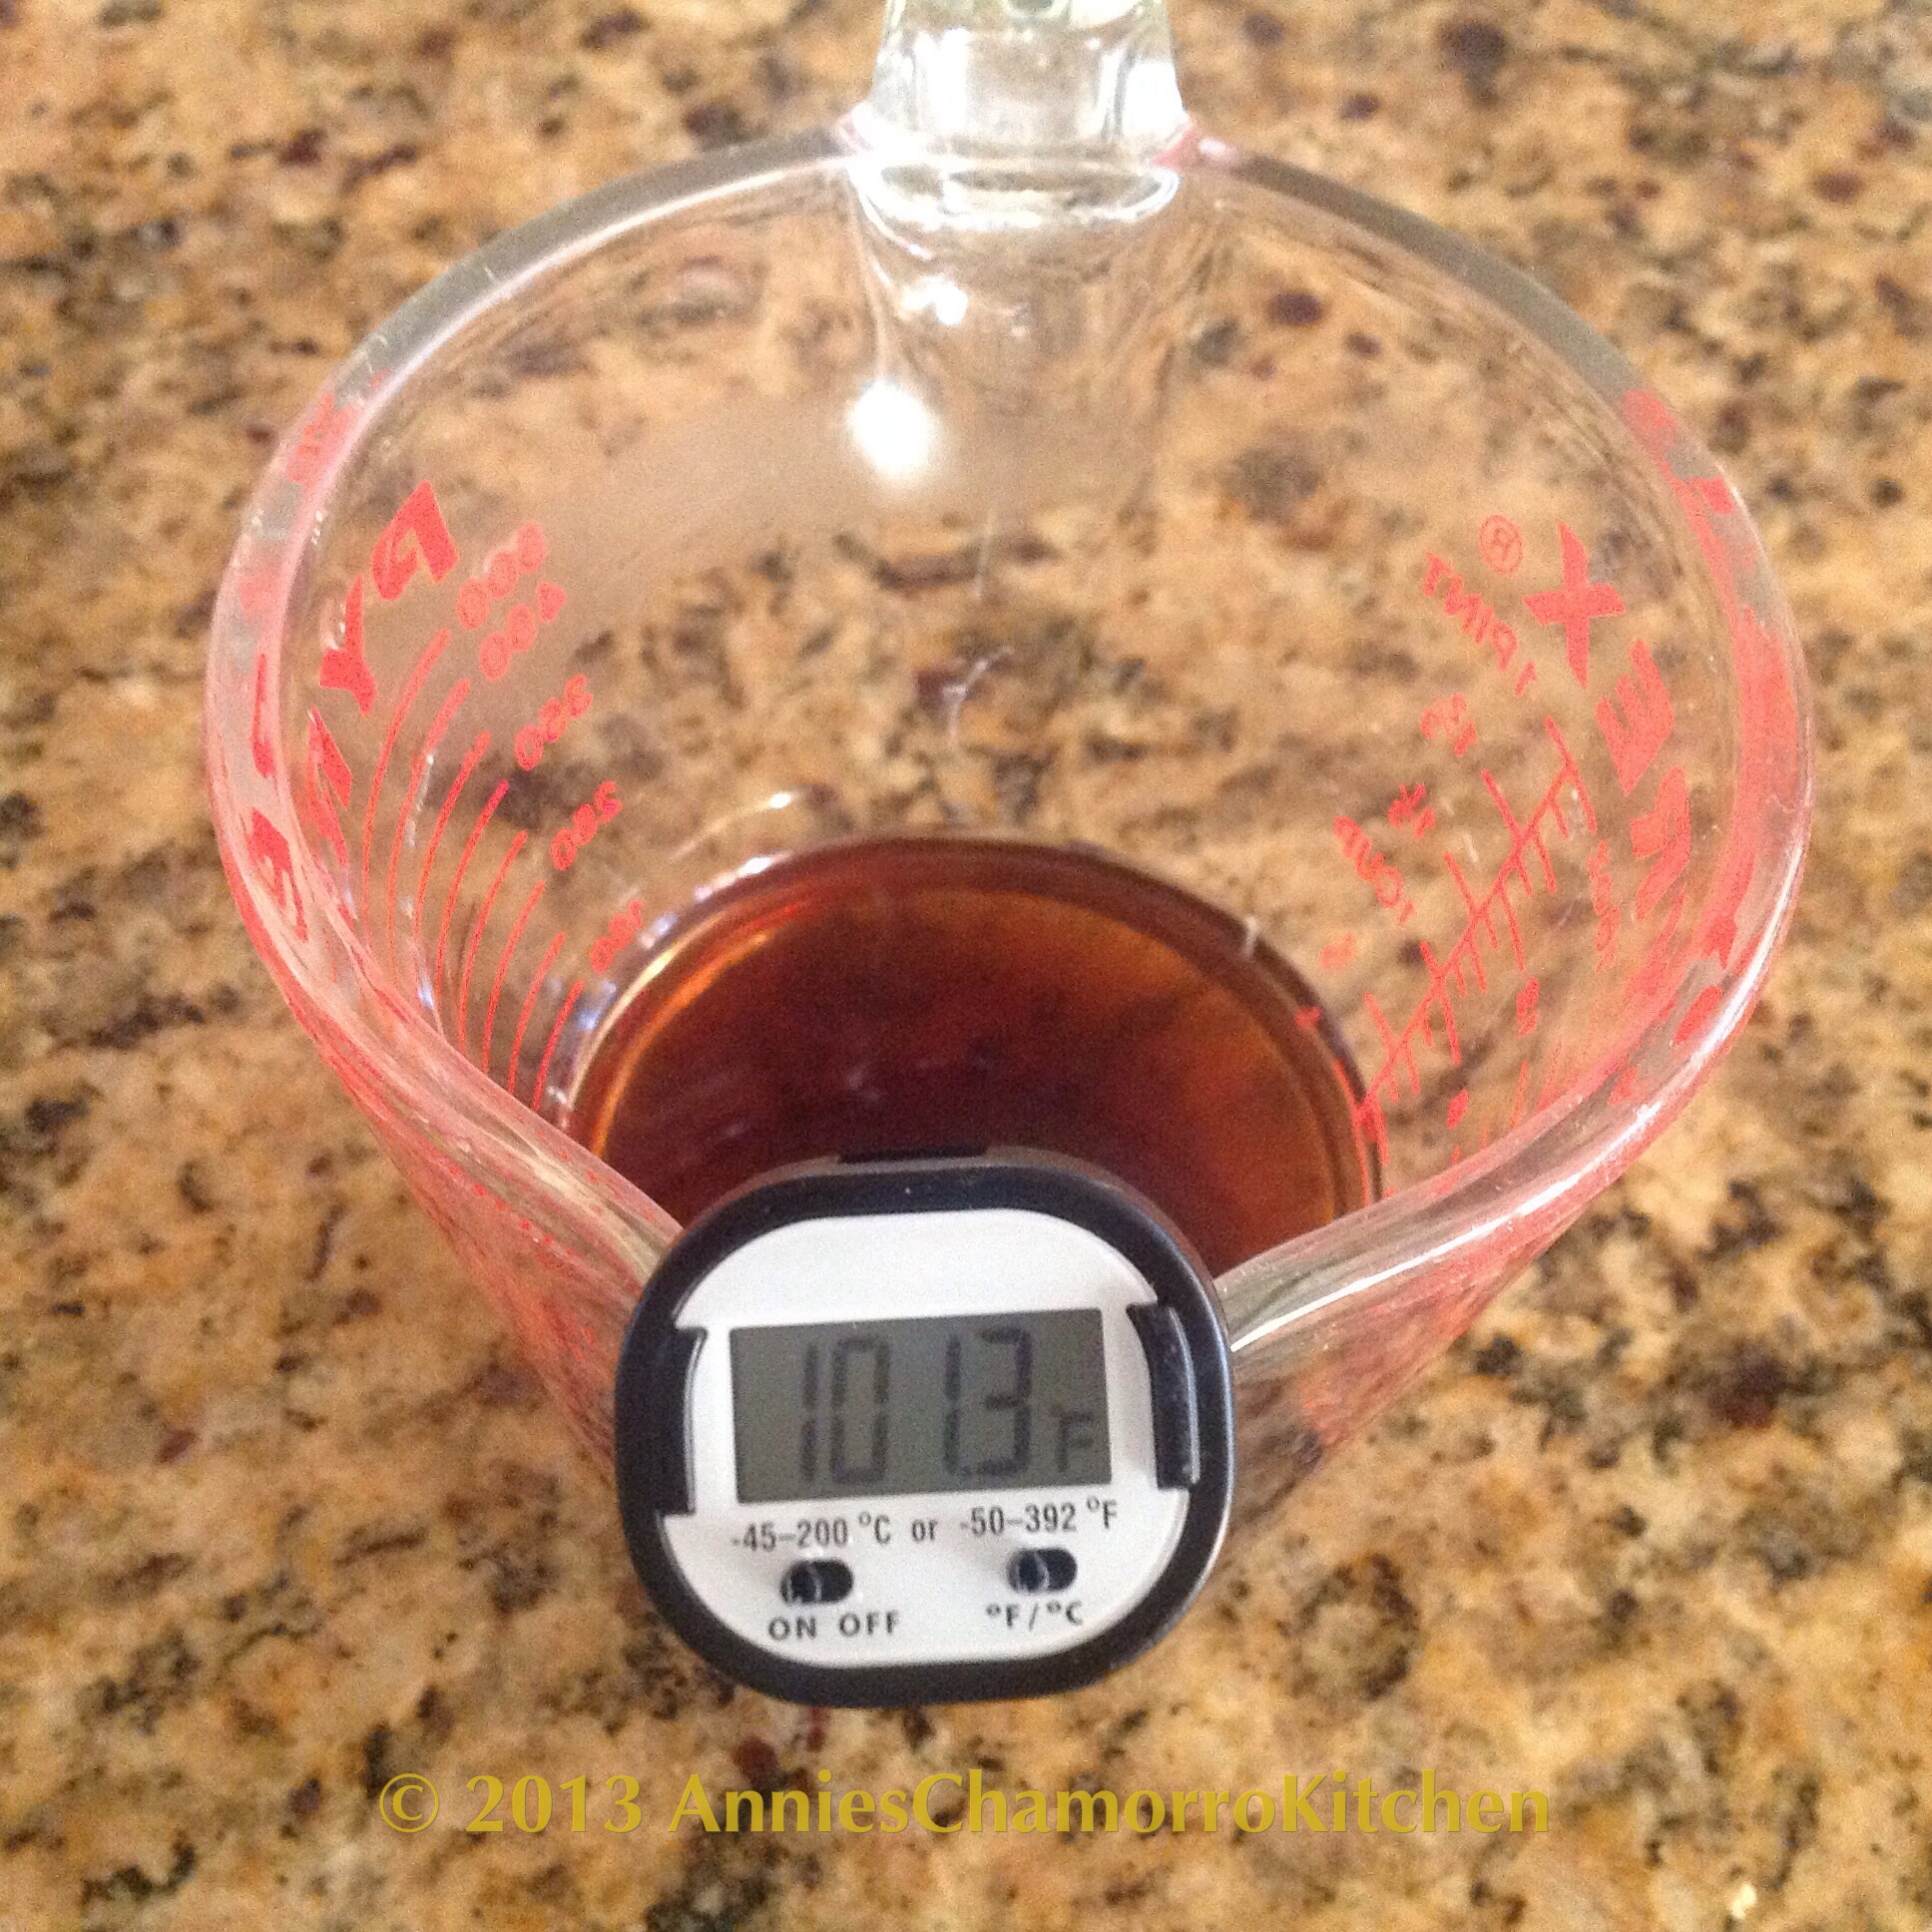
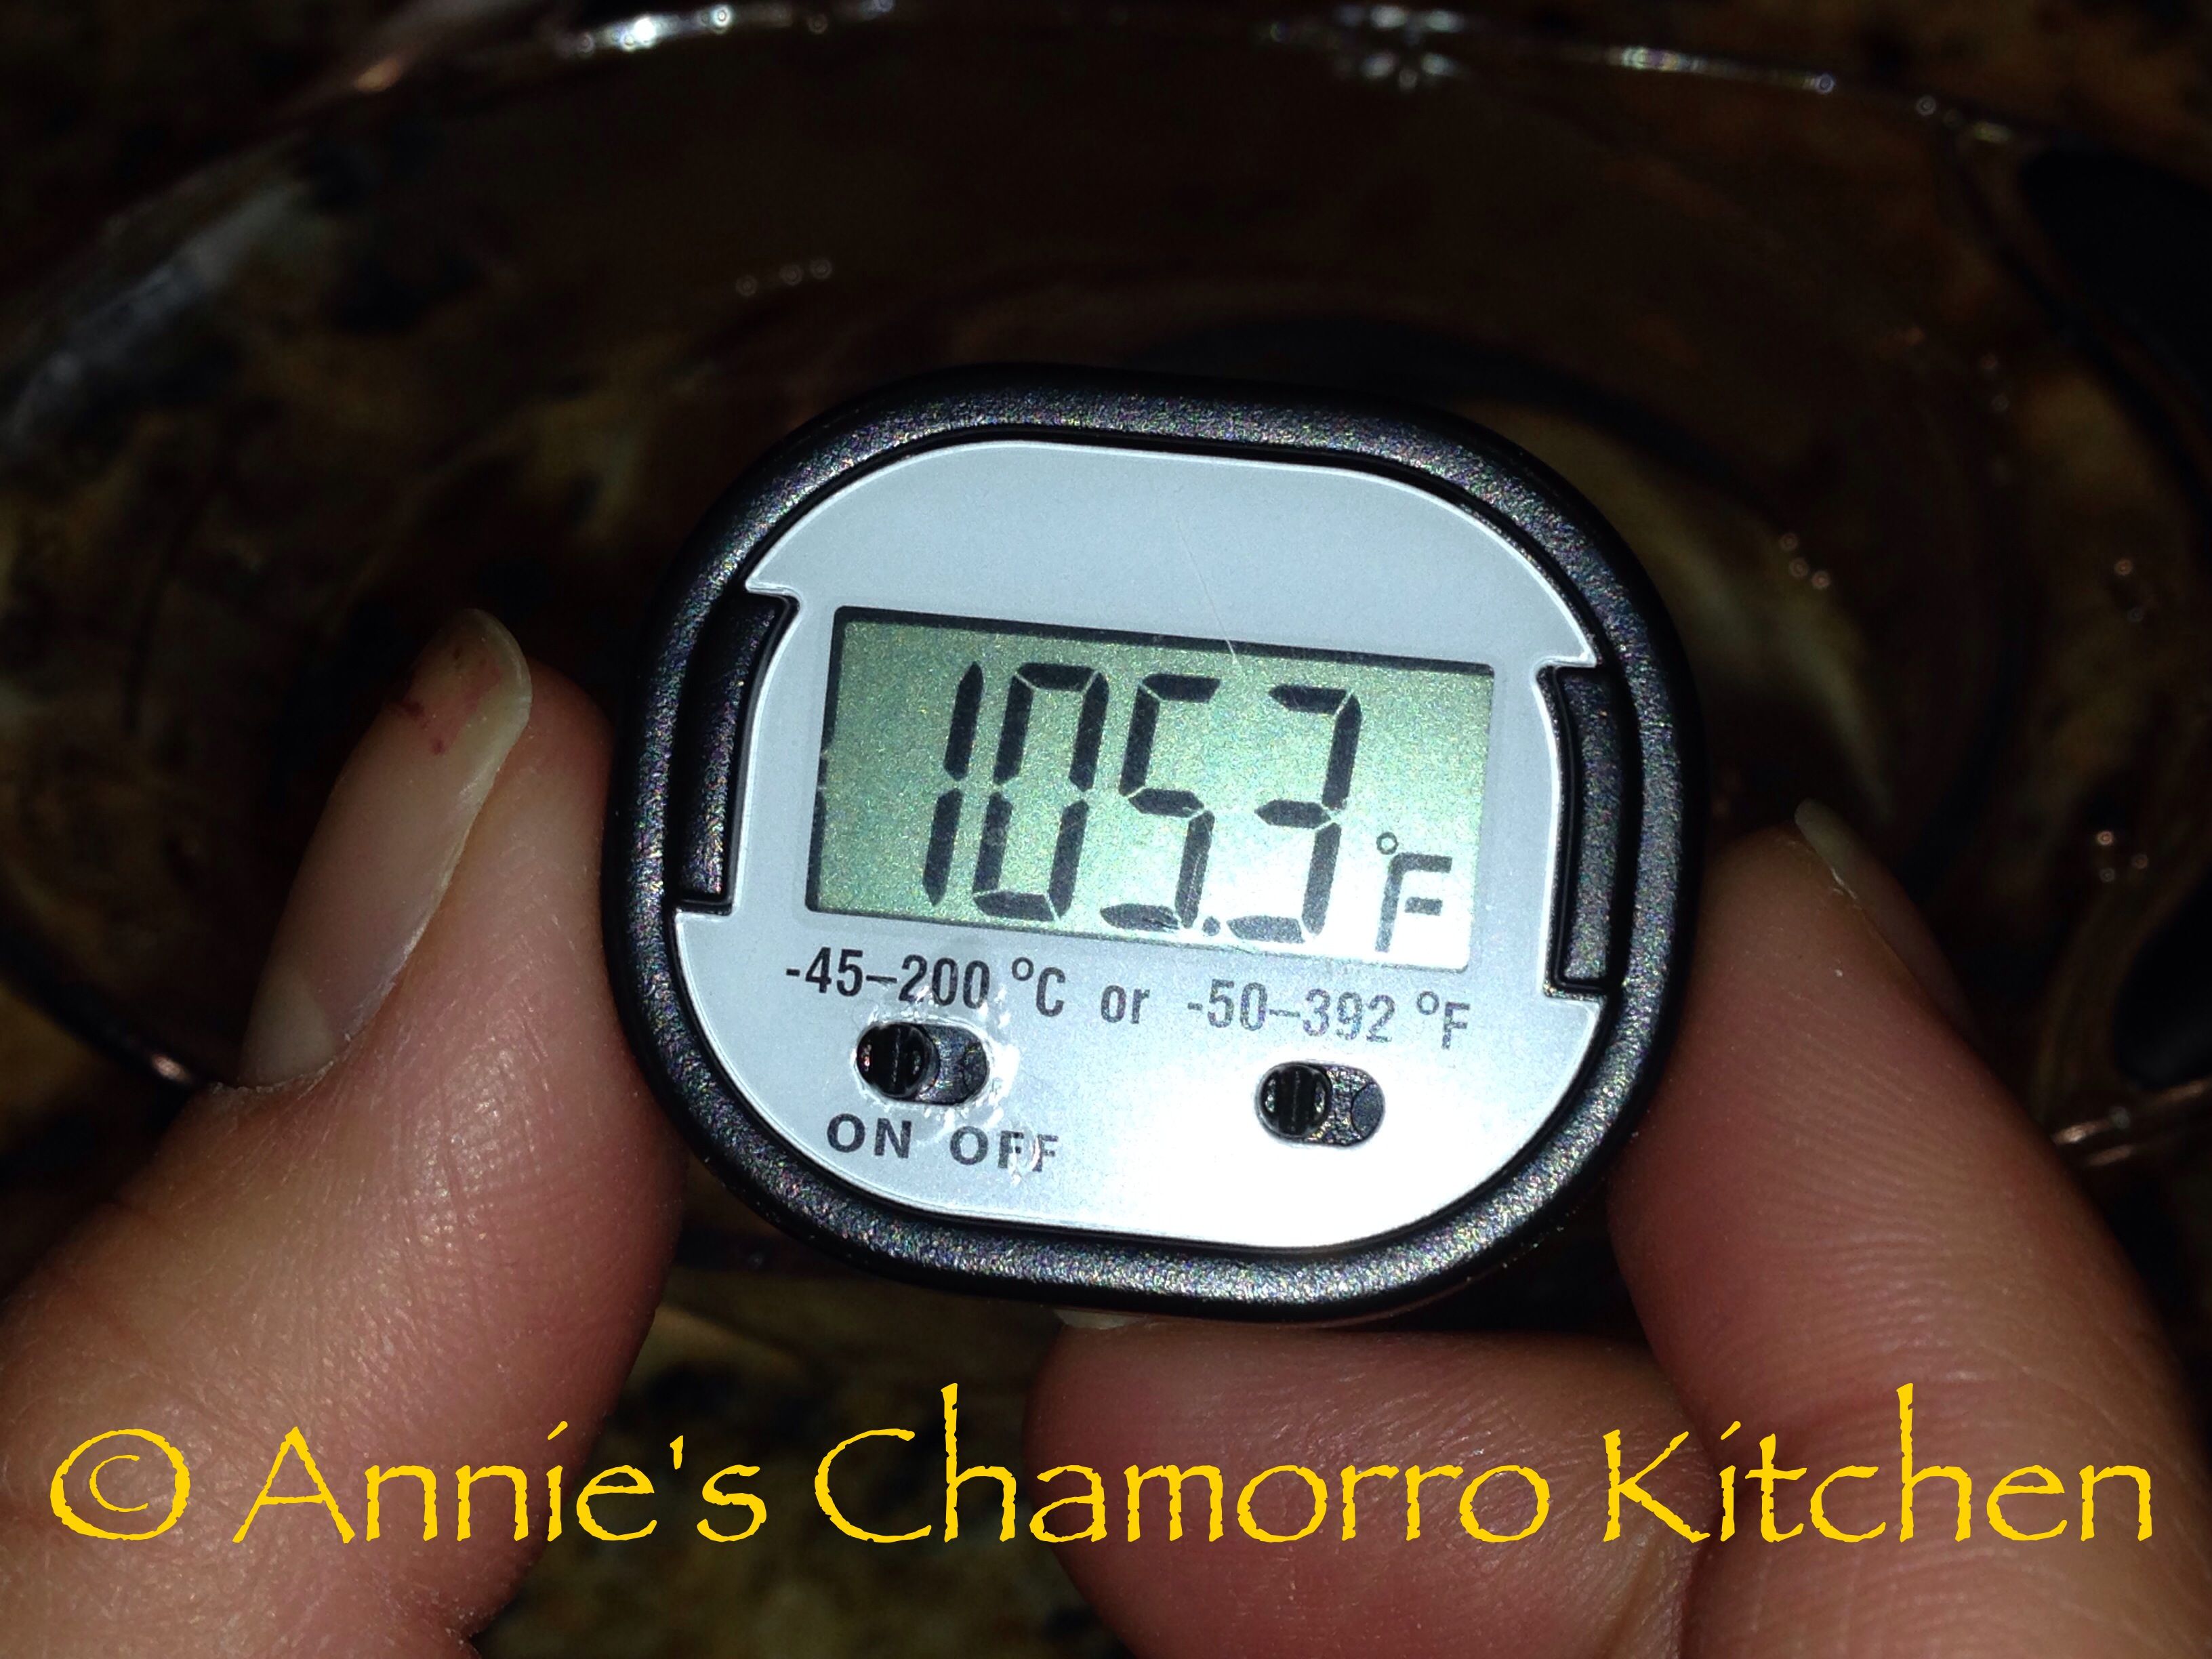
Add the warm water. Make sure the water is 105 degrees; I recommend using a thermometer to ensure you have the right temperature. You can find instant-read thermometers in most grocery stores nowadays. It’s fairly inexpensive, about $5.00. It’s worth the investment.
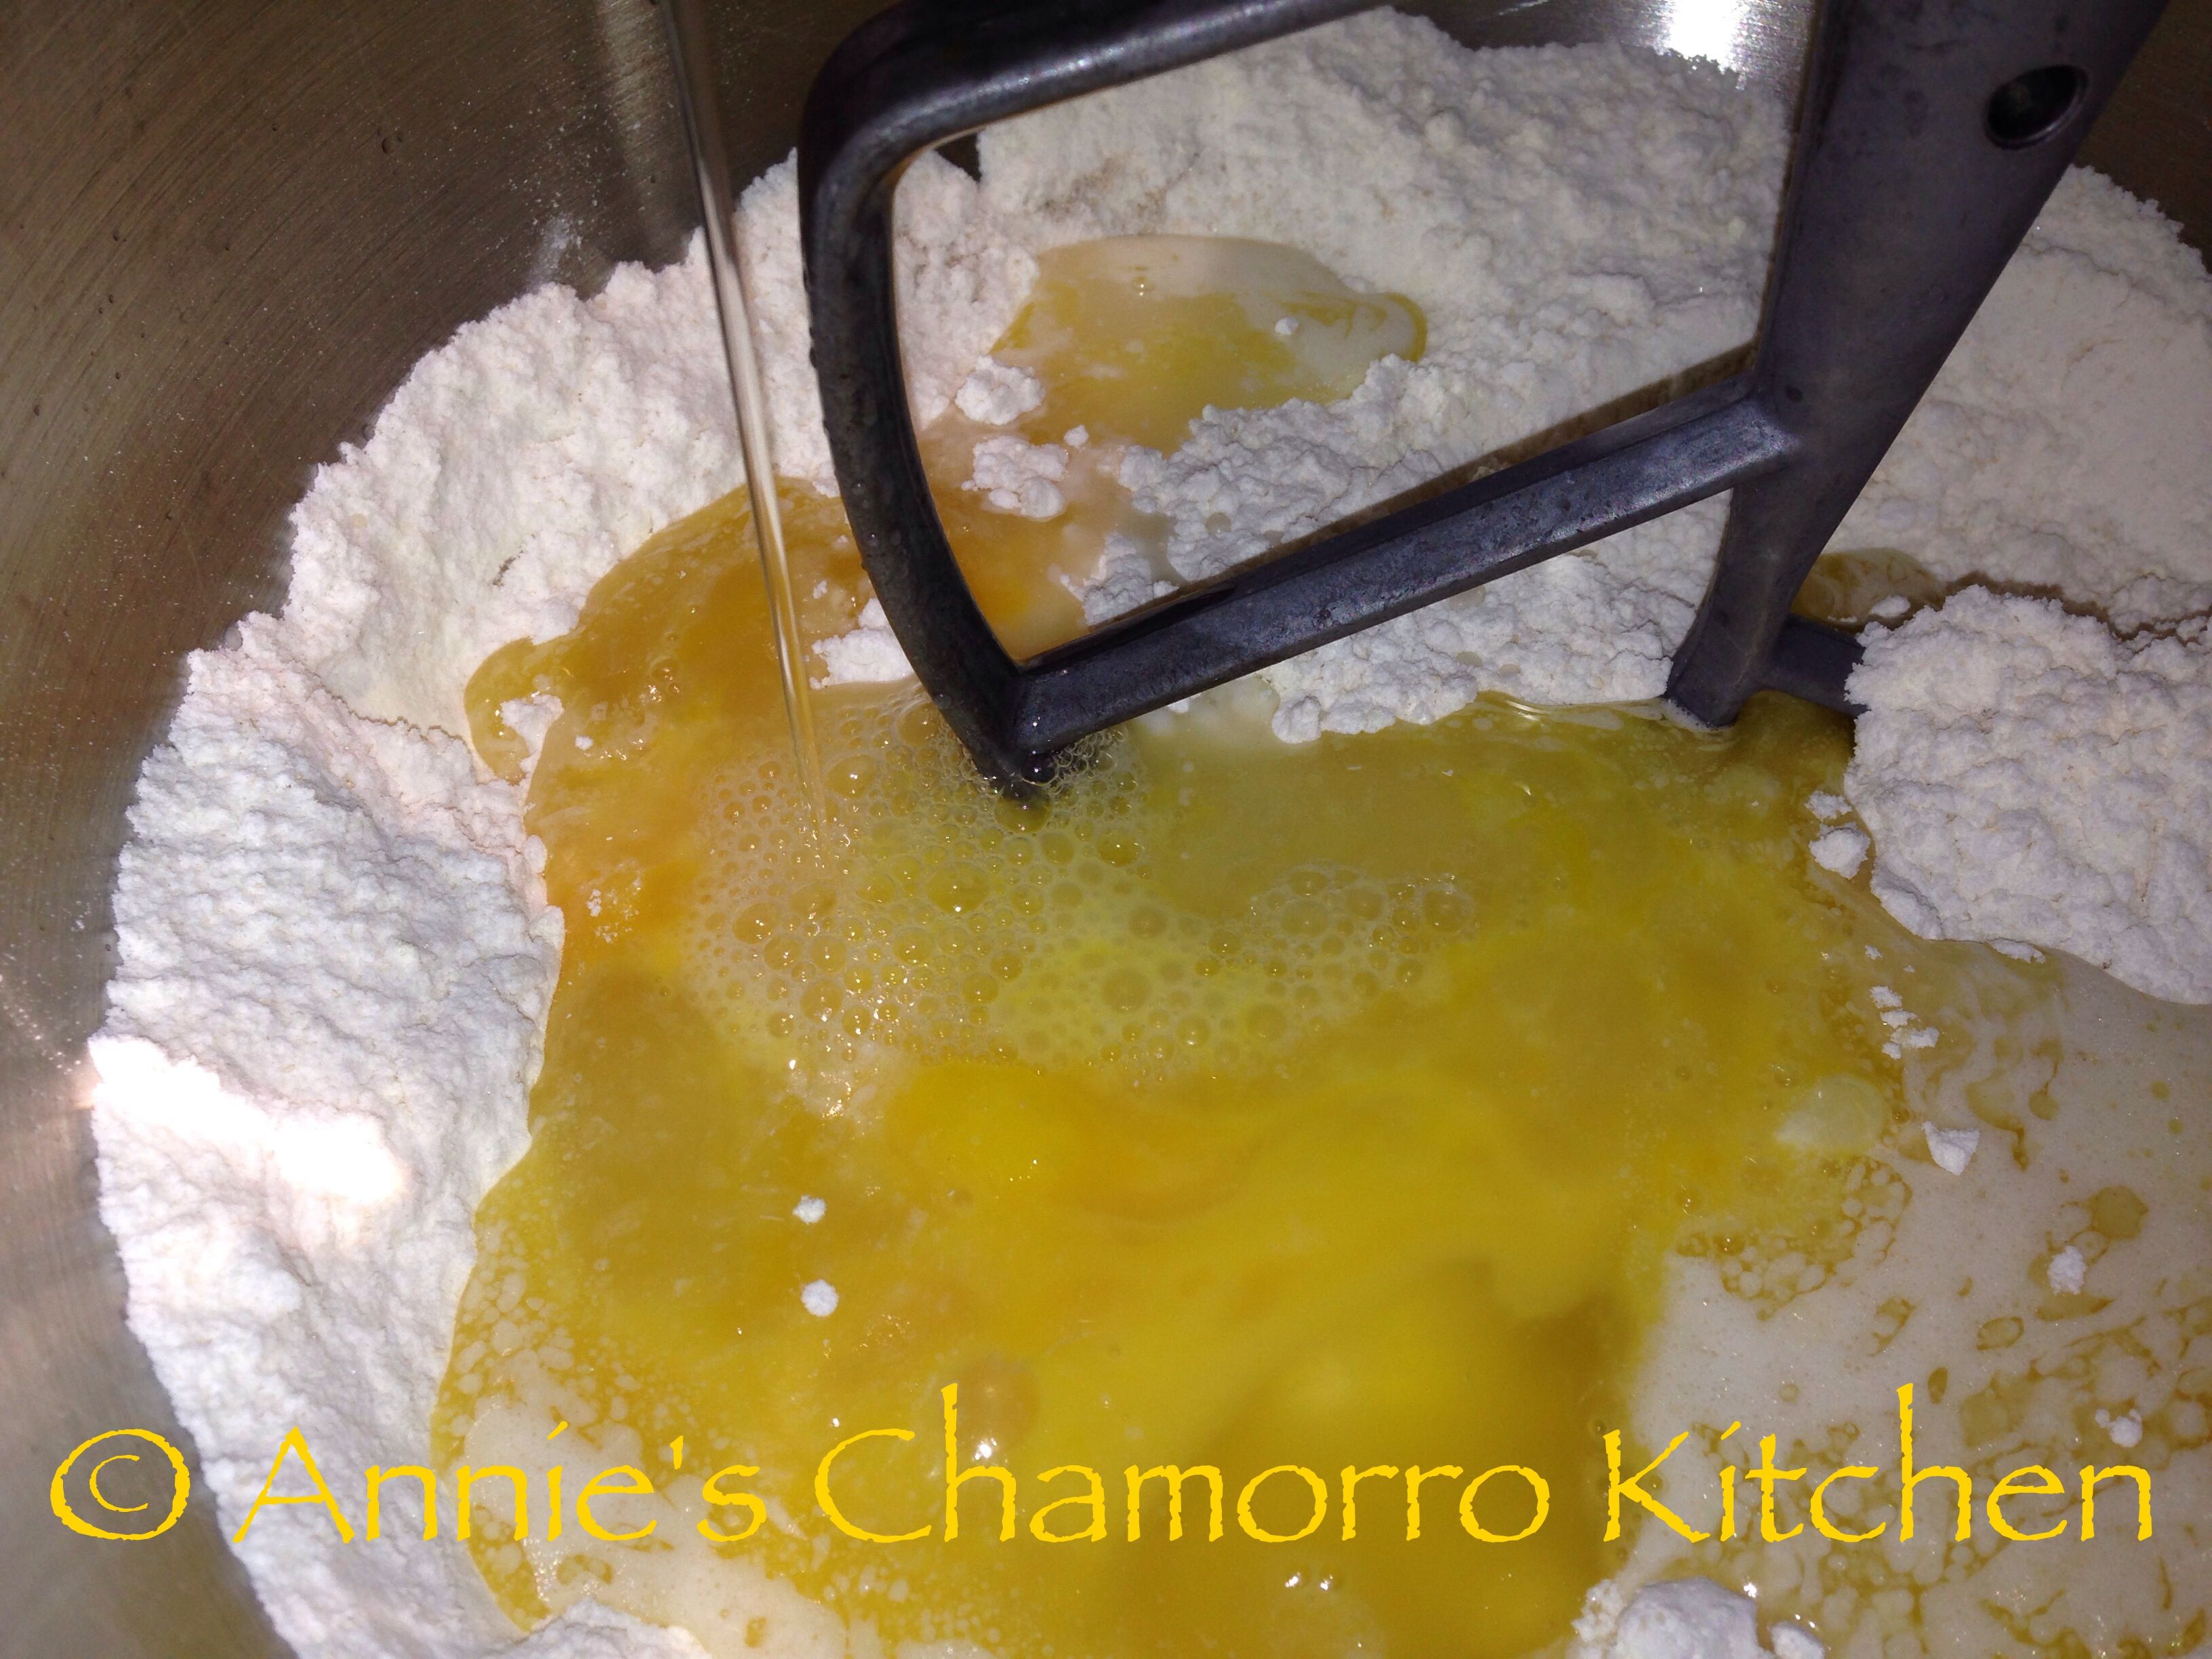
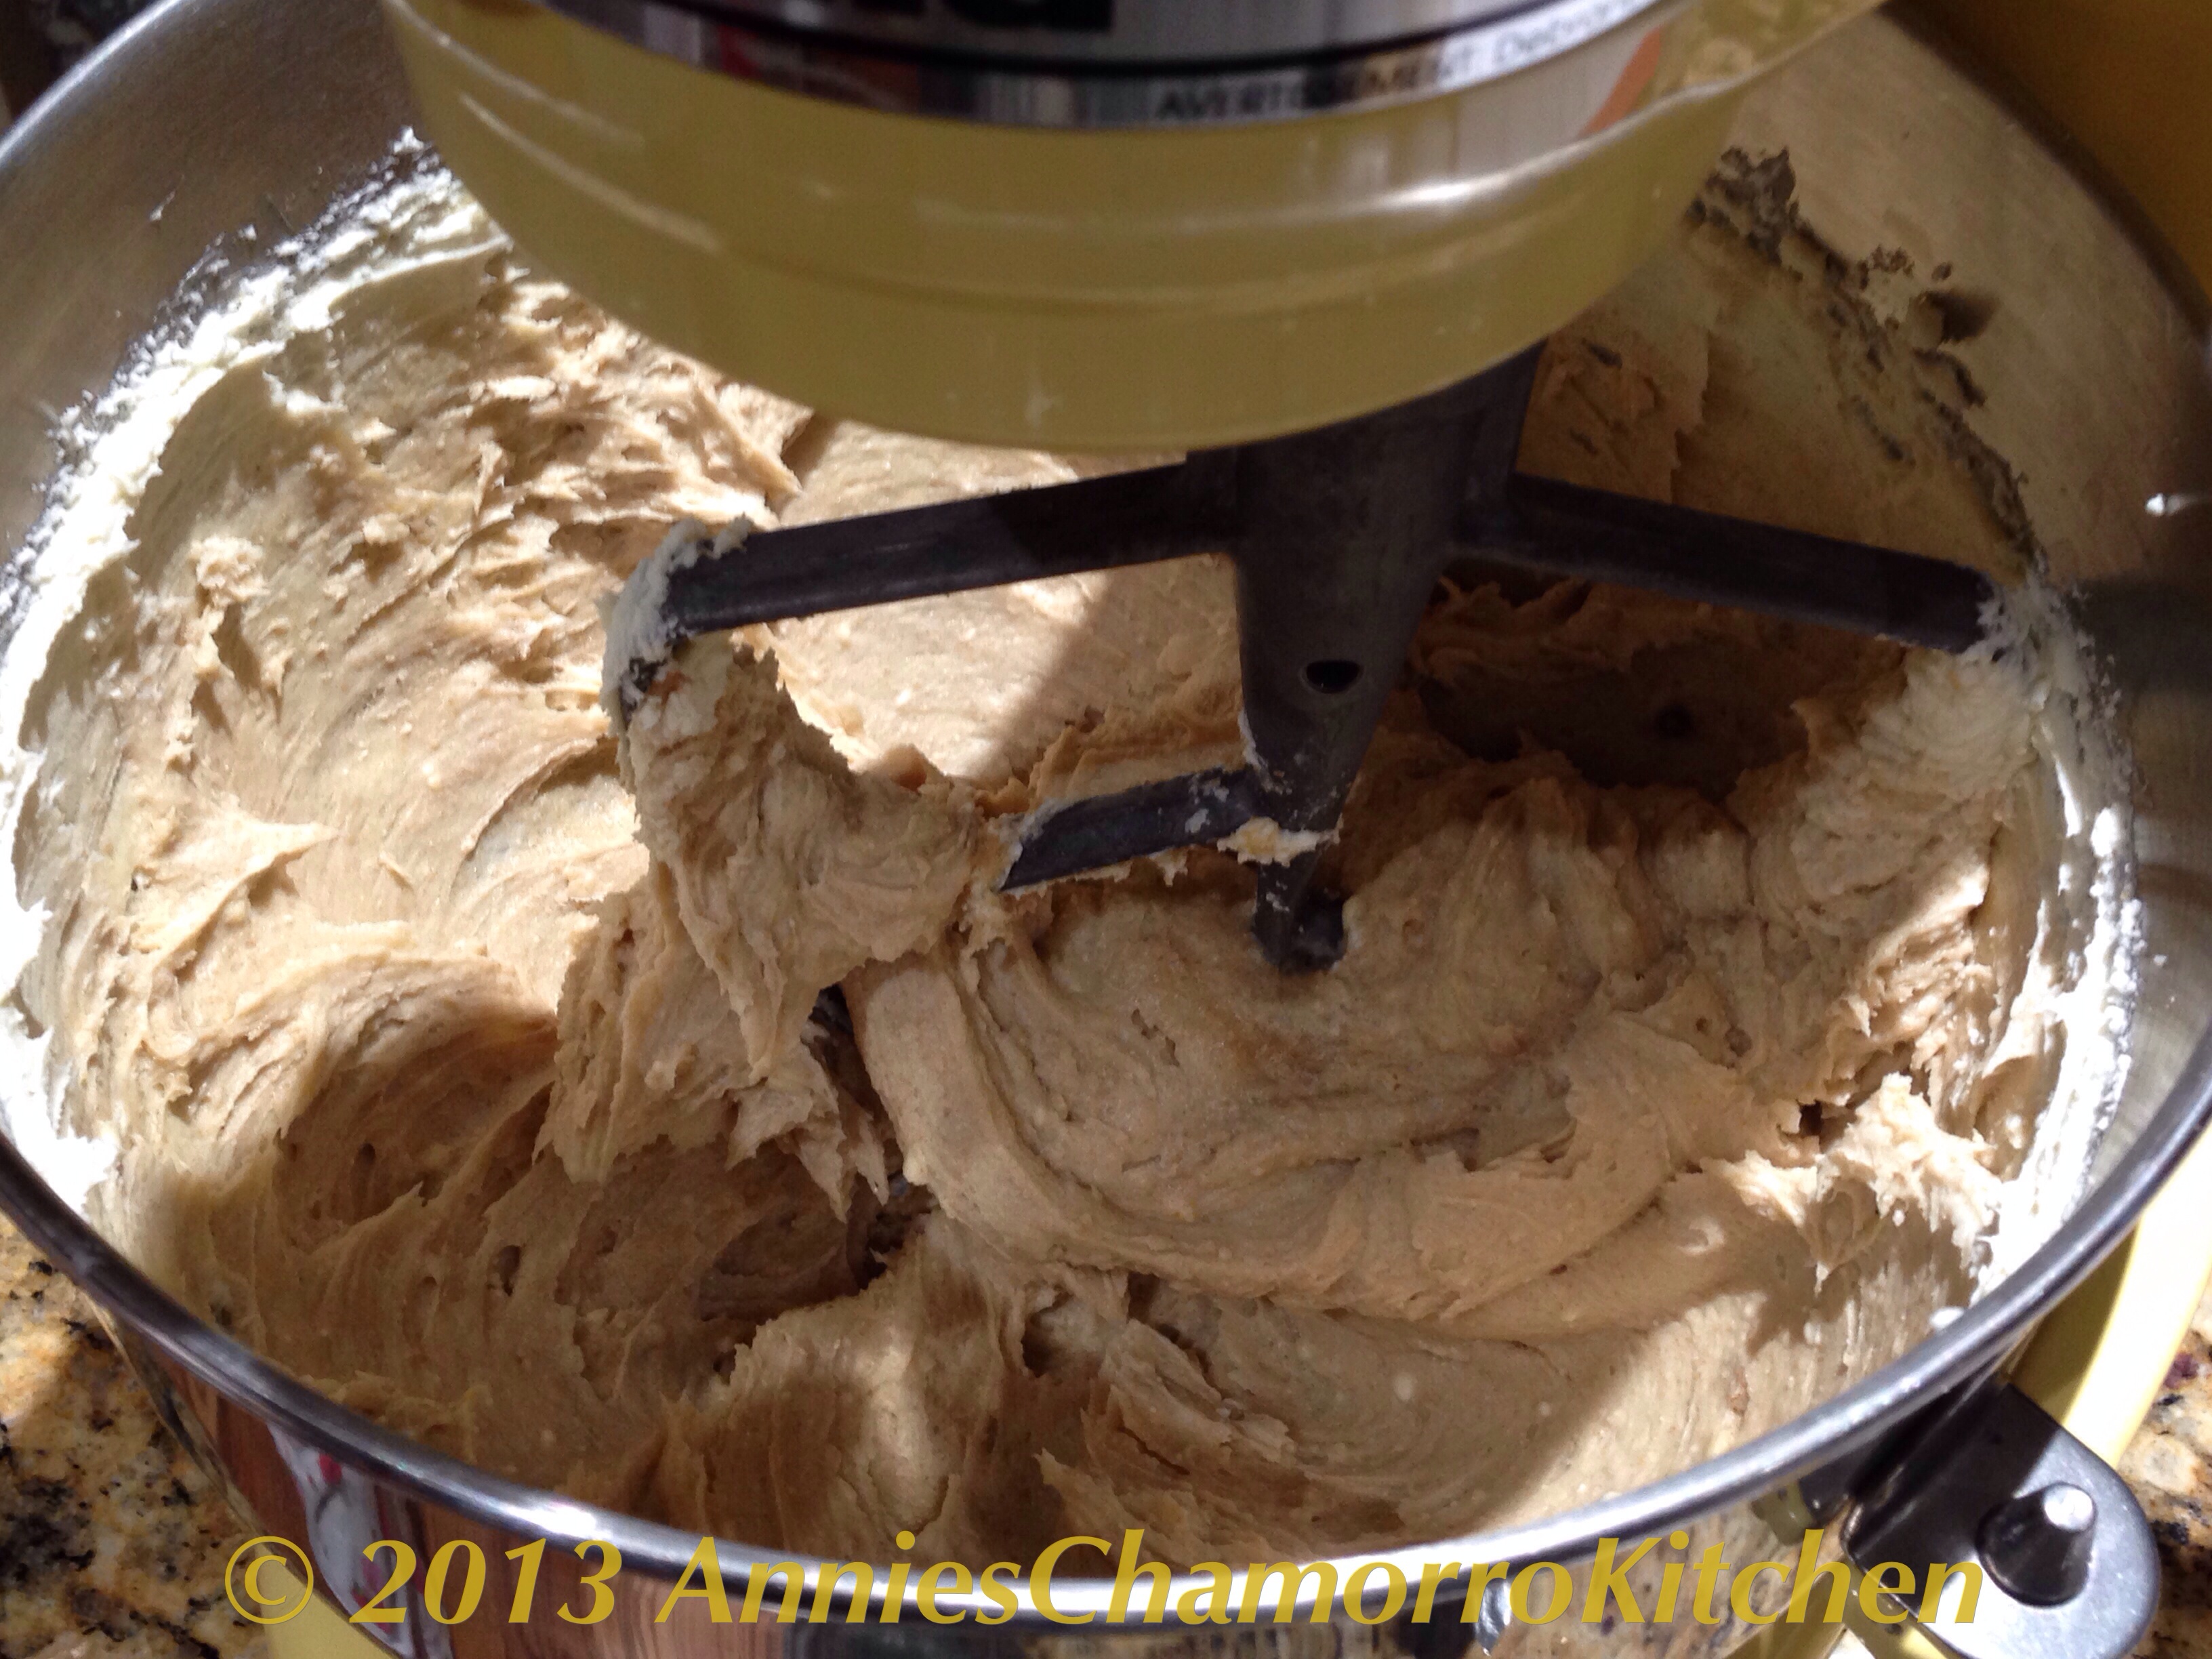
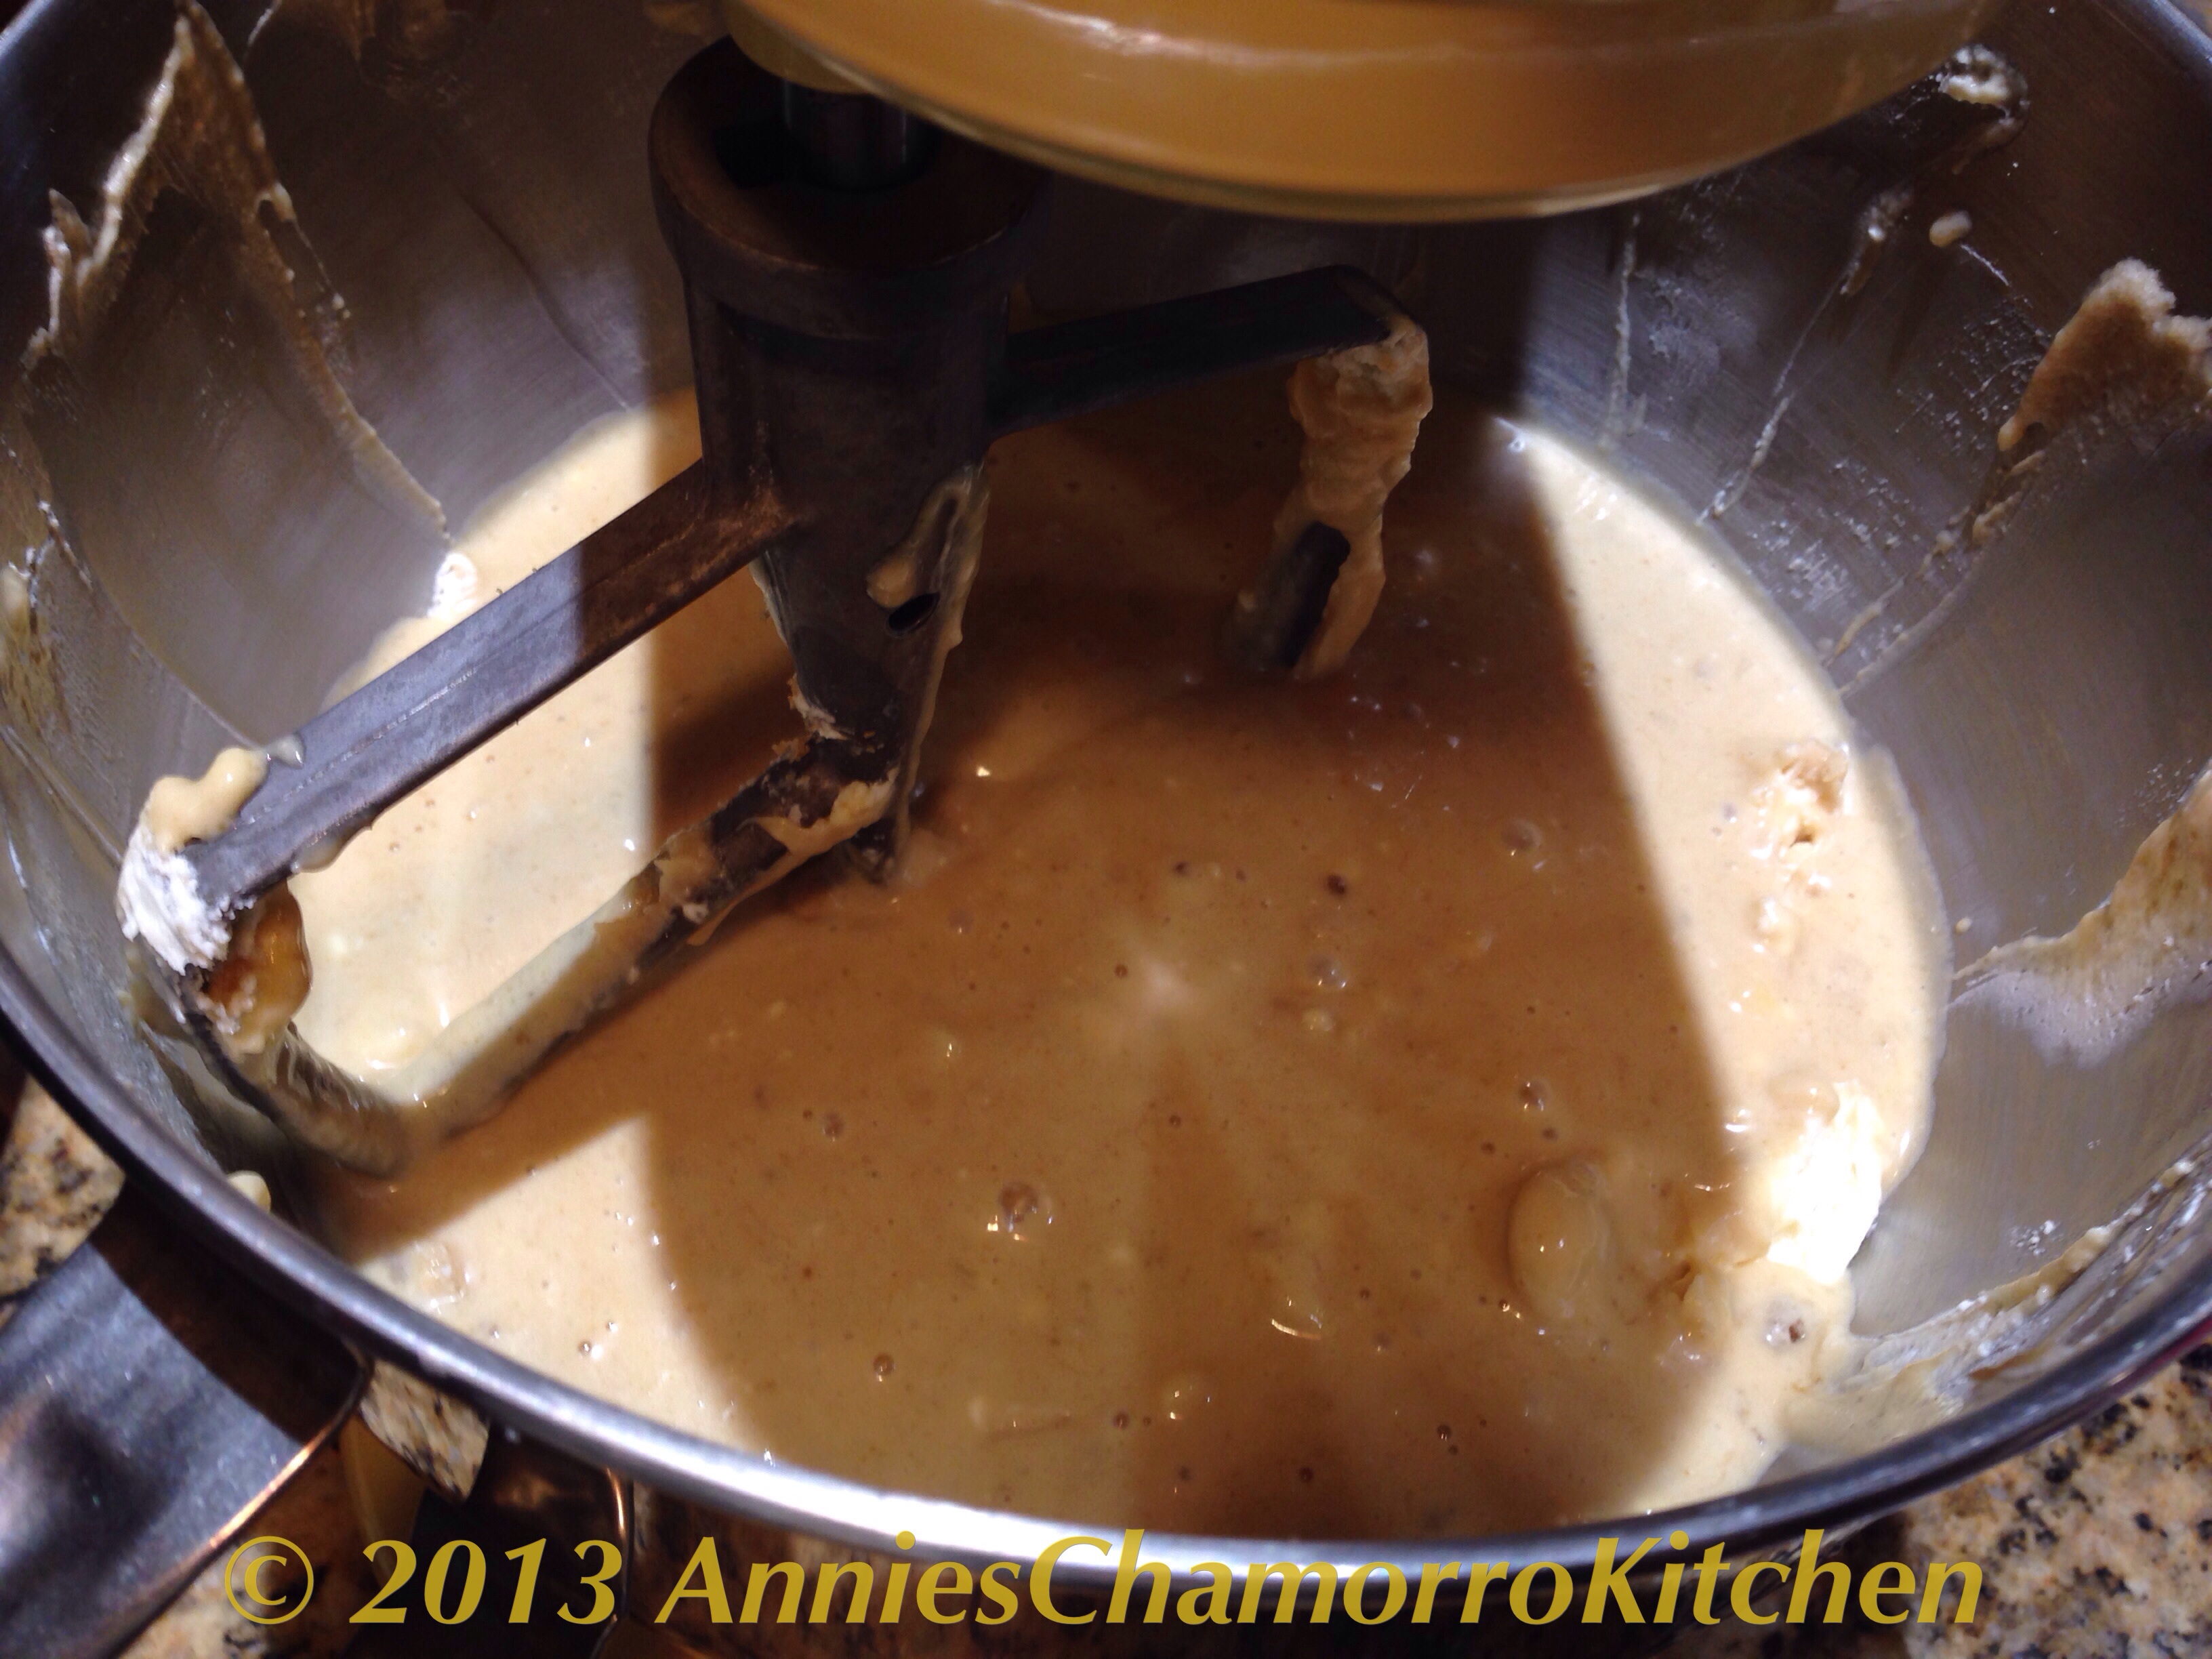
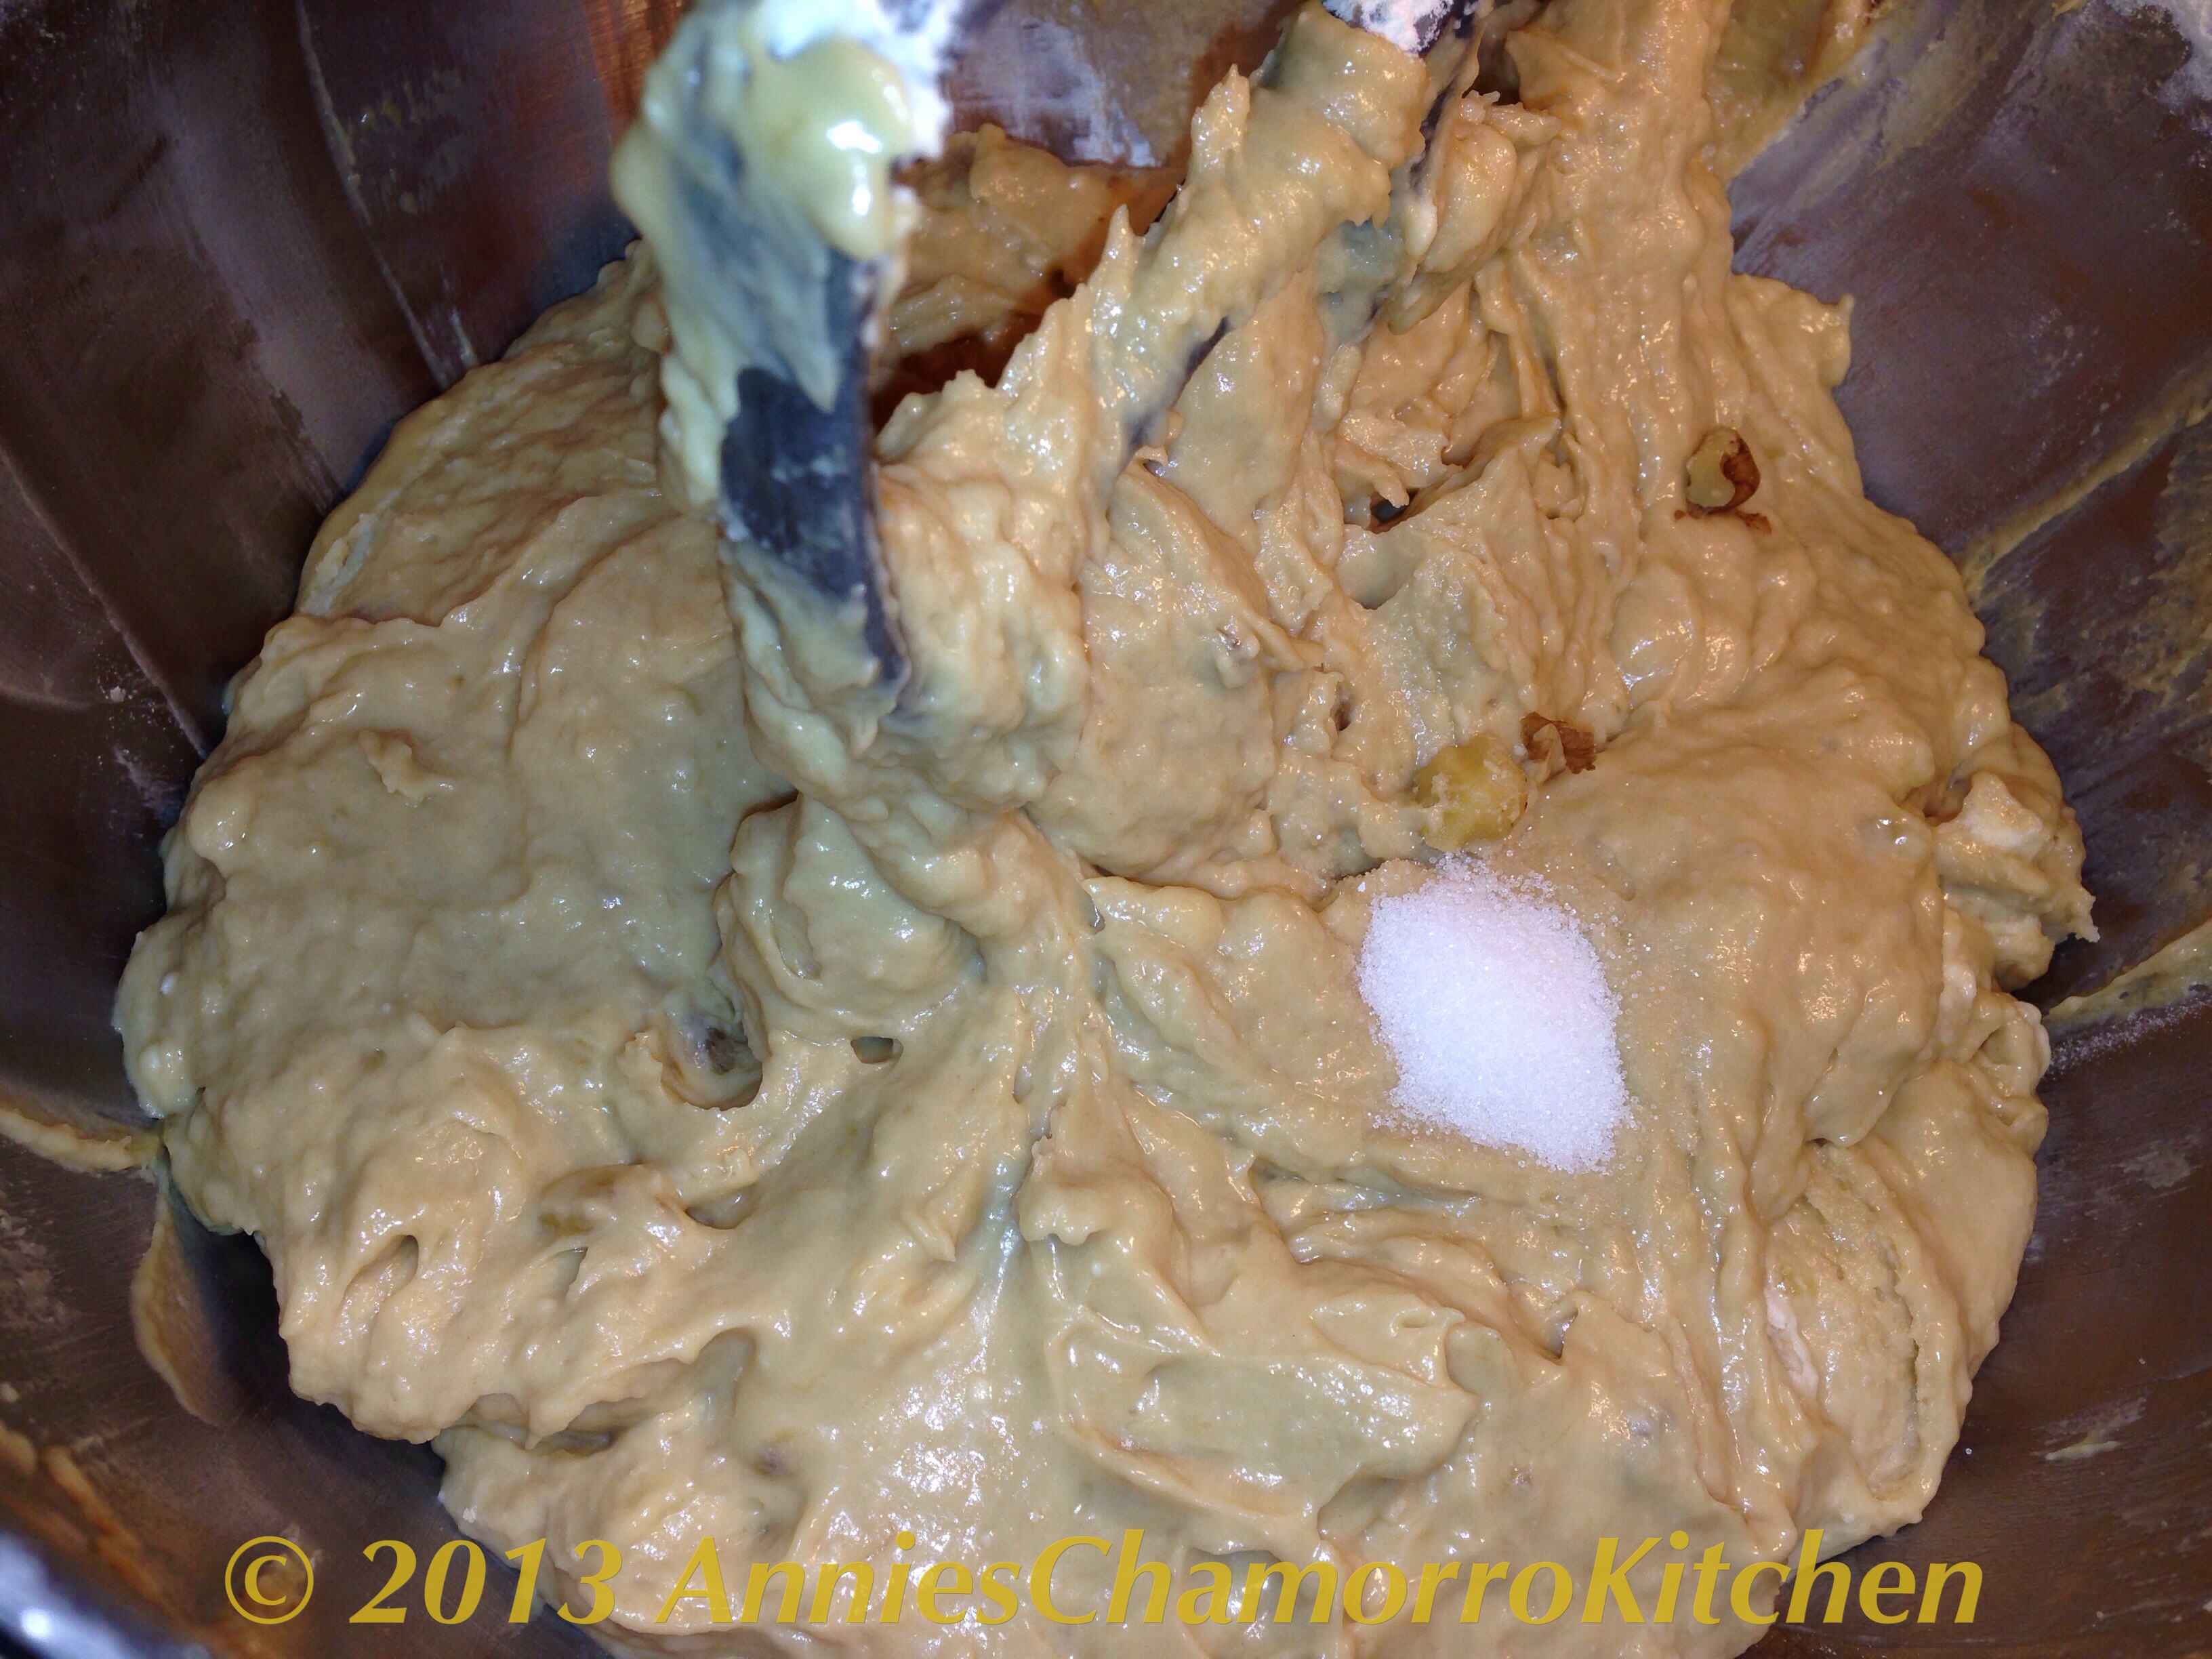
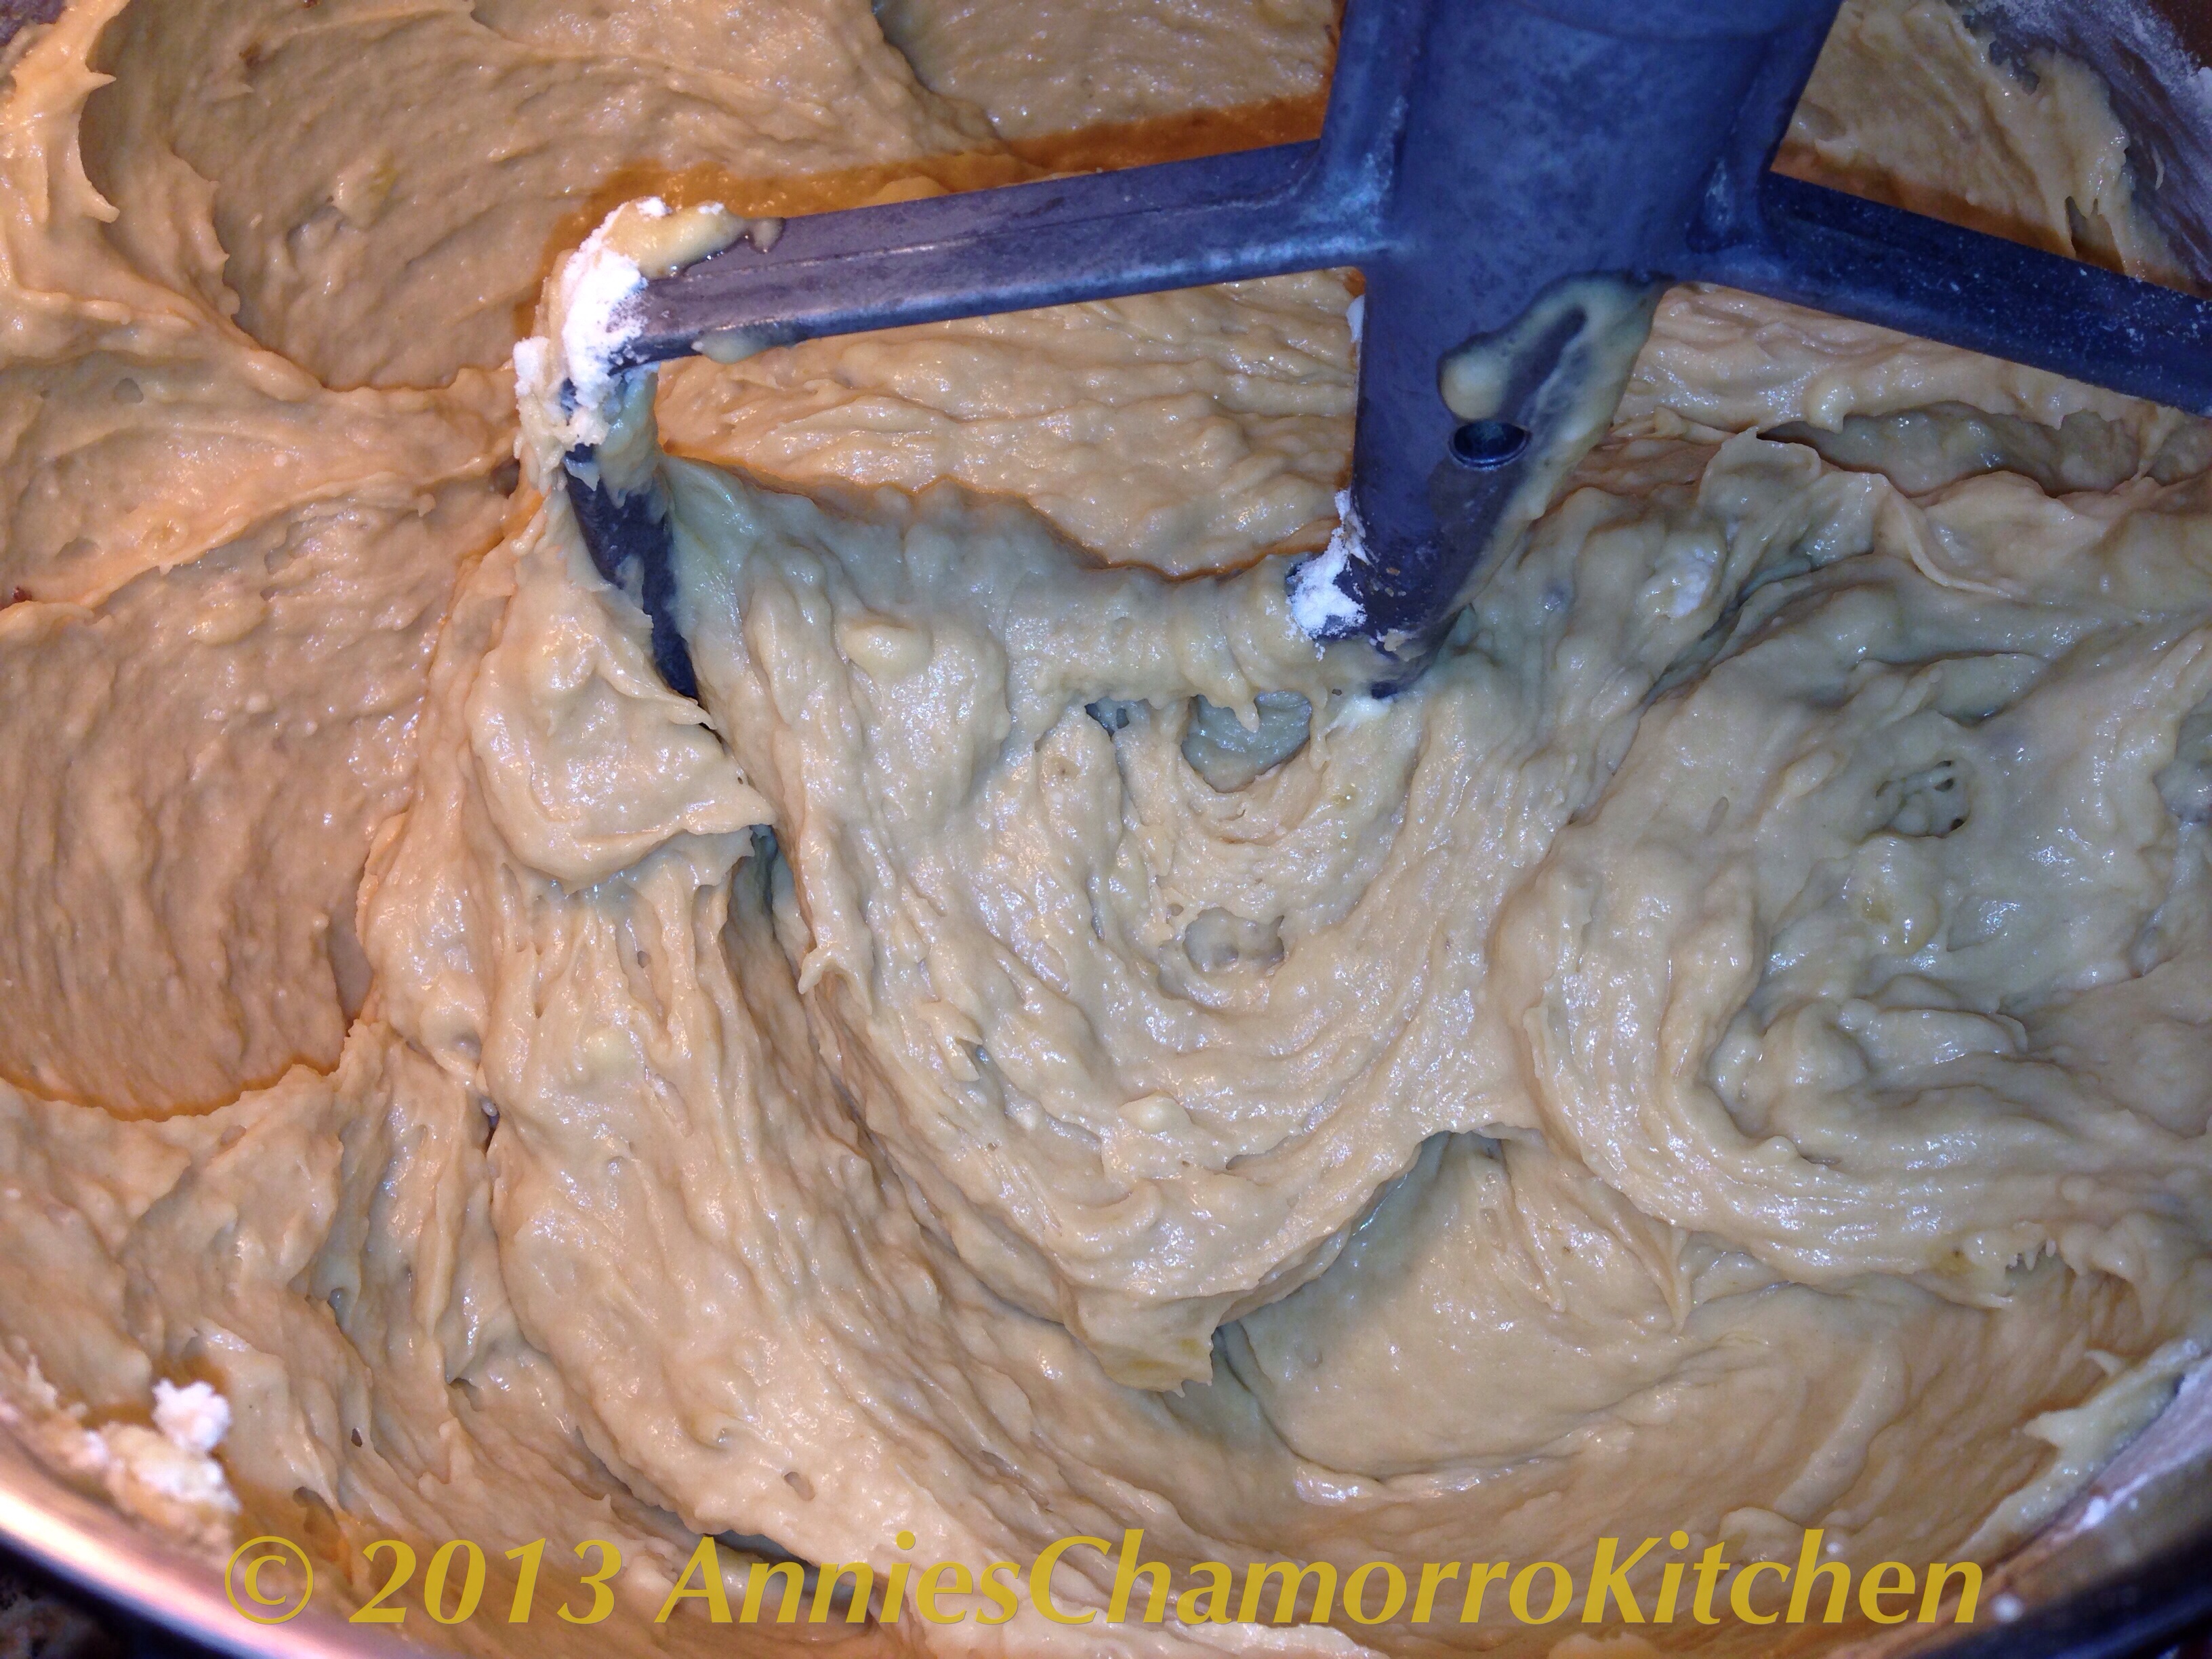
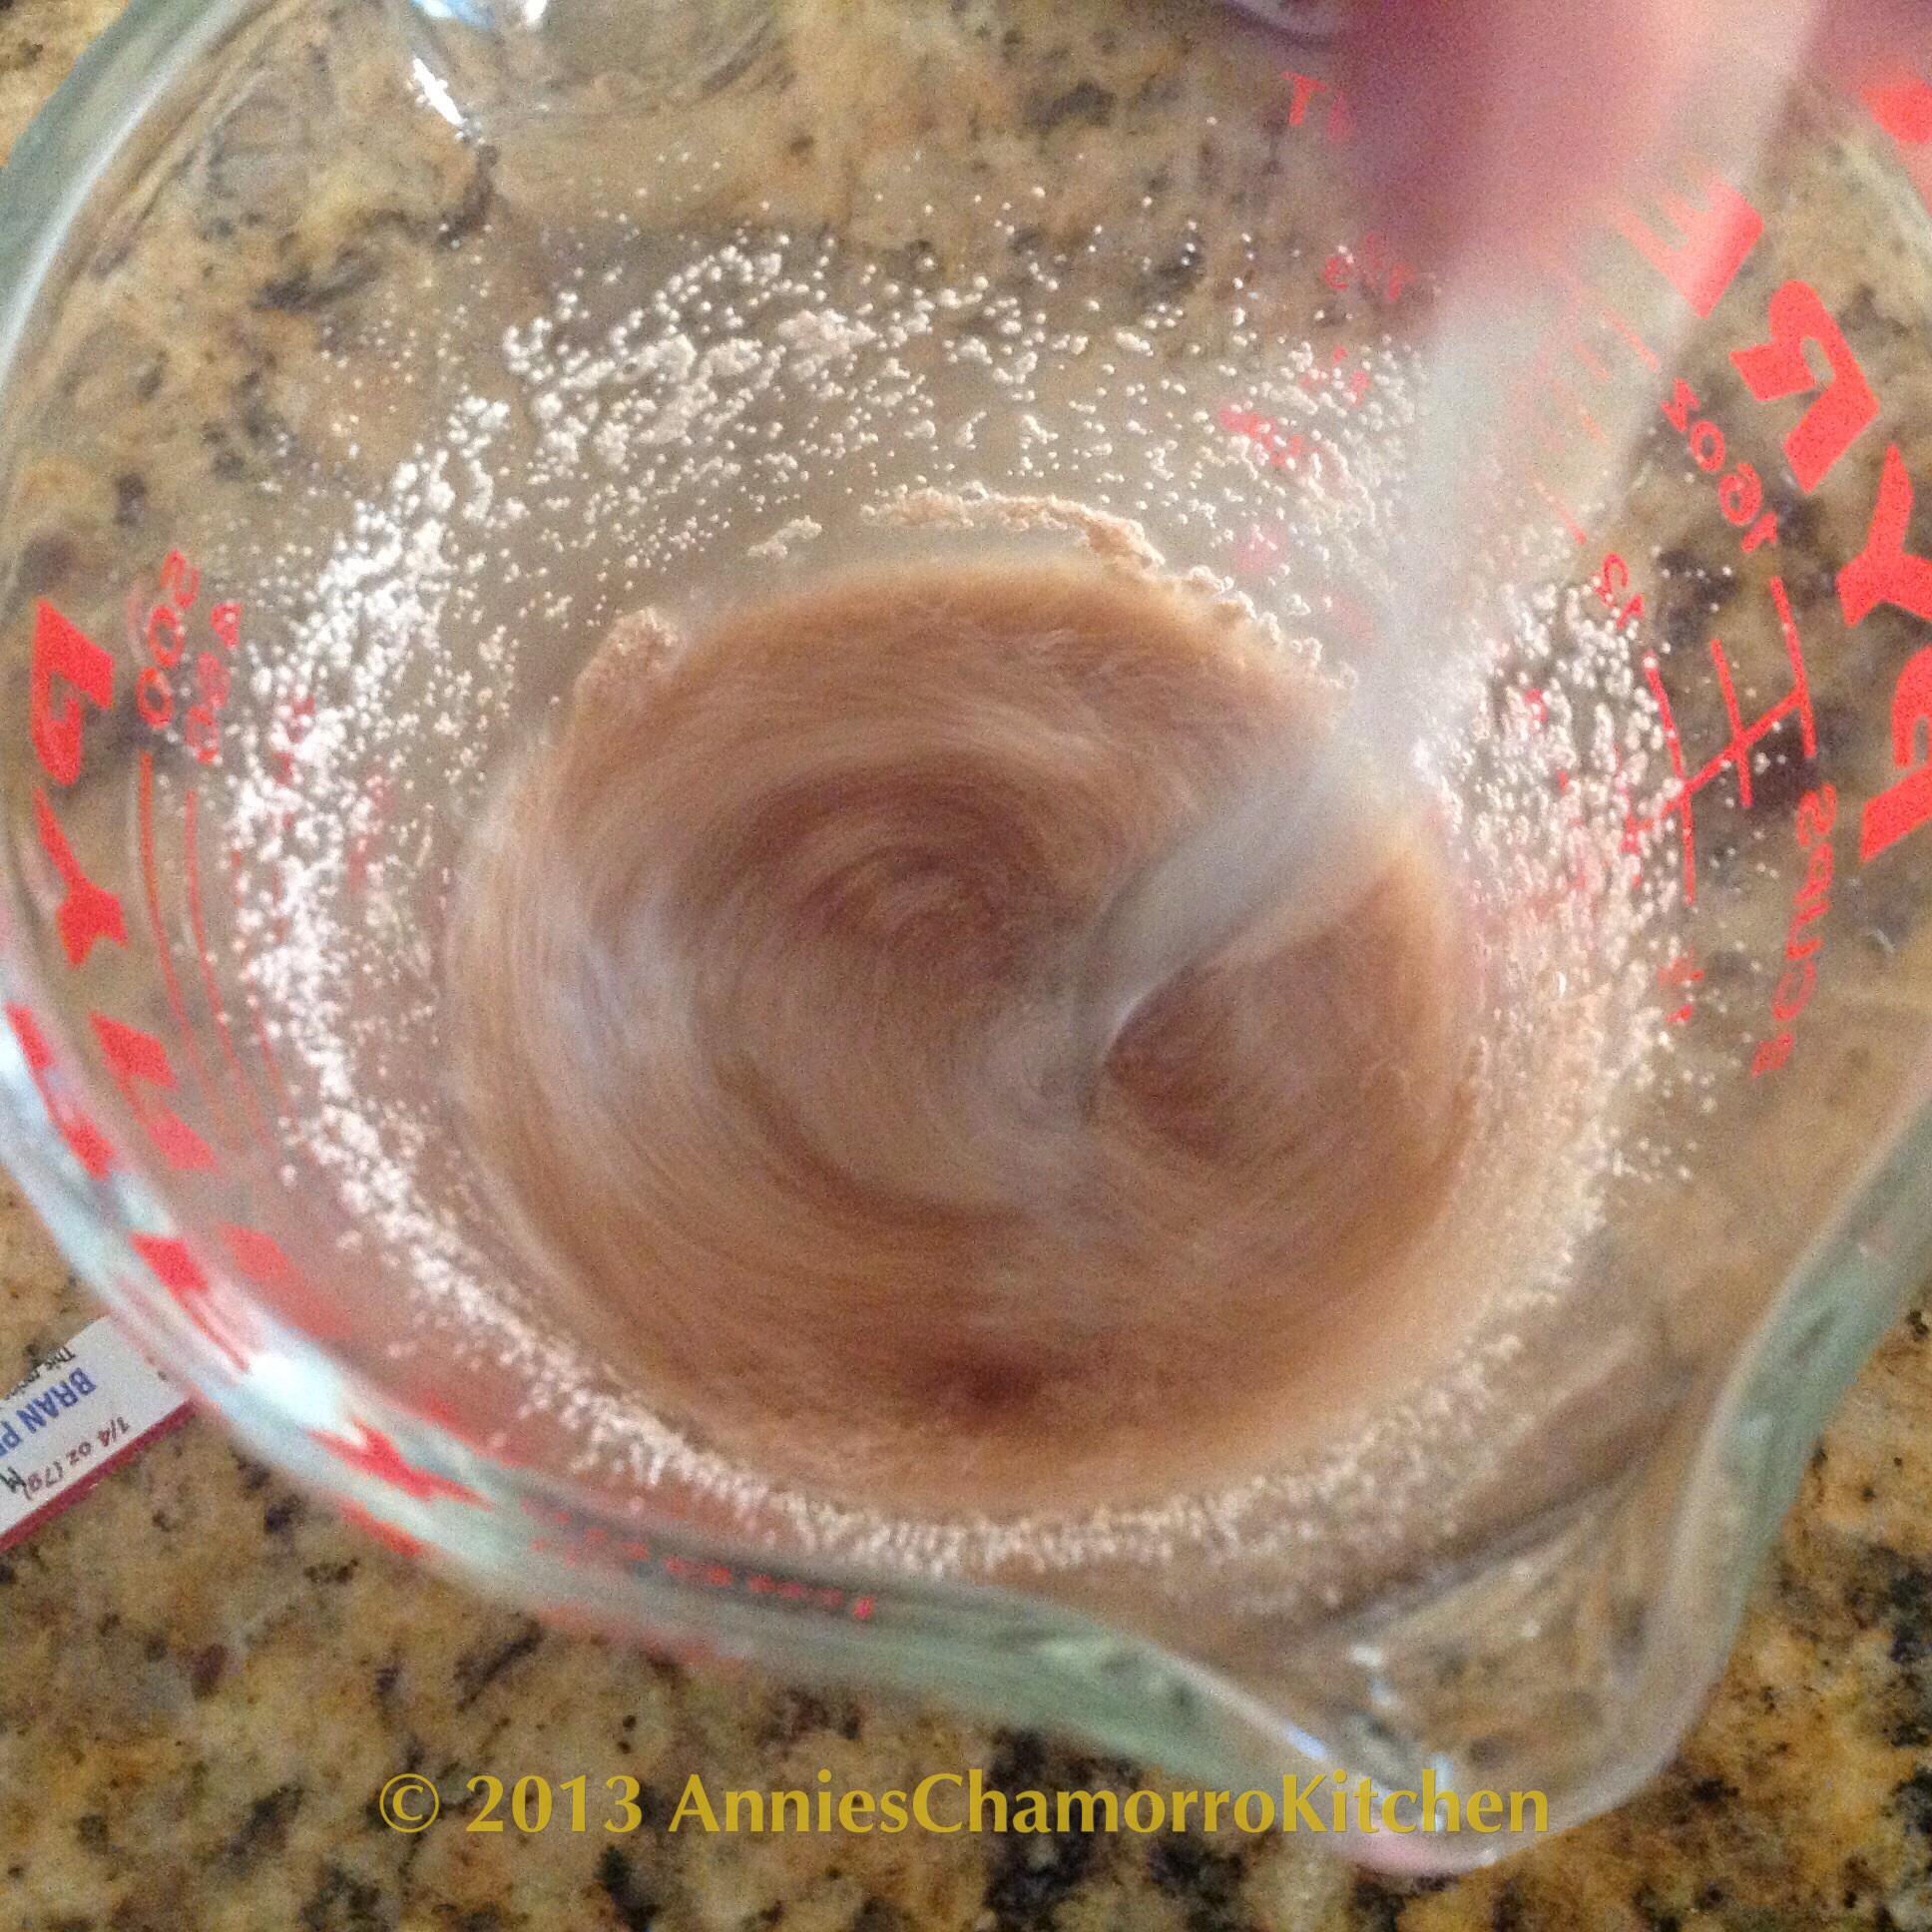
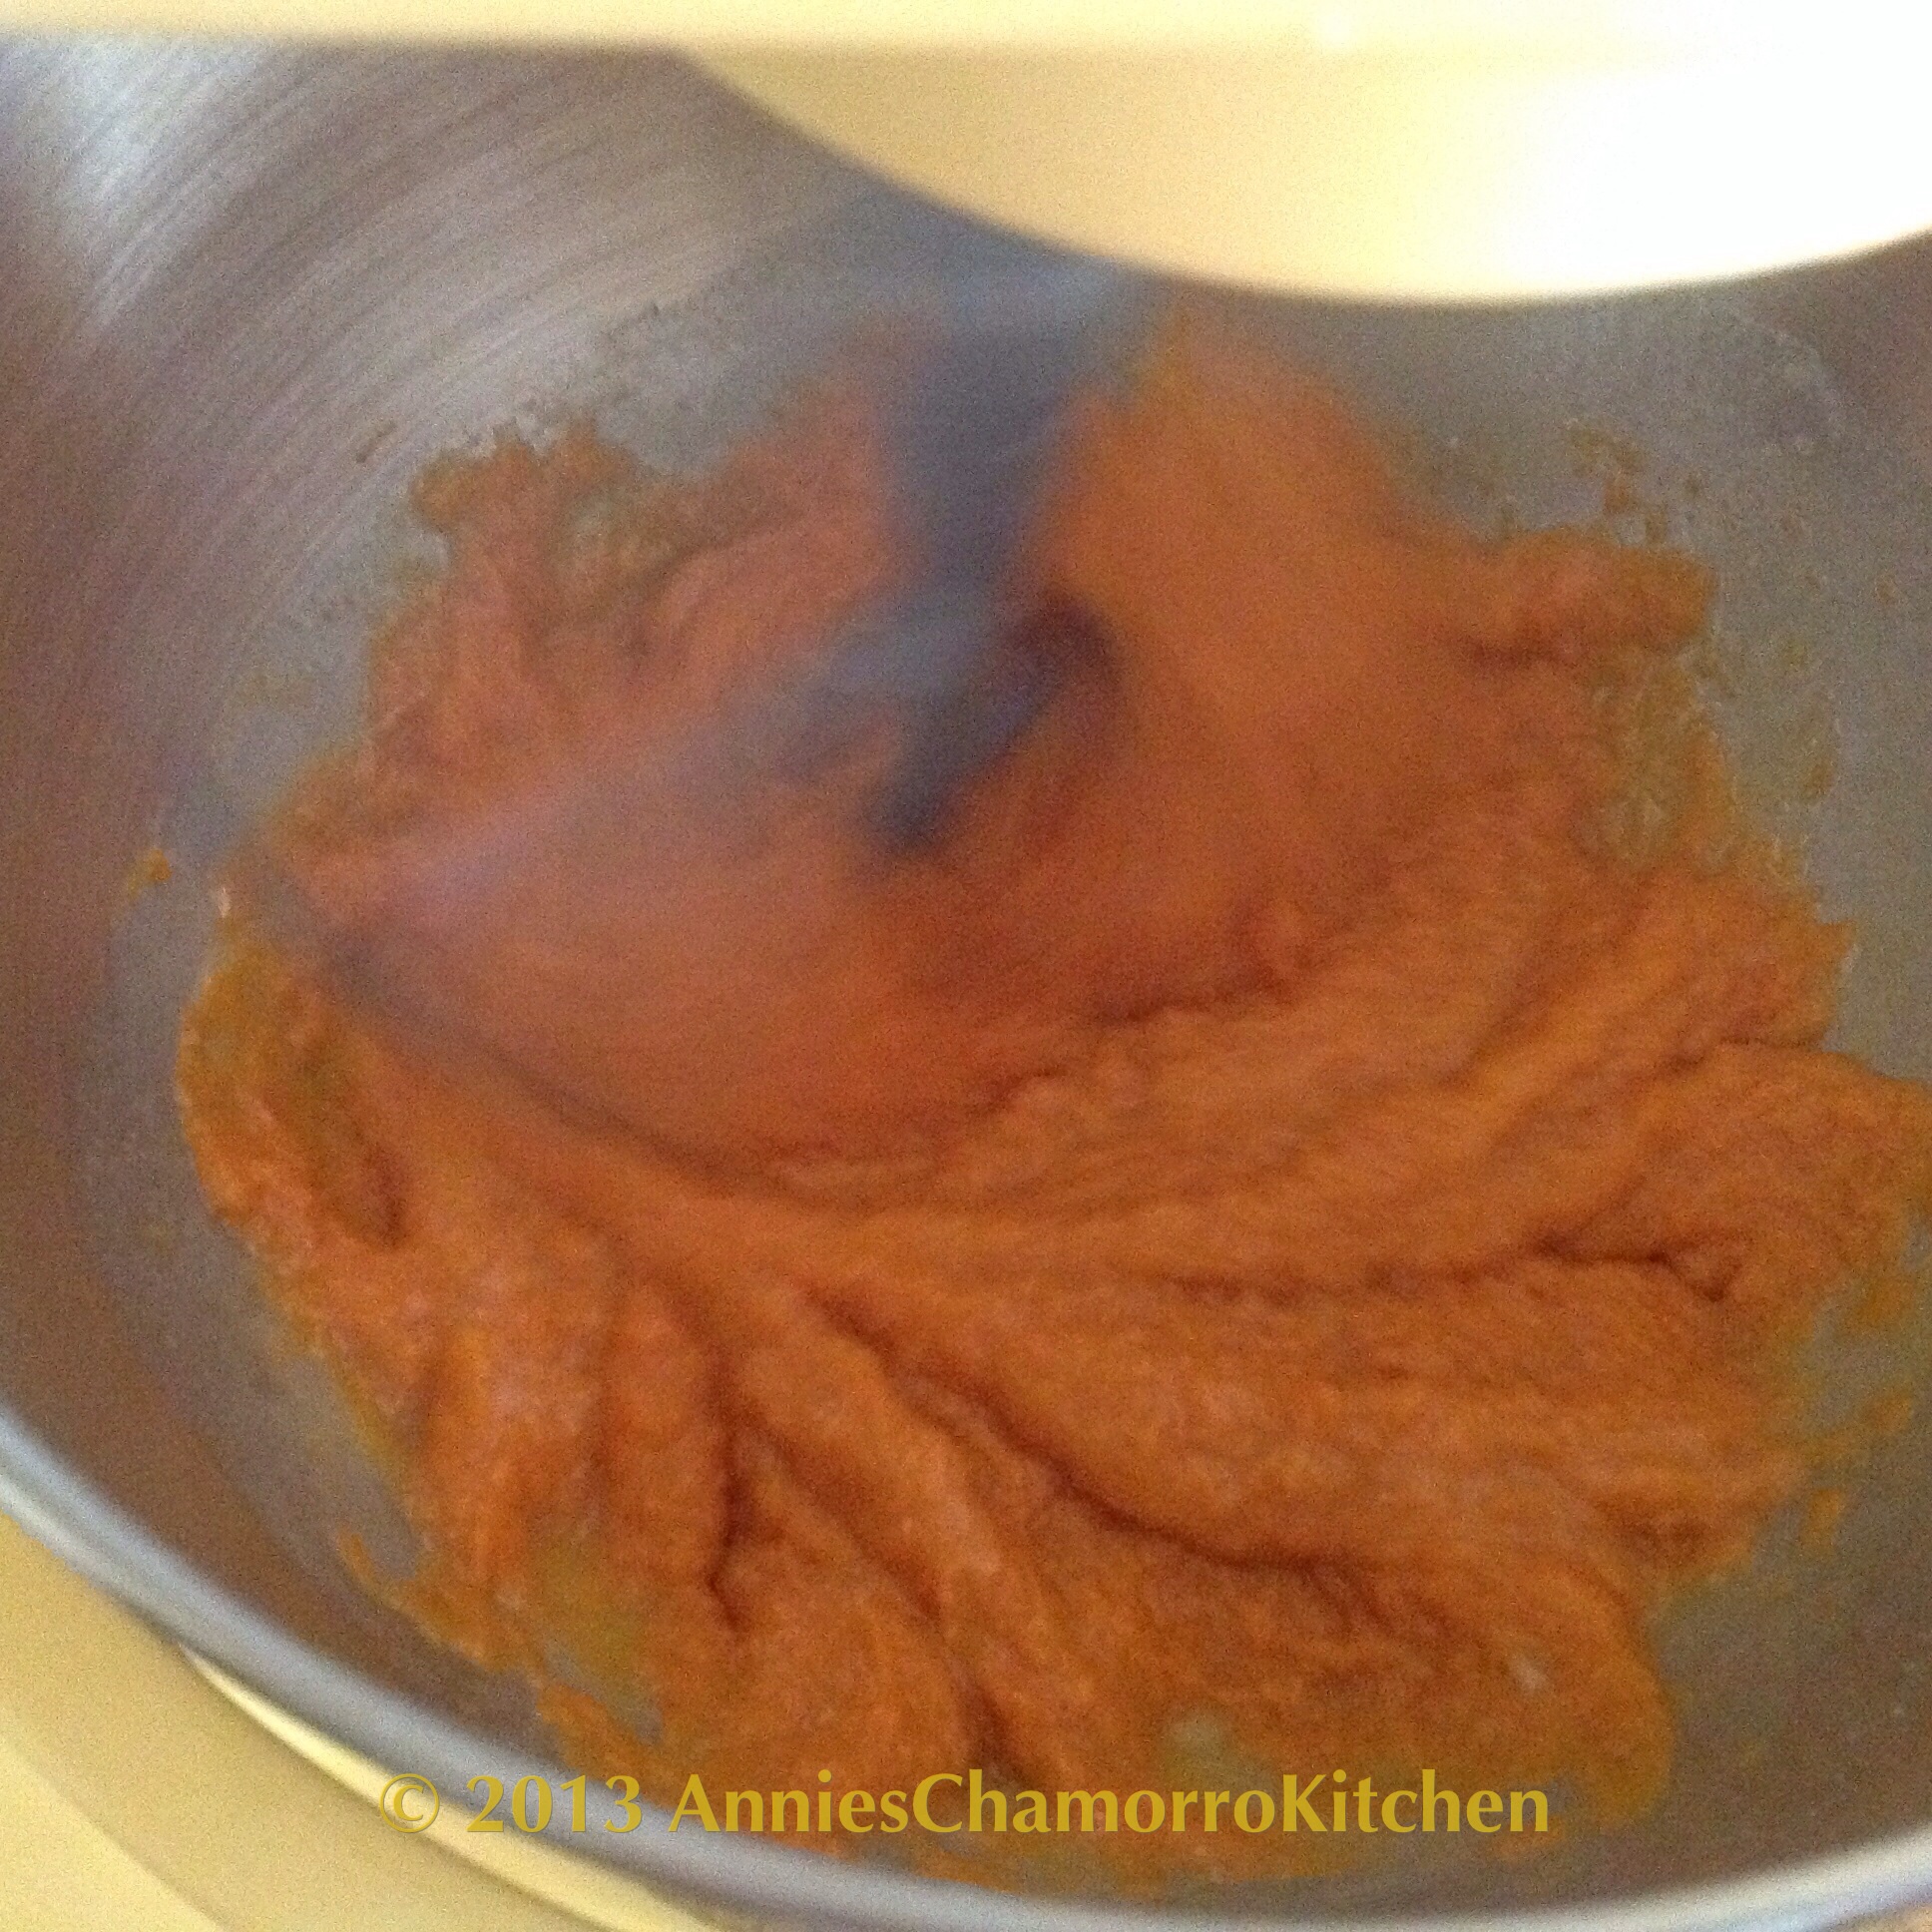
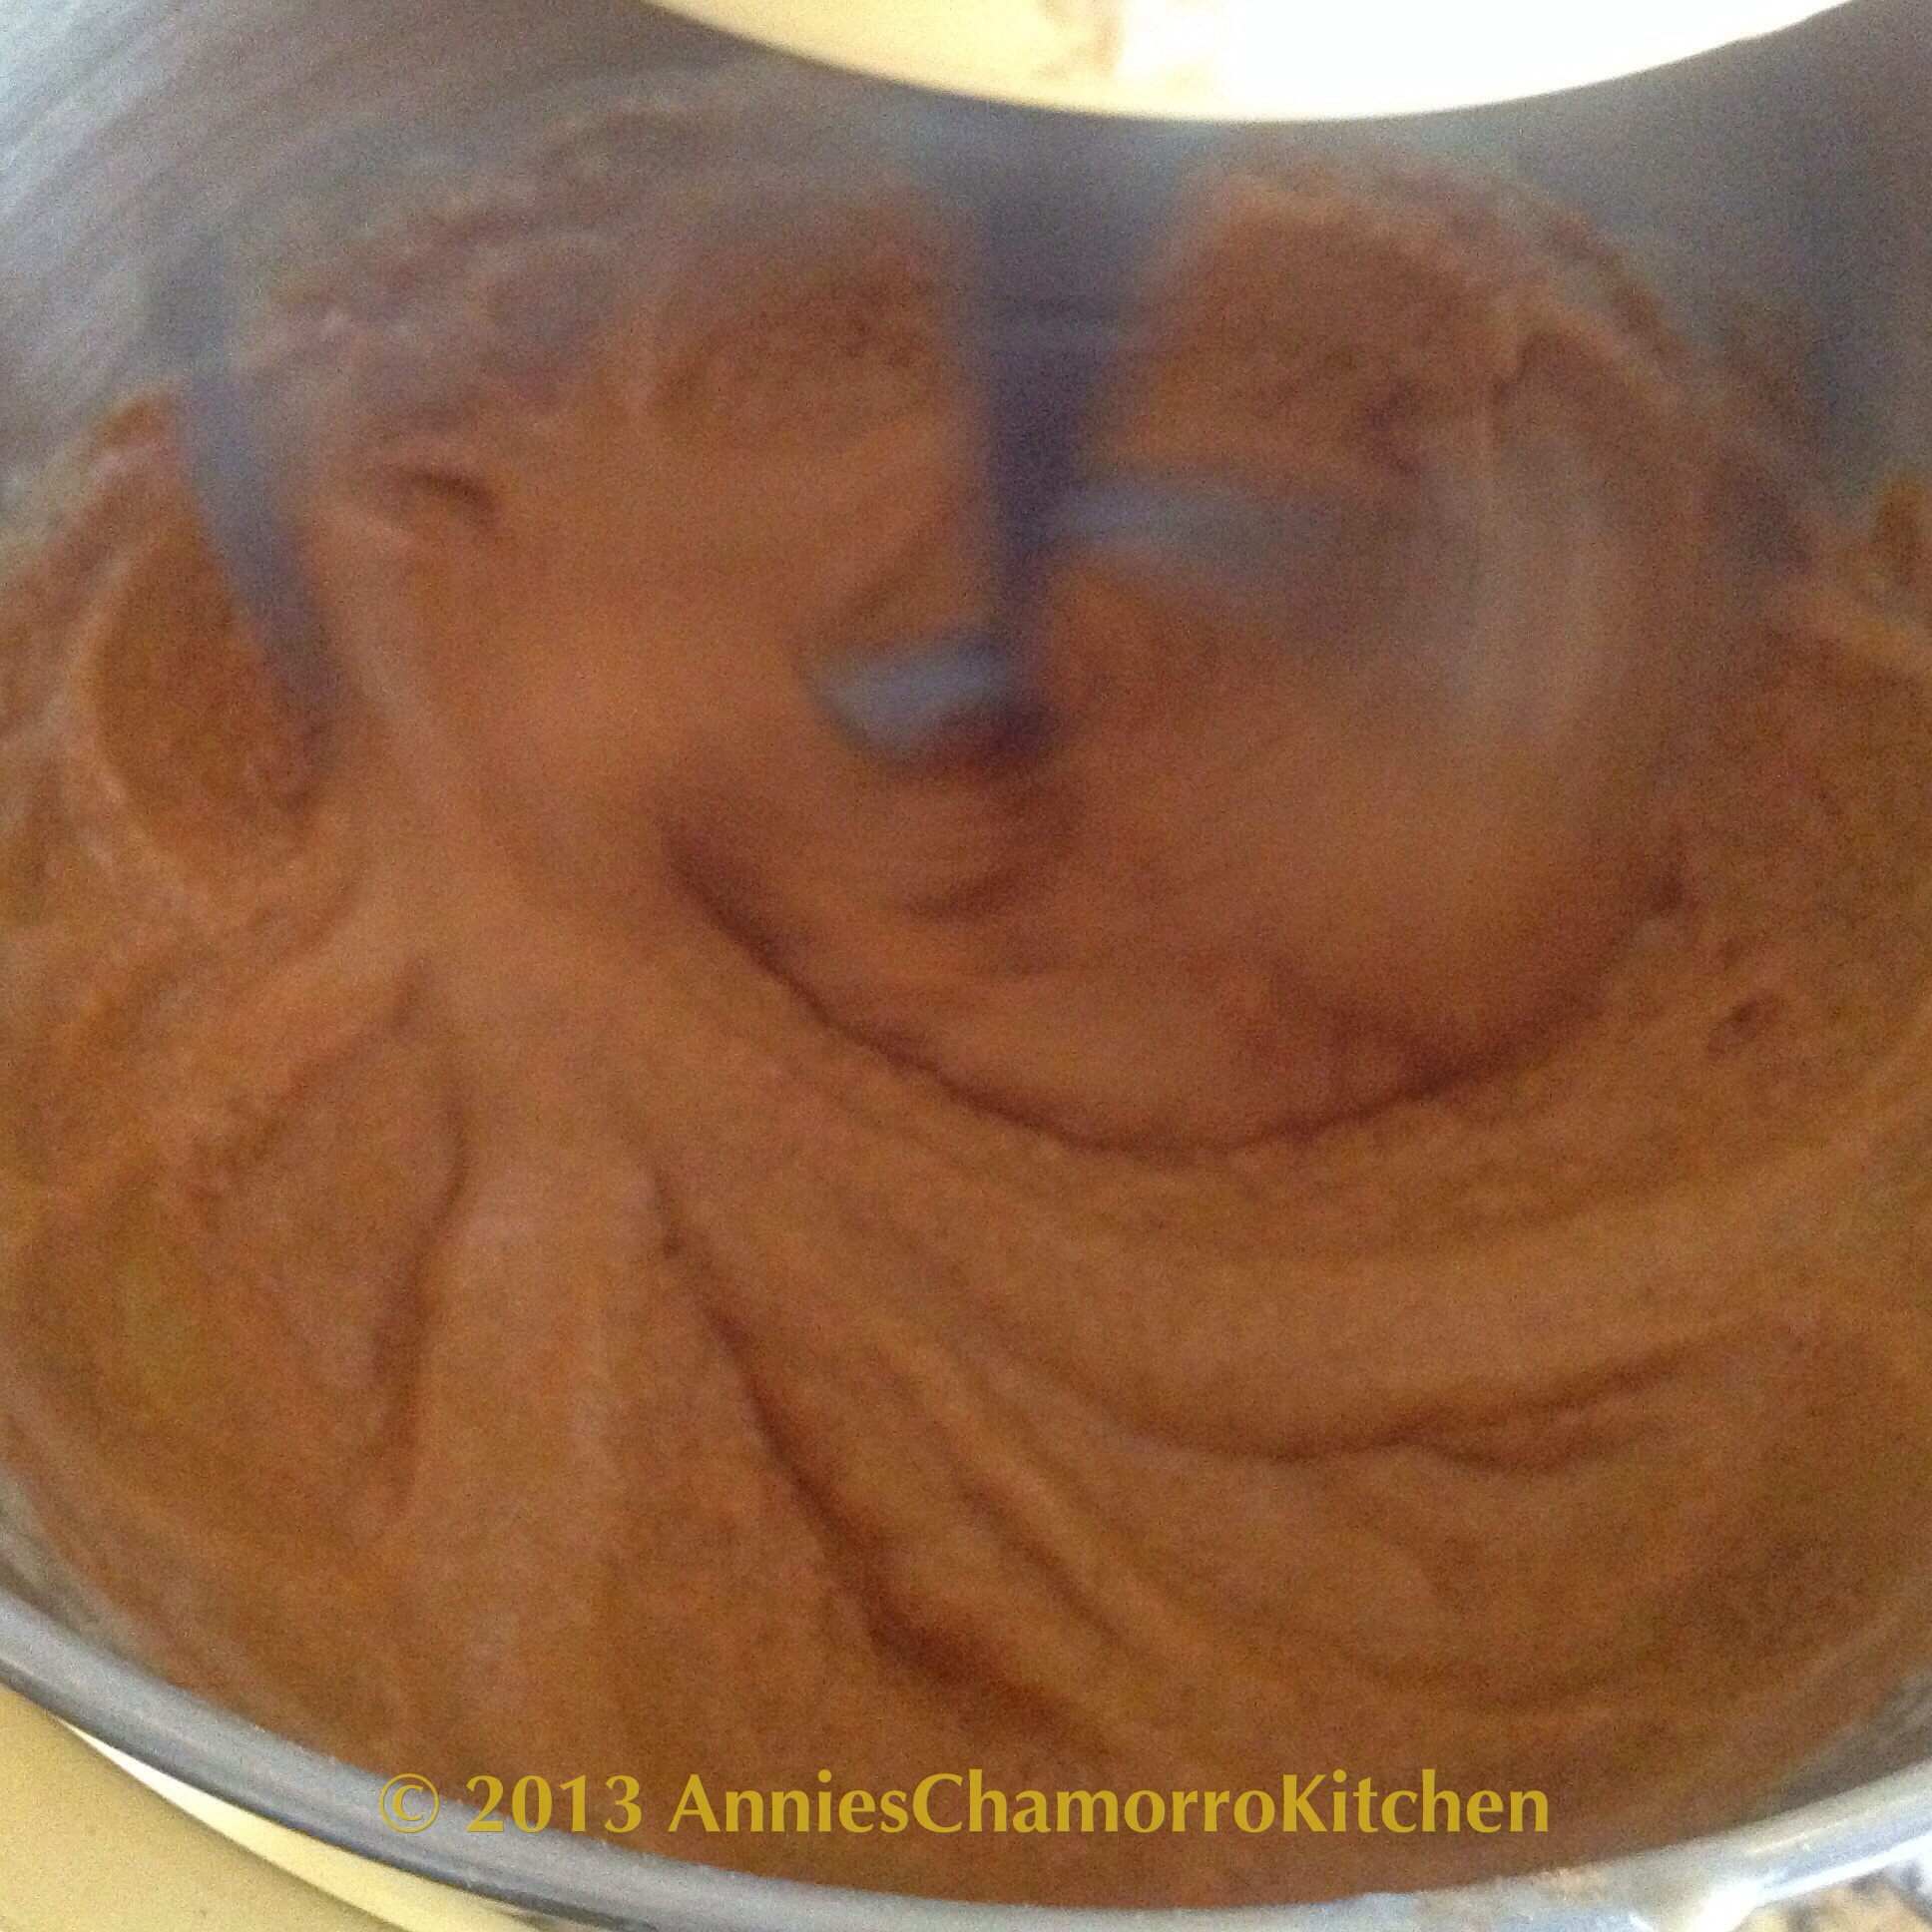
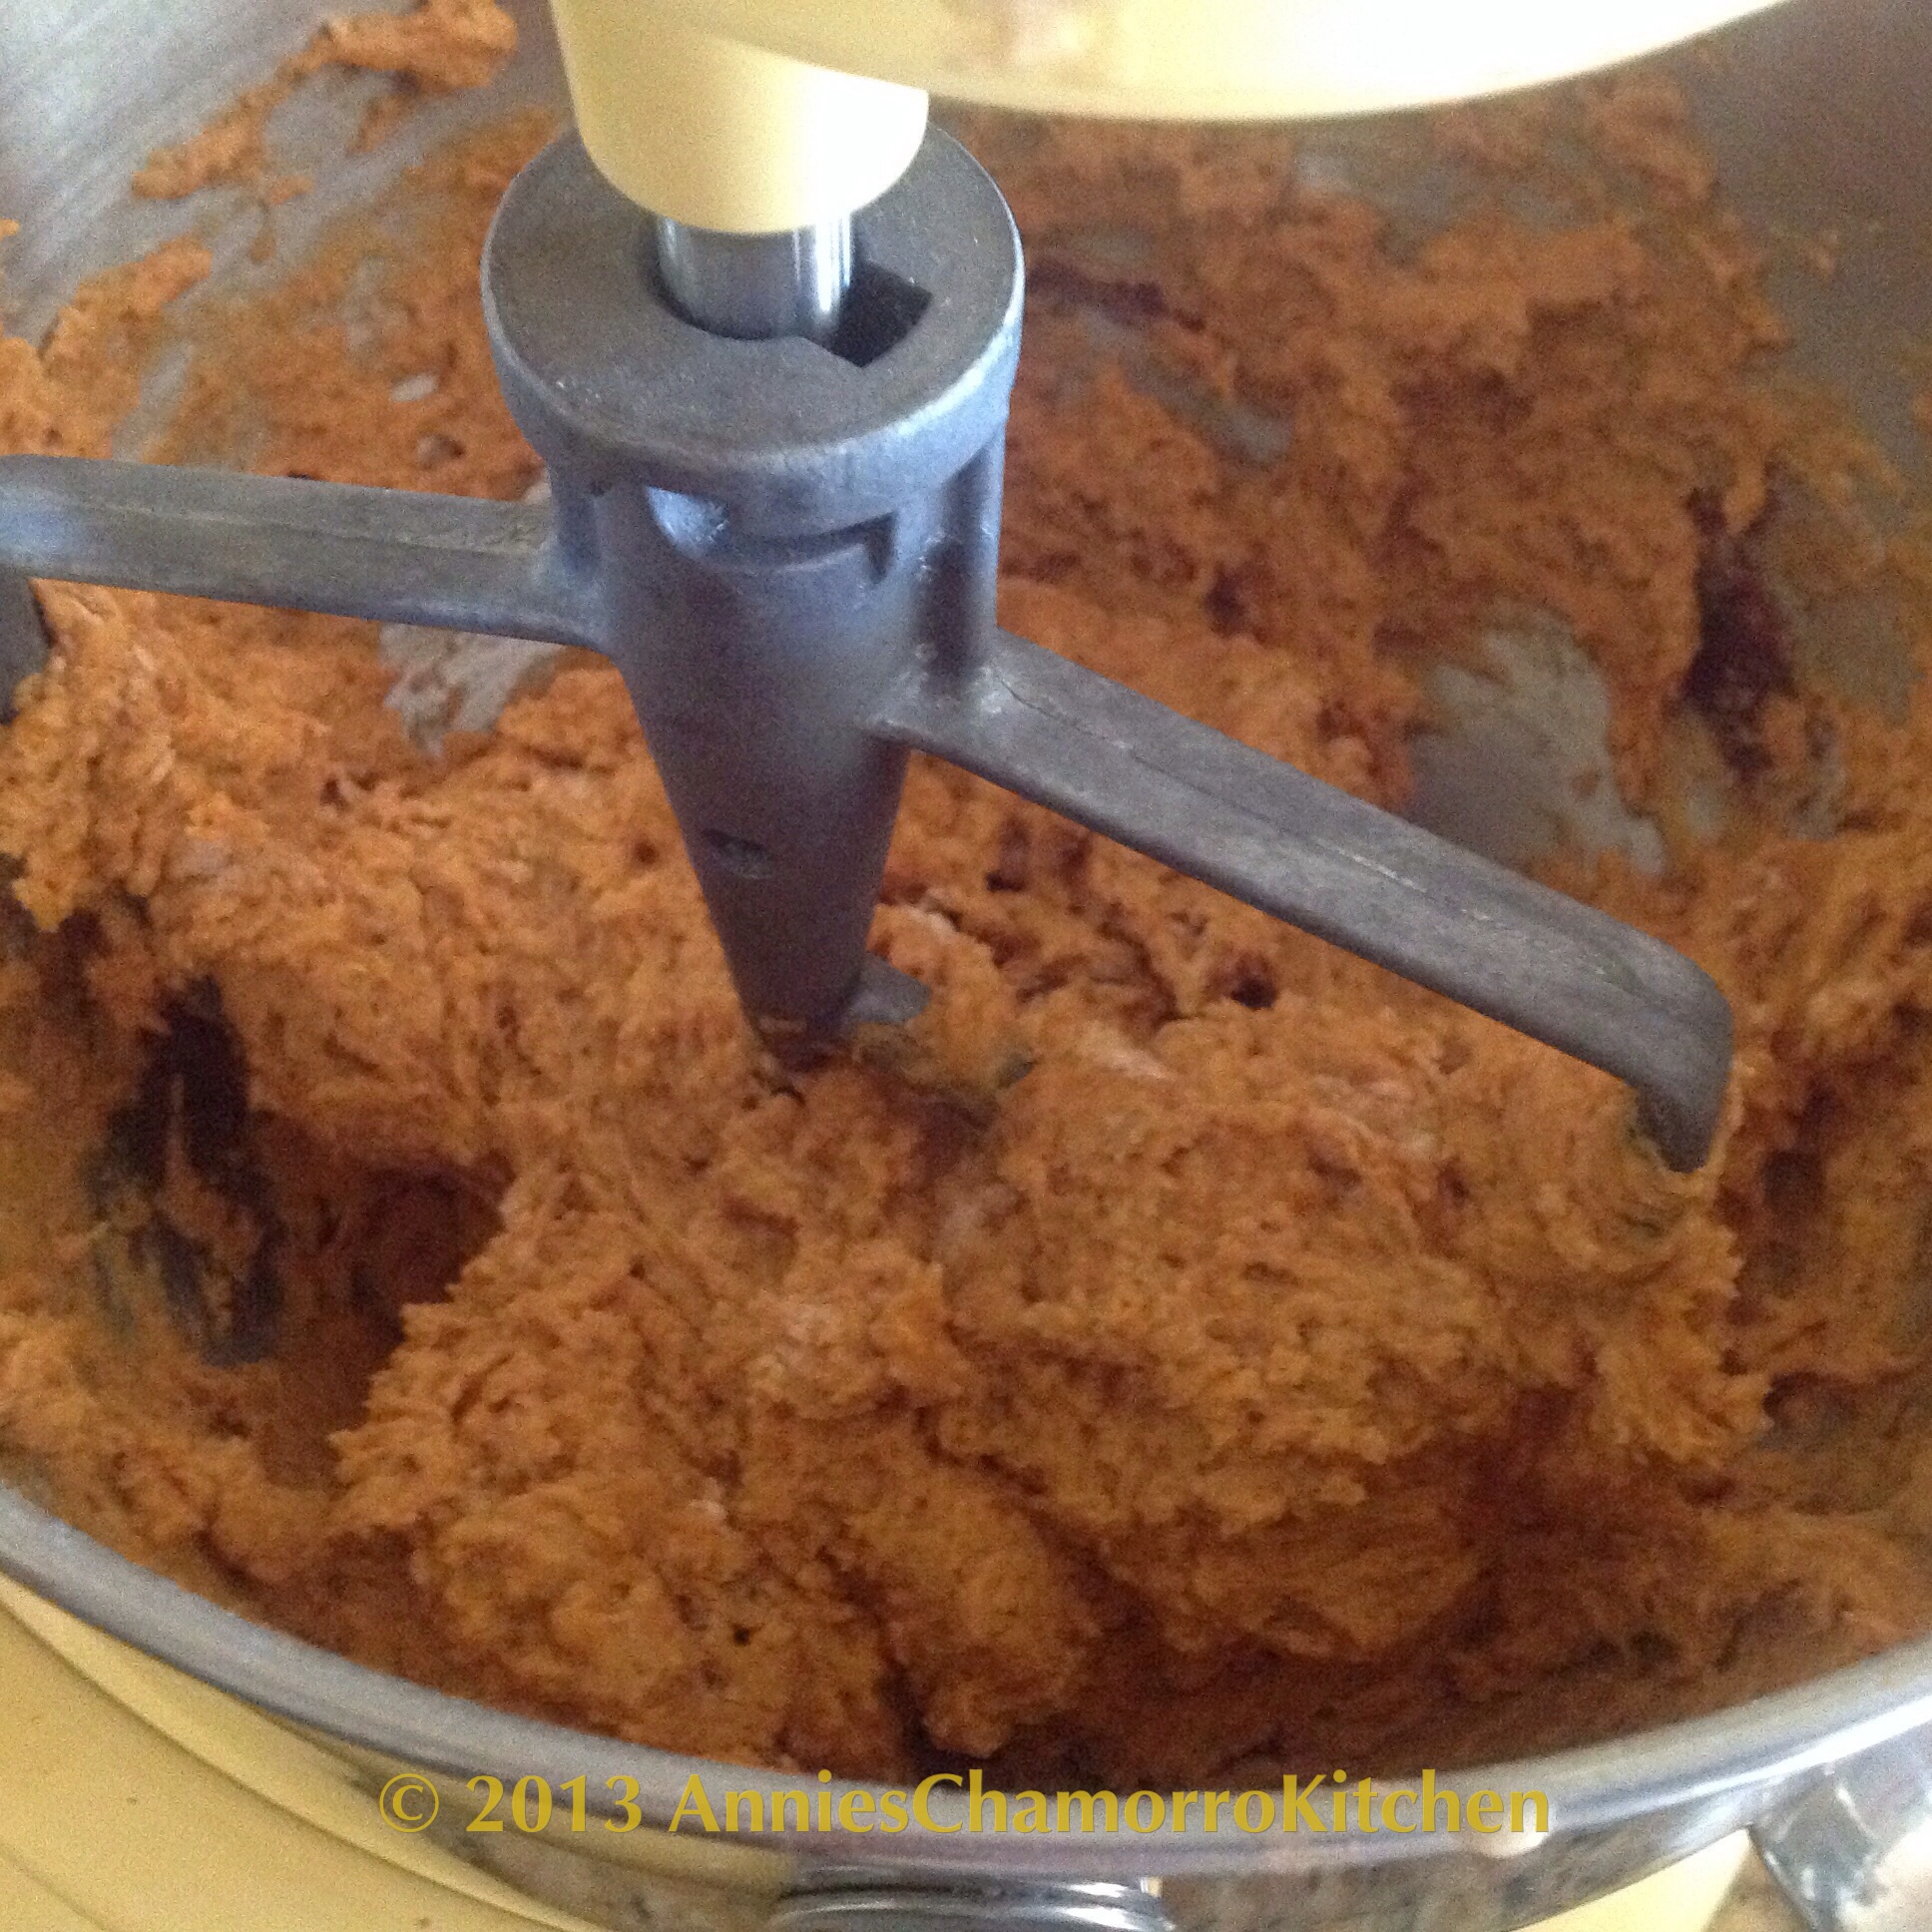
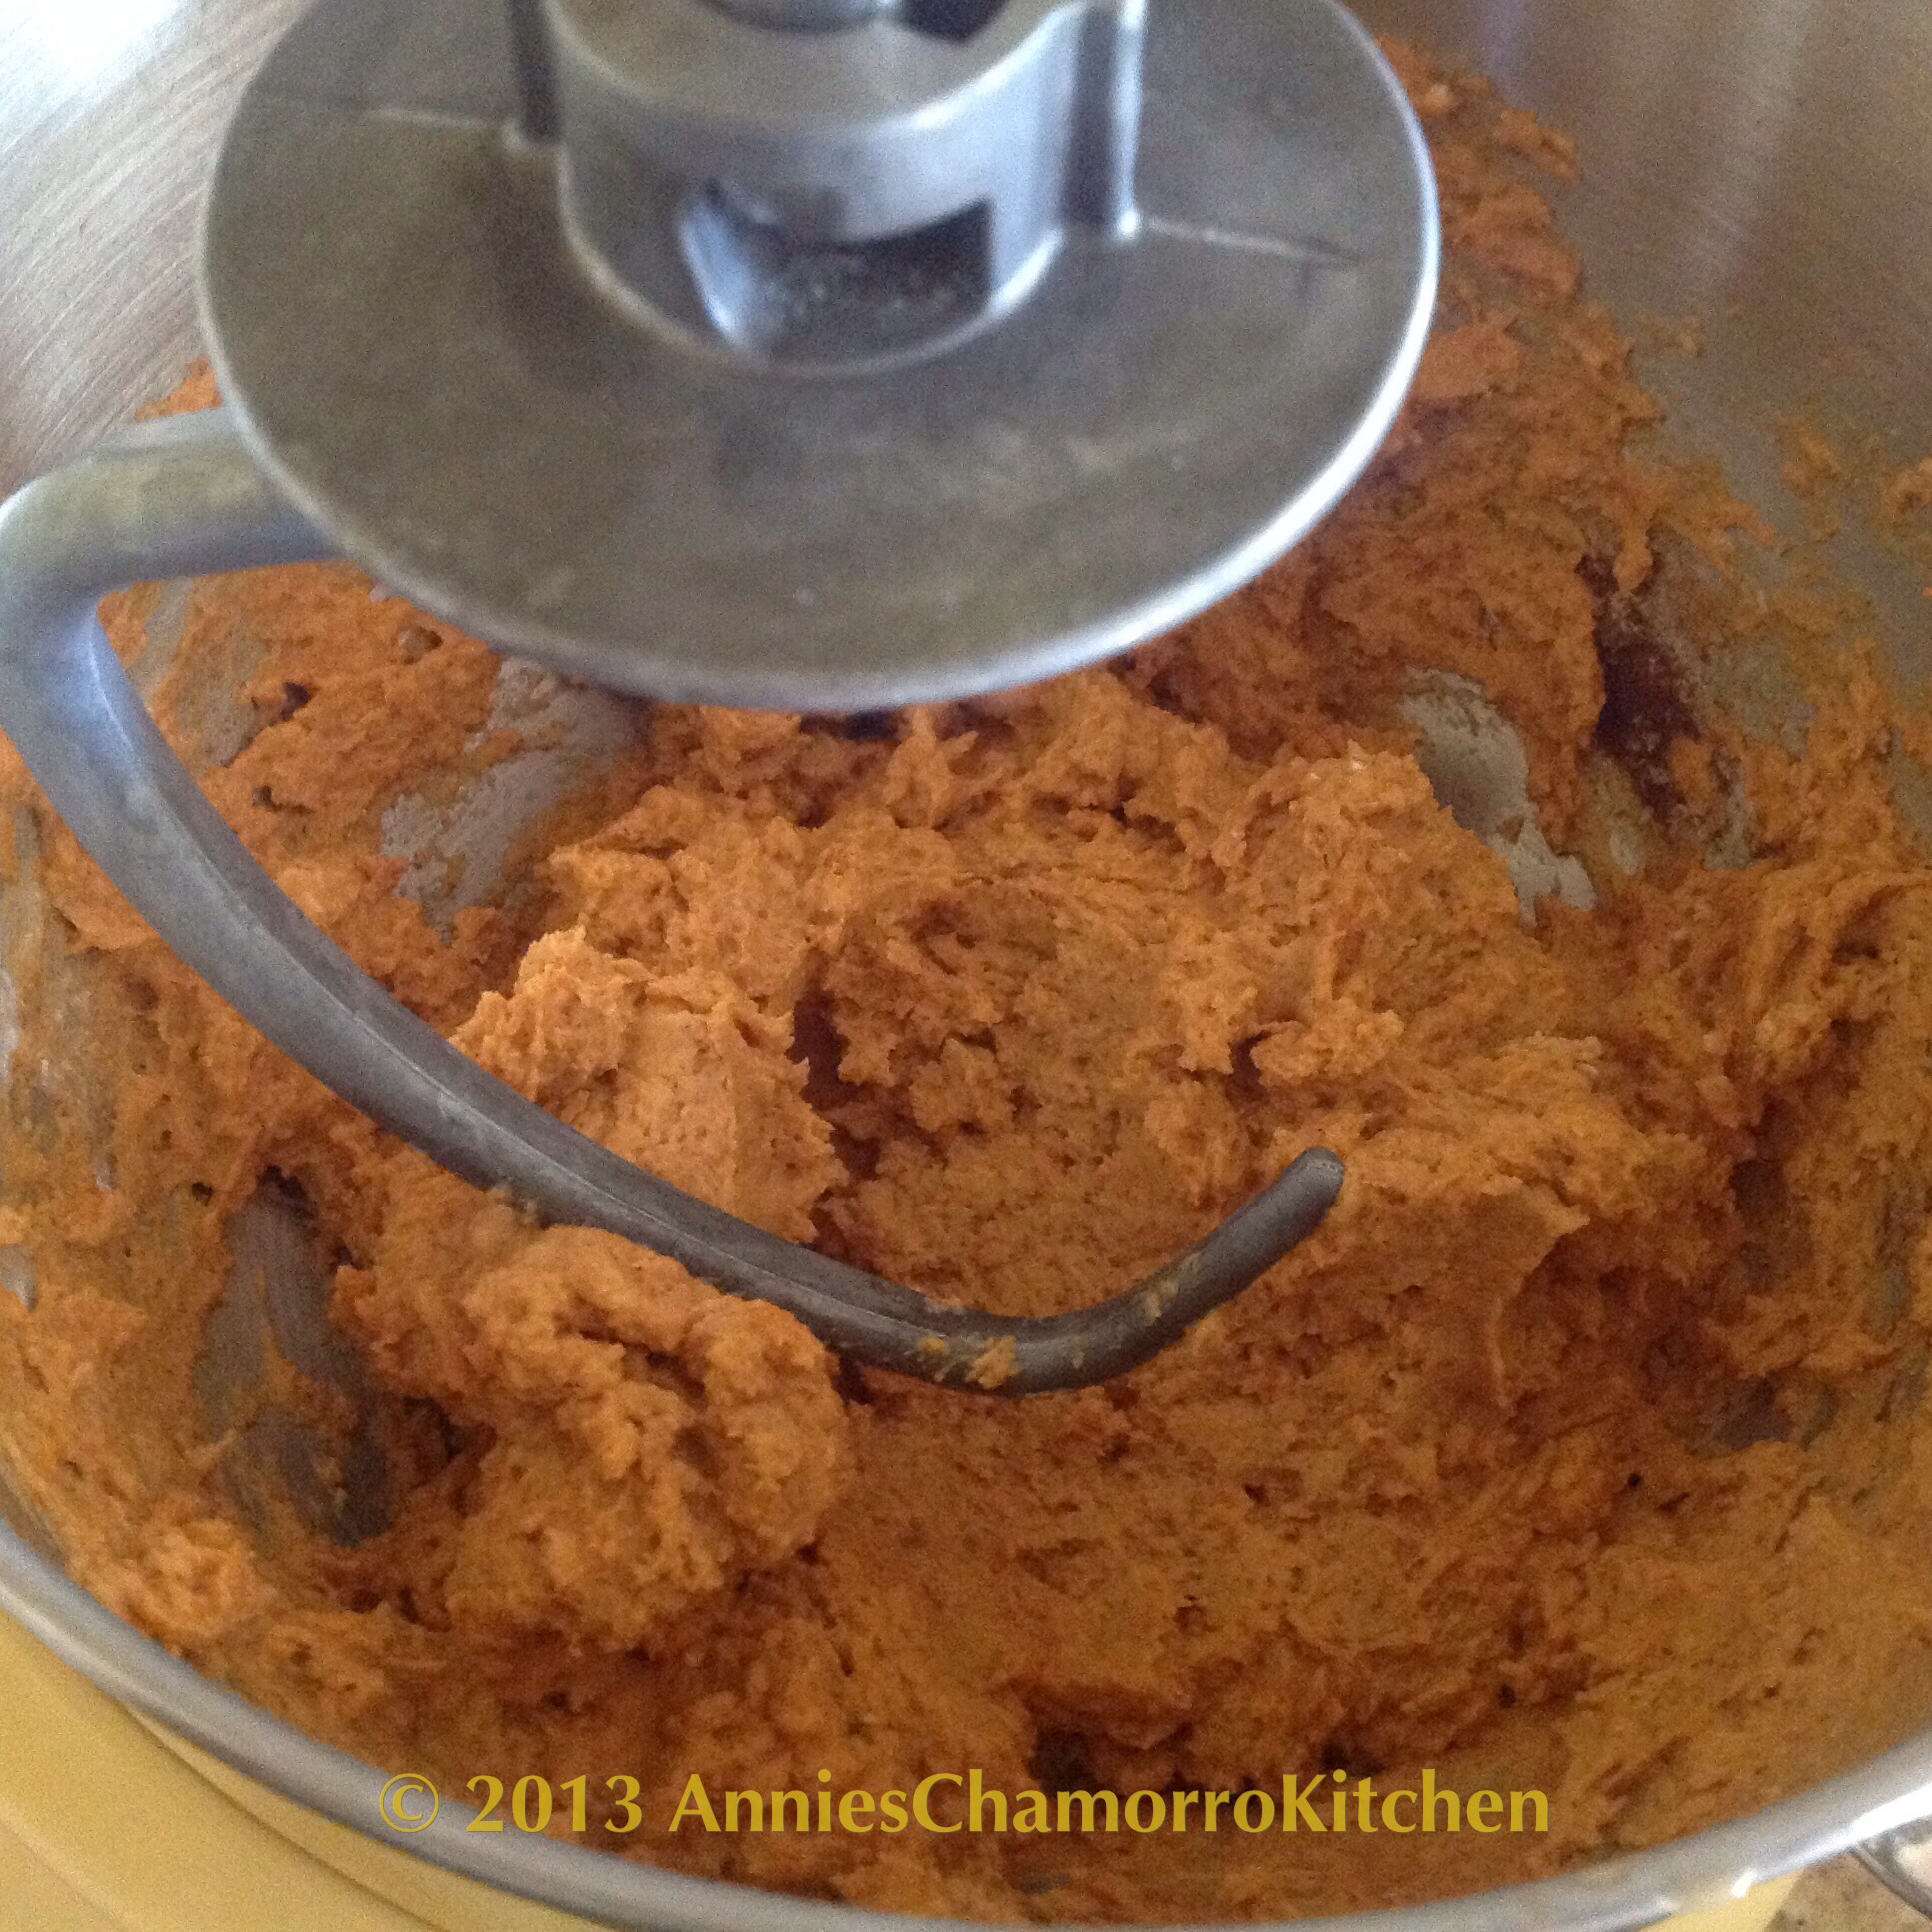
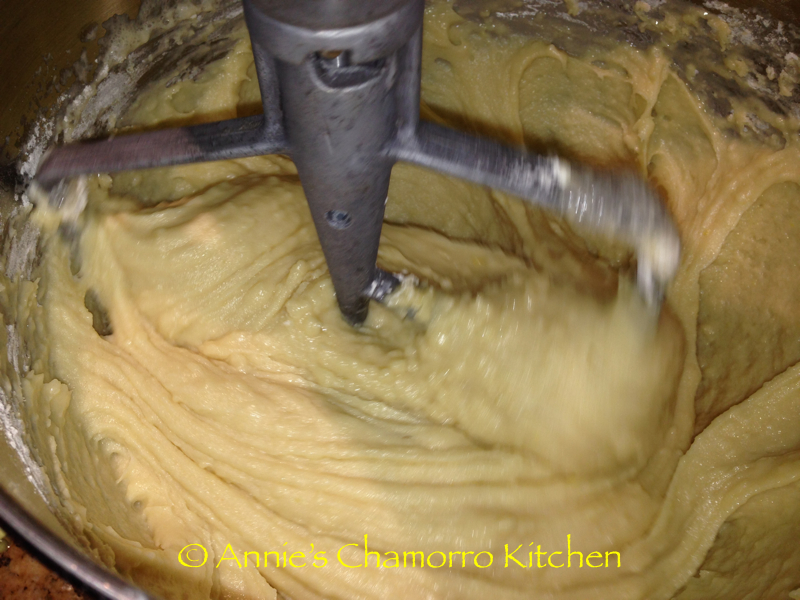
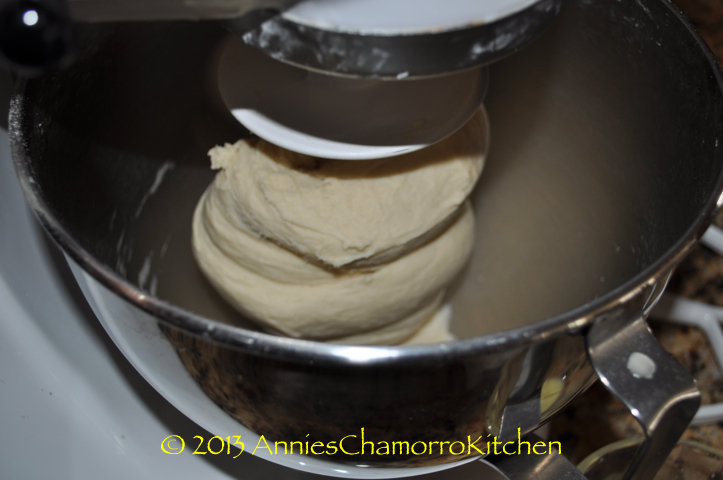
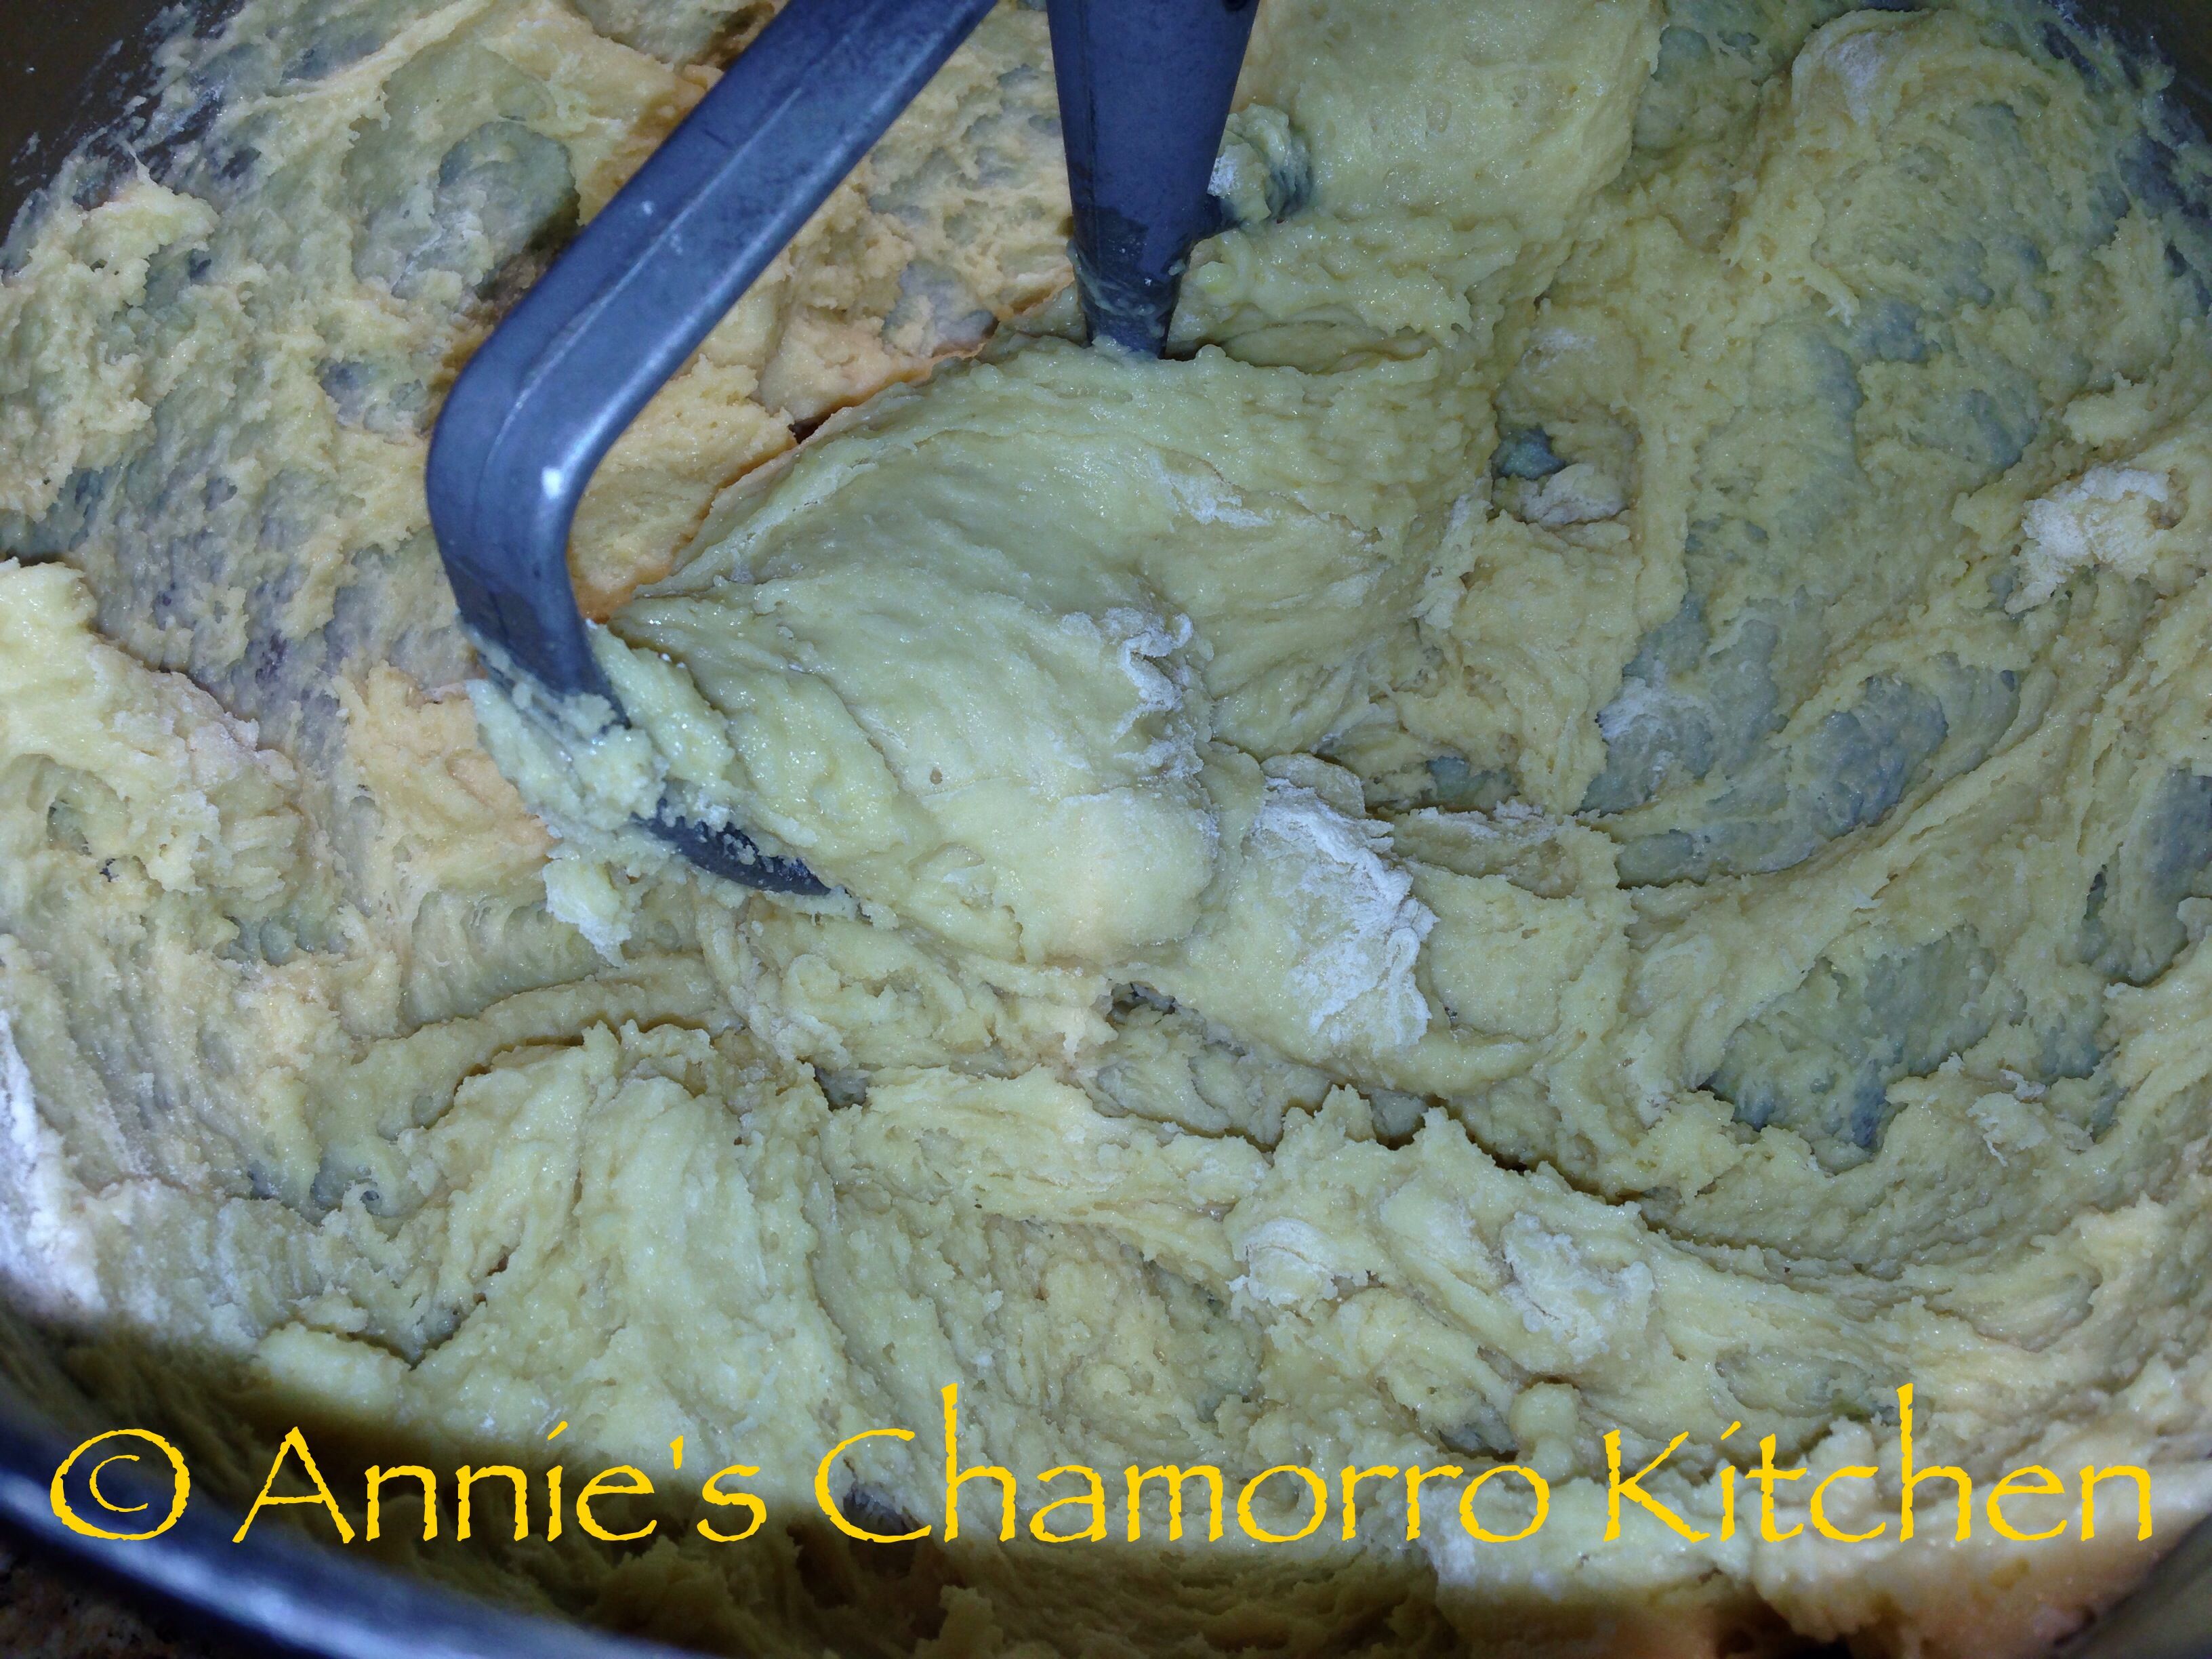
Mix until a soft dough forms.

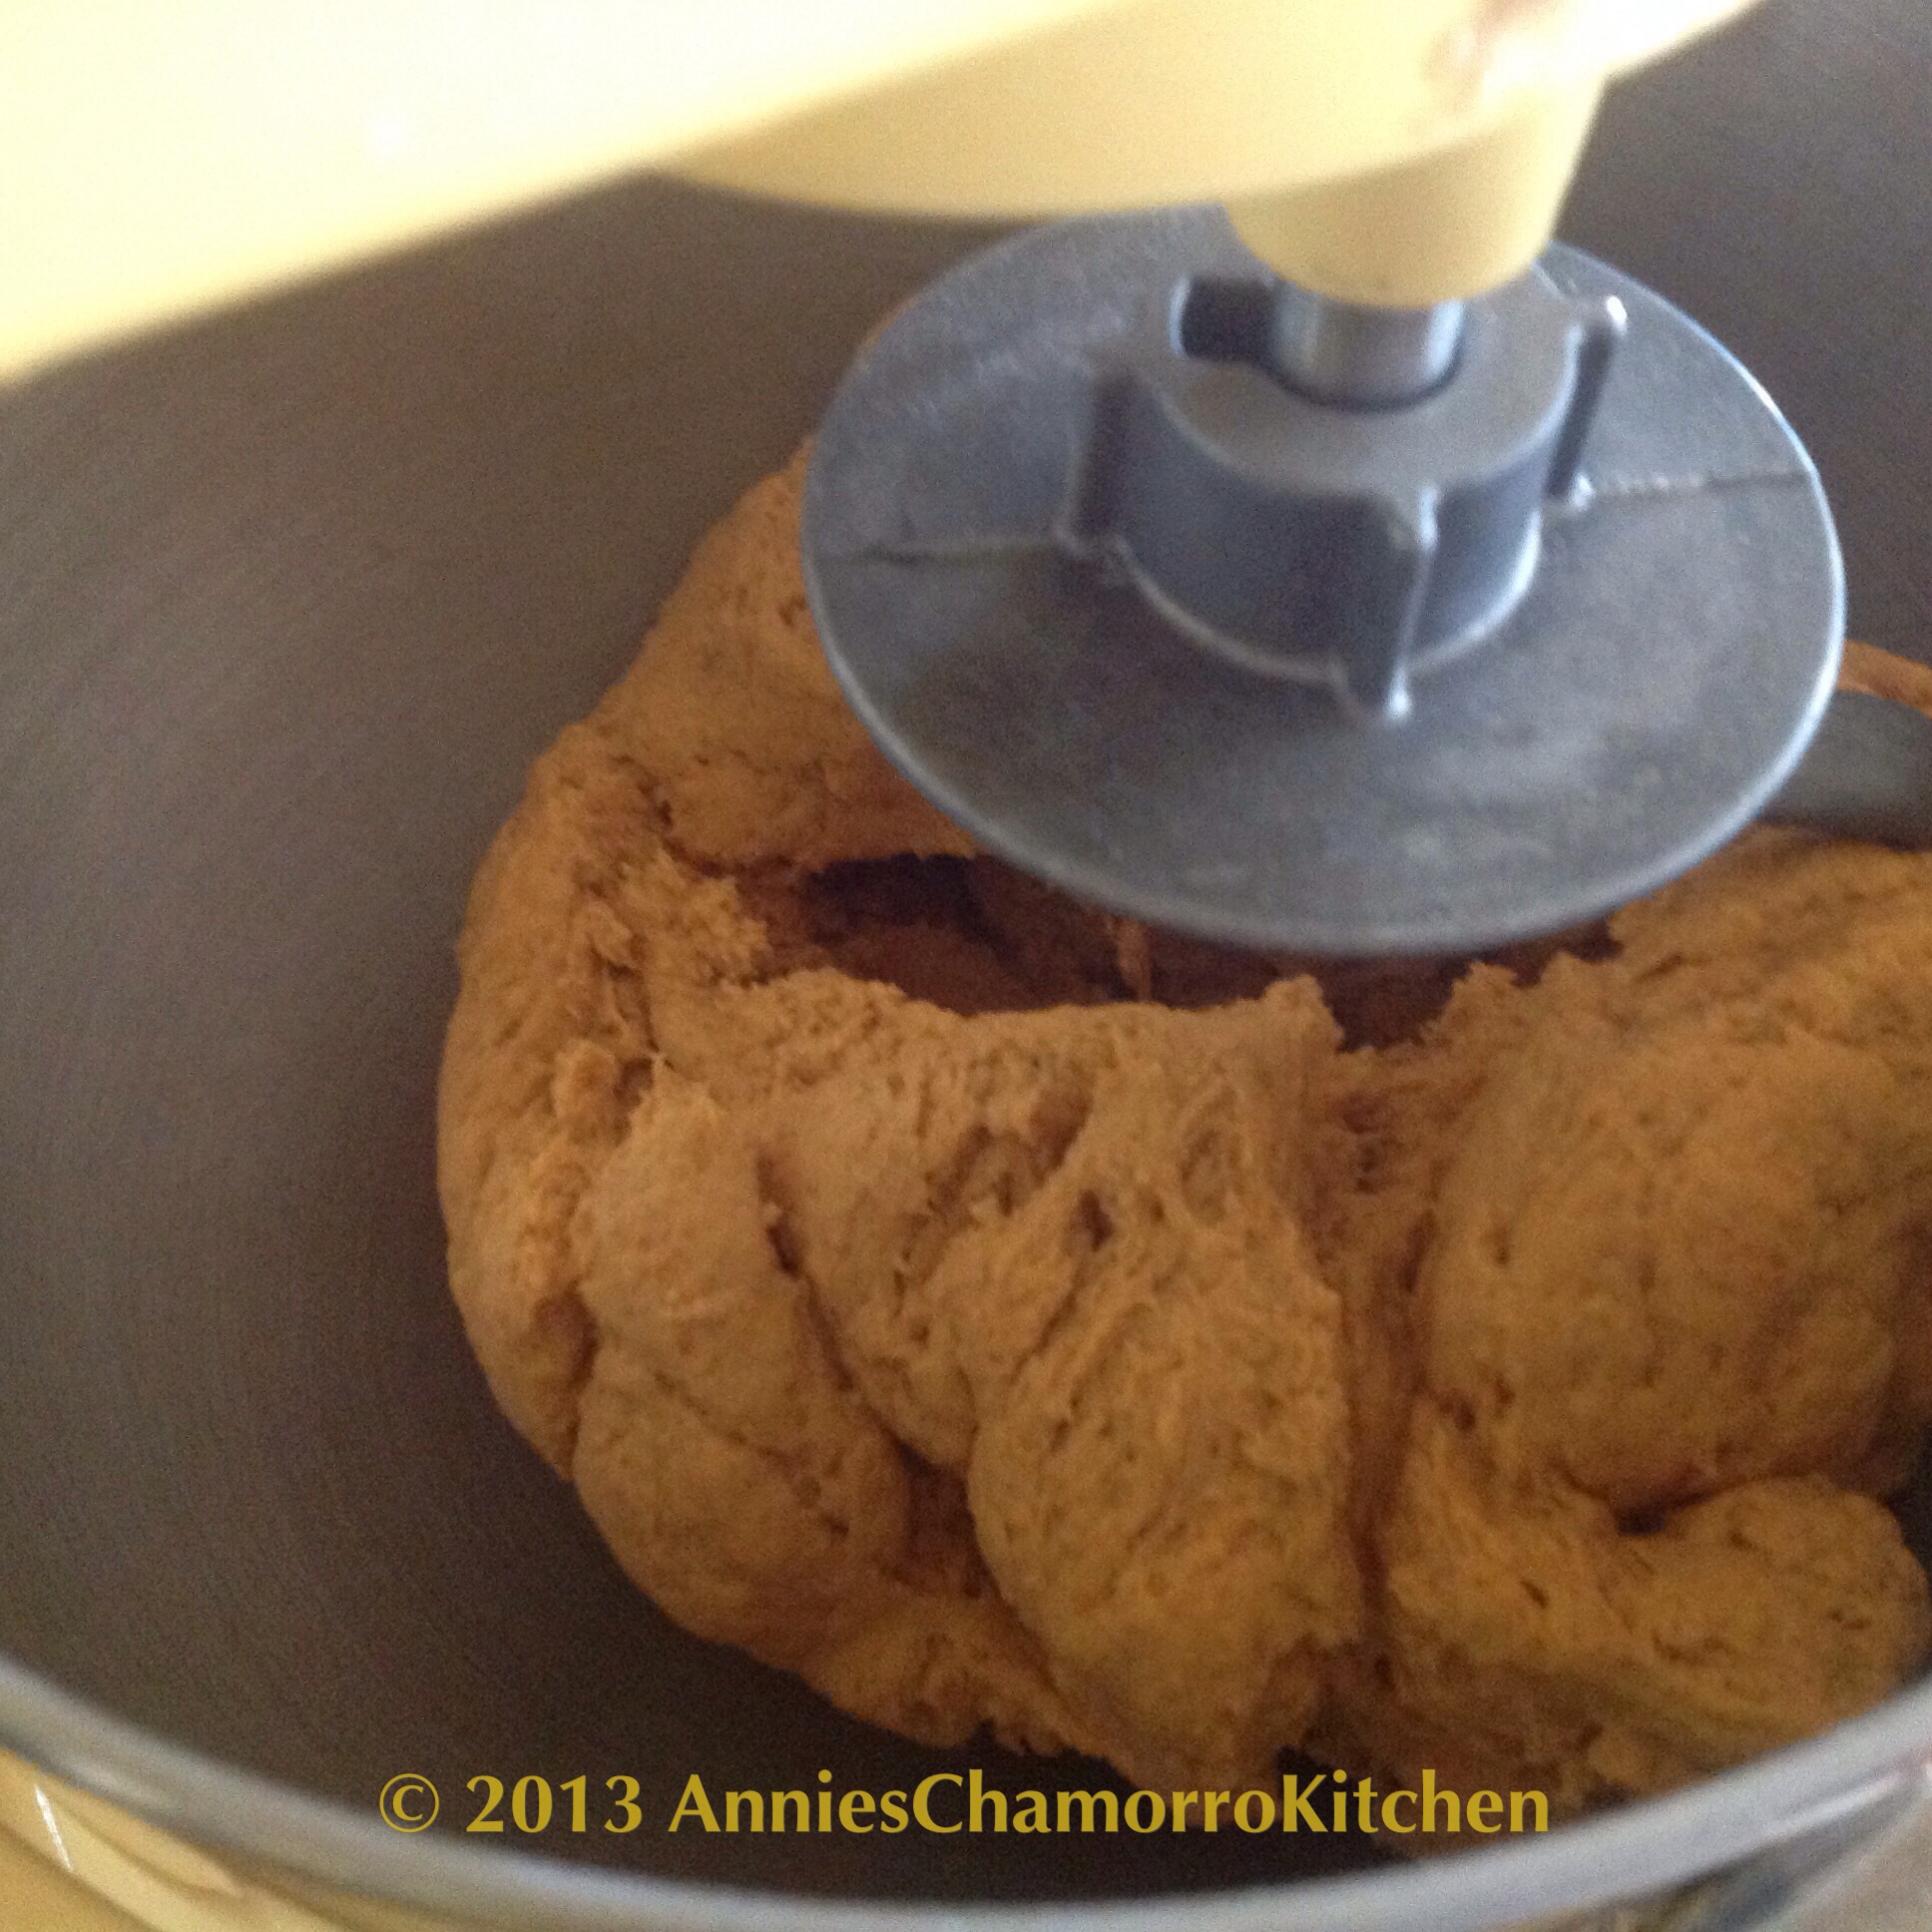
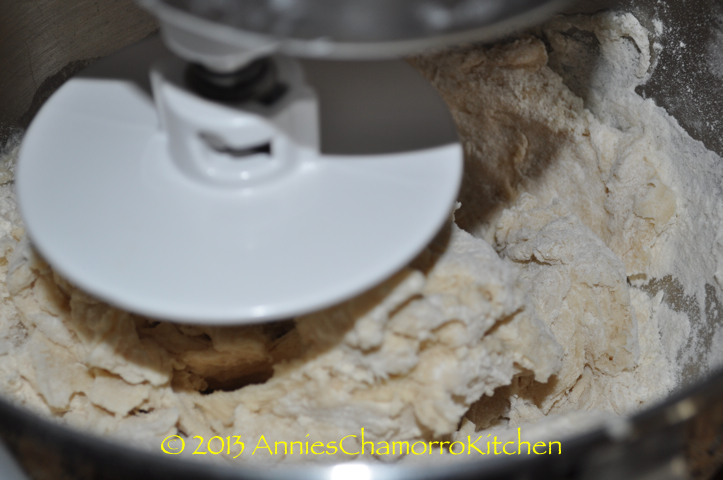
It doesn’t look like much at this stage, but this sticky dough will soon become 12 super-soft, fluffy, giant cinnamon rolls that rival those over-priced buns you buy in malls.
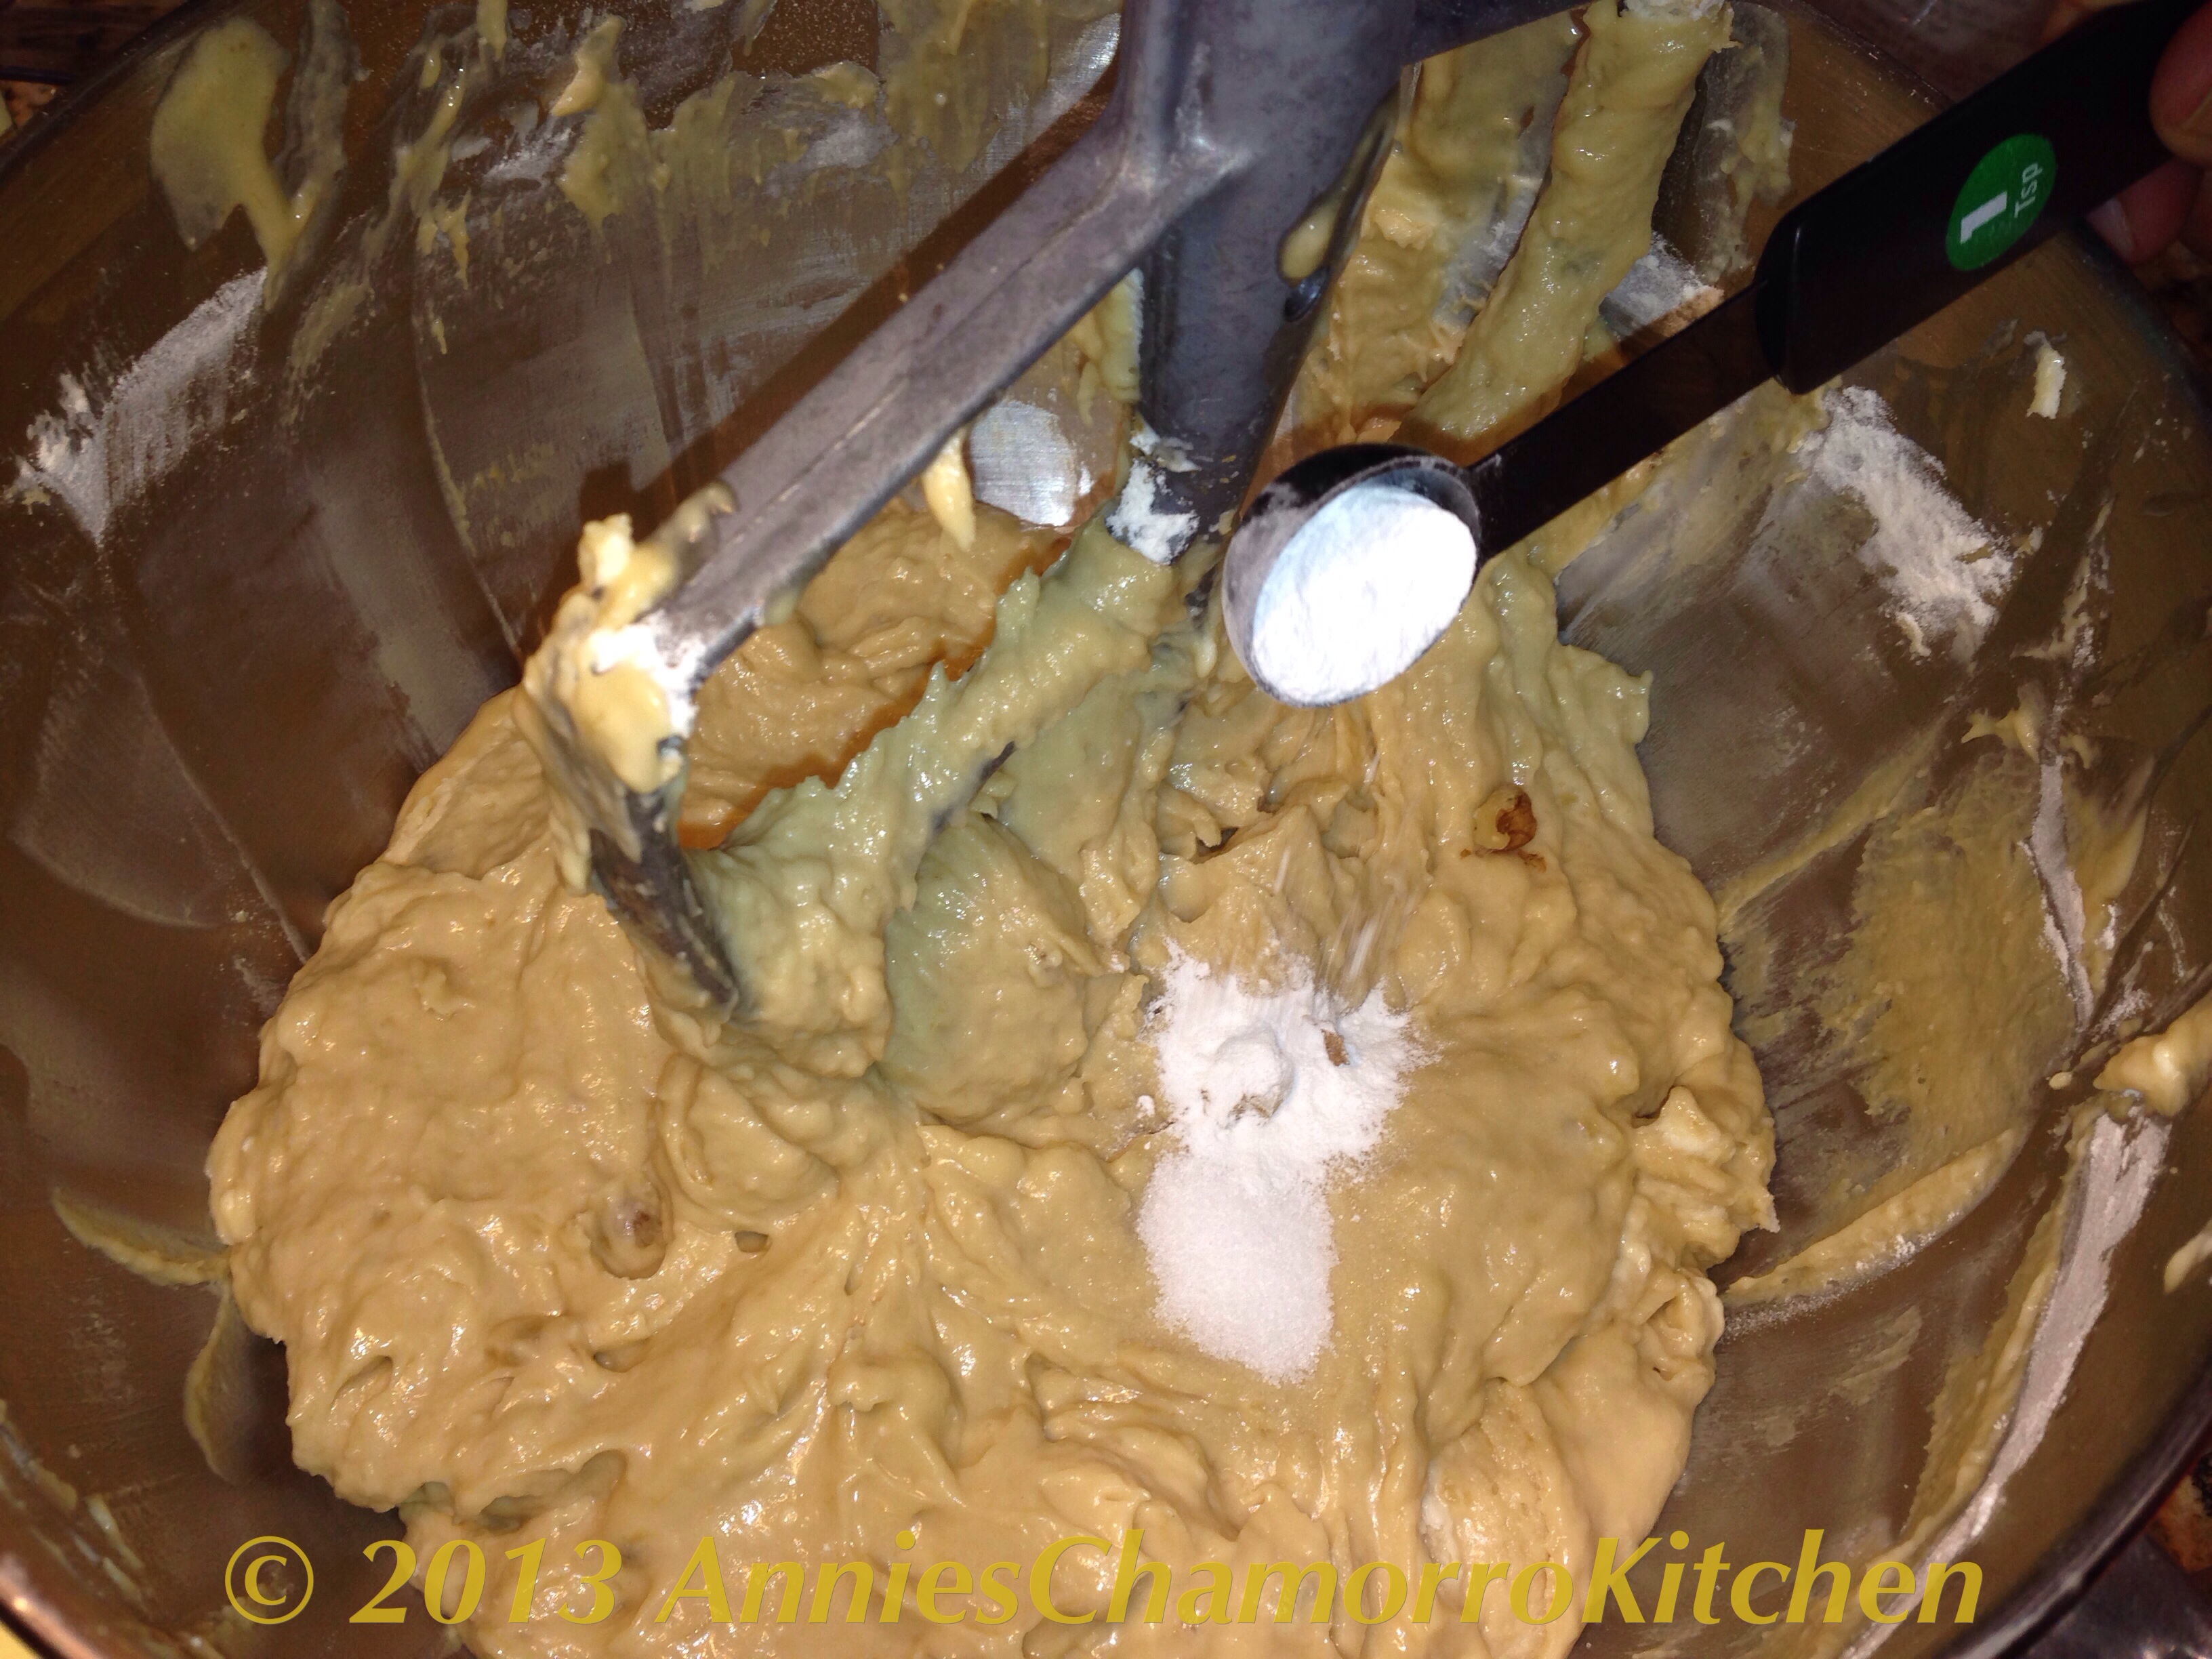
As soon as all of the flour and other dry ingredients are mixed in with the wet ingredients, remove the paddle attachment and attach the dough hook.

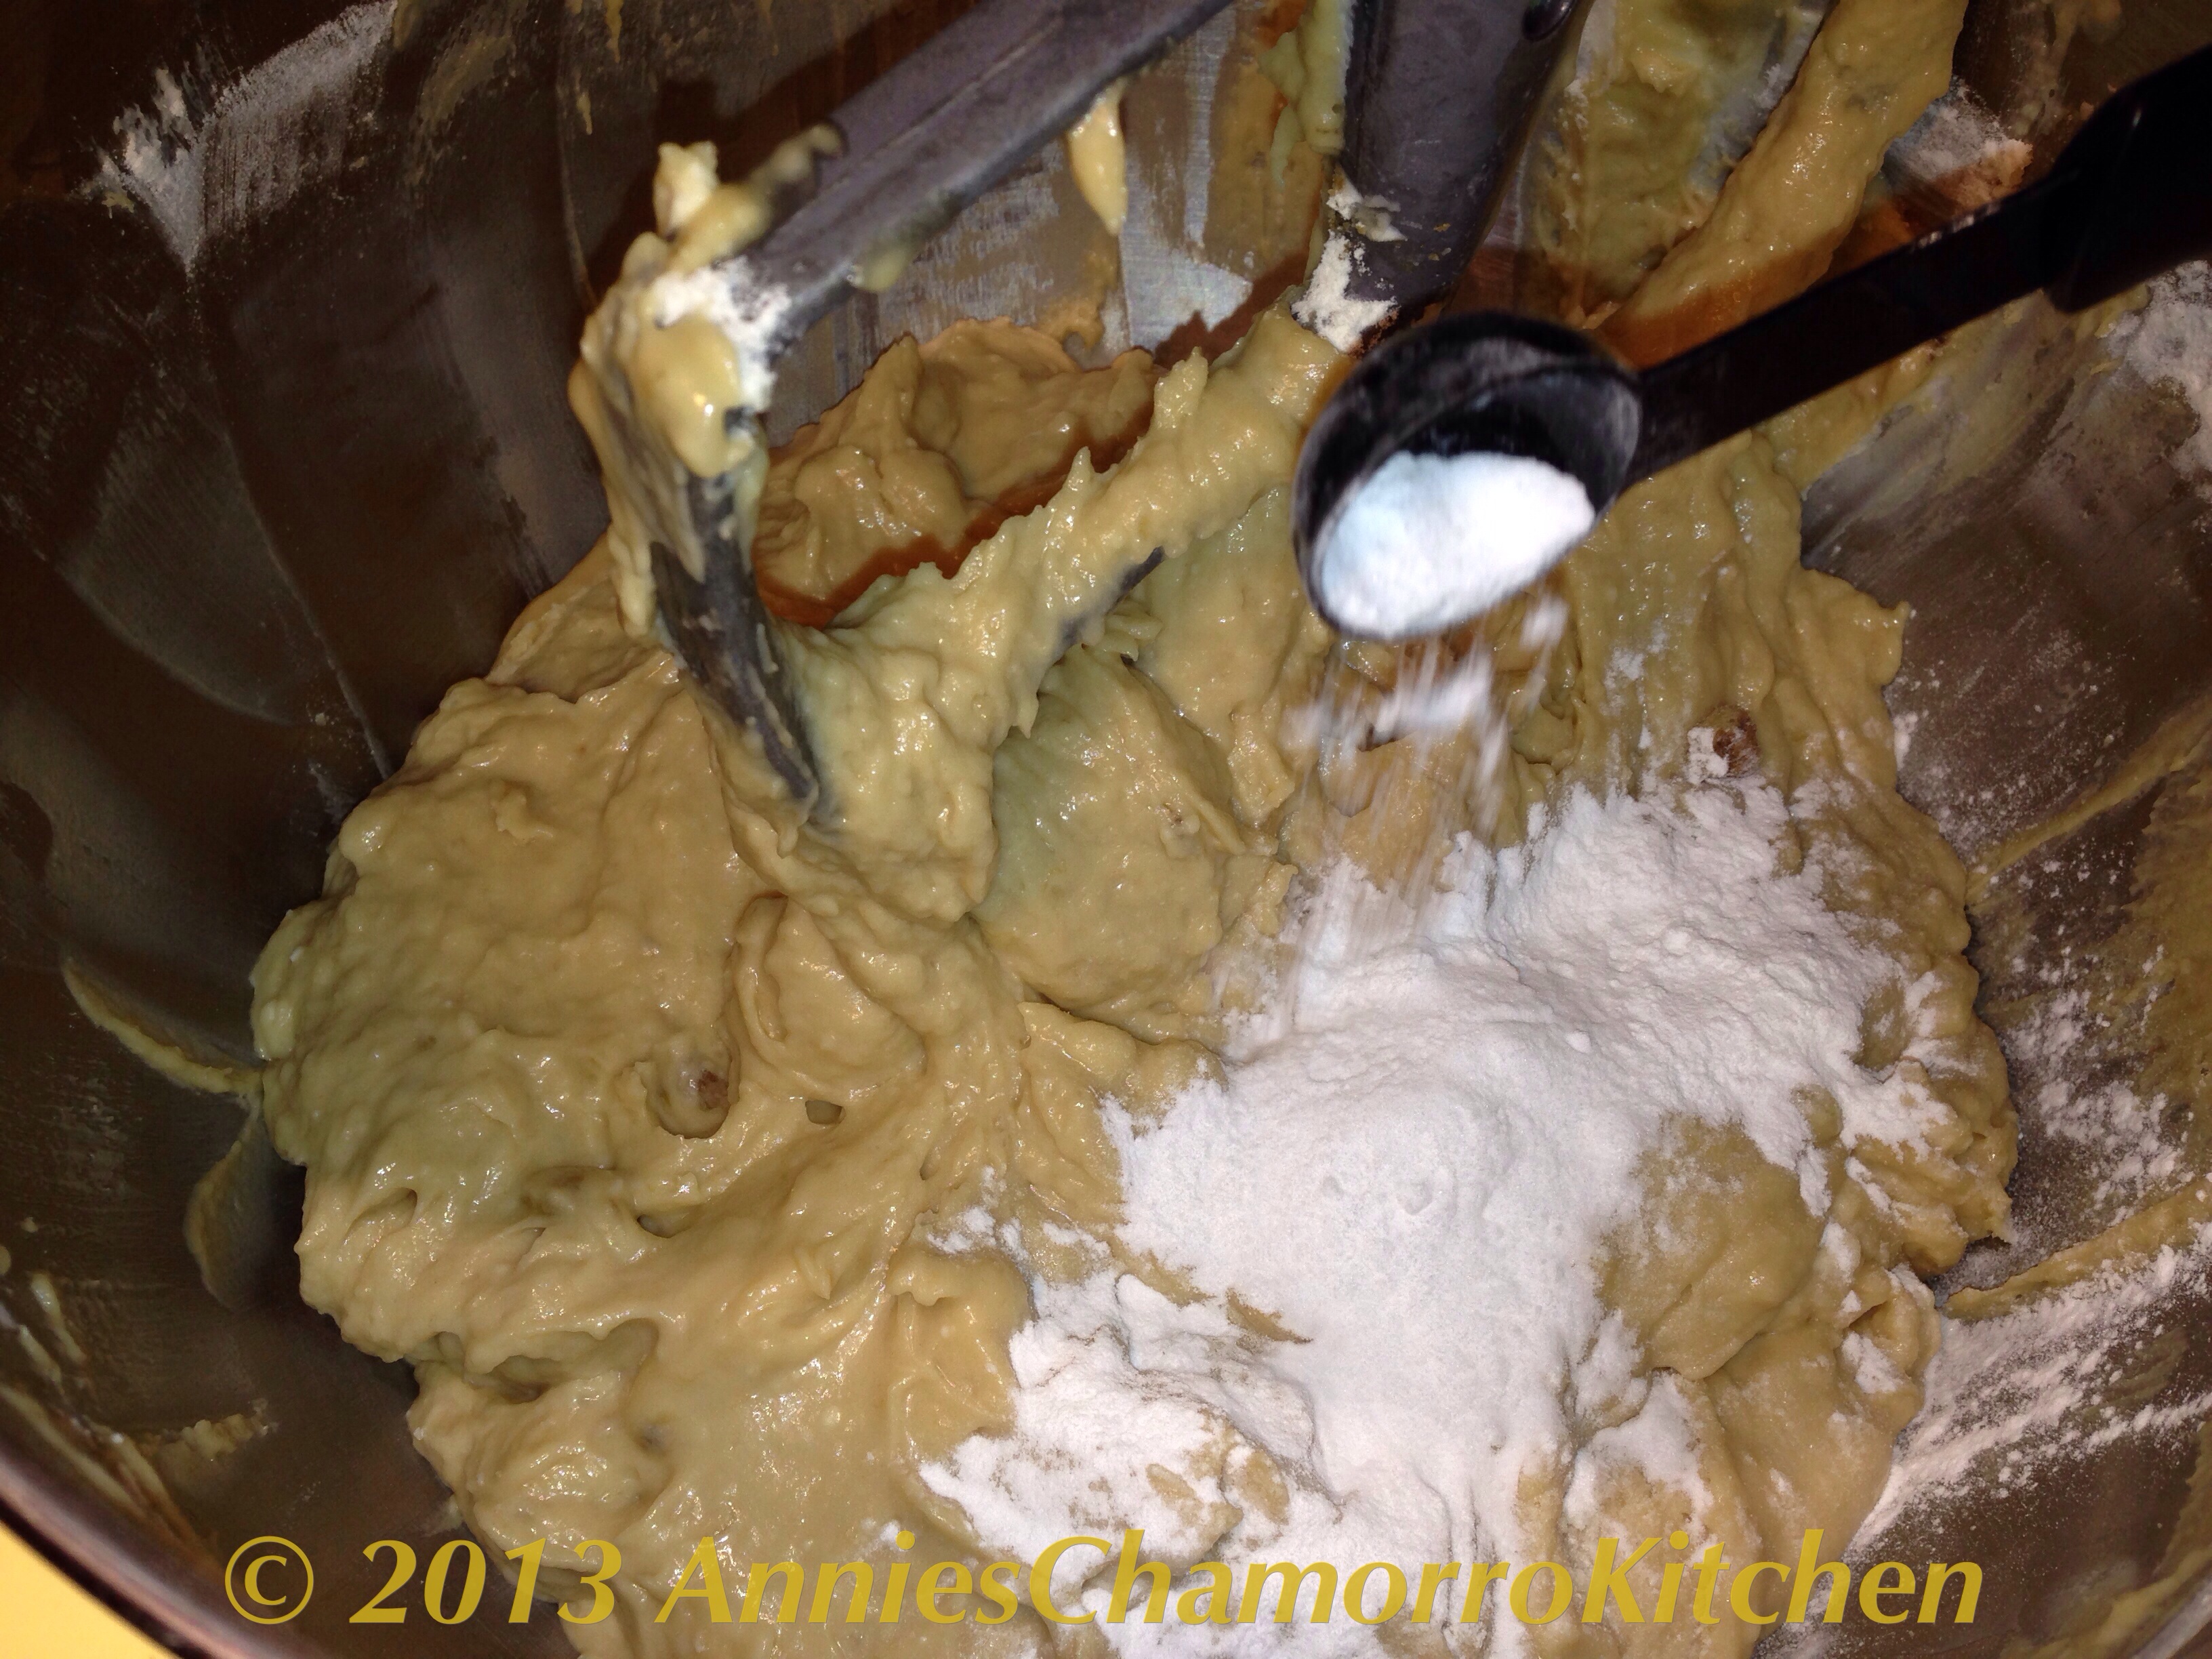
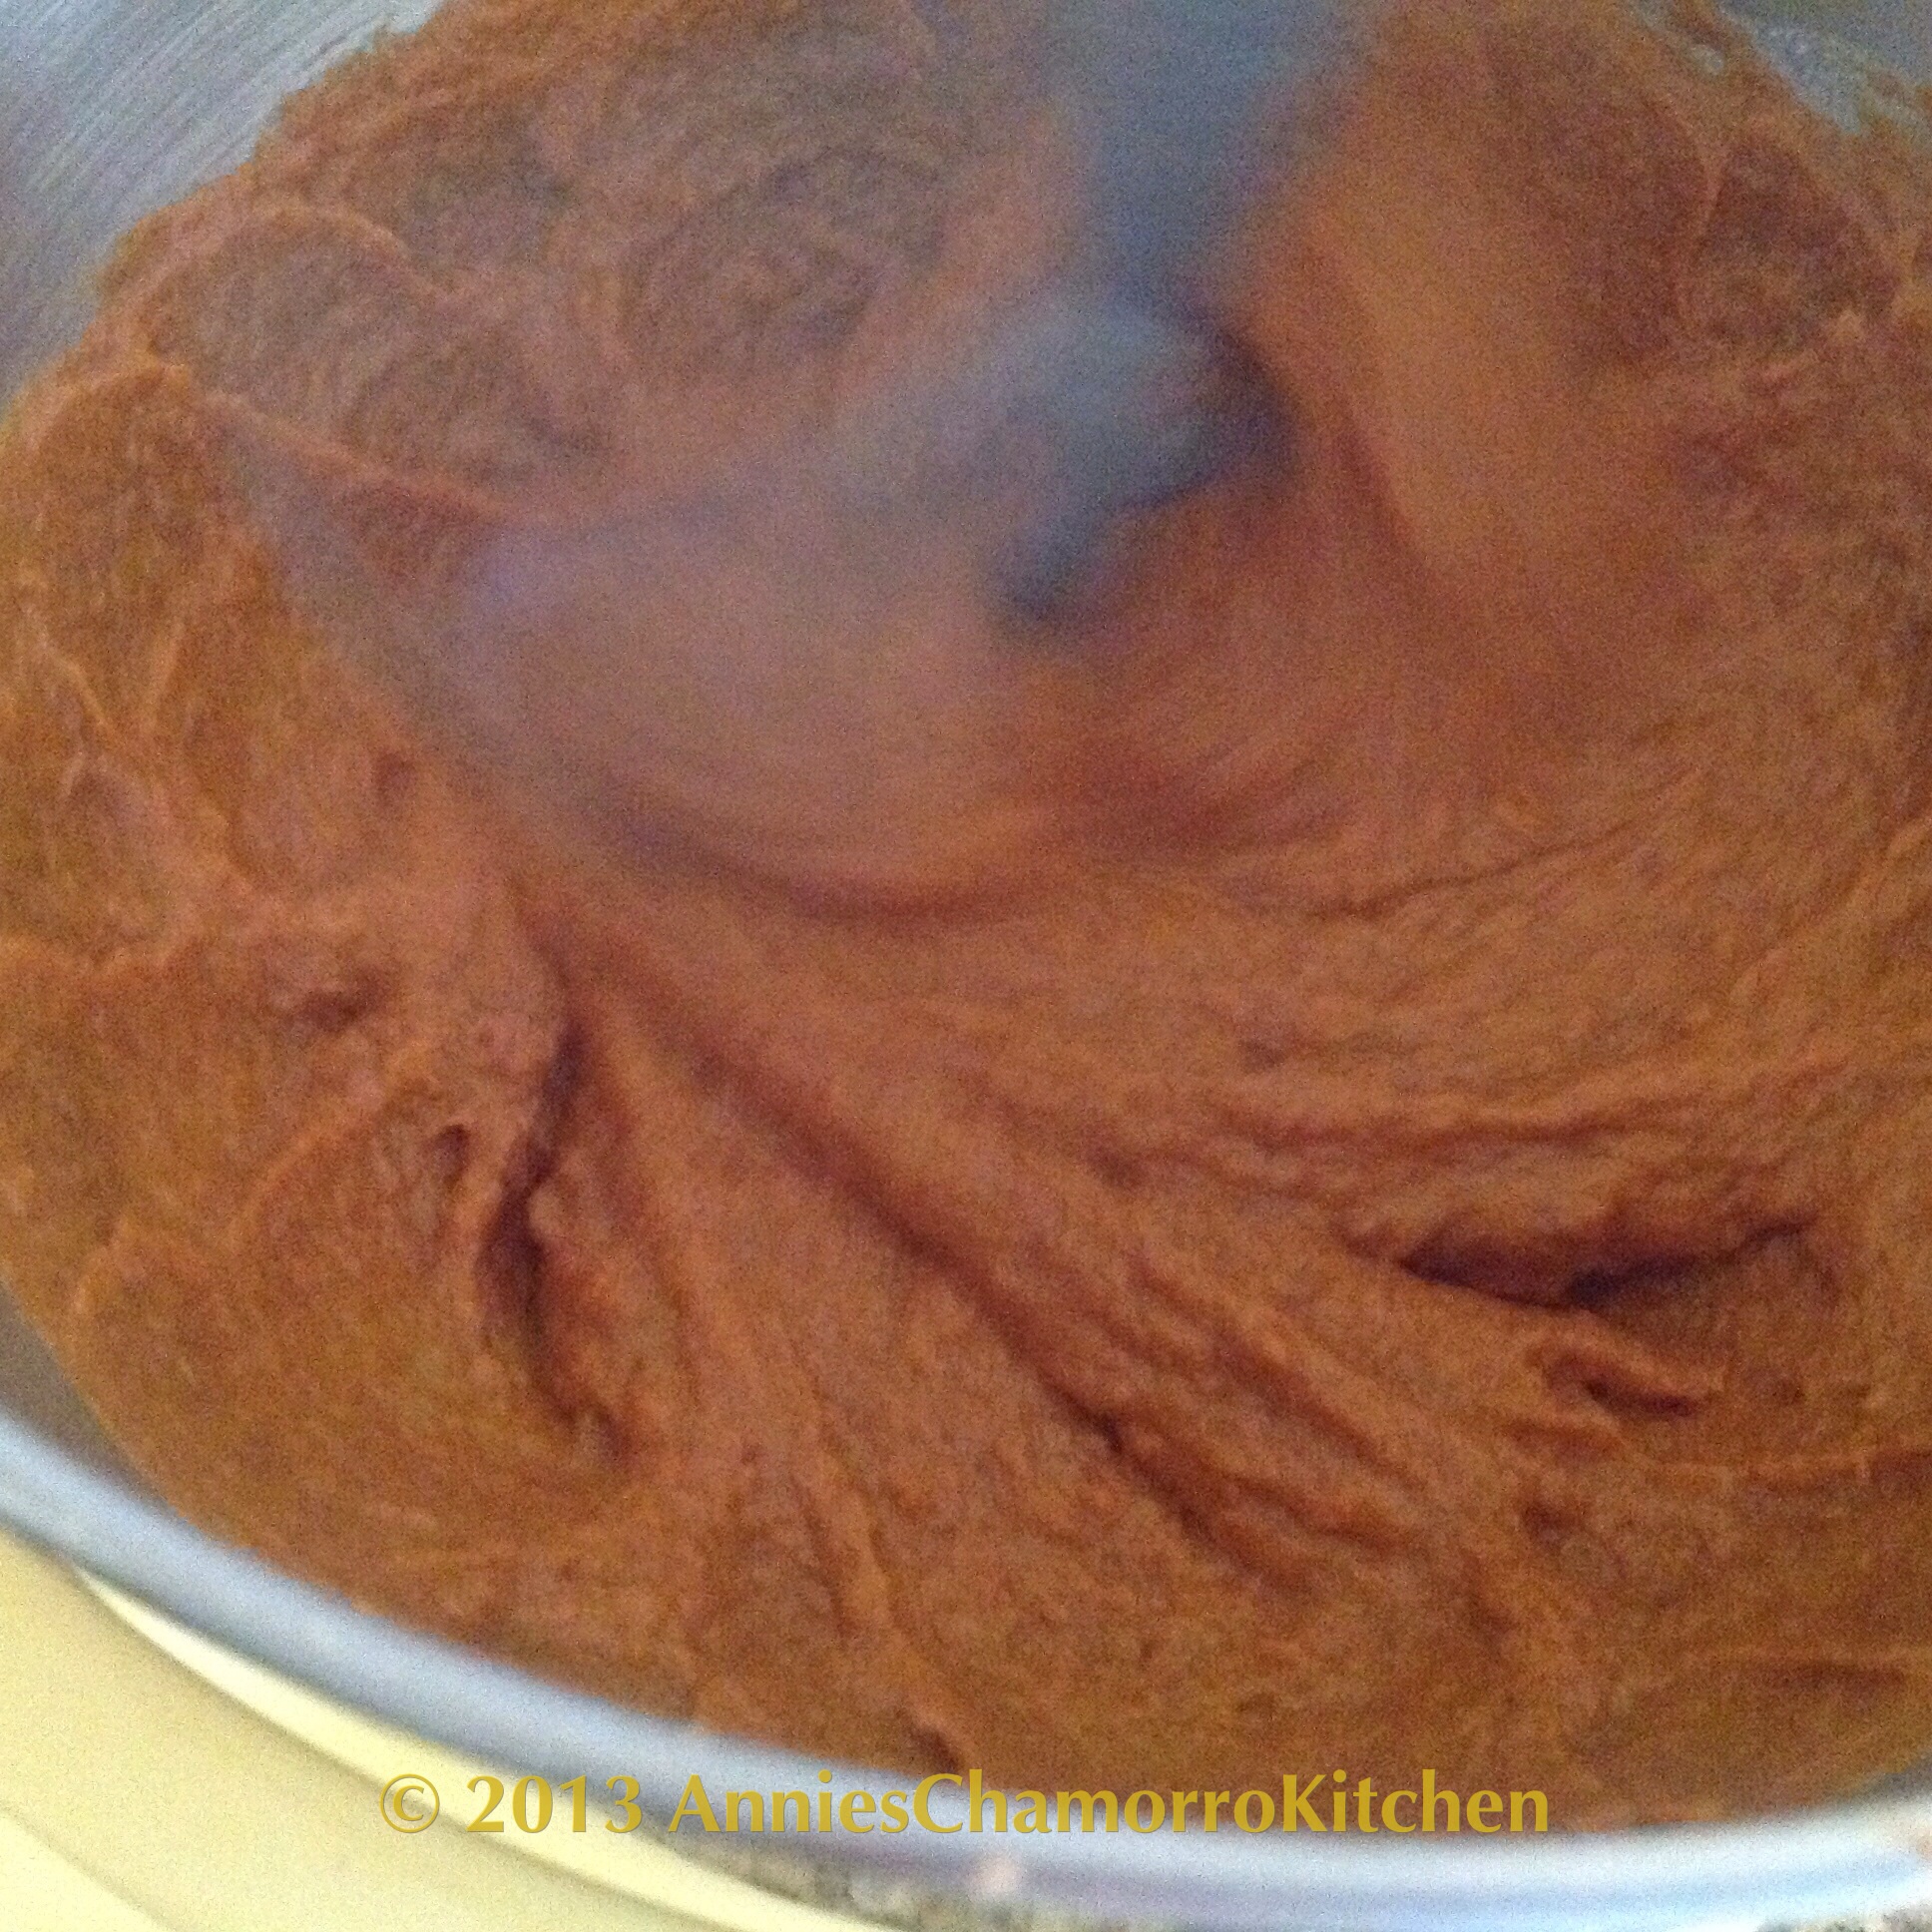
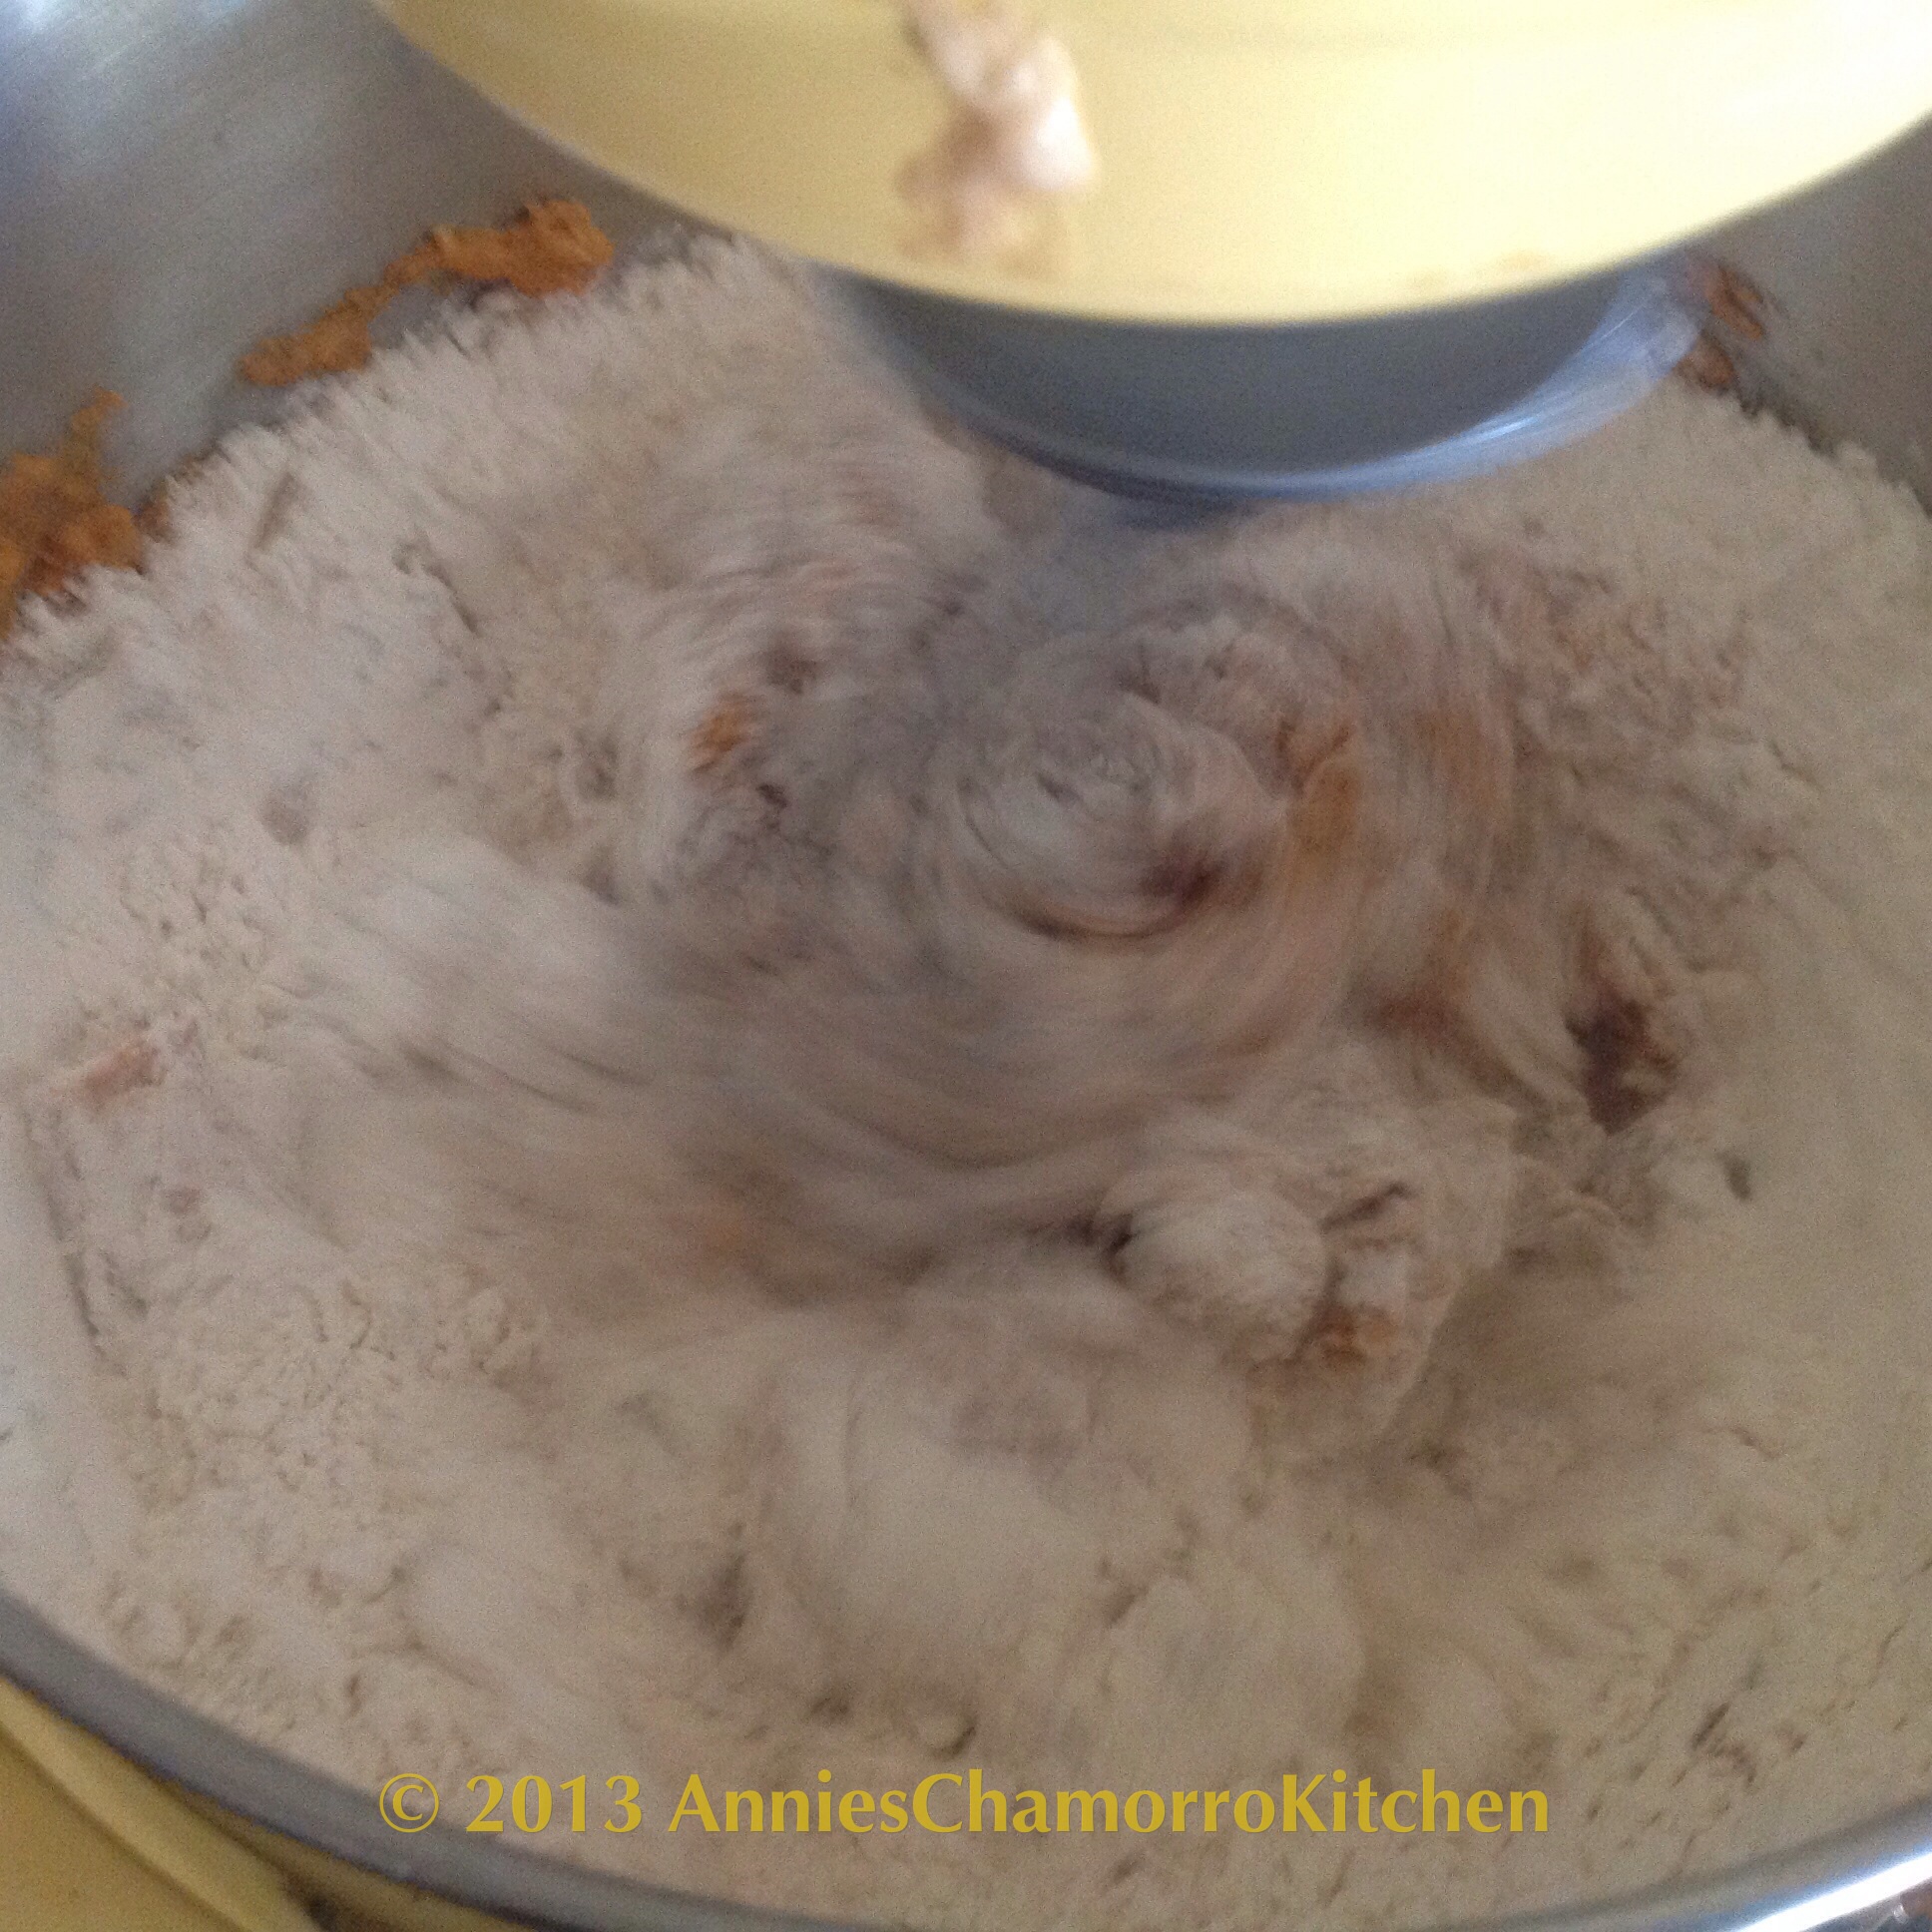
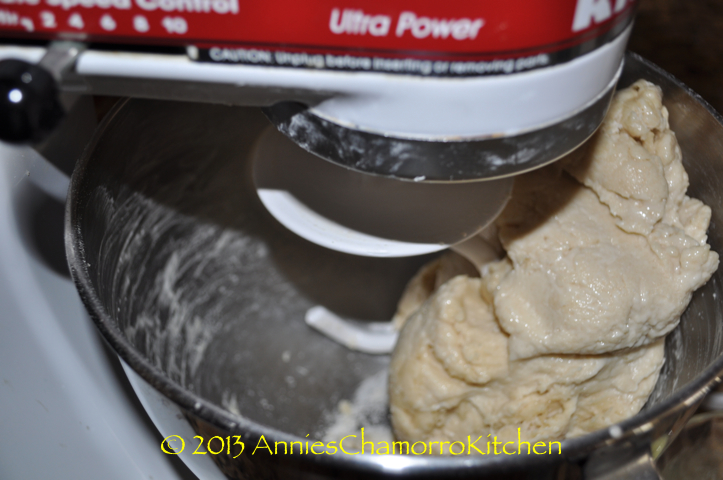
Using the dough hook, knead the dough for 5 minutes. If the dough is still sticking to the side of the bowl, add a spoonful of the remaining flour to the bowl and continue kneading for a couple of minutes. The photo below shows a lot of the dough still sticking to the side of the mixing bowl; adding a spoonful more of flour should do the trick.

Keep adding flour, a spoonful at a time, until the dough leaves the side of the mixing bowl.
I added just one additional spoonful of flour. After adding a bit more flour, the dough is tightening up and leaving the sides of the bowl.
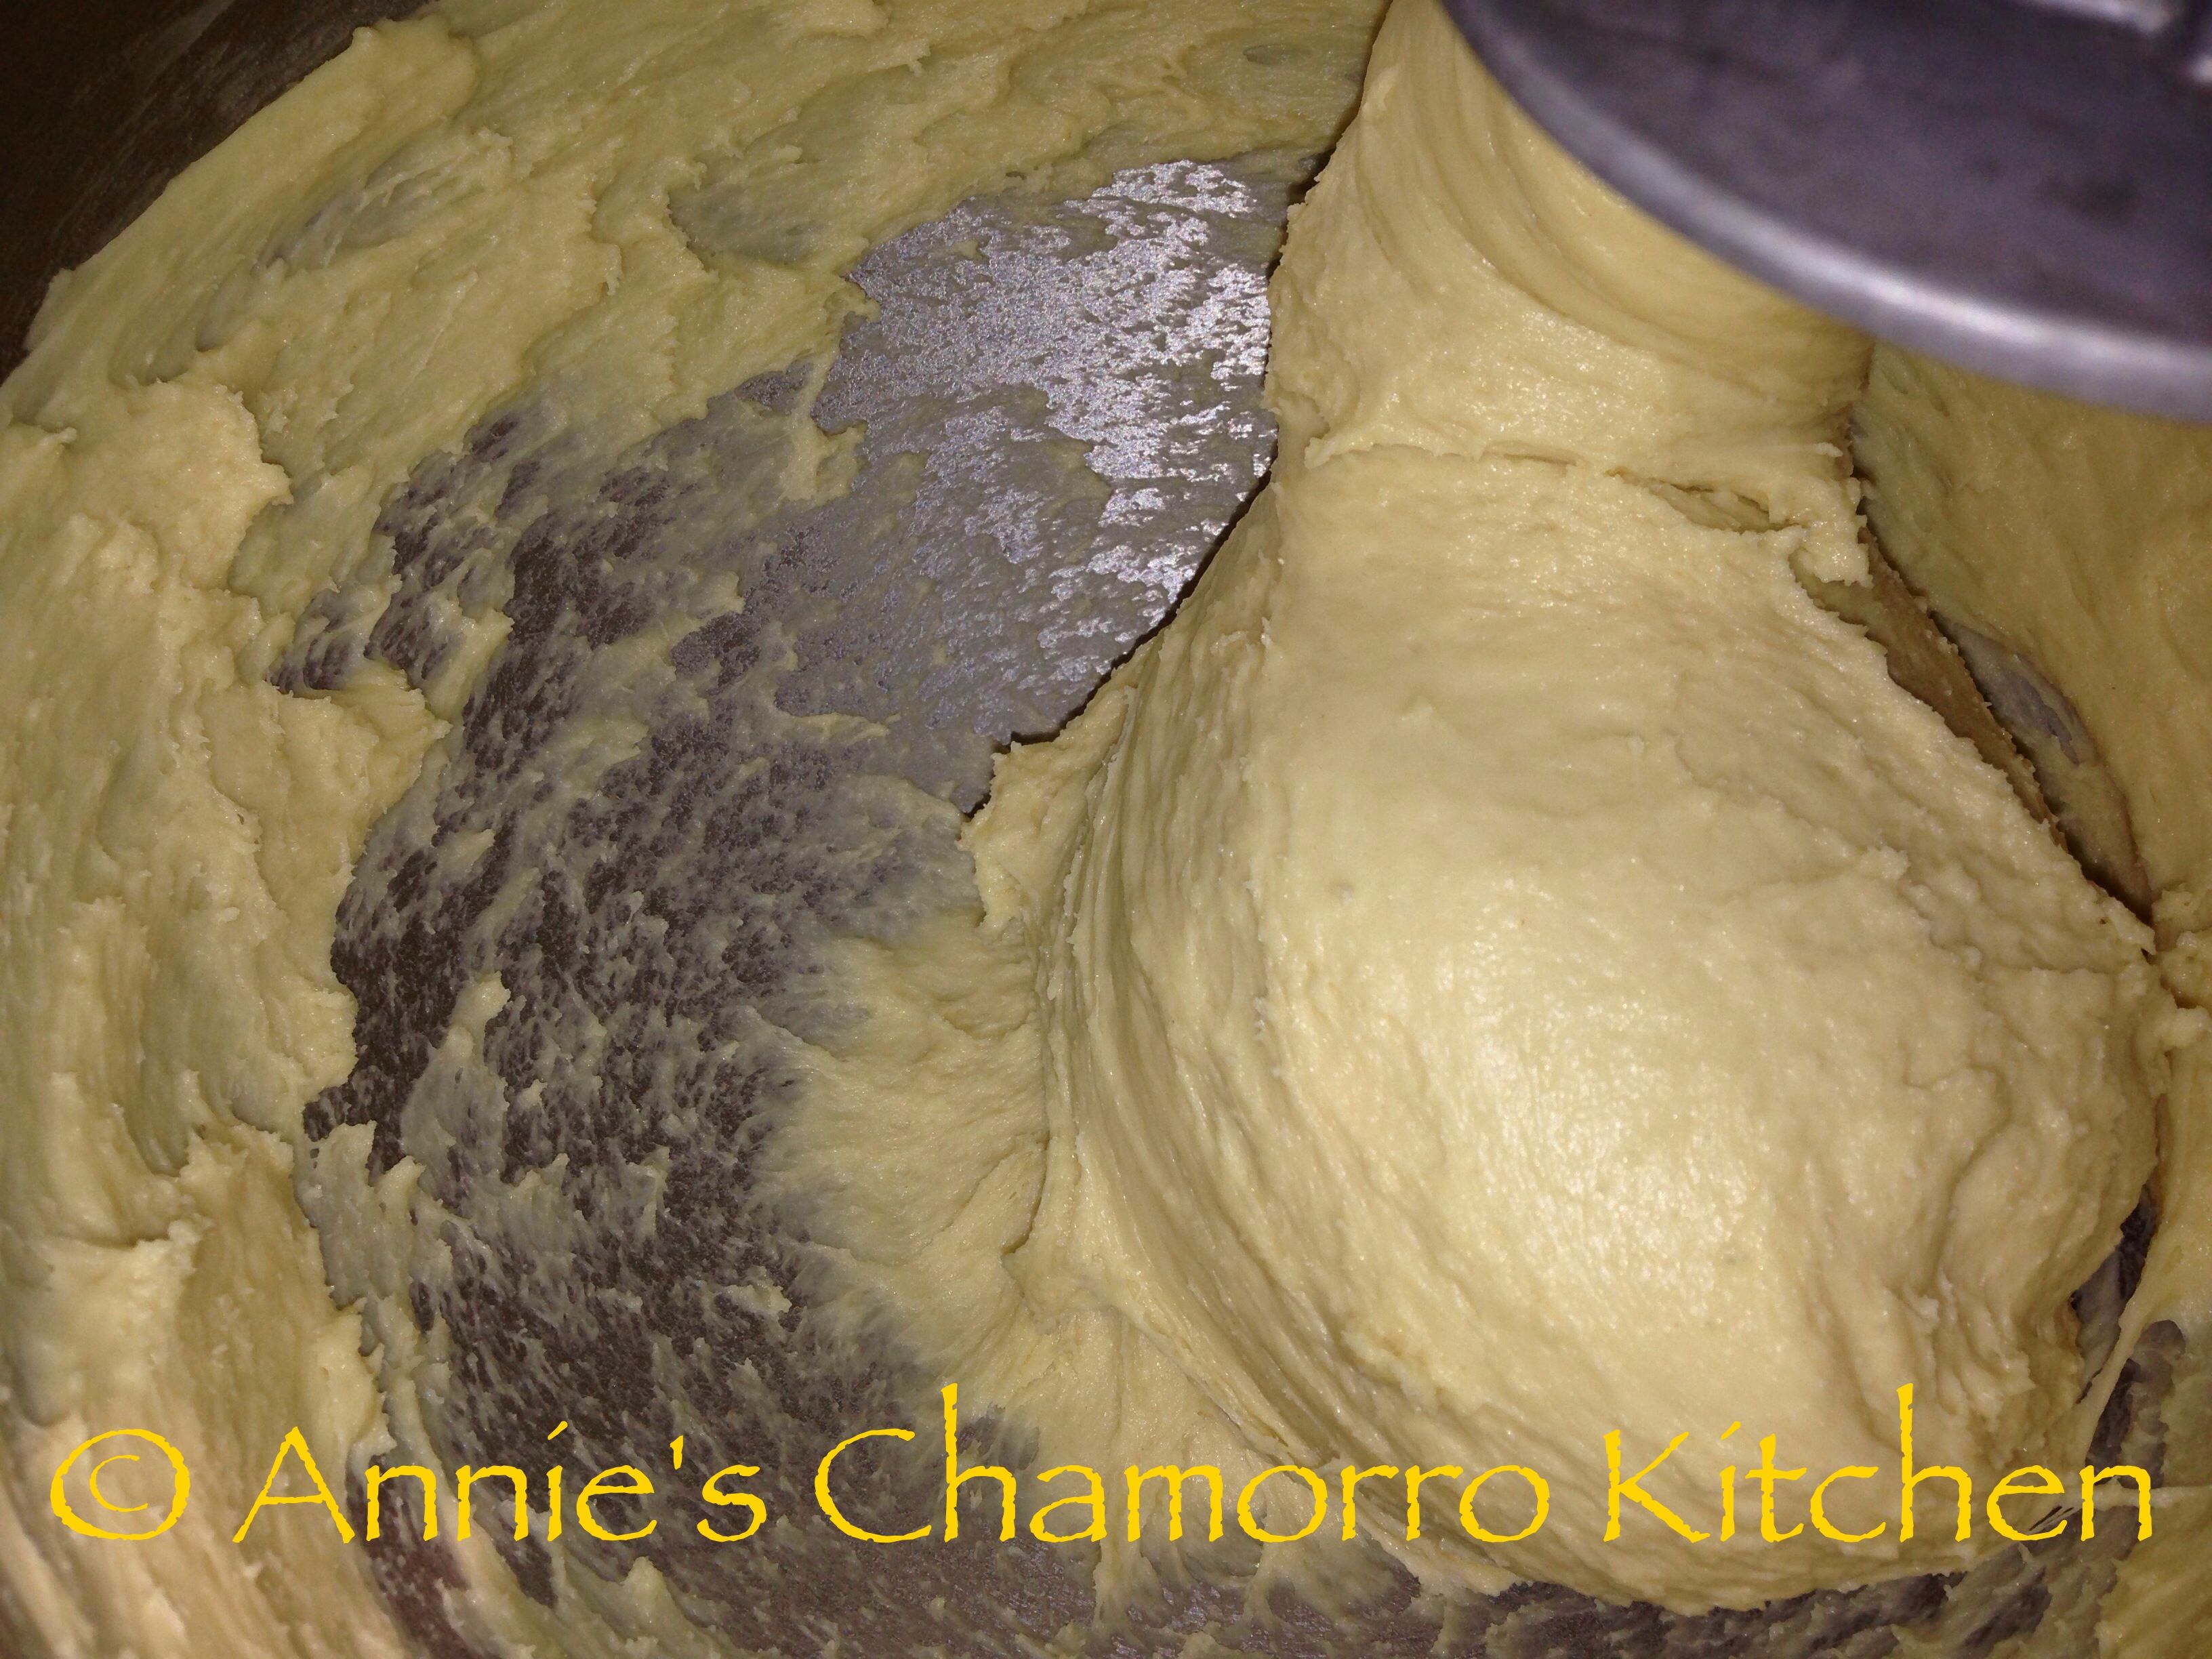
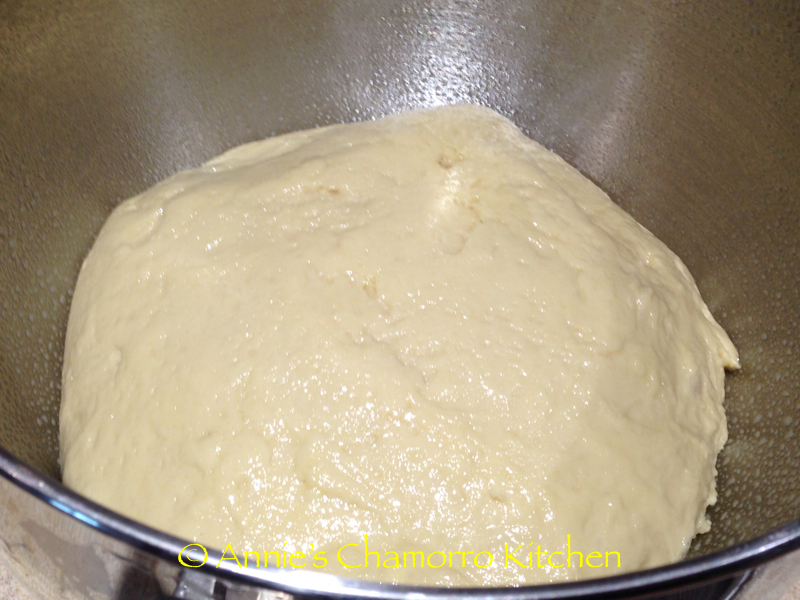
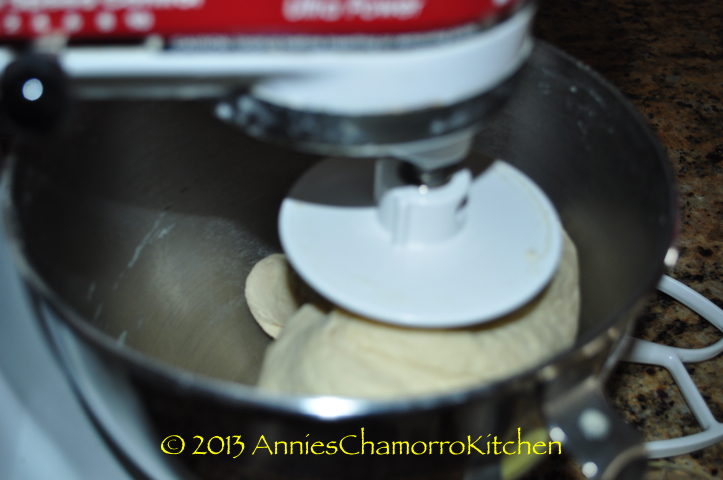
The dough is still a bit sticky, but once you see the dough begin to ball up around the dough hook with the sides of the bowl clearing off, STOP adding more flour. You WANT the dough to be a little bit sticky.
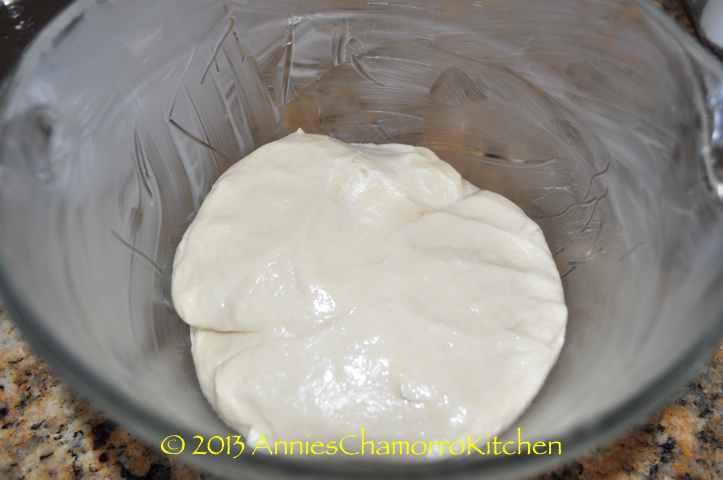
It’s okay if the dough sticks to the bottom of the bowl, however. Again, do NOT add more flour once the dough begins to clear the sides of the bowl. Finish kneading the dough at this point; the total kneading time is about 10-12 minutes using your stand mixer. If kneading by hand, knead for about 15 minutes (oil your hands instead of adding flour if the dough is too sticky to handle while kneading).
After the kneading time is complete, spray a large glass bowl with butter flavored cooking spray.
Place the dough into the glass bowl.

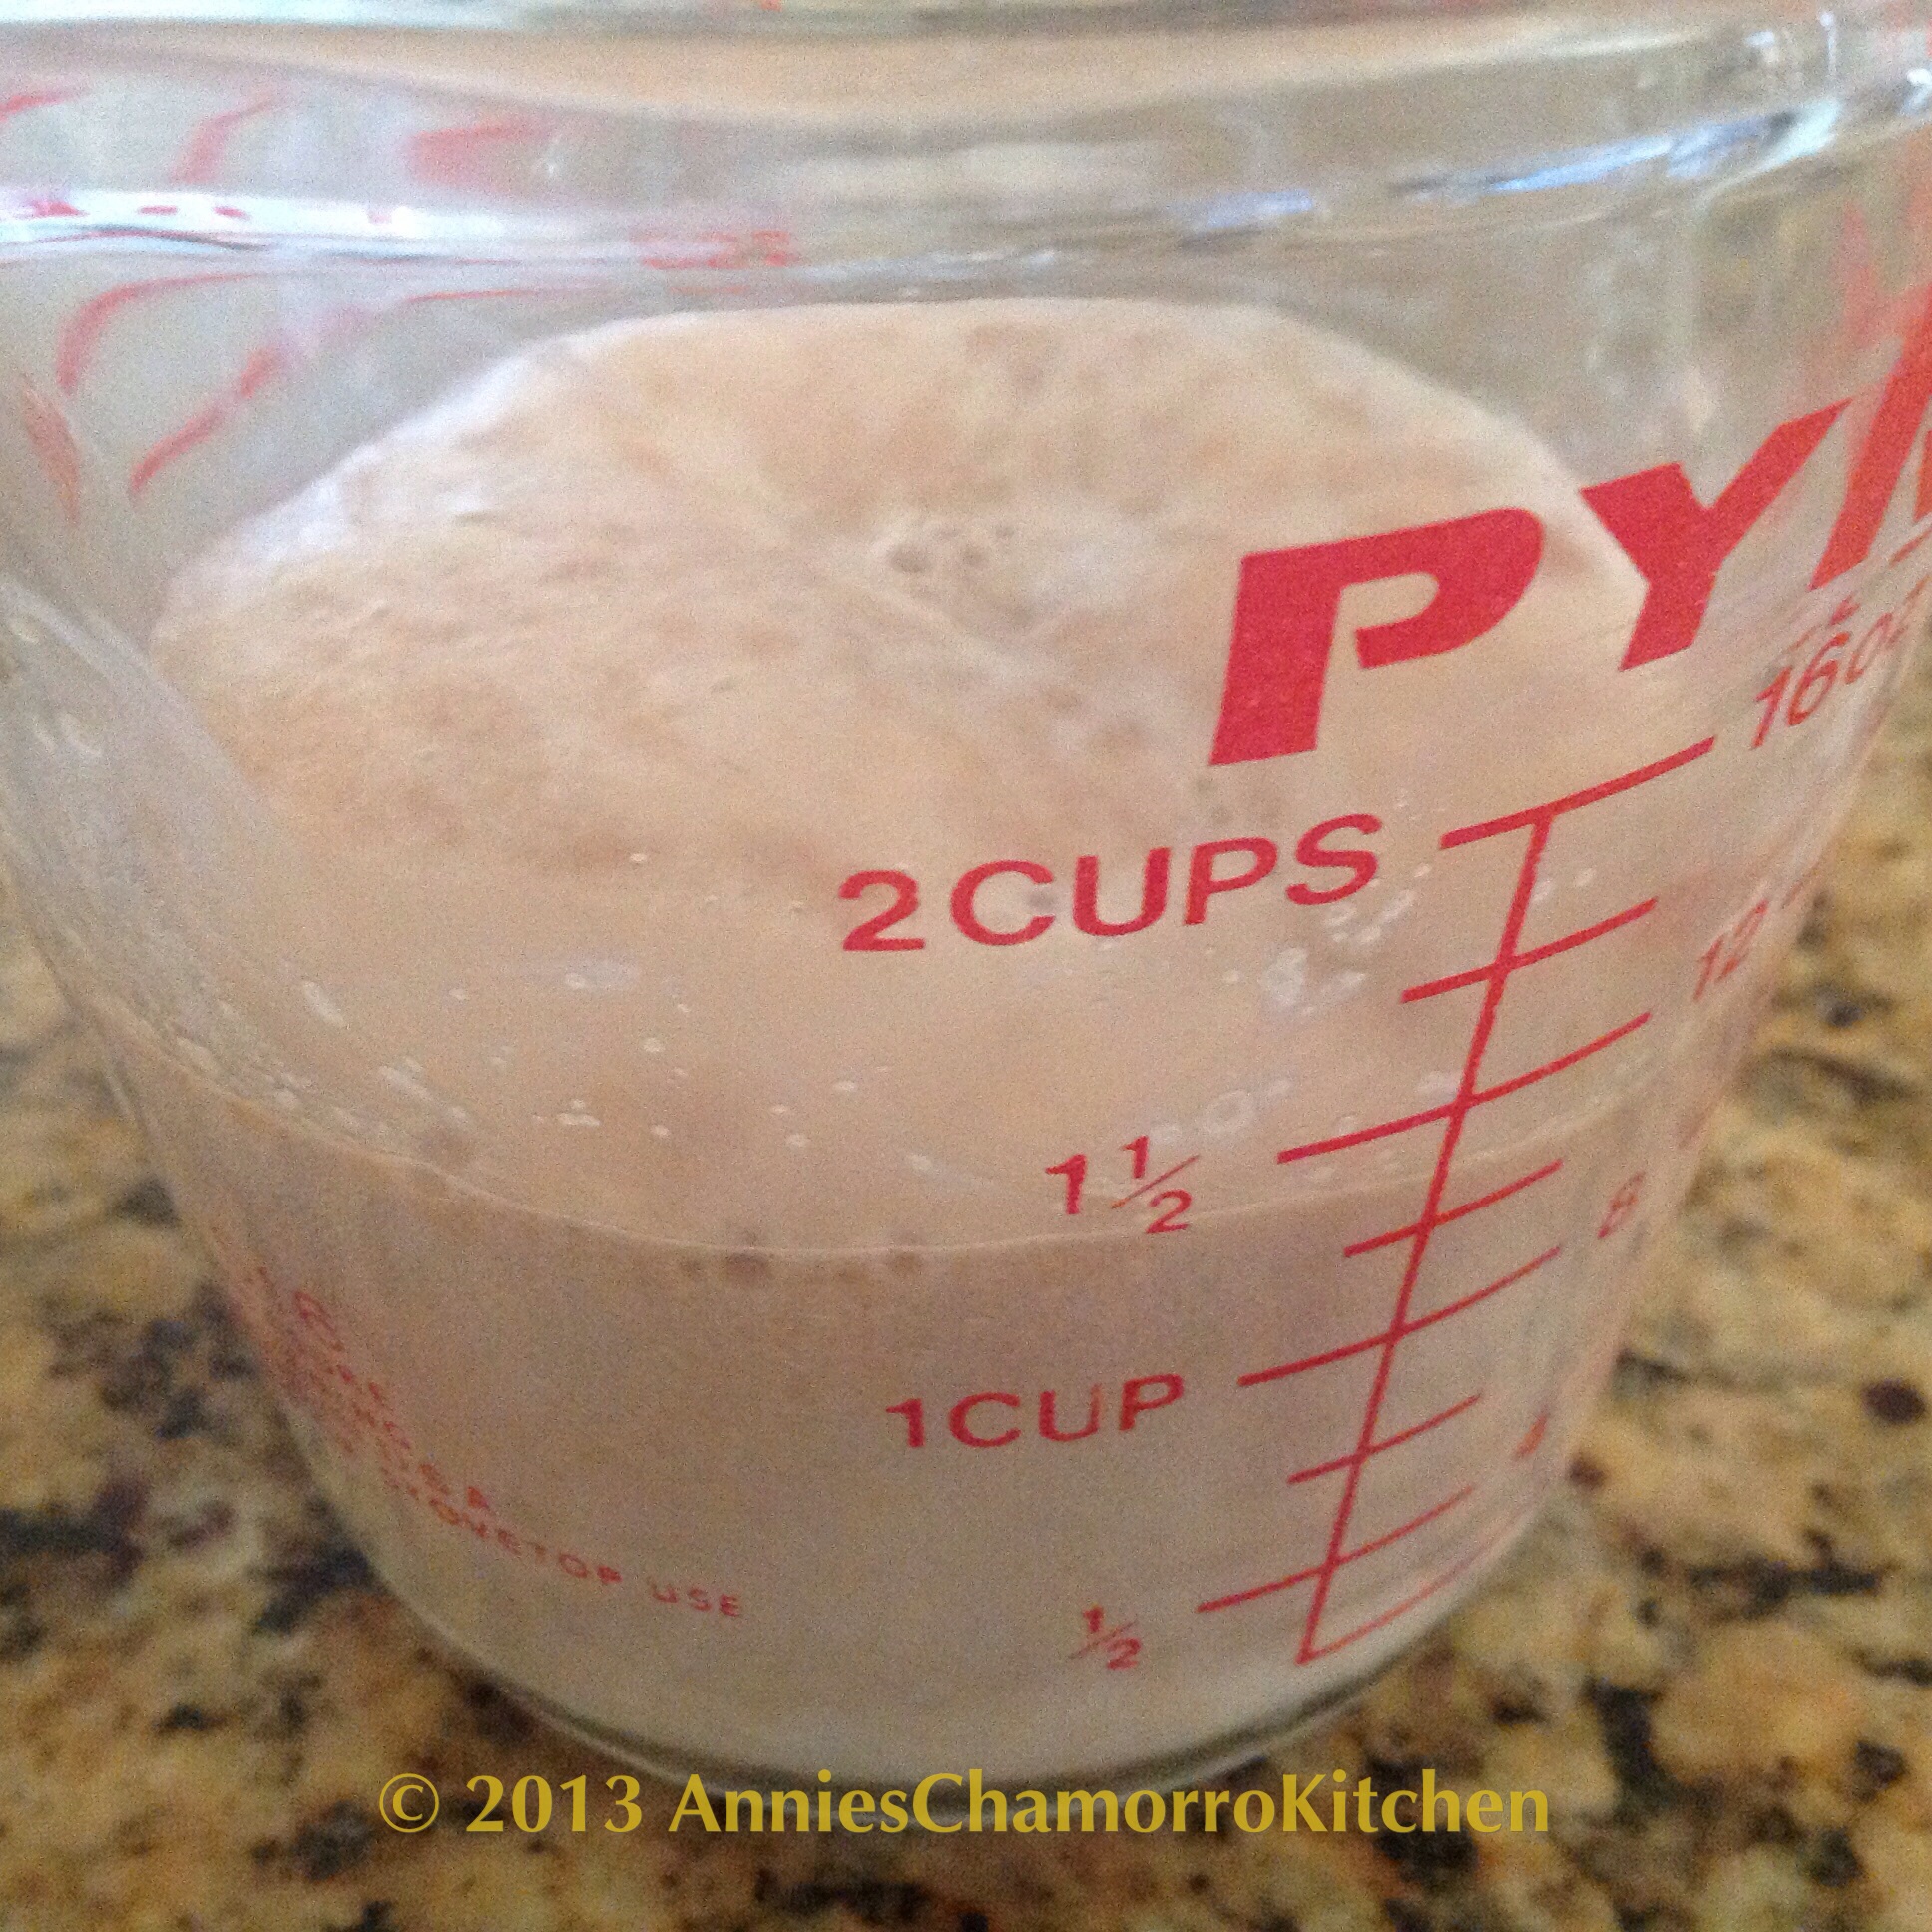
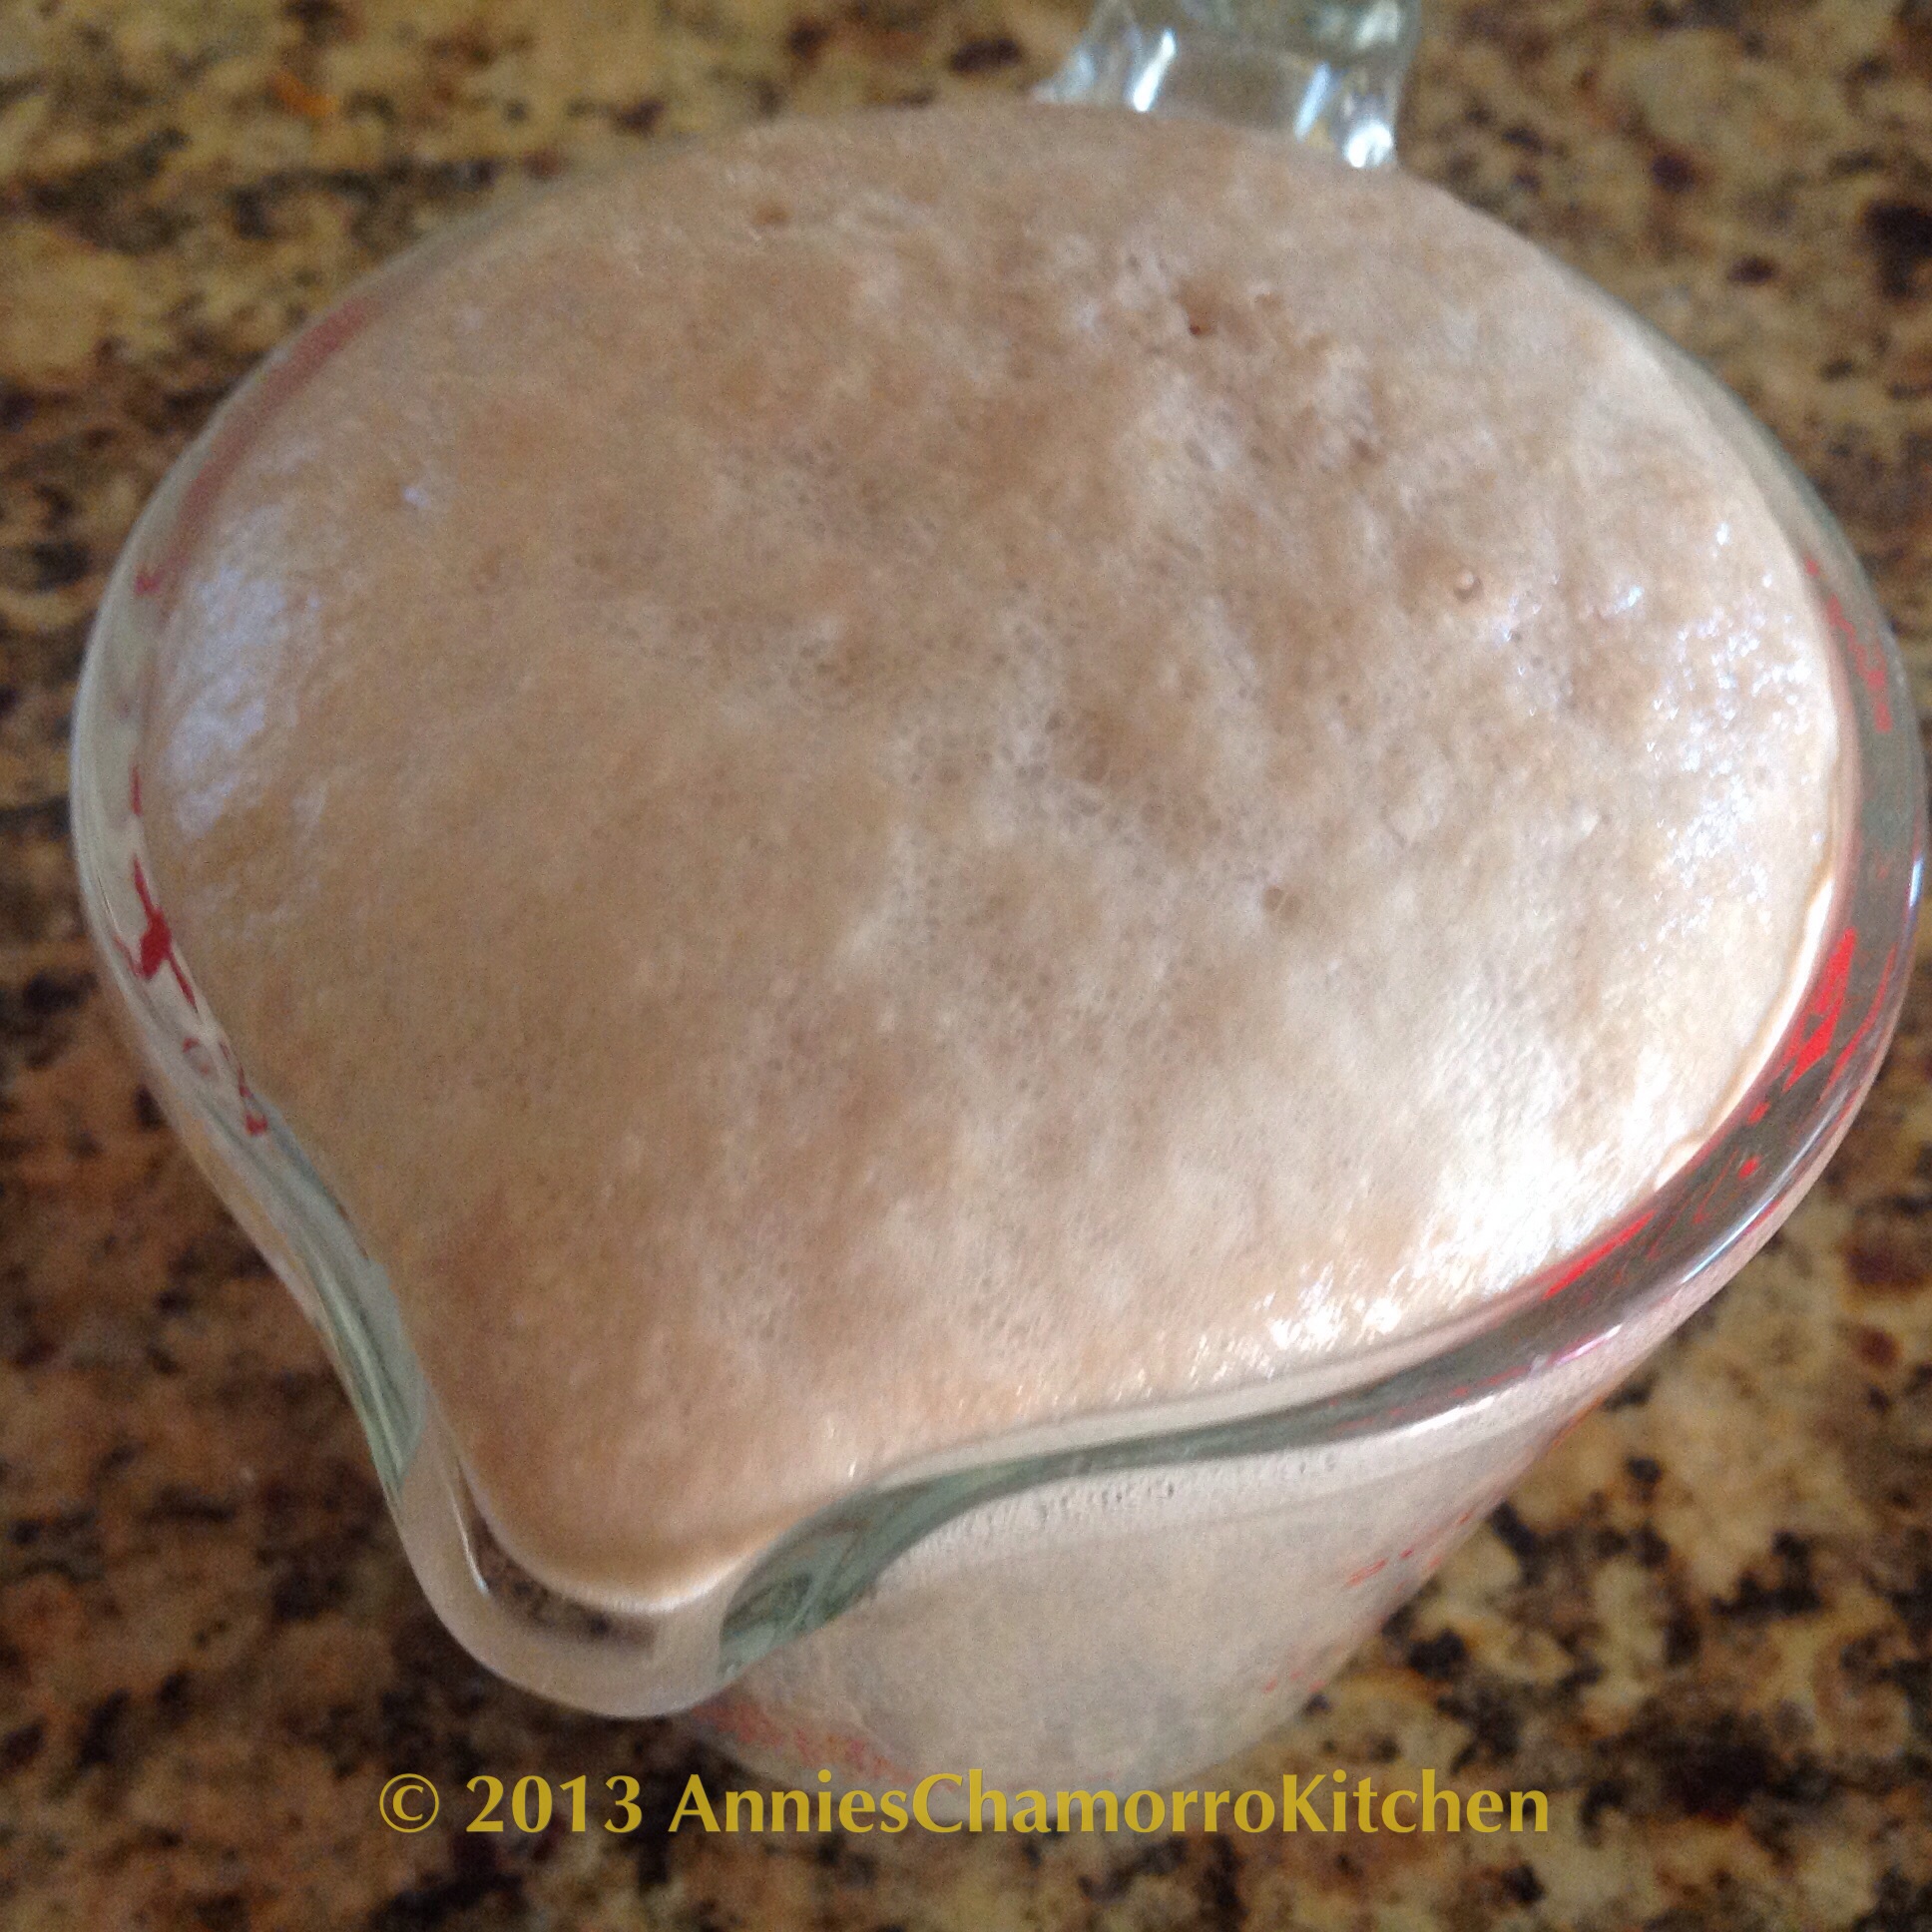
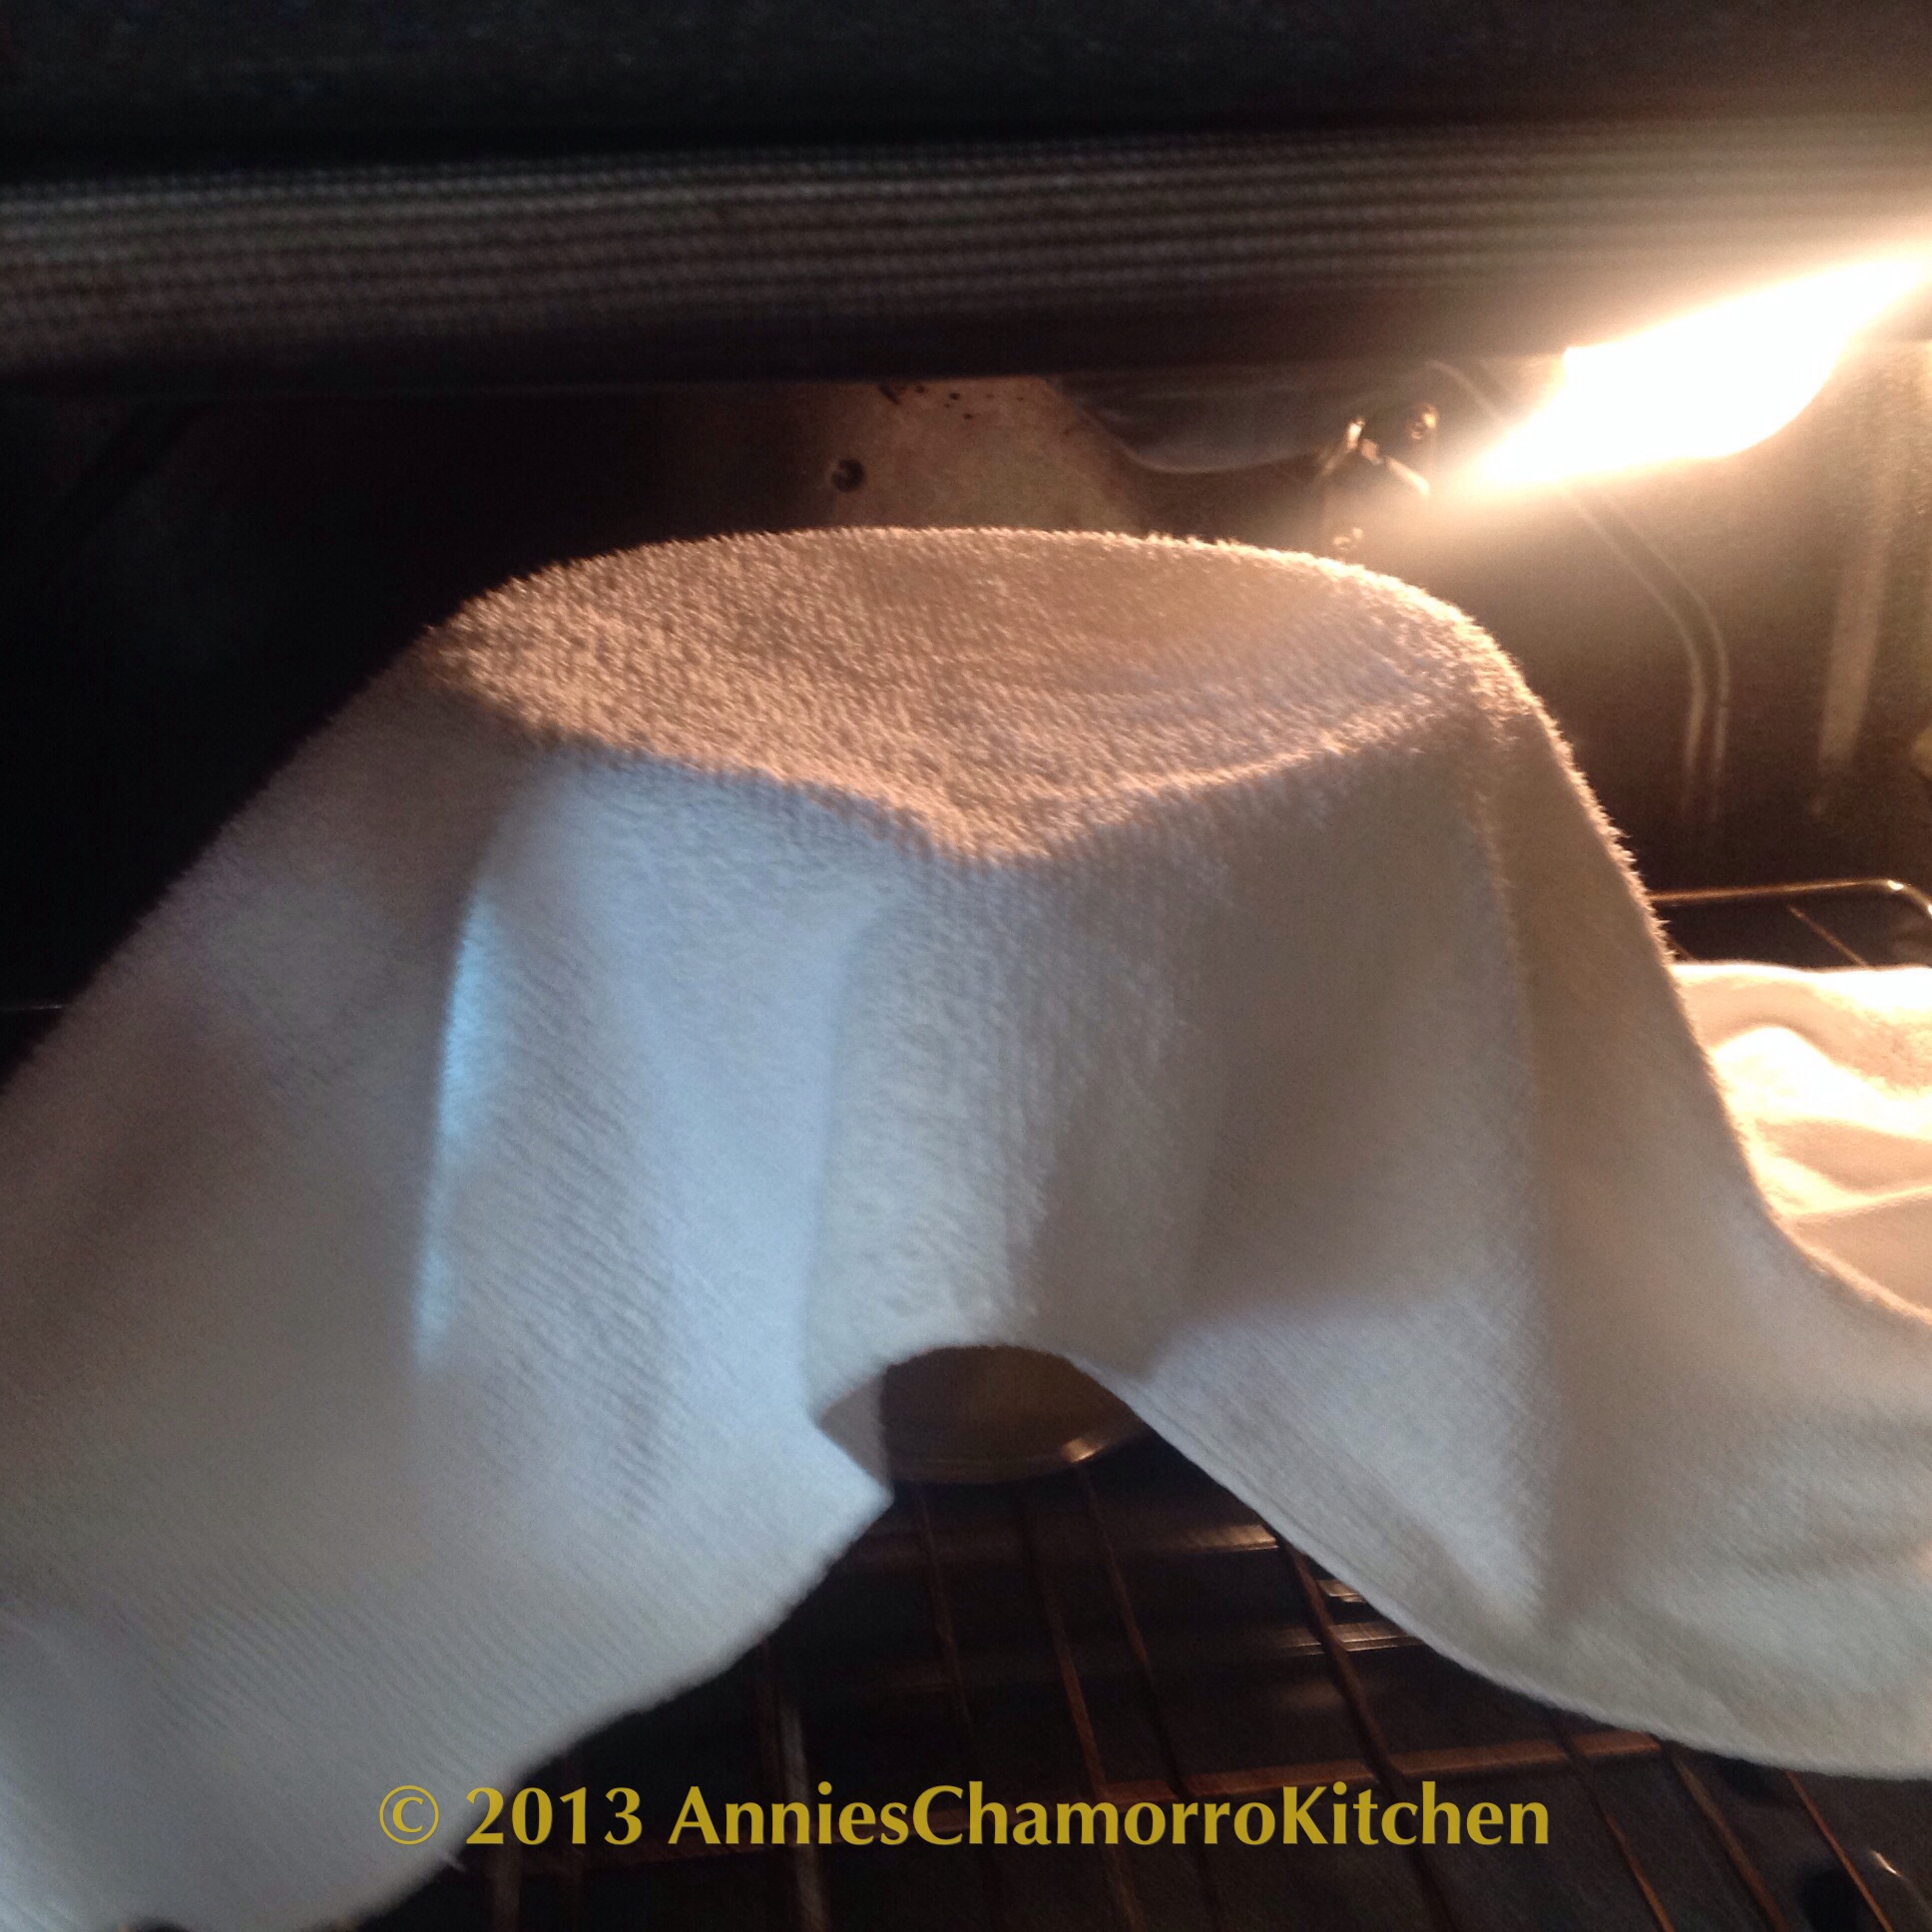
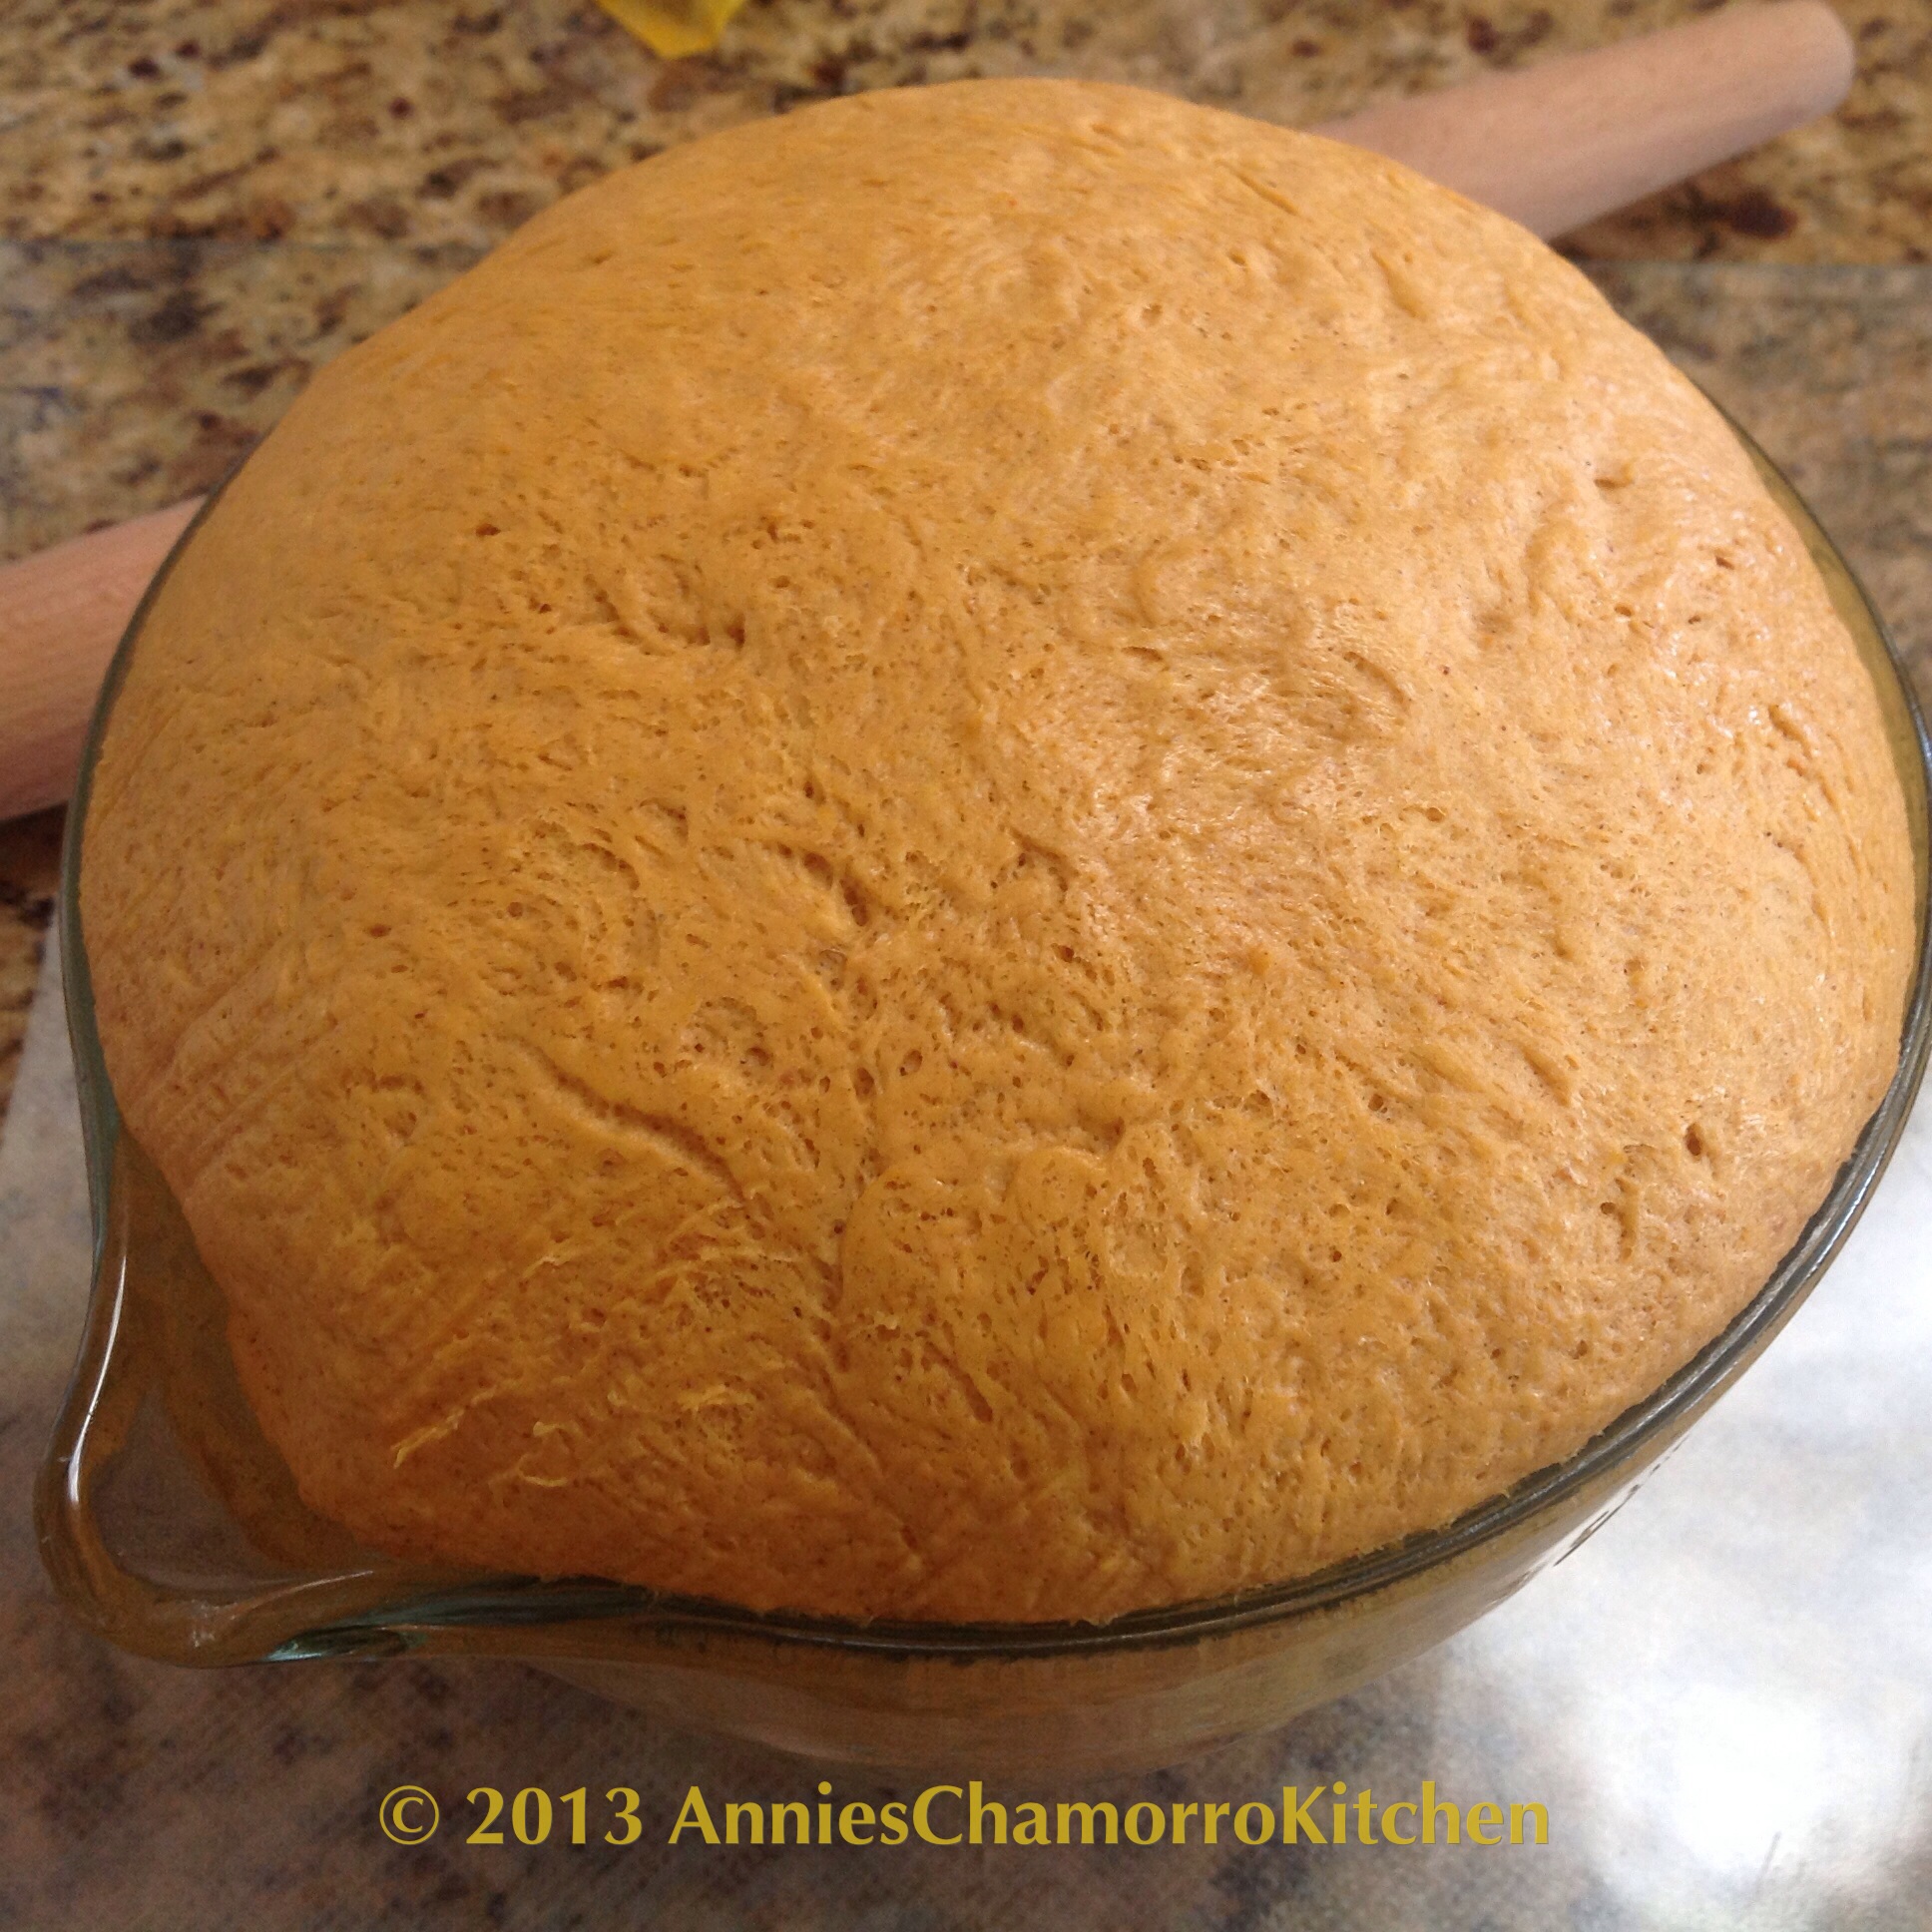
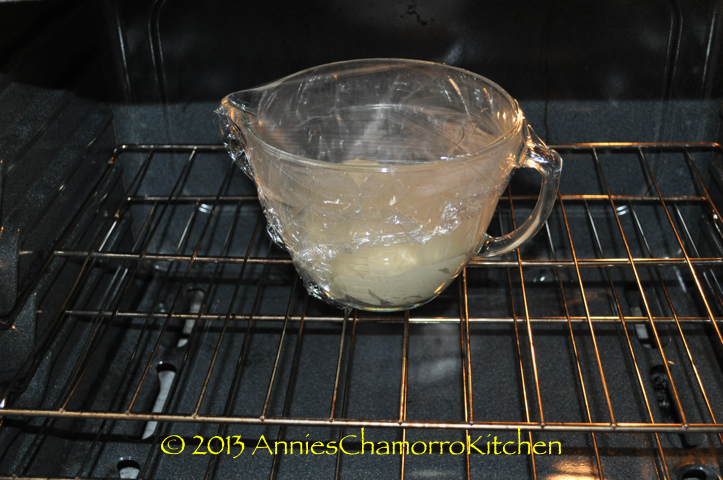
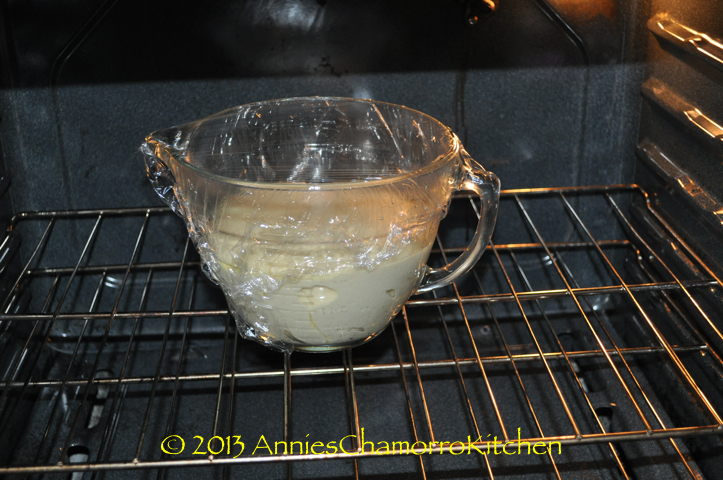
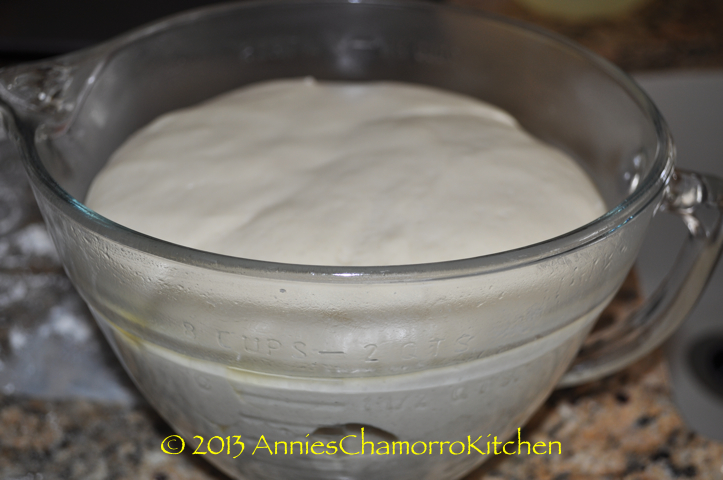
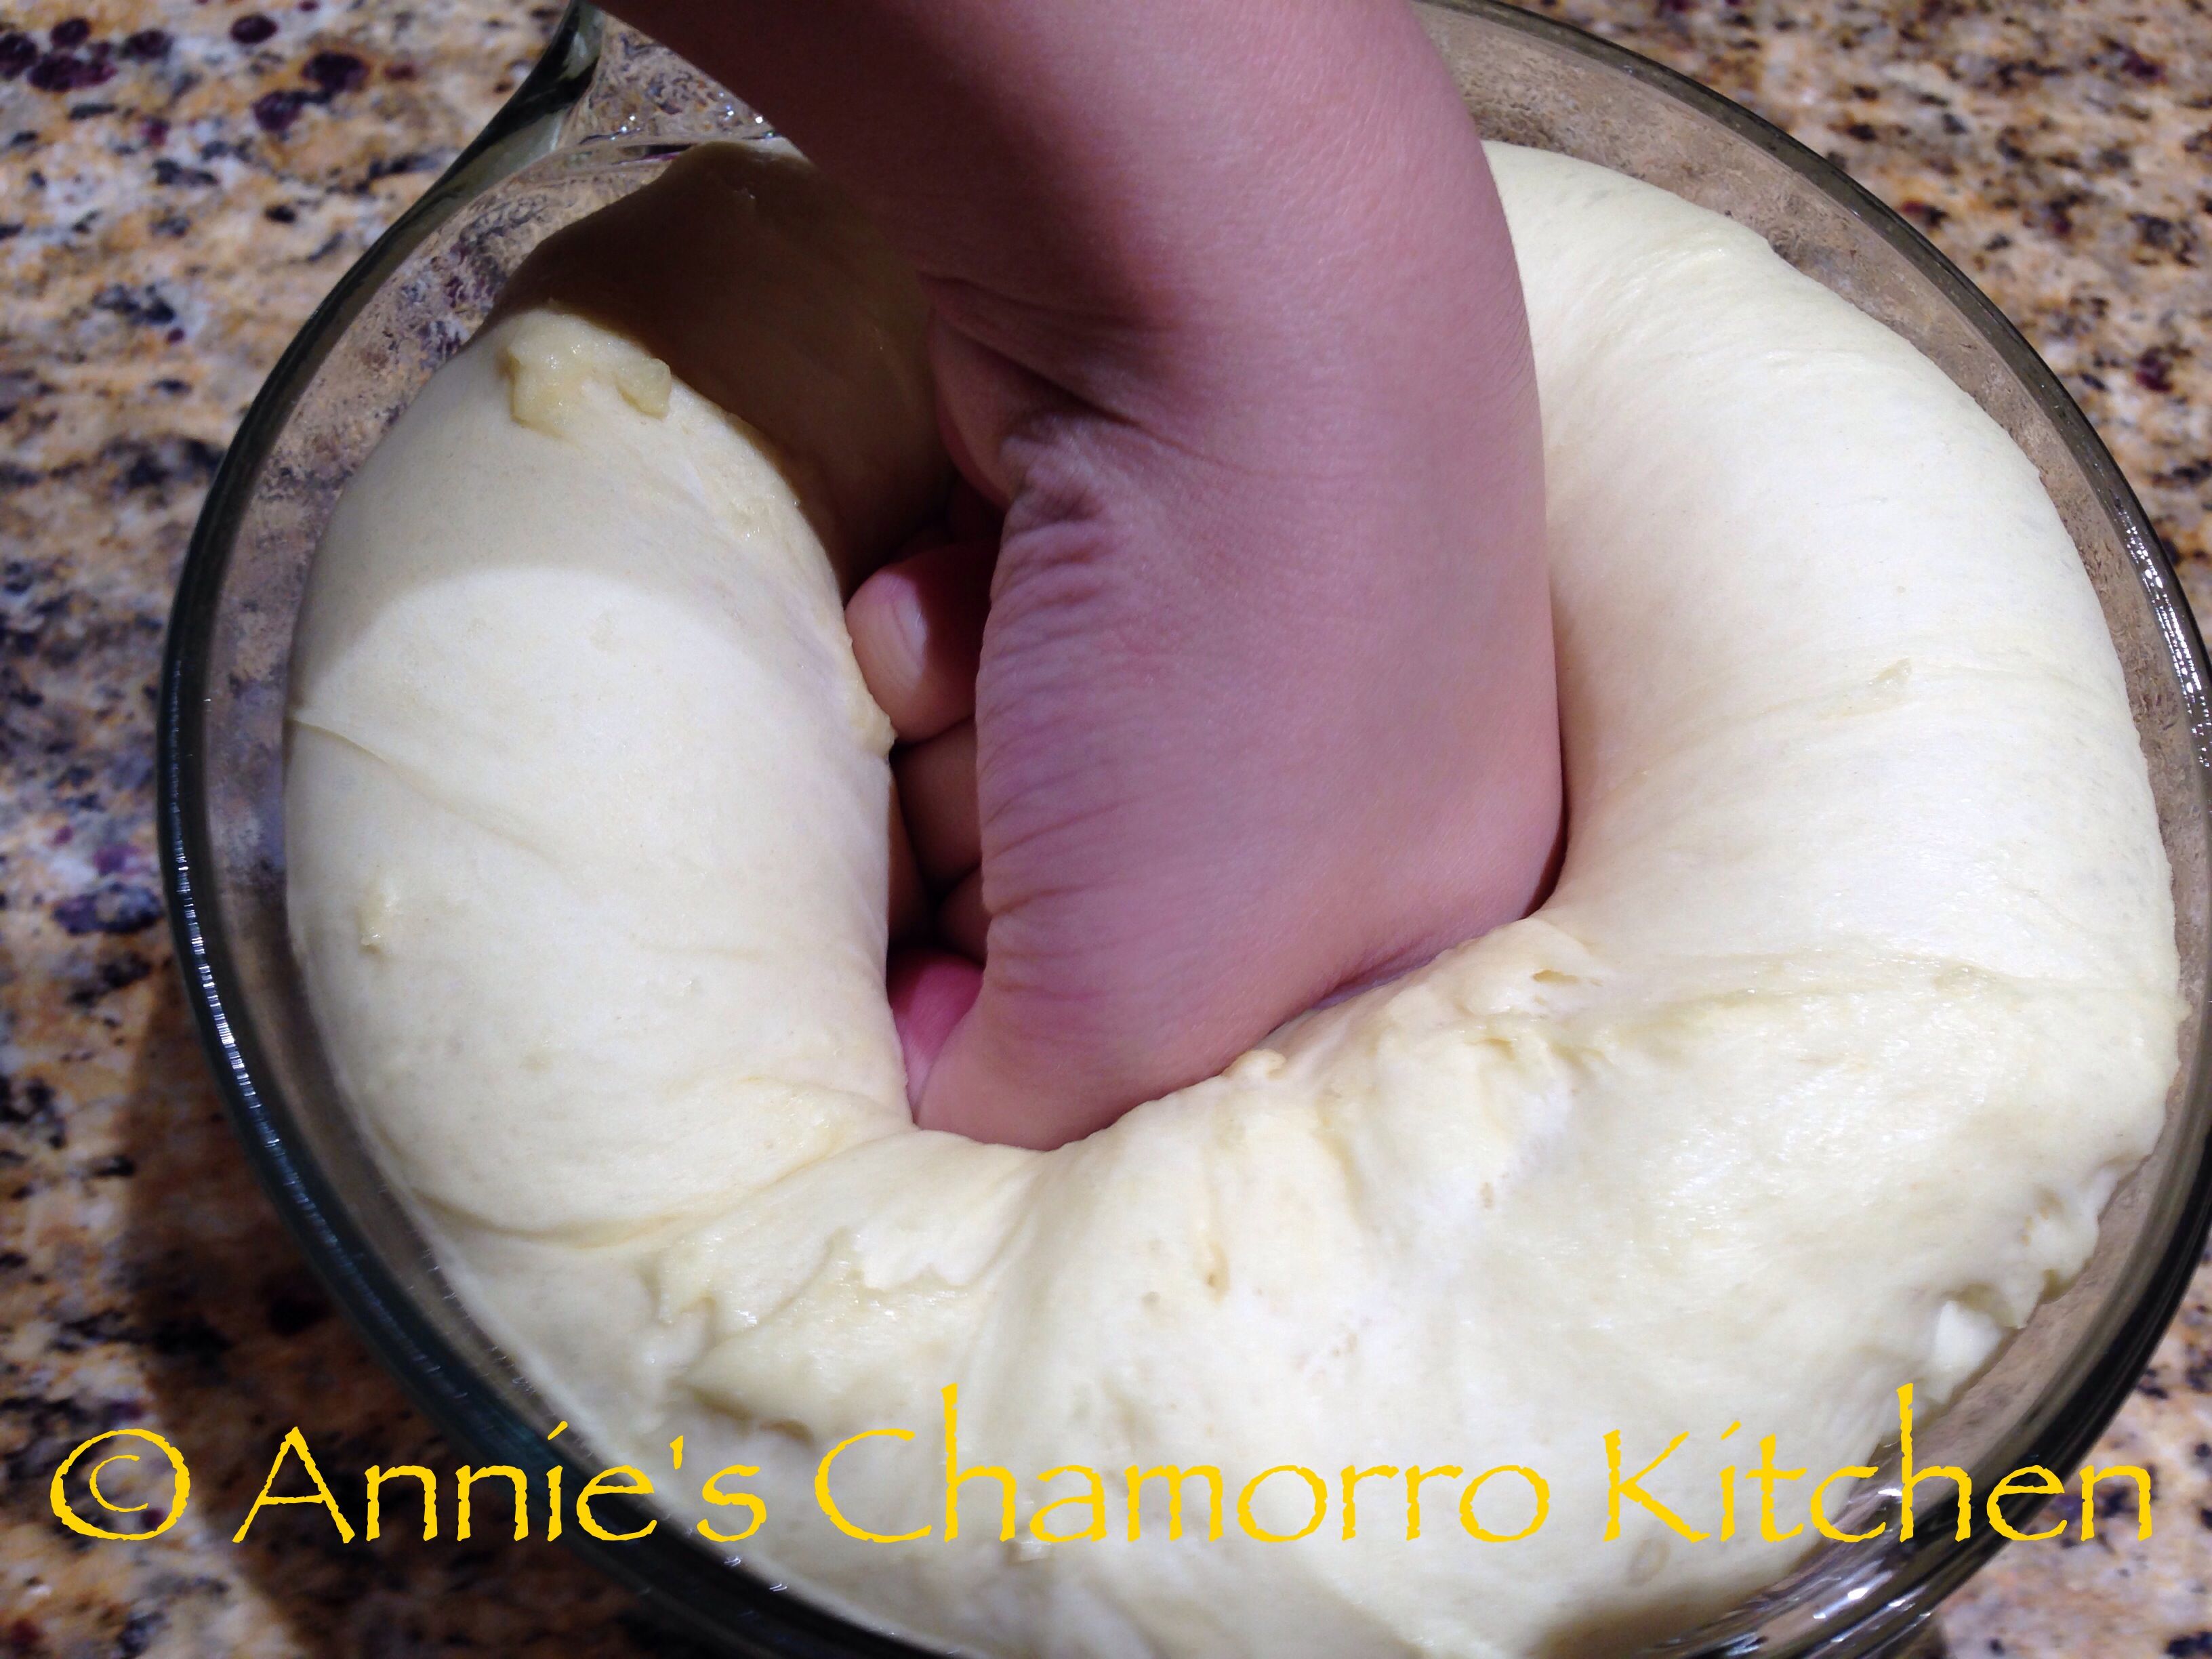
Cover the bowl with a clean kitchen towel. Place in a warm place to rise until the dough has doubled in size.
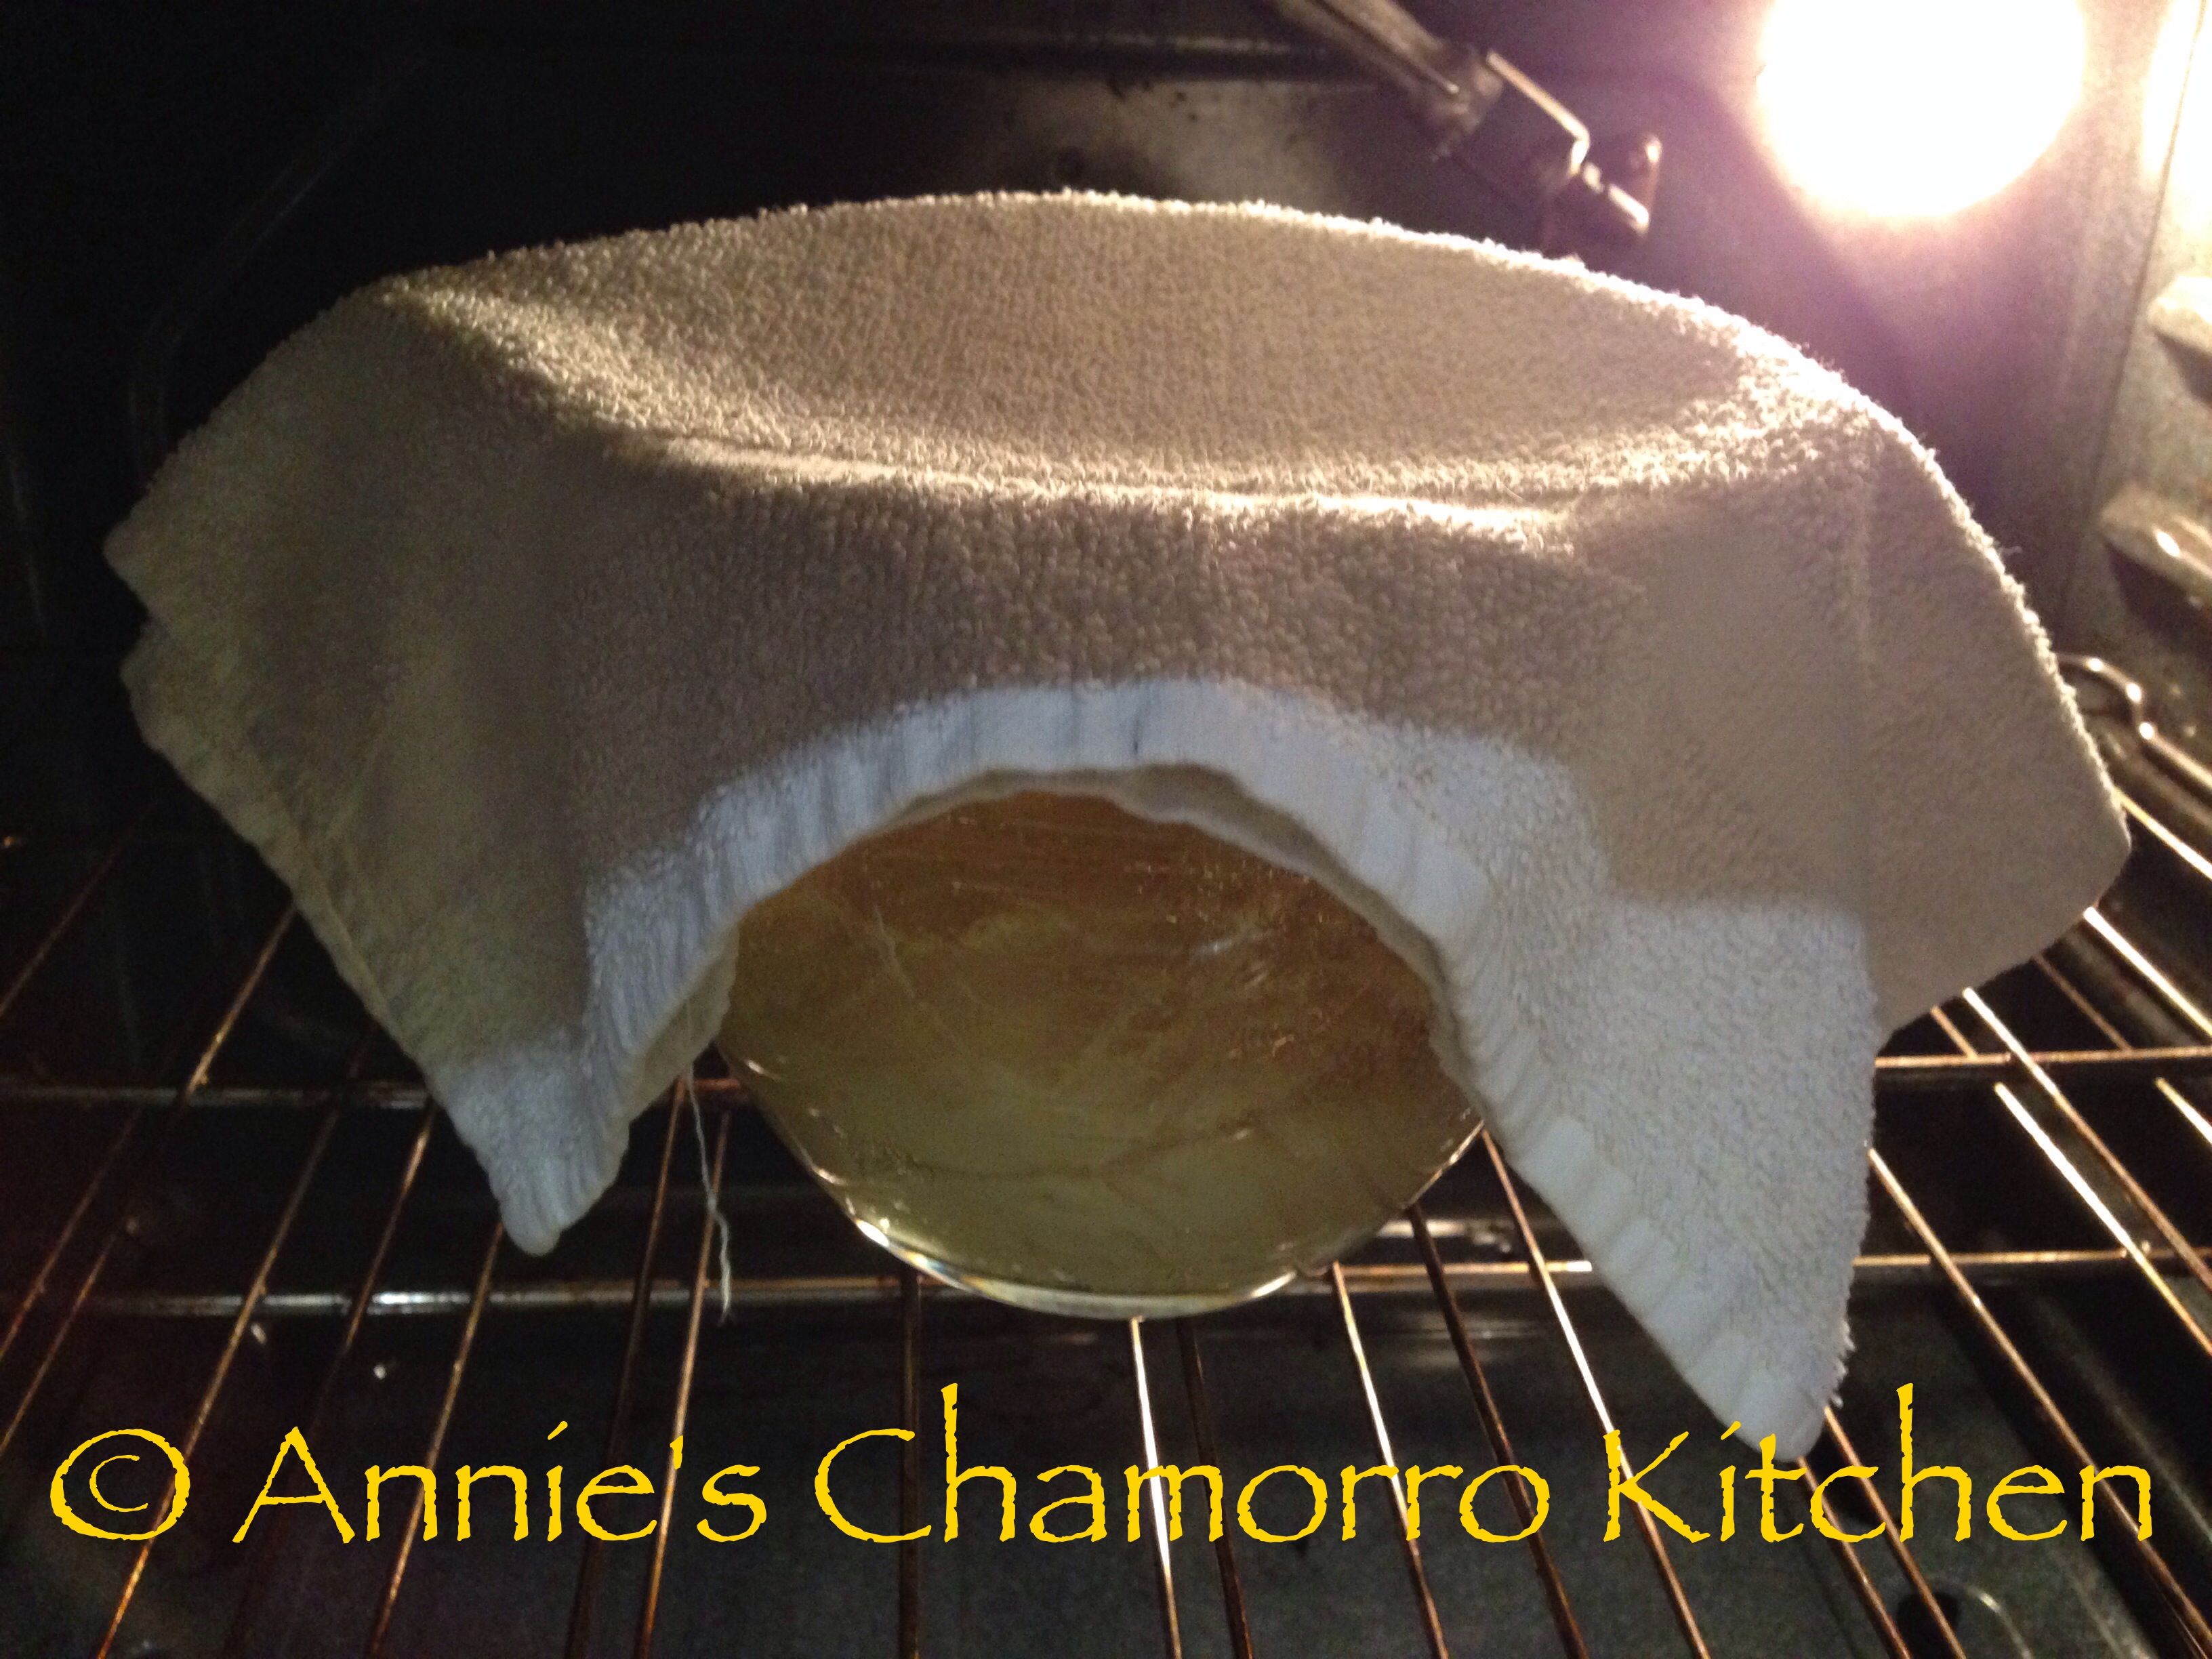
Depending on how warm or cold your rising place is, this step could take about 2 hours. A trick I learned is to place the glass bowl into a cold oven, then turn the oven on to 400 degrees–keep the oven on for EXACTLY ONE MINUTE then turn the oven off. After 30 minutes, check to see how much the dough has risen. If you need to, reheat the oven (turn it on to 400 degrees for precisely one minute then turn the oven back off). I did this “heating trick” a total of two times — once when I first put the bowl into the oven, and once more after 30 minutes. After one hour, my dough doubled in size quite nicely.

Oh, I should mention that when my kids made these rolls, it was about 22 degrees outside with a bit of snow coming down. So, don’t let the outside temperature dissuade you from making these delectable rolls.
While you wait for the dough to rise, make the frosting.
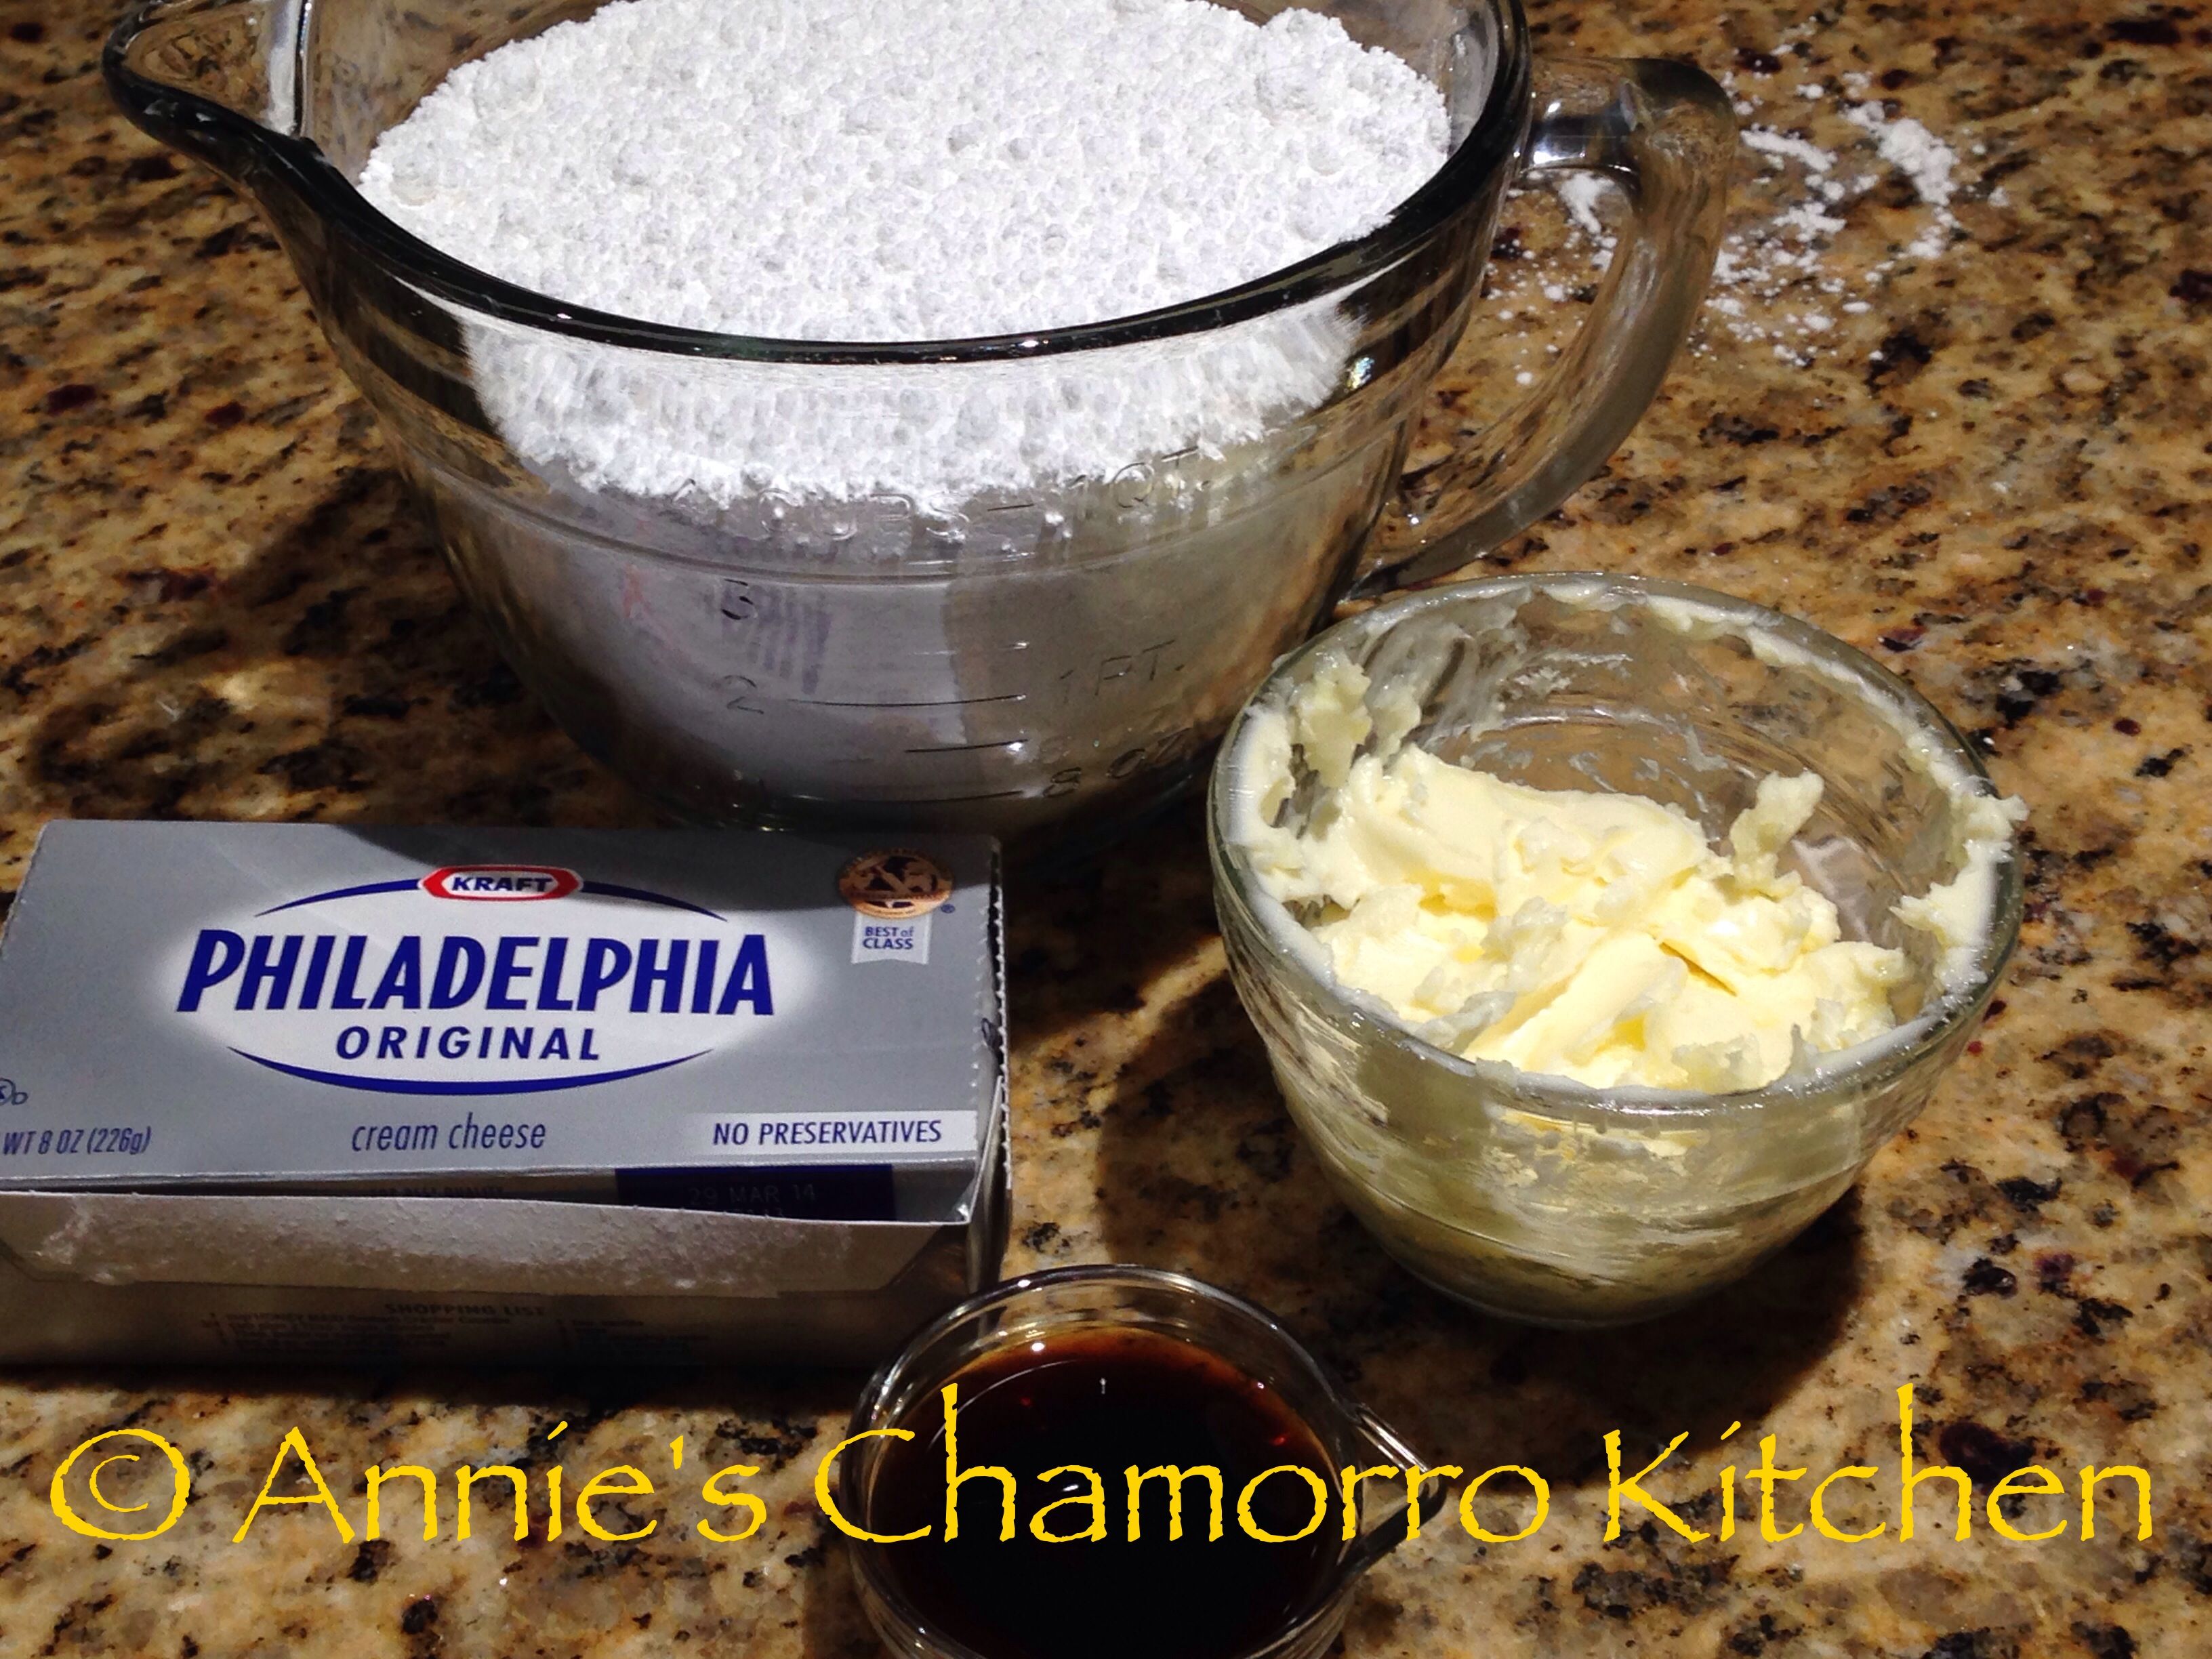
Cream Cheese Frosting Ingredients:
- 8 ounces cream cheese, softened to room temperature
- 3/4 cup unsalted butter, softened to room temperature
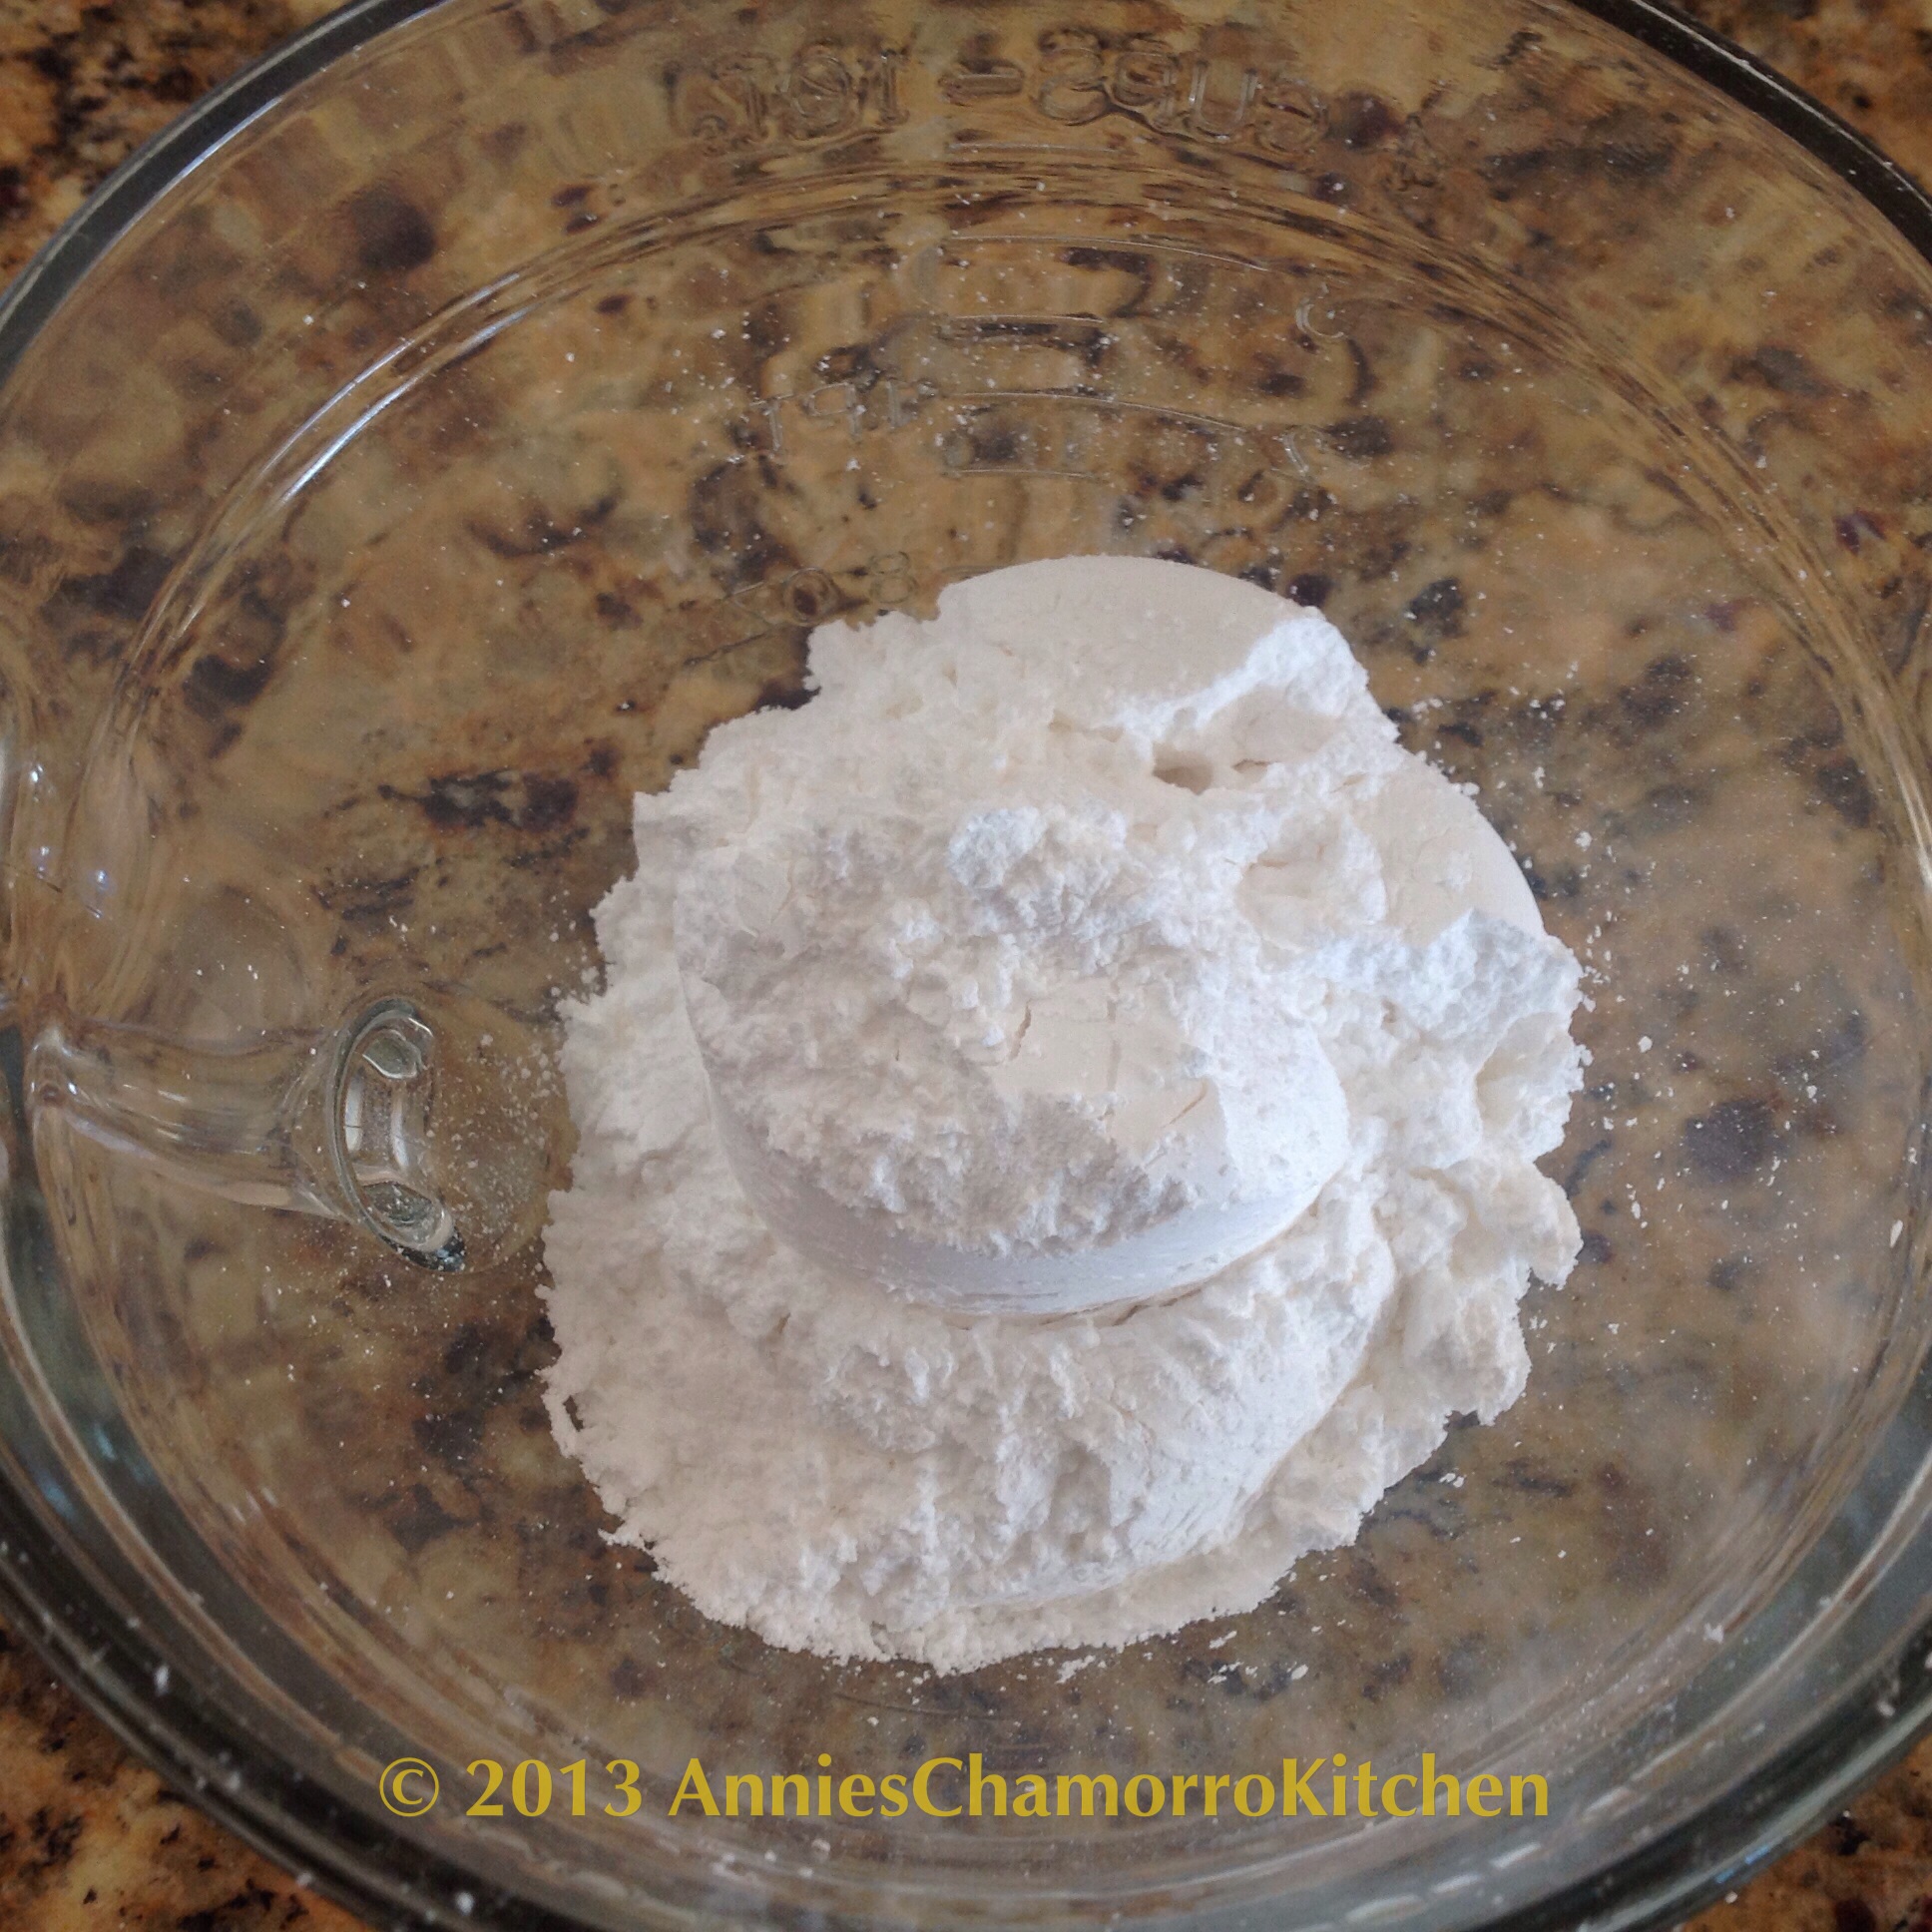
- 4 cups powdered sugar (no need to pre-sift)
- 1 tablespoon vanilla extract
Frosting Directions:
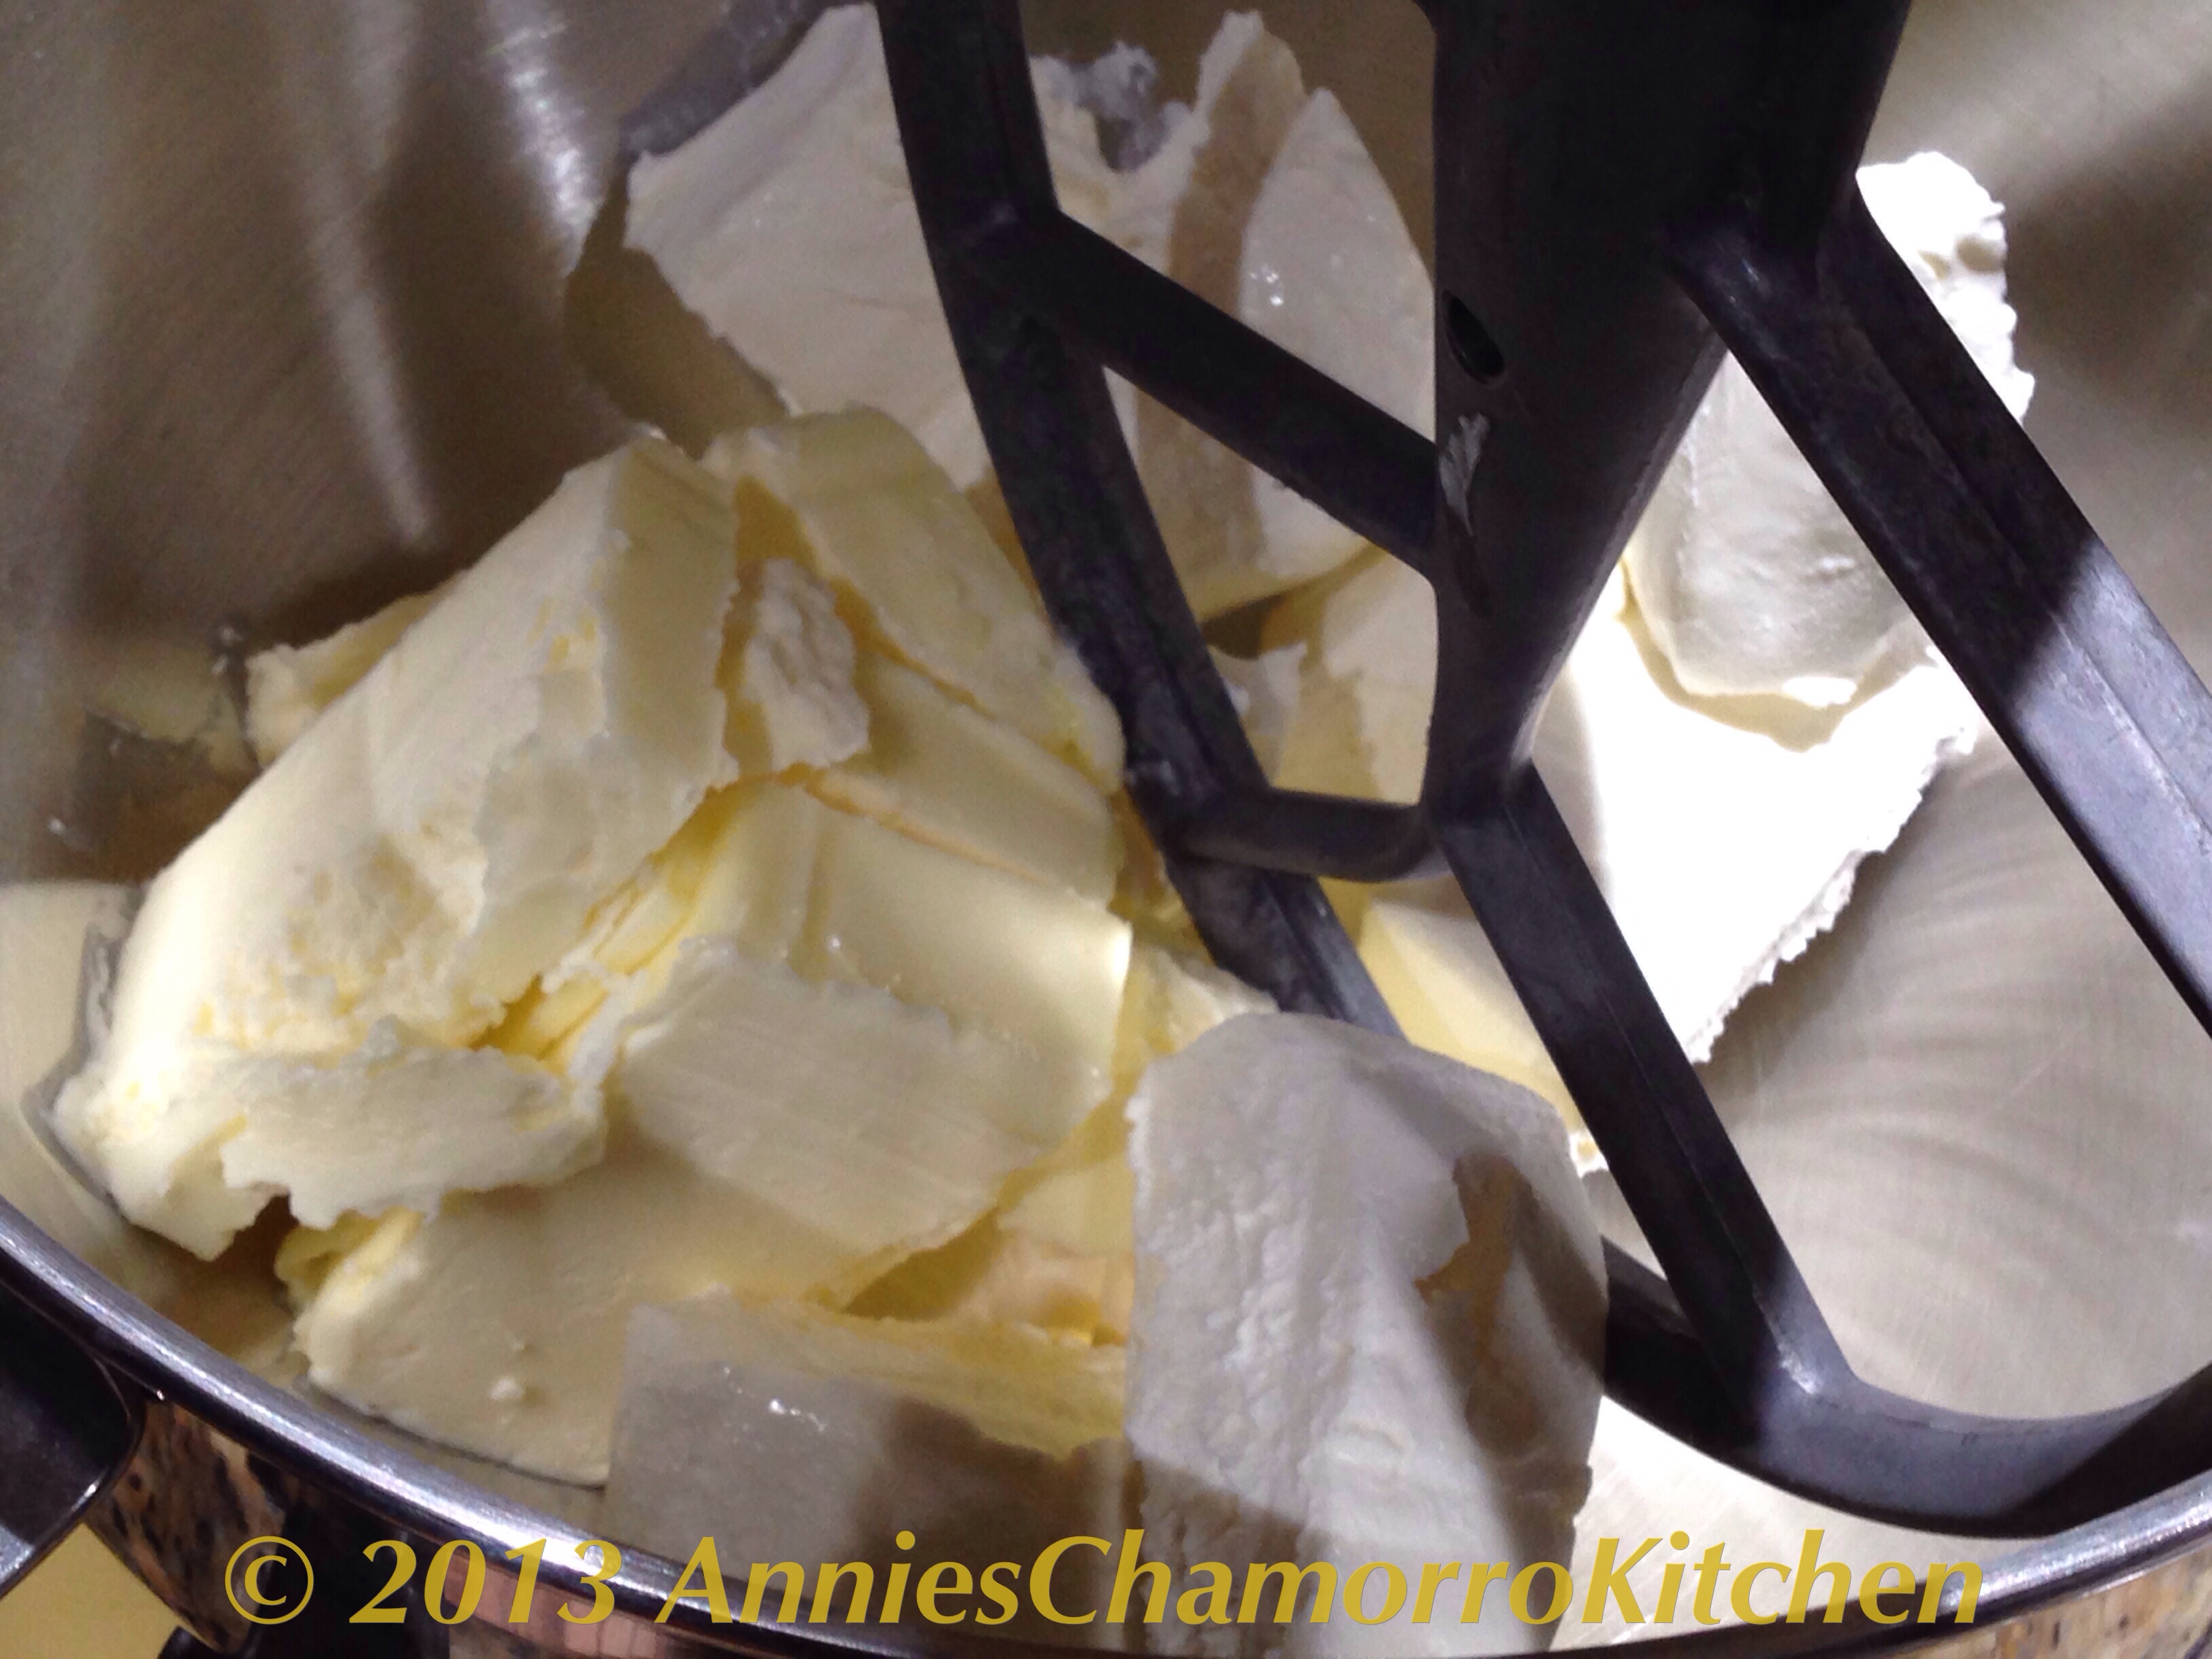
Place the cream cheese and butter into a small mixing bowl.
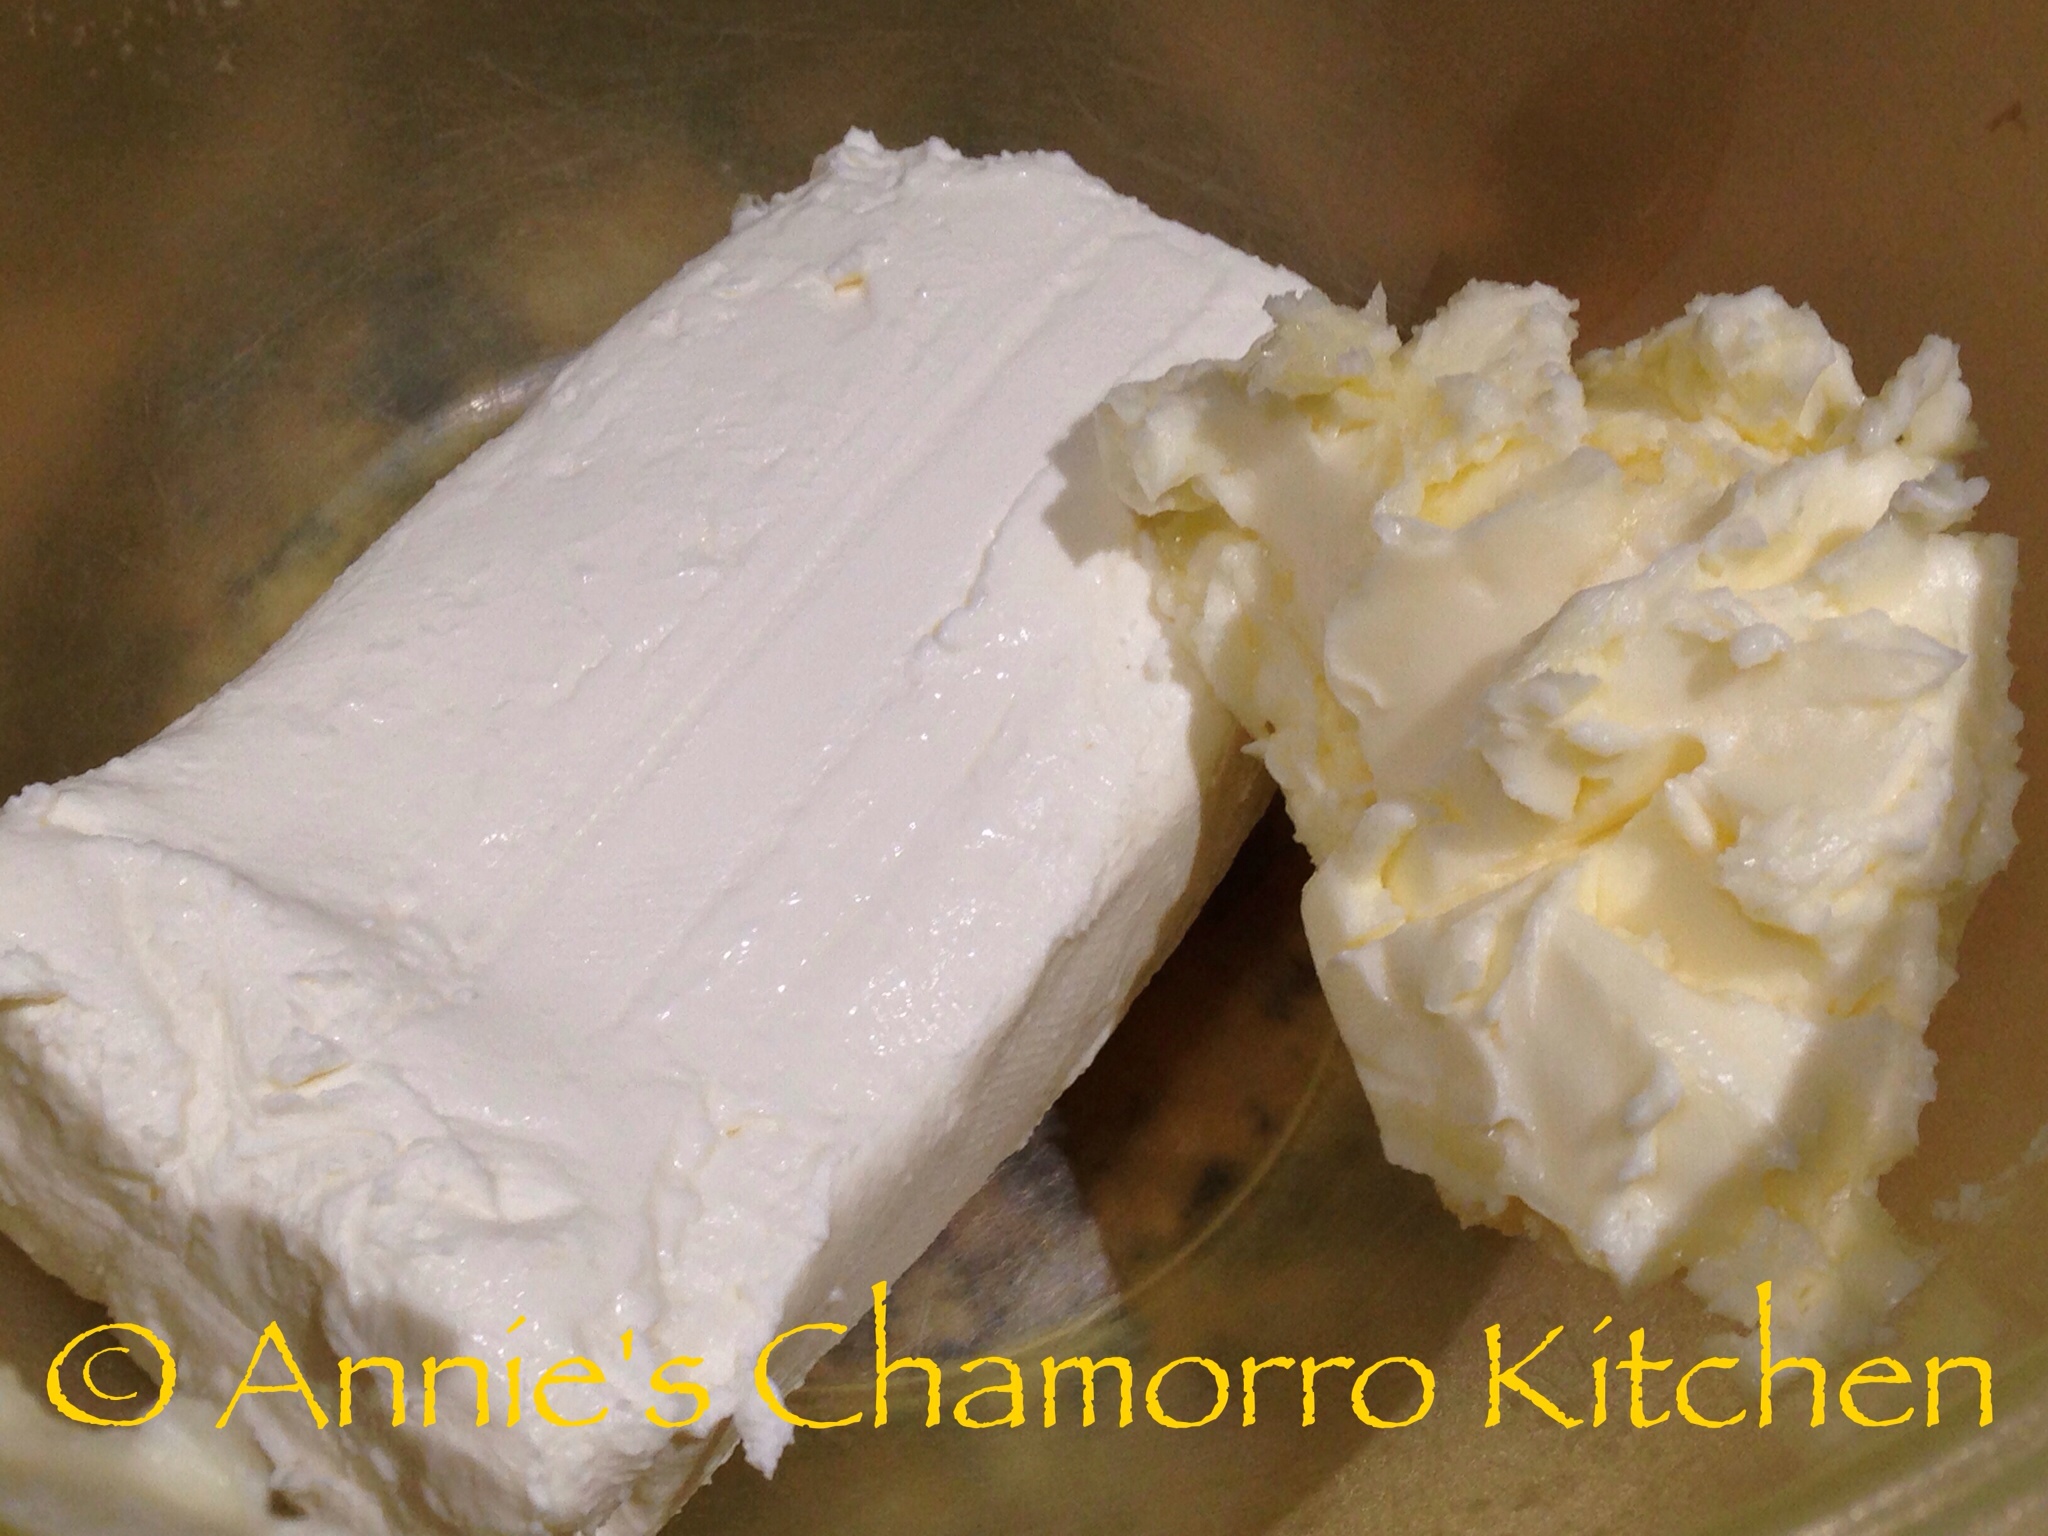
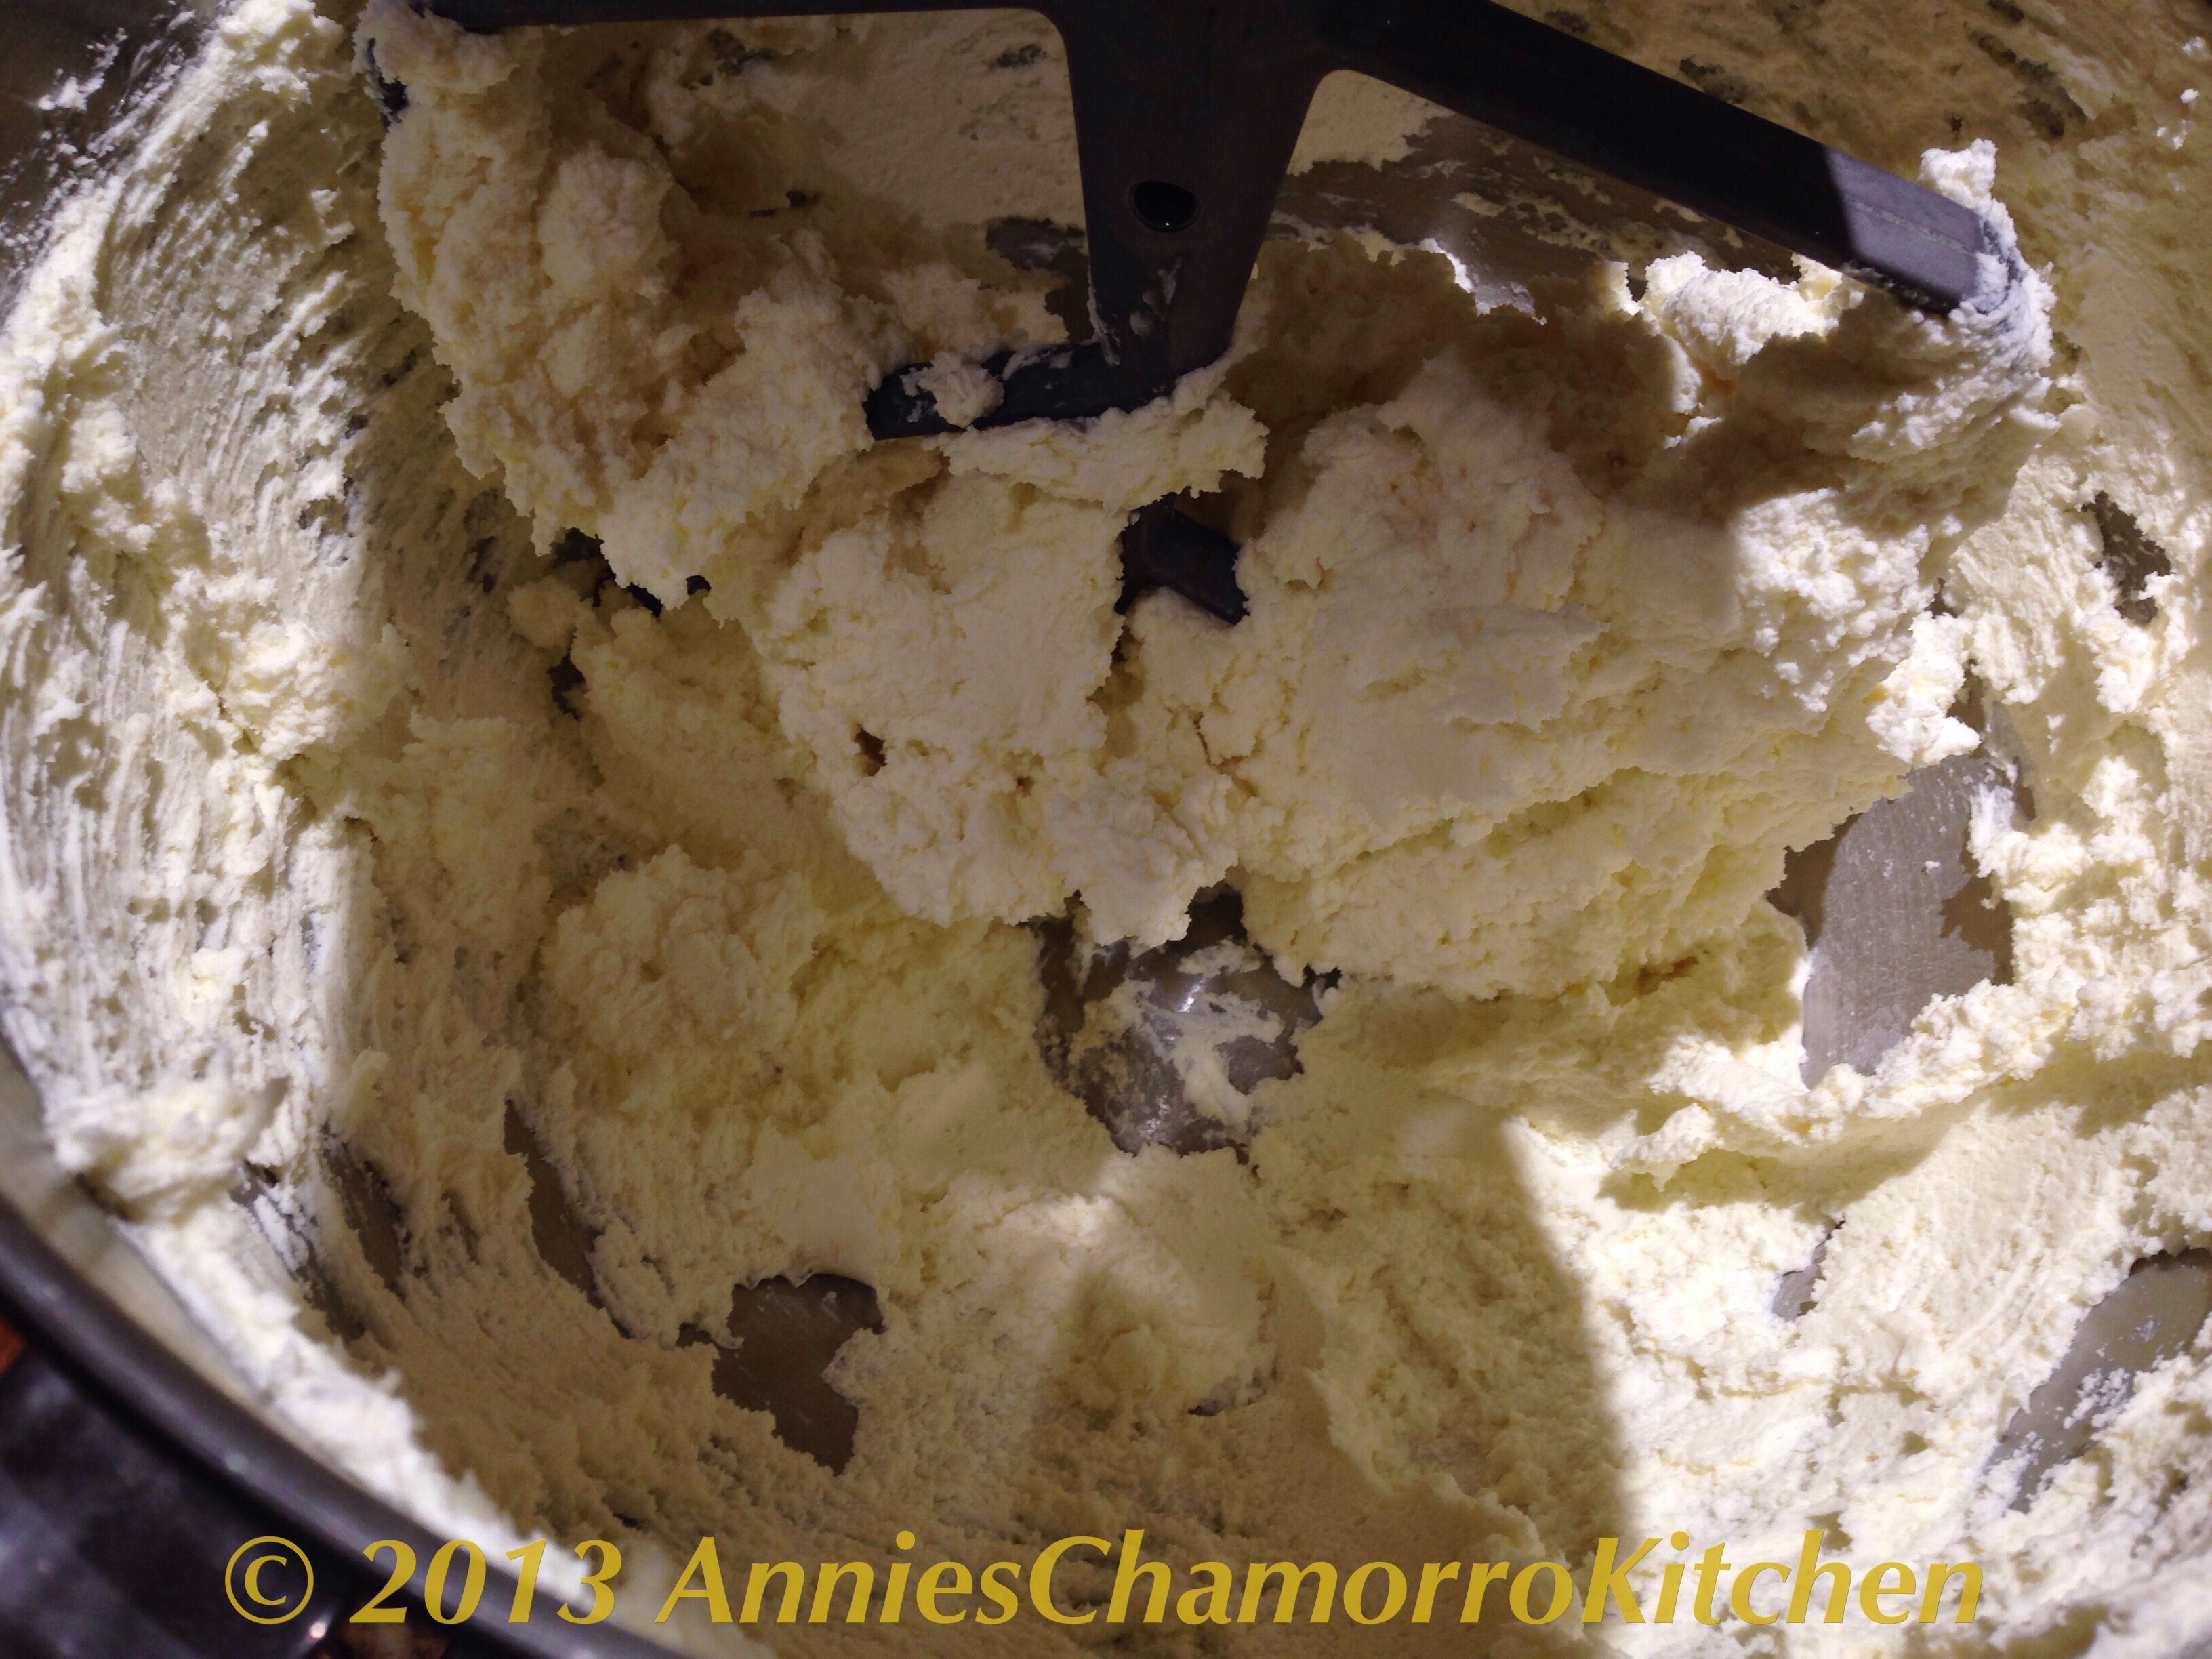
Using a hand mixer, beat the cream cheese and butter together until creamy.

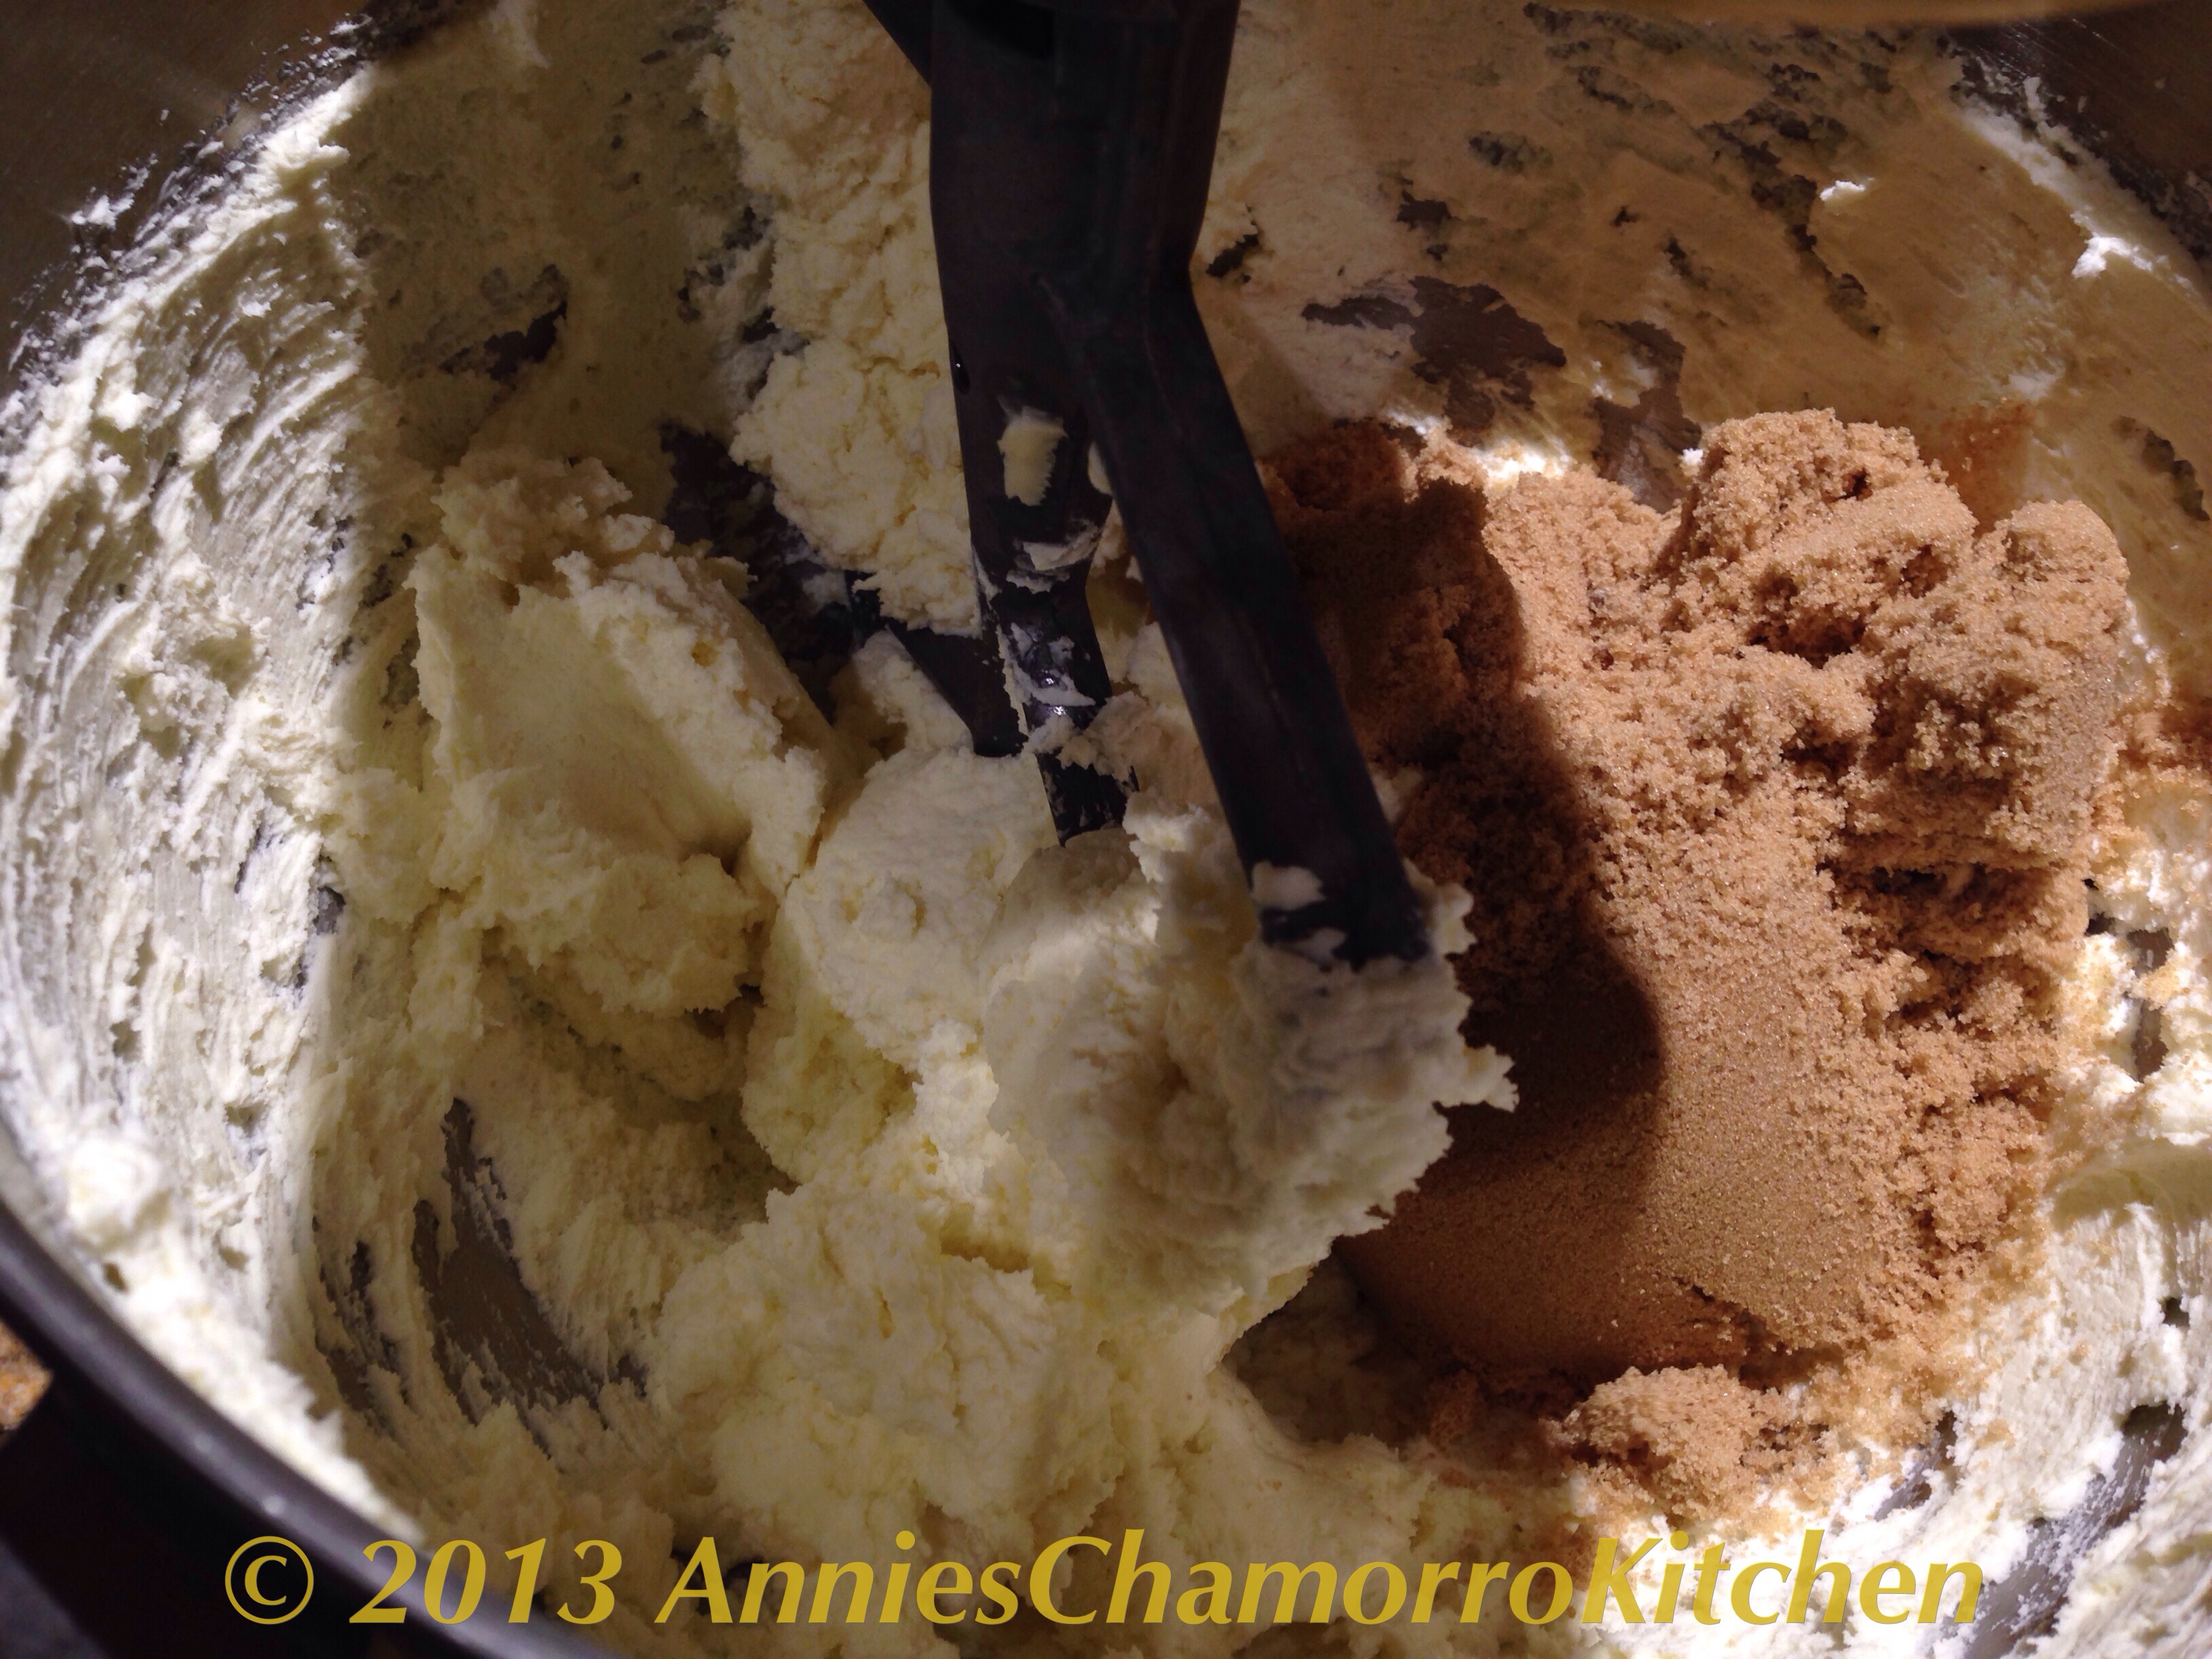
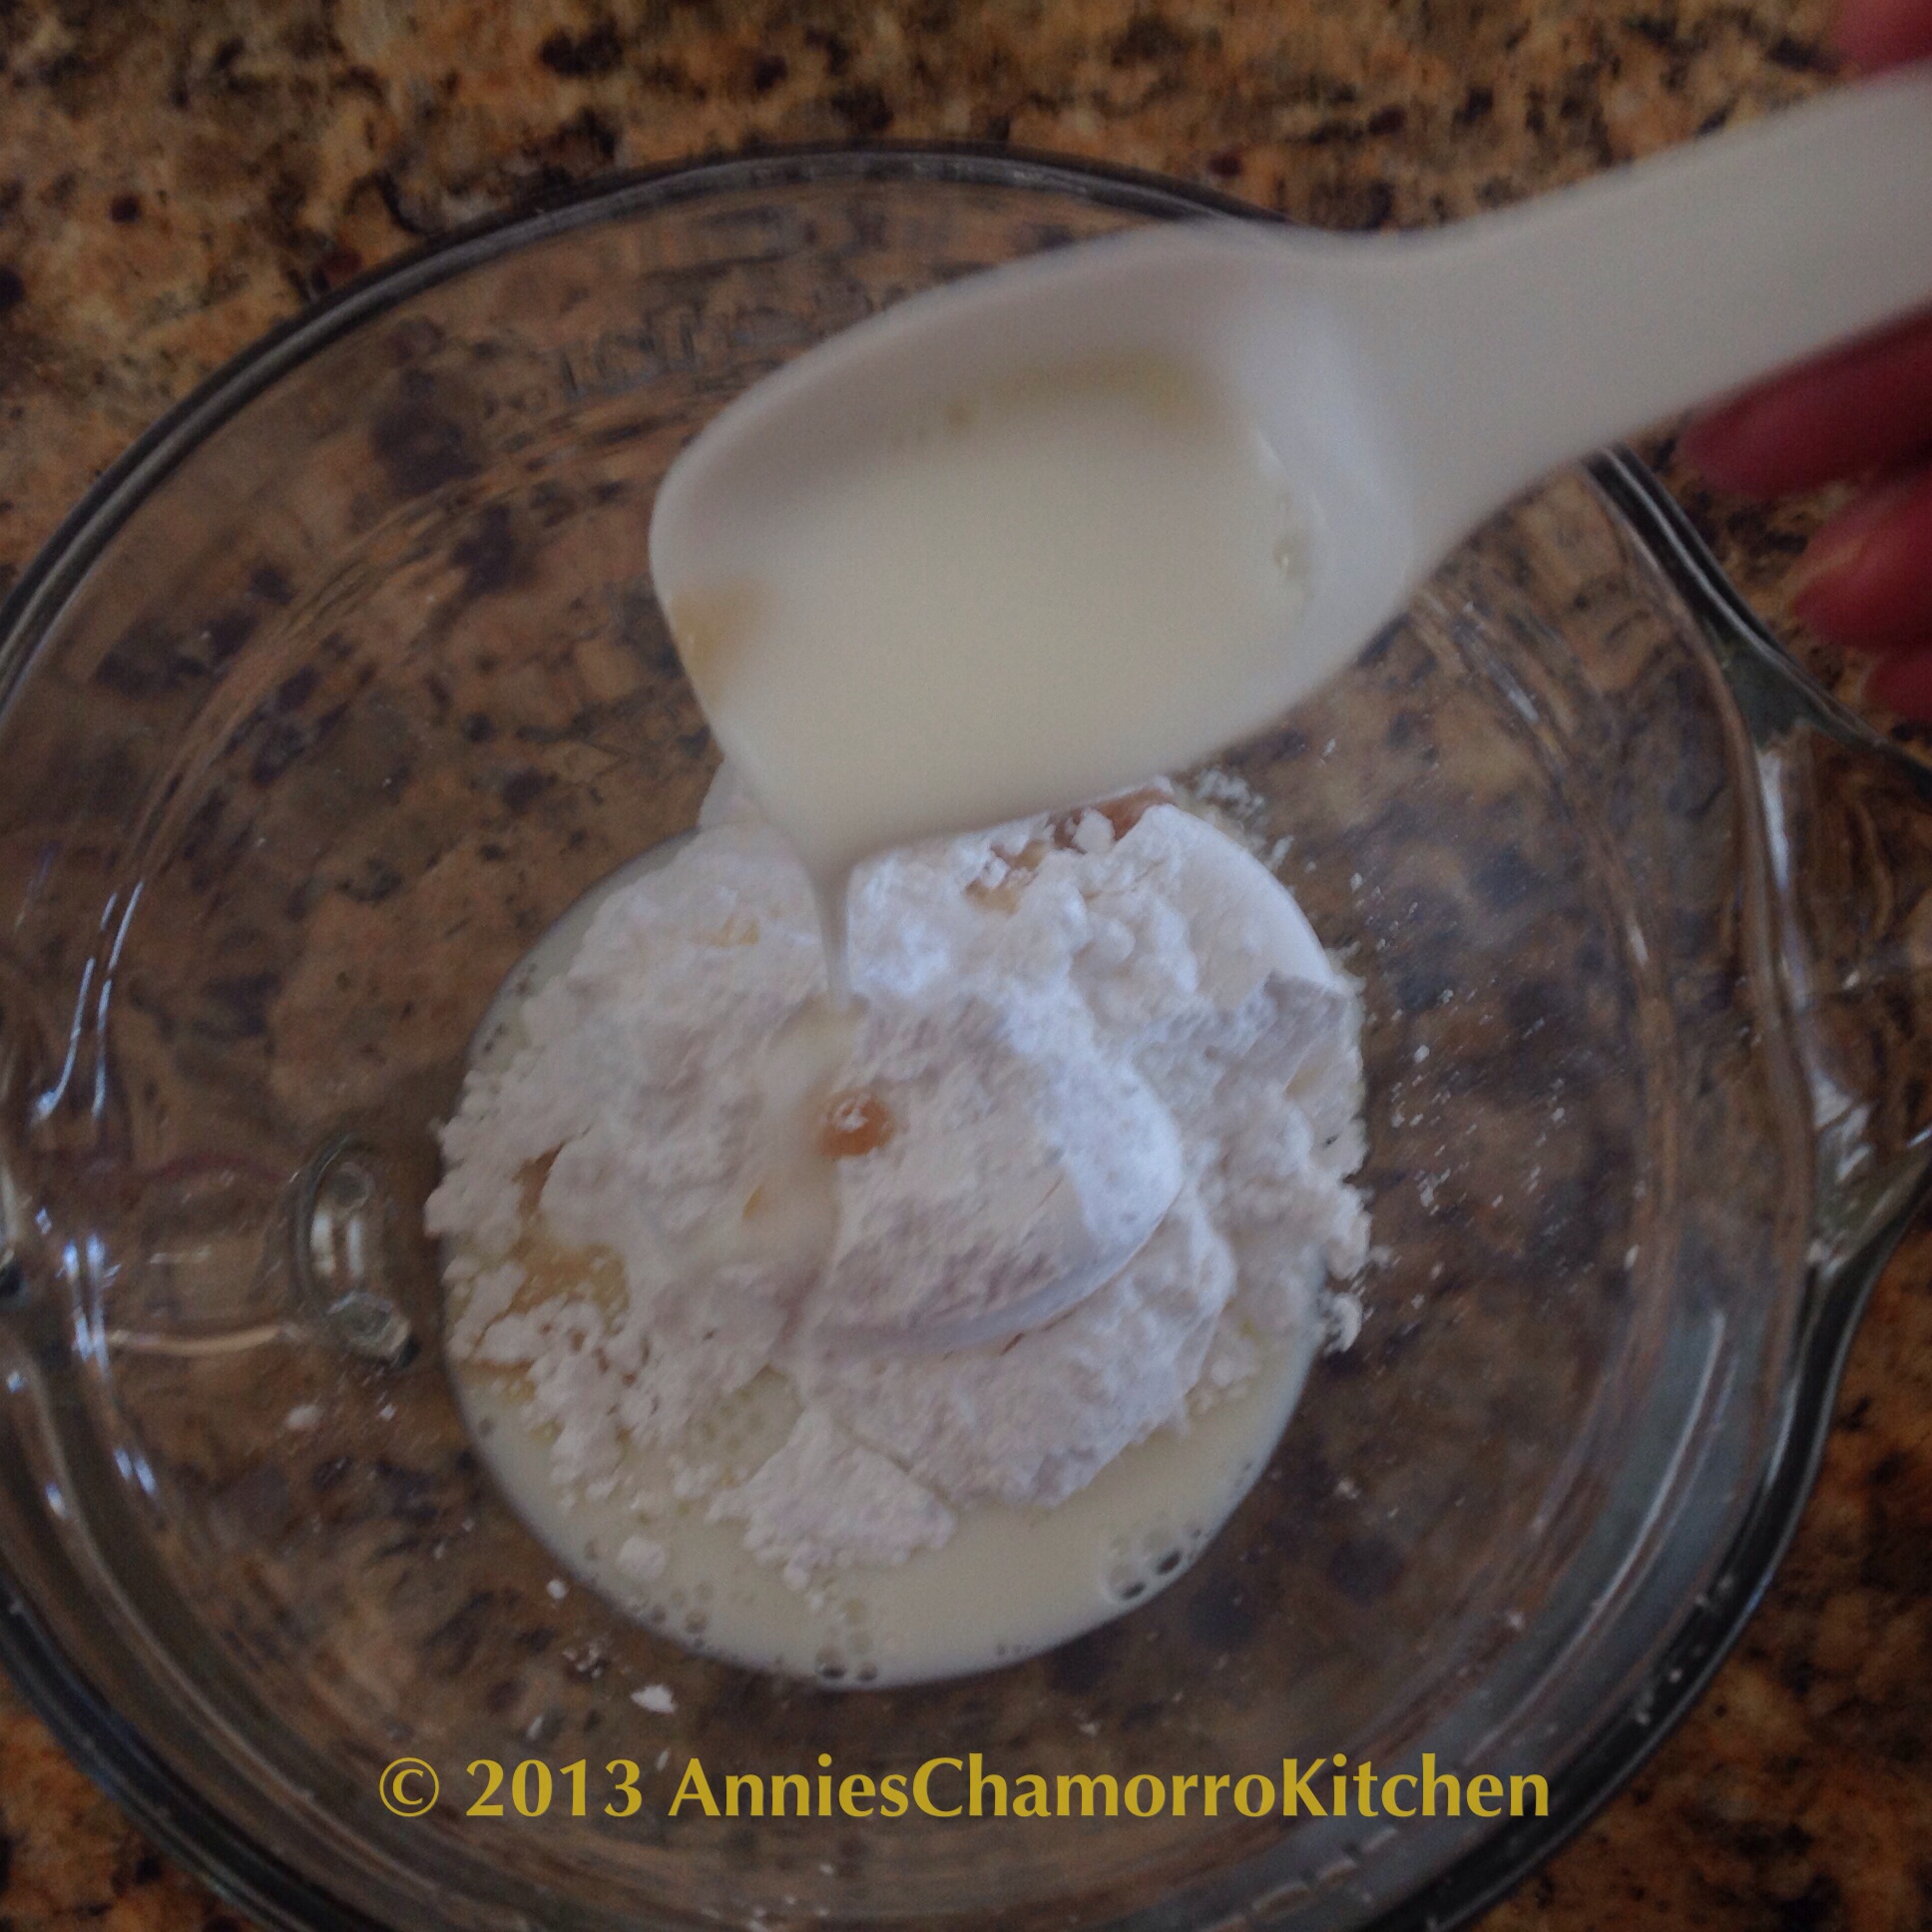
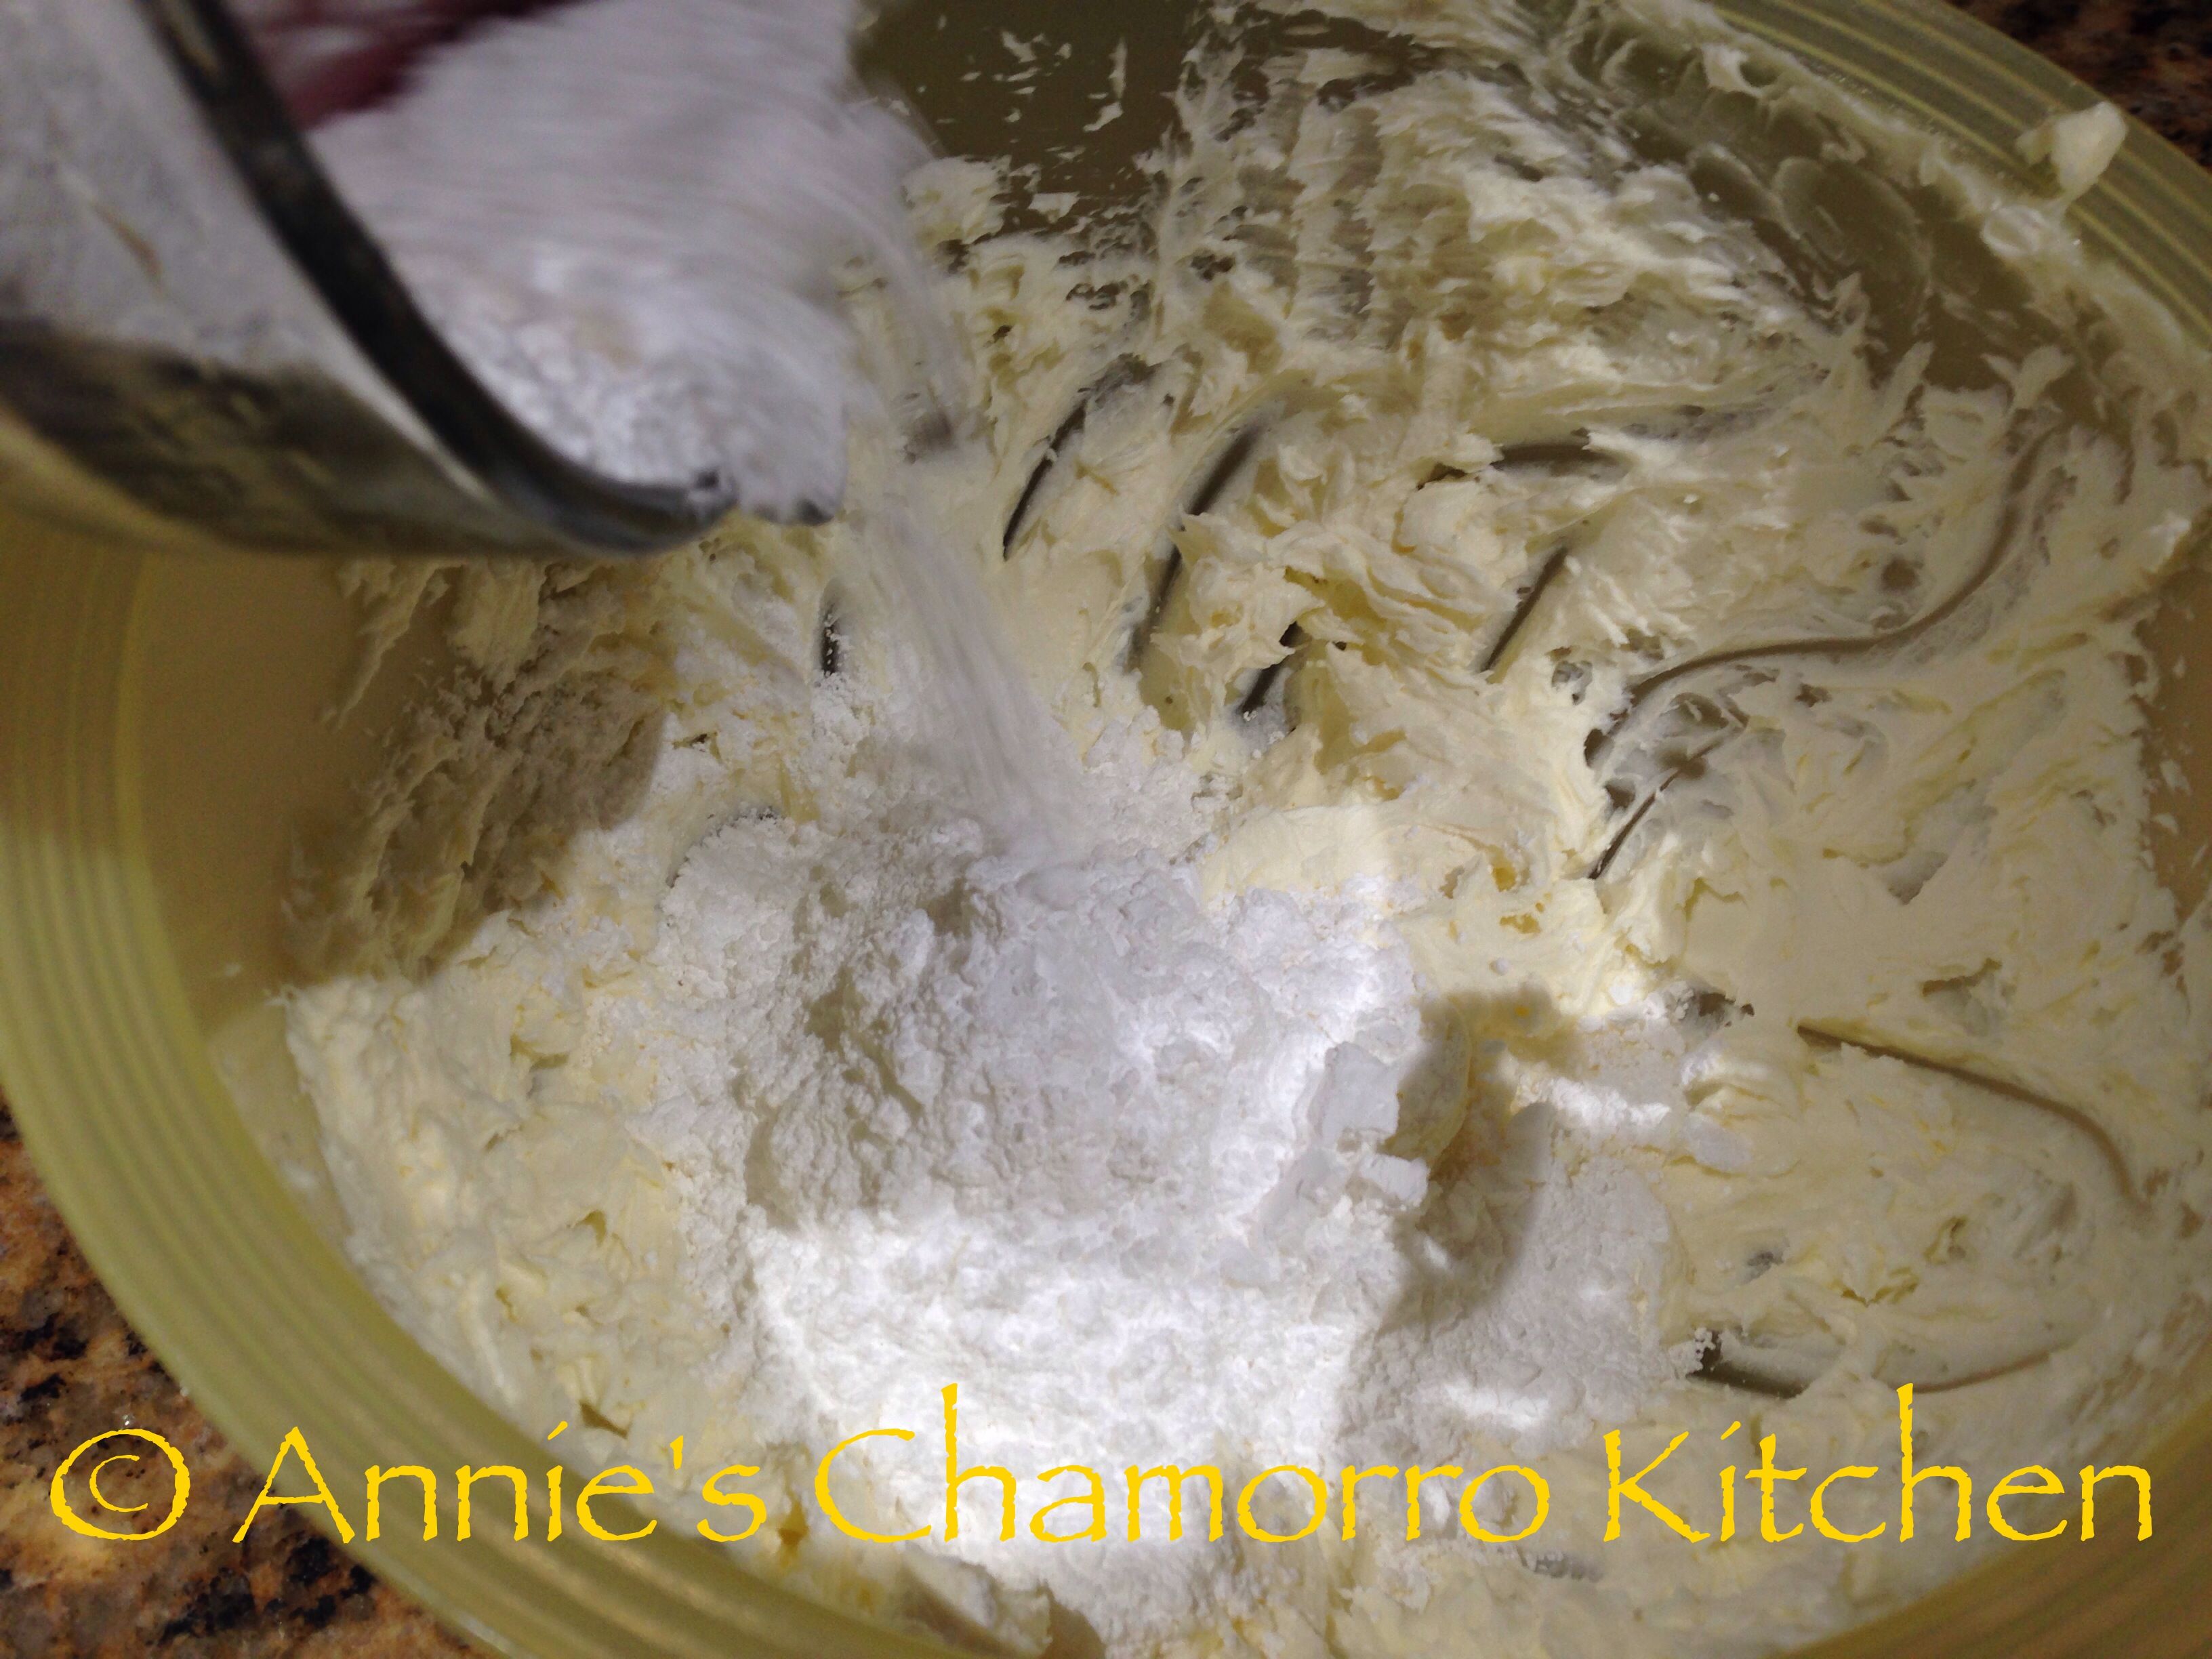
Add the powdered sugar to the mixing bowl. Mix on low speed until the sugar and cream cheese-butter mixture is combined.
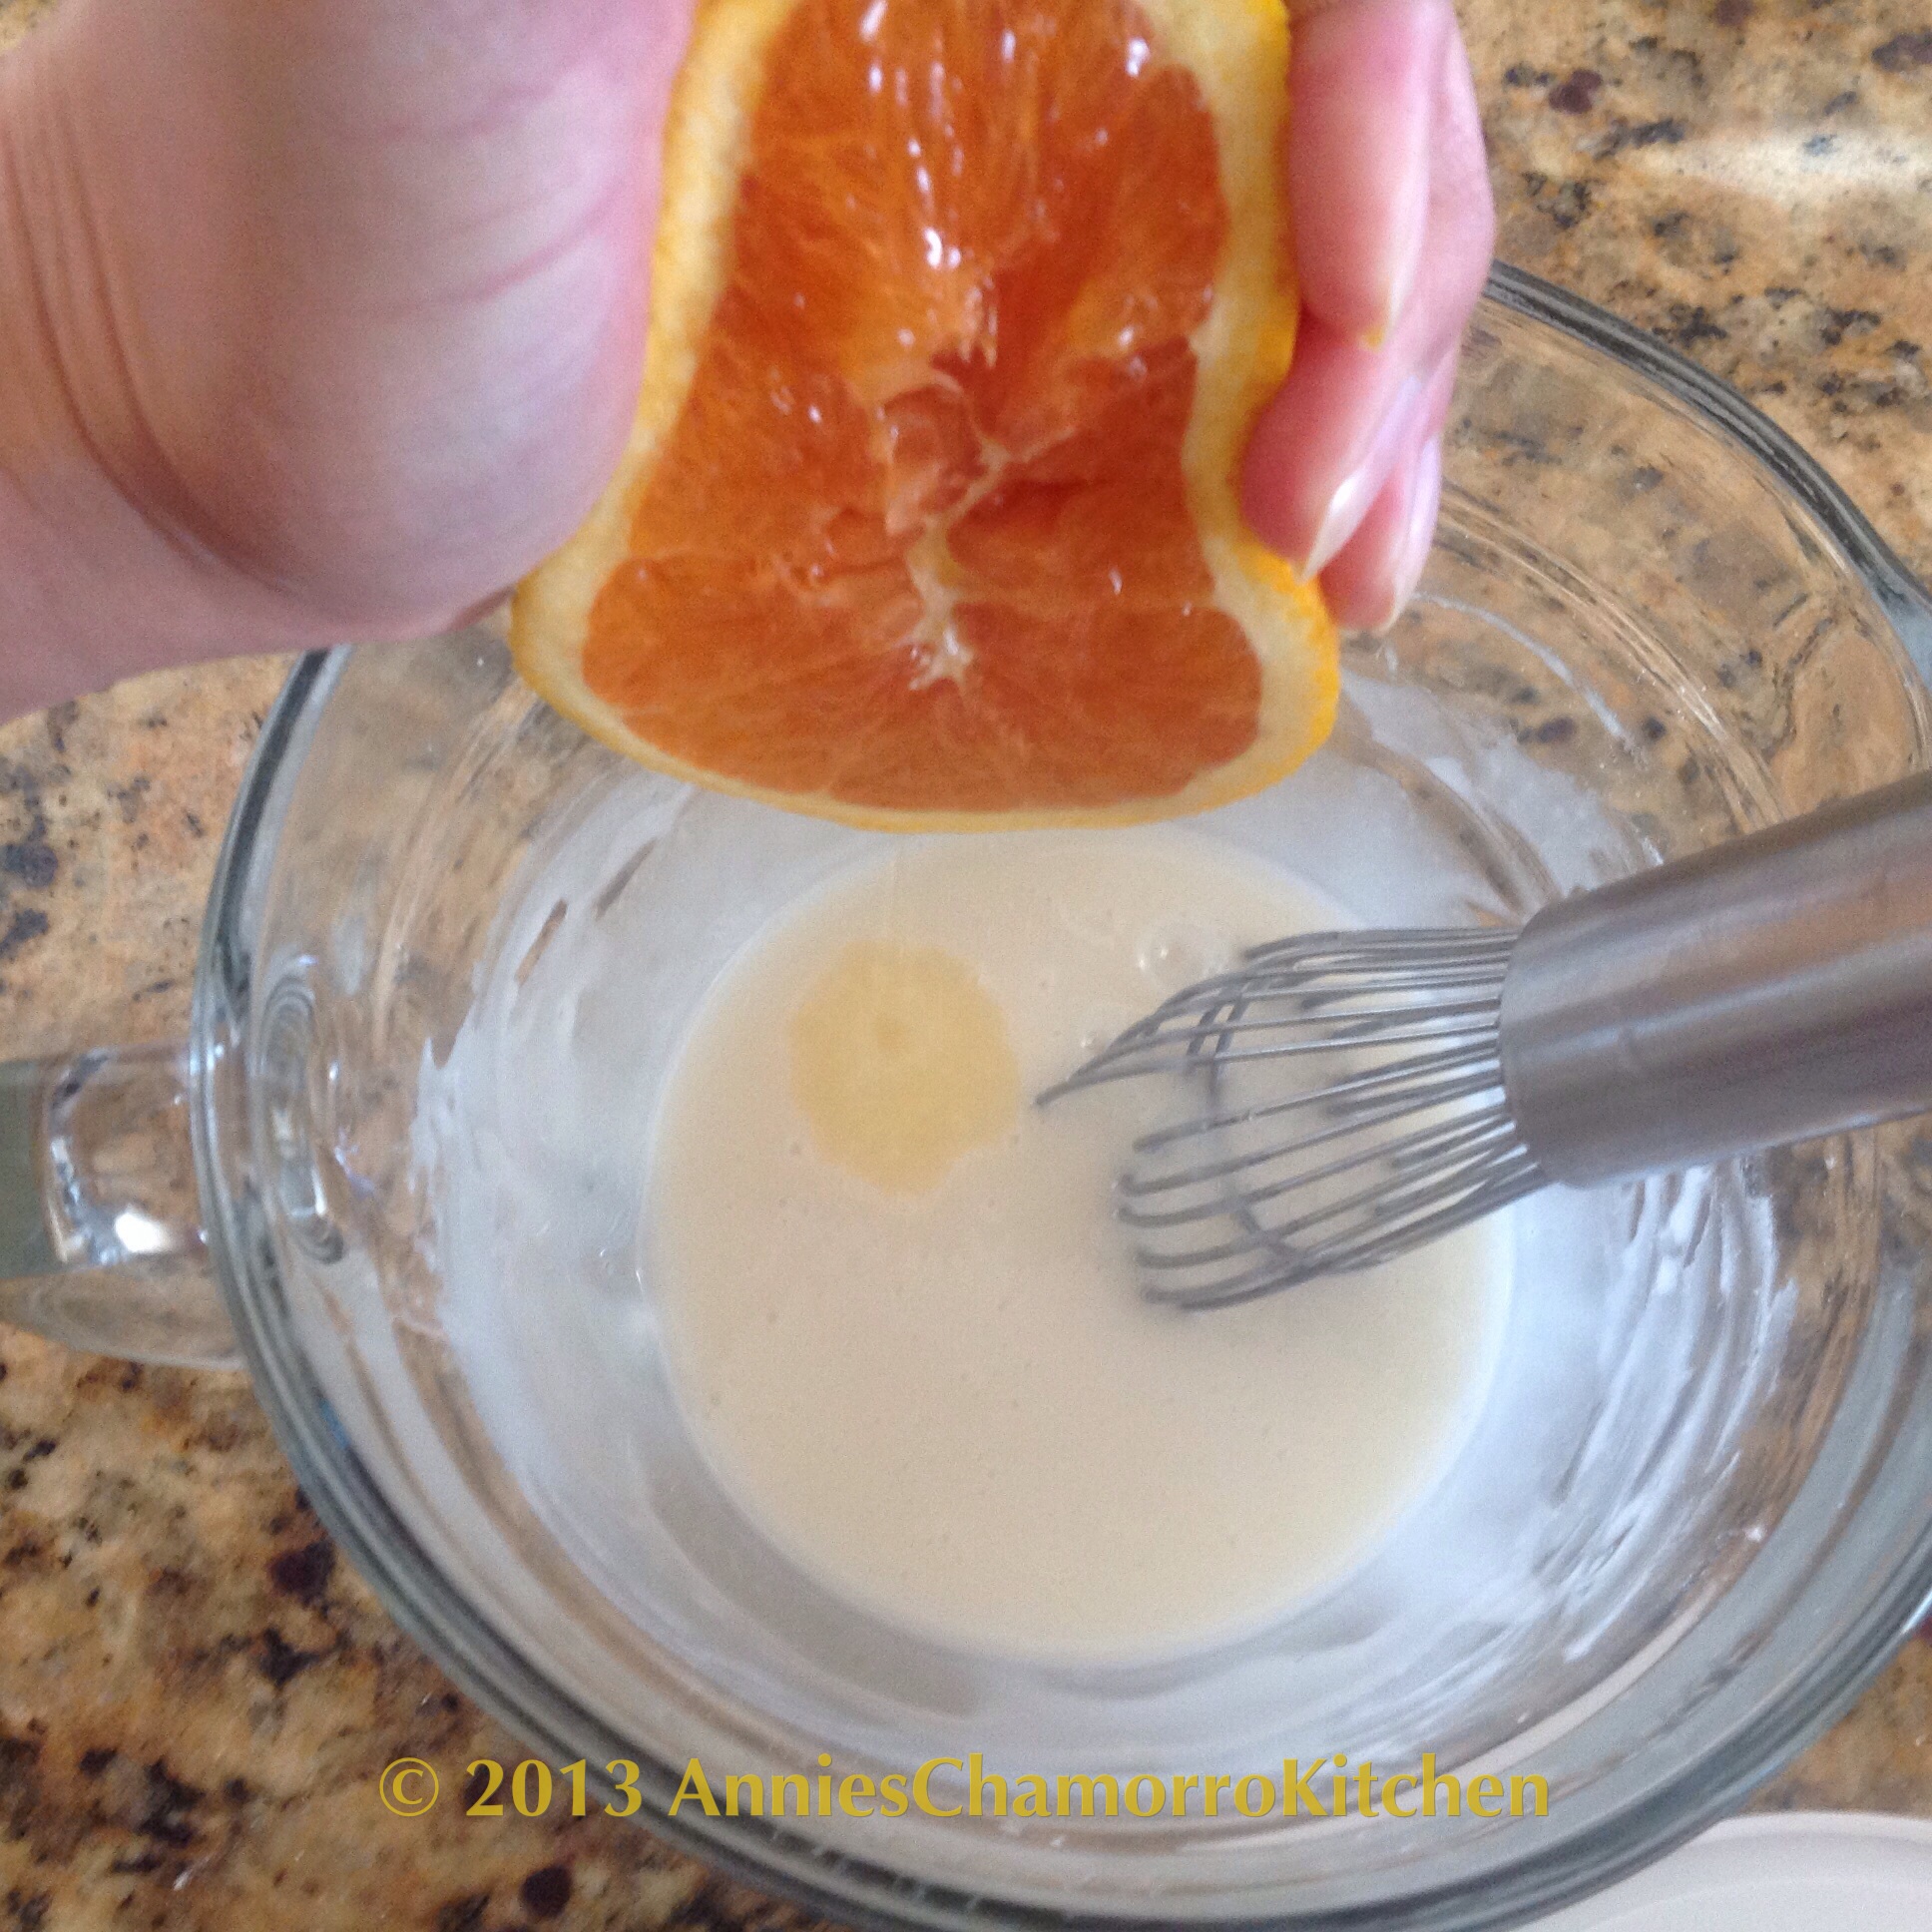
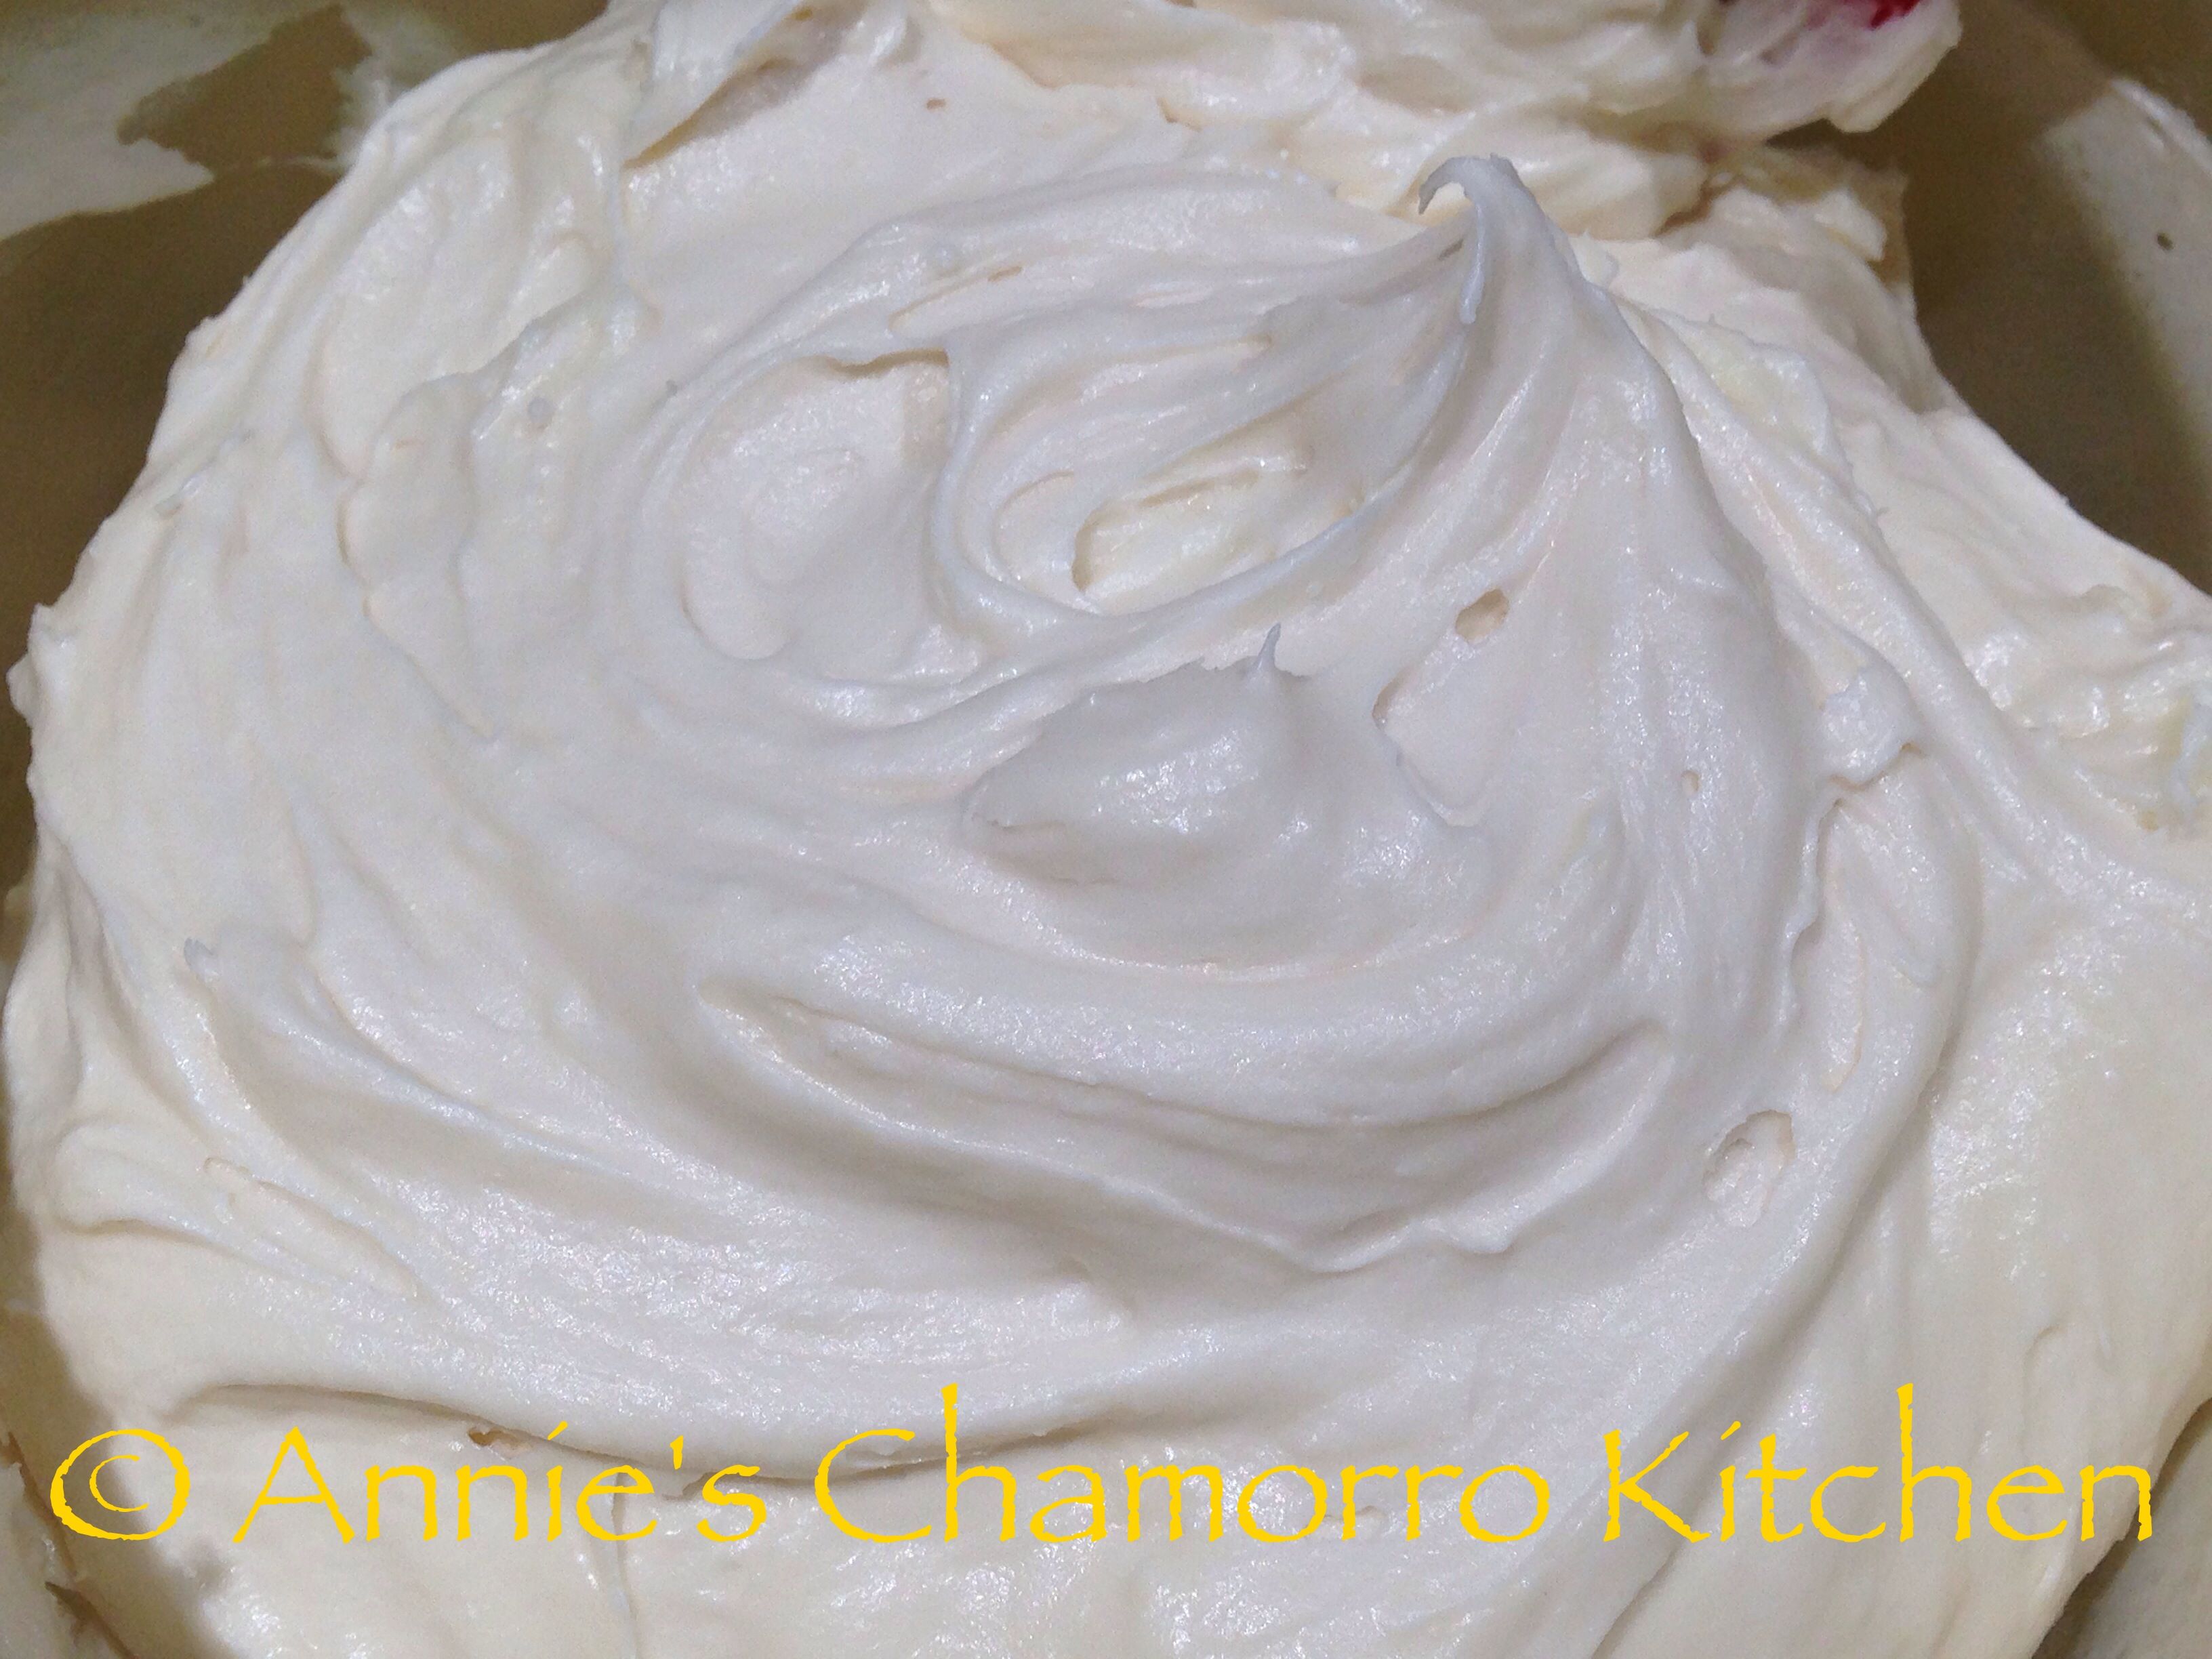
Add the vanilla extract to the mixing bowl. Mix on medium speed until creamy. Set aside.

Resist every temptation to eat the frosting with a spoon. Licking the beaters are okay, however. 😀
Set the frosting aside and prepare the cinnamon-sugar filling.
Cinnamon Sugar Filling Ingredients:
- 1 cup packed dark brown sugar
- 5 teaspoons cinnamon
- 1 stick (1/2 cup) unsalted butter
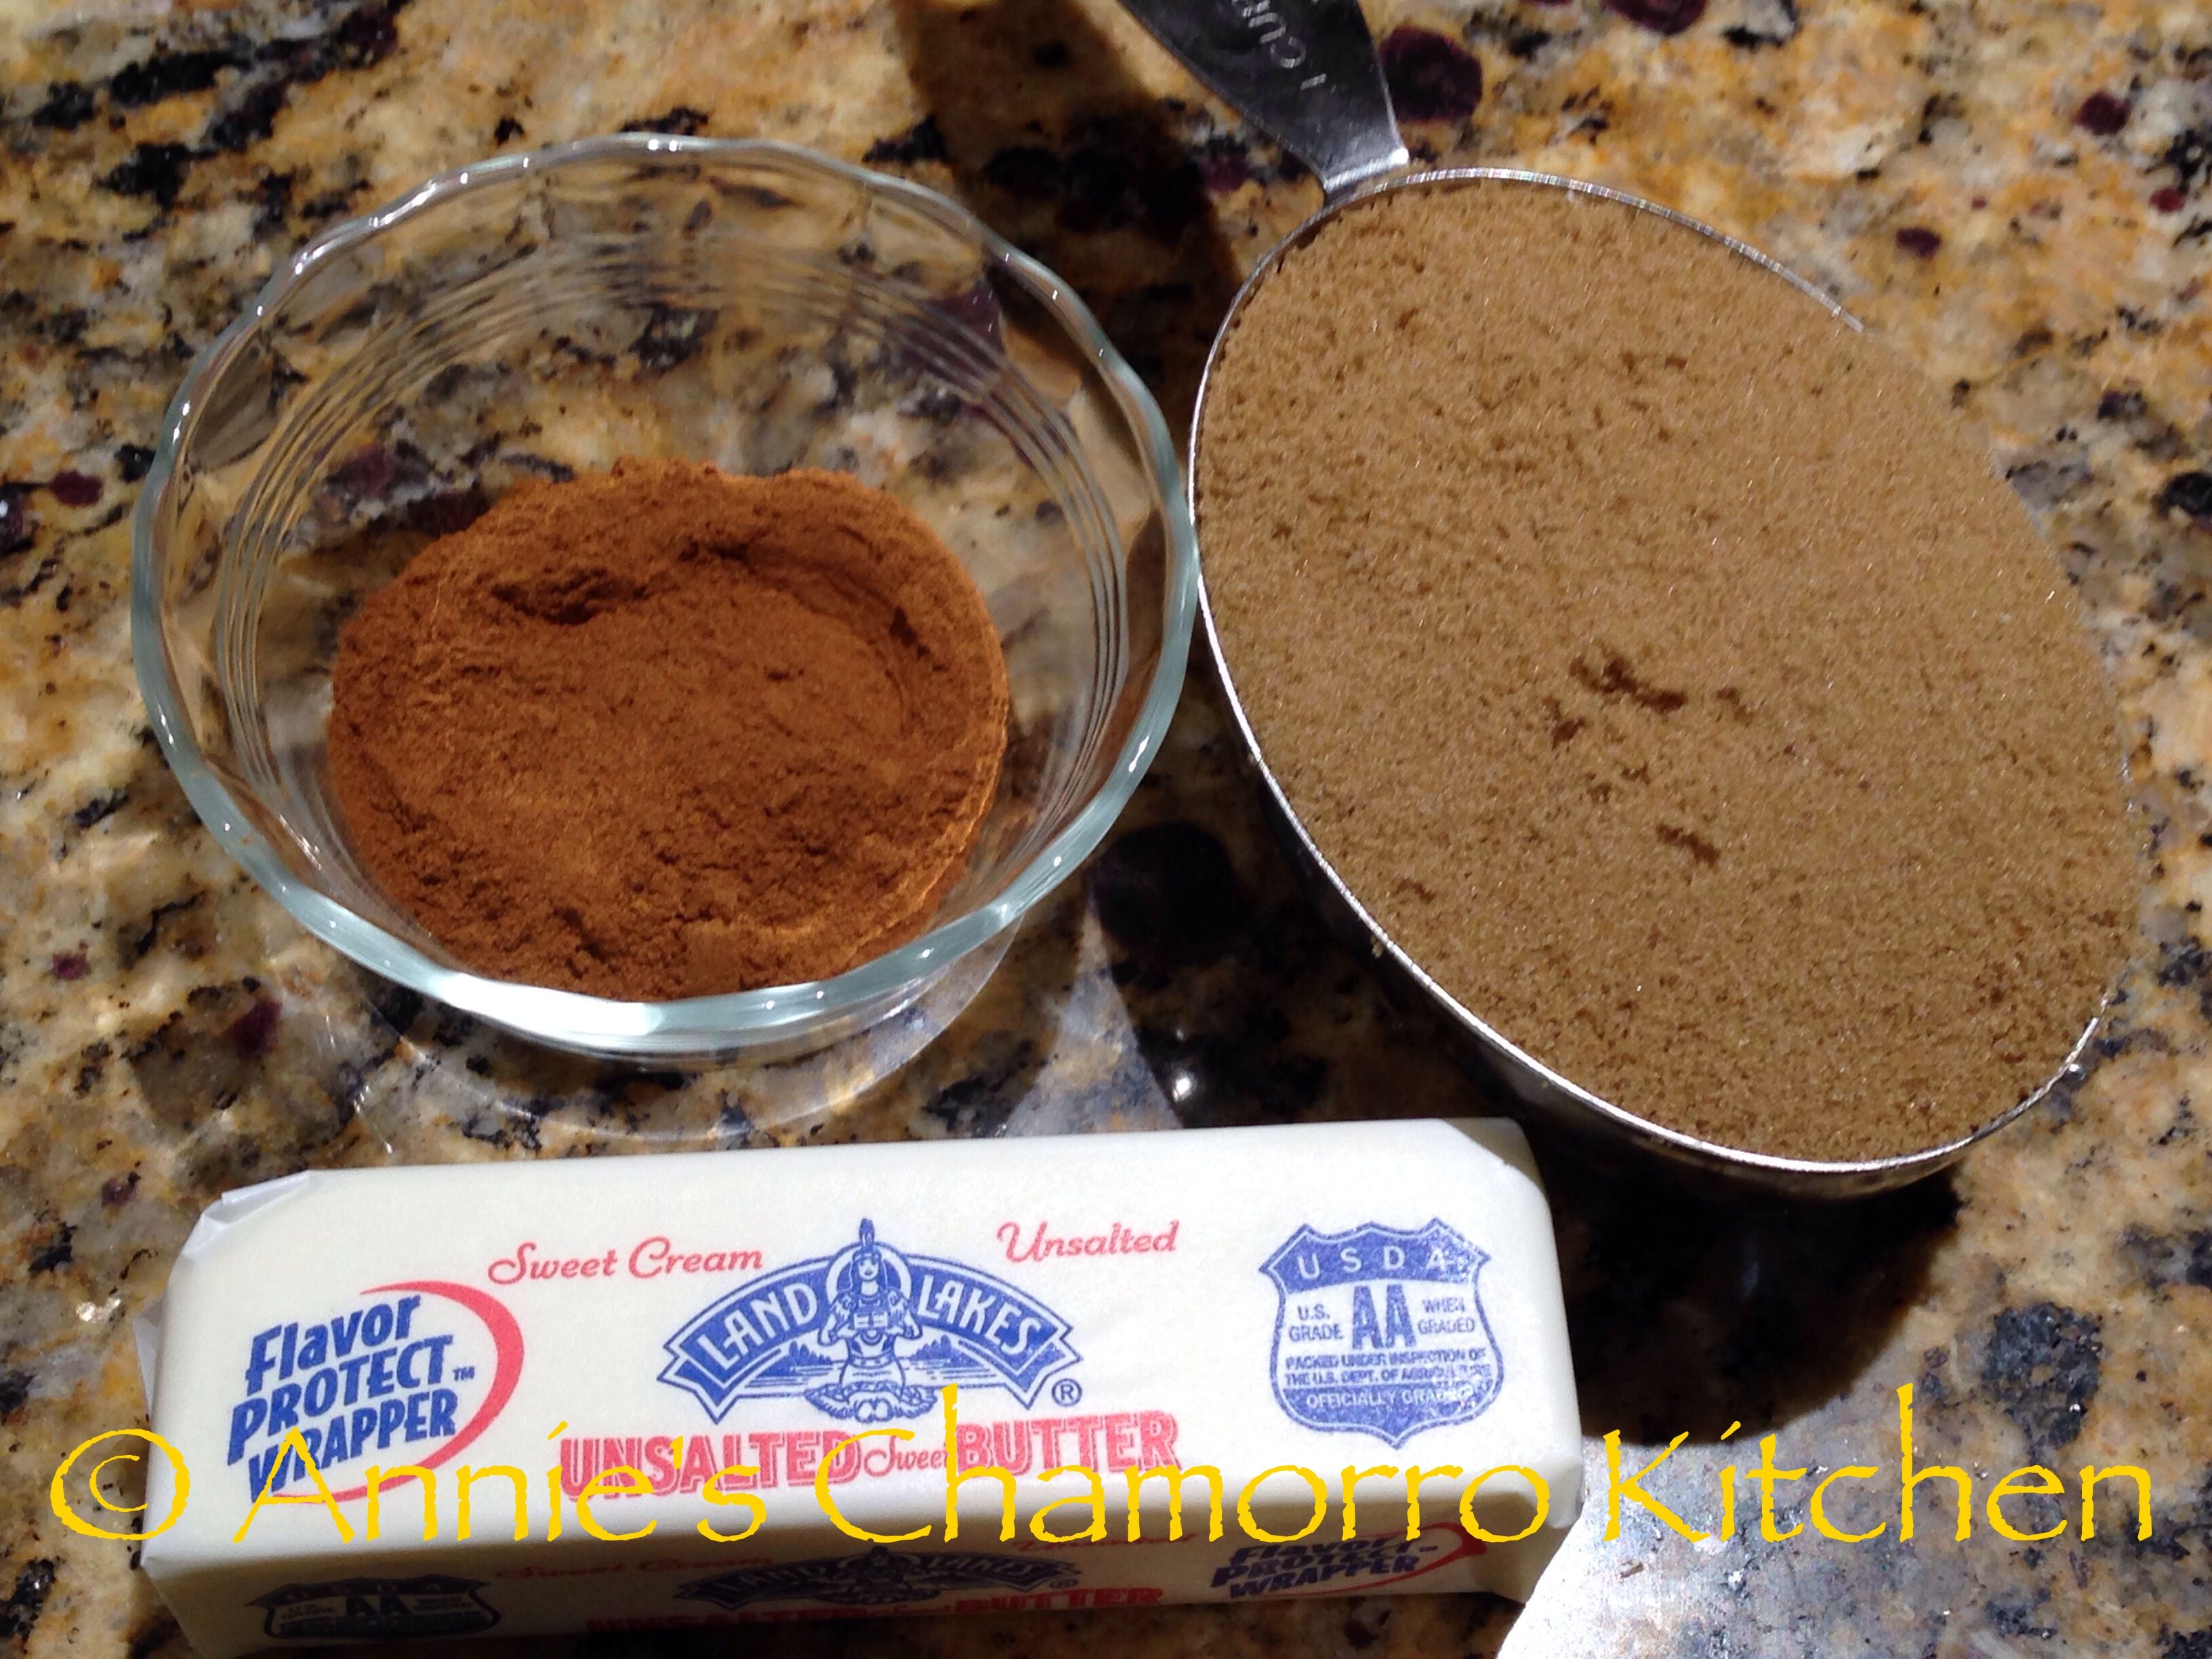
Filling Directions:
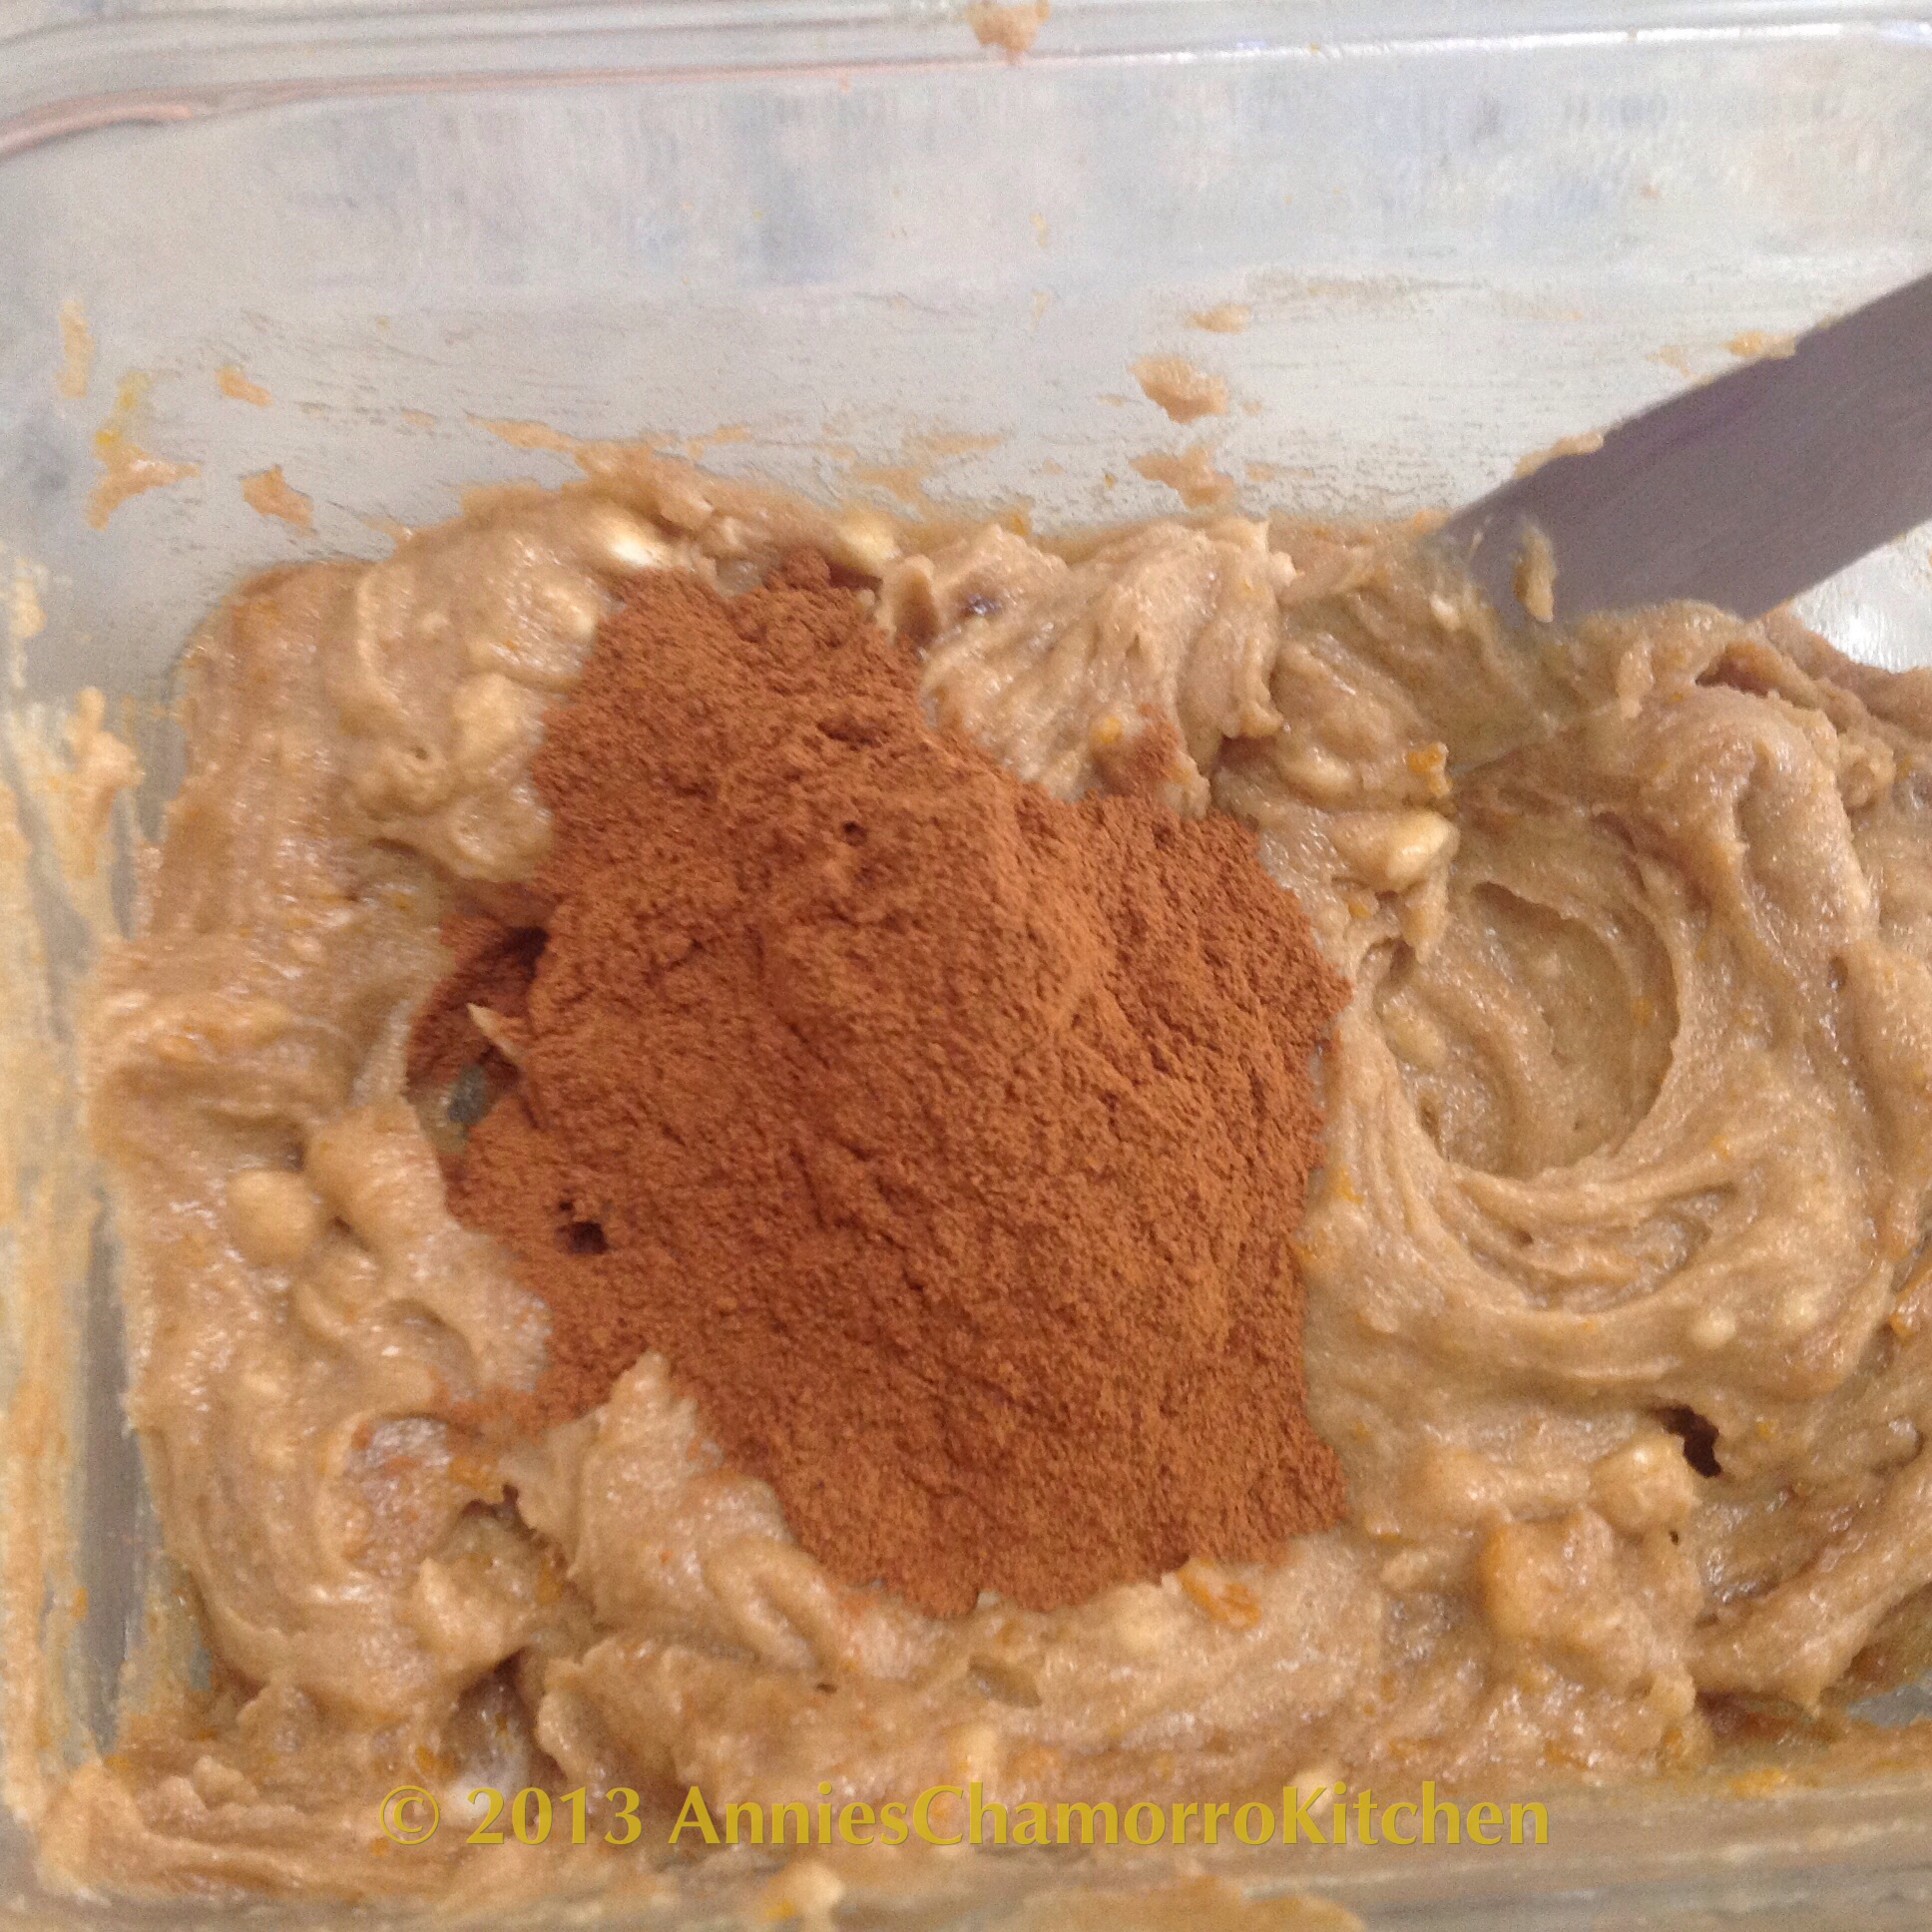
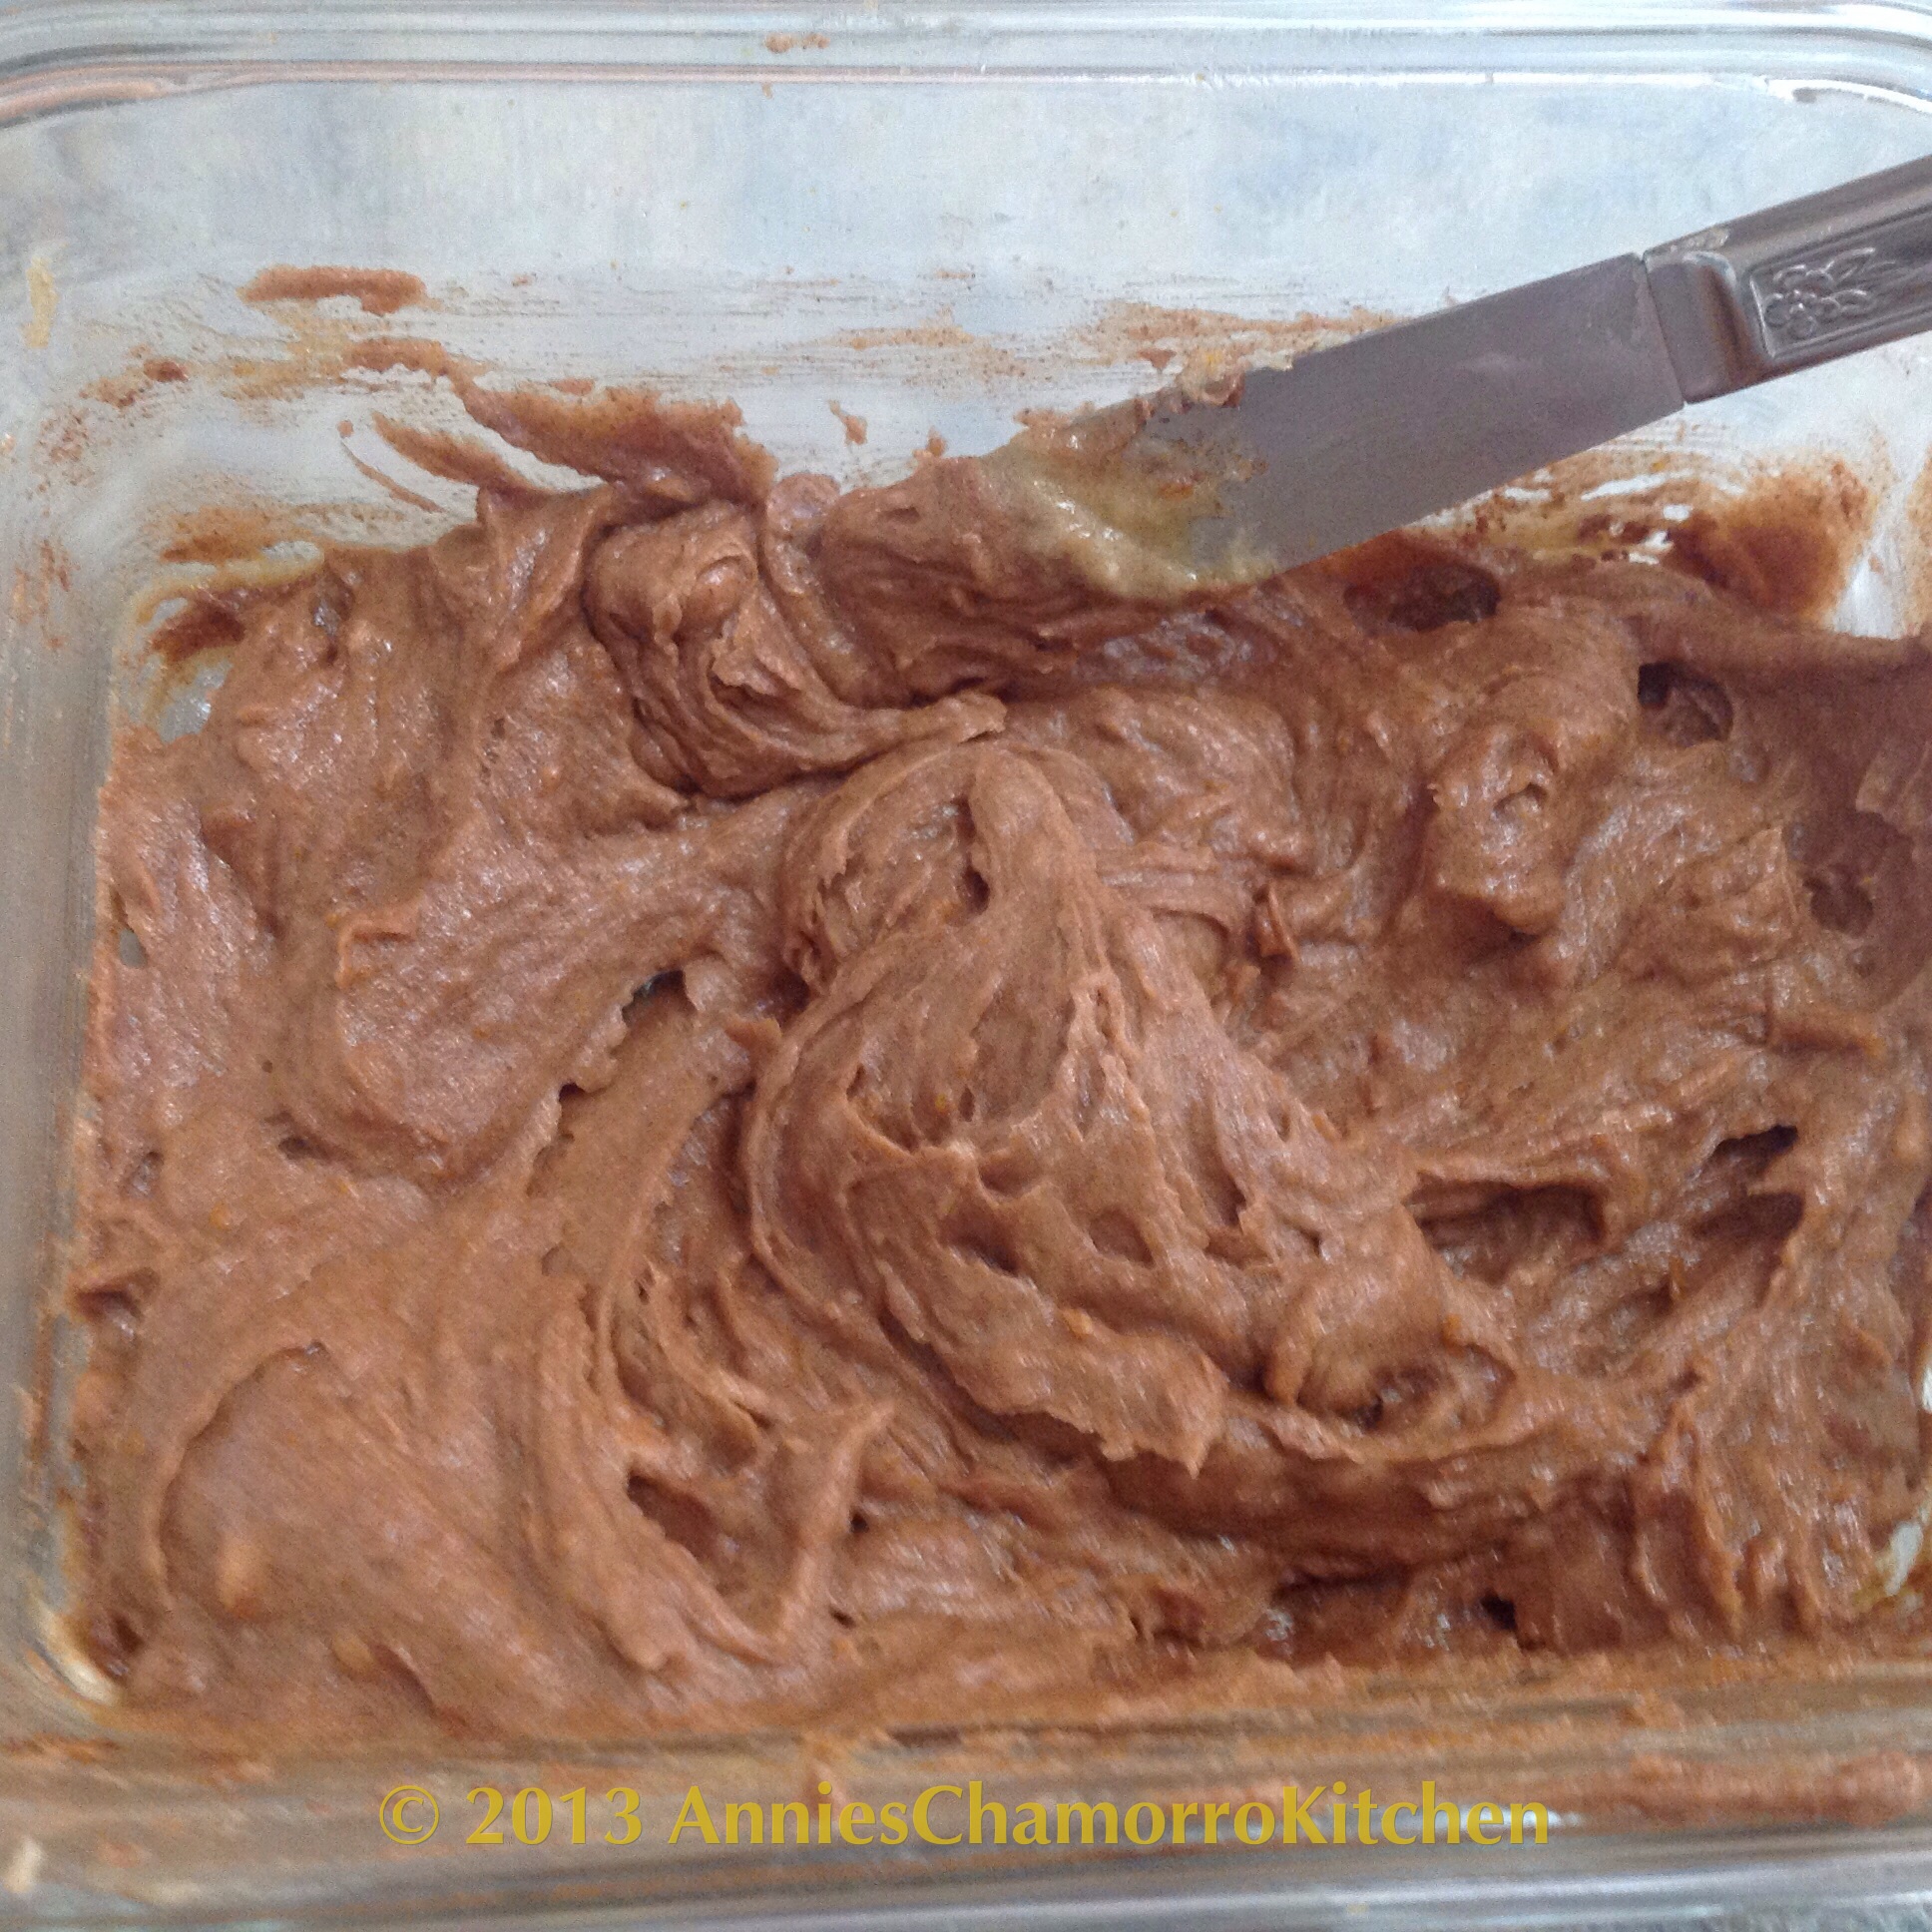
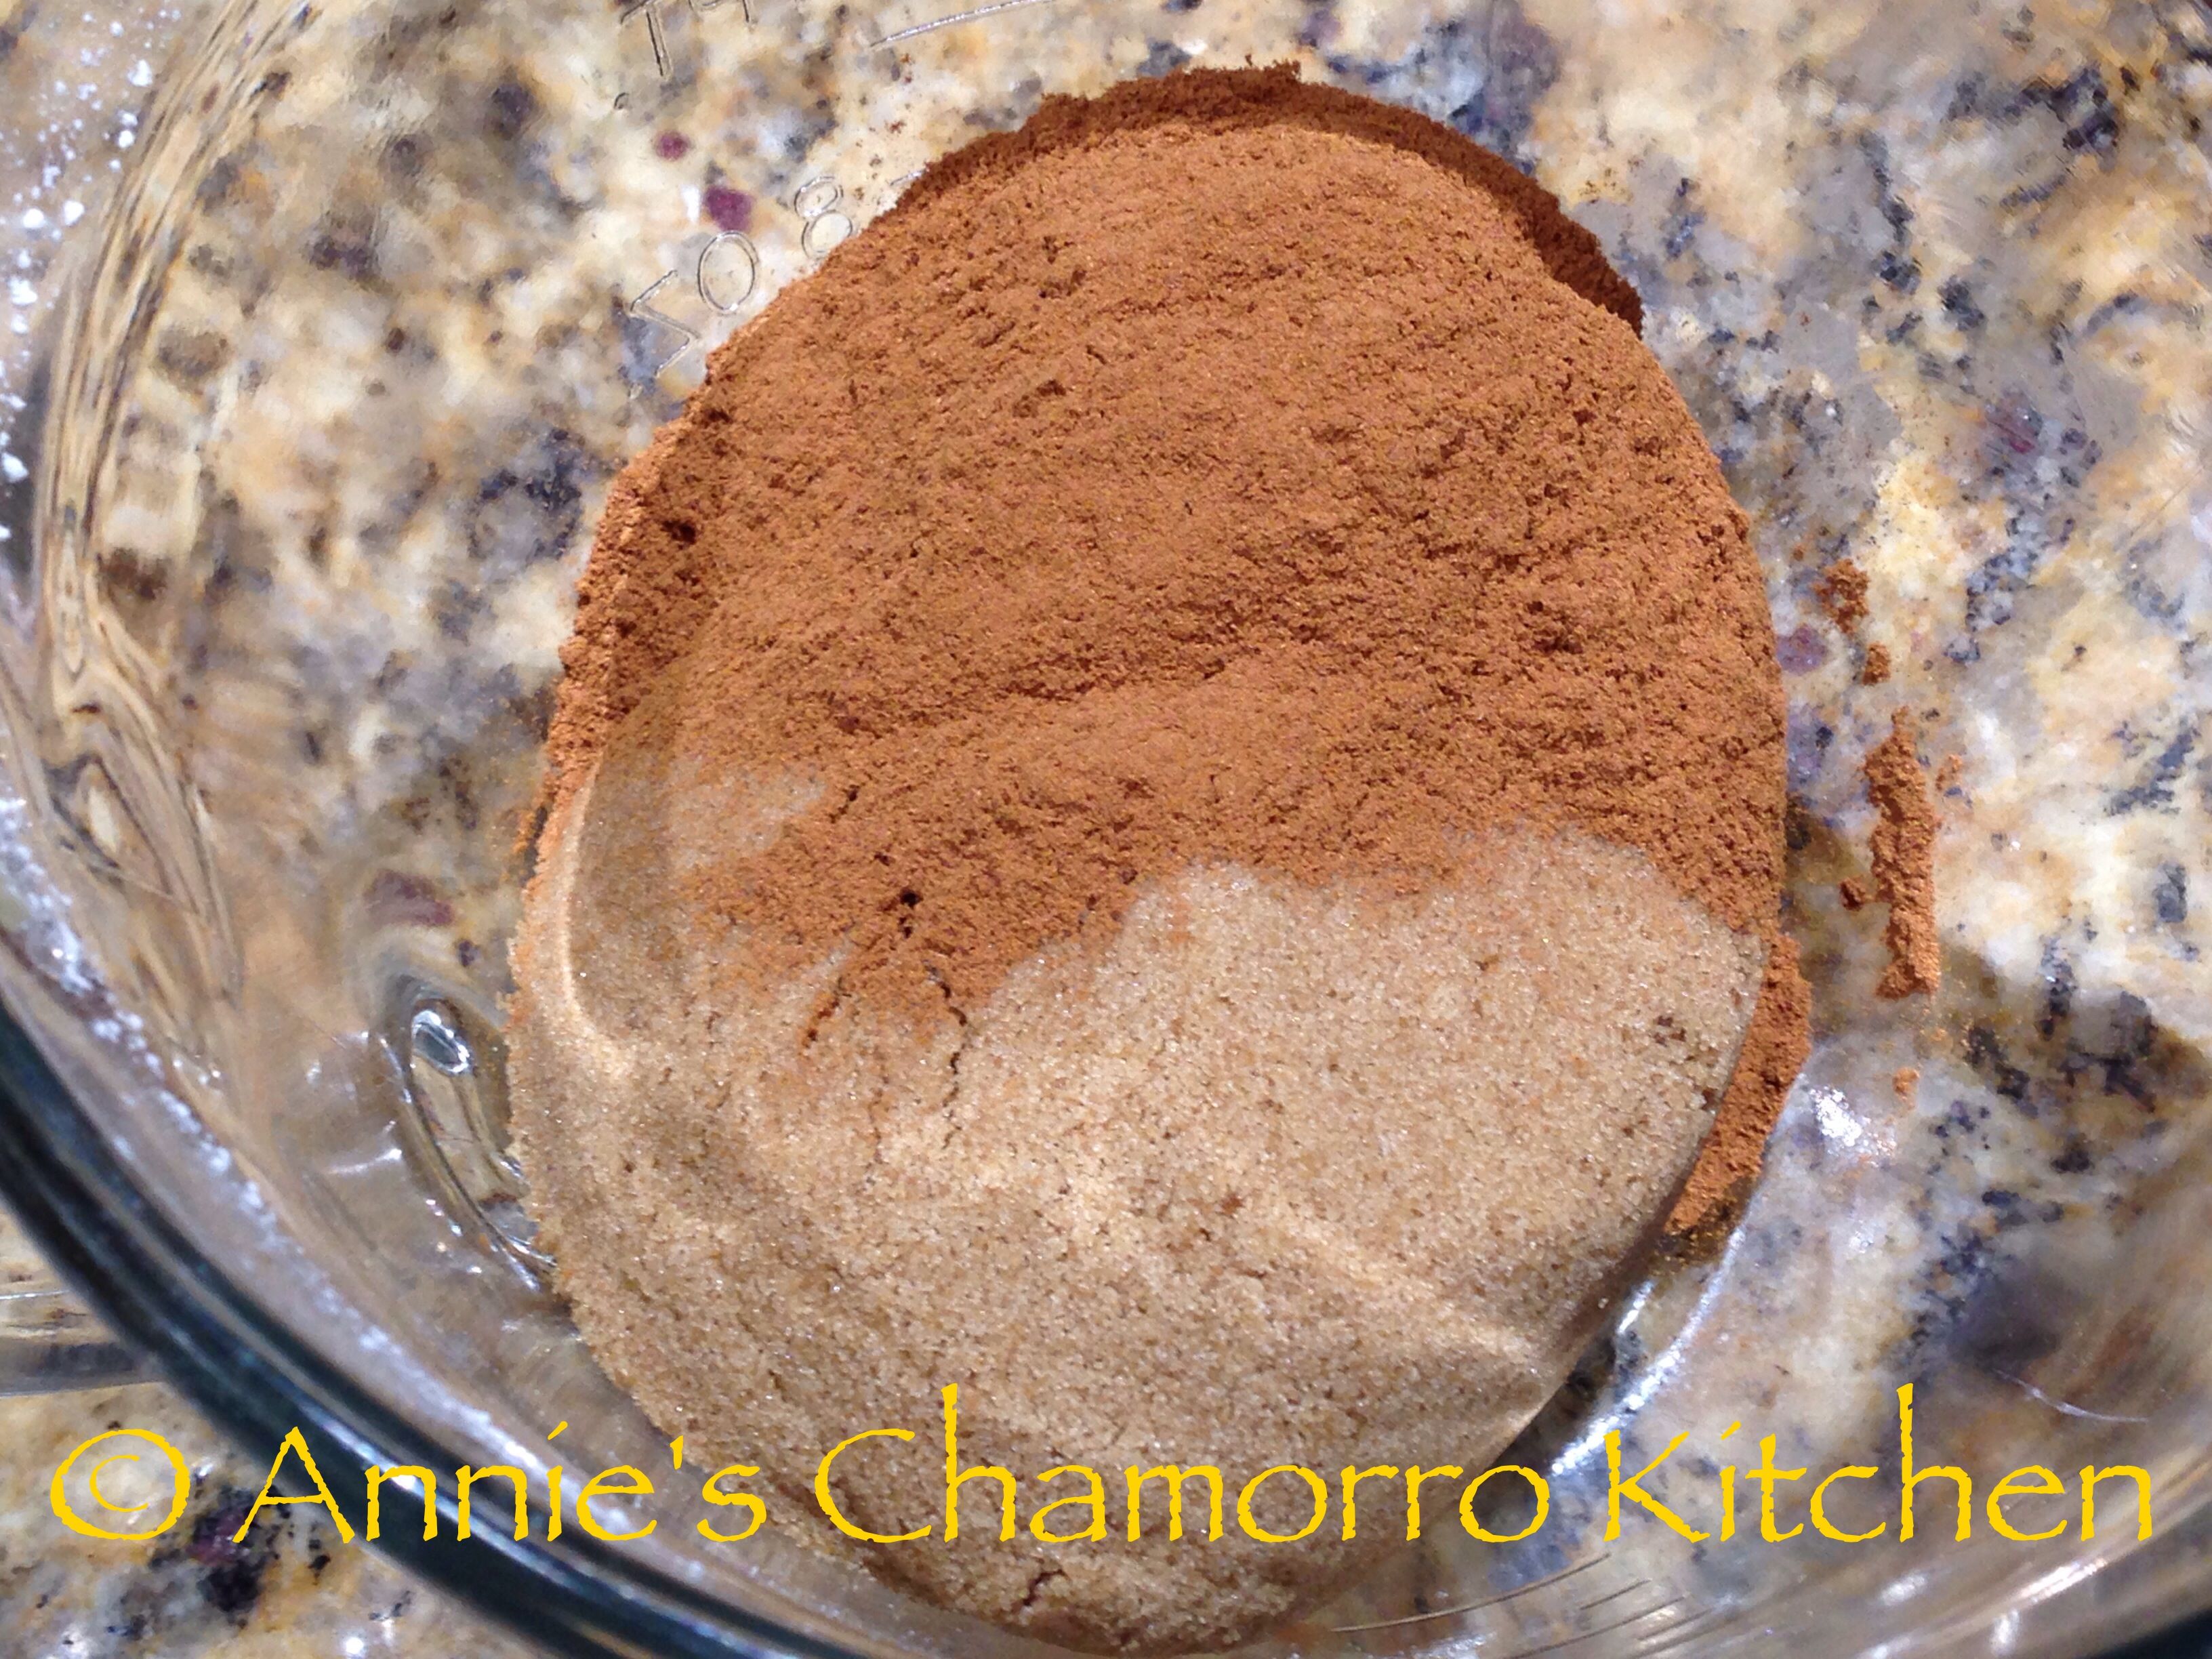
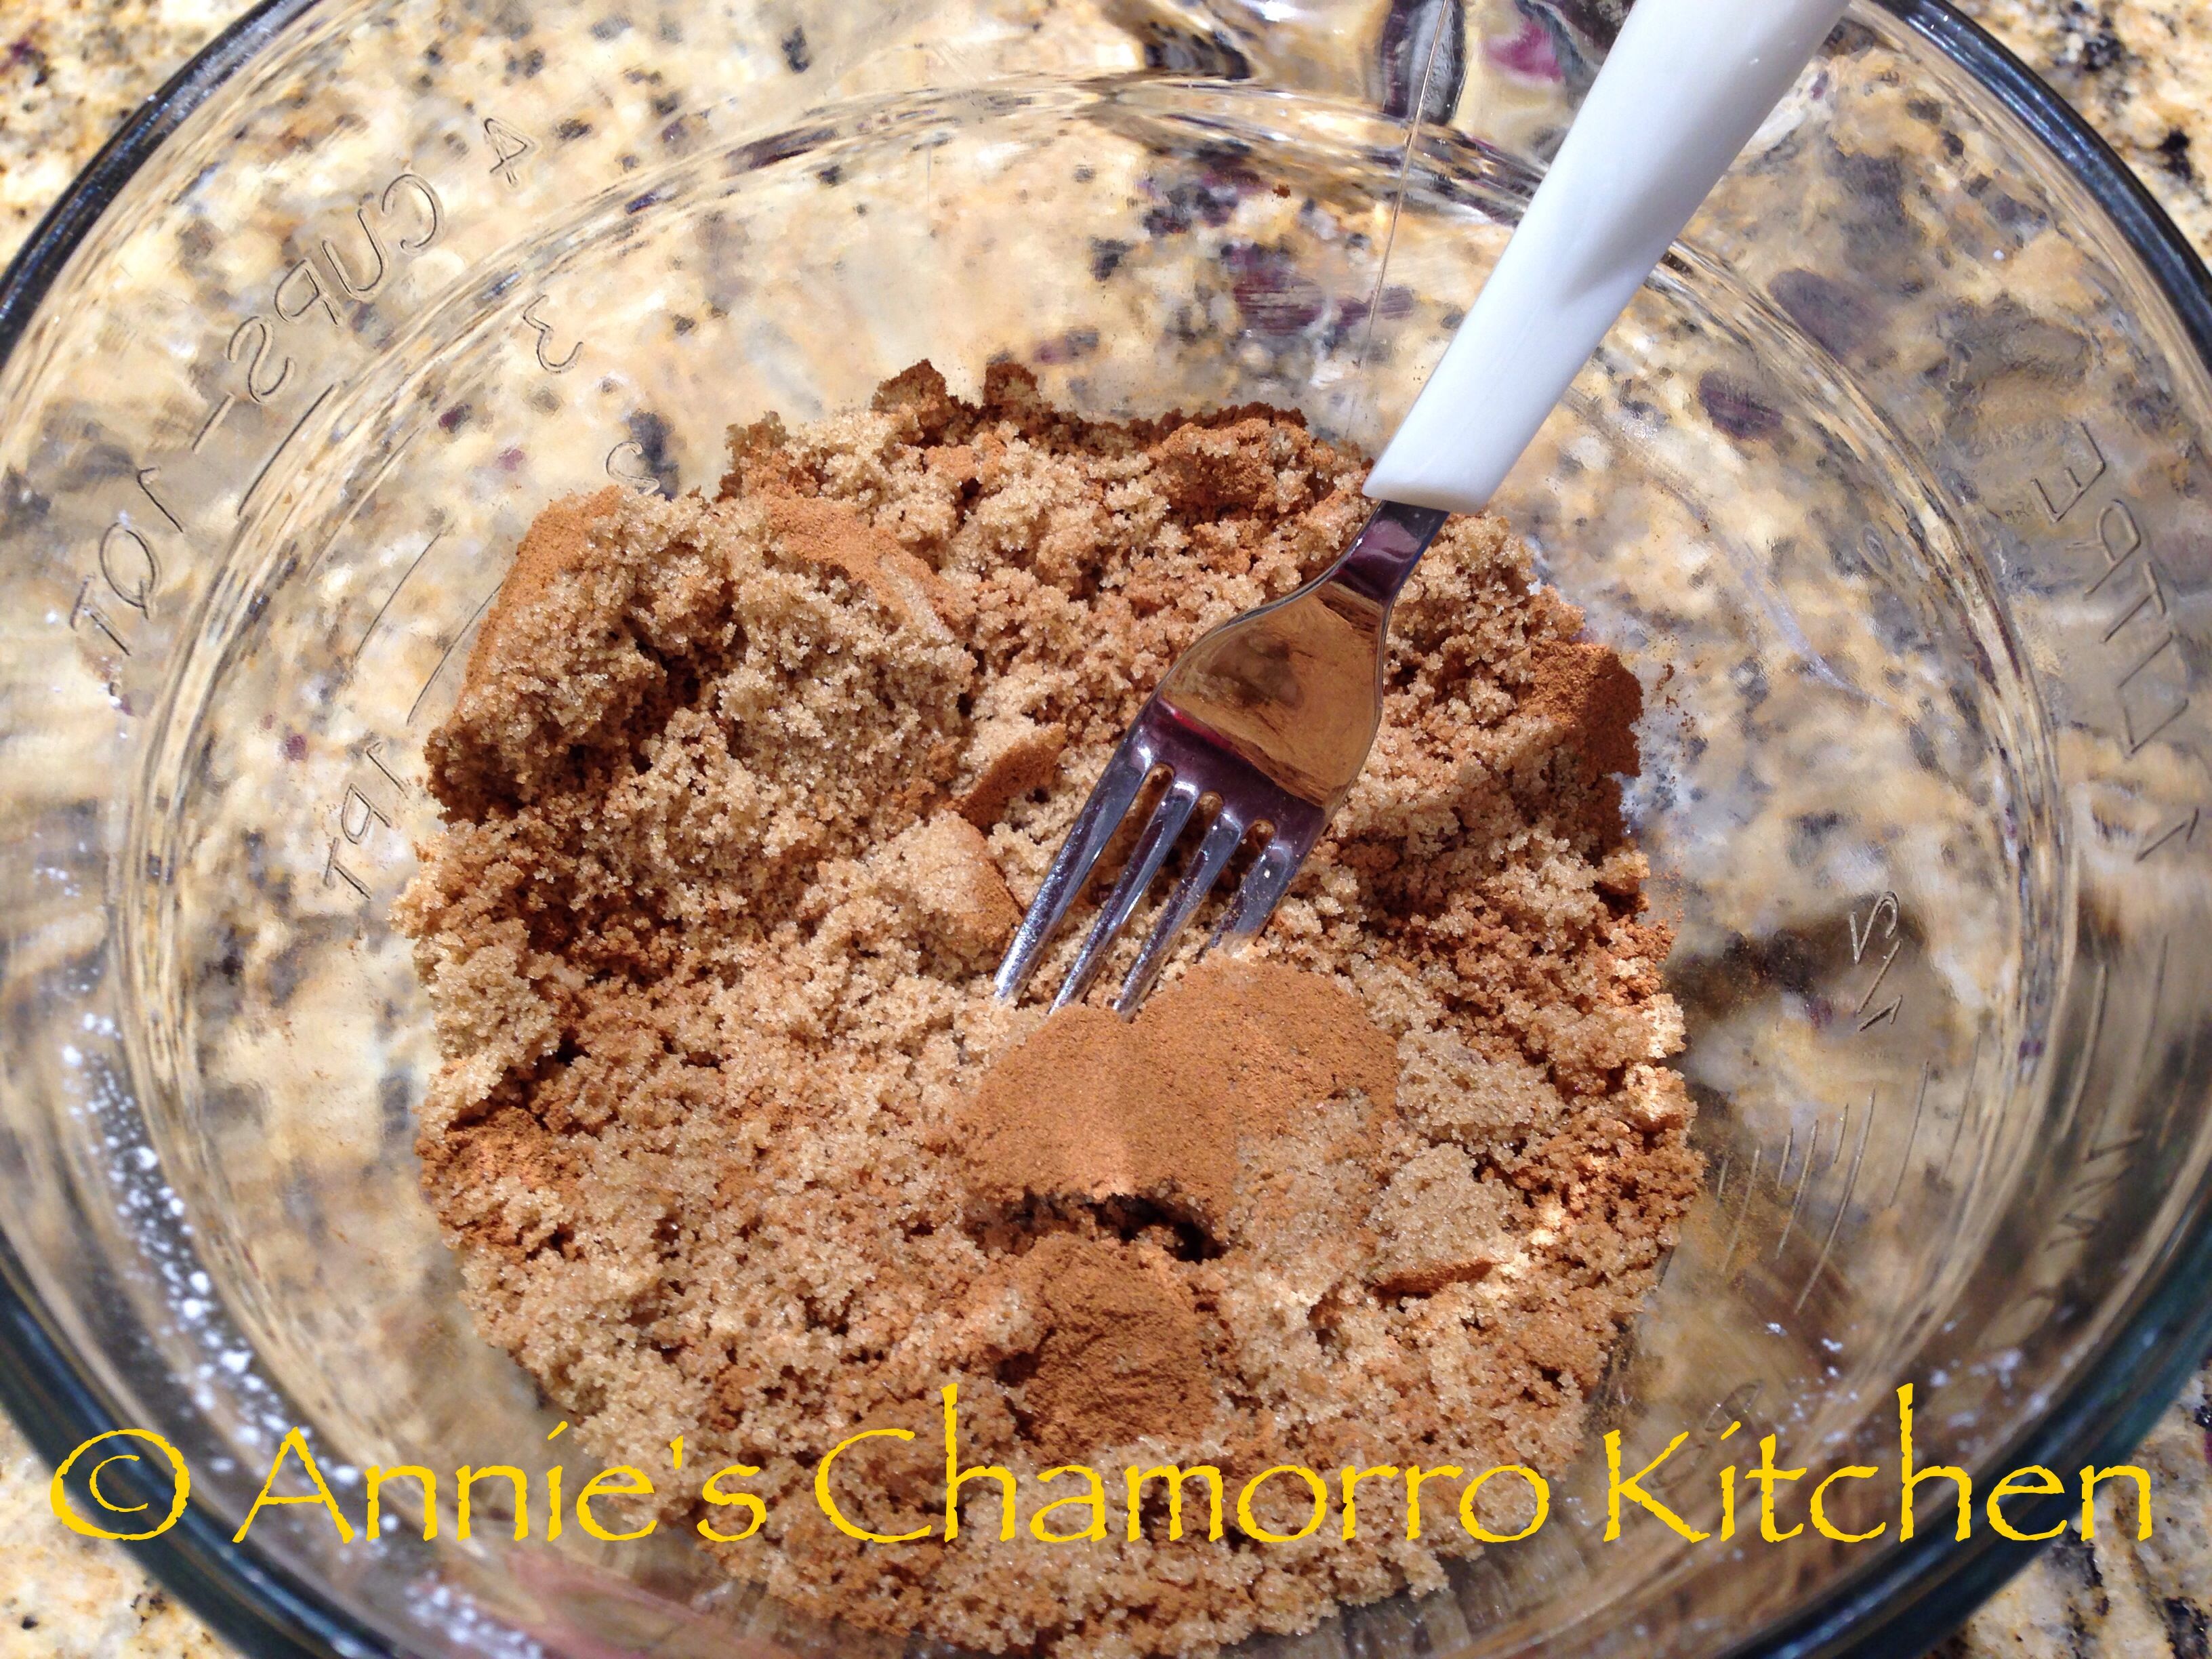
Mix the brown sugar and cinnamon together in a small bowl. Set aside.
Keep the butter at room temperature to soften.
After the dough has doubled in size, it’s time to roll and fill the dough.
Roll the Dough:
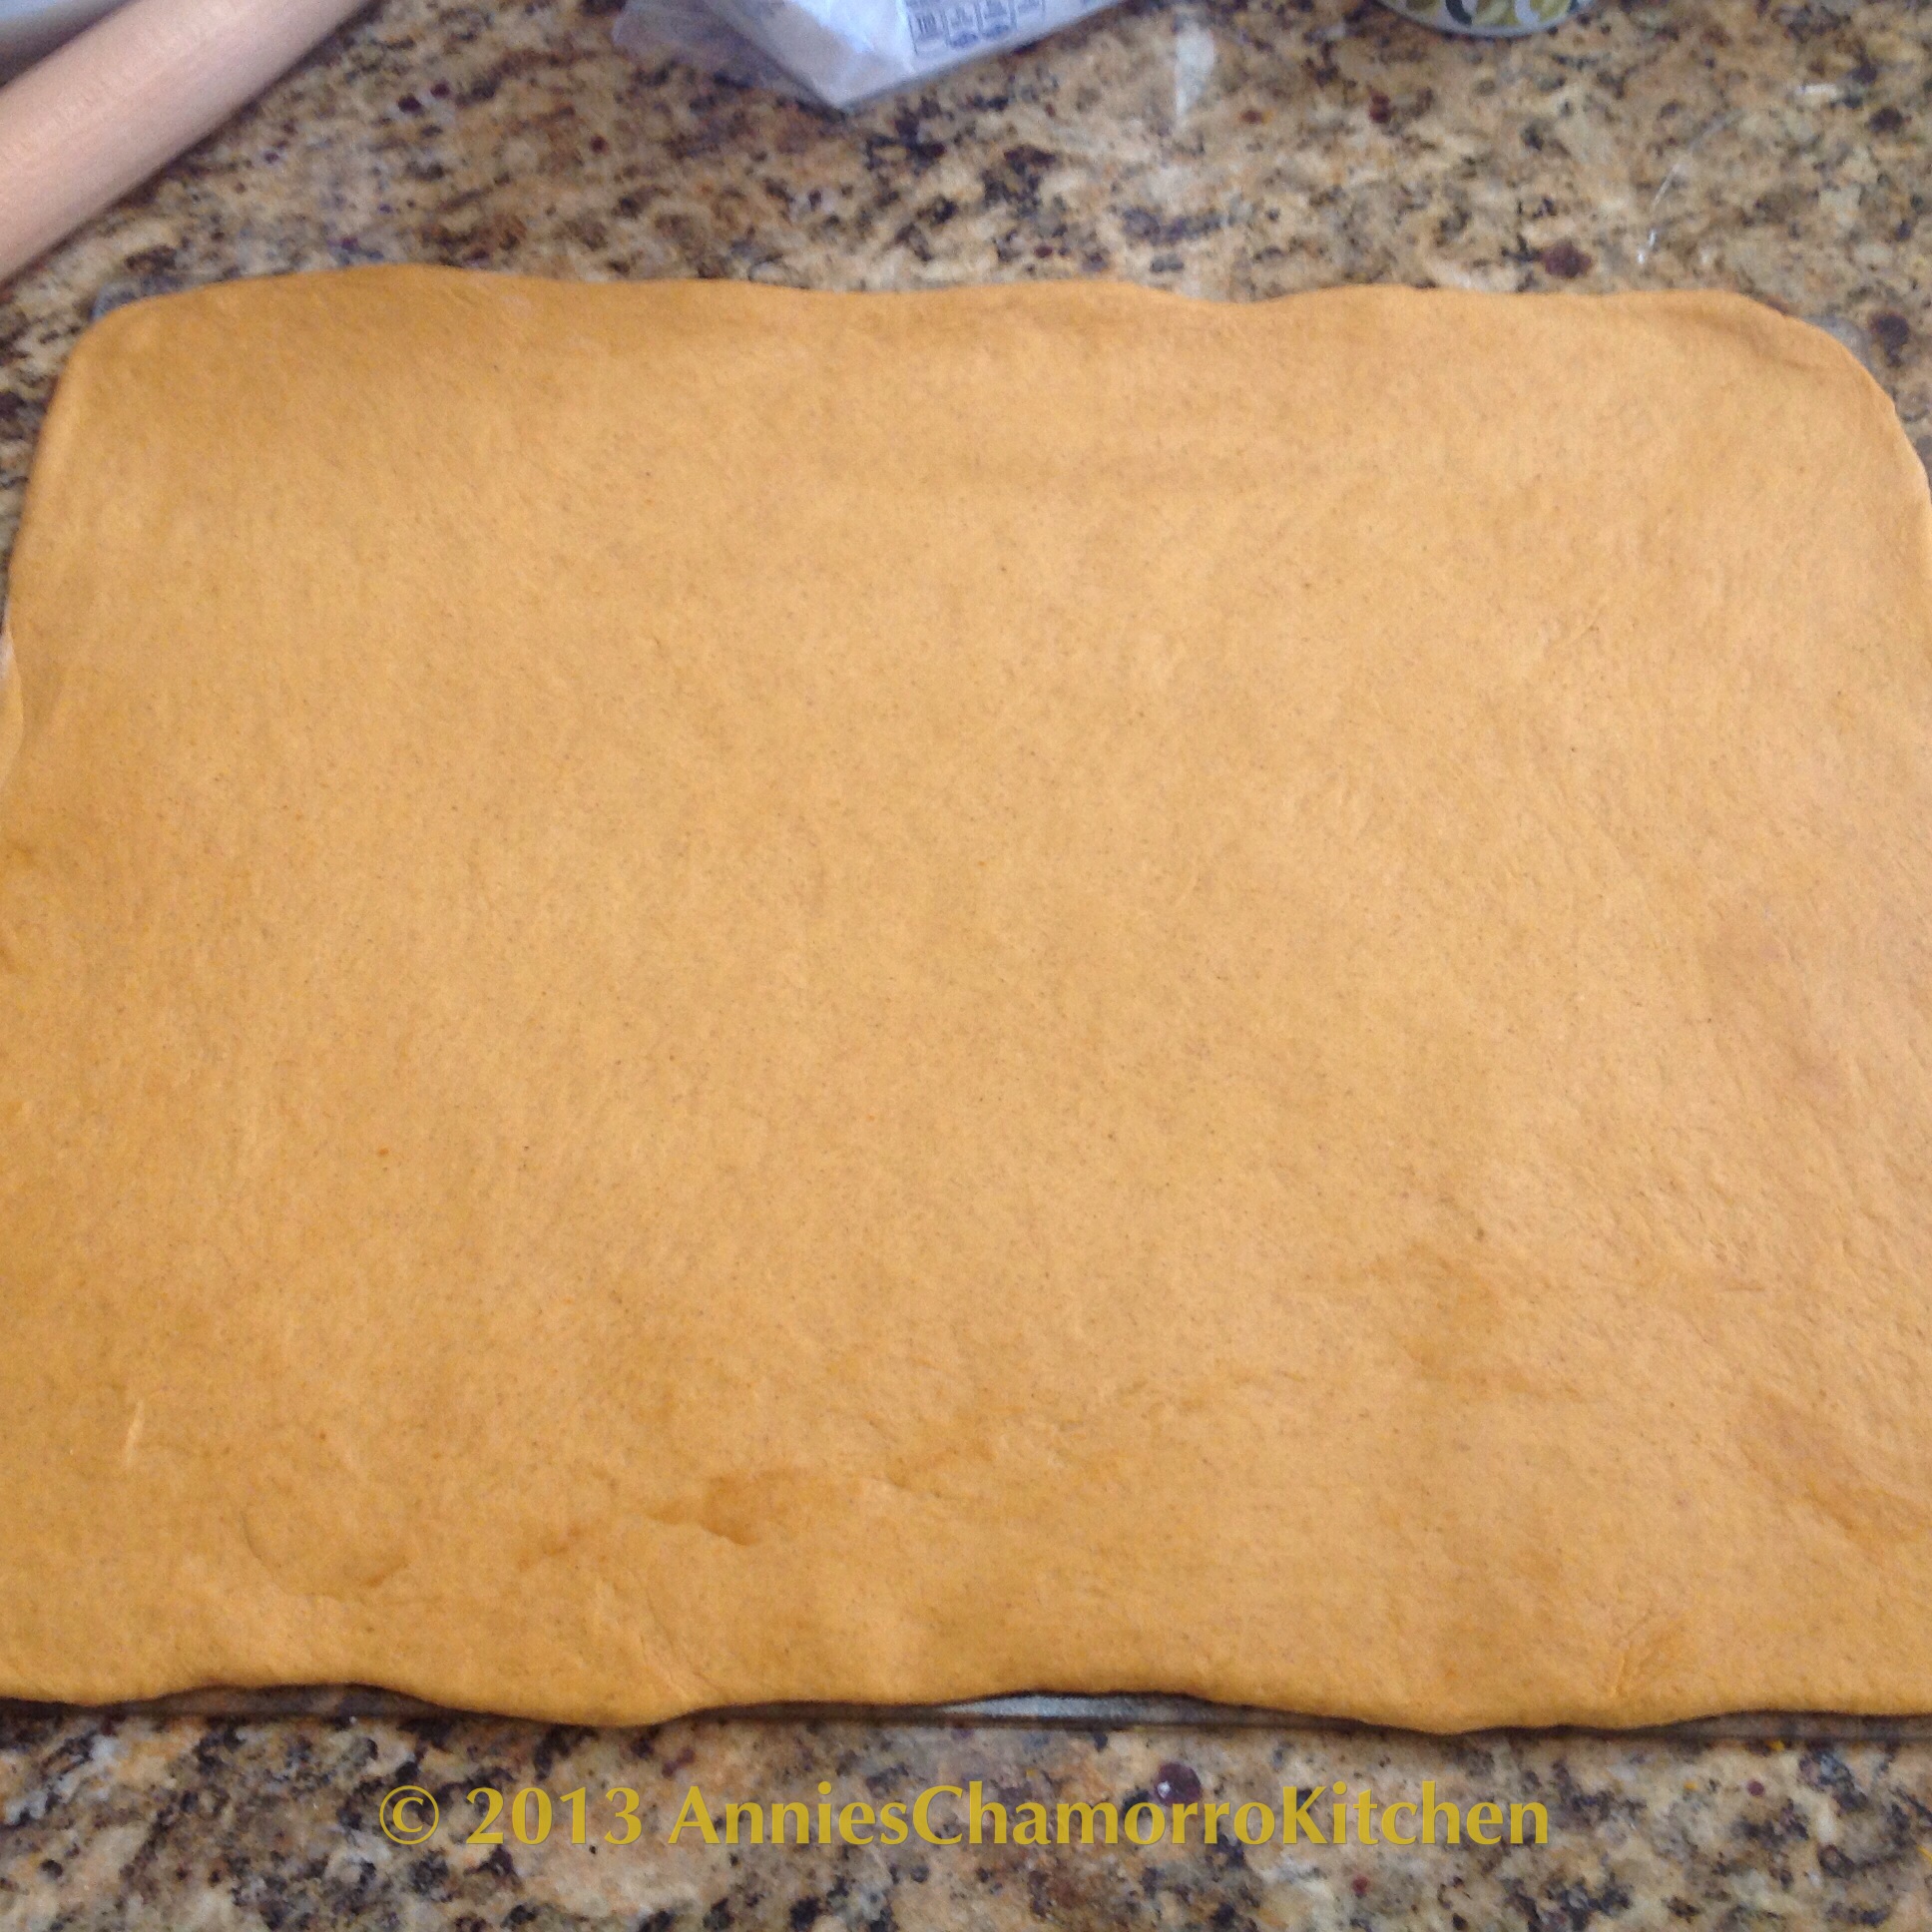
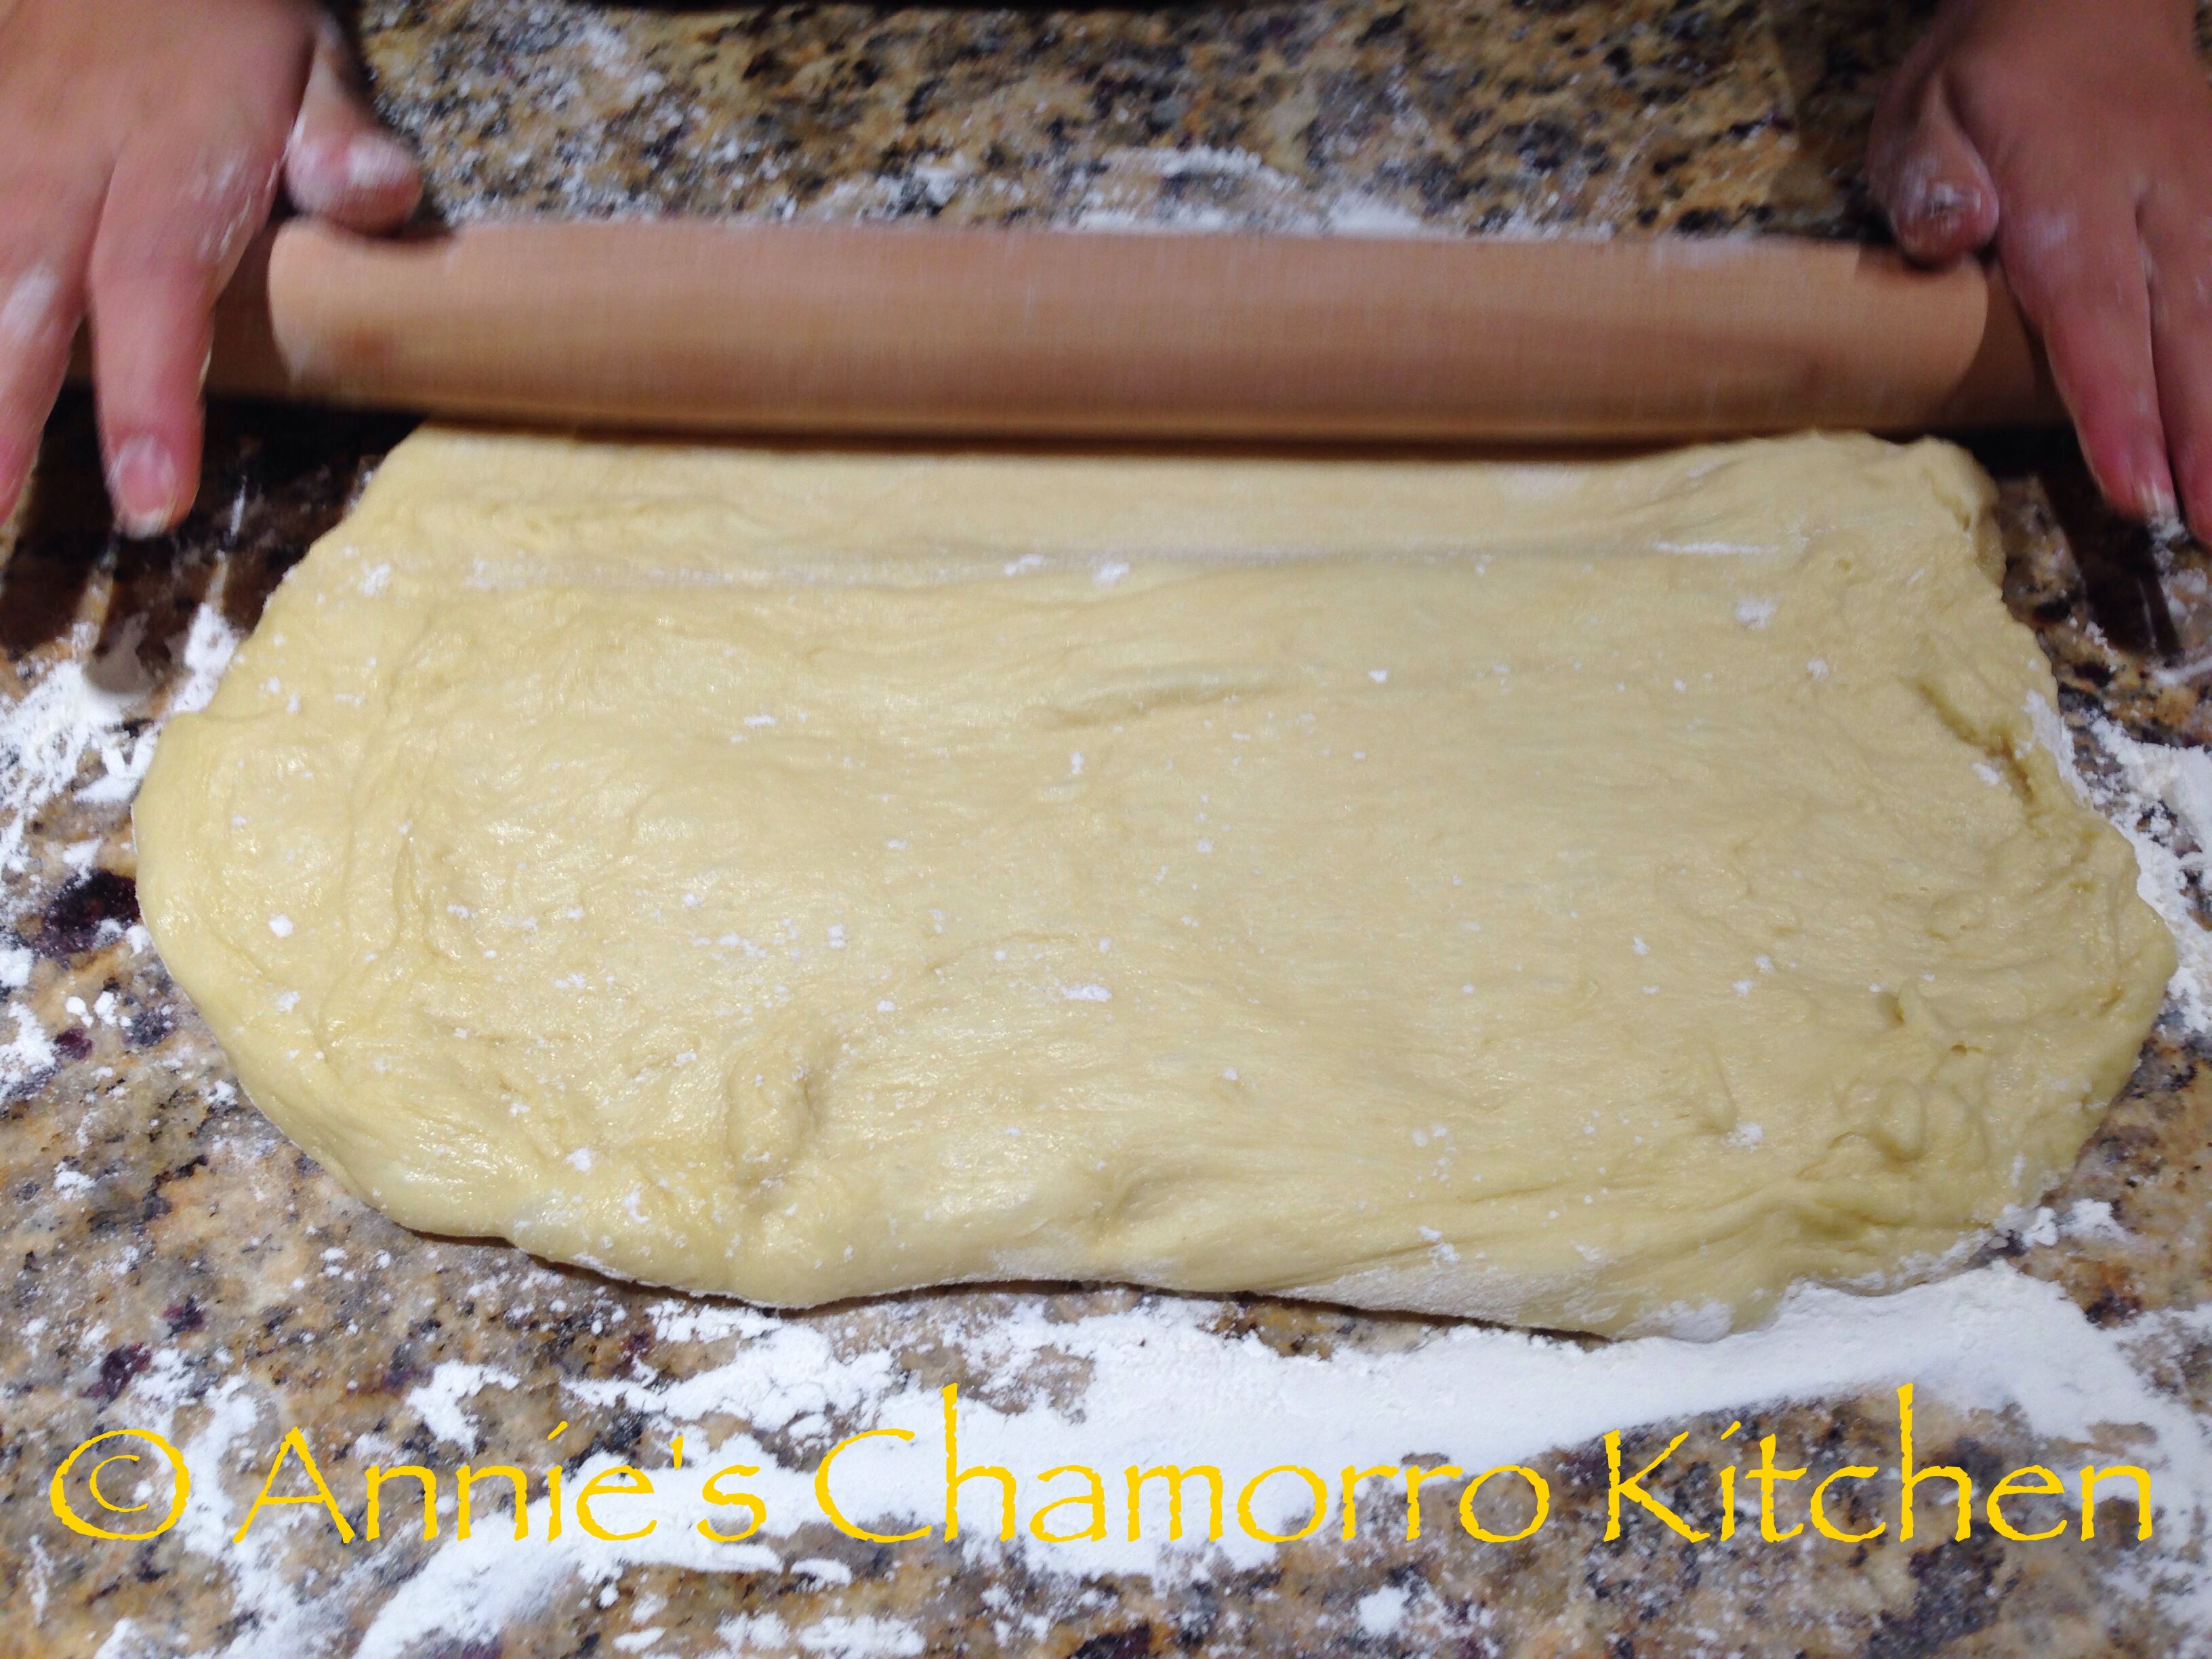
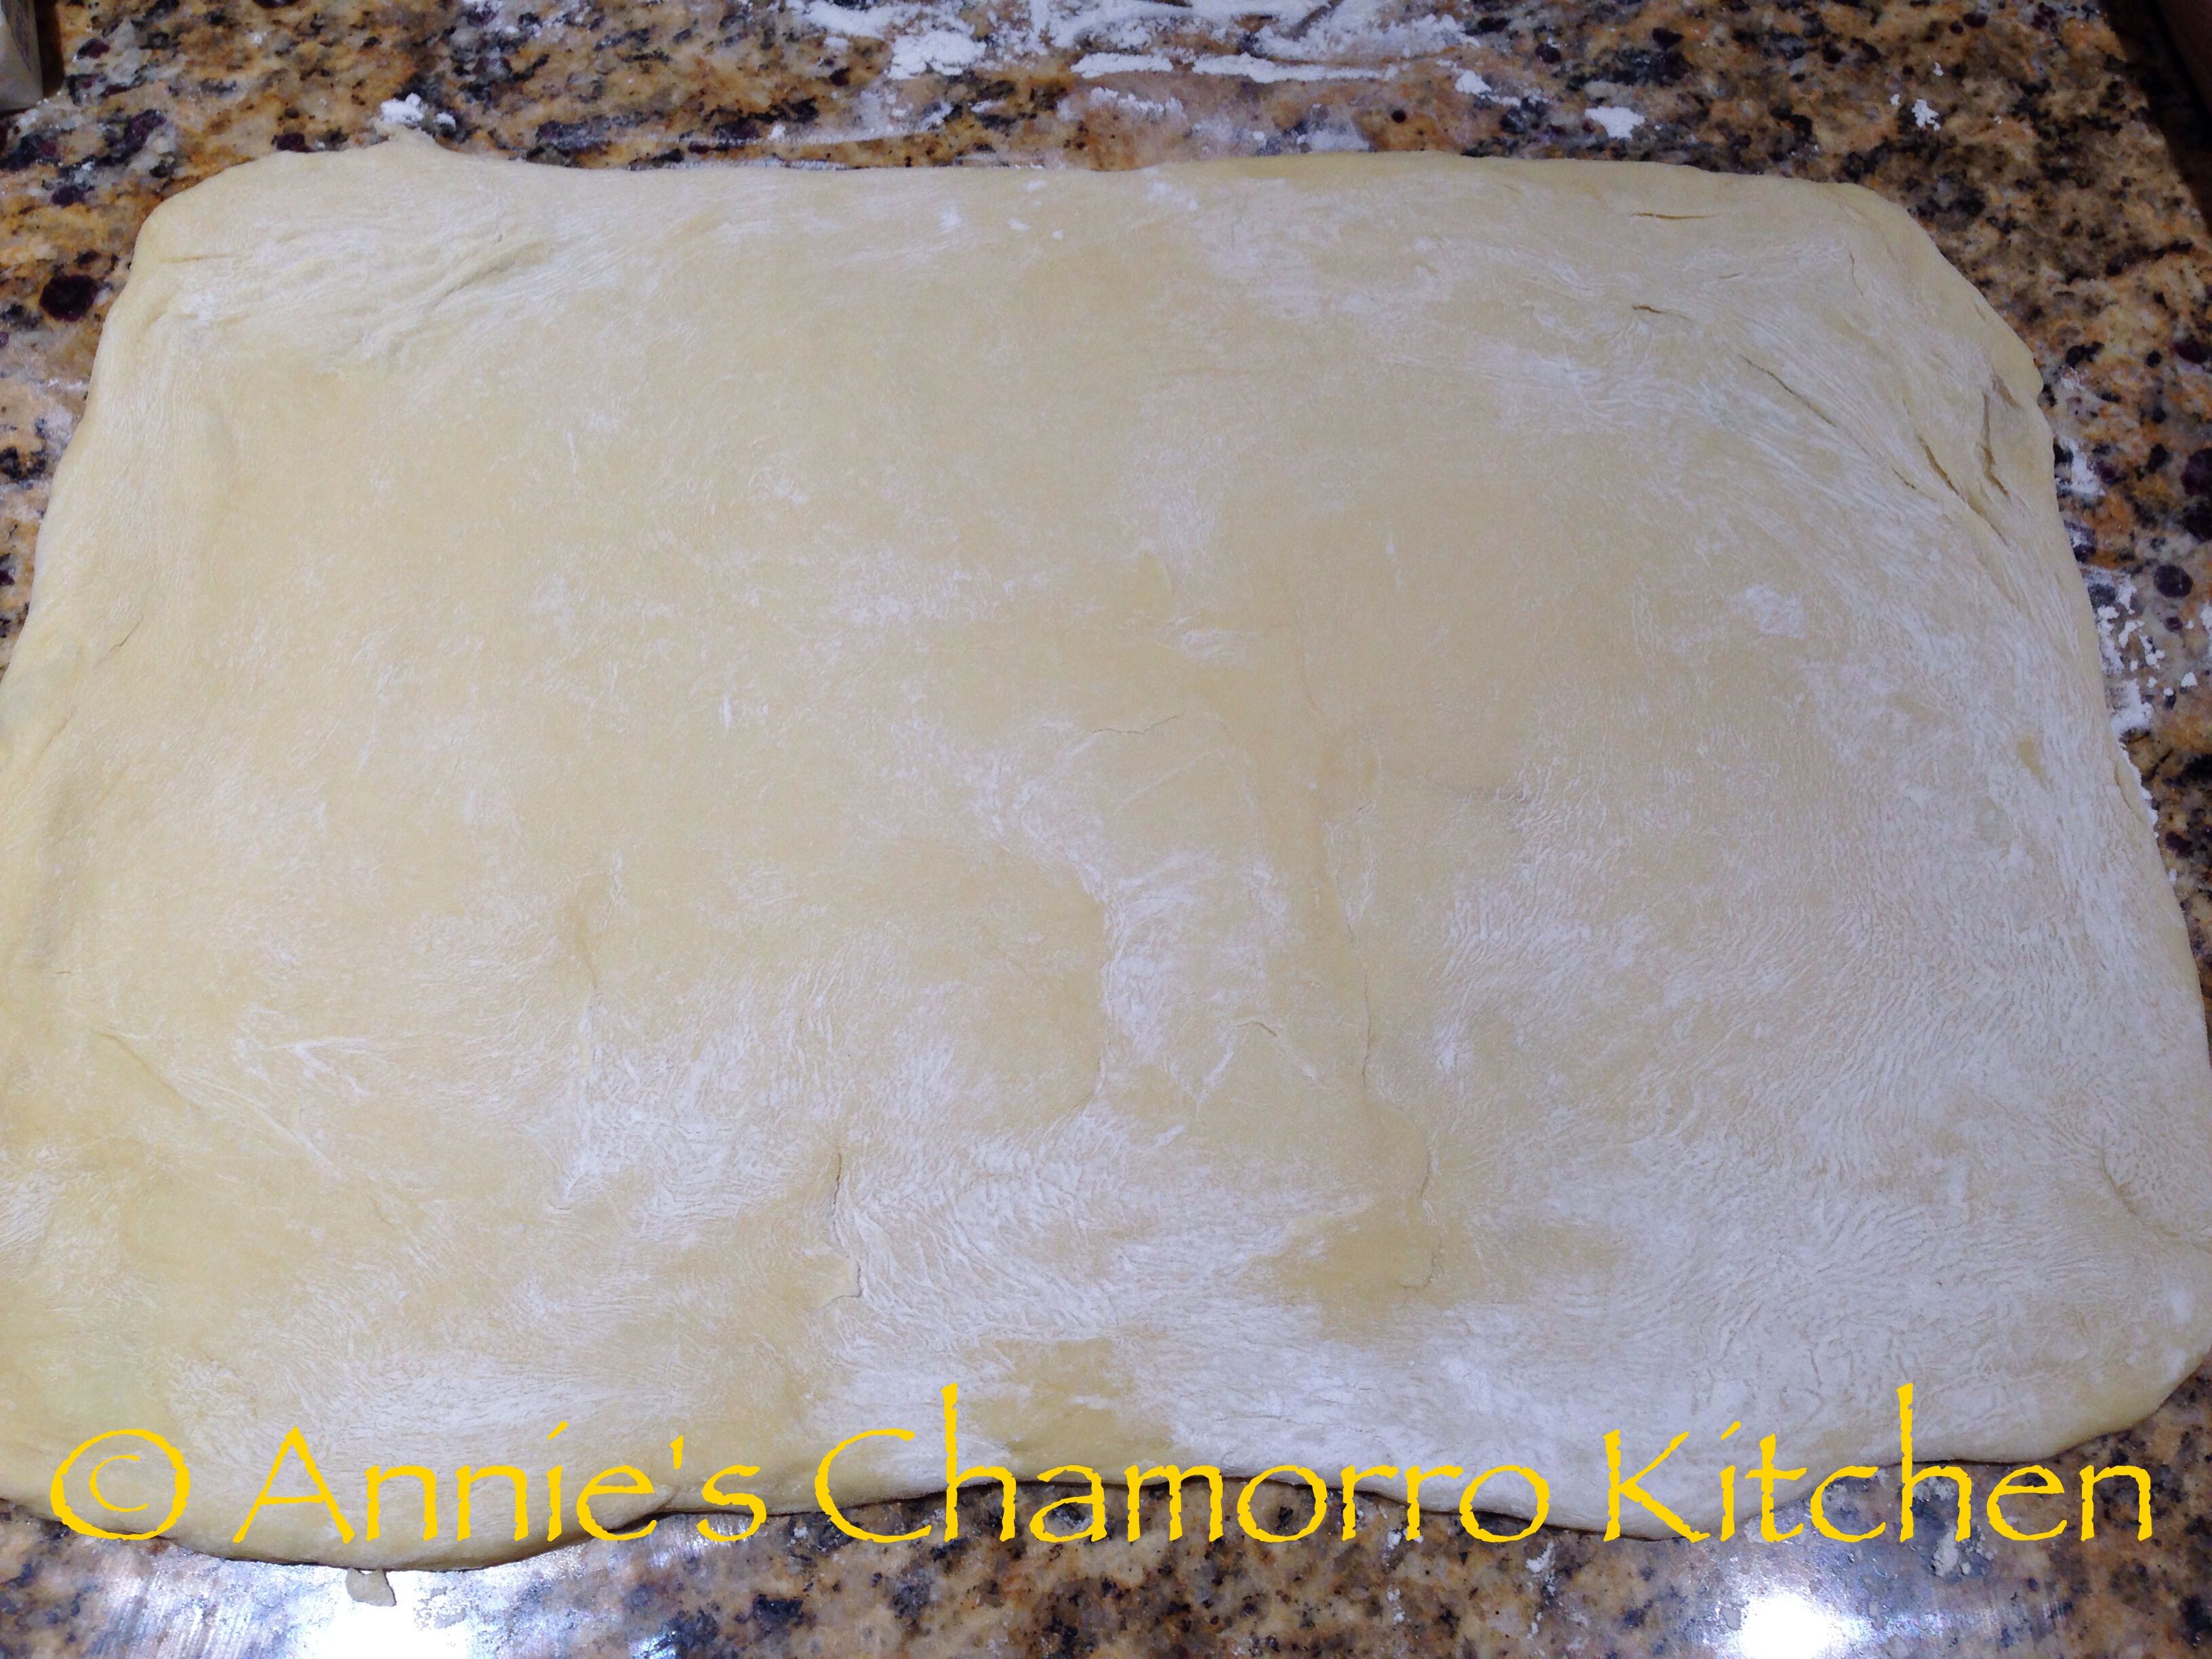
Punch down the middle of the risen dough. You only need to punch it once; the goal is to deflate the dough, not beat it senseless.
Flour the surface of your countertop then place the dough on top of the floured surface. Use a rolling pin to roll out a rectangle, roughly 12×17 inches, give or take an inch or two.
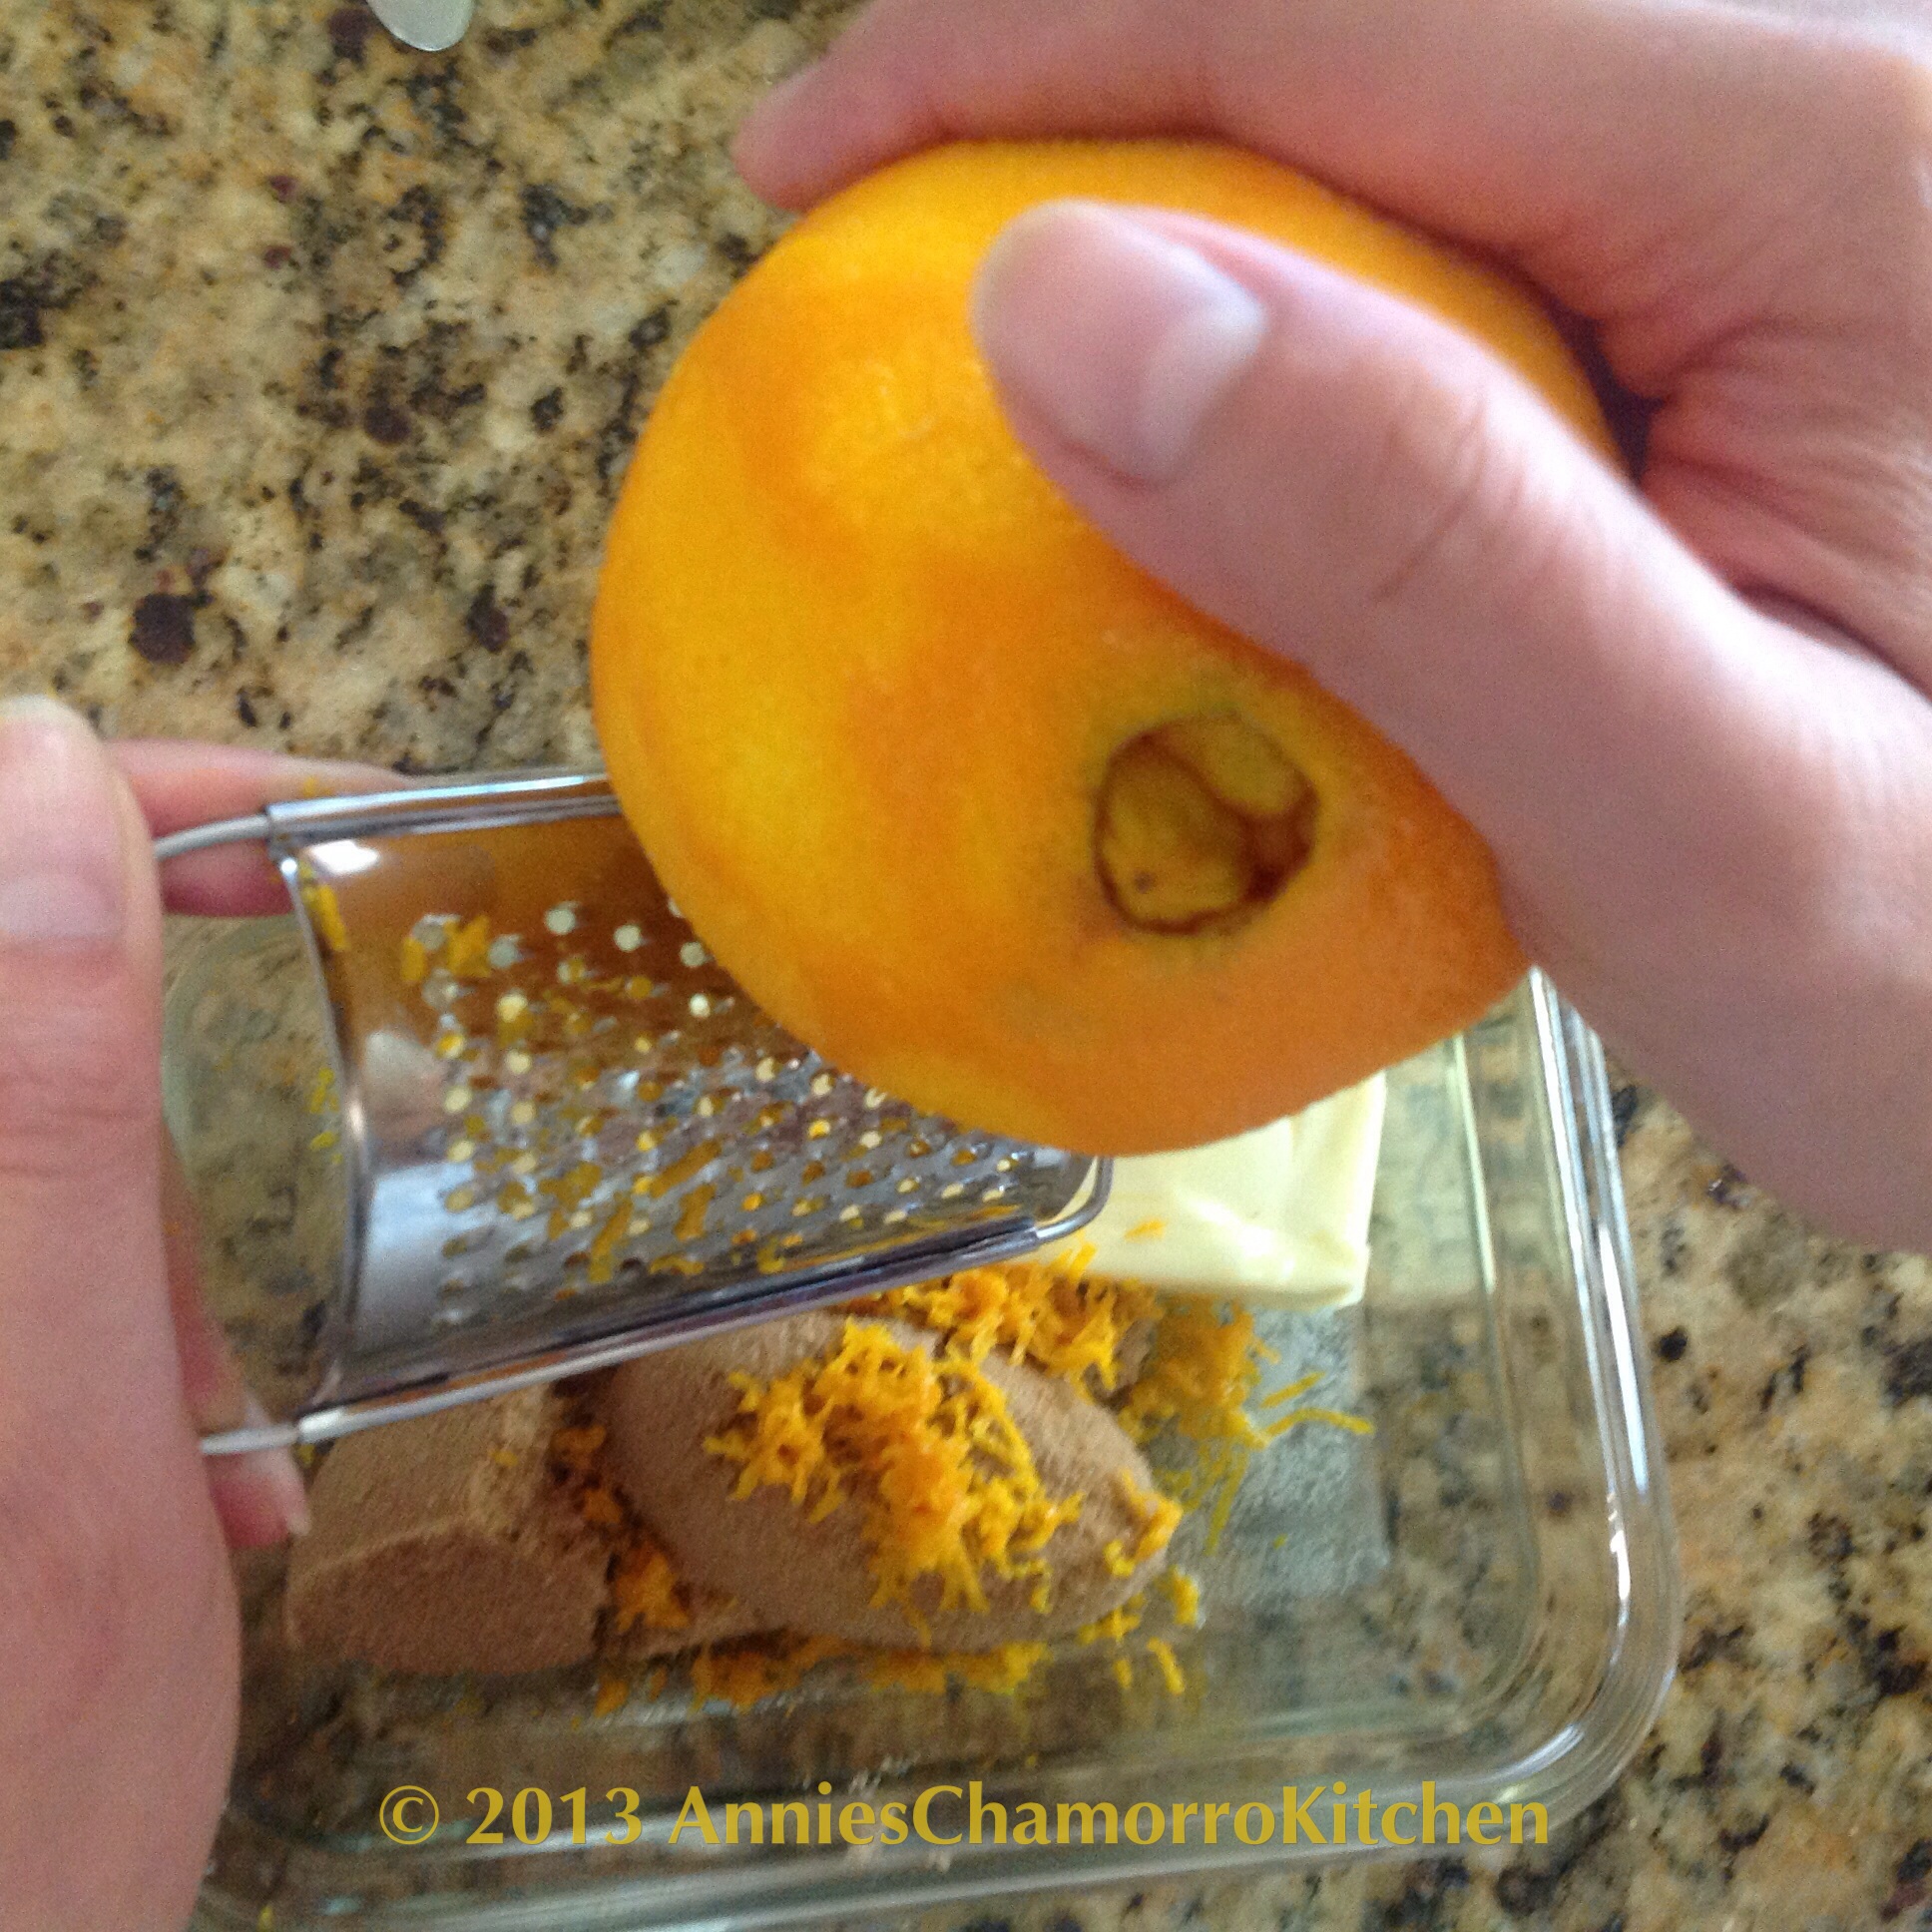
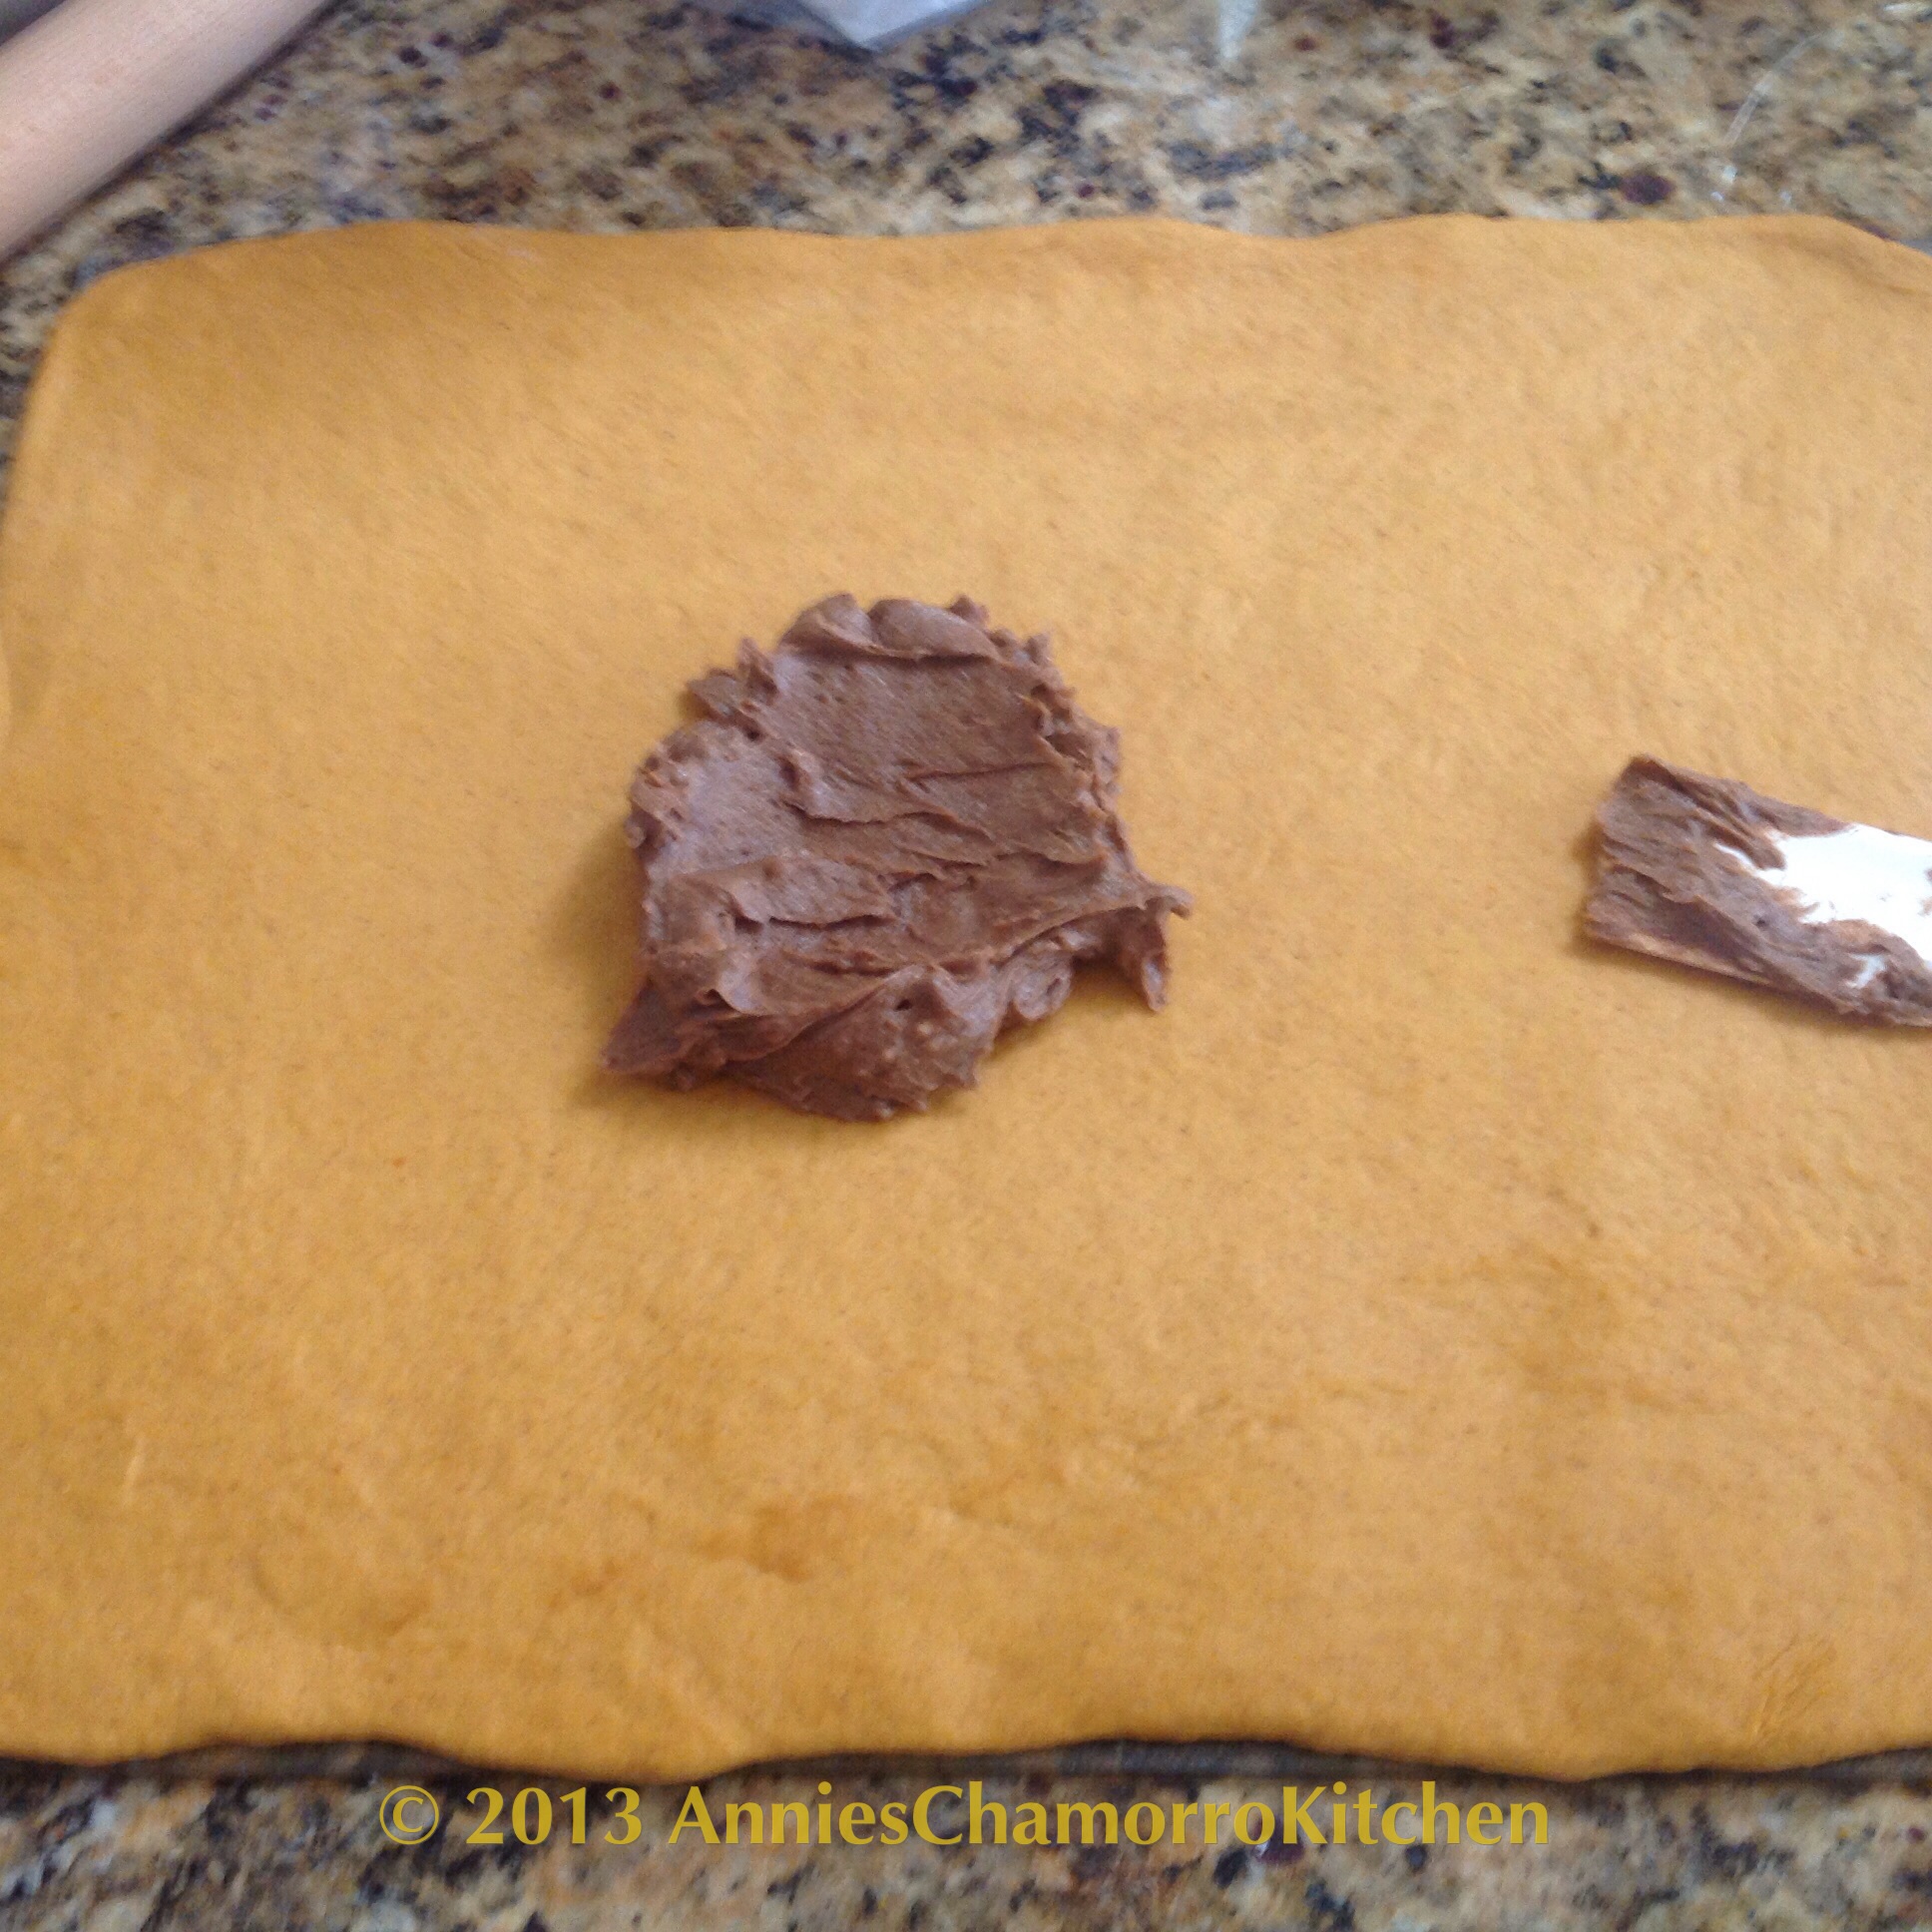
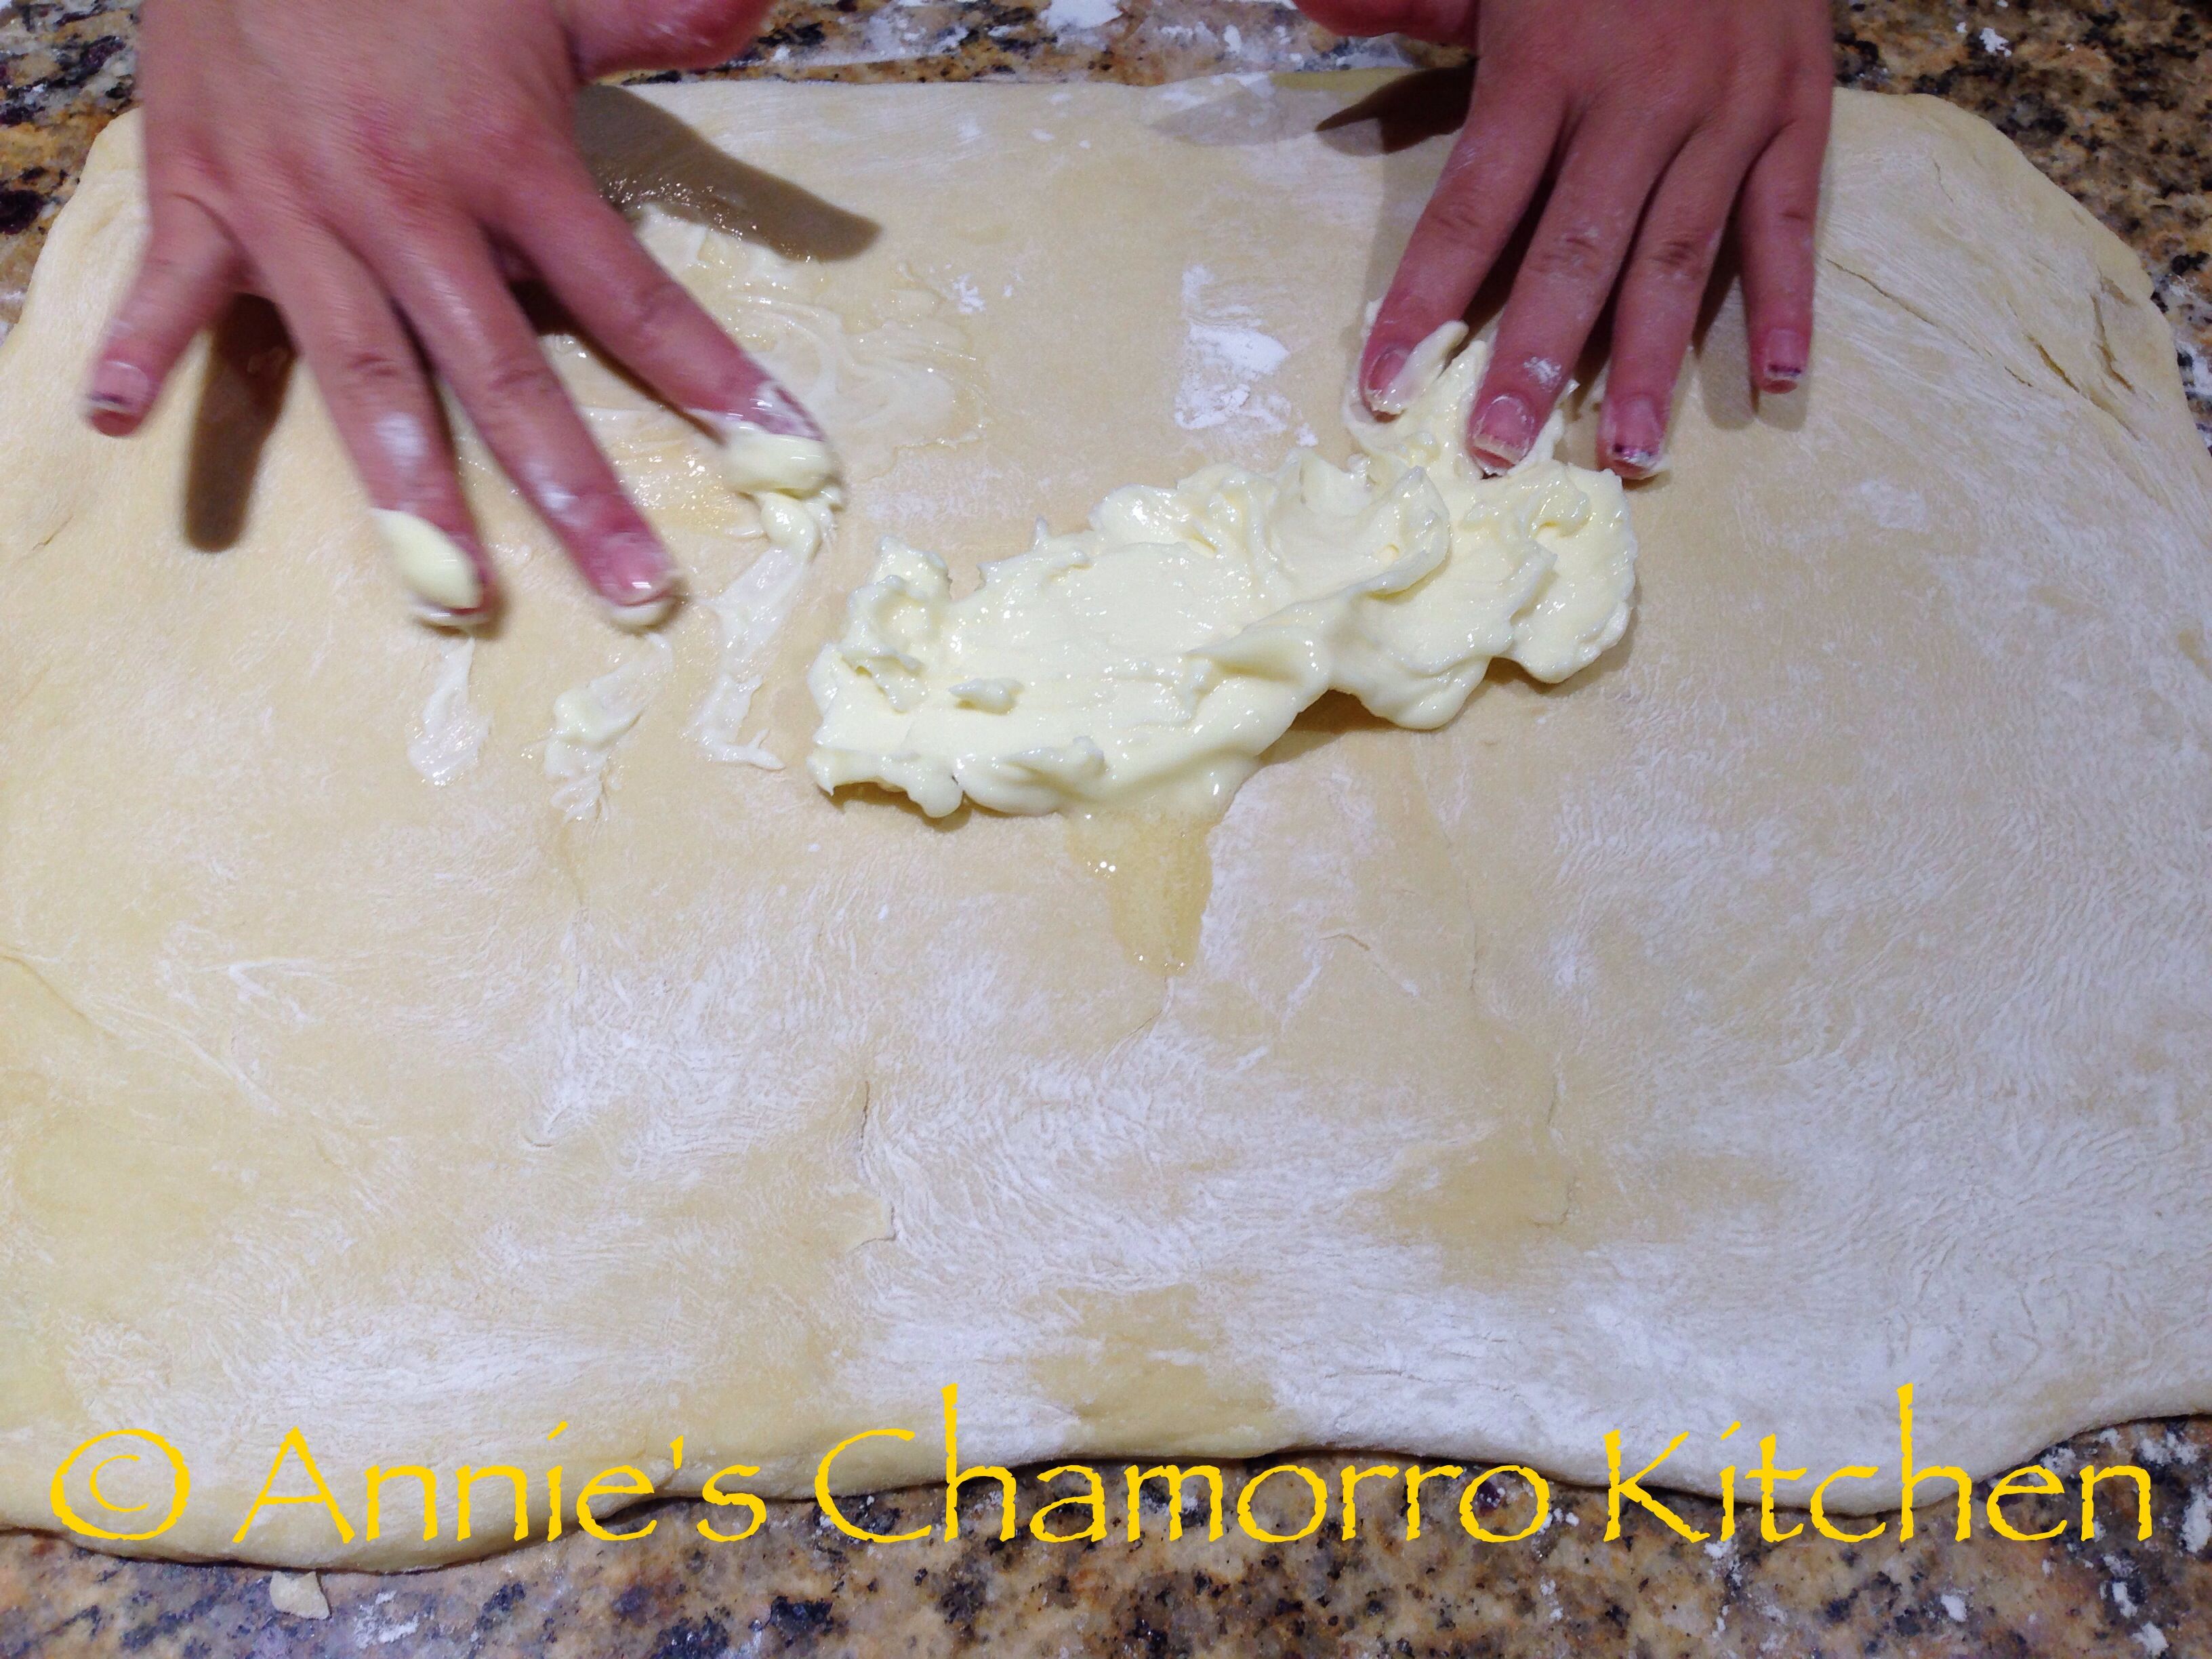
Now comes the fun part. Take the butter that’s been softening at room temperature and spread it all over the surface of the dough, stopping about an inch from the edges.
Go on…get your impeccably clean hands in that butter….


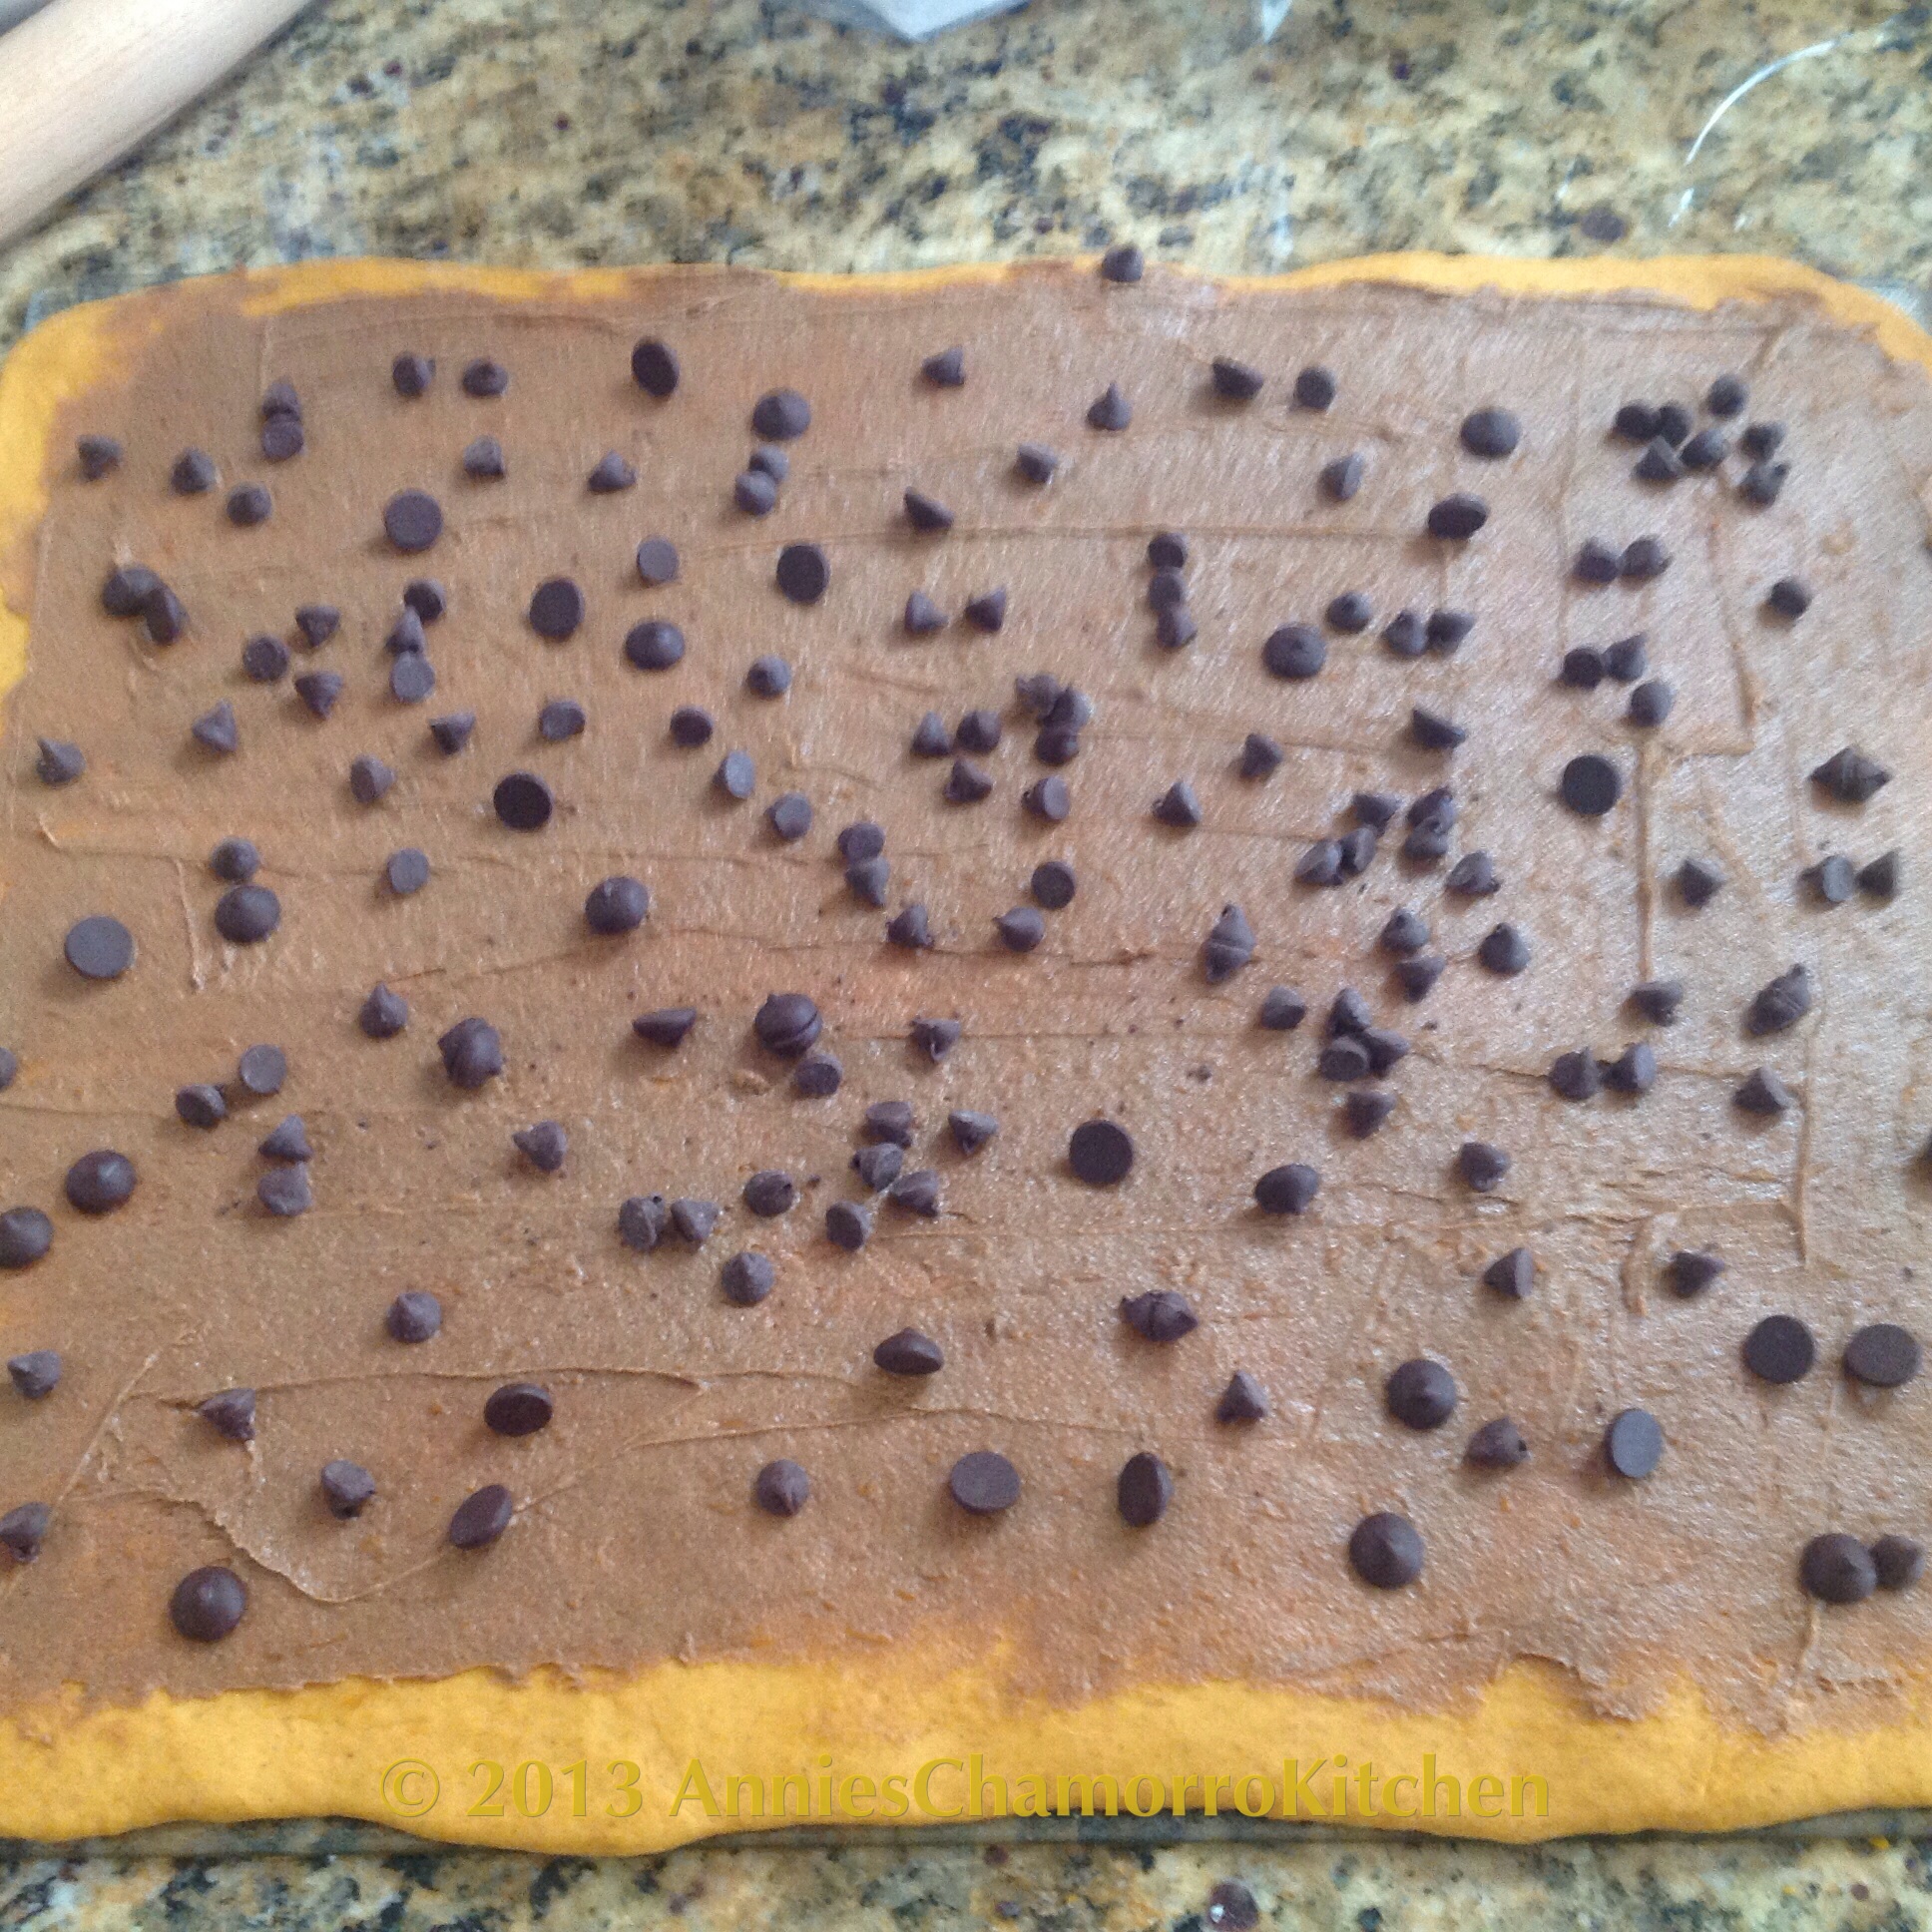
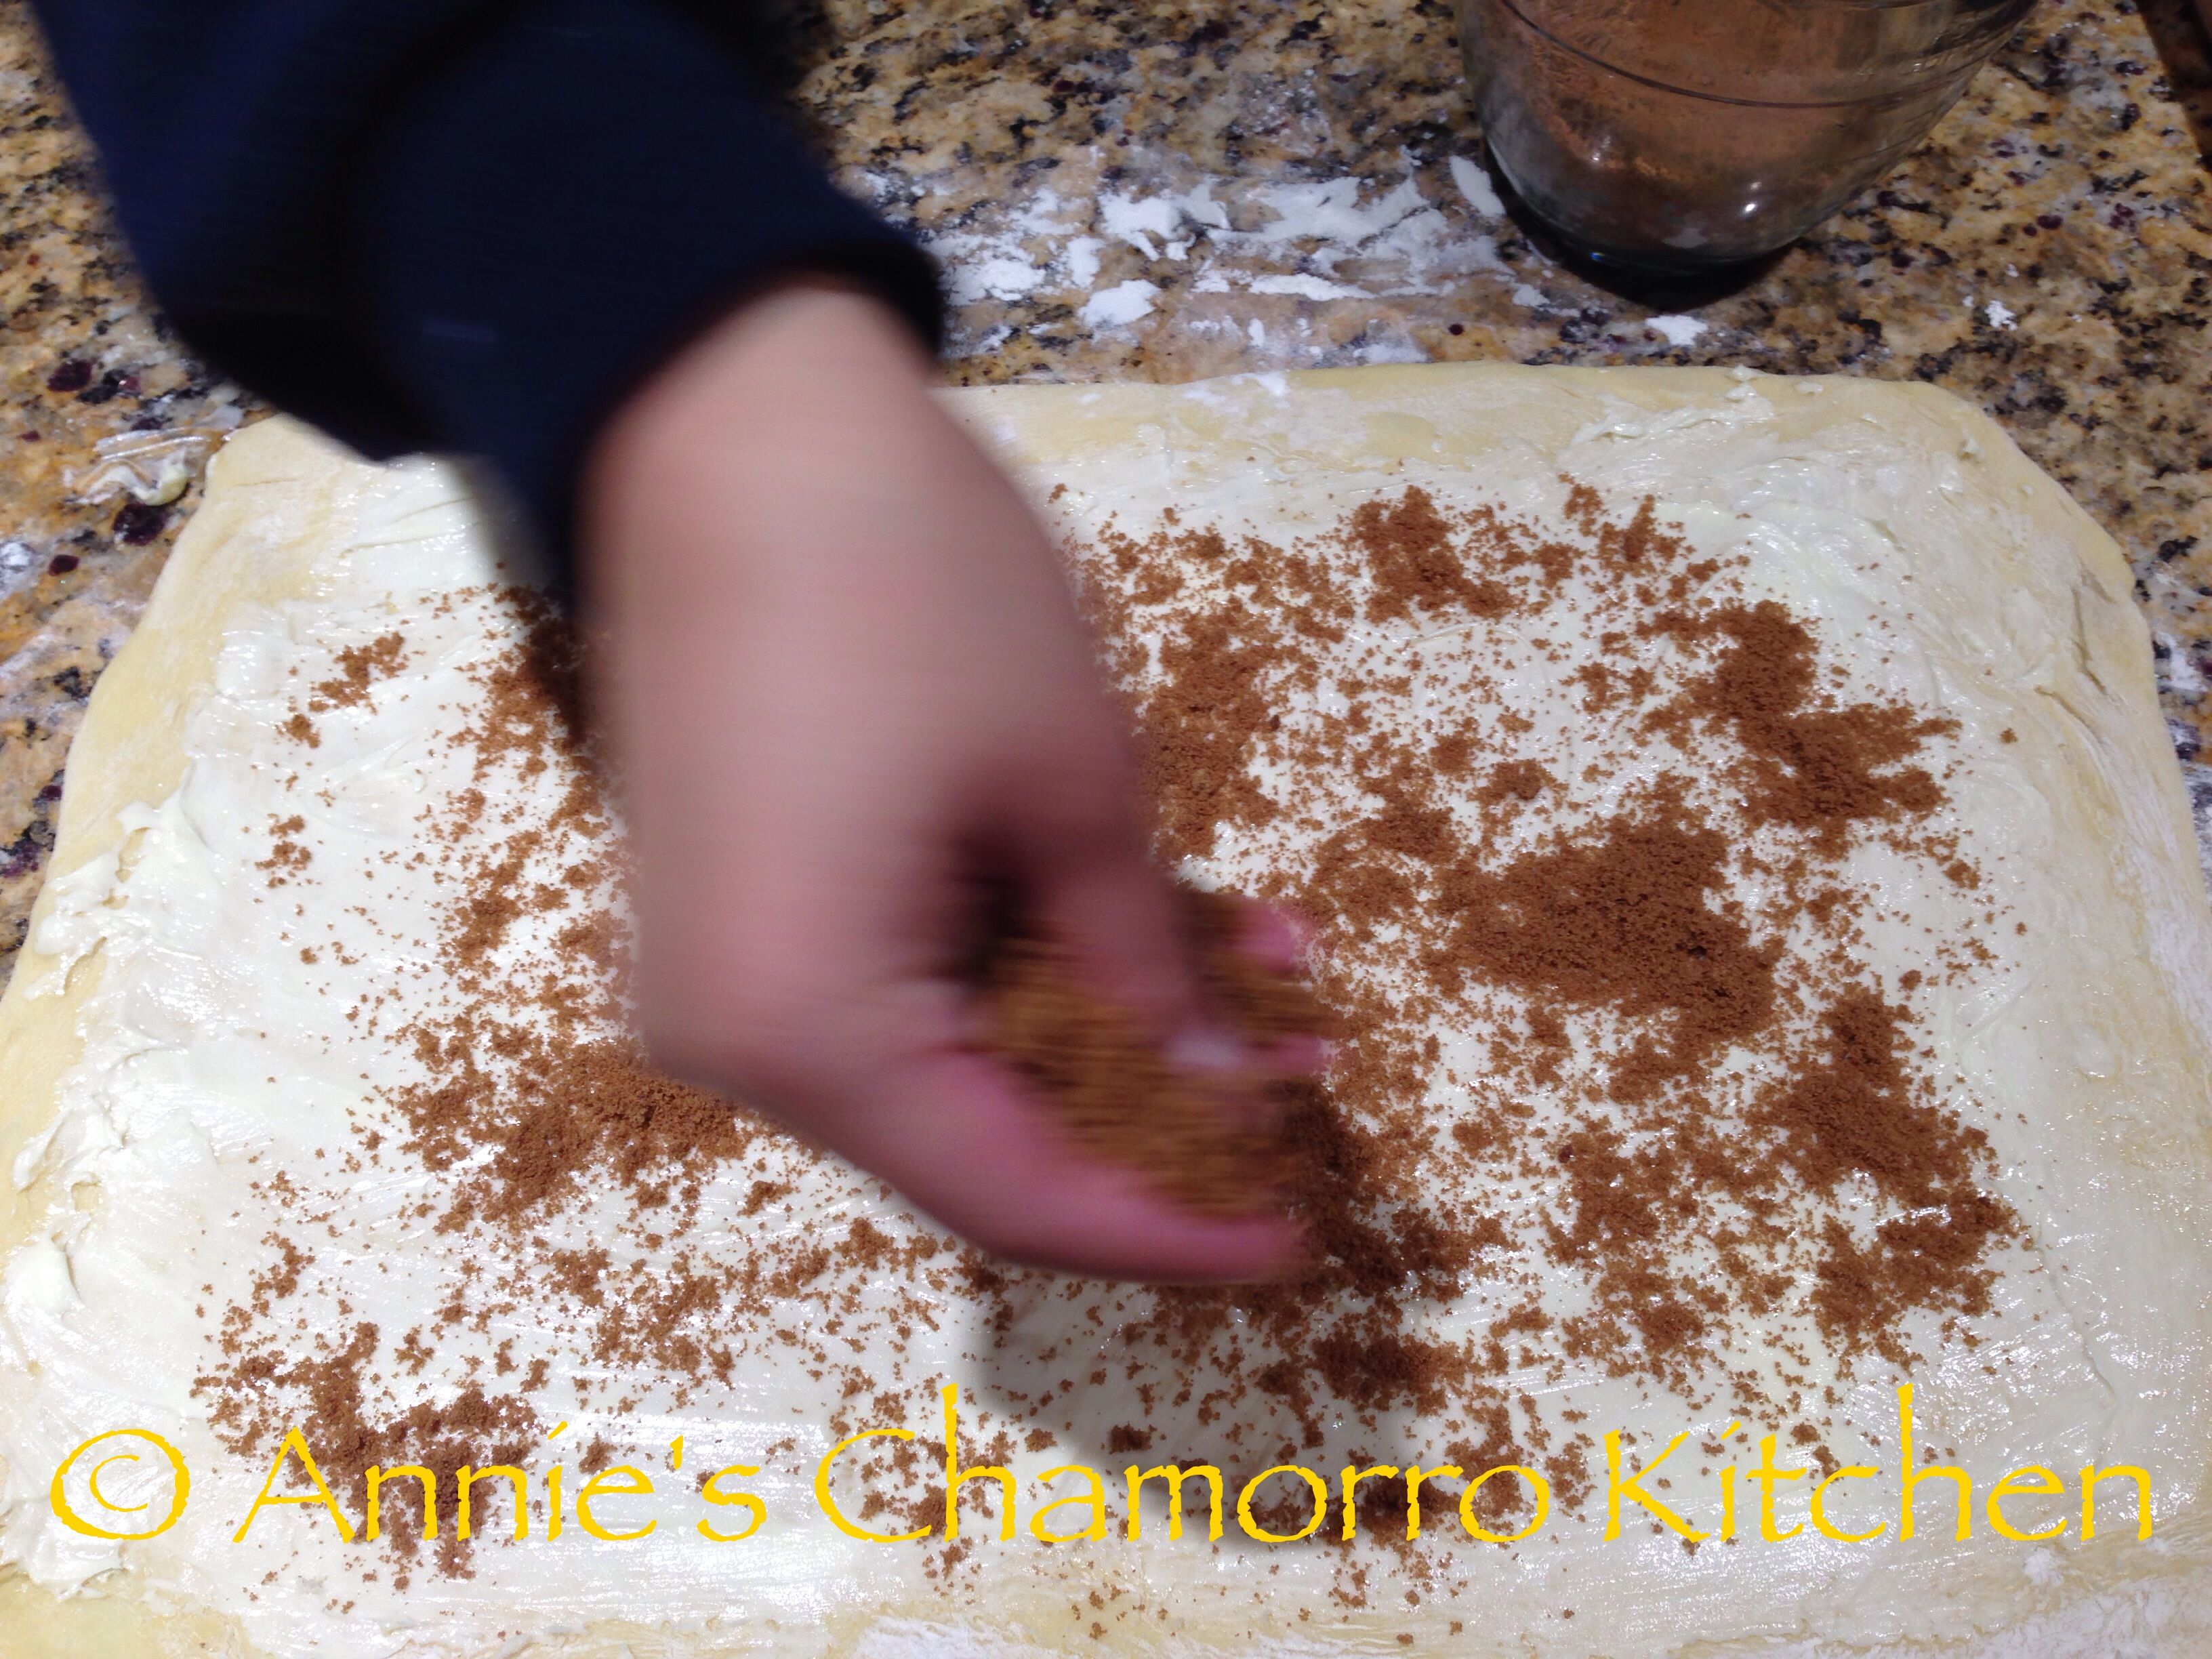
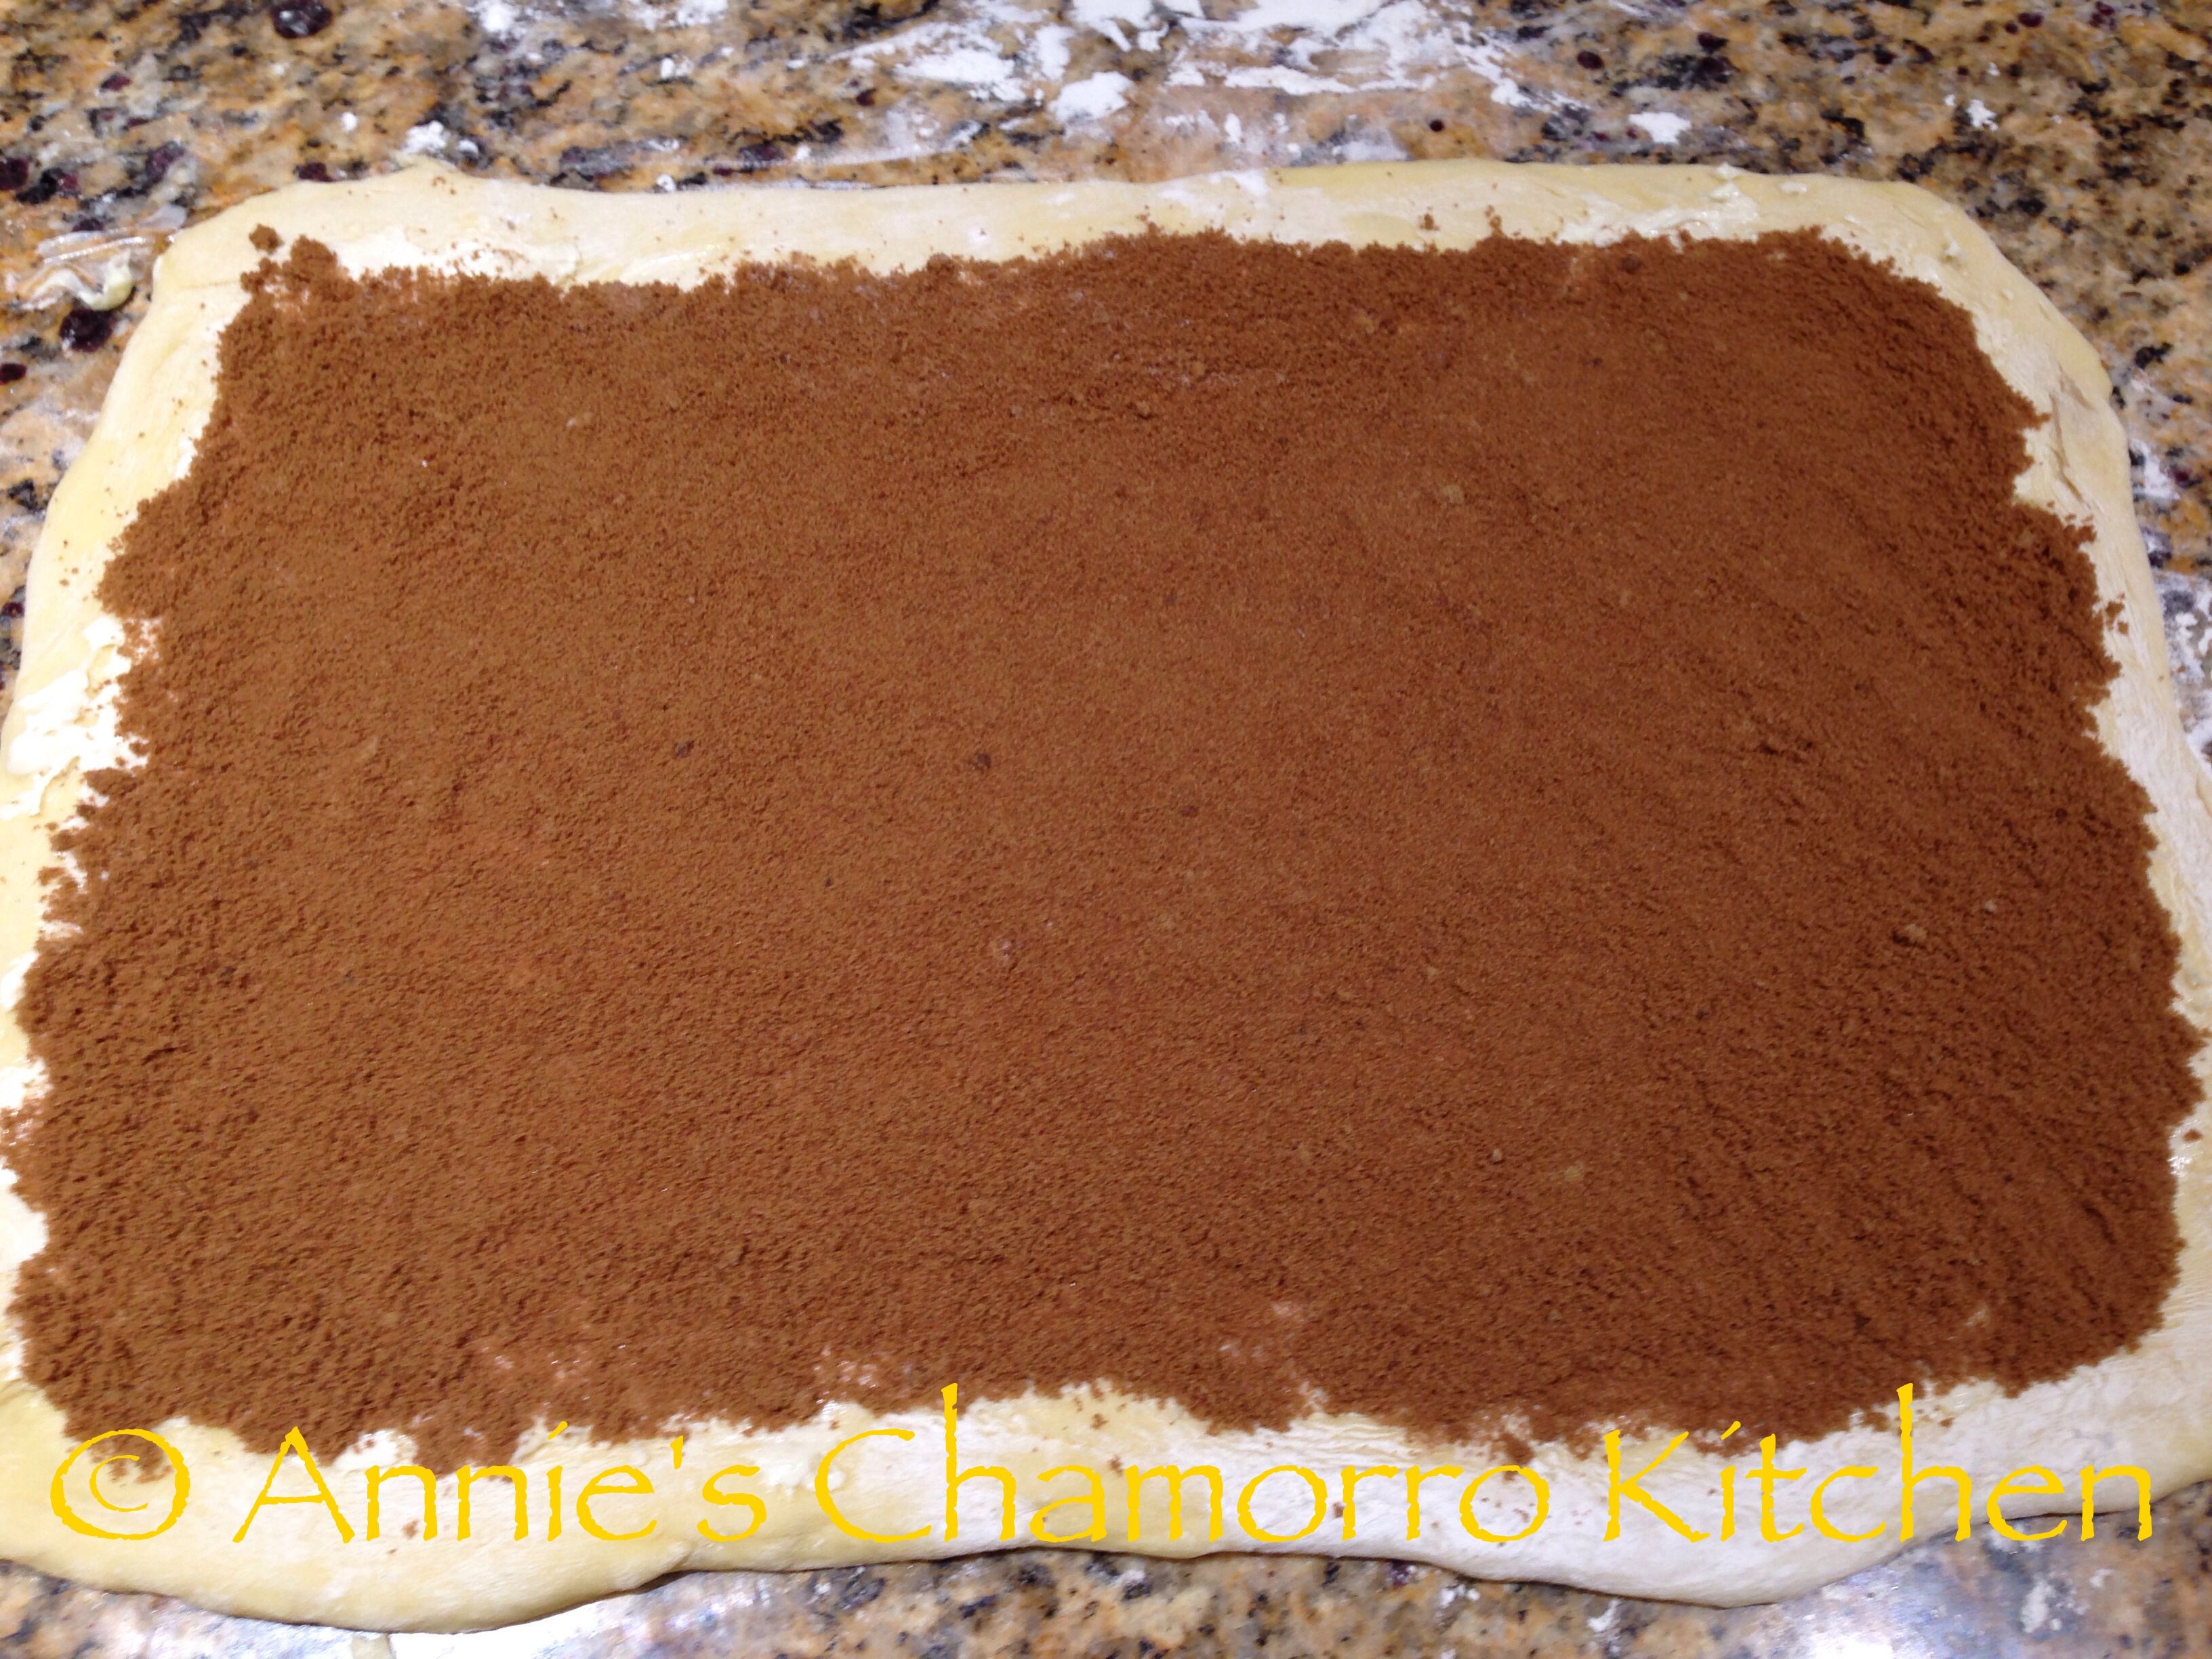
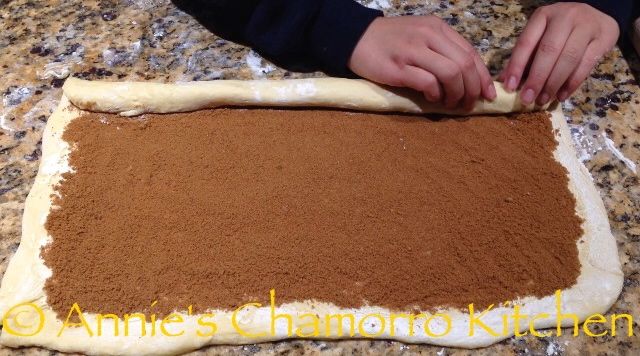
Evenly sprinkle the cinnamon-sugar filling over the buttered portion.
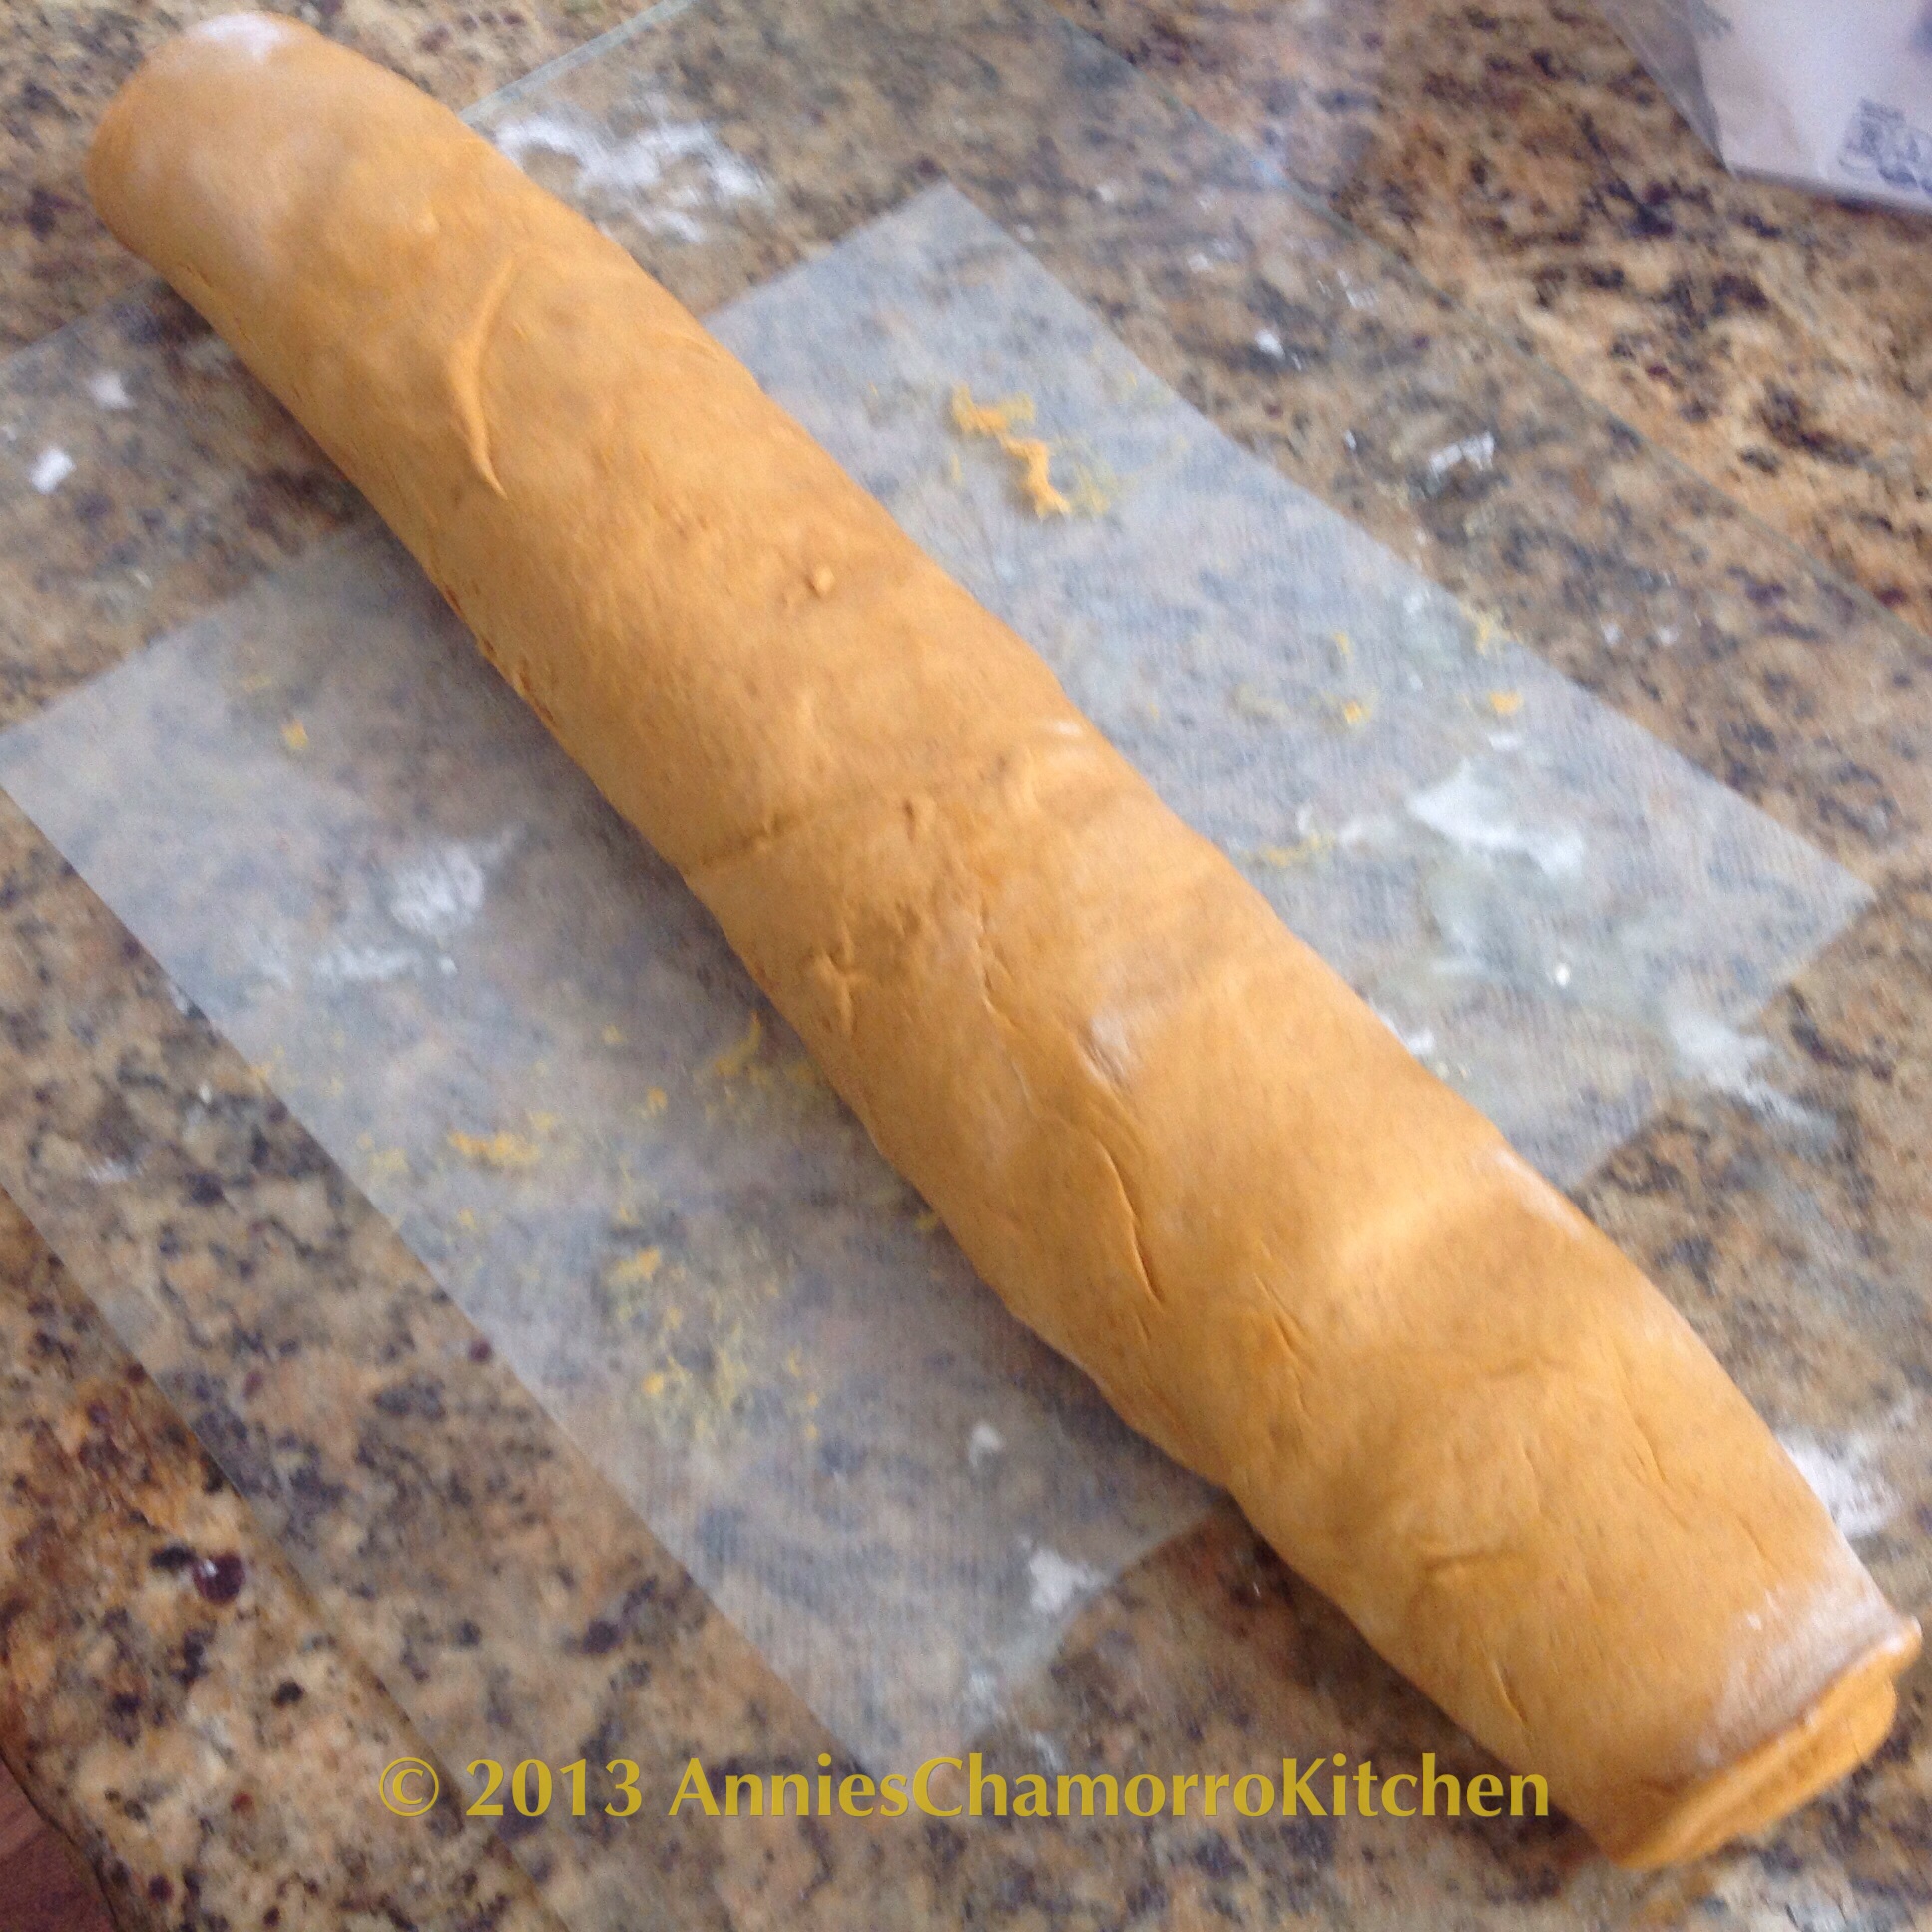
Starting at the long edge, roll the dough, jelly-roll style.
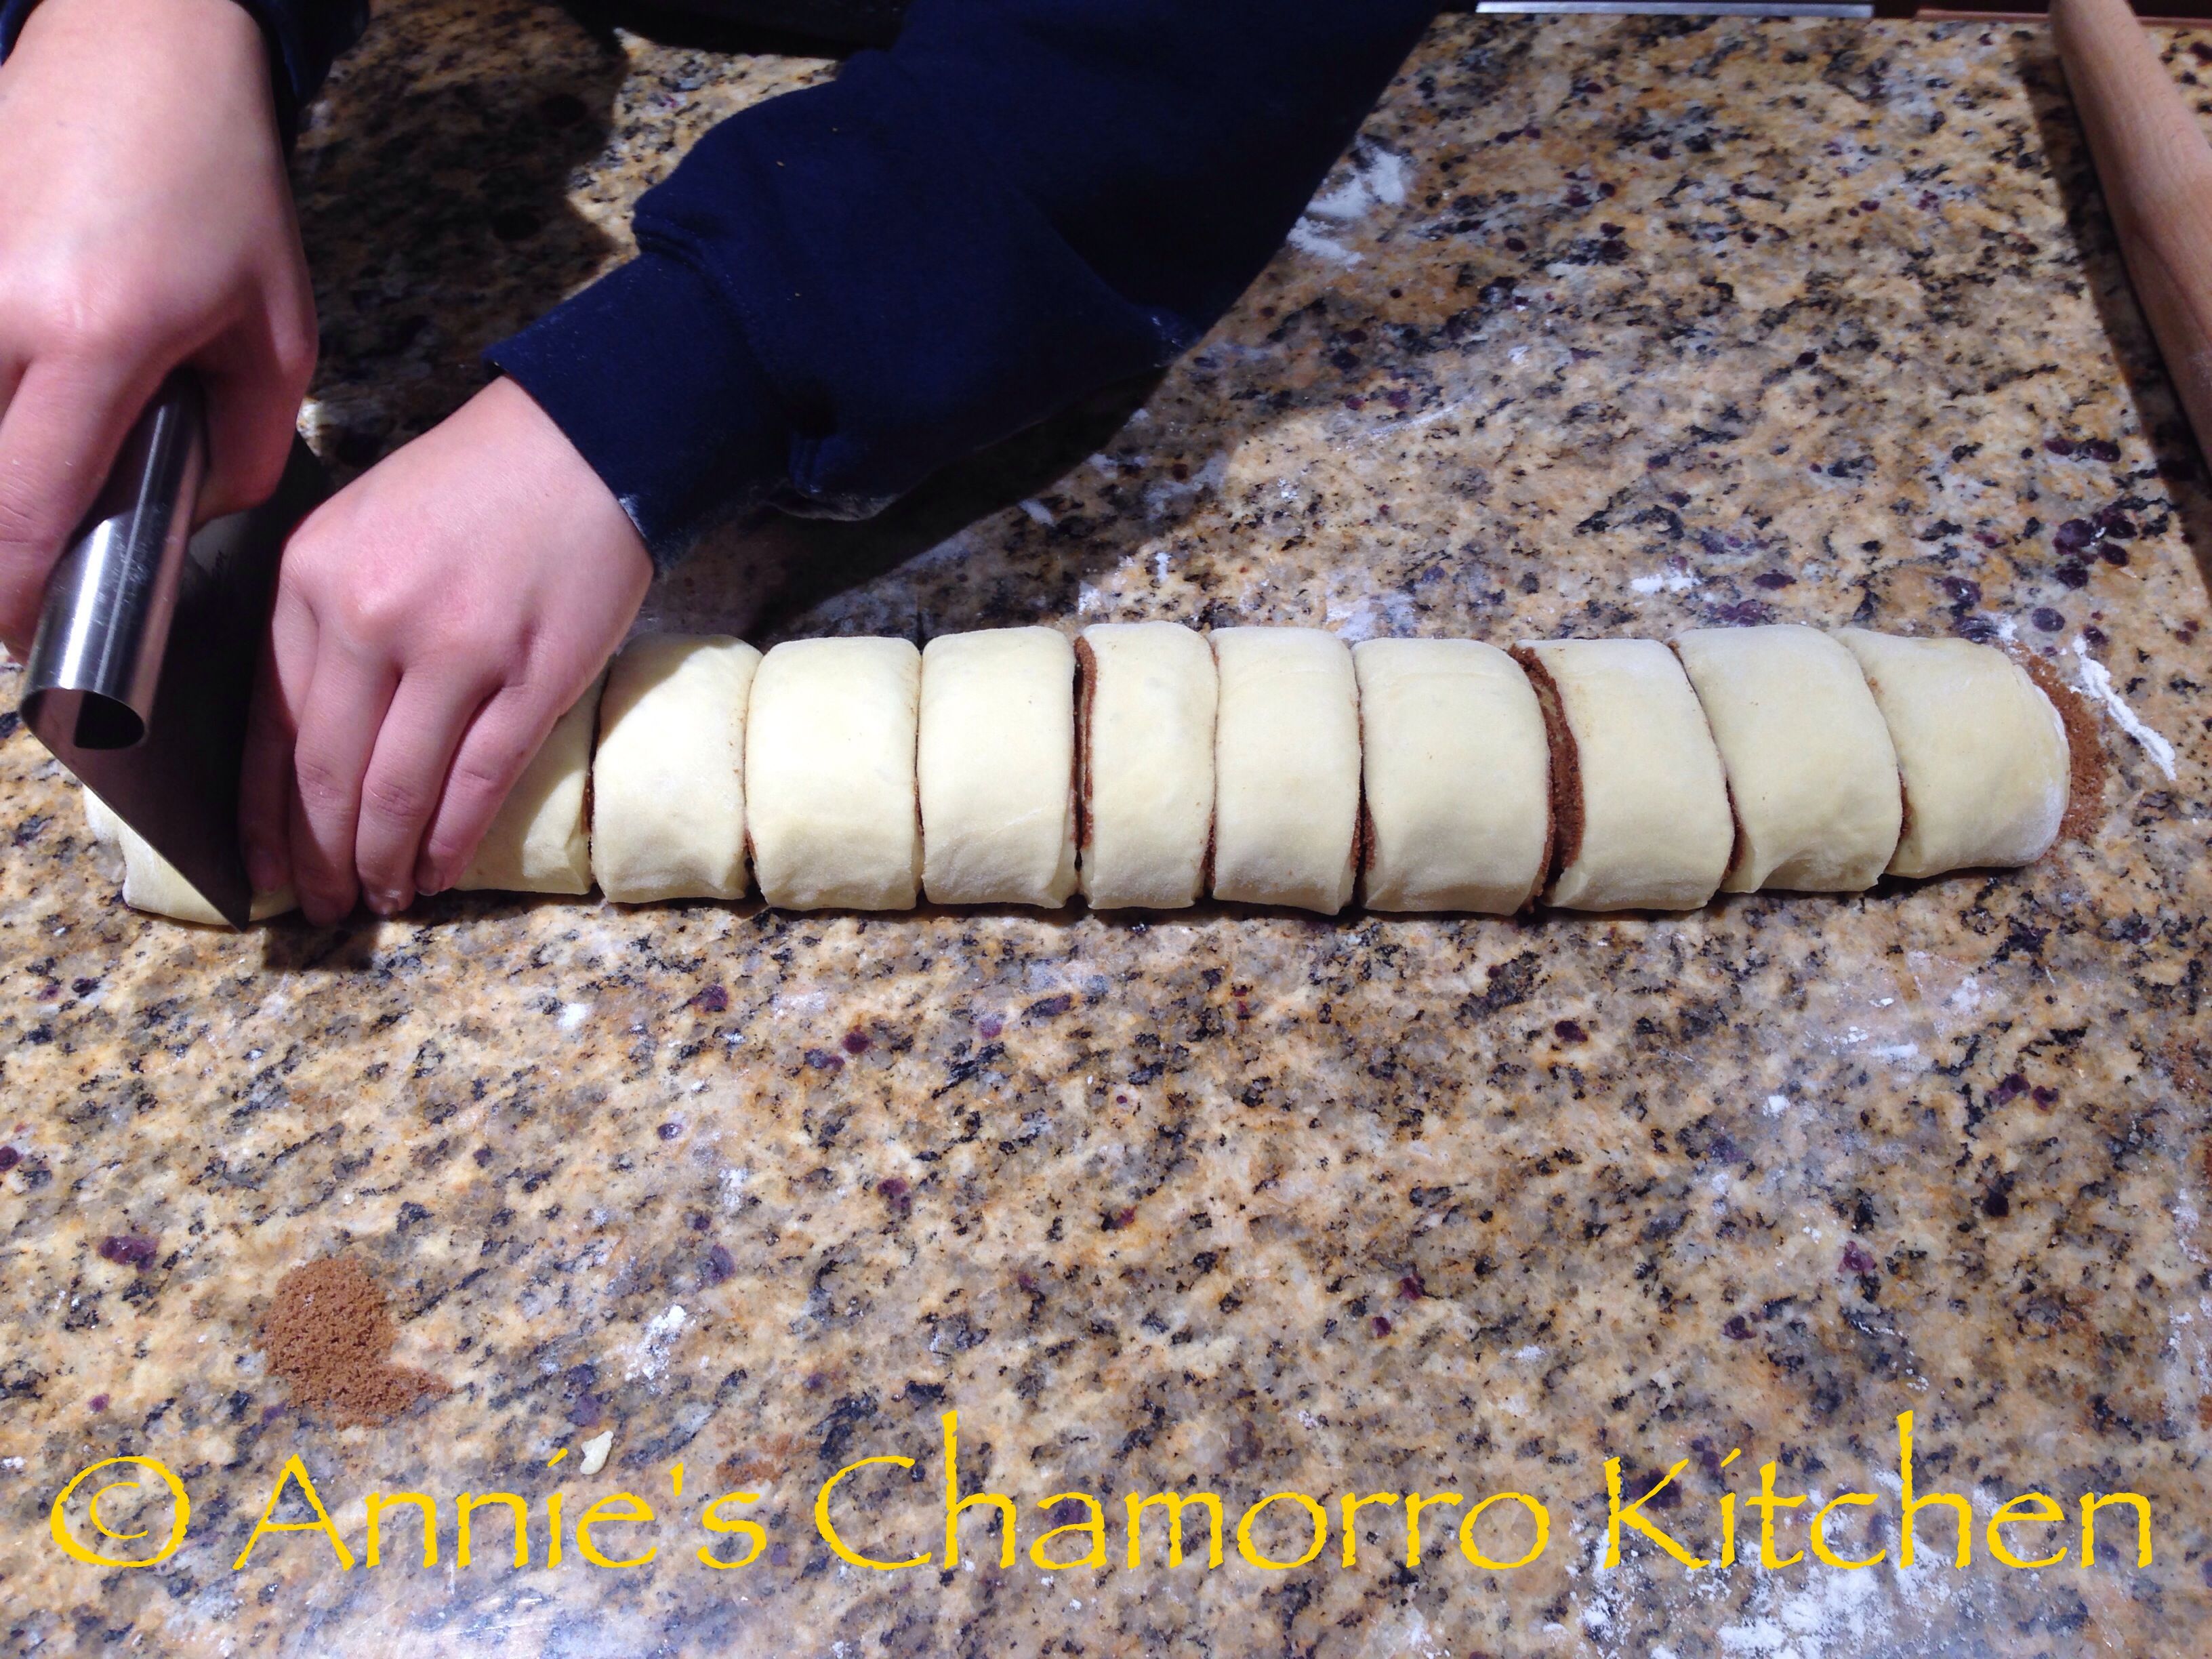
We’re going to make a dozen cinnamon rolls, so using a dough scraper, sharp knife or unflavored and unwaxed dental floss, cut the rolled dough into 12 pieces.
An easy way to do this is to first the the log in half.
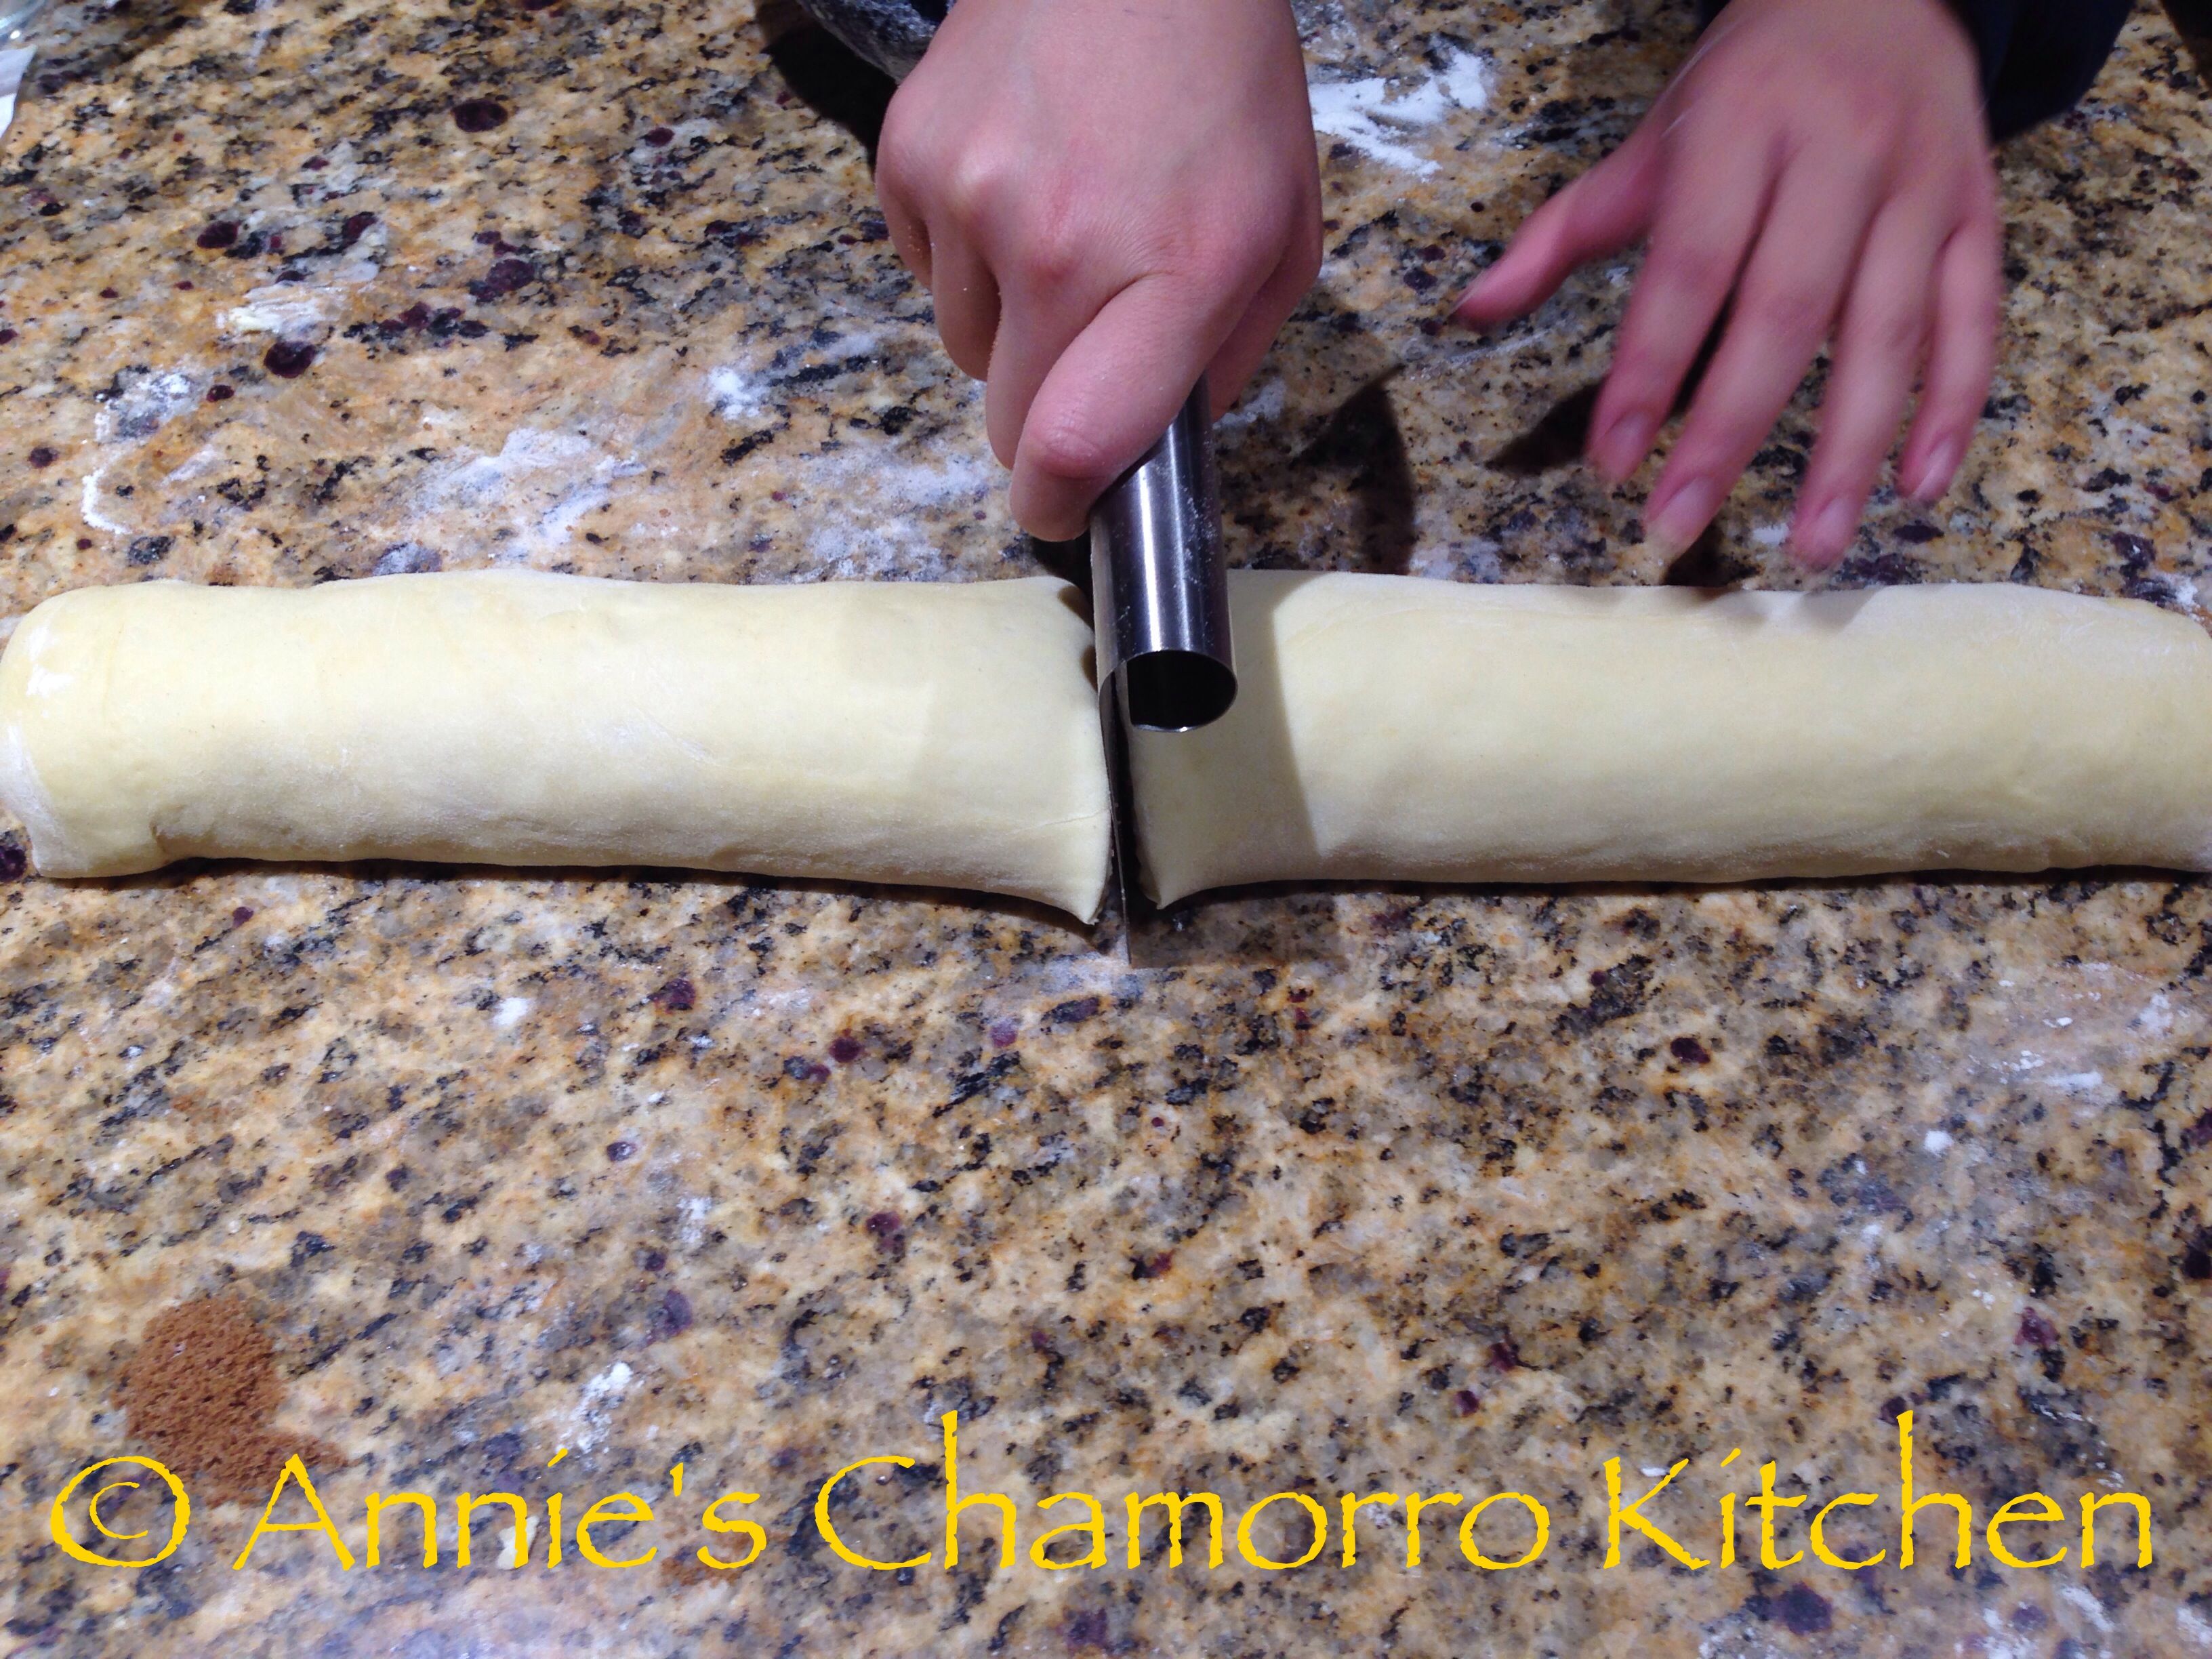
Cut each half into halves.
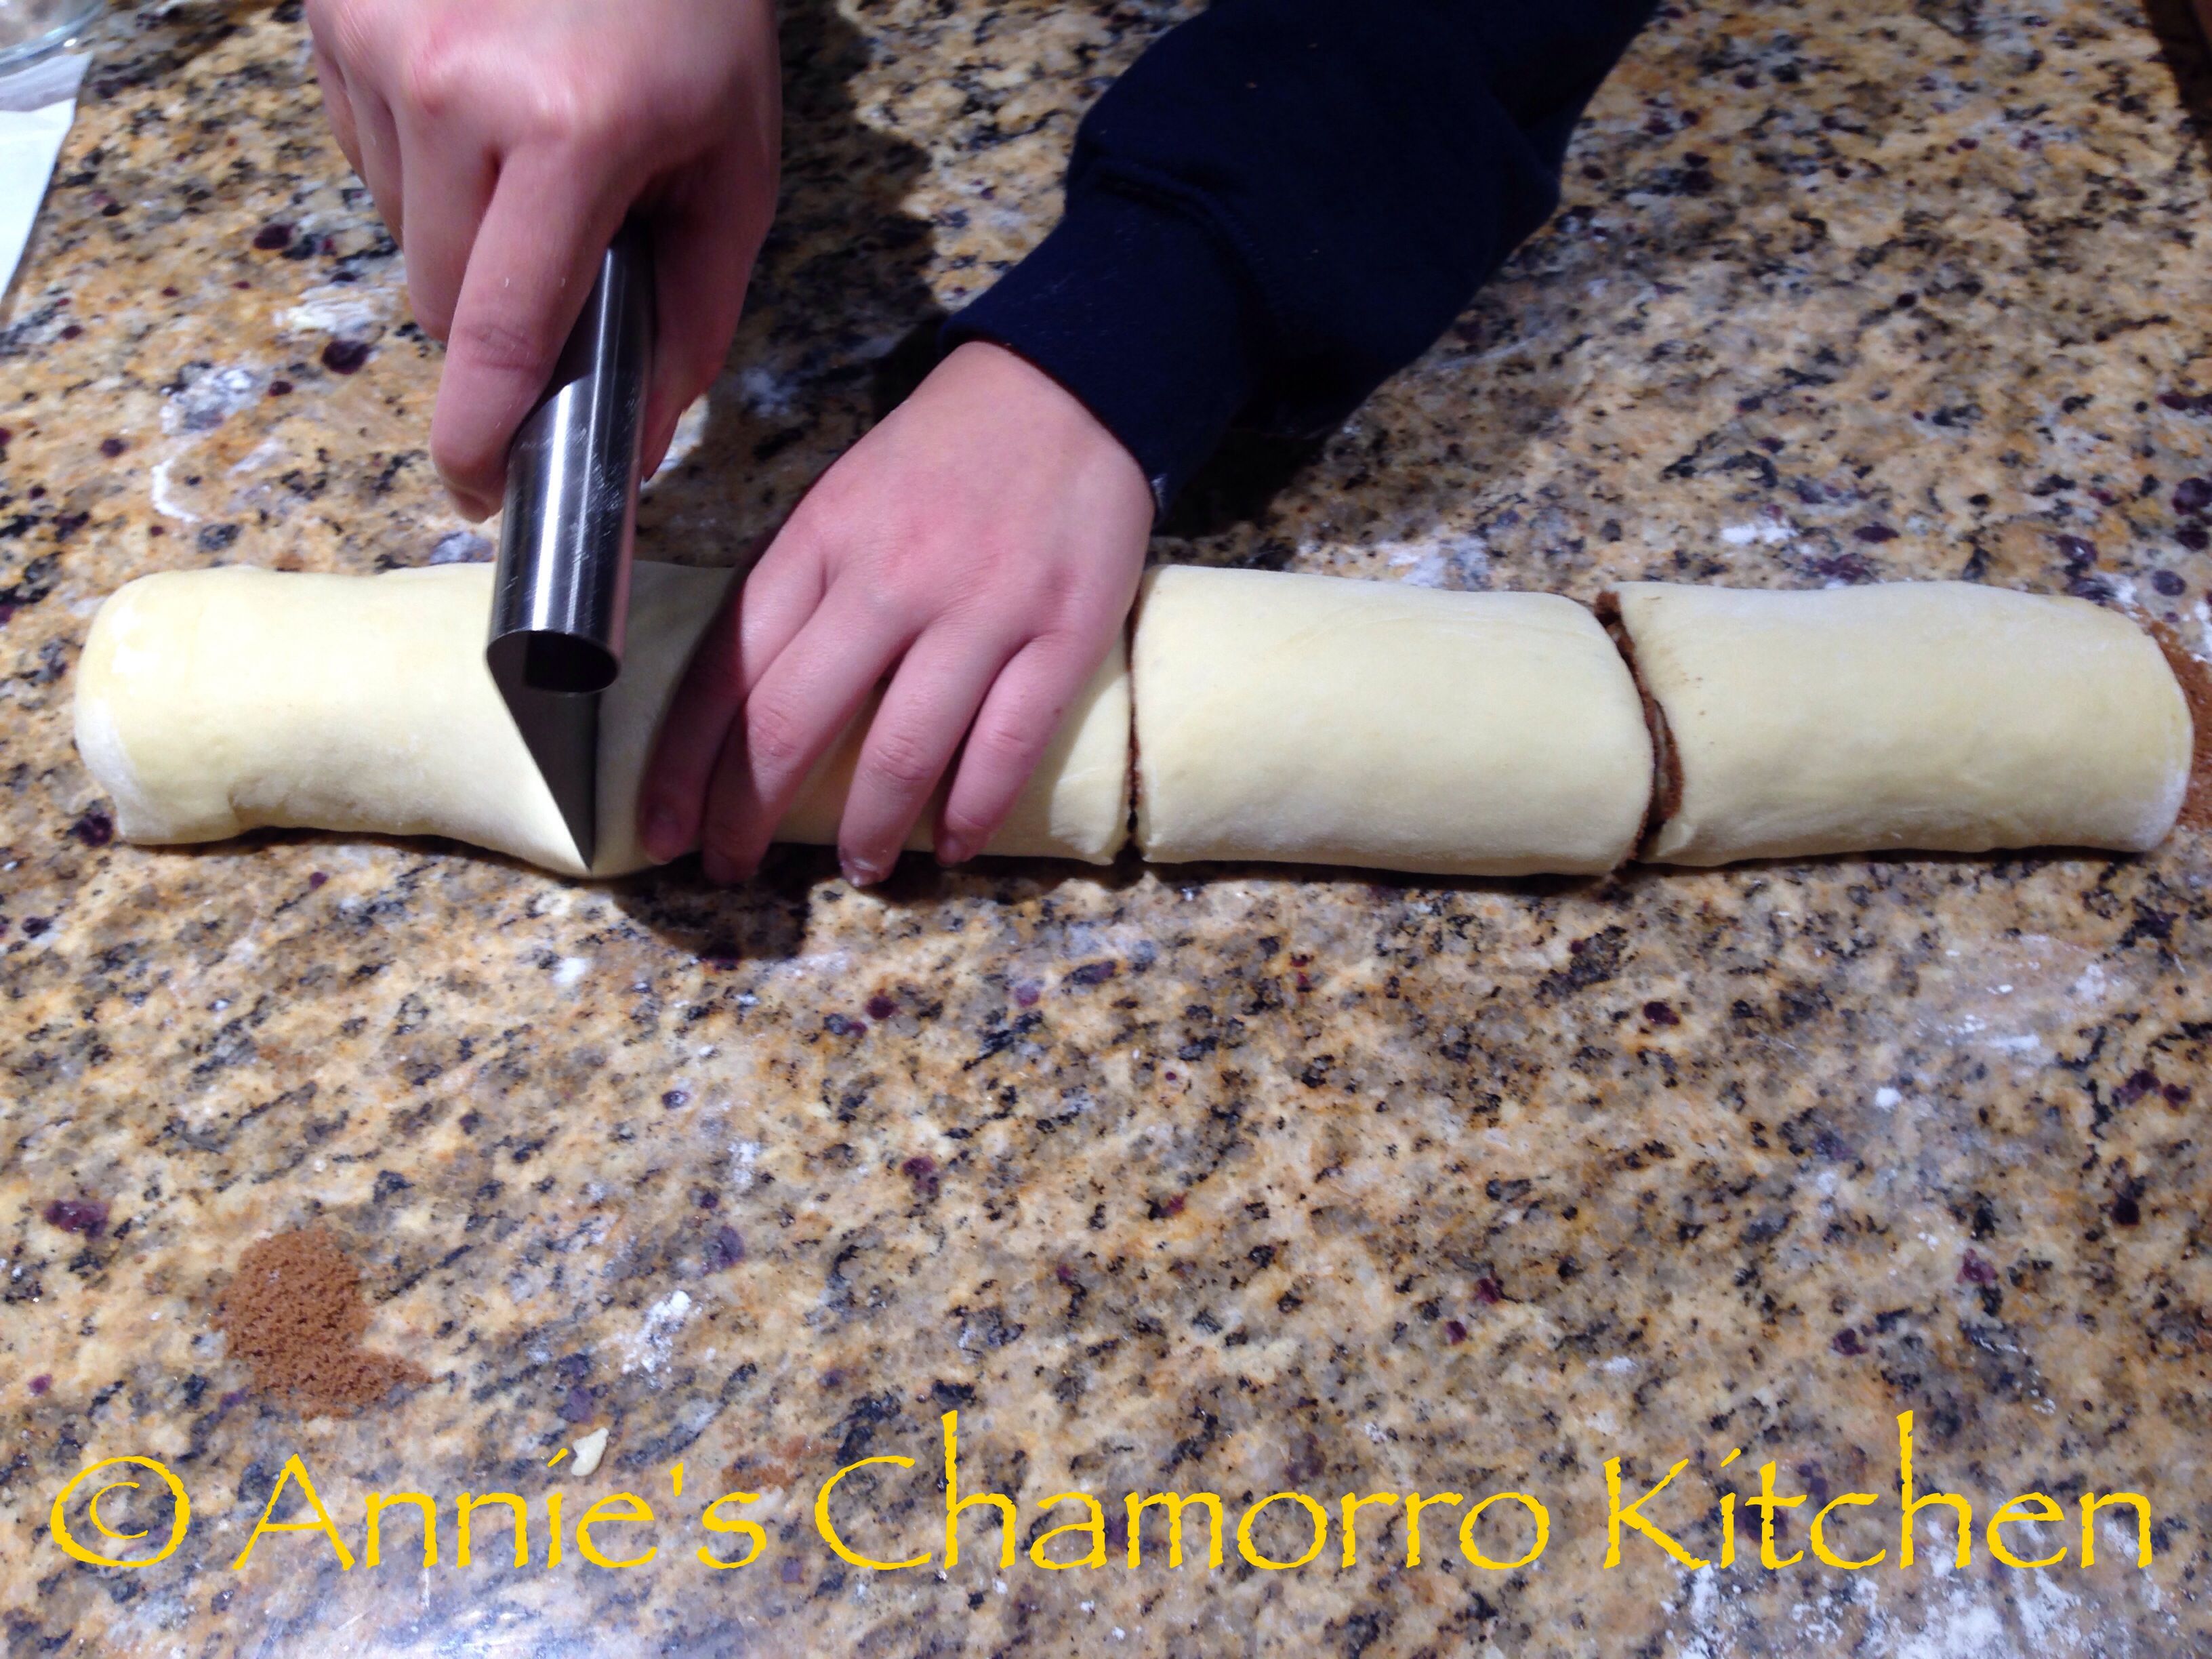
Slice each quarter piece into thirds.
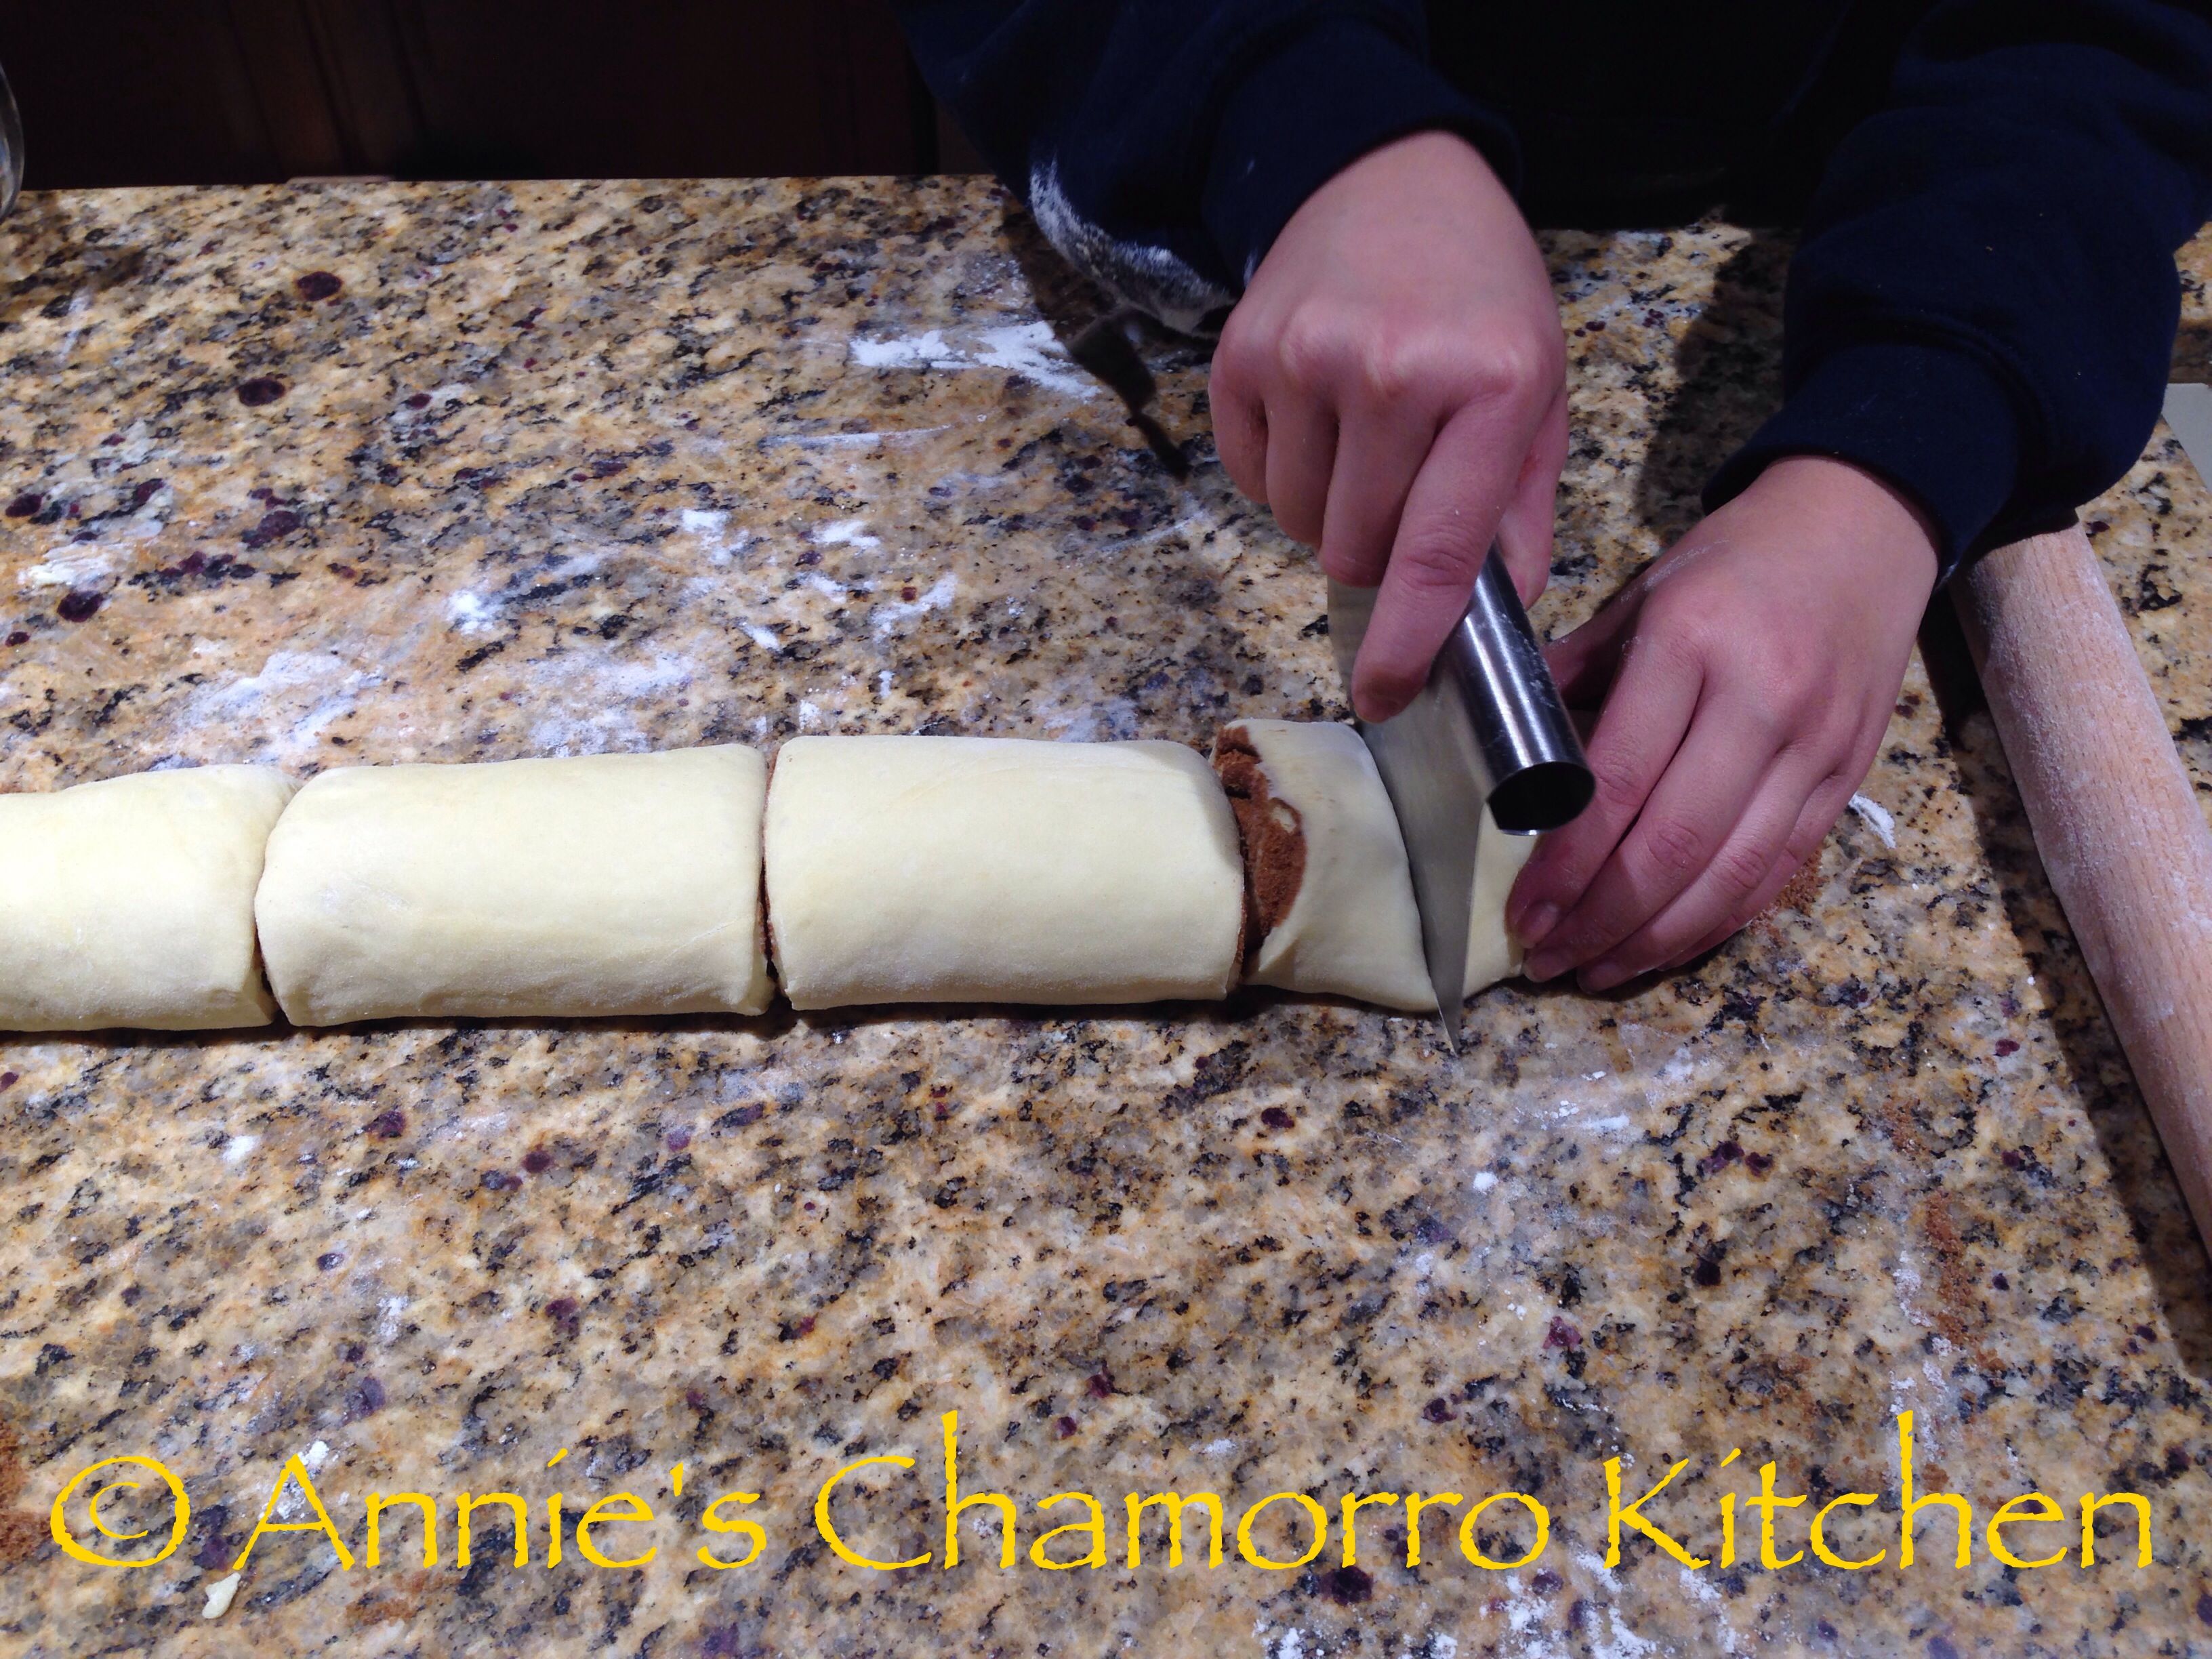
Continue slicing each piece until you get 12 pieces.
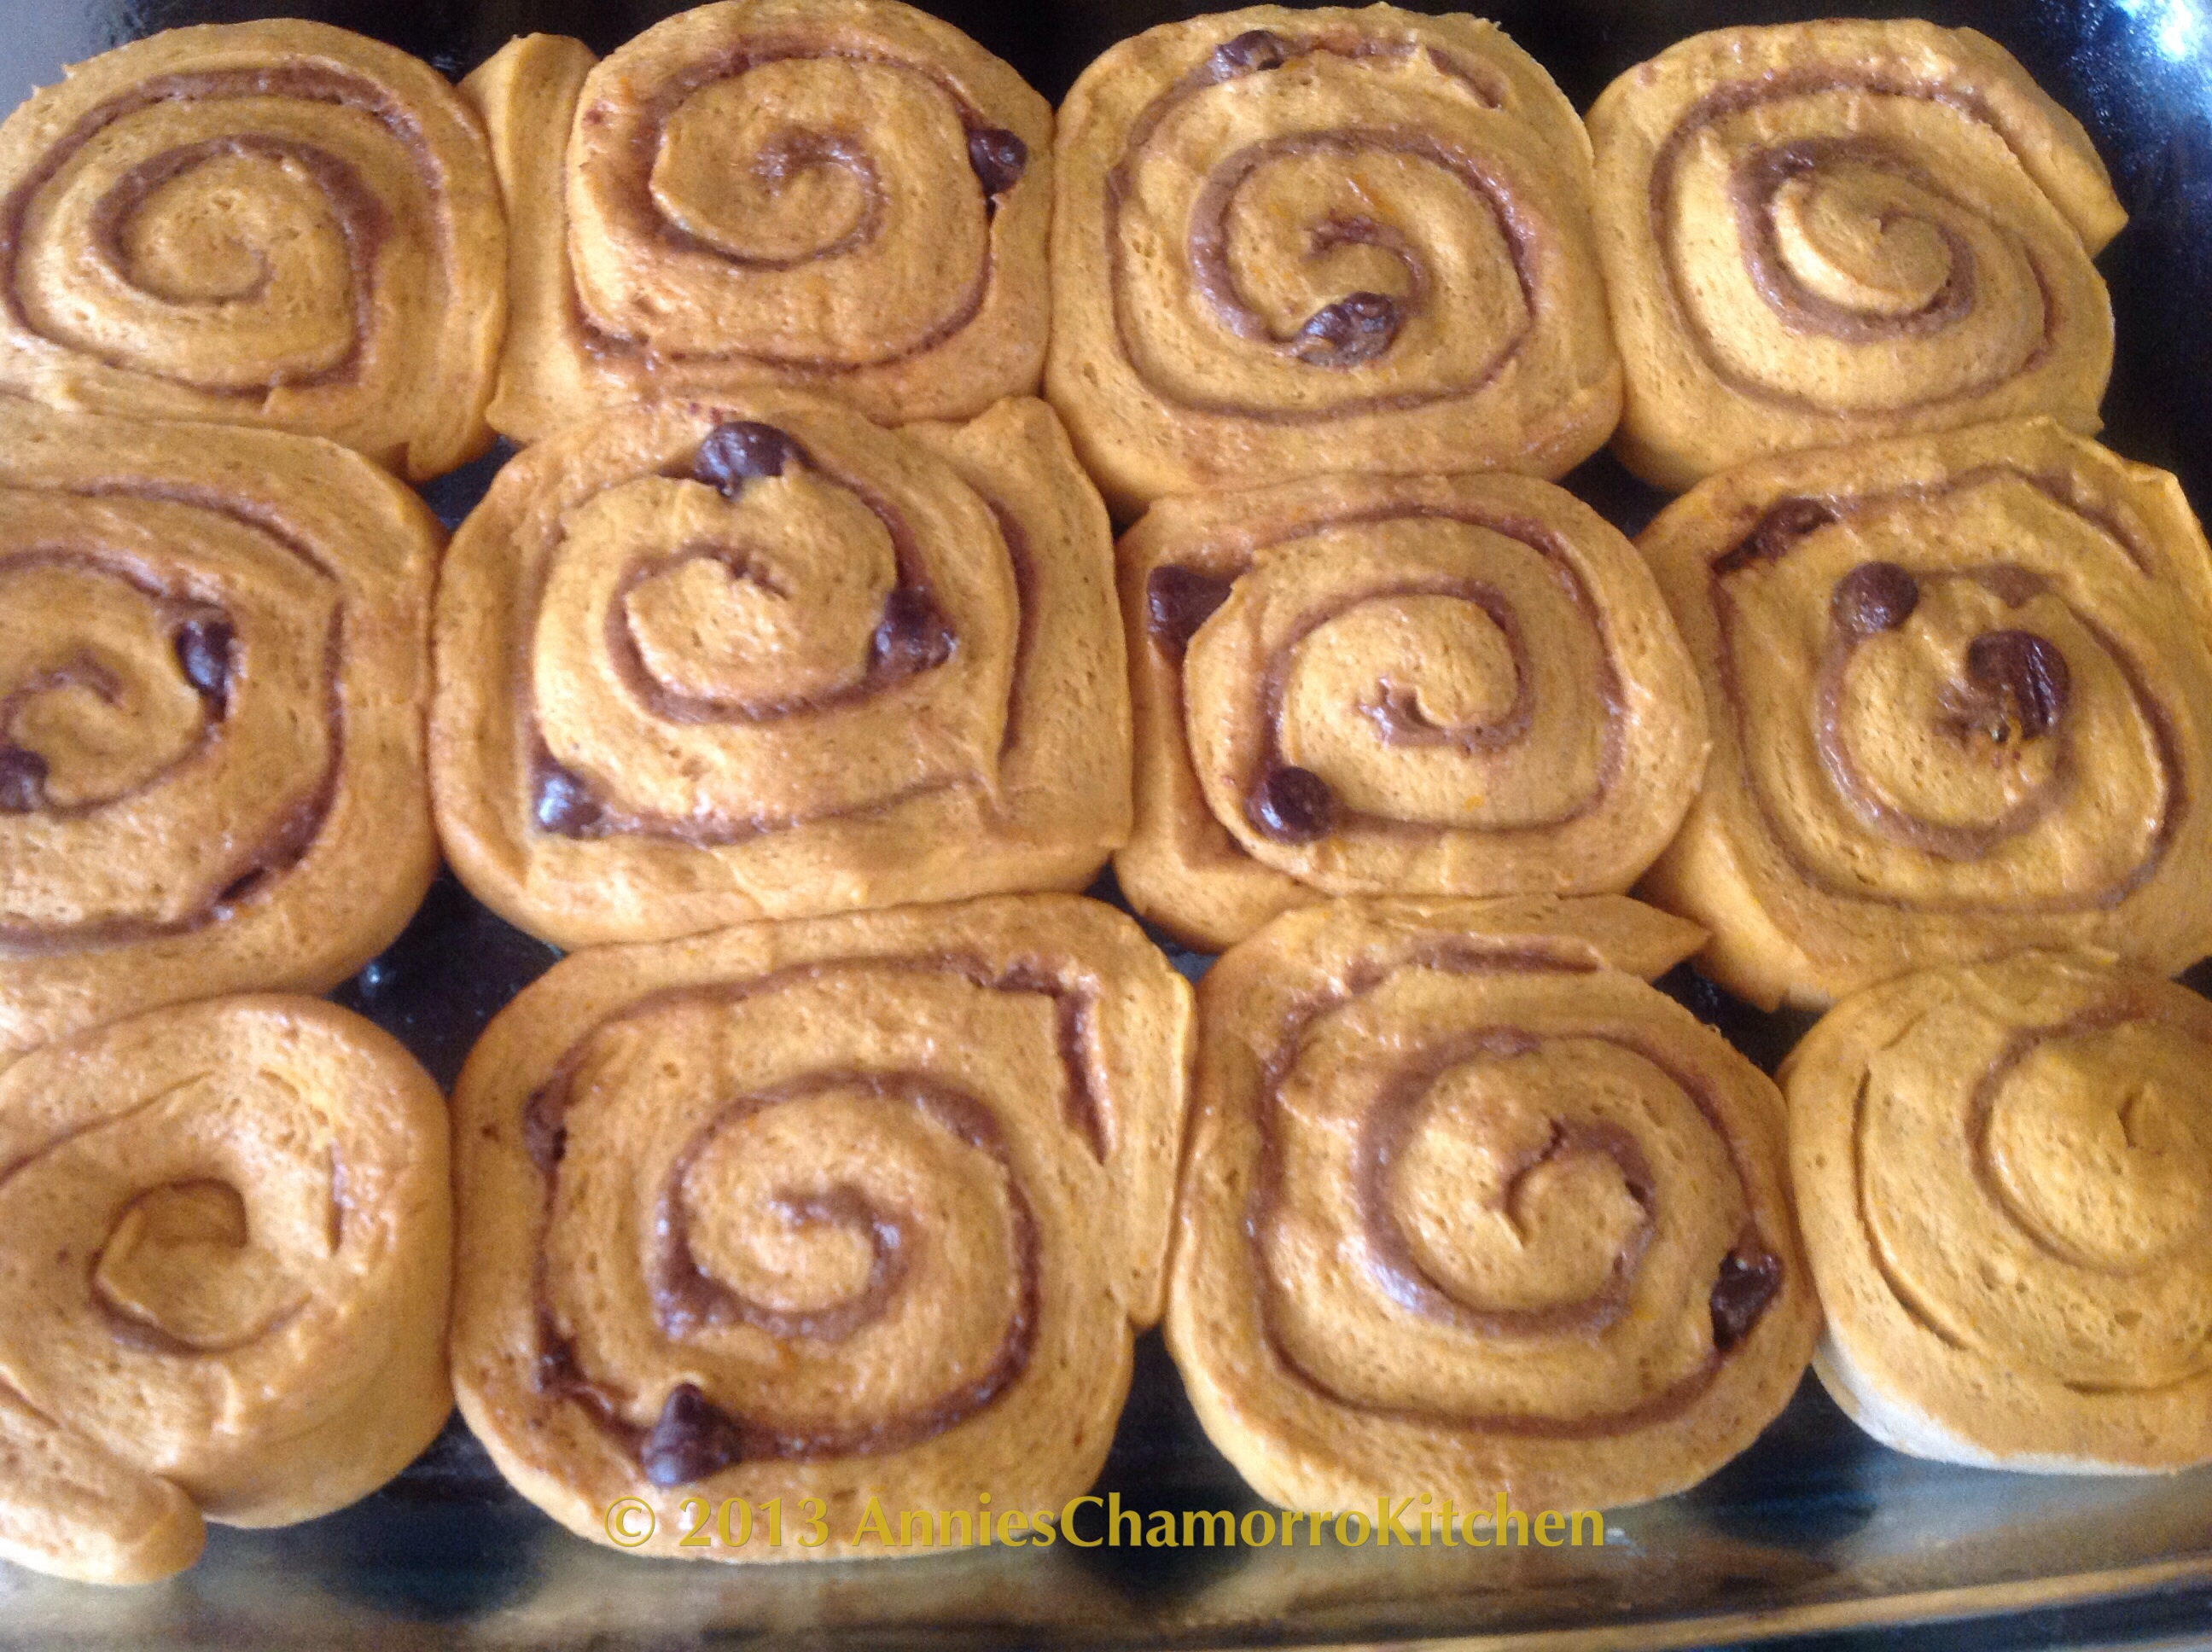
These rolls will have to double in size again, and believe me when I tell you that they will DOUBLE in size. And this is BEFORE baking–the rolls will “grow” even larger while they bake!
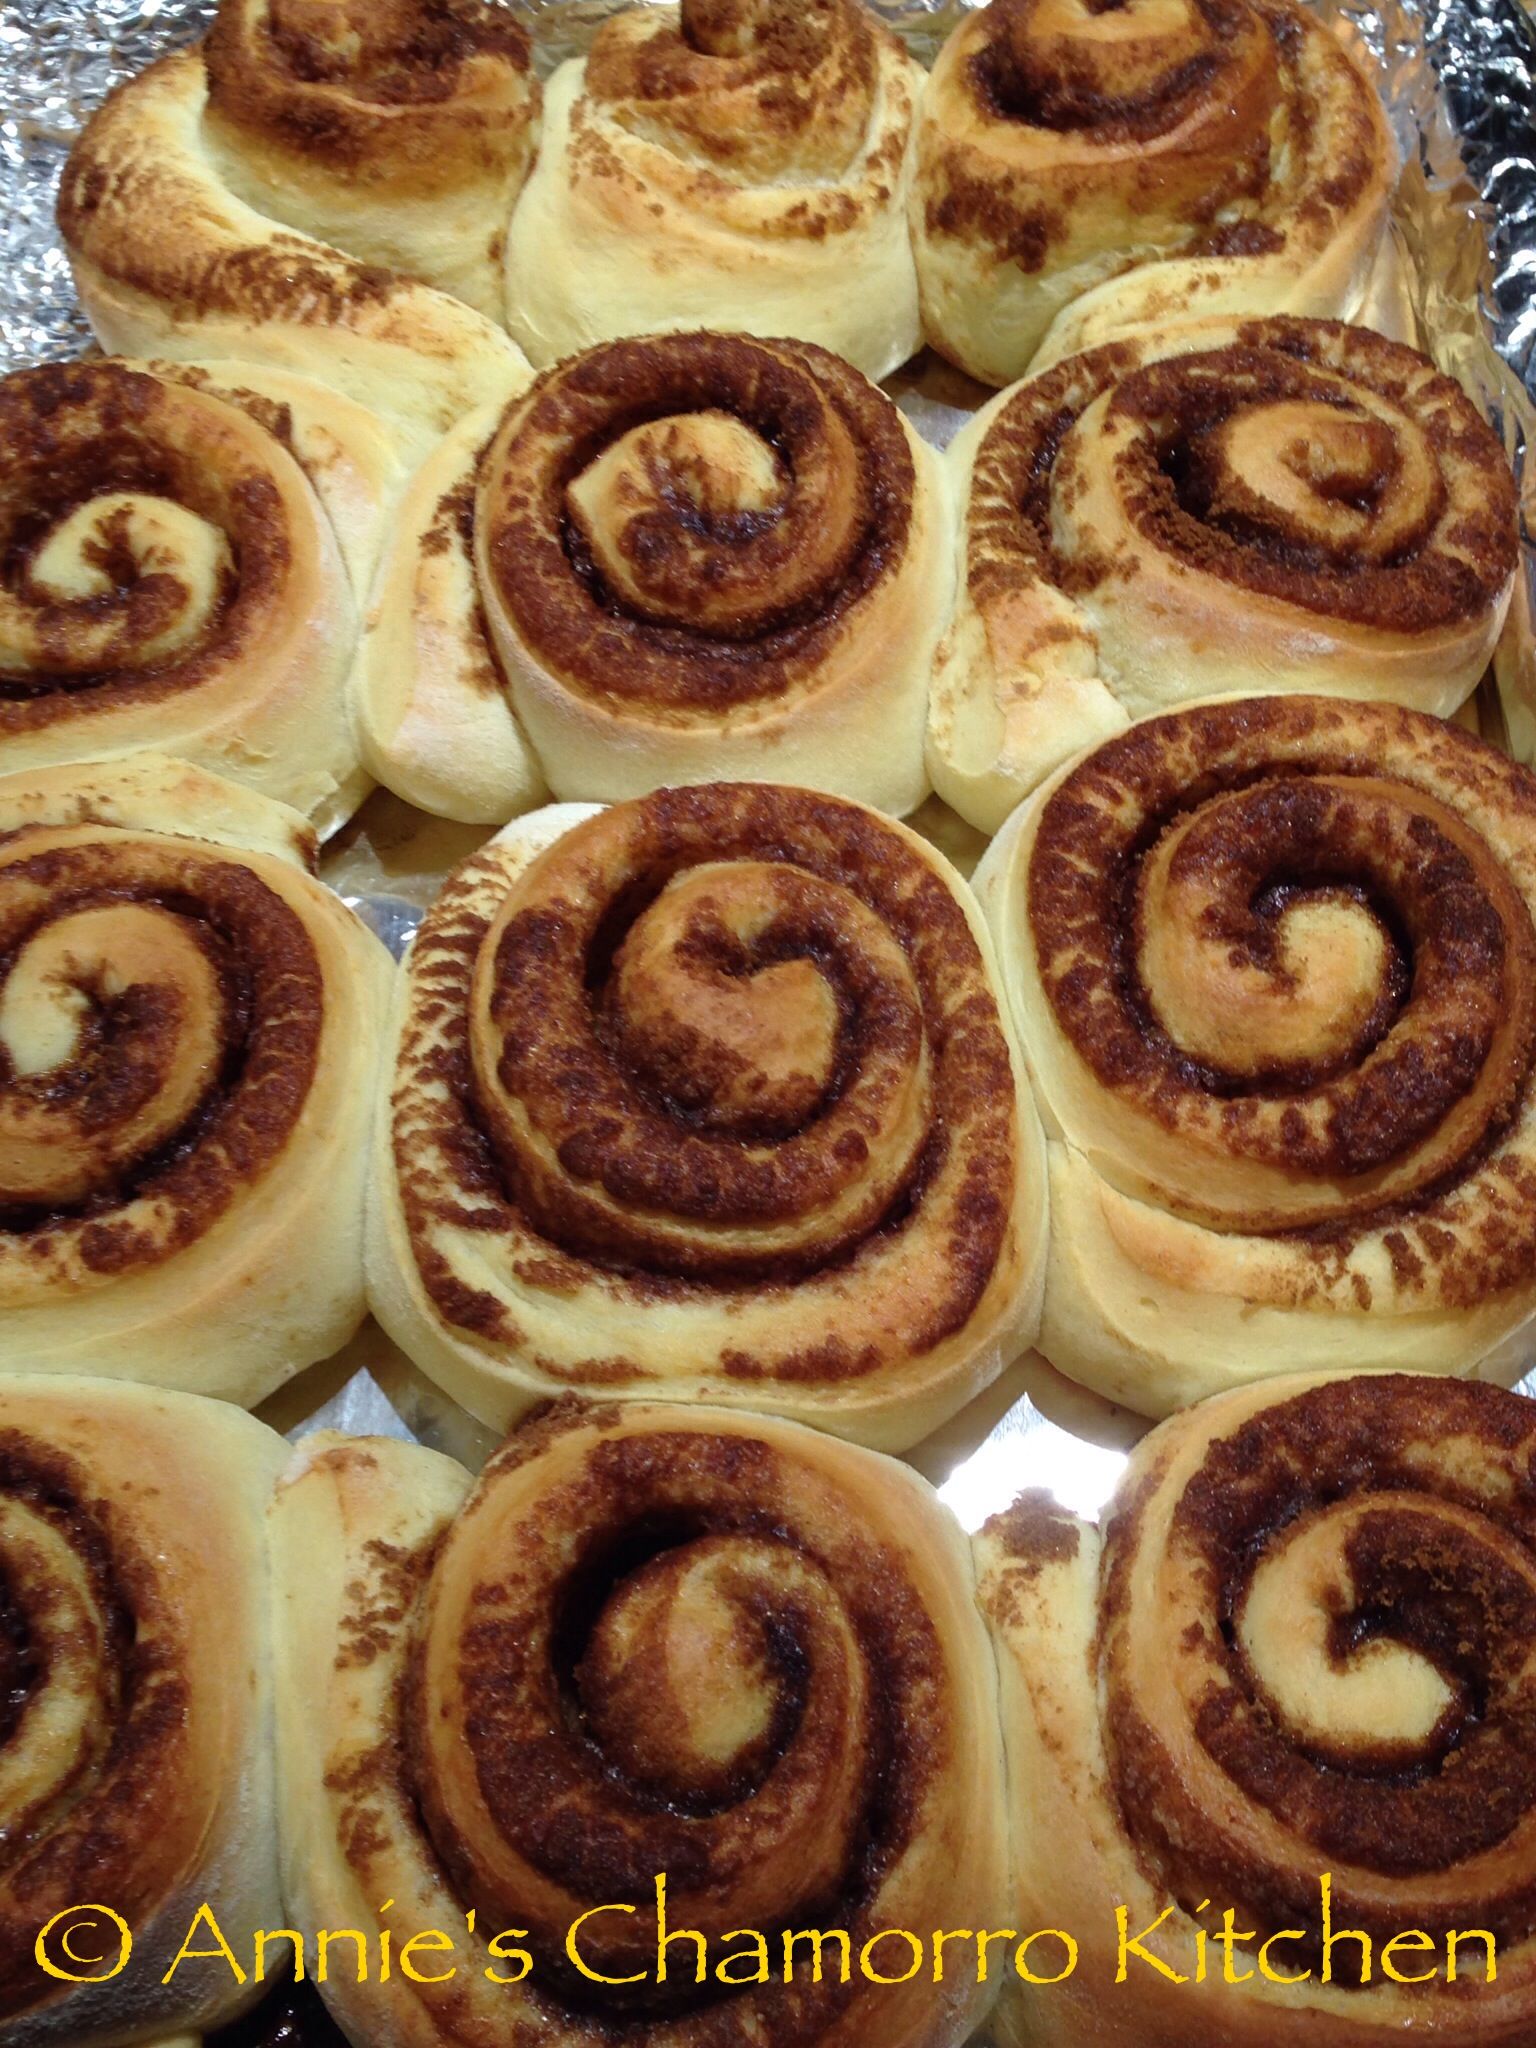
For this reason, a “normal” 9×13-inch pan will be too small to hold these yummy rolls. I use a half-sheet pan to bake these beauties.
Prepare the pan by lining it with aluminum foil. You don’t have to do this; however, it makes clean-up so much easier!
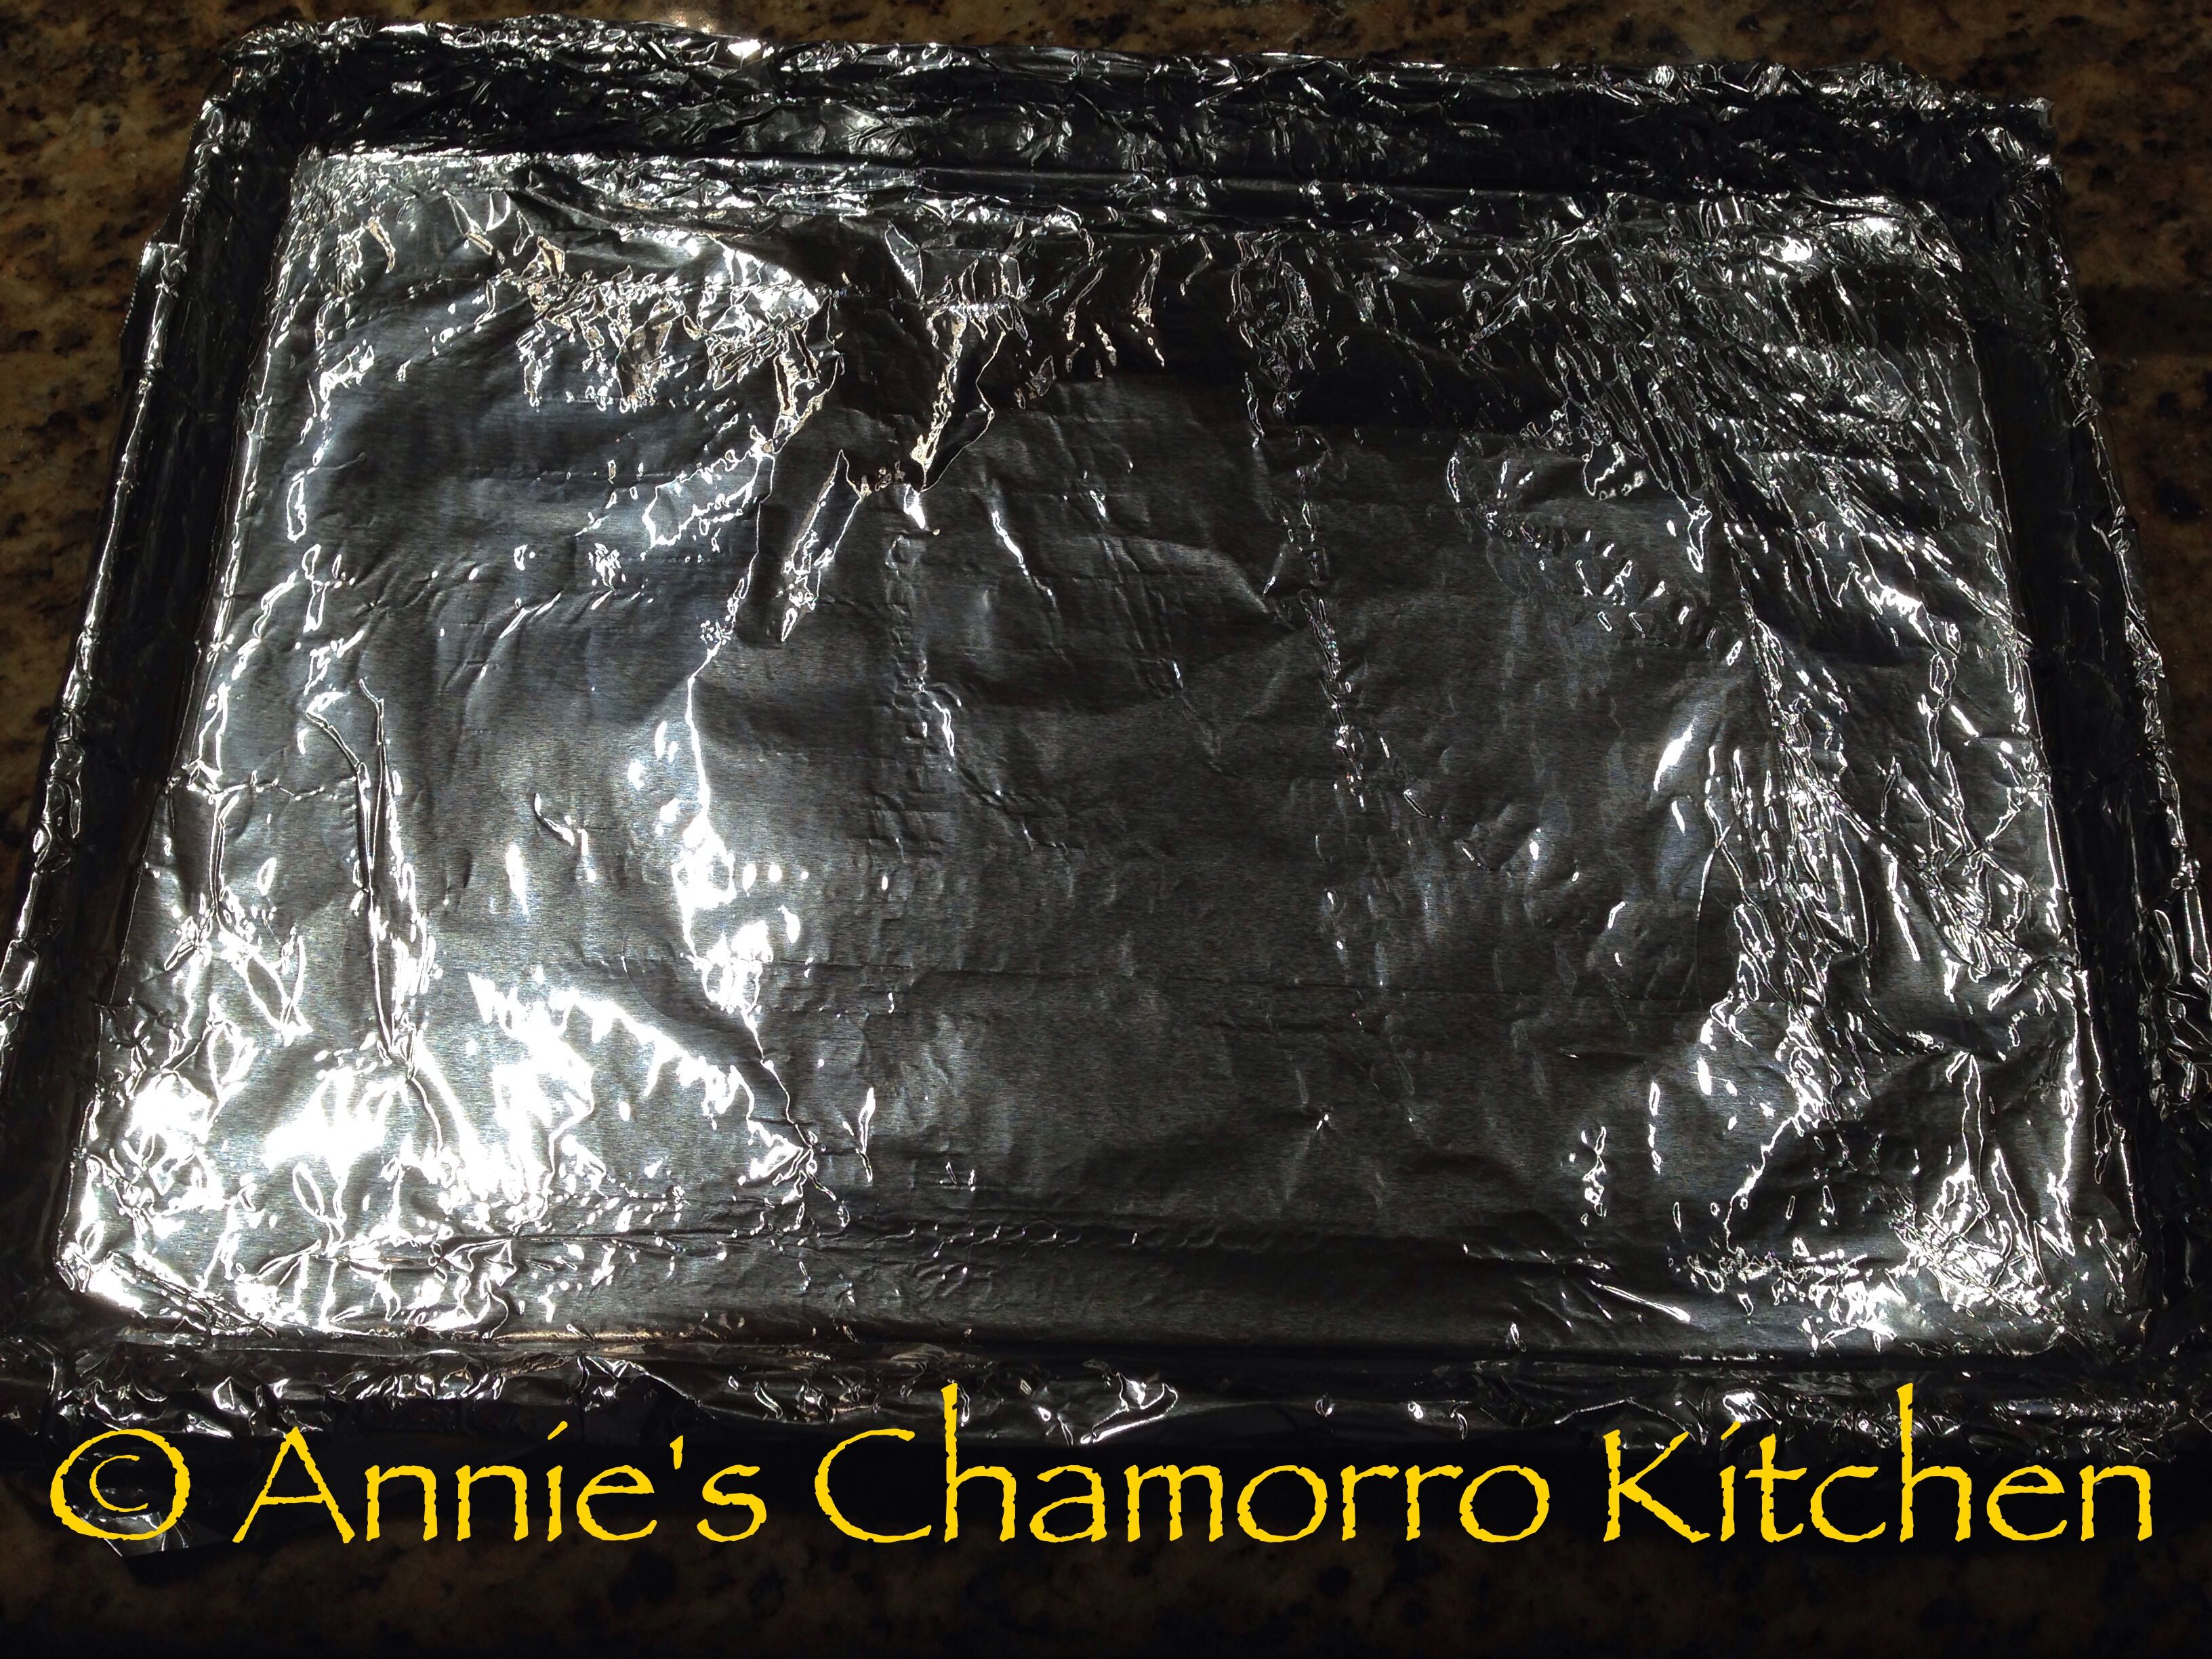
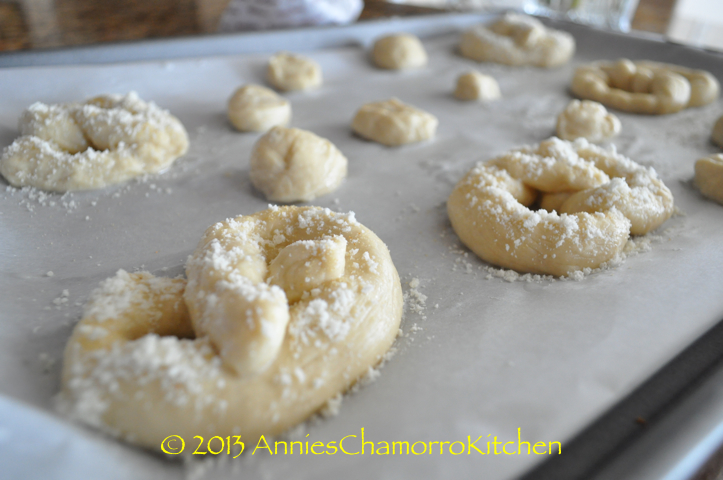
Place the rolls onto the pan. Space them out quite a bit–like I mentioned above, these beauties will RISE!

***NOTE***
If you want to have these rolls for breakfast, hot out of the oven, STOP HERE. Cover the rolls with plastic wrap (I recommend using the Press-N-Seal brand so that it sticks to the metal tray) and place the entire tray of UNRISEN rolls in the refrigerator OVERNIGHT. Don’t worry–the rising process will slow waaaaayyyy down in your refrigerator’s cold environment. You can keep the rolls in the ‘fridge for 12-16 hours, no problem. In the morning (about 90 minutes earlier from the time you want to eat these rolls) — take the tray of rolls out of the refrigerator. Remove the plastic wrap and let the rolls sit at room temperature for one hour. After an hour, preheat your oven and bake at 350 degrees for 20 minutes. Let the rolls cool before frosting.
The implied task is that you start making these rolls at night, or late afternoon, so that you can refrigerate them for the requisite 12-16 hours prior to baking them in the morning.
***If you DO NOT WANT TO WAIT OVERNIGHT to enjoy these fantabulous rolls, finish the process by following the remaining steps below.*****
Okay, now where were we…. Oh yeah…we need to make those rolls rise.
Using my “heating trick” mentioned above, create a warm place for the tray of rolls to rise by turning the oven on to 400 degrees for EXACTLY one minute, then turn the oven OFF. Place the tray into the warm oven. Let the rolls rise for about 30-45 minutes.
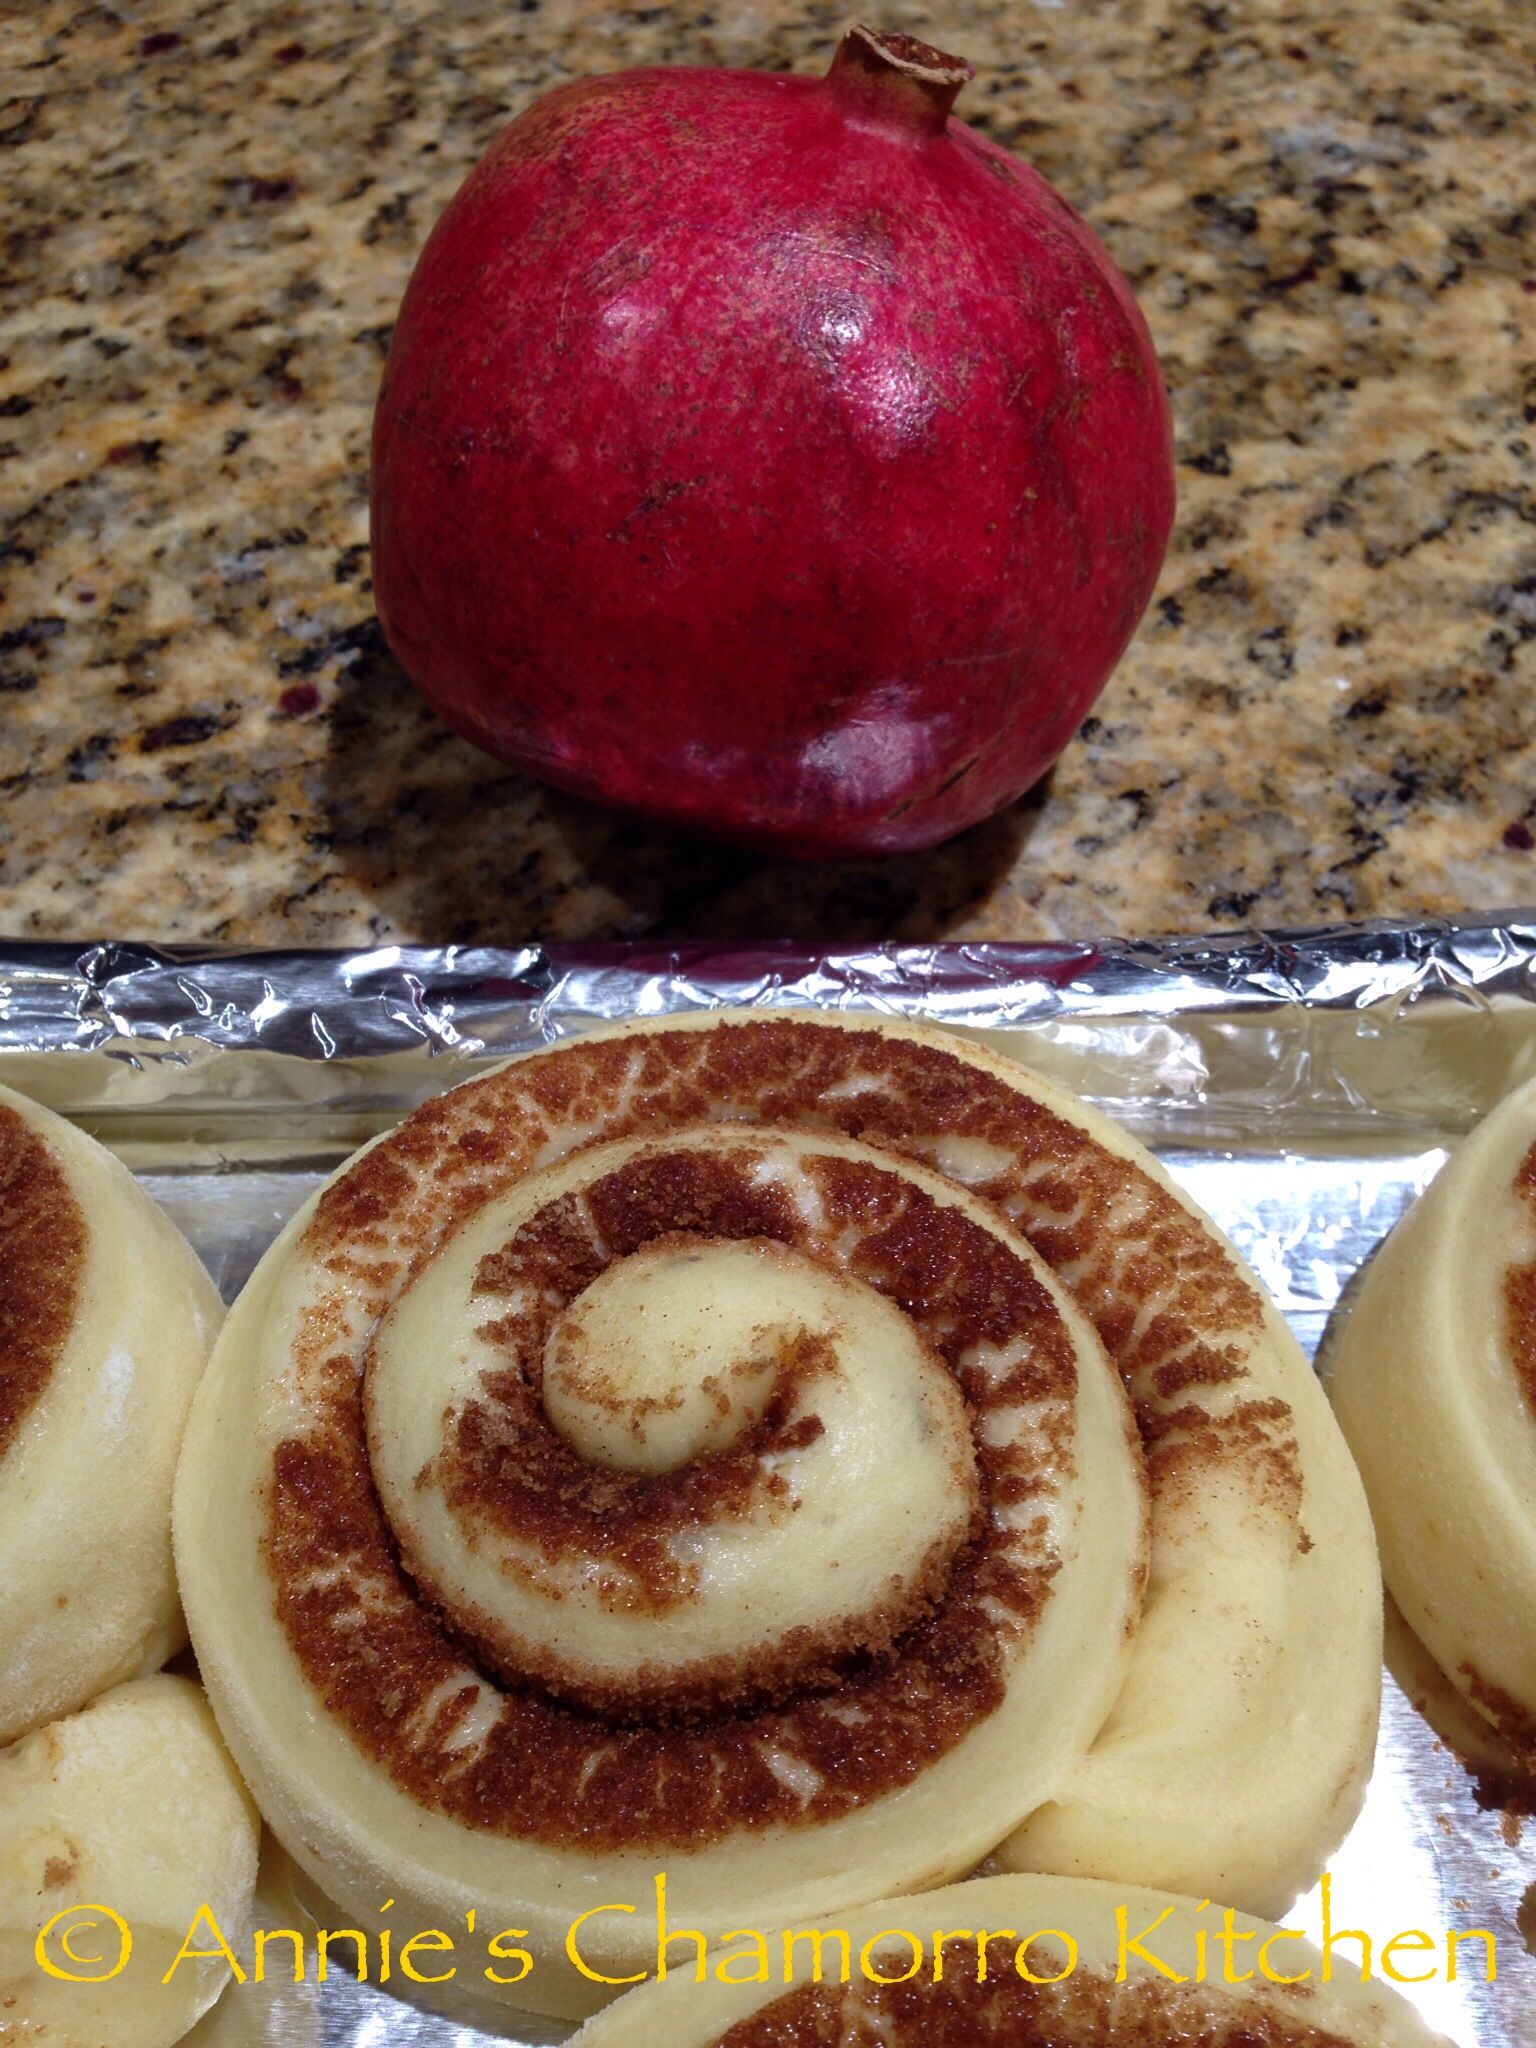
Look how much these babies GREW! Oh, they grow up so fast, don’t they?! Don’t blink or you’ll miss it! LOL 😀

Look at the size of each roll, compared to the size of a pomegranate (which was the size of a softball). And this is the size BEFORE baking. Wait ’till you see the size these beauties become AFTER baking!
Heat the oven to 350 degrees. Bake the rolls for 20 minutes. These rolls are meant to be a light golden brown when done.
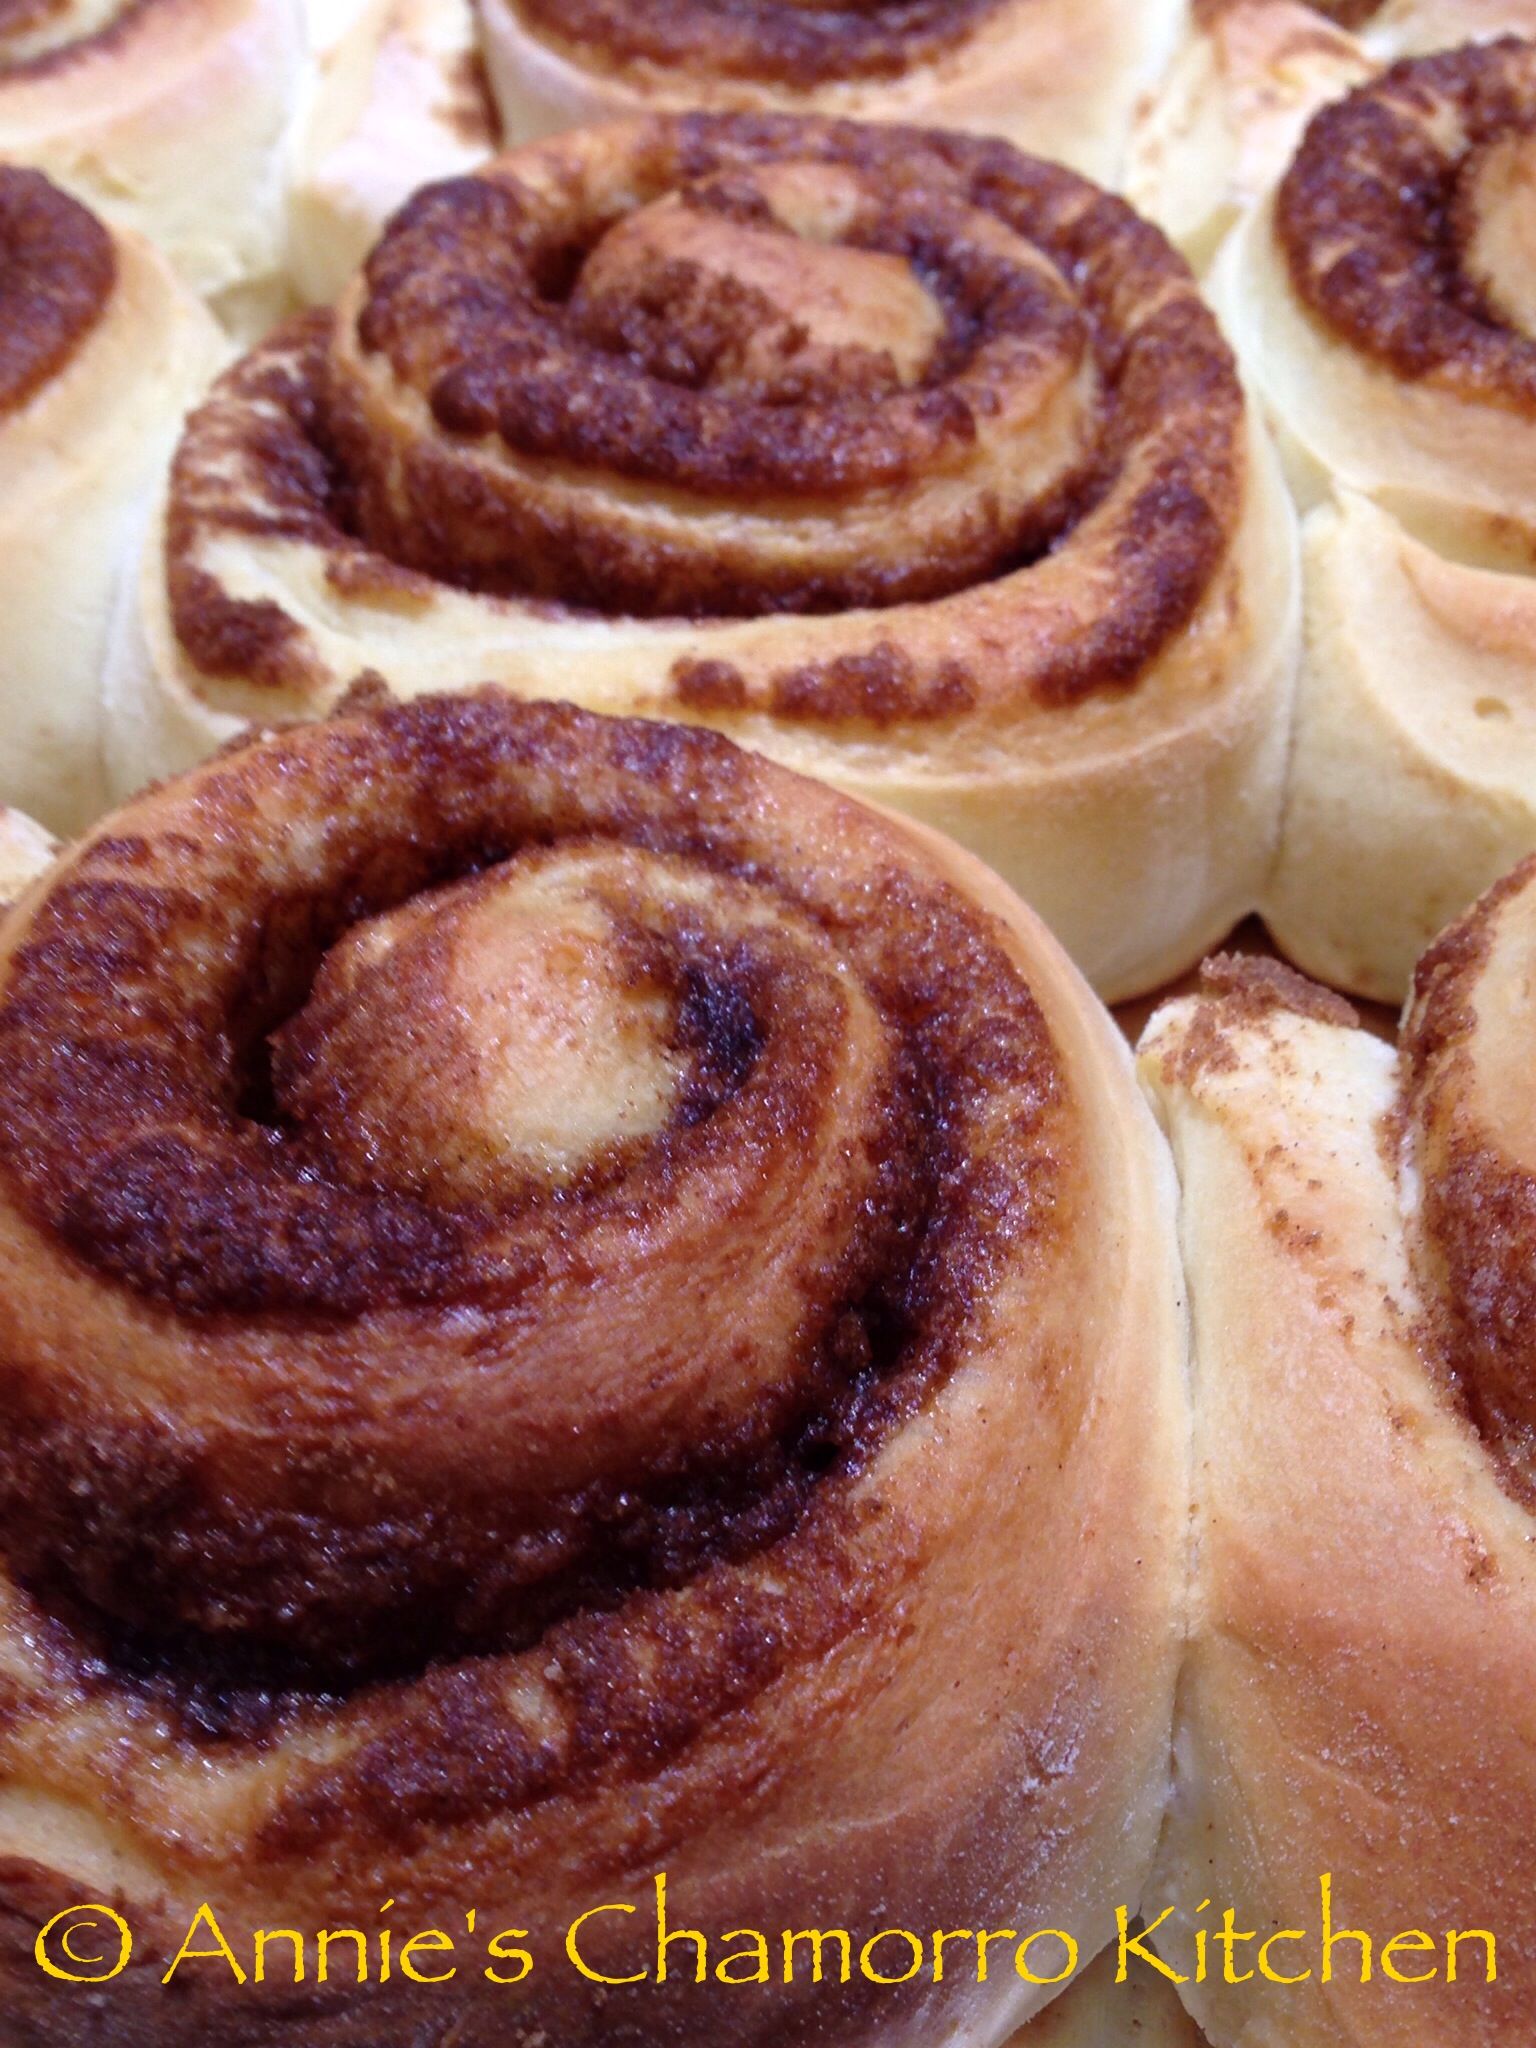
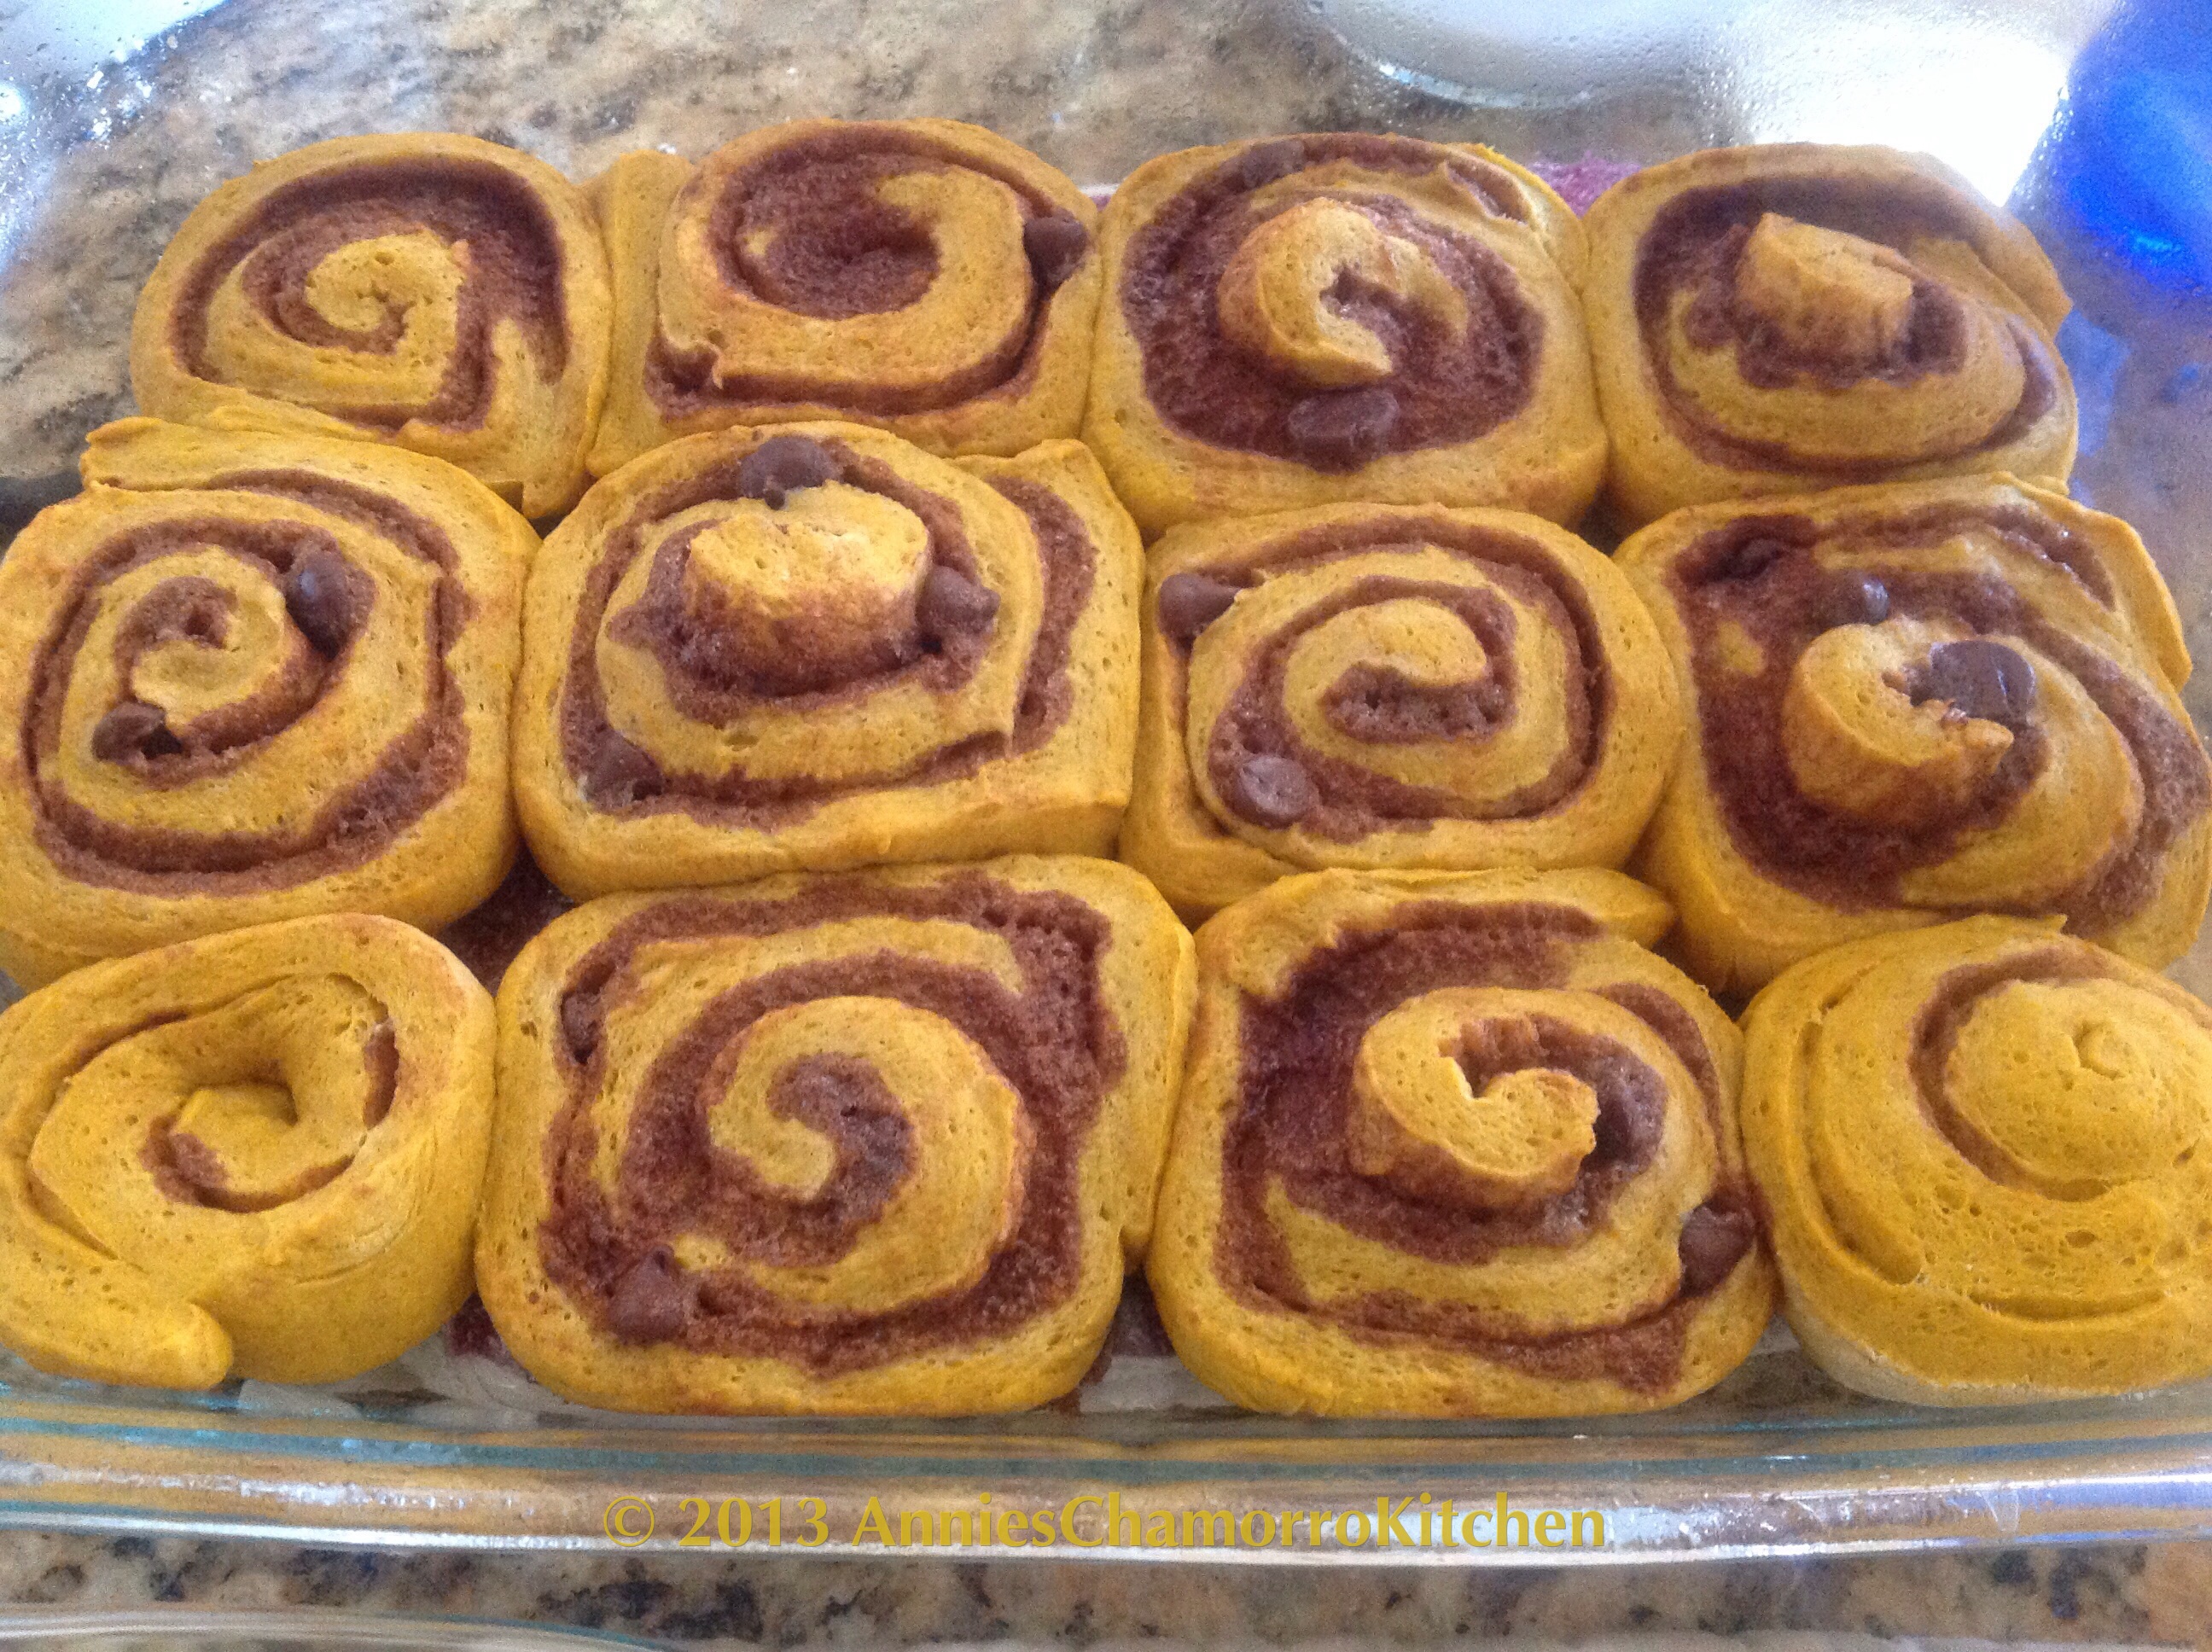
Let the rolls cool before frosting. Generously frost each roll then serve and enjoy! The rolls will stay fresh for about 4 days (if they last that long!). Cover any uneaten rolls with aluminum foil or place the rolls in an airtight container.
ENJOY!